How-To Tuesday: Make Your Rims Look Like New
How are your rims looking these days? A little rough around the edges? Well worry not, cause our How-To crew is here to help.
Today’s How-To Tuesday article teaches you how to paint your rims using Plasit-Dip. While this kind of rim-saving might cost you upwards of $400 for a pro job, if you DIY, it shouldn’t cost you more than 20 bucks.
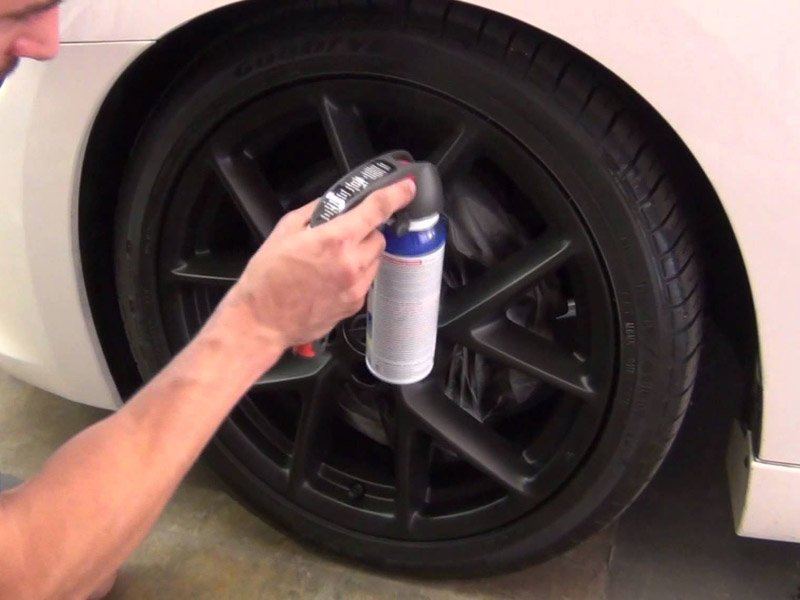
The first order of business is to pick up a few cans of Plasti-Dip, a protective coating that you spray on like spray paint. And you can order the stuff in a variety of colors, so not only will you be protecting your rims, but you’ll also be enhancing the look of them as well. Wins all around!
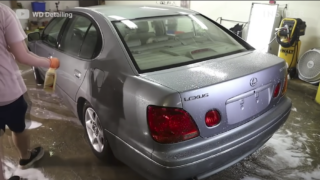
Once you’ve gathered the necessary supplies — Plasti-Dip, Windex (or another fast-drying cleaner), a bucket, a scrub brush, newspaper or towels, and an old rag — it shouldn’t take you more than 90 minutes to complete this relatively easy job.
After you’ve gathered the goods, its as simple as giving the rims and wheels a thorough cleaning, covering up the brakes, and applying the base layer of Plasti-dip. After you’re satisfied with the way things look, you just wait 10 minutes and re-apply. You can call it a day there, or repeat that step a couple more times for a darker look and more protection.
Then it’s just a matter of peeling off the excess Plasti-dip, which is quite easy as well, and shouldn’t require any tools beyond your finger tips.
And that’s it. Just like that, you’re rocking rims that look just like new. So what are you waiting for? Get all the details in today’s article, then let us know how easy and effective it was.