
1998 MB C230 resurrection
 08-23-09, 02:08 PM
#1
Lexus Test Driver
Thread Starter
iTrader: (3)

Join Date: Jun 2008
Location: NJ
Posts: 1,099
Likes: 0
Received 0 Likes
on
0 Posts
Where Do I Even Start!?!
I was lucky enough to have as much time on this job as I wanted. As a result, I wound up keeping it for a couple of weeks and working on it little by little in my spare time. I had other details to do in between, and life in general kept me from getting this done in a full weekend. I would say I put about 20 hours in to this job all together though..... Maybe a little more. I�ll try to be as thorough, yet brief as possible in this write-up.
Ok, the process. Let�s start w/ the interior. It was in pretty bad shape. Just general dirt and debris, dog hairs, and age really had this interior showing signs of neglect and abuse.
So lets get started!!
Products used: (in no particular order)
303 aerospace protectant
Leatherique rejuvinator oil
Leatherique prestine clean
Lightning Fast Carpet Cleaner
P21s Total Auto Wash
Power Clean
Fade2Black
Carpet & Upholstery Brush
Jumbo Vent Brush
0000 Steel Wool
SEATS:
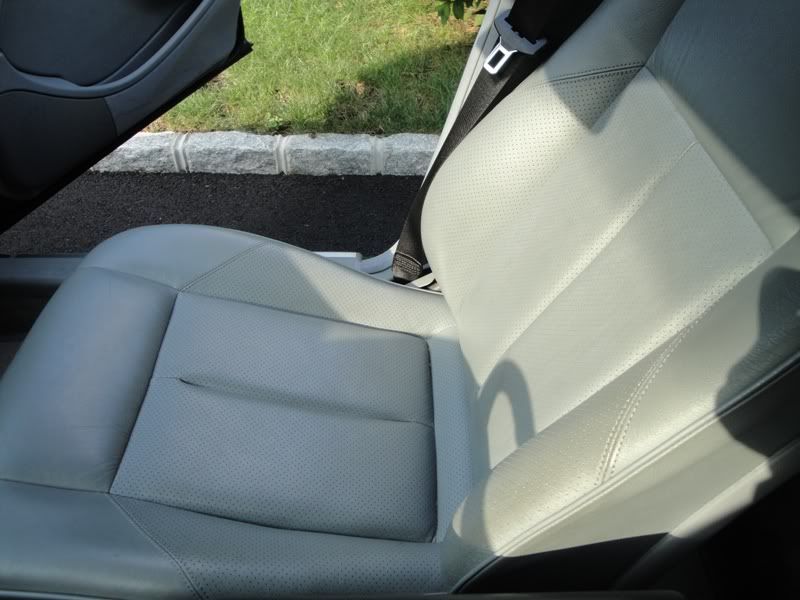
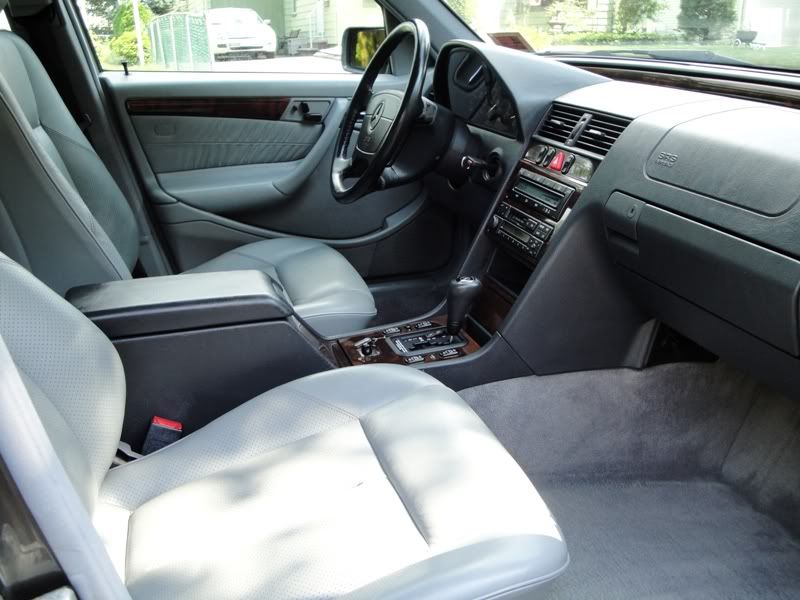
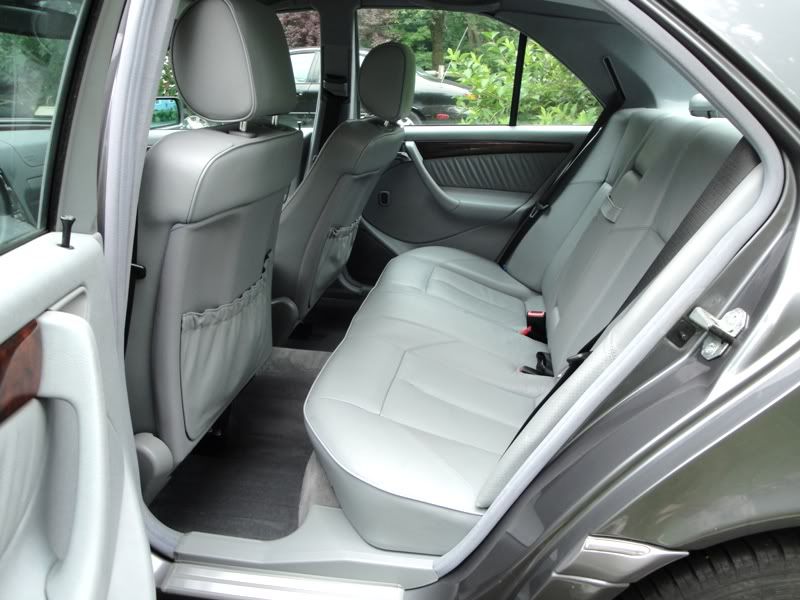
The seats got leatherique'd. And boy did they need it! I am constantly impressed by the way leatherique cleans and restores old leather. Not only did it leave the seats
looking new, the overall feel was improved 100x. They once again felt soft and comfortable. I let the rejuvinator oil sit on the seats for a full 24 hours. The first 12 hours
were in the HOT sun too! I removed it the next morning with Prestine Clean. You can always find my writeup on the leatherique process here: http://paintcare-n-detailing.com/leatherique/
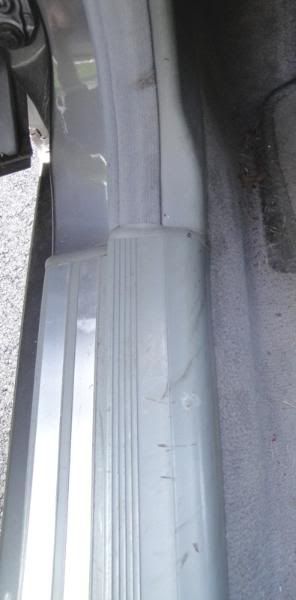
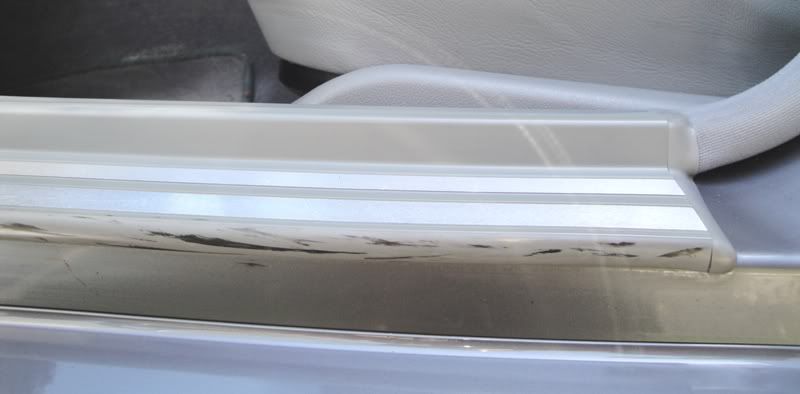
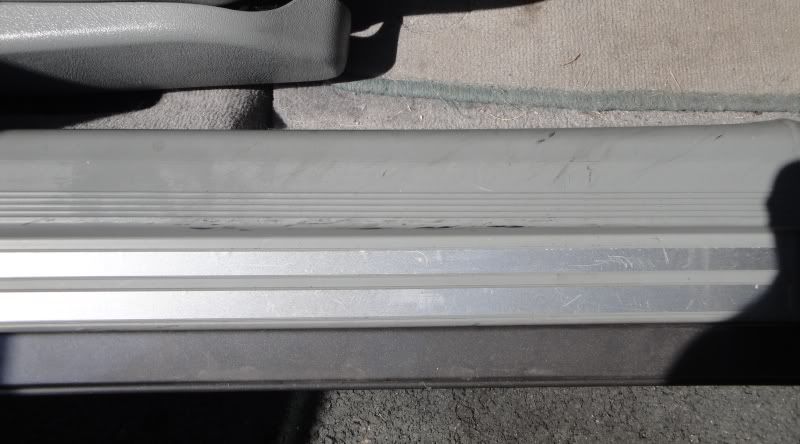
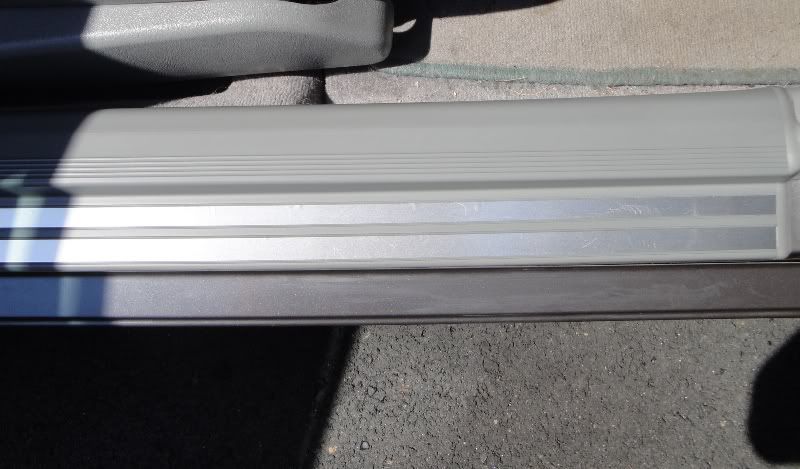
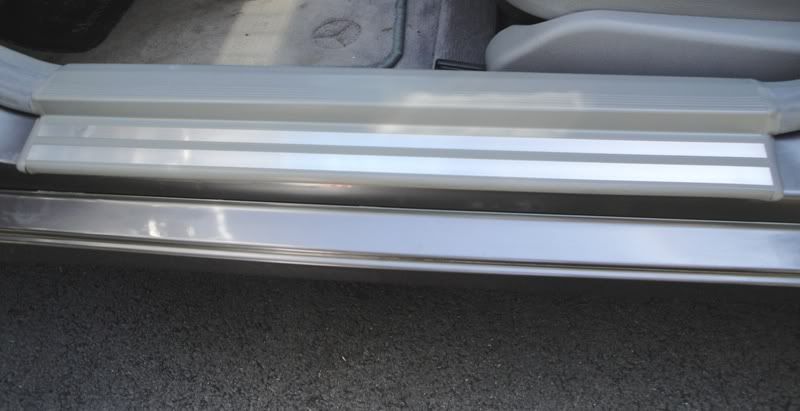
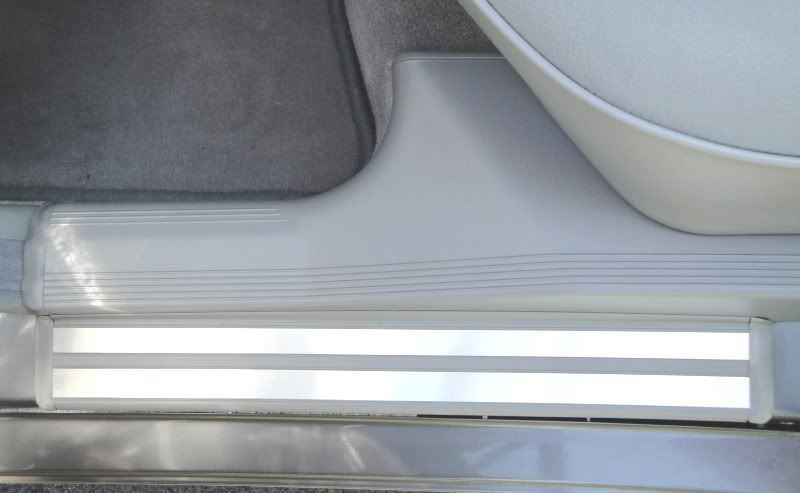
Now that those were out of the way, I decided to attack the door sills. I was a little nervous b/c these were in bad shape and I knew that this could really make a big difference if I could get them really clean. Lucky for me some P21s Total Auto Wash and 0000 Steel Wool (in spots) would really them up nicely!
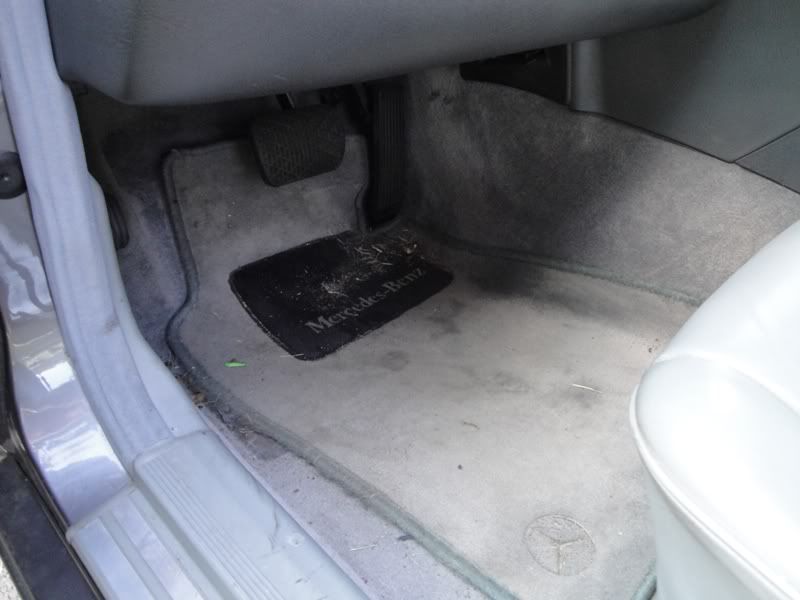
Then it was on to the carpets. This area was going to be taken care of by some CG Lightning Fast and Optimum Power Clean, a carpet/upholstery brush and a bunch of microfiber towels. The carpets were protected with 303 High Tech Fabric Guard once dry.
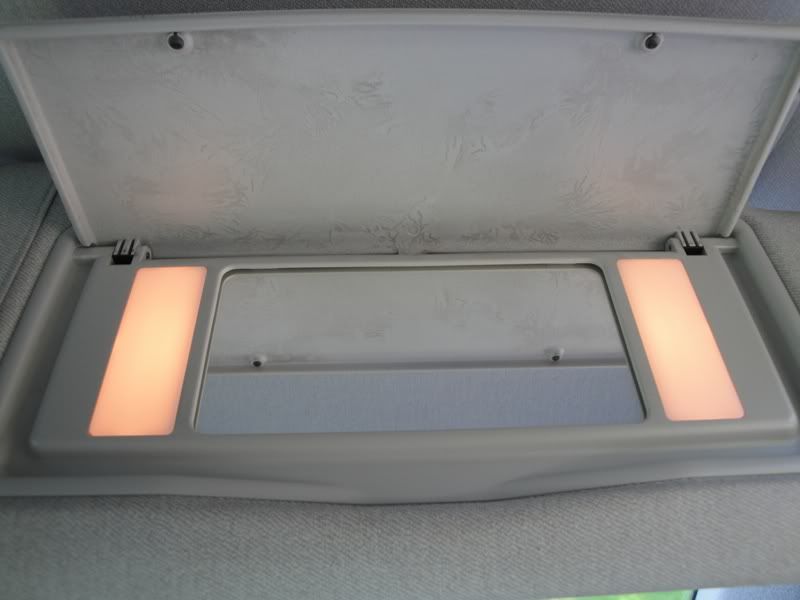
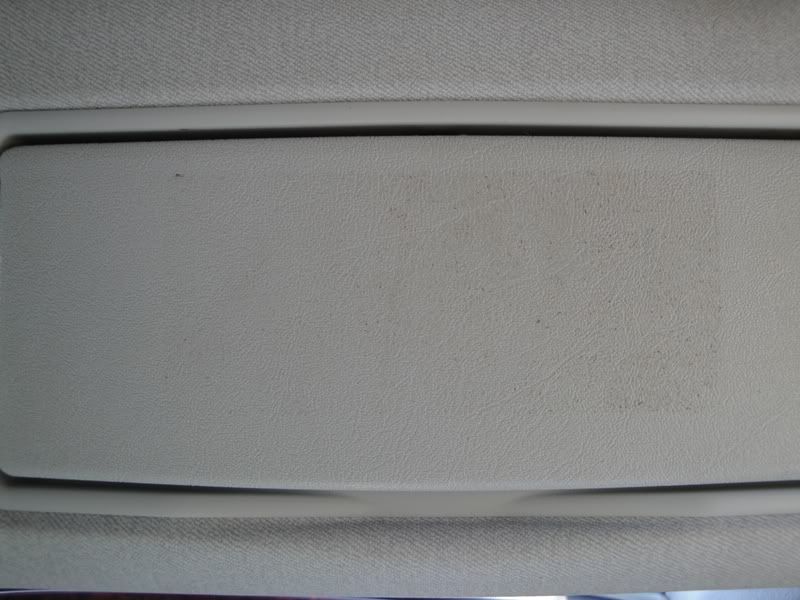
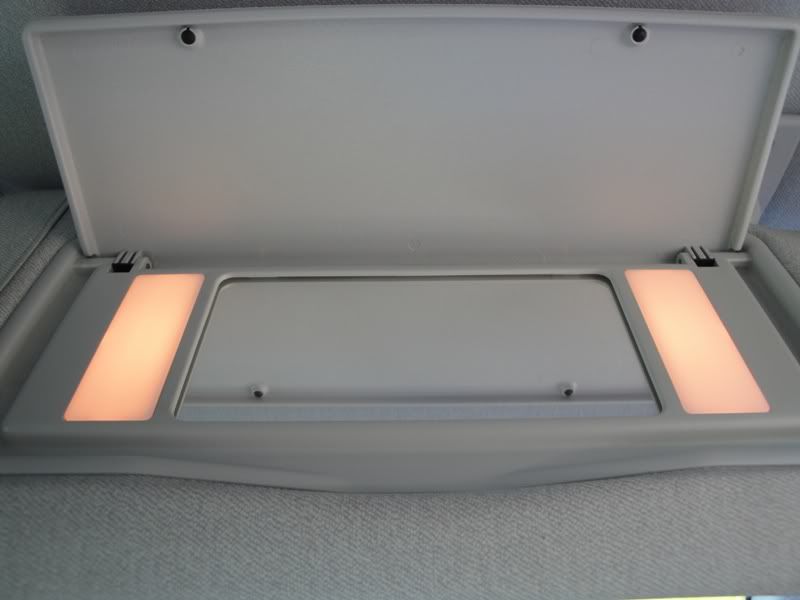
Even the vanity mirrors needed some love. Bleh:
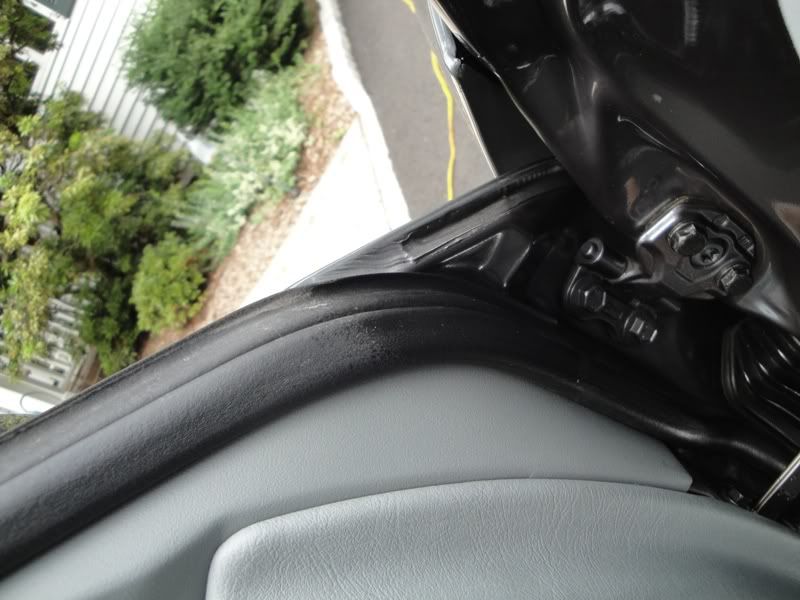
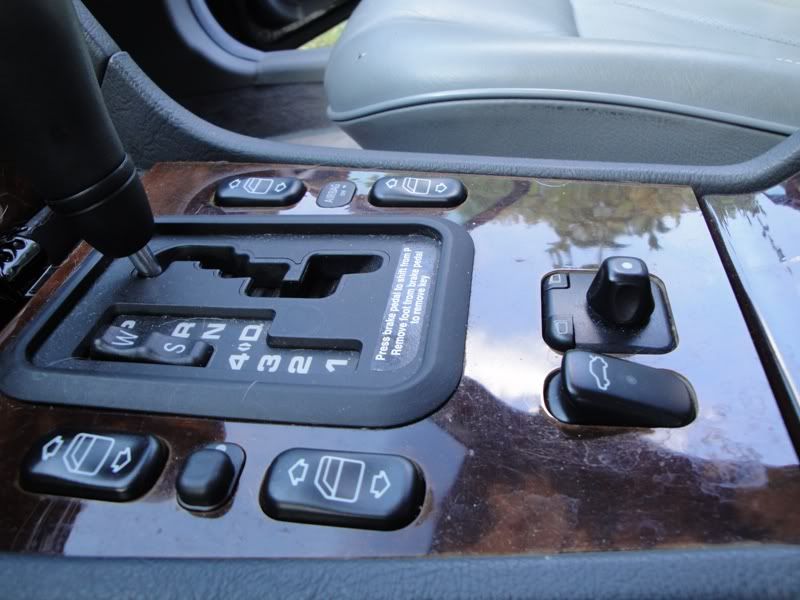
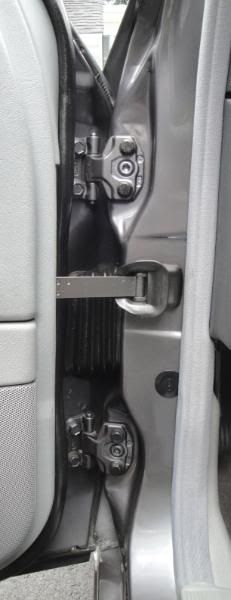
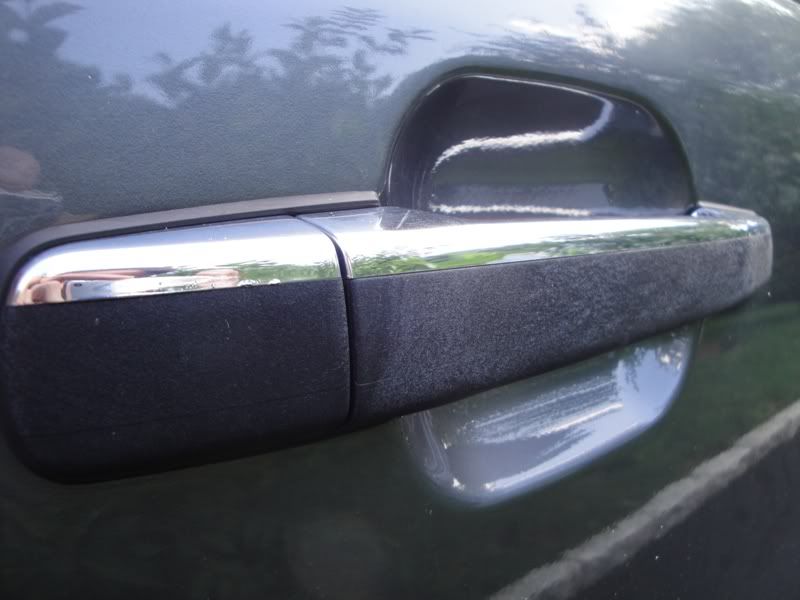
Next up was the doors and door jambs. Here I decided to go with P21s Total Auto Wash again. Some detail brushes and microfiber got the assist w/ these areas. They were dressed using CG Fade2Black
You can see here how nicely Fade2Black darkens up moldings and other rubber/vinyl parts.
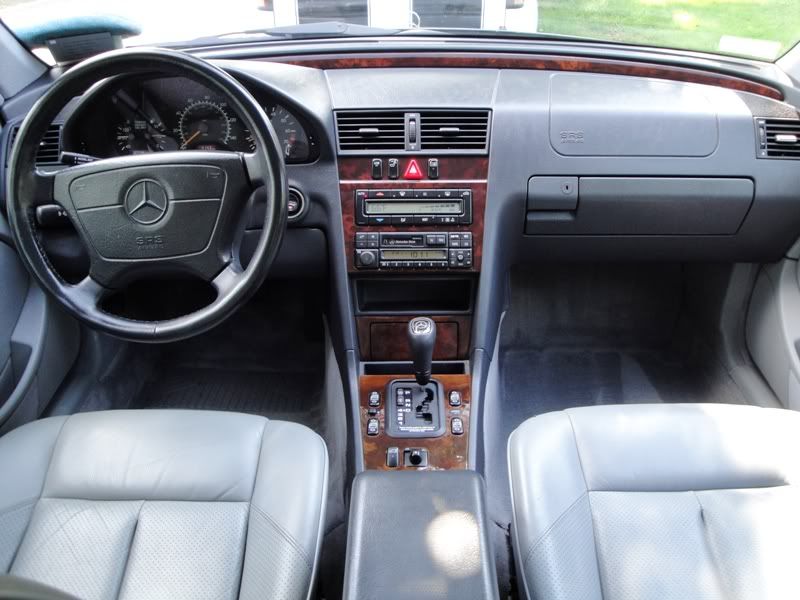
Dash also would clean up nicely. These too were protected w/ 303 Aerospace Protectant.
And finally, the glass was done w/ some glass cleaner and microfiber glass towels.
Some �After� shots:

Phew!! Done with the inside! Lets get started on the
exterior shall we?!
I was lucky enough to have as much time on this job as I wanted. As a result, I wound up keeping it for a couple of weeks and working on it little by little in my spare time. I had other details to do in between, and life in general kept me from getting this done in a full weekend. I would say I put about 20 hours in to this job all together though..... Maybe a little more. I�ll try to be as thorough, yet brief as possible in this write-up.
Ok, the process. Let�s start w/ the interior. It was in pretty bad shape. Just general dirt and debris, dog hairs, and age really had this interior showing signs of neglect and abuse.
So lets get started!!
Products used: (in no particular order)
303 aerospace protectant
Leatherique rejuvinator oil
Leatherique prestine clean
Lightning Fast Carpet Cleaner
P21s Total Auto Wash
Power Clean
Fade2Black
Carpet & Upholstery Brush
Jumbo Vent Brush
0000 Steel Wool
SEATS:
The seats got leatherique'd. And boy did they need it! I am constantly impressed by the way leatherique cleans and restores old leather. Not only did it leave the seats
looking new, the overall feel was improved 100x. They once again felt soft and comfortable. I let the rejuvinator oil sit on the seats for a full 24 hours. The first 12 hours
were in the HOT sun too! I removed it the next morning with Prestine Clean. You can always find my writeup on the leatherique process here: http://paintcare-n-detailing.com/leatherique/
Now that those were out of the way, I decided to attack the door sills. I was a little nervous b/c these were in bad shape and I knew that this could really make a big difference if I could get them really clean. Lucky for me some P21s Total Auto Wash and 0000 Steel Wool (in spots) would really them up nicely!
Then it was on to the carpets. This area was going to be taken care of by some CG Lightning Fast and Optimum Power Clean, a carpet/upholstery brush and a bunch of microfiber towels. The carpets were protected with 303 High Tech Fabric Guard once dry.
Even the vanity mirrors needed some love. Bleh:
Next up was the doors and door jambs. Here I decided to go with P21s Total Auto Wash again. Some detail brushes and microfiber got the assist w/ these areas. They were dressed using CG Fade2Black
You can see here how nicely Fade2Black darkens up moldings and other rubber/vinyl parts.
Dash also would clean up nicely. These too were protected w/ 303 Aerospace Protectant.
And finally, the glass was done w/ some glass cleaner and microfiber glass towels.
Some �After� shots:
Phew!! Done with the inside! Lets get started on the
exterior shall we?!
 08-23-09, 02:08 PM
#2
Lexus Test Driver
Thread Starter
iTrader: (3)
Join Date: Jun 2008
Location: NJ
Posts: 1,099
Likes: 0
Received 0 Likes
on
0 Posts
P21s Total Auto Wash Prewash
Power Clean Tires
Sticky Wheel Gel Rims
Trim Restorer Exterior Trim/plastics
Bare Bones Undercarriage Spray WHeel Wells
Super Slick n Suds Wash
Lambswool wash mitt using this
Grit Guard IN the bucket
Foam Gun Attached to the hose
Light Cut Clay To remove all the junk
LUBER Clay Lube To make the clay slide easily
M105 Ultra Cut Compound Removes the bad stuff
M205 Finishing Polish Makes it look even better
orange light cut pad Applies the M105
white polishing pad Applies the M205
5050 Concours Wax Made it look REALLY good
OptiBond Tire Gel Makes tires shiny
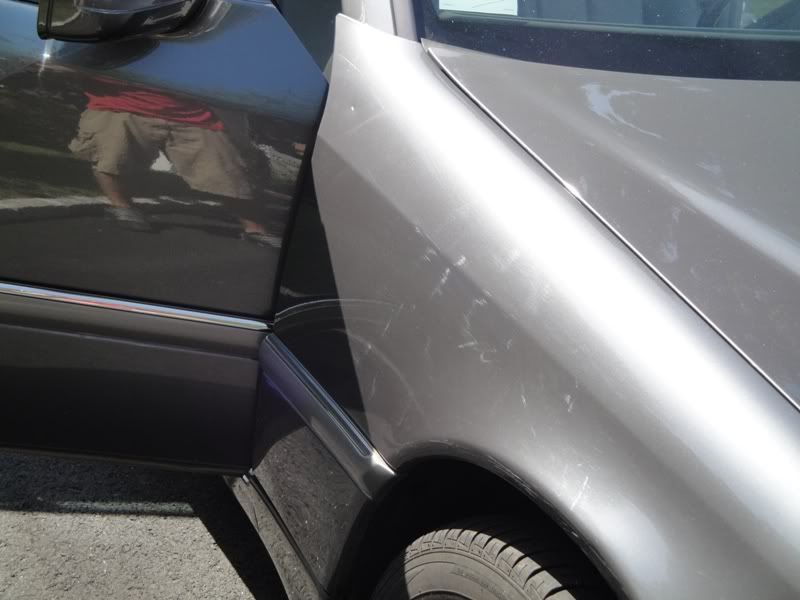
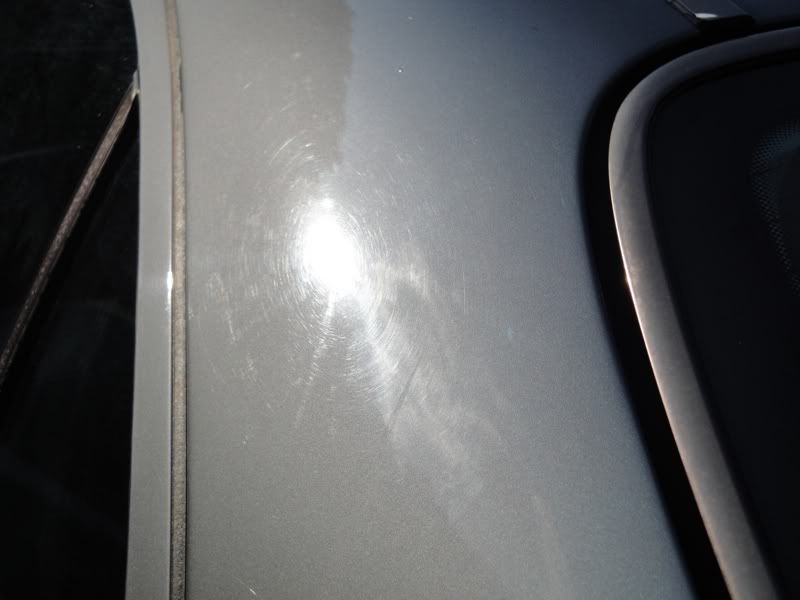
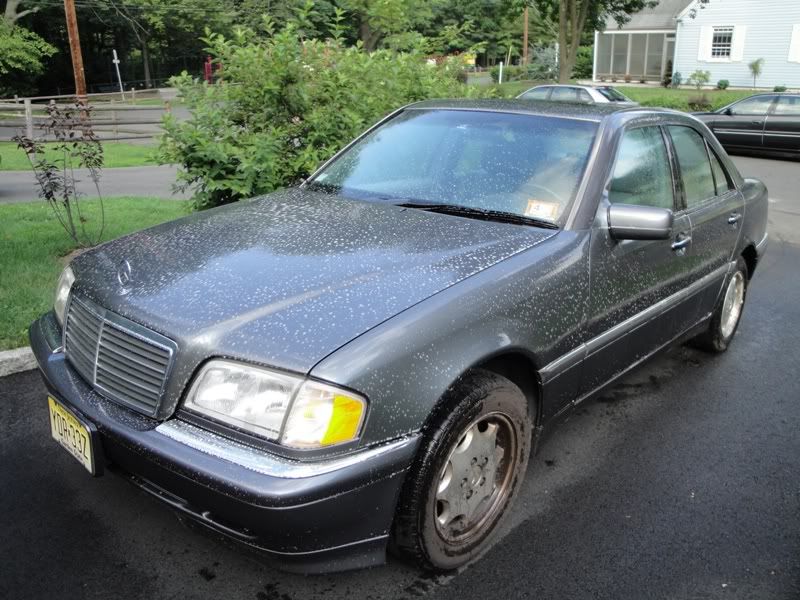
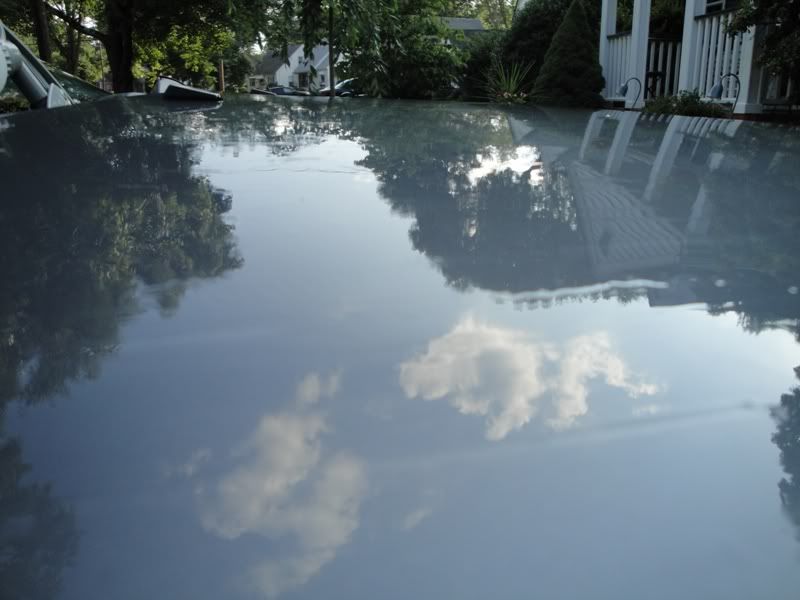
The exterior was in horrible condition. Lots of fallout and contamination. Just claying alone made a huge difference. And lets not even begin to talk about the number of swirls and holograms this thing had, lol. I'll let these before pics show what I was up against:

Once again, P21s Total Auto Wash works its magic!
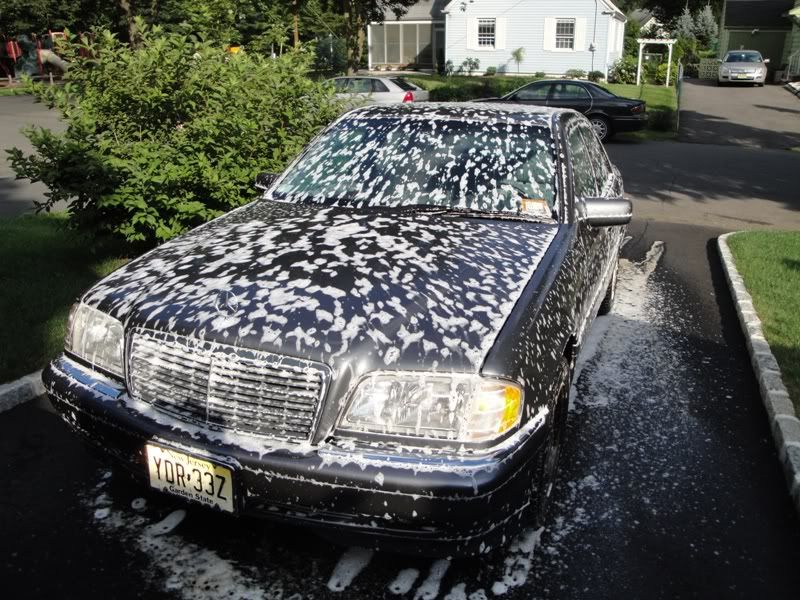
Now its time to foam it up and wash her down:
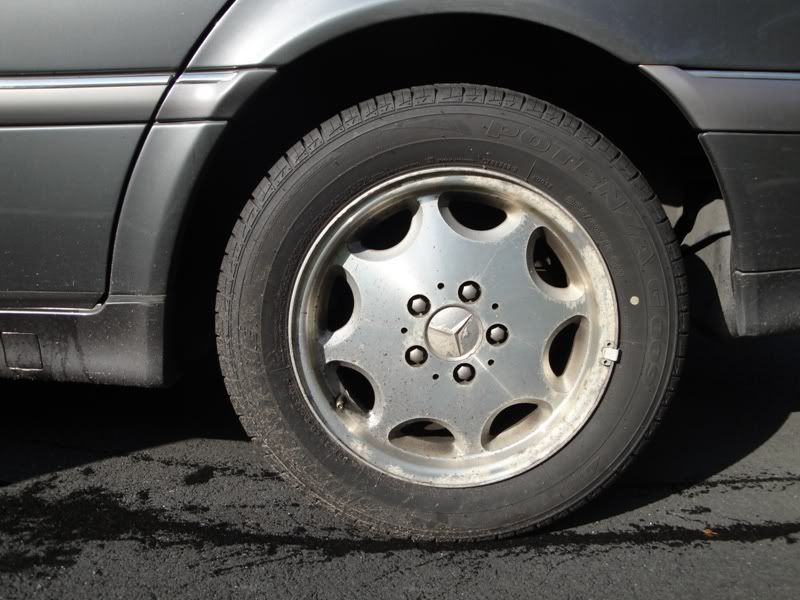
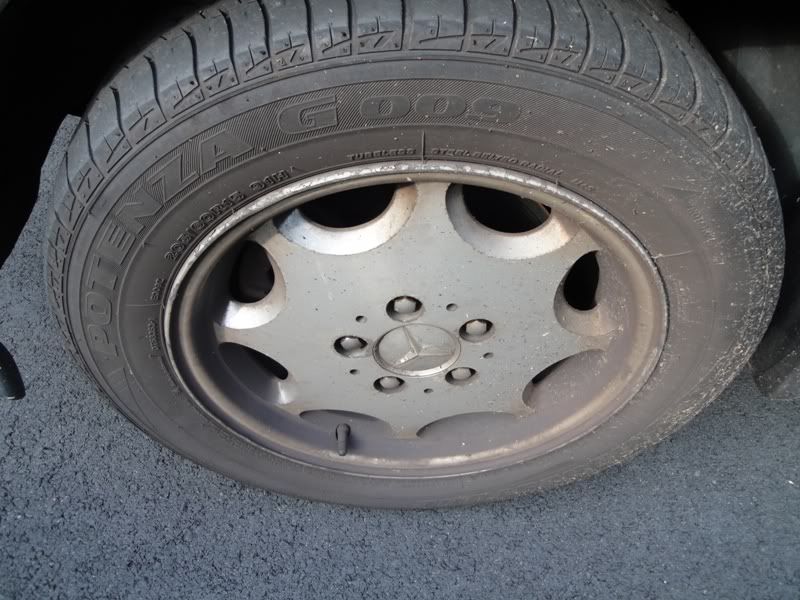
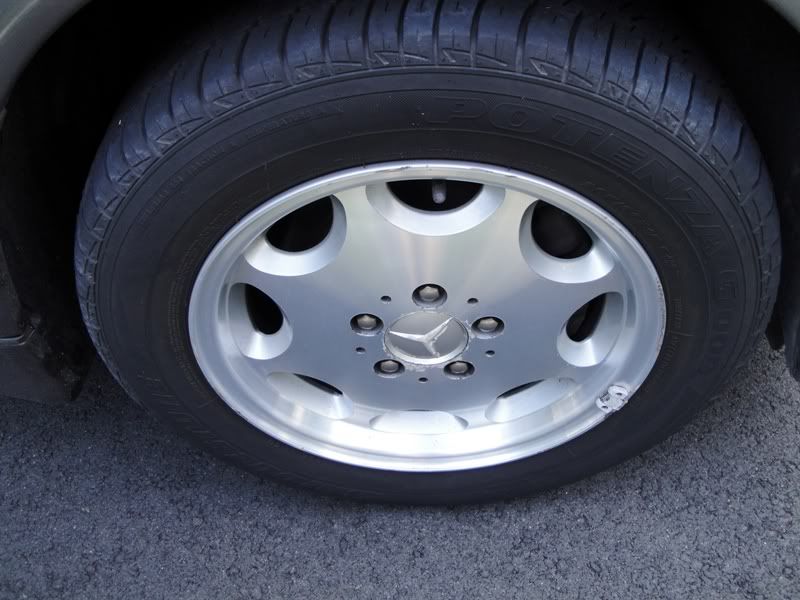
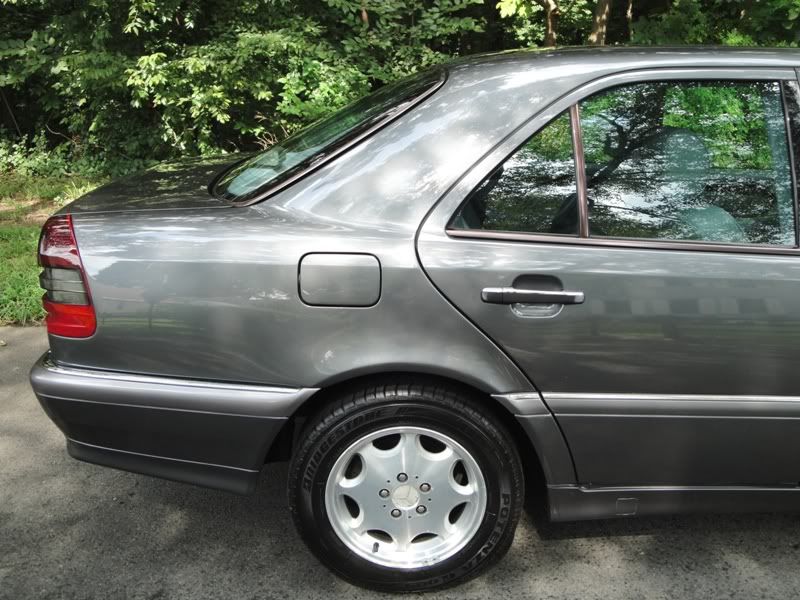
Wheels were cleaned as best as they could using Chemical Guys Sticky Wheel Gel. These wheels were already missing a lot of clear and had some good curb damage. Unfortunately, there wasn’t too much that could be done with them, but I did the absolute best that I could here:
Remember this-->>>
(before tire dressing on this one)
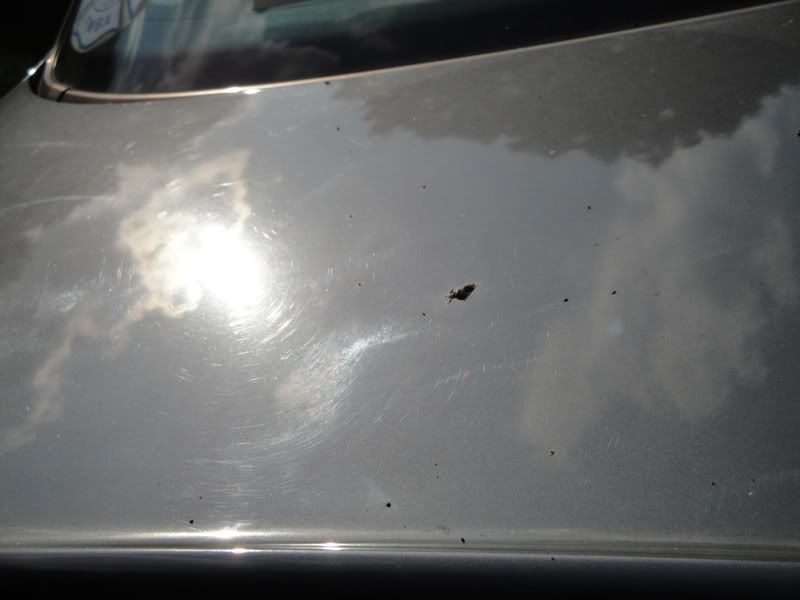
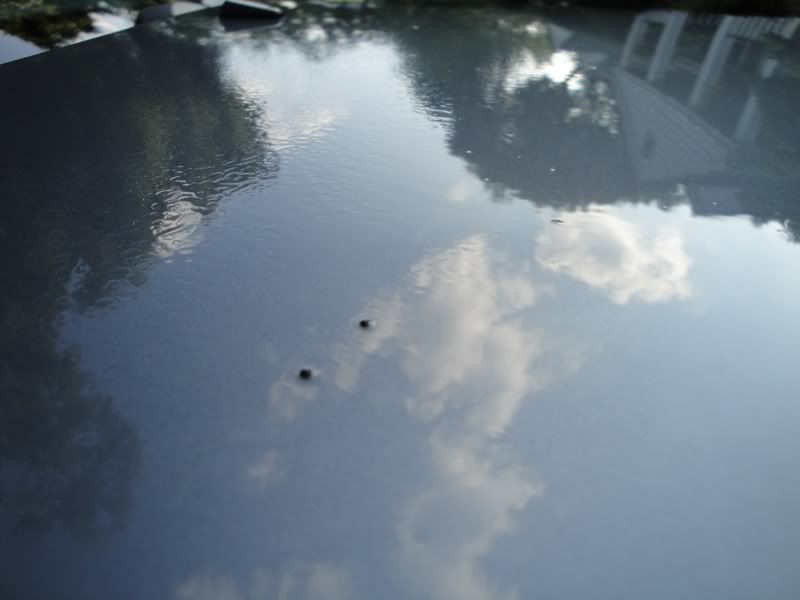
Time to clay. Again, lots of fallout on the surface. LUBER and a 200g Gray Bar took care of the contamination: (you can see it very well here. This was after the wash stage too btw)
This is after some sections of the car.

And that same shot, after the clay:
Now, Lets start polishing shall we? I used Megs 105 and 205 again for this job. I've been using this combo a lot lately and really like how it’s been performing for me. The 105 was used on speed 5 w/ a good amount of pressure and 205 used on speed 4 w/ lighter pressure.
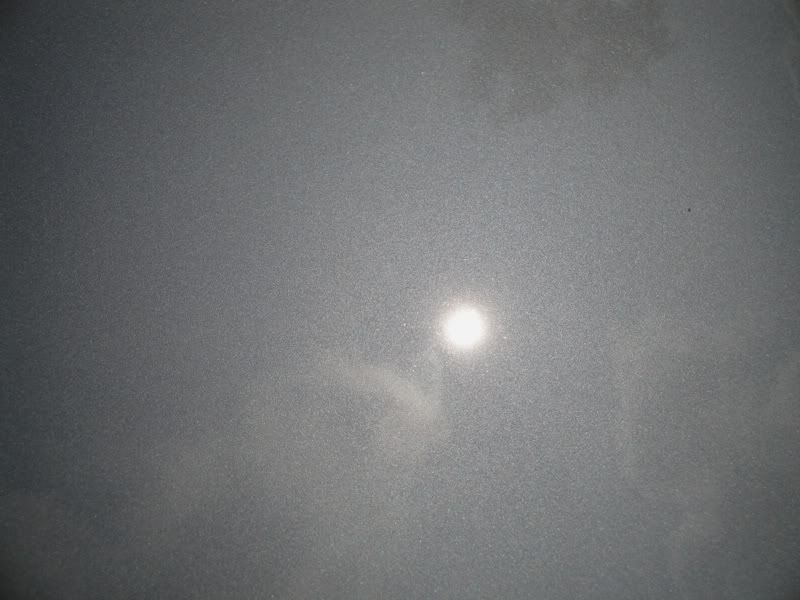
This is just after M105 ONLY! No finishing polish, no wax. Just the 105
(I would say this car came to about 85-95% correction depending on the area. Some stuff was DEEP and I had to keep in mind the intention of the car, ... being a daily driver and not a show car.)
Power Clean Tires
Sticky Wheel Gel Rims
Trim Restorer Exterior Trim/plastics
Bare Bones Undercarriage Spray WHeel Wells
Super Slick n Suds Wash
Lambswool wash mitt using this
Grit Guard IN the bucket
Foam Gun Attached to the hose
Light Cut Clay To remove all the junk
LUBER Clay Lube To make the clay slide easily
M105 Ultra Cut Compound Removes the bad stuff
M205 Finishing Polish Makes it look even better
orange light cut pad Applies the M105
white polishing pad Applies the M205
5050 Concours Wax Made it look REALLY good
OptiBond Tire Gel Makes tires shiny
The exterior was in horrible condition. Lots of fallout and contamination. Just claying alone made a huge difference. And lets not even begin to talk about the number of swirls and holograms this thing had, lol. I'll let these before pics show what I was up against:
Once again, P21s Total Auto Wash works its magic!
Now its time to foam it up and wash her down:
Wheels were cleaned as best as they could using Chemical Guys Sticky Wheel Gel. These wheels were already missing a lot of clear and had some good curb damage. Unfortunately, there wasn’t too much that could be done with them, but I did the absolute best that I could here:
Remember this-->>>
(before tire dressing on this one)
Time to clay. Again, lots of fallout on the surface. LUBER and a 200g Gray Bar took care of the contamination: (you can see it very well here. This was after the wash stage too btw)
This is after some sections of the car.
And that same shot, after the clay:
Now, Lets start polishing shall we? I used Megs 105 and 205 again for this job. I've been using this combo a lot lately and really like how it’s been performing for me. The 105 was used on speed 5 w/ a good amount of pressure and 205 used on speed 4 w/ lighter pressure.
This is just after M105 ONLY! No finishing polish, no wax. Just the 105
(I would say this car came to about 85-95% correction depending on the area. Some stuff was DEEP and I had to keep in mind the intention of the car, ... being a daily driver and not a show car.)
Last edited by Chris@GlimmerGlass; 08-23-09 at 02:17 PM.
08-23-09, 02:09 PM
#3
Lexus Test Driver
Thread Starter
iTrader: (3)
Join Date: Jun 2008
Location: NJ
Posts: 1,099
Likes: 0
Received 0 Likes
on
0 Posts
Now, just some “details”.
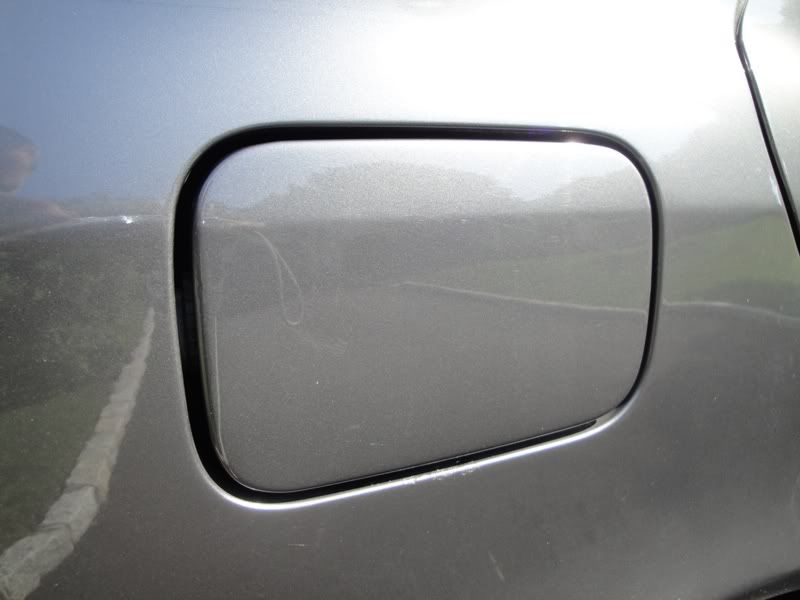
I spent a solid 30 minutes adding some touchup paint to about 15 different areas across the car. The worst being the gas filler door and the rear driver side door. The gas door was just dinged way too many times w/ a gas pump. Damn Jersey and their full service stations!!
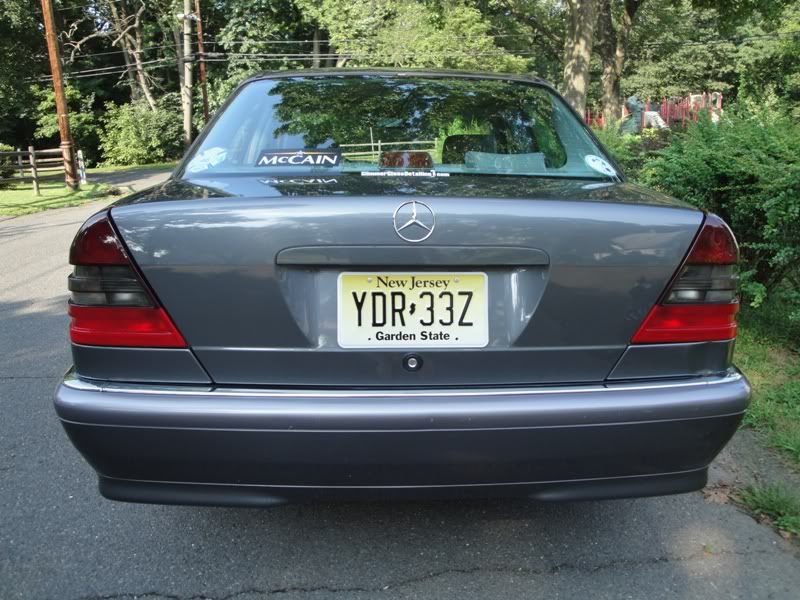
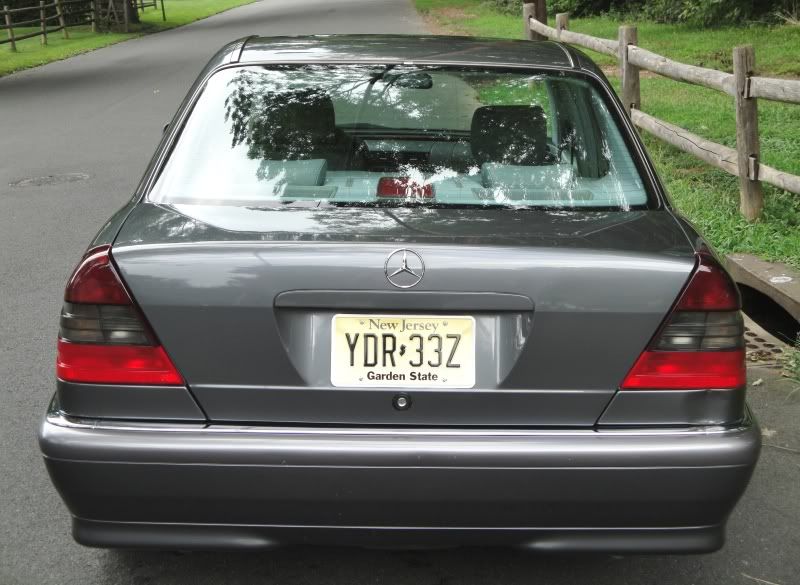
Also de-badged the trunk of the C230 plate. Now you see it
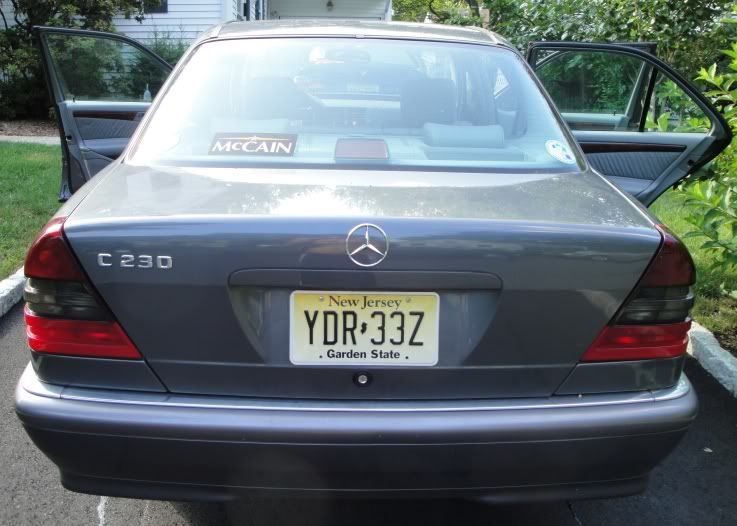
Now you don’t
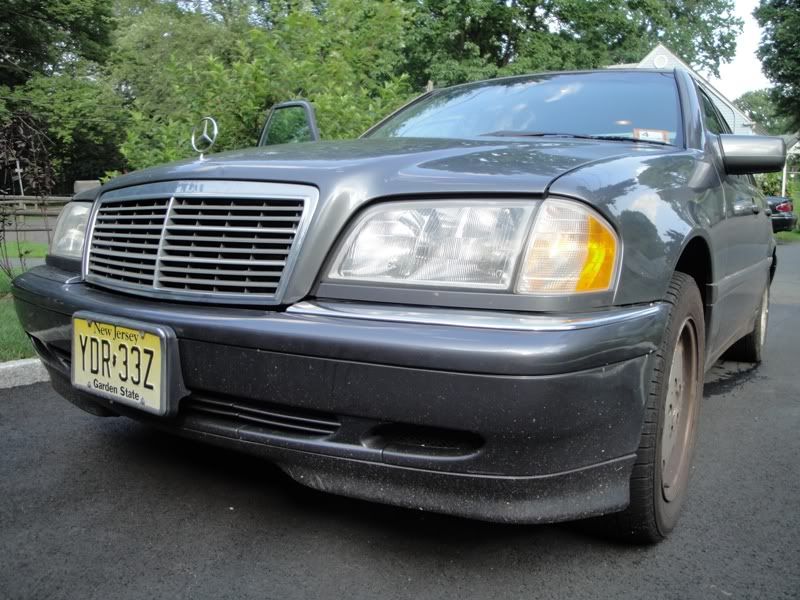
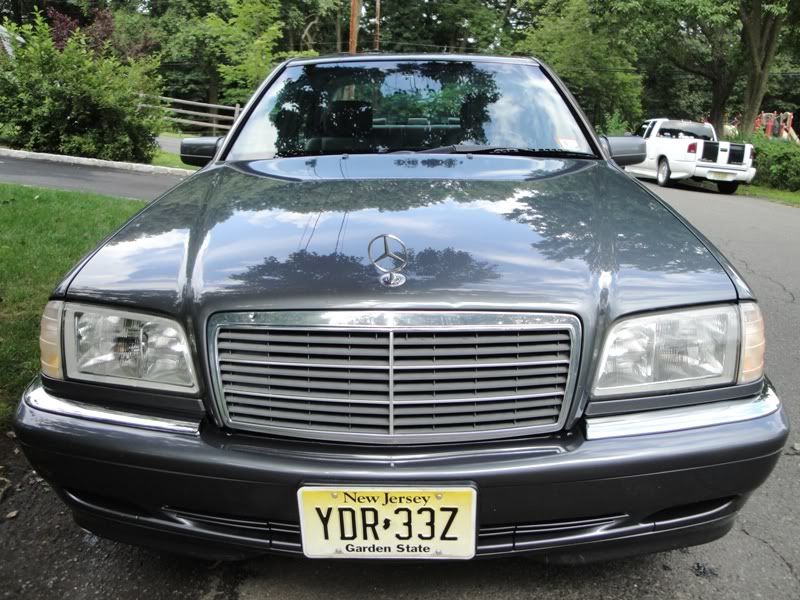
Another little attention to detail was the front and rear license plate. If you notice above, the 2 lower screws were missing. When driving the car, it apparently suffers from some minor squeaks and rattles. The top two screws were loose and it was missing the bottom two. Additionally, the front plate was ready to fall off! The bottom clips weren’t in place and the top screws were half secured! After giving it a quick drive, all squeaks were gone! And I intentionally aimed for some bumps 

Also had to find some valve stem caps to place on the 2 rear wheels. (that doesn’t really need a pic does it? Lol)
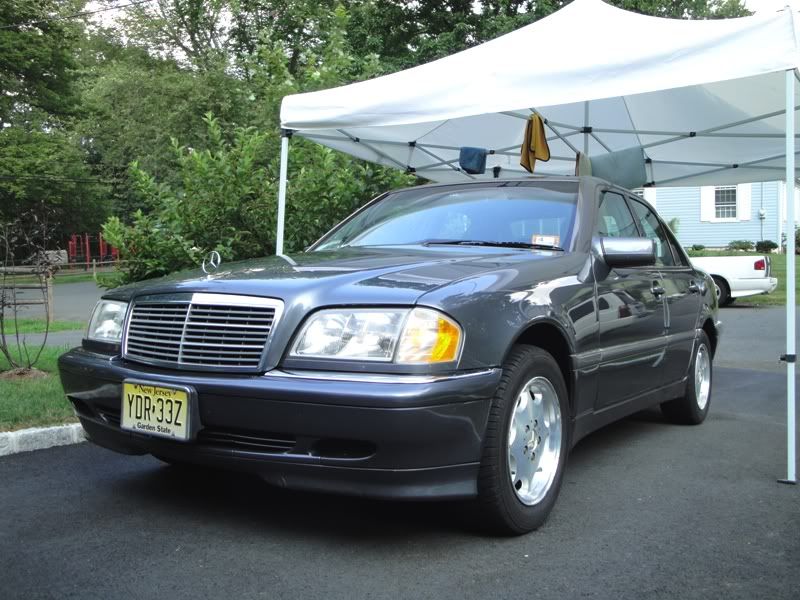
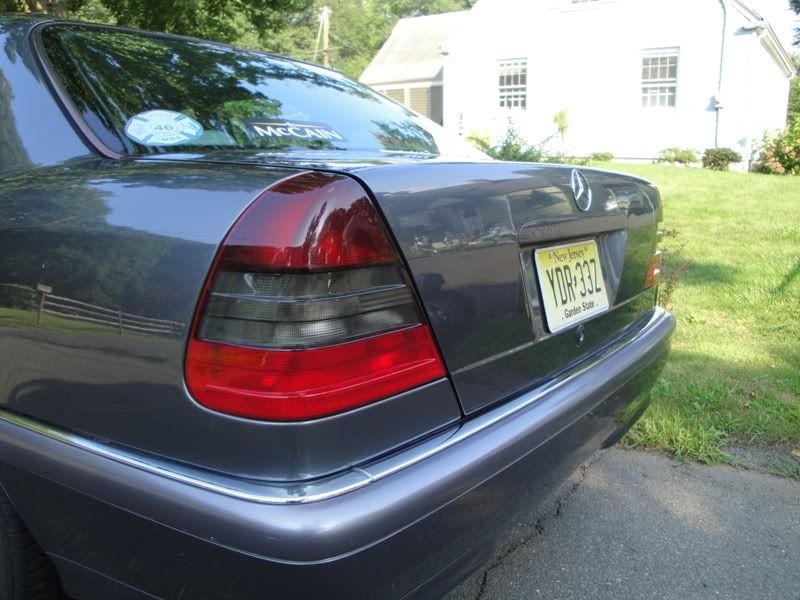
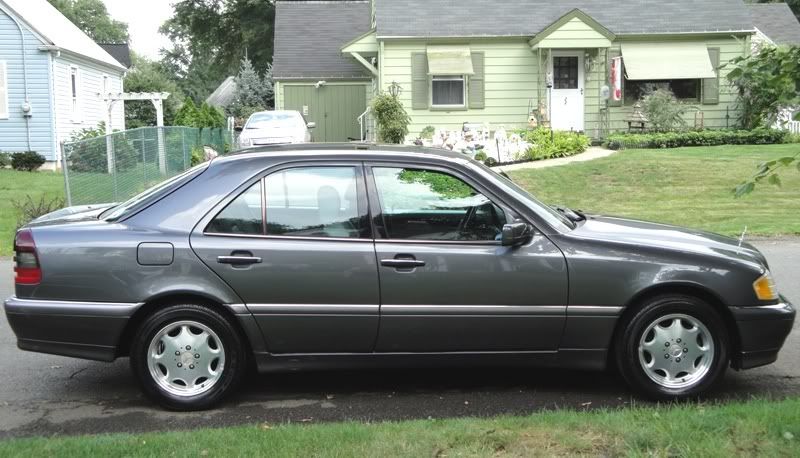
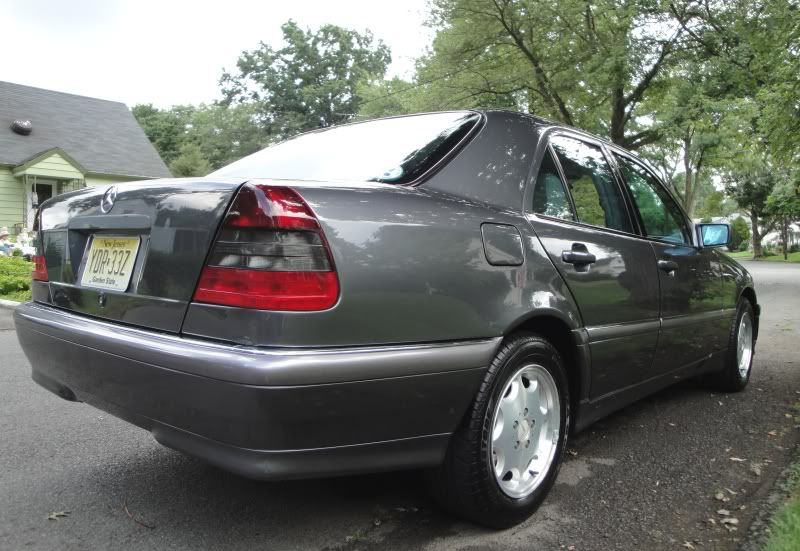
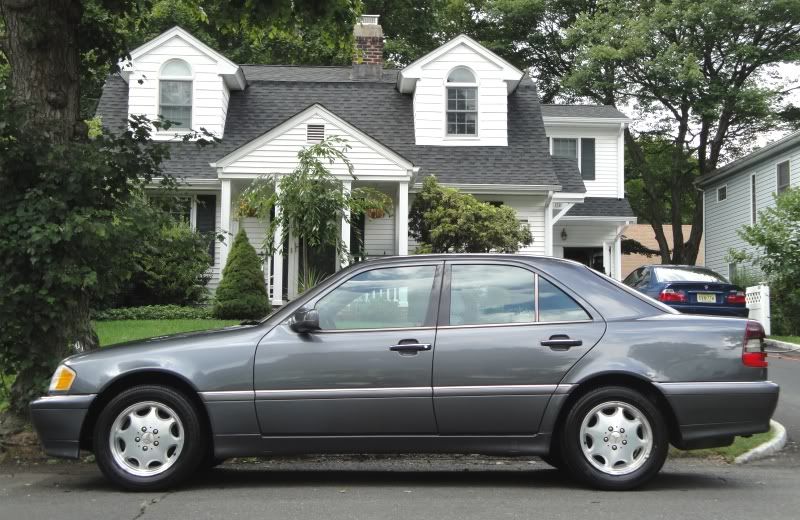
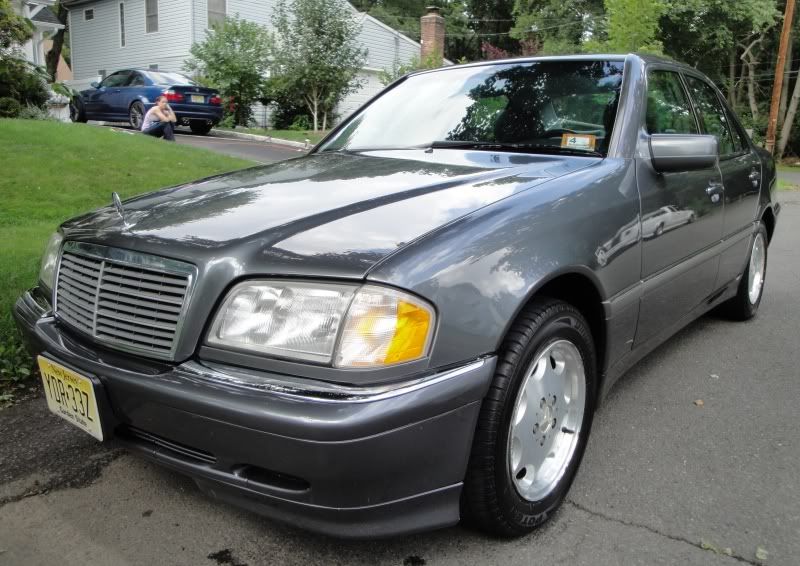
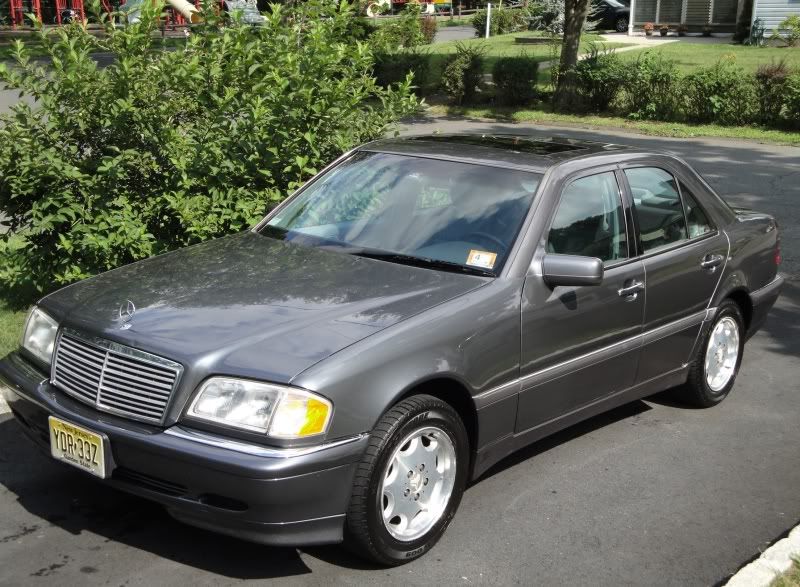
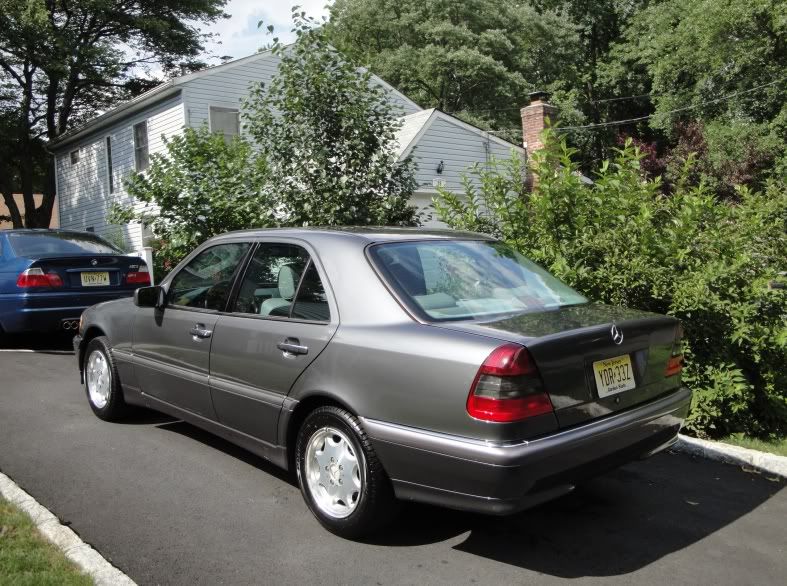
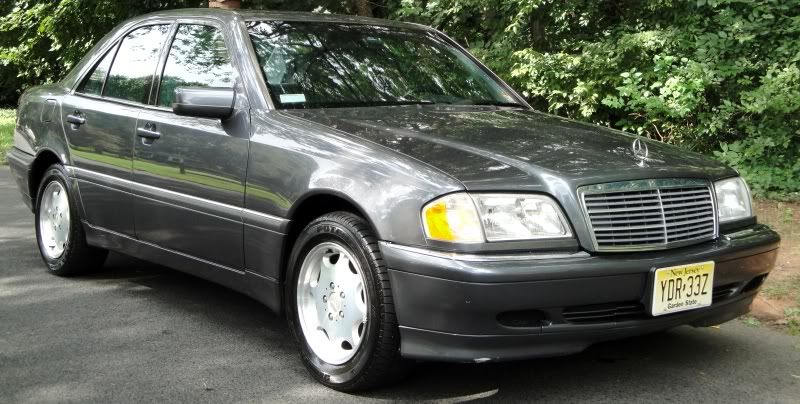
And FINALLY, here are some complete after pics of the car. What a rewarding turnaround. The car truly looks sooooo much better.
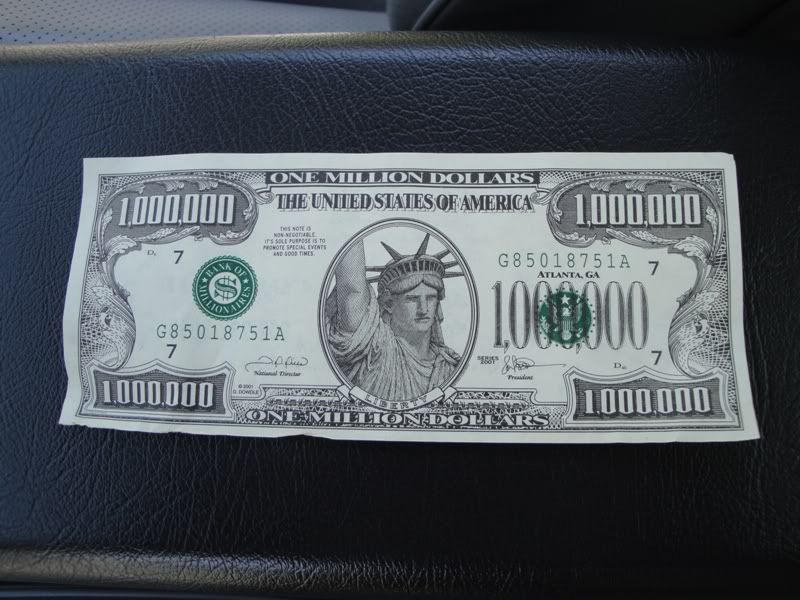
And Last but not Least!!!! Time to get PAID !!!!!
I spent a solid 30 minutes adding some touchup paint to about 15 different areas across the car. The worst being the gas filler door and the rear driver side door. The gas door was just dinged way too many times w/ a gas pump. Damn Jersey and their full service stations!!
Also de-badged the trunk of the C230 plate. Now you see it
Now you don’t
Another little attention to detail was the front and rear license plate. If you notice above, the 2 lower screws were missing. When driving the car, it apparently suffers from some minor squeaks and rattles. The top two screws were loose and it was missing the bottom two. Additionally, the front plate was ready to fall off! The bottom clips weren’t in place and the top screws were half secured!
After giving it a quick drive, all squeaks were gone! And I intentionally aimed for some bumps Also had to find some valve stem caps to place on the 2 rear wheels. (that doesn’t really need a pic does it? Lol)
And FINALLY, here are some complete after pics of the car. What a rewarding turnaround. The car truly looks sooooo much better.
And Last but not Least!!!! Time to get PAID !!!!!


Trending Topics
08-25-09, 04:54 AM
#8
Lexus Test Driver
Thread Starter
iTrader: (3)
Join Date: Jun 2008
Location: NJ
Posts: 1,099
Likes: 0
Received 0 Likes
on
0 Posts
Thanks guys! 
Varcity, the engine wasnt a scheduled part of the job.
TMF, the door sills were cleaned w/ P21s Total Auto Wash and microfiber towel with occassional 0000 steel wool in a couple spots.
Varcity, the engine wasnt a scheduled part of the job.
TMF, the door sills were cleaned w/ P21s Total Auto Wash and microfiber towel with occassional 0000 steel wool in a couple spots.
 09-03-09, 04:44 PM
#11
1JZ Single SC400
iTrader: (59)
Join Date: Jan 2009
Location: Alabama, Roll Tide!
Posts: 8,518
Likes: 0
Received 15 Likes
on
12 Posts
Looks good, Job well done. Did you paint the whell wells or the underside of the car. Just the small things goes a long way! Overall, good job. I wish you had more pictures of the M3 in the back.. I detail on my days off when I am off from the station. If anyone is in the Huntsville, AL area, I will come get and drop off!
09-03-09, 06:36 PM
#12
Lexus Test Driver
Thread Starter
iTrader: (3)
Join Date: Jun 2008
Location: NJ
Posts: 1,099
Likes: 0
Received 0 Likes
on
0 Posts
Thanks! The wheel wells were only cleaned and dressed, using Bare Bones.
Hopefully the M gets cleaned up in the next couple of weeks, so I'll post some pics since a couple guys asked for pics of it
Hopefully the M gets cleaned up in the next couple of weeks, so I'll post some pics since a couple guys asked for pics of it

Thread
Thread Starter
Forum
Replies
Last Post
Nick@Autogeek
Automotive Care & Detailing
4
06-20-11 01:43 PM