When you click on links to various merchants on this site and make a purchase, this can result in this site earning a commission. Affiliate programs and affiliations include, but are not limited to, the eBay Partner Network.
So I have decided to tackle a little project and replace the subwoofer from the rear deck. Bass is not very good on the 4is as apposed to the bass I had in my 2is. So hopefully this brings back some detail and enjoyment to my tunes. I plan to use a pioneer 8" subwoofer which is a free-flowing design made for use on open decks with a pioneer mono amplifier.
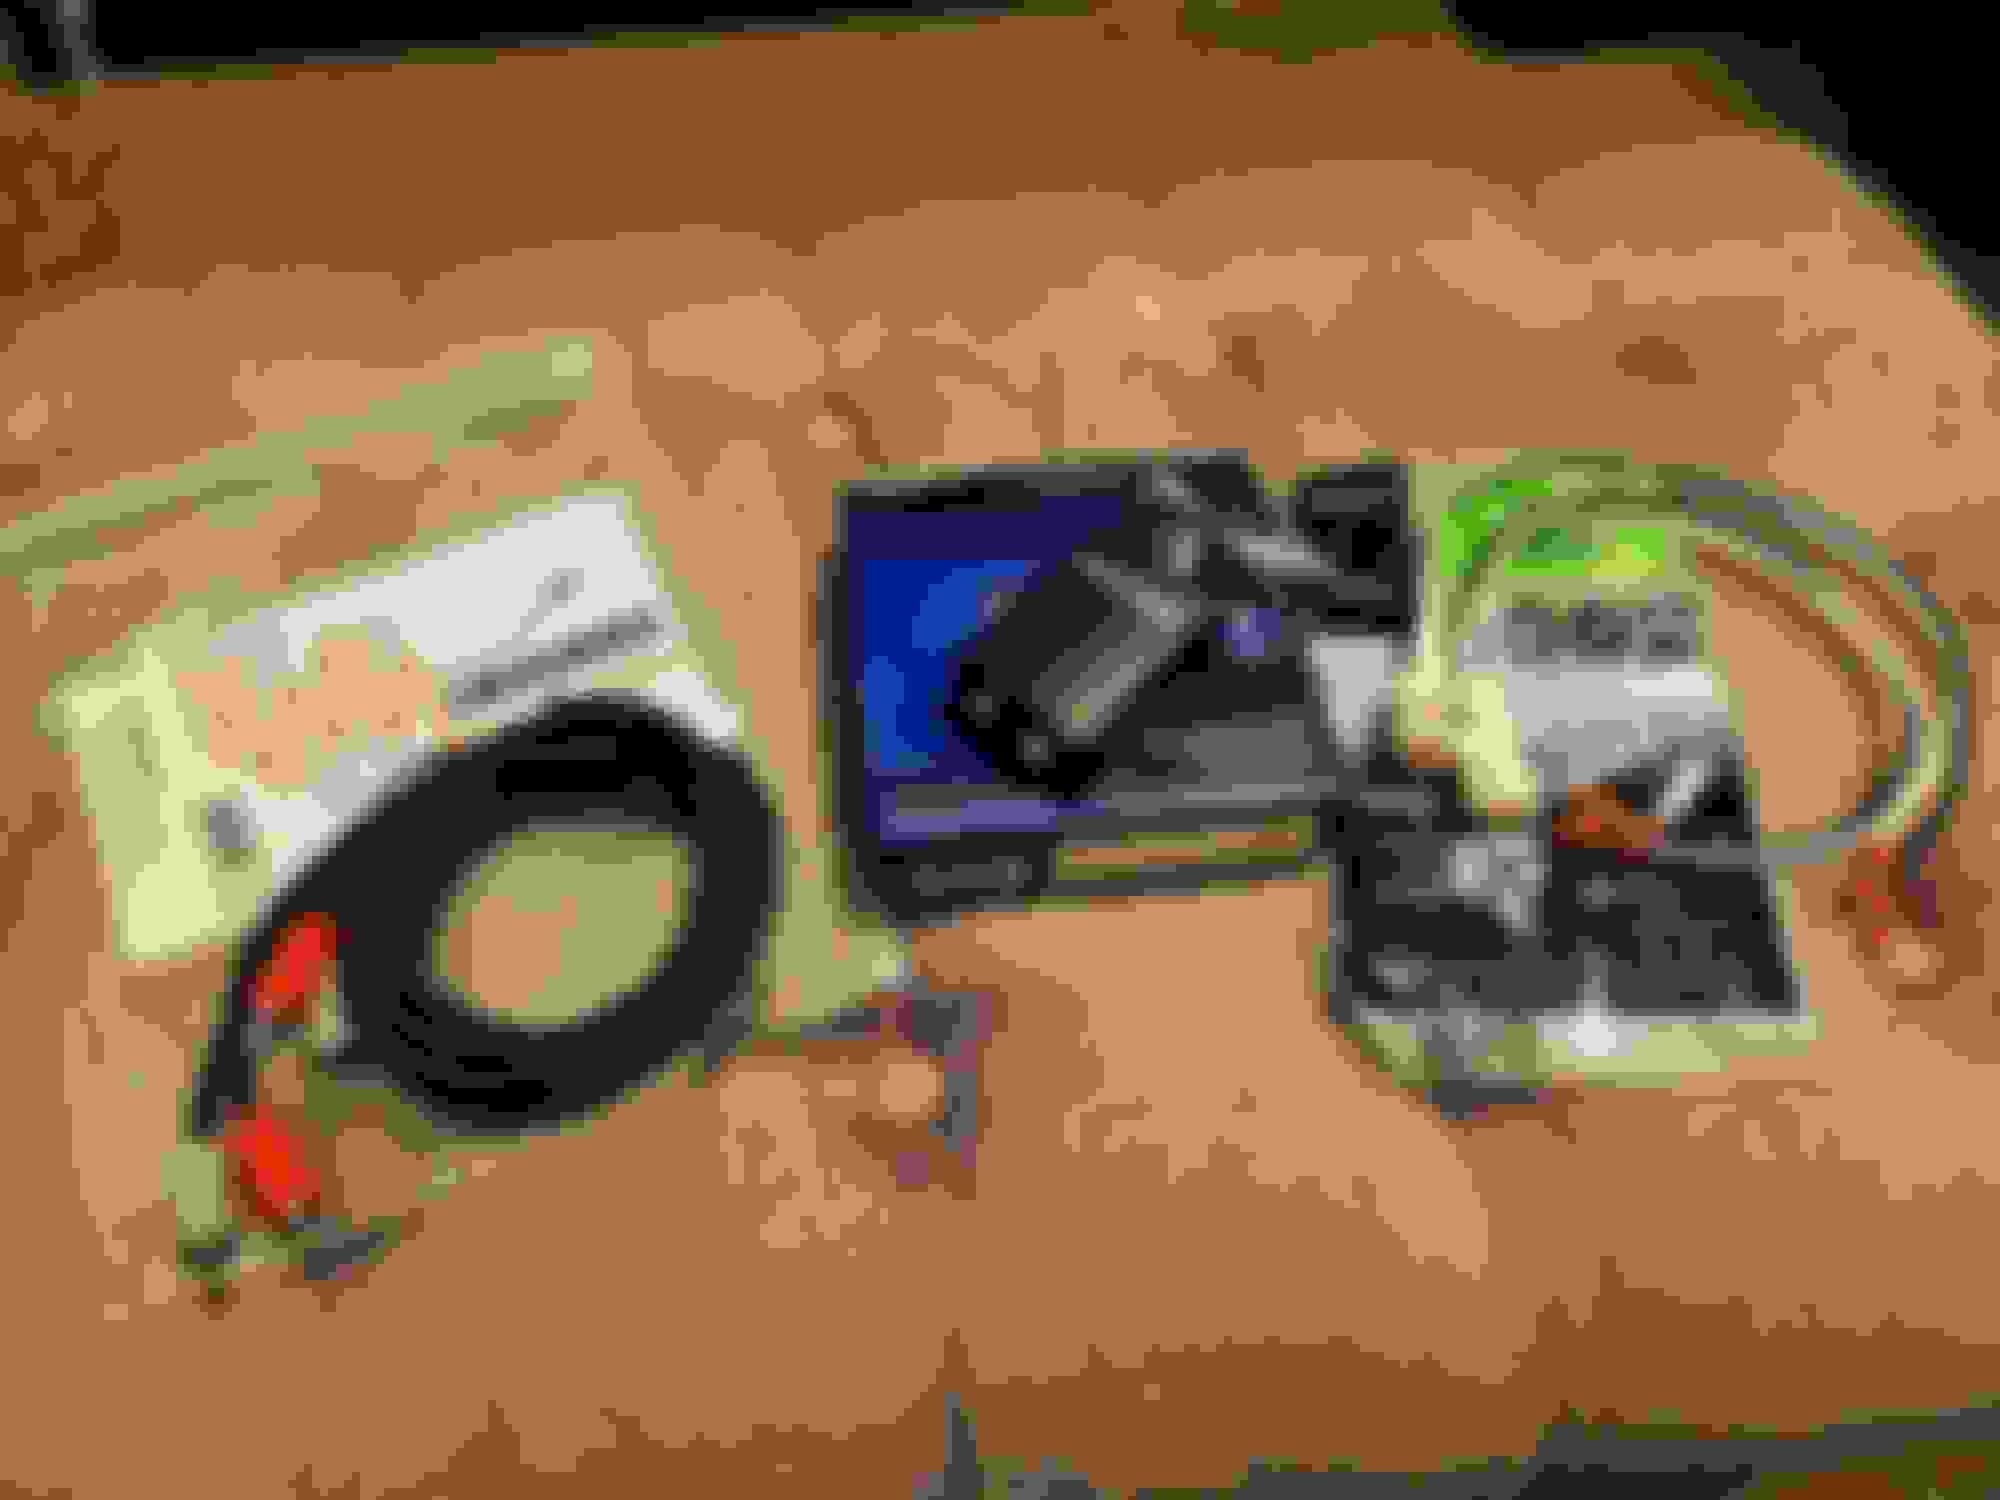
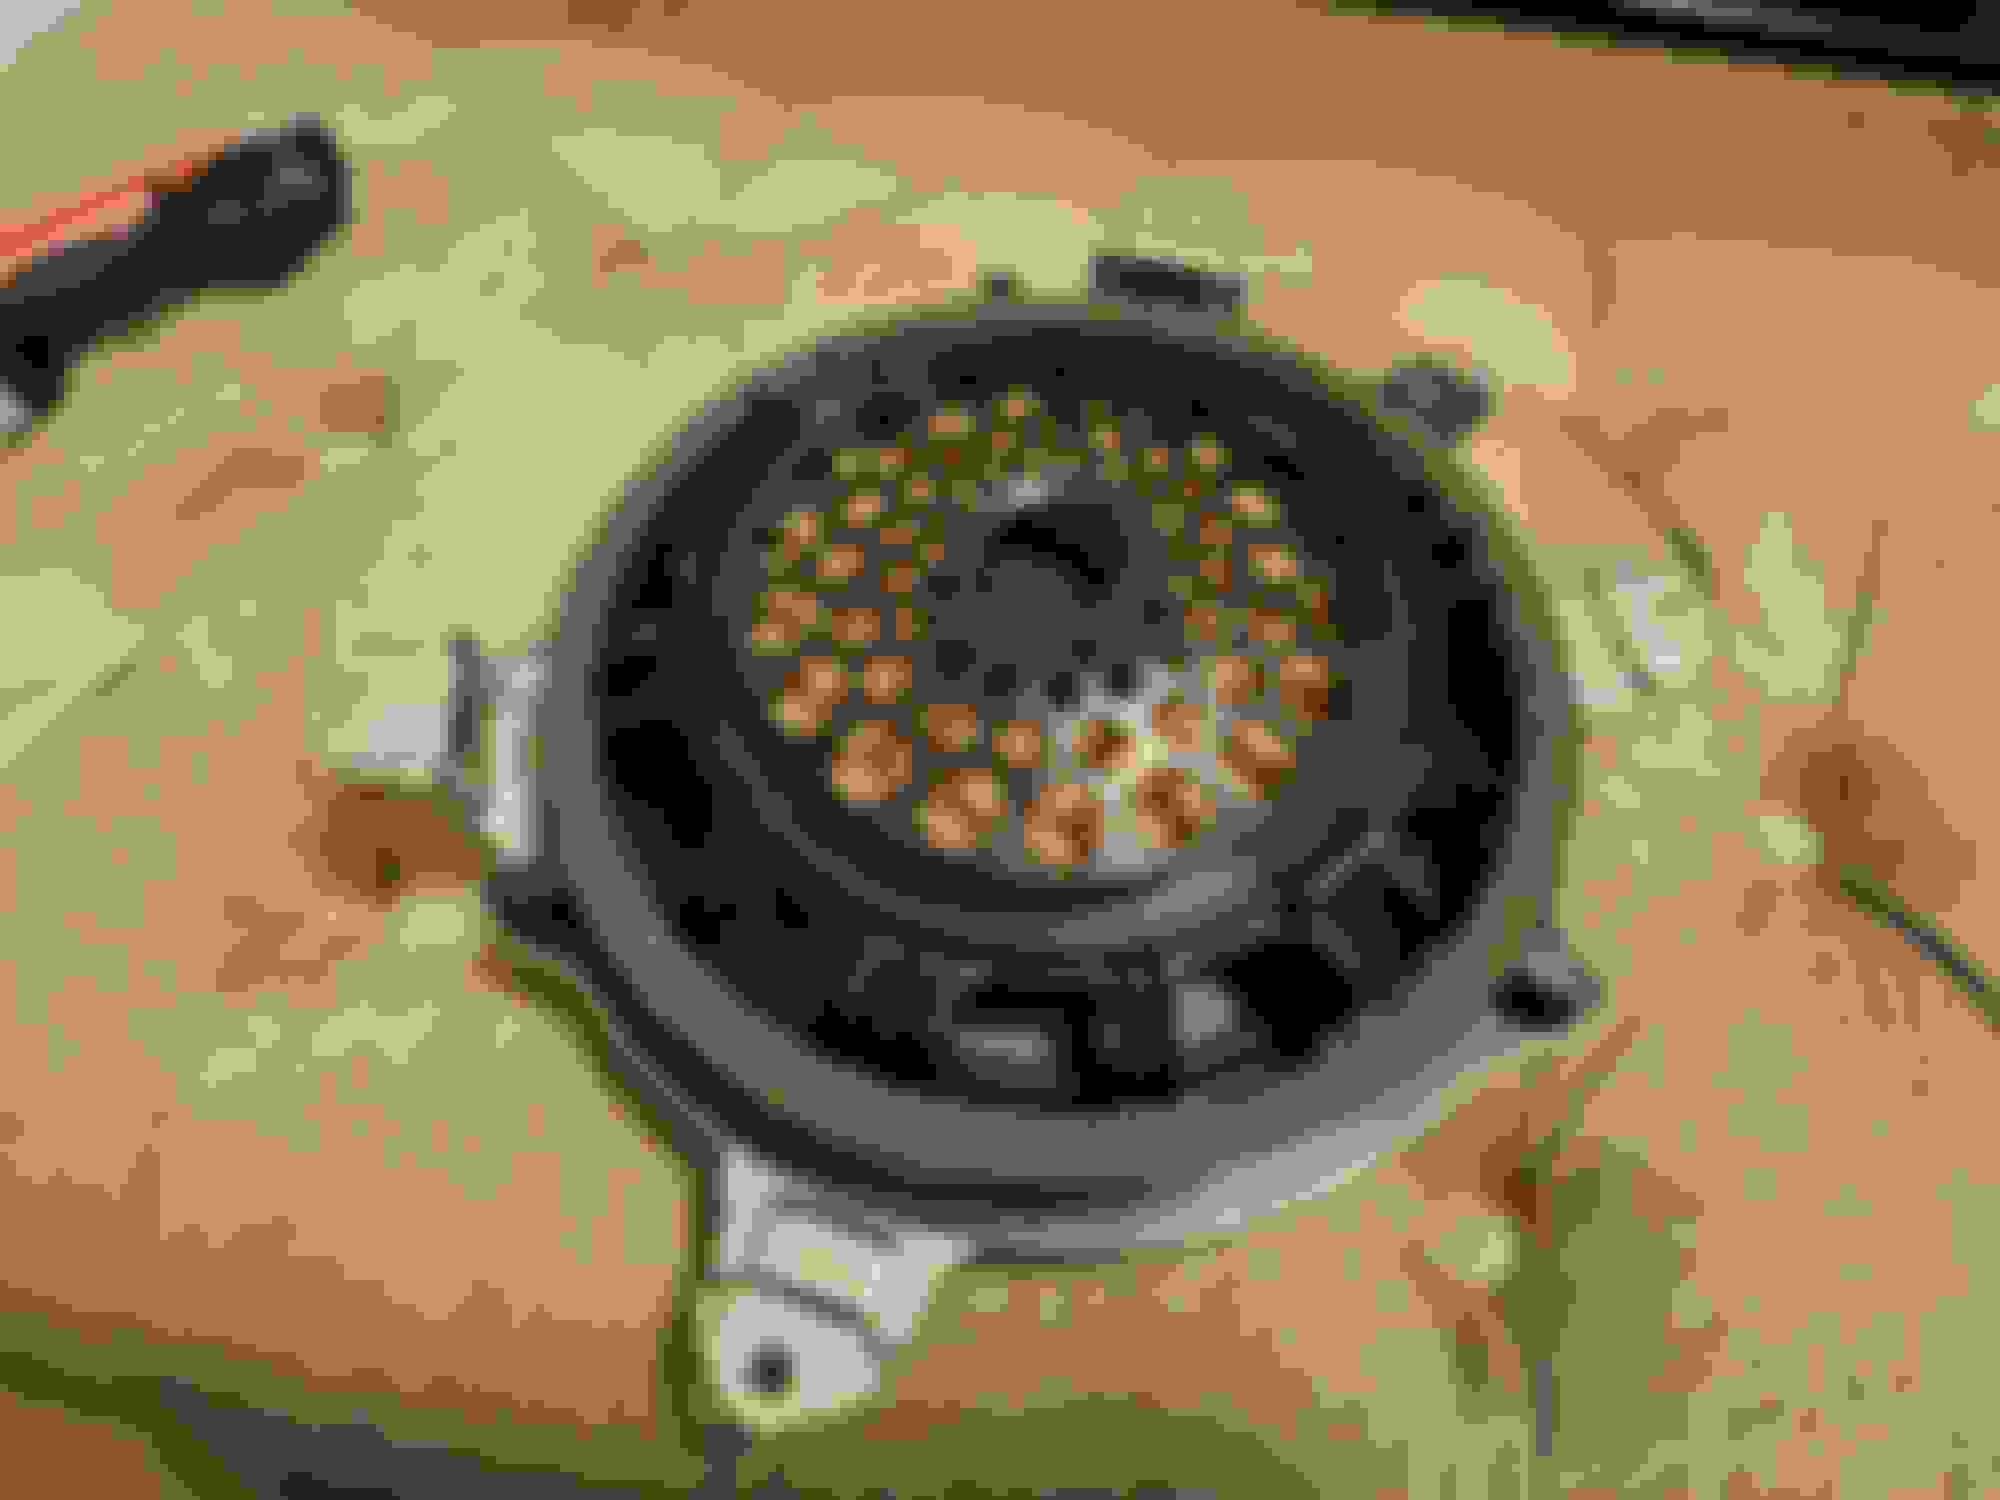
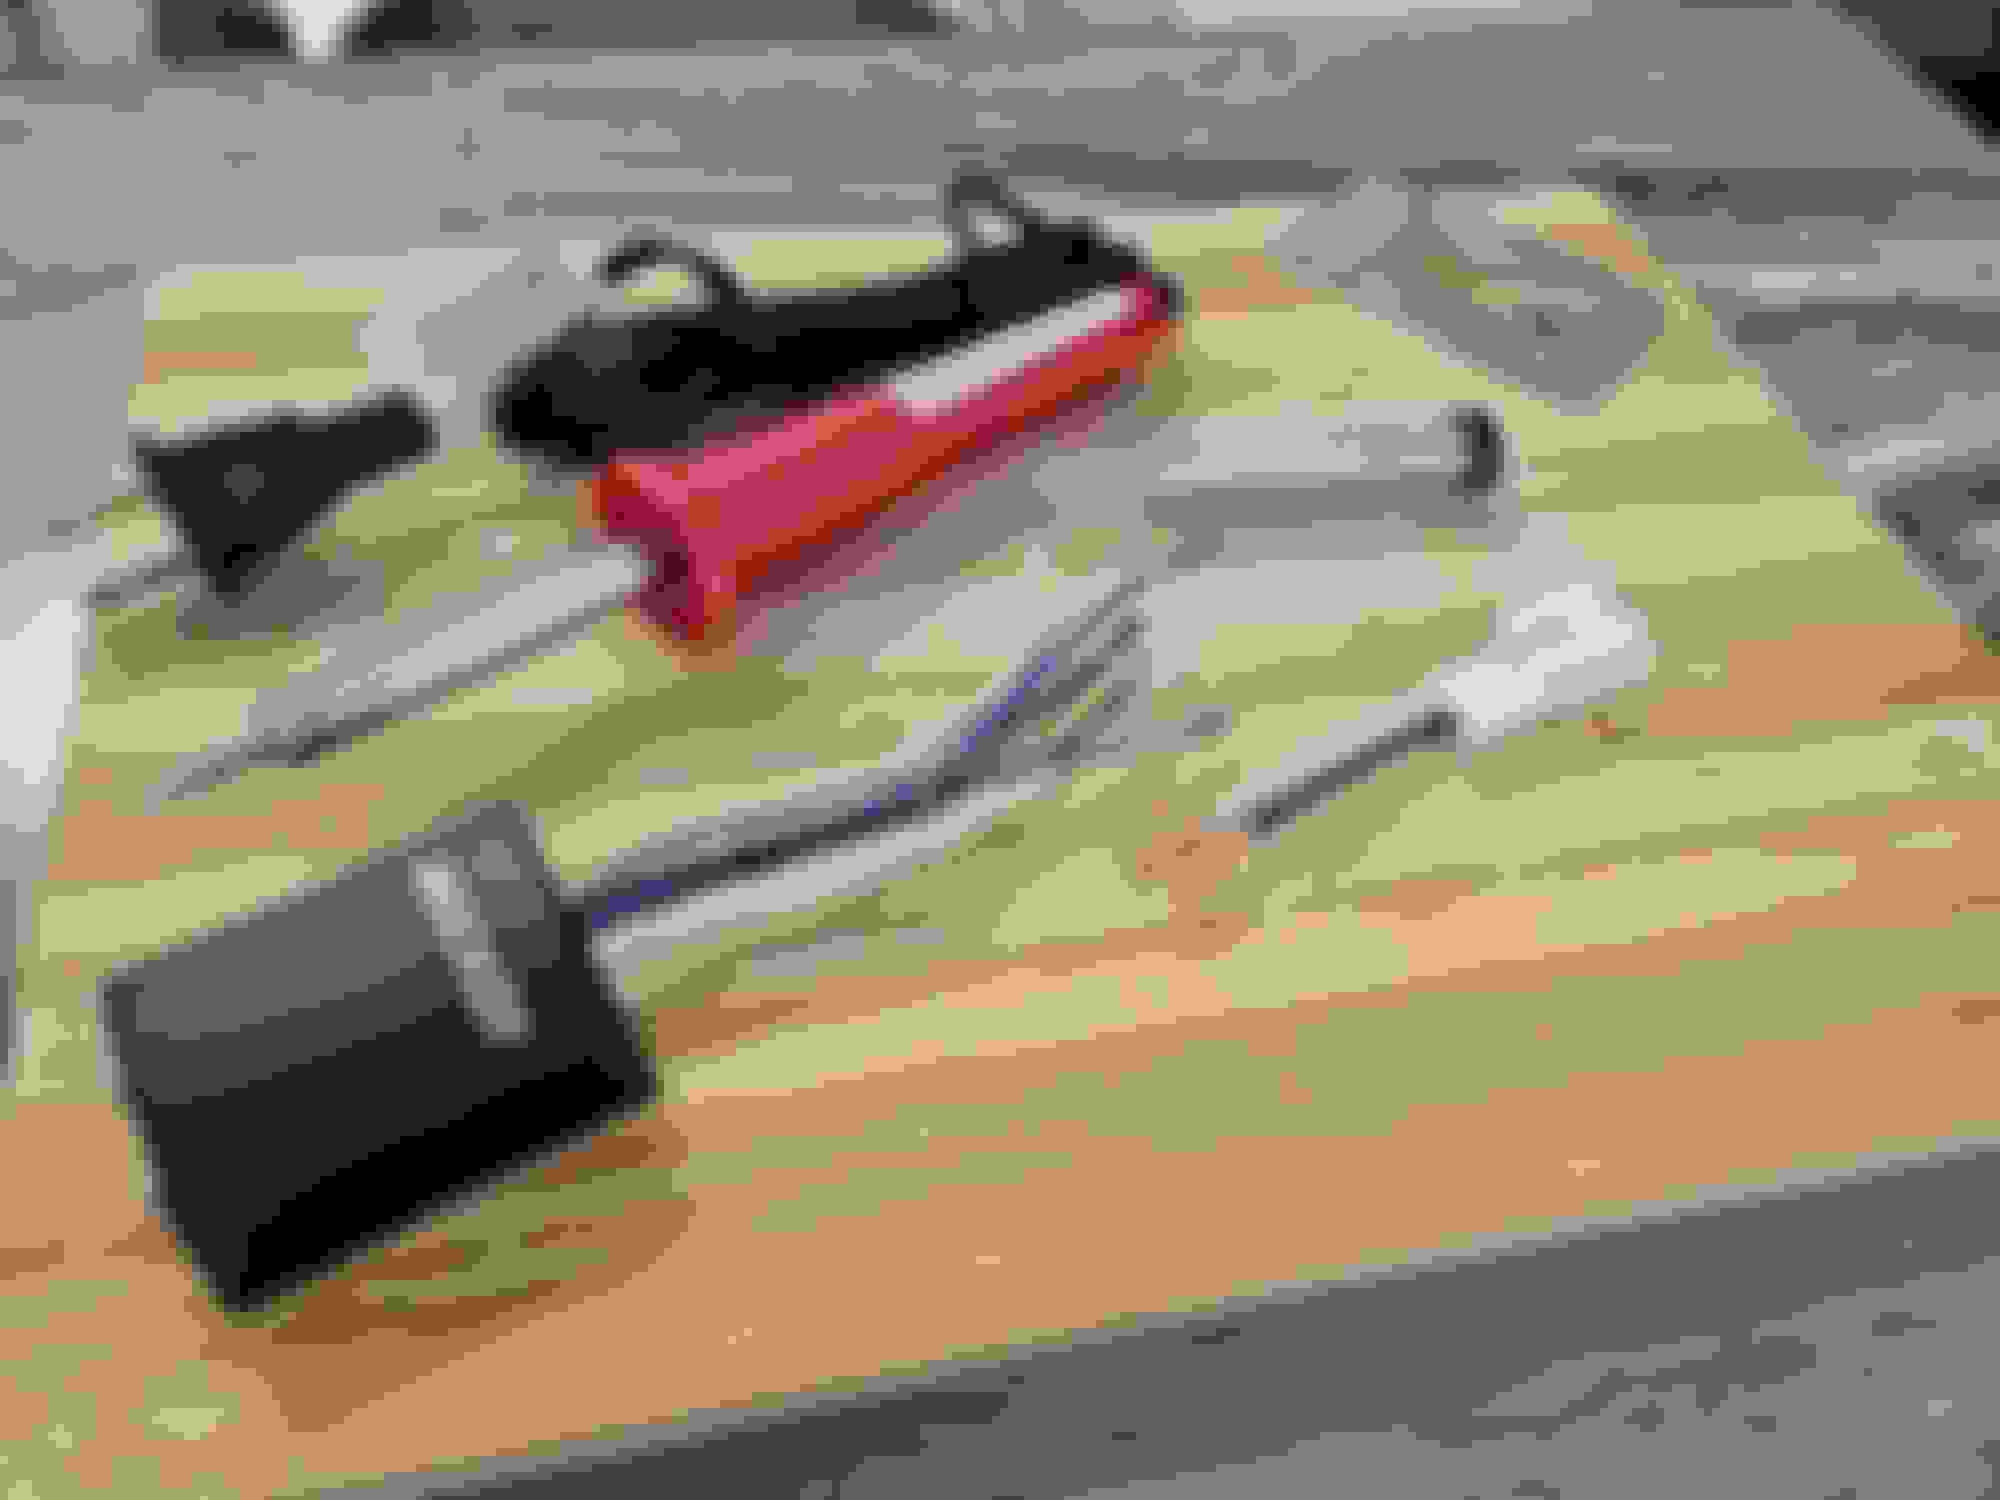
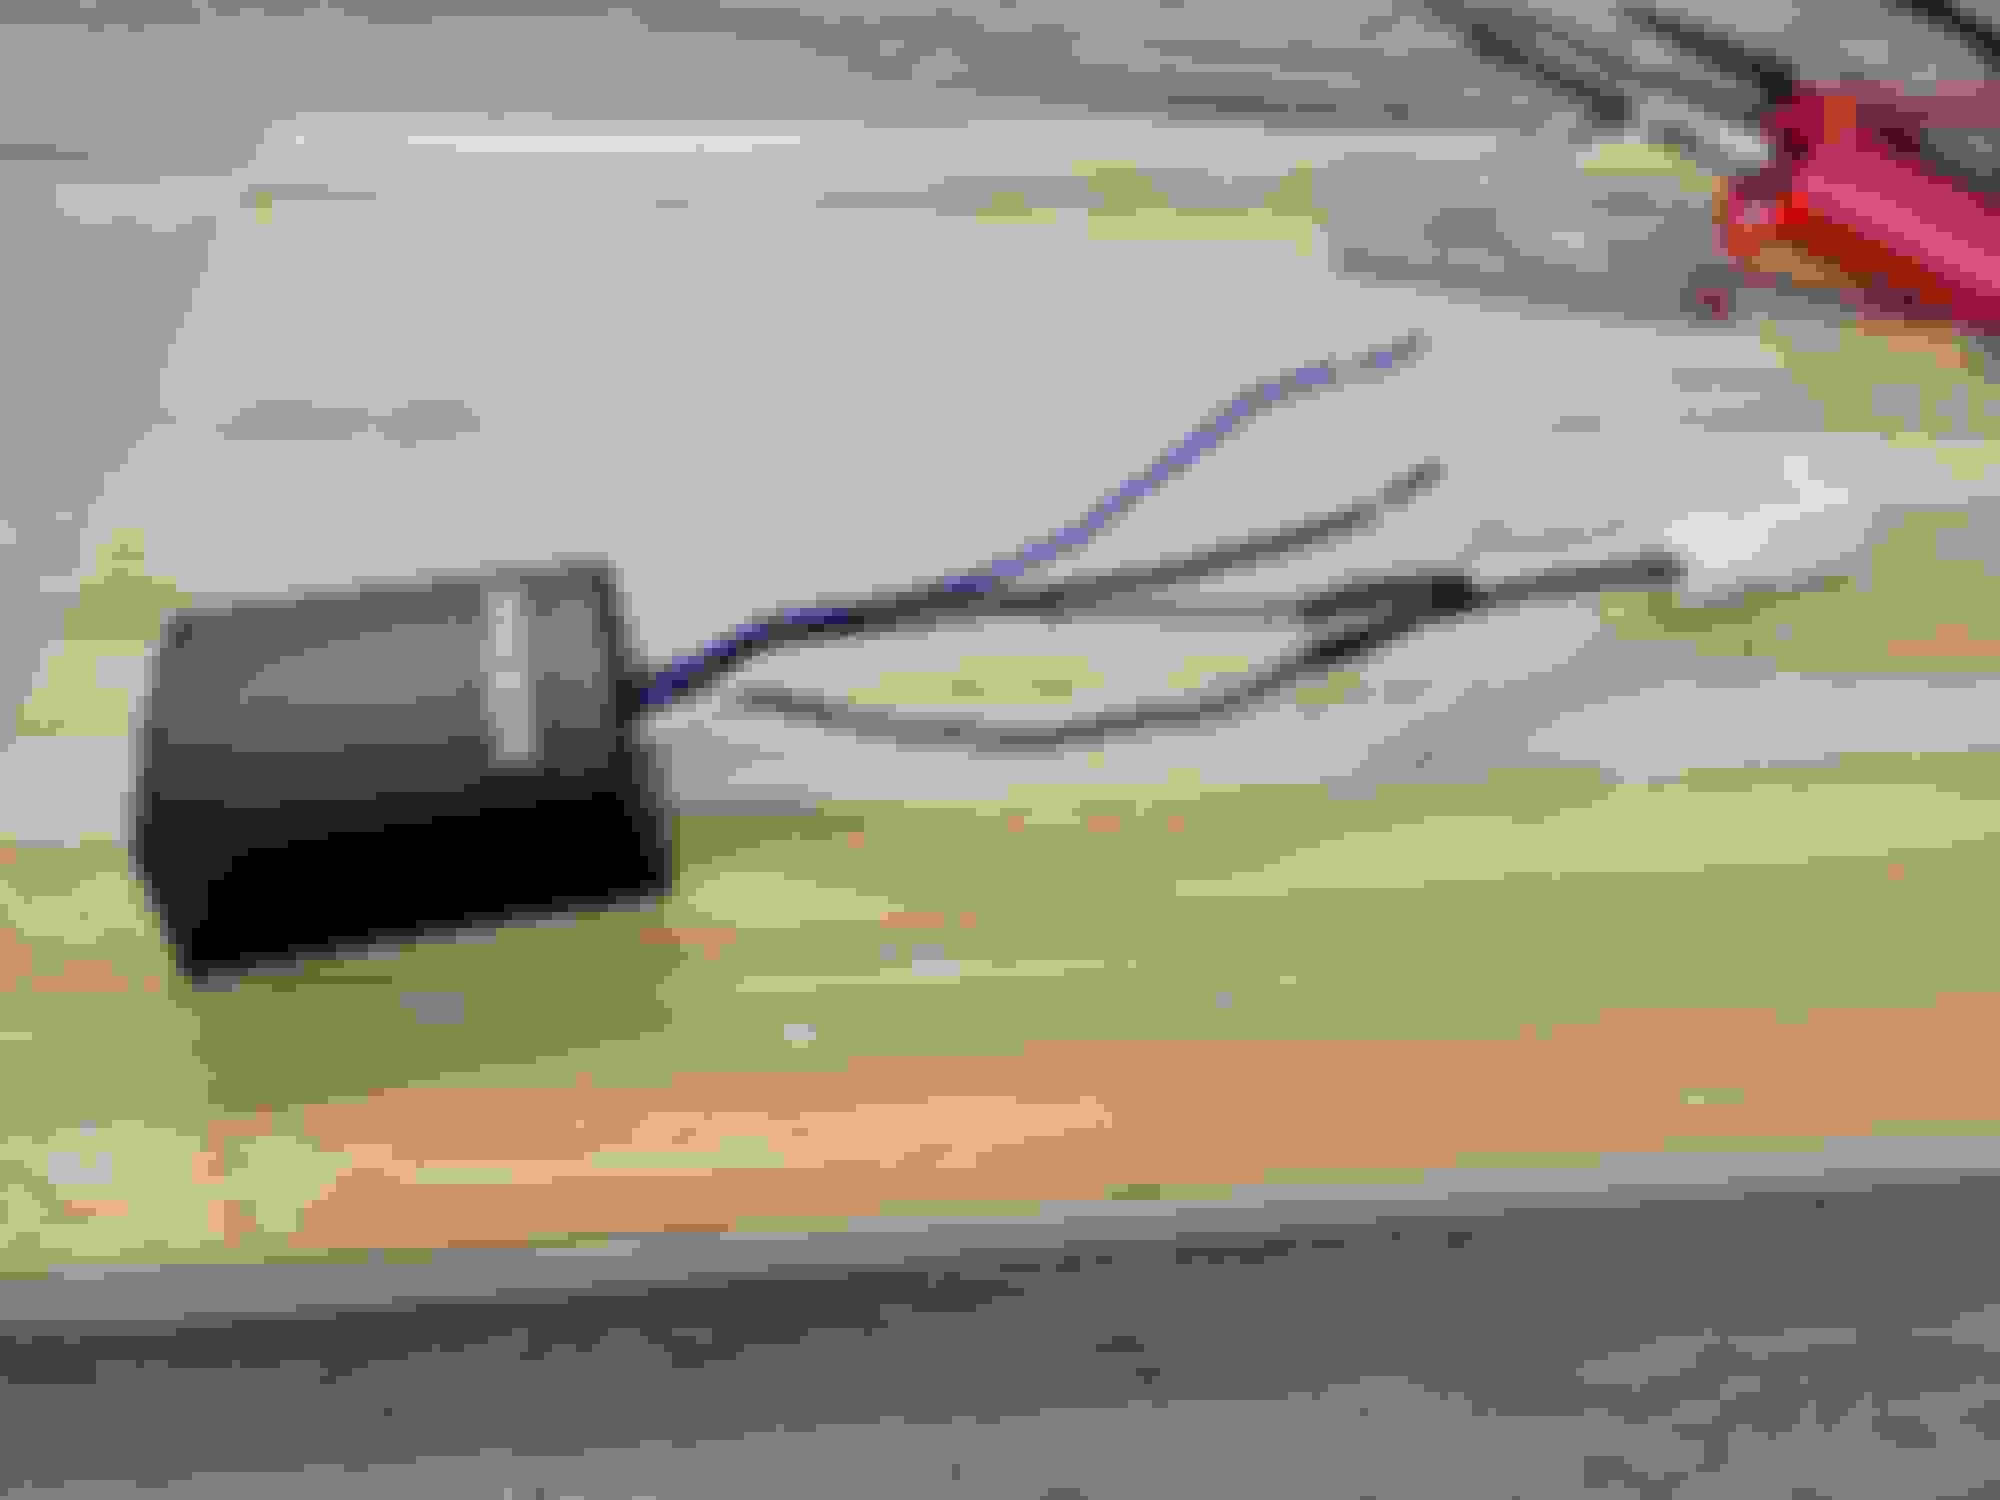
I did some homework and found out that the plug for the subwoofer is the same as the speakers so I ordered a speaker wire adapter, a kicker line-out-converter and rca cables. Crutchfield rca cables, speaker cable adapters(only needed one) and kicker line-out-converter. So this is the basic layout of my custom plug and play harness from where it will connect to the vehicle's plug and all the way down to the rca connection to the amplifier. Ordered a used subwoofer off ebay to hack up and use just the metal bracket so i can then mount the aftermarket subwoofer onto it and have oem-like install. The sub happened to come with the plug cut from the donor vehicle so i verified that it is plug and play and it was ! Started the first part of the hacking of the subwoofer. Next day off i will use a different tool to grind away the black plastic and the whole center metal cage. Bought a small soldering gun and solder to make a good connection. Did my best to solder the connections.
So i cut the spade connectors from the plug harness and shortened the length of the wires. Then i tied the wires together. Per the crutchfield expert, i got both negatives from the line-out-converter and tied them with the negative from the plug and both positives from the line-out-converter to the positive from the plug. Slid the heat shrinks over the soldered connections, heated them up and finished. My own custom plug and play connection. I do not want to cut or tap into any of my wires on the car. Trying to do the cleanest subwoofer upgrade and i also did not want to add a aubwoofer in my trunk either. And this is where i plan to put the amplifier. Same idea will apply of not drilling into anything in my car so when i get the amplifier i will put velcro all around the edges and in the center of the bottom of the amp. Once the velcro gets in contact with the carpet i doubt that the amp will move anywhere 😄.
Last edited by 09twofiddy; 03-08-23 at 11:51 AM.
Reason: Picture edit
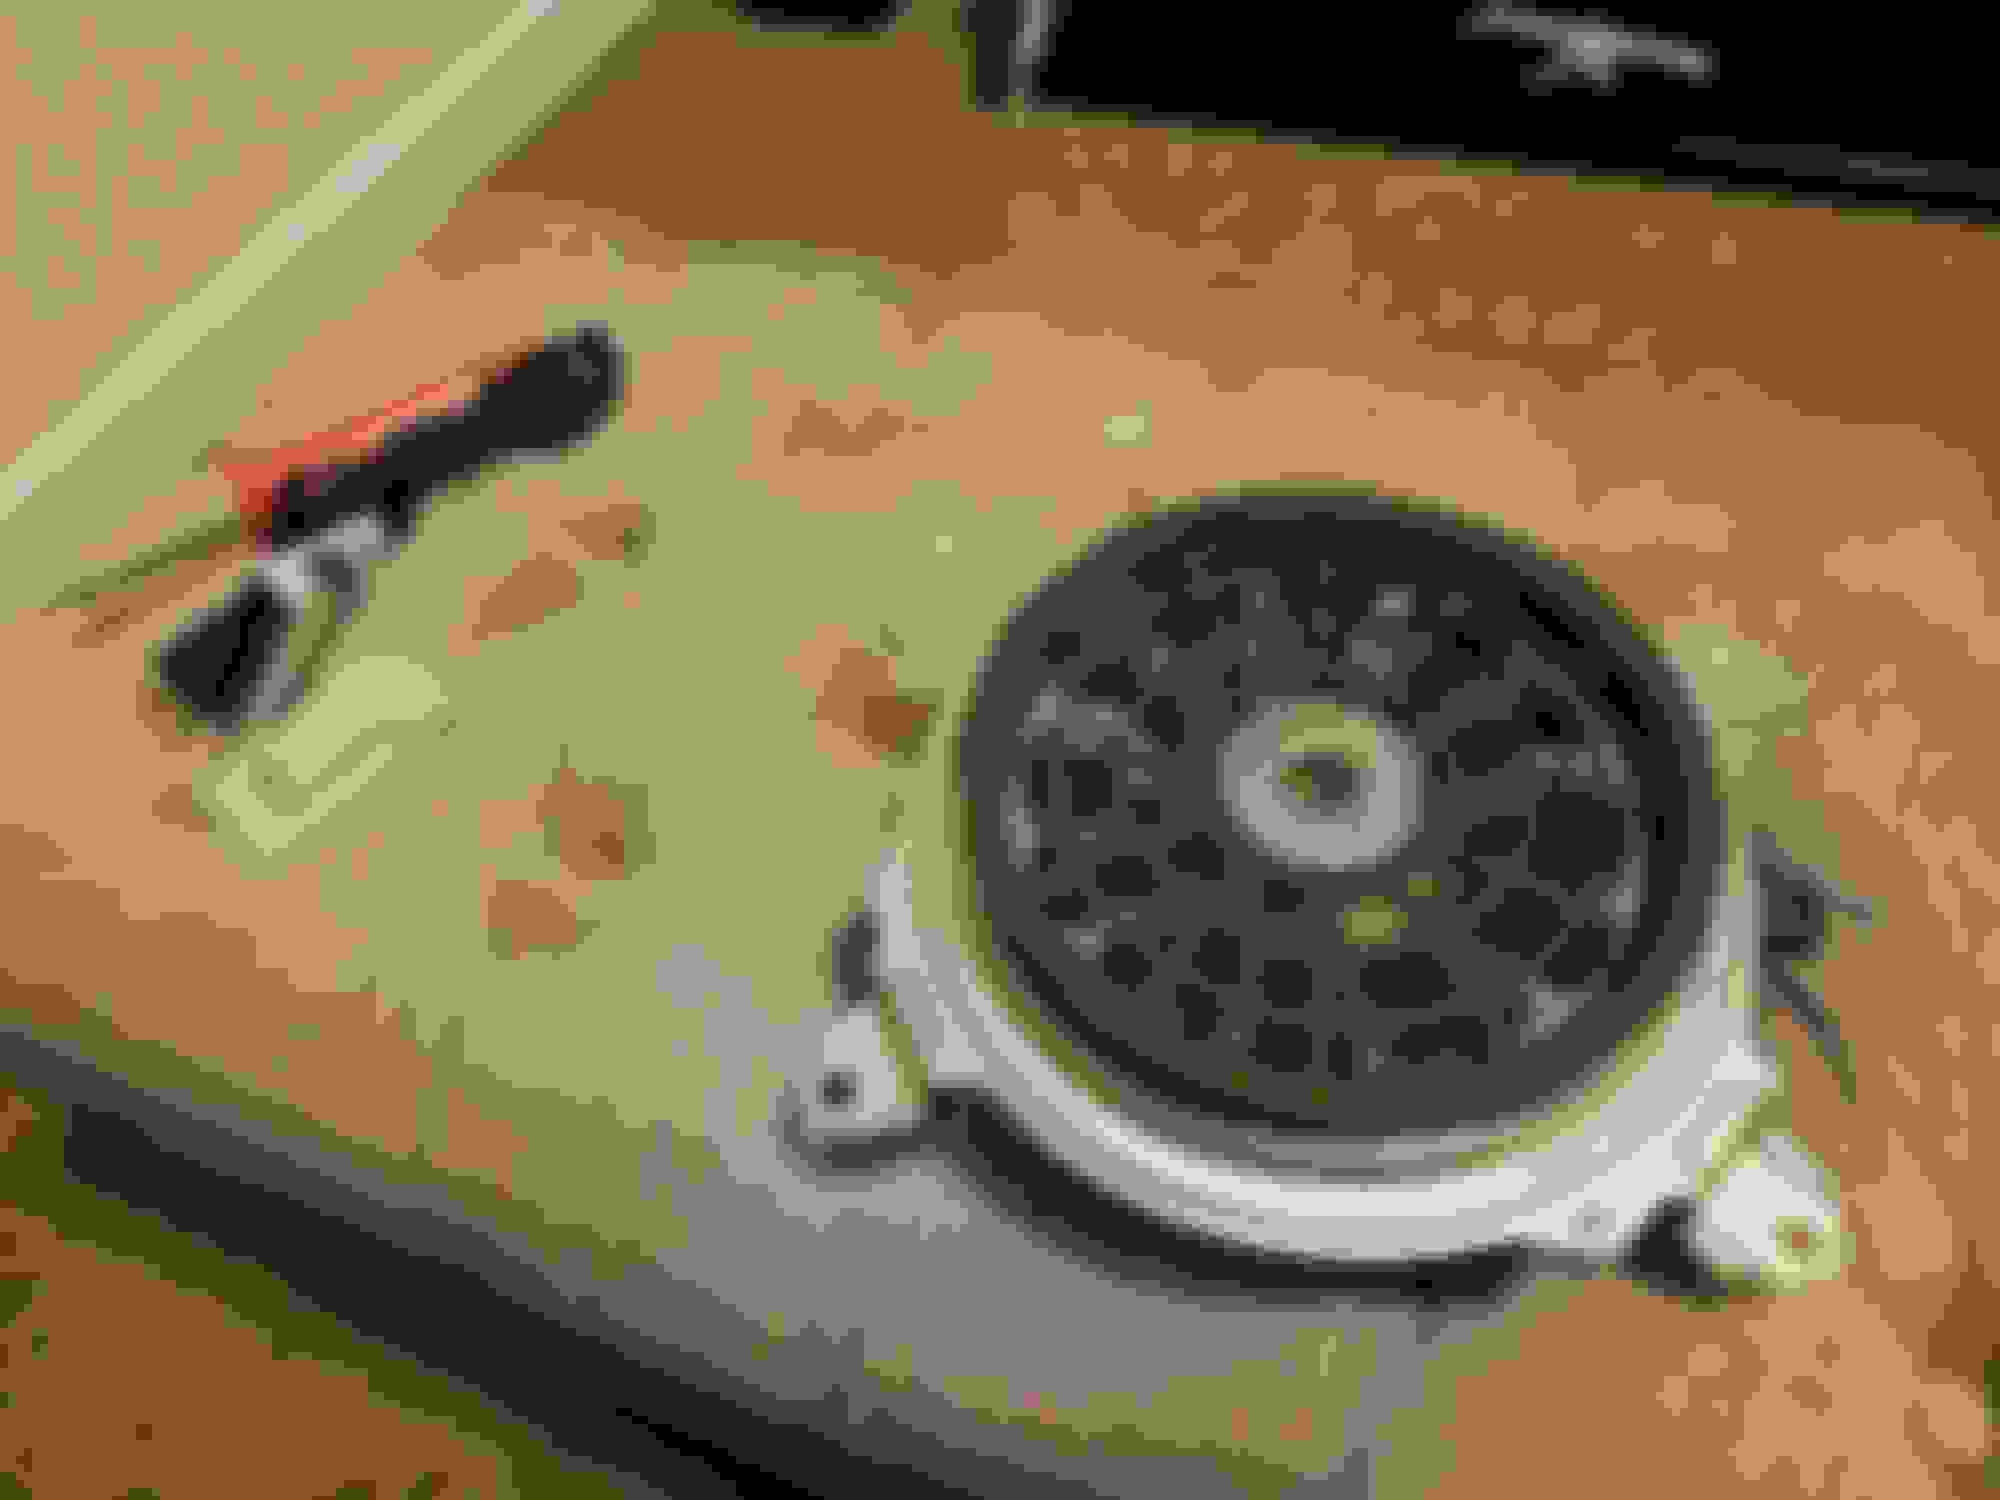
Father in law hacked the rest of the plastic off from the speaker bracket. Almost there. Clipped off the center cage with magnet. Father in law cutting off the first lip of metal. Clipped away the top plastic rib with screen as well. I want the future replacement subwoofer to flow both ways as freely as possible. Didnt photograph the process but he grinded down and smoothed the inner edges where he cut off the inner lip. Finished product top view. Finished product bottom view.
I love the idea of this project and will be interested to see how it all goes. I've been debating how I want to do my sub upgrade. One thought I'd share with you about the amp placement -since it seems you are exactly like me in wanting this to be as OE-looking as possible - is to mount a compact-profile amp in the driver side well area behind the wheel. This is basically the opposite side as to where the factory amp is located on the passenger side. There should be room for a few smaller footprint amps to fit there and be completely out of sight.
I love the idea of this project and will be interested to see how it all goes. I've been debating how I want to do my sub upgrade. One thought I'd share with you about the amp placement -since it seems you are exactly like me in wanting this to be as OE-looking as possible - is to mount a compact-profile amp in the driver side well area behind the wheel. This is basically the opposite side as to where the factory amp is located on the passenger side. There should be room for a few smaller footprint amps to fit there and be completely out of sight.
yeh I�m looking to add some subwoofers 🔊 to my 2022 is 350 but also want a clean install. I kindah wished I got the mark Levinson sound system haha oh well
I love the idea of this project and will be interested to see how it all goes. I've been debating how I want to do my sub upgrade. One thought I'd share with you about the amp placement -since it seems you are exactly like me in wanting this to be as OE-looking as possible - is to mount a compact-profile amp in the driver side well area behind the wheel. This is basically the opposite side as to where the factory amp is located on the passenger side. There should be room for a few smaller footprint amps to fit there and be completely out of sight.
Thanks bro. i already ordered the subwoofer on Friday. Should be arriving on Monday. That way I can start figuring out the mounting of the sub on the oem bracket. And thanks for that idea ! That actually is a very good place to mount it. Going to see what space I'm working with there. The pioneer amp I'm looking to get is relatively small so going to do some homework on your idea. This is the sub i ordered.
Last edited by 09twofiddy; 03-10-23 at 04:40 PM.
Reason: Picture edit
yeh I�m looking to add some subwoofers 🔊 to my 2022 is 350 but also want a clean install. I kindah wished I got the mark Levinson sound system haha oh well
I've read by many people that even the ML doesn't have that nice bass we all want. Going to keep you guys updated as I continue this project.
well I guess good thing I didn�t get it then lol looking forward to your build bro. Post some photos when you�re done!
Thanks man and I'll keep you guys updated.
As for Ijerr2's idea, I just checked that area but there's not enough space for the dimensions of the amp even though it's small. So I'll stick to the velcro idea but thank you so much for the suggestion.
Also pinpointed where the power cable will run through. Quite close to the fender area. Looks to be easy access. Not rnough depth and width for the amp. Where power wire will be ran.
Hey, thanks for posting, I�m definitely going to upgrade my sub as well. Just not quite there yet, I have more pressing things to complete. Just an FYI, I know you don�t want to drill into your trunk floor, but if someone ever breaks into your trunk to steal your amp, your insurance will not cover it if it is Velcro�d. It needs to be permanently attached, which means bolted to floor. I use to be an insurance investigator so, I know a thing or two.
Hey, thanks for posting, I�m definitely going to upgrade my sub as well. Just not quite there yet, I have more pressing things to complete. Just an FYI, I know you don�t want to drill into your trunk floor, but if someone ever breaks into your trunk to steal your amp, your insurance will not cover it if it is Velcro�d. It needs to be permanently attached, which means bolted to floor. I use to be an insurance investigator so, I know a thing or two.
Thanks for the tip my friend. But if it happens its ok. Not too worried about that happening.
But I appreciate that advice nonetheless, always good to know.
Pioneer subwoofer should be arriving Tuesday.
Subwoofer came in today. Feels solid for an 8" unit. Goint to buy some small washers for these lower tabs to have the bracket sit flush. Goint to mark all 12 slots and drill the bracket sometime this week. I want to make sure the sub is held well in place. What the subwoofer will look like in place.
Bought some weatherstrip to fill in the gap on the top part of the sub where it meets the bracket.
Last edited by 09twofiddy; 03-08-23 at 11:53 AM.
Reason: Picture edit
Appreciate the updates! Will you please take pics of the deck when you have all of the trim panels off? I am wondering if there is enough material in the deck that the sub flange could be secured directly to the deck and then do away with the weird bracket? Or by using extension rings, etc. Thanks!
Appreciate the updates! Will you please take pics of the deck when you have all of the trim panels off? I am wondering if there is enough material in the deck that the sub flange could be secured directly to the deck and then do away with the weird bracket? Or by using extension rings, etc. Thanks!
Will do sir ! I would have liked this as well but going the bracket route just in case.
Hopefully one day they make brackets for us trying to adapt aftermarket 8" subs.
Will do sir ! I would have liked this as well but going the bracket route just in case.
Hopefully one day they make brackets for us trying to adapt aftermarket 8" subs.
Yeah I can't believe someone hasn't 3D printed or manufactured an adapter bracket yet for this! If I had that capacity I would do it in a hearbeat!
 02-27-23, 03:59 PM