Follow my trip as I paint my SC Matador Mica Red


 07-19-07, 05:48 AM
#17

I'm gonna log everything I do regarding this project that is necessary...
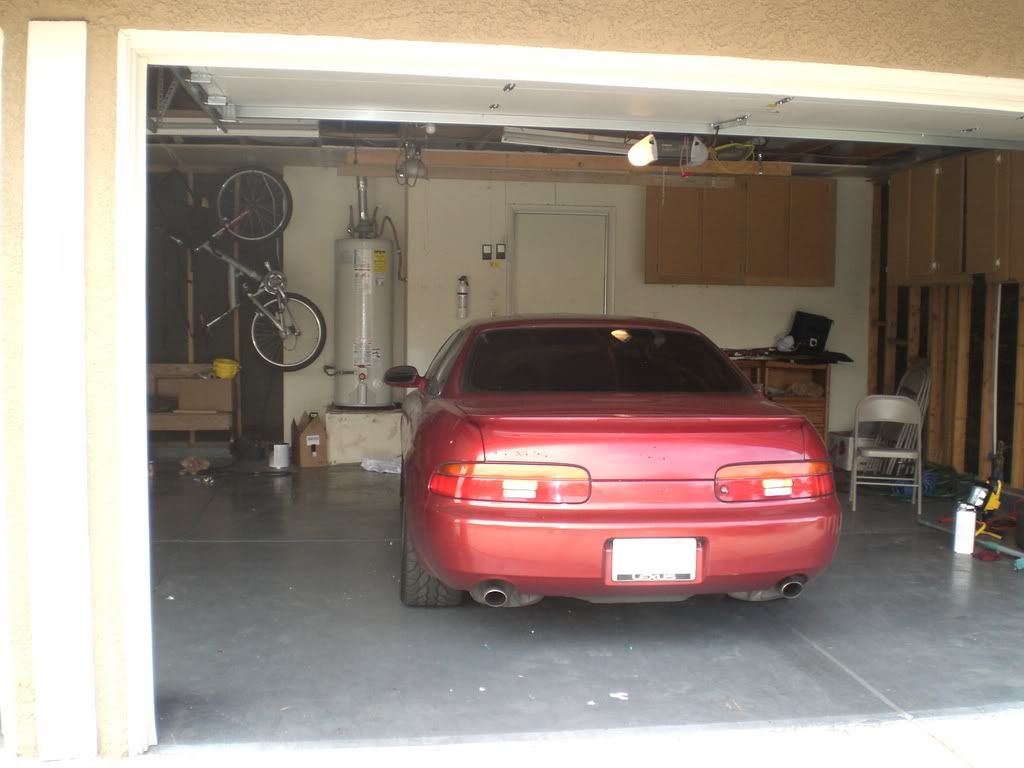
1.5 hours cleaning the garage last night... Not only meaning picking up my excess stuff from previous car repair and modification, but also included washing the floors, walls and ceilings of any dust - no doubt when I start spraying high pressure air everywhere, if there's dust, it'll fly, so this is a very important step (obviously a final rinse just prior to painting will be required as well, but trust me, it was dusty/dirty)
So, total time invested so far: 1.5 hours
 07-19-07, 03:05 PM
#19
(yes, I know this will be hell on the A/C, but at midnight here, it's still 90-100 degrees out, I gotta cool it down just a little)
07-19-07, 04:03 PM
#21
they build them fairly well insulated out here
 In the same size house in San Antonio, our bill was the same or a little more even this time of year...
we don't have to worry about humidity at all though...
07-19-07, 09:19 PM
#22
Trip to Wal-Mart for some basics
500 Watt Halogen worklight: $8.96 x 2
25' Extension Cord: $4.83
3M 1" Paint Masking Tape: $3.94
3M 2" Standard Masking Tape: $3.67
20" Box Fan: $11.97 (will be going back for two or three more - these are great and cheap)
Tack Cloth: $1.18 x 2
Disposable Painters Gloves (10pk): $.98
Drop Cloths $2.88 x 2
Paint Bucket $1.27 x 2
How easy another $53.97 is spent...
Total cost so far: $288.06
Last edited by mitsuguy; 07-20-07 at 08:34 AM.
07-19-07, 10:24 PM
#23
This is a good reference for all of the Toyota paint codes.
http://www.toyotareference.com/#IS
Top effort doing the job yourself, the end result will worth it.
http://www.toyotareference.com/#IS
Top effort doing the job yourself, the end result will worth it.
07-20-07, 08:29 AM
#24
Went to Carquest, bought more stuff...
NAS 422-23-4 Nason Sealer 2 Quarts @ $18.75
Rage Body Filler (gallon) $36.63 < this is probably overkill and may be returned
Kitty Hair body filler (quart) $14.18
3 Pack Putty Spreader $1.47
3m Glaze Putty $27.64
Durablock sanding block $5.45
Durablock 1/2 round sanding block $6.95
Durablock 16.5" flat block $19.95
3M 320 Grit 5 pk 2 @ $4.89
3M 180 Grit 5 pk 2 @ $4.02
Surface Cleaner (wax, tar, etc) $19.14
Hardener $3.79
total today: $190.52
running total: $478.58
Last edited by mitsuguy; 07-20-07 at 08:35 AM.
07-21-07, 07:36 AM
#25
Alright, went to Harbor Freight last night to buy some tools and accessories and got a little carried away... (I know their stuff is cheap, but I'm not trying to get 20 years of service out of any of this junk)
Air line Coupler Assortment $4.38
Air Tool Oil $1.69
Air Regulator for HVLP gun $9.99
Swivel Air connector $5.99
Inline Desiccant filter $7.99
Pipe thread tape $.10
40 Grit 6" Sandpaper $3.99
80 Grit 6" Sandpaper $3.99 x 2
Air Blow Gun $4.00
Activated Carbon Mask $15.93
Goggles $2.99
HVLP Spray Gun set $49.99 (plus $5.99 for 1 yr wty)
36 Grit 17" Sandpaper strips $7.99
DA Sander $15.88
Total Spent: $144.88
Running Total: $623.46
I have 98% of what I need for this project - the only thing I am up in the air about is the air compressor... I'm torn a few different ways on what I am going to do about that - I should know tomorrow (as I start body work tomorrow)
I also bought the following two to completely deline my headlights (so I won't include them in the re-paint total)
Air Die Grinder $19.99
Buffing Kit $4.99
Surface Conditioning kit $12.99
07-21-07, 09:03 AM
#26
Former Sponsor - Cancelled

Stick with the rage or rage gold. It's the only body filler I would use for painting. I've used suff thats "supposedly as good" before and had it still shinking weeks after pating was done. (I'm an installer, so these are parts like dash kits, trim ect).
07-23-07, 09:32 AM
#28
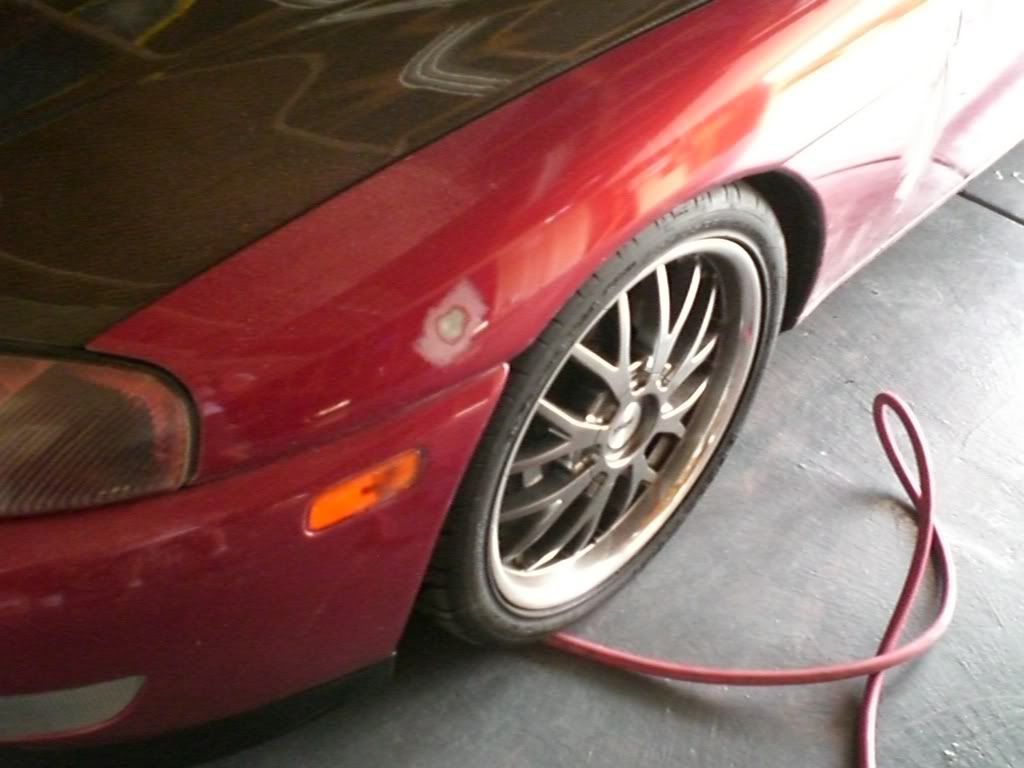
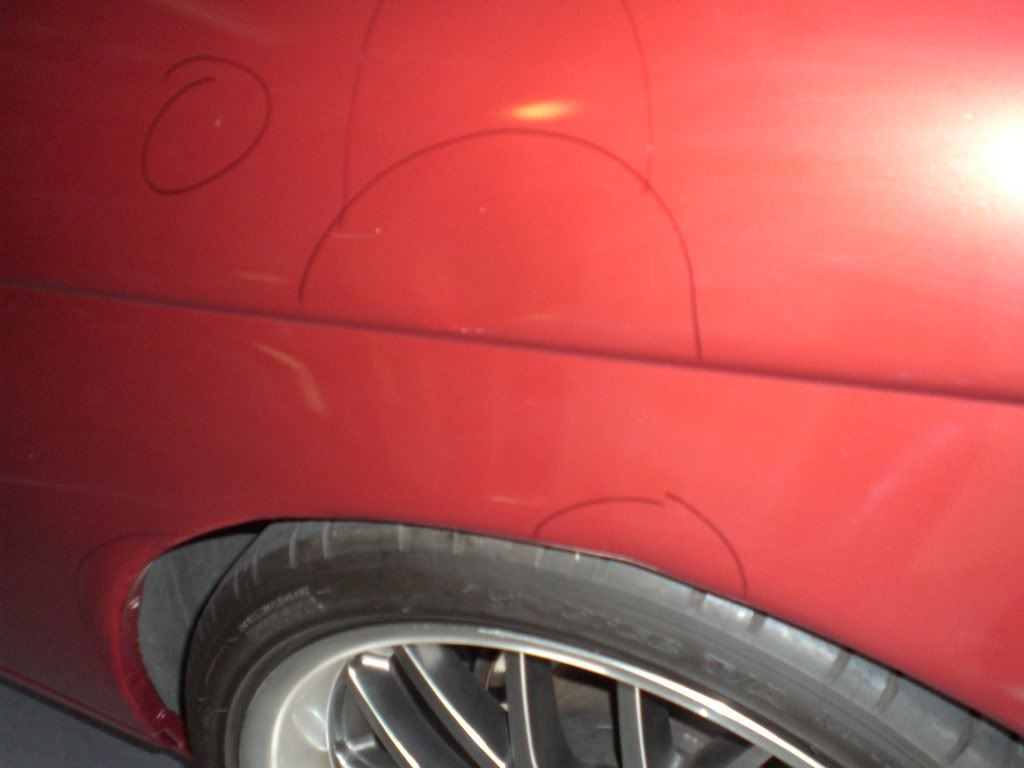
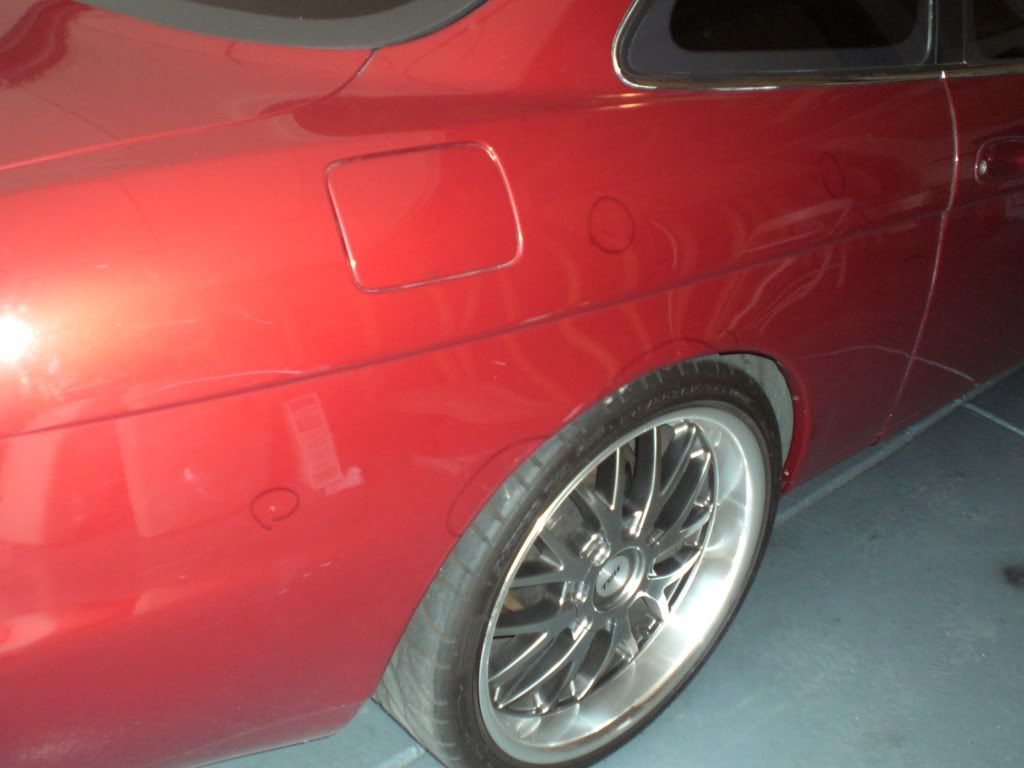
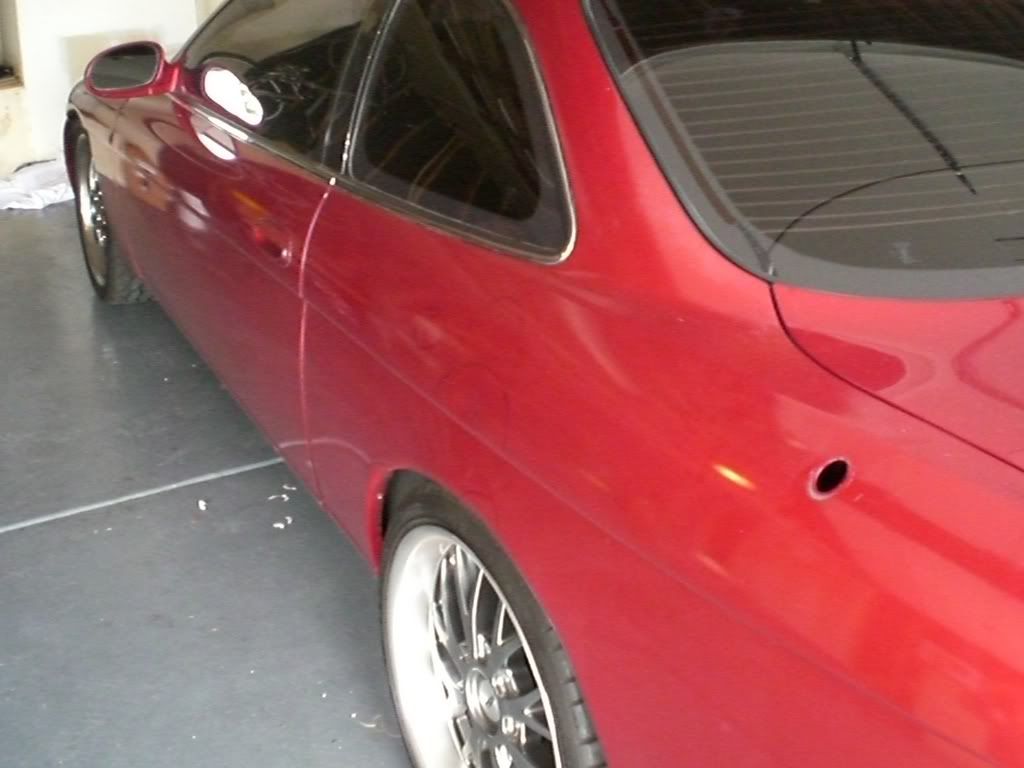
Man, this car had more dents and dings than I ever thought... It really wasn't horrible, but just annoying, especially the one over the l/r quarter panel...
I had to buy a few air tool couplers and such yesterday, and I also bought a used 2-stage compressor - it claims a 1HP motor, but it keeps up with using a DA sander 100%, so I am thinking it might have been upgraded (plus the motor looks newer than the rest of it) - It also has an 18 gallon tank, so a decent amount of reserve... At any rate, I might have to rent a little larger one for painting, we'll see how well primer goes first...
Compressor: $125
Running Total: $748.46 (plus a receipt for some more sandpaper and a fitting or two that I don't have with me right now)
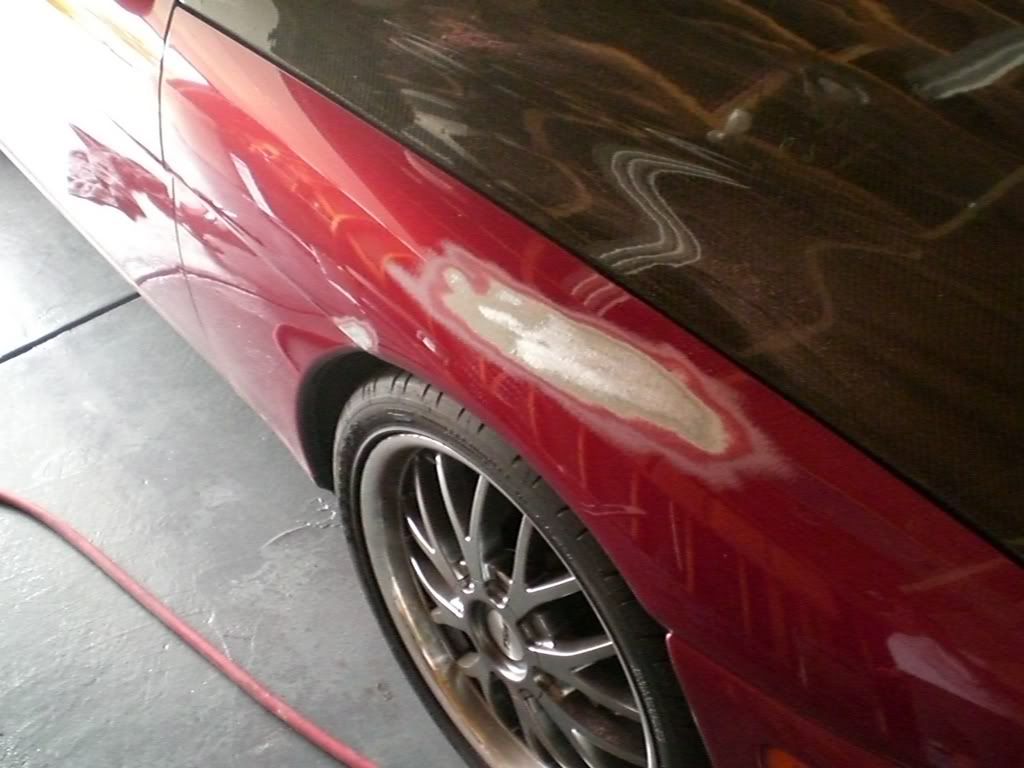
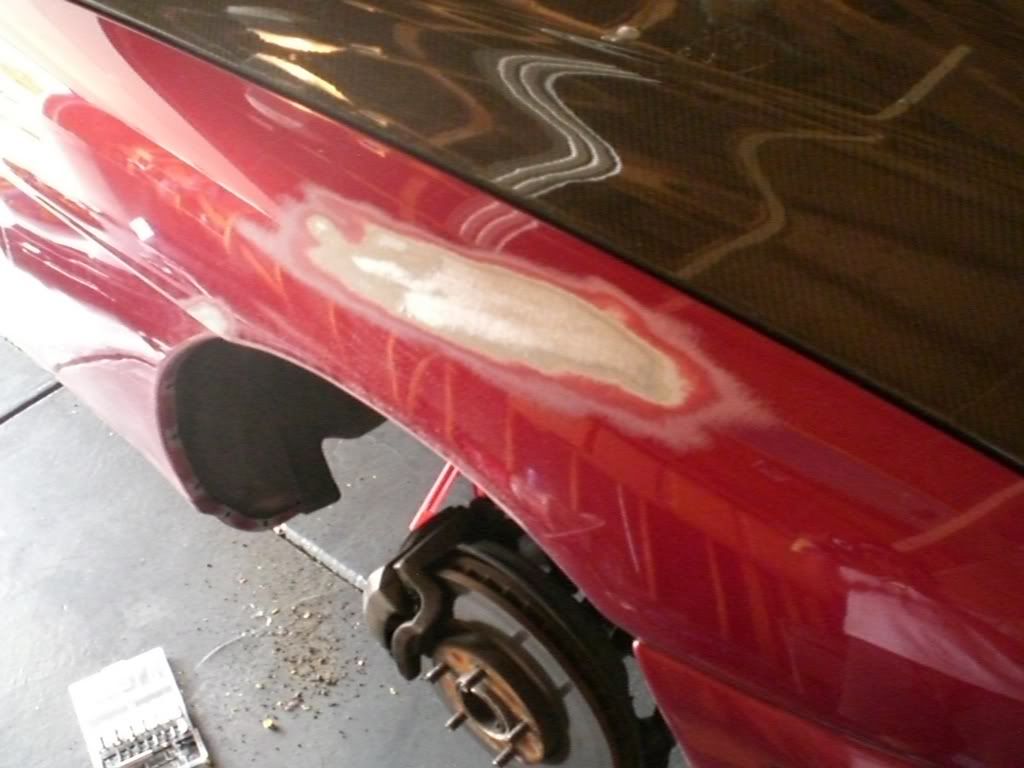
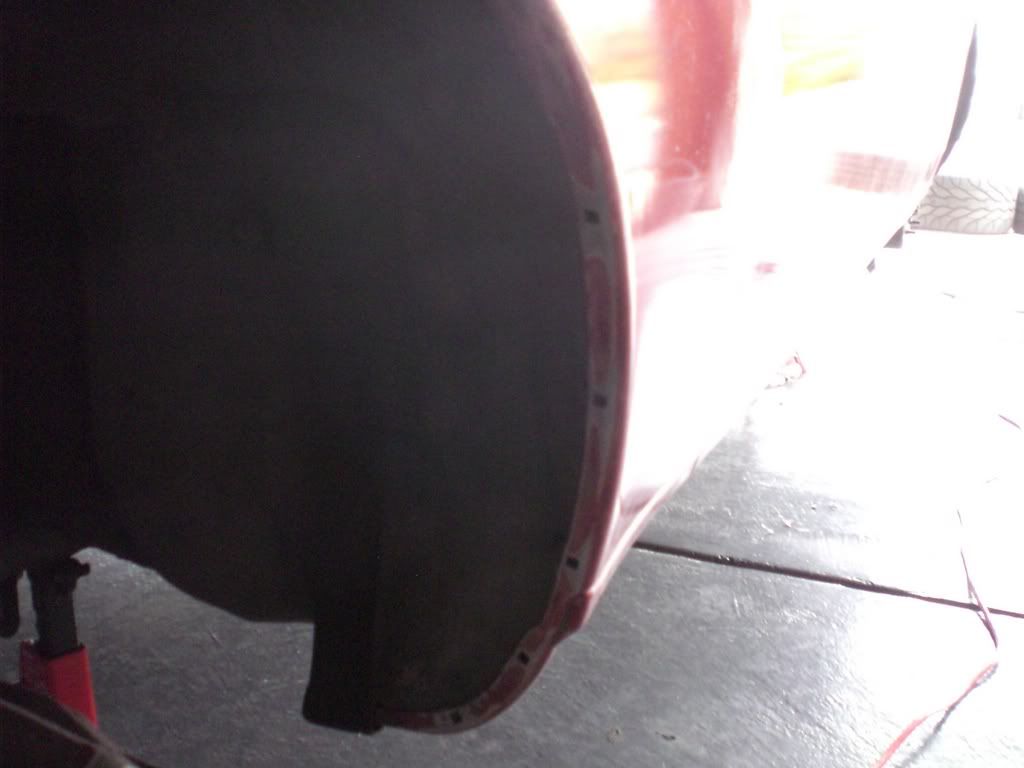
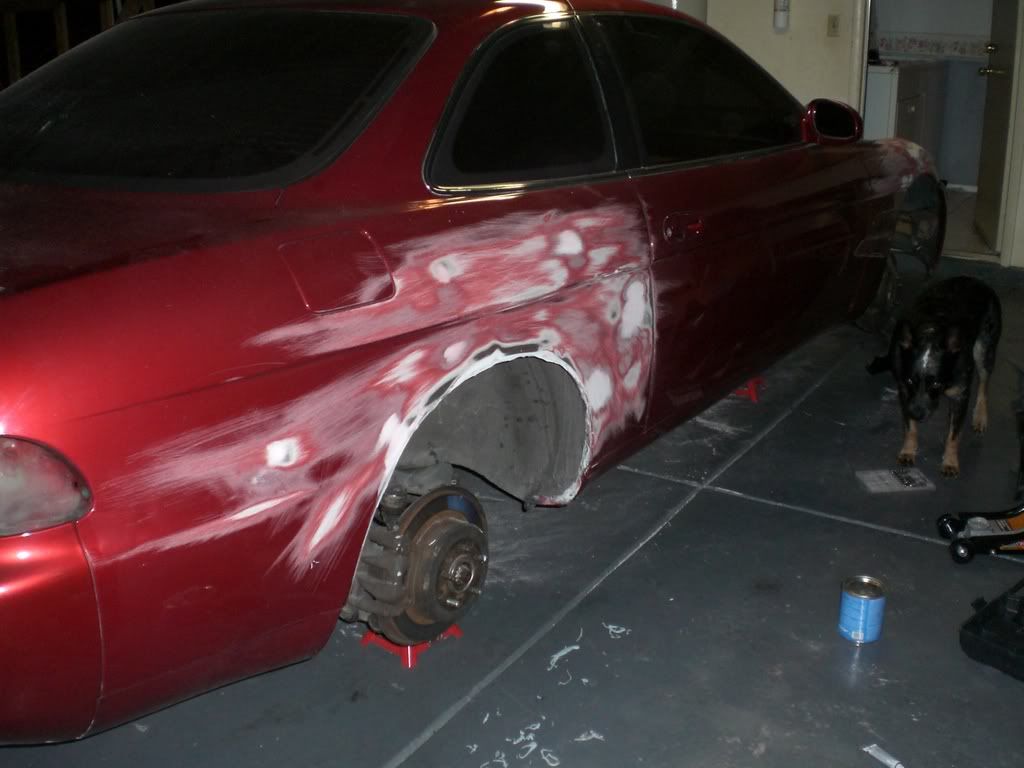
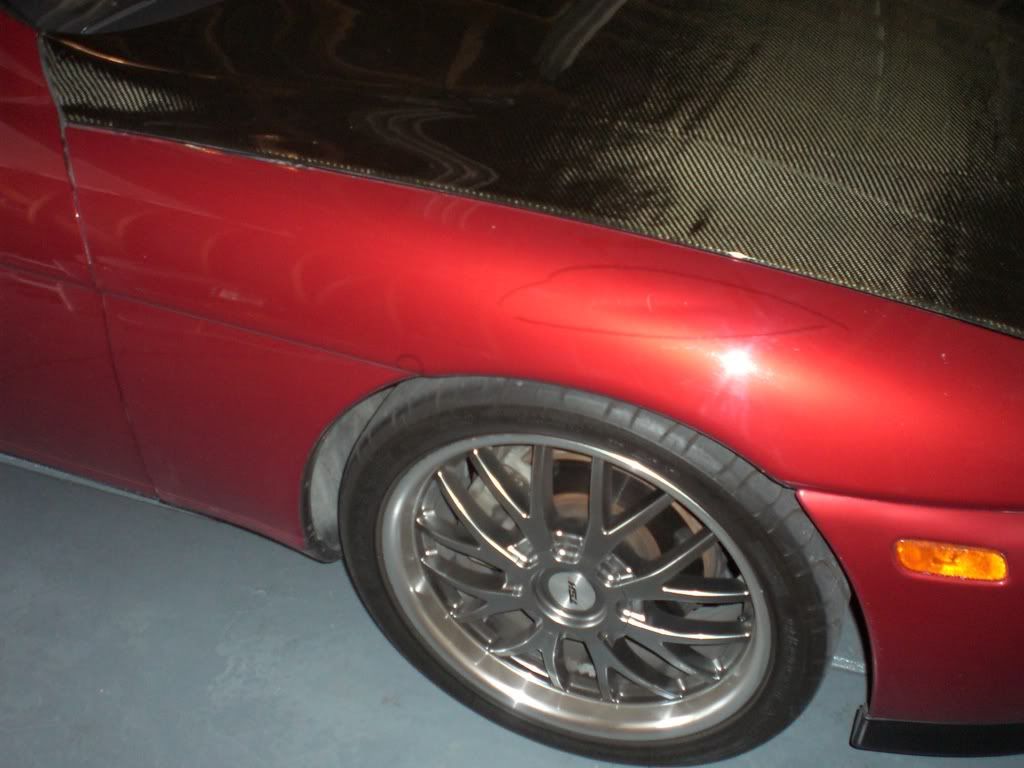
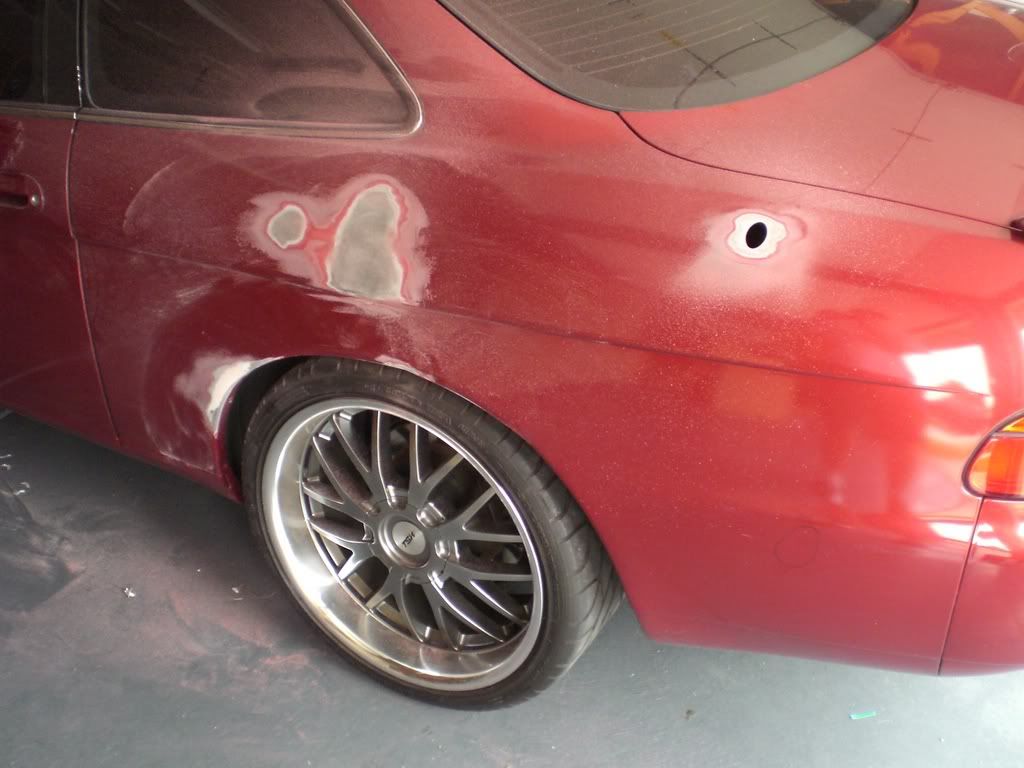
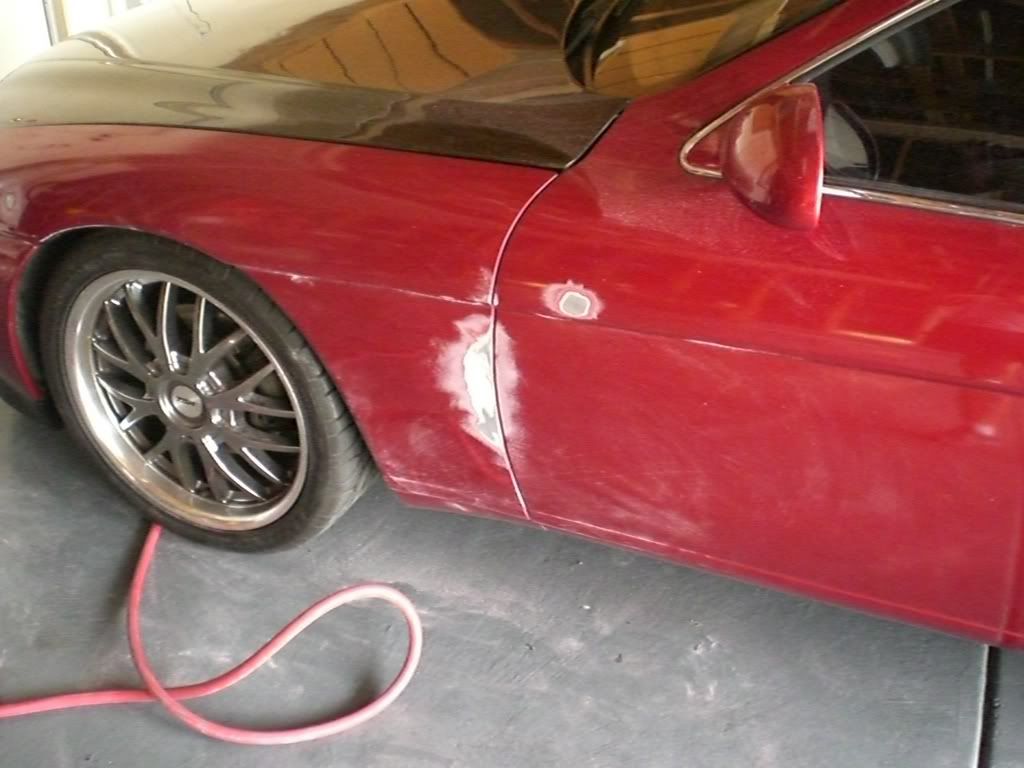
I also spent a good portion of the day yesterday (and am a little sore now to show for it) First I removed the antenna and emblems and circled all the little dents, dings, and deep scratches that I was worried about. Next, wiped areas to be worked on with surface cleaner and sanded 40 grit on a 6" DA sander all the way to the metal, and feathered out from there... I also removed the front fender trim - that black piece that is screwed to the fender lip, and punched out all of the plastic clips front and rear, and sanded these down with 40 grit as well. The front, I didn't roll, though I took a small hammer and bent in the inner lip all the way around - I also finished the rears (that were already rolled) this way. This took some time, but it's a nice smooth finish now.
Next I made a backing plate out of a piece of cardboard covered with aluminum foil about 5" square. I covered this with Kitty Hair body filler and pressed it up against the inside of the antenna hole. I then filled the front in with the same, and let set. I used a little more than required hardener, so it didn't take long... I also used kitty hair for all the small little holes left by the plastic clips in the fender wells... Next, on to the real body work - I used the Rage body filler to fill in all the areas I had sanded down. Then I went swimming... Time to let everything harden and relax a little...
Then sanding - I kinda overexaggerated some of the body filler, so I went to work with the DA sander and 40 grit to knock down those areas first. After I got the majority of excess buildup off, I went to work with a long Durablock - 17", semi-flexible, perfect for this. The 17" sanding strips I bought didn't have sticky on the back, so I used some 3M spray adhesive to stick the strip to the block - this worked better than expected...
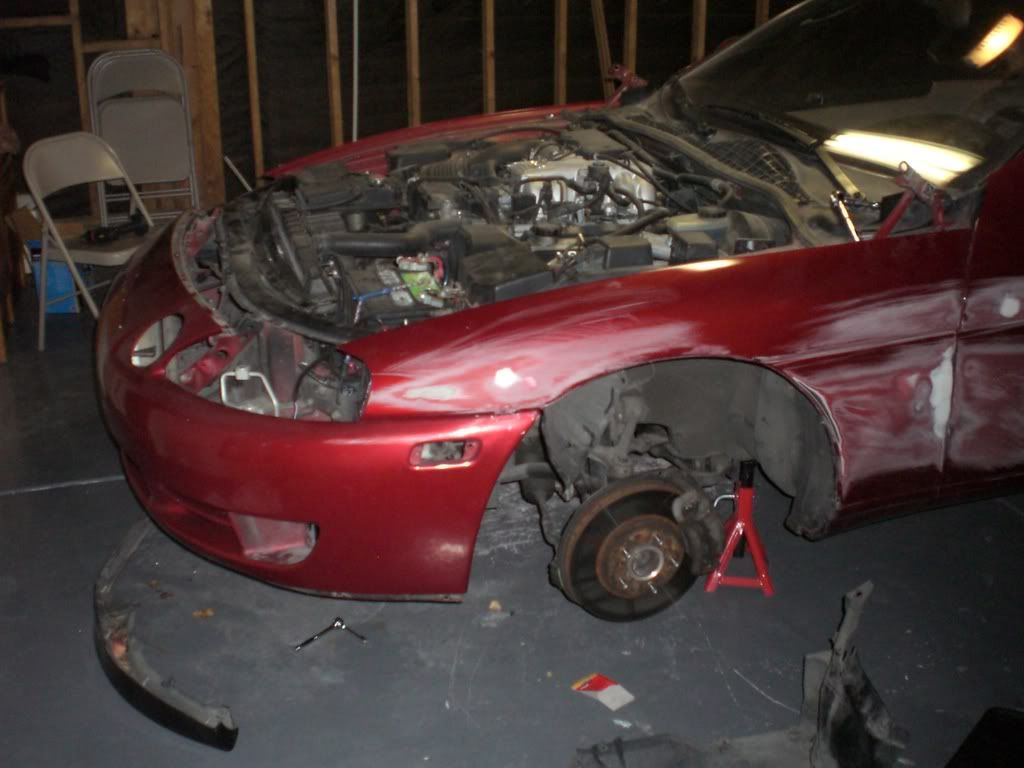
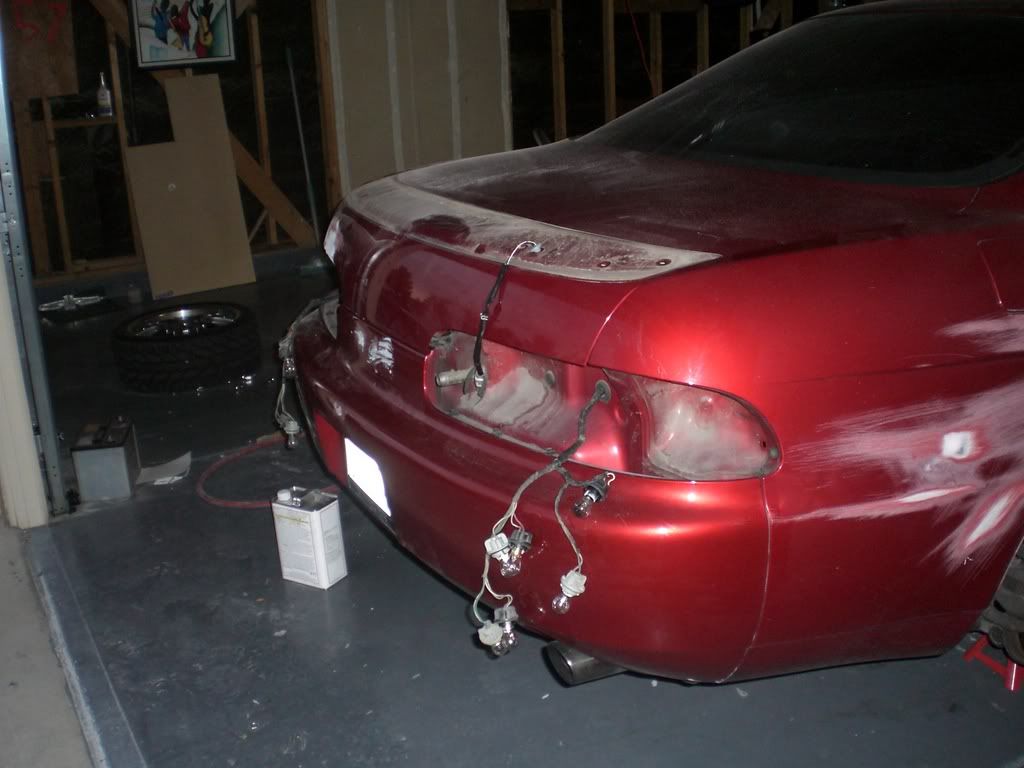
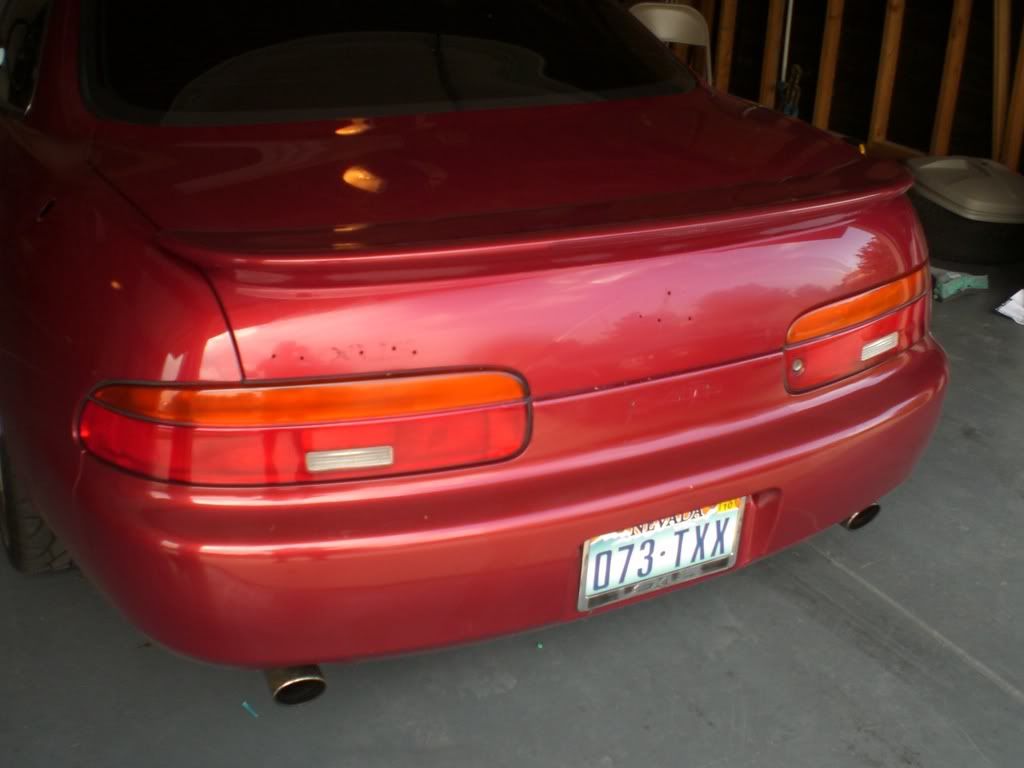
Once I got everything pretty much leveled out, I was entirely worn out. But I still had some work to do... Fixing the fenders (there were a few dents in the wheel well), and removing stuff off the car... I had already gotten the car on jack stands and pulled the wheels earlier... I decided to go ahead and pull the hood, spoiler, headlights, taillights and markers... I also pulled the black front air dam, and then set the bumper back into position (I want to paint the car as a whole). I still need to pull the side mirrors - those and the spoiler are the only pieces that won't be painted as a whole. It's just too awkward to paint them on the car...
Anyways, here are some pictures:

I had to buy a few air tool couplers and such yesterday, and I also bought a used 2-stage compressor - it claims a 1HP motor, but it keeps up with using a DA sander 100%, so I am thinking it might have been upgraded (plus the motor looks newer than the rest of it) - It also has an 18 gallon tank, so a decent amount of reserve... At any rate, I might have to rent a little larger one for painting, we'll see how well primer goes first...
Compressor: $125
Running Total: $748.46 (plus a receipt for some more sandpaper and a fitting or two that I don't have with me right now)
I also spent a good portion of the day yesterday (and am a little sore now to show for it) First I removed the antenna and emblems and circled all the little dents, dings, and deep scratches that I was worried about. Next, wiped areas to be worked on with surface cleaner and sanded 40 grit on a 6" DA sander all the way to the metal, and feathered out from there... I also removed the front fender trim - that black piece that is screwed to the fender lip, and punched out all of the plastic clips front and rear, and sanded these down with 40 grit as well. The front, I didn't roll, though I took a small hammer and bent in the inner lip all the way around - I also finished the rears (that were already rolled) this way. This took some time, but it's a nice smooth finish now.
Next I made a backing plate out of a piece of cardboard covered with aluminum foil about 5" square. I covered this with Kitty Hair body filler and pressed it up against the inside of the antenna hole. I then filled the front in with the same, and let set. I used a little more than required hardener, so it didn't take long... I also used kitty hair for all the small little holes left by the plastic clips in the fender wells... Next, on to the real body work - I used the Rage body filler to fill in all the areas I had sanded down. Then I went swimming...
Time to let everything harden and relax a little... Then sanding - I kinda overexaggerated some of the body filler, so I went to work with the DA sander and 40 grit to knock down those areas first. After I got the majority of excess buildup off, I went to work with a long Durablock - 17", semi-flexible, perfect for this. The 17" sanding strips I bought didn't have sticky on the back, so I used some 3M spray adhesive to stick the strip to the block - this worked better than expected...
Once I got everything pretty much leveled out, I was entirely worn out. But I still had some work to do... Fixing the fenders (there were a few dents in the wheel well), and removing stuff off the car... I had already gotten the car on jack stands and pulled the wheels earlier... I decided to go ahead and pull the hood, spoiler, headlights, taillights and markers... I also pulled the black front air dam, and then set the bumper back into position (I want to paint the car as a whole). I still need to pull the side mirrors - those and the spoiler are the only pieces that won't be painted as a whole. It's just too awkward to paint them on the car...
Anyways, here are some pictures: