SC400TT Project Car Stage II


 06-14-09, 10:06 PM
#708
Hey gang, thanks for the inquiries. I have been really busy with life, eg; lots of work, putting in 65 to 80 hours a week lately. Good thing is business is far better than last year. Secondly, I have been preparing for my MBA, so I am studying for the GMAT. Also, just living life....But that does not mean the car has stopped....Quite the contrary. Here is a list of the progress:
I installed the 4 speed gated shifter from the 2000 SC300 today. I had bought the shifter many months ago. It fits like a charm. I also bought the shifter linkage rod and new bols and bushings, and installed them all today. Shifts great, although I need to make a small adjustment to get 1st gear perfect. I still need to rewire the shifter to work properly.
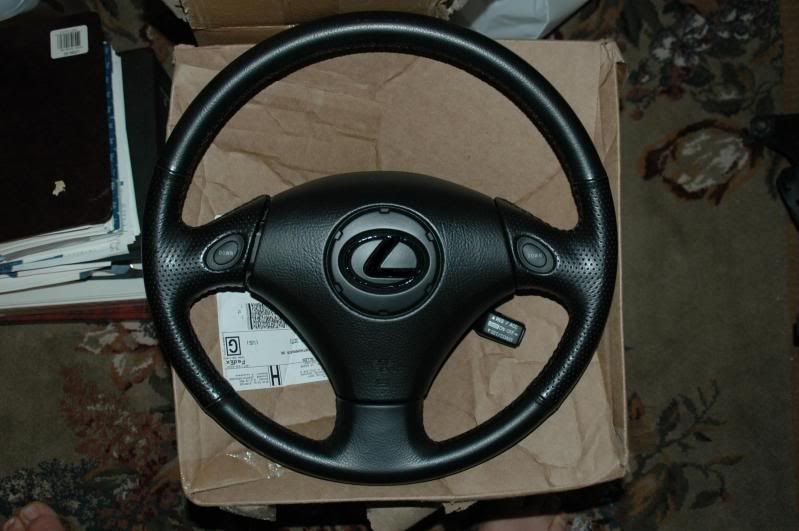
The steering wheel is done, so is the airbag. I had the chrome logo done in gloss black. Here is a pic:
I am almost done with the installation of the sound insulation matting and foam from edead.
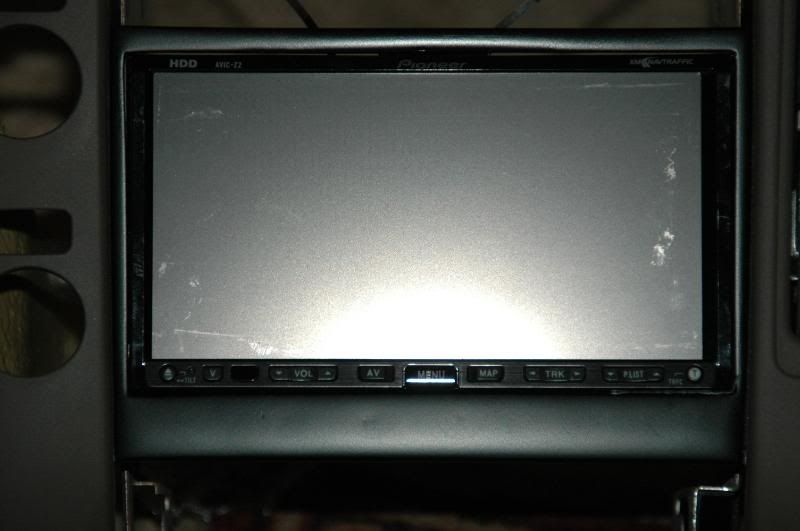
The plate for the double DIN AVIC Z2 DVD NAV is almost completed, and will be installed with the interior this week.
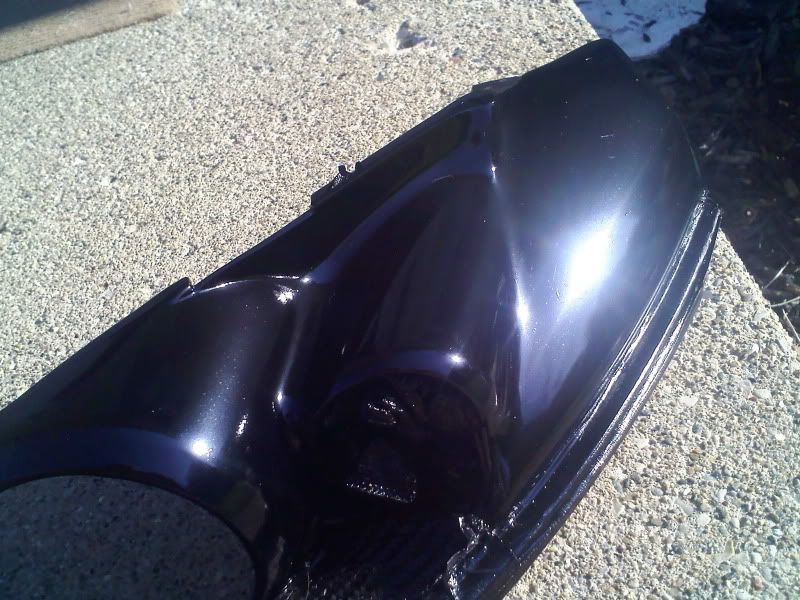
The custom headlights are almost completed. Here is a partial pic to show you the housing. I am staying true to my word and not showing the whole light until they are done and installed on the car. You can see that they look very little like the original SC lights anymore. They look very modernized, and they are being done in partial Black Carbon Fiber:
The whole engine and all the systems are buttoned up, the oiling system is done, the transmission is done, the fuel is done, the cooling system is done. I still need to refill the AC.
I need to complete some wiring, and complete the additional stereo mods.
I took the used 20" i forged wheels I bought and had the curb rash fixed on all 4 wheels. I test fit them and they looked great, perfect fitment too. I sent them out for polishing, and I need to decide which tires to run on, but I am leaning towards Falkens, they are very quiet, handle well, and are priced competitively.
More to come this week. Things should progress quickly now.
Ryan
I installed the 4 speed gated shifter from the 2000 SC300 today. I had bought the shifter many months ago. It fits like a charm. I also bought the shifter linkage rod and new bols and bushings, and installed them all today. Shifts great, although I need to make a small adjustment to get 1st gear perfect. I still need to rewire the shifter to work properly.
The steering wheel is done, so is the airbag. I had the chrome logo done in gloss black. Here is a pic:
I am almost done with the installation of the sound insulation matting and foam from edead.
The plate for the double DIN AVIC Z2 DVD NAV is almost completed, and will be installed with the interior this week.
The custom headlights are almost completed. Here is a partial pic to show you the housing. I am staying true to my word and not showing the whole light until they are done and installed on the car. You can see that they look very little like the original SC lights anymore. They look very modernized, and they are being done in partial Black Carbon Fiber:
The whole engine and all the systems are buttoned up, the oiling system is done, the transmission is done, the fuel is done, the cooling system is done. I still need to refill the AC.
I need to complete some wiring, and complete the additional stereo mods.
I took the used 20" i forged wheels I bought and had the curb rash fixed on all 4 wheels. I test fit them and they looked great, perfect fitment too. I sent them out for polishing, and I need to decide which tires to run on, but I am leaning towards Falkens, they are very quiet, handle well, and are priced competitively.
More to come this week. Things should progress quickly now.
Ryan
Last edited by SC400TT; 06-14-09 at 10:14 PM.
06-22-09, 09:23 PM
#709
Hello Gang. Since this is first a Luxury Sport Coupe, and a Race Car second, I call it a Super Coupe.
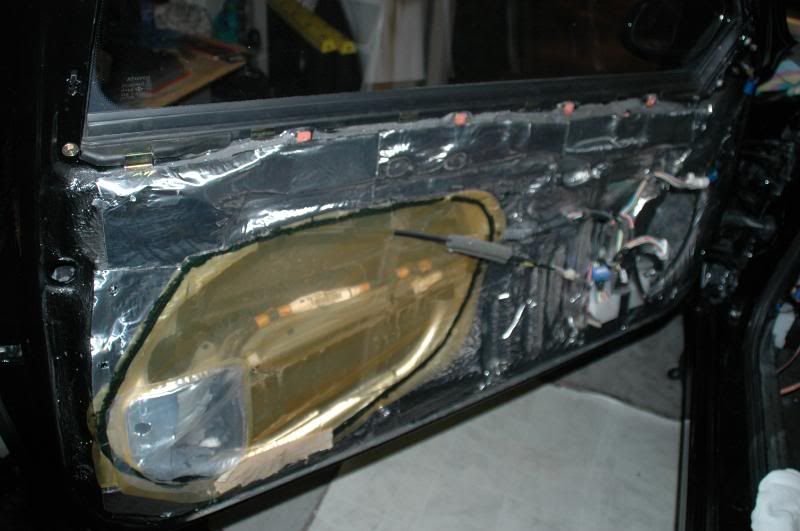
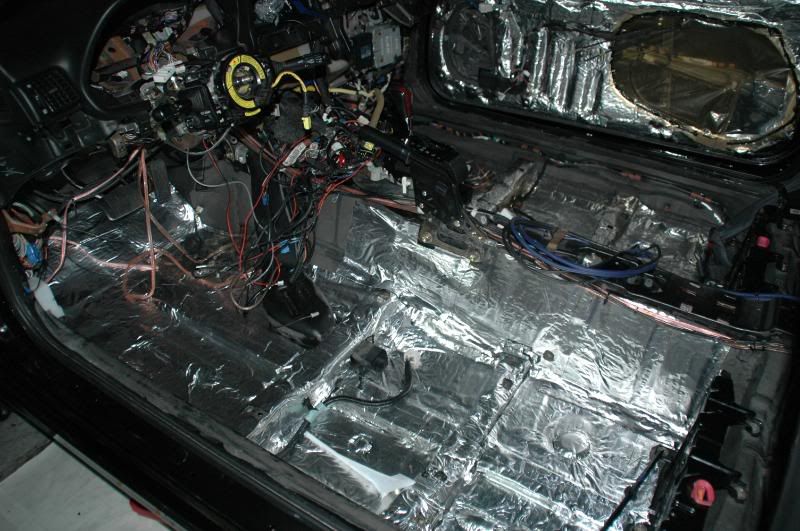
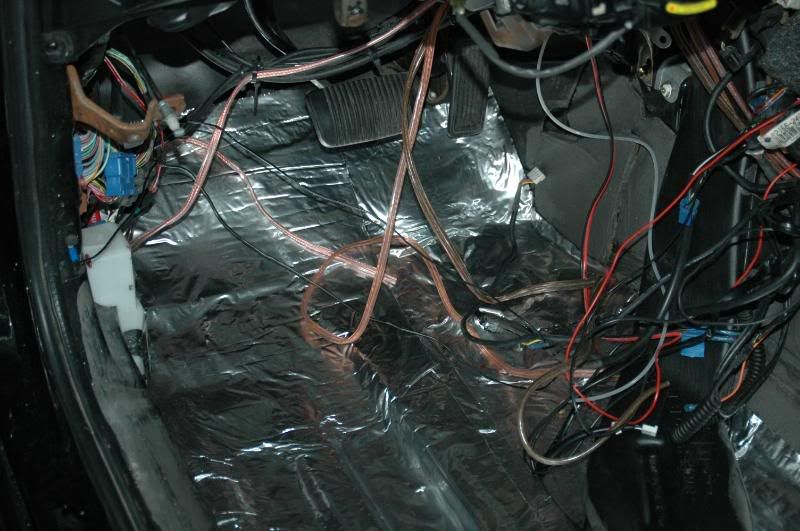
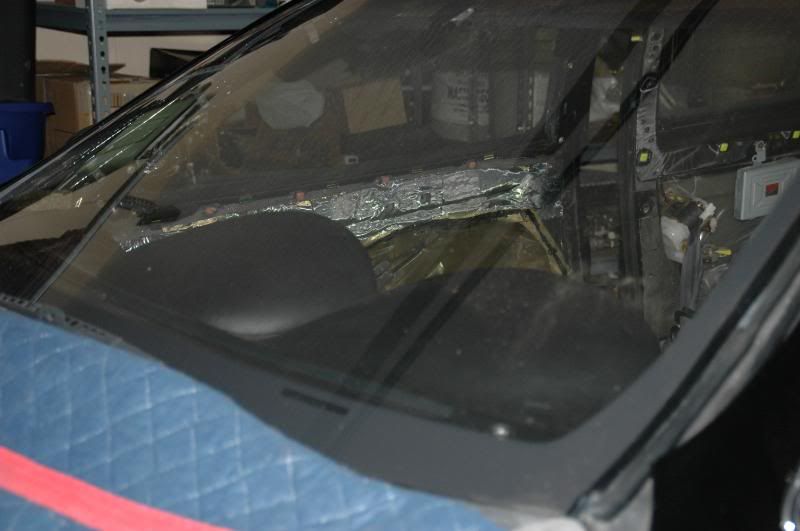
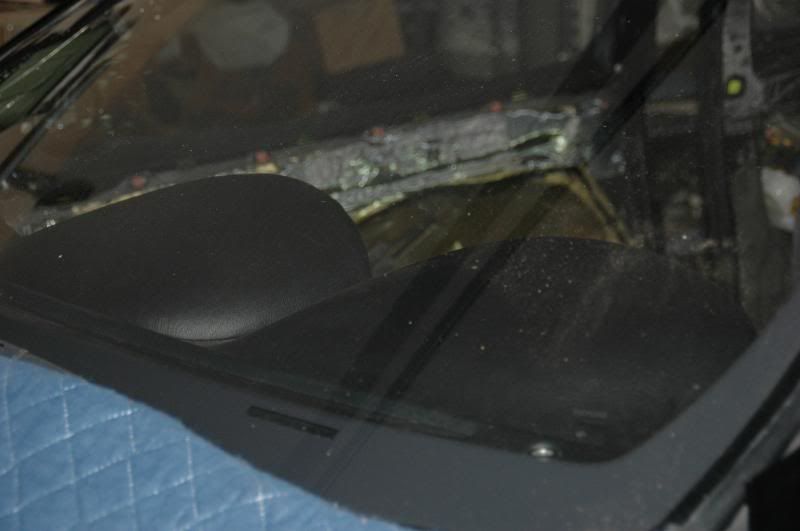
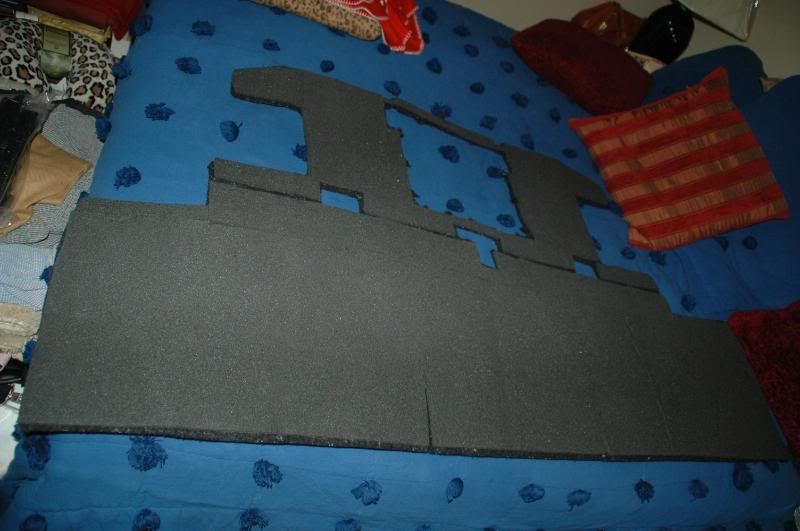
Anyway, here are a few pics of the sound proofing mat material that I bought from eDead. Great stuff. But as with all matting, somewhat painful to work on due to the tediousness of the work, but well worth it. Should really assist with the muting of the hum the Walbros put out. As well as a better drive. Nice thing about this eDead product is that it is thinner and lighter than the standard matting, but is still as dense, so should be very effective. I am also adding a secondary mat called V Comp which is a neoprene matting.
Here are a few pics of the butyl matting:

Ryan
Anyway, here are a few pics of the sound proofing mat material that I bought from eDead. Great stuff. But as with all matting, somewhat painful to work on due to the tediousness of the work, but well worth it. Should really assist with the muting of the hum the Walbros put out. As well as a better drive. Nice thing about this eDead product is that it is thinner and lighter than the standard matting, but is still as dense, so should be very effective. I am also adding a secondary mat called V Comp which is a neoprene matting.
Here are a few pics of the butyl matting:
Ryan
06-23-09, 09:44 AM
#710
Ryan,
Nice build man. I can't give you enough props for the attention to detail.
I've got my swap engine in (see sig) and my hard auto trans cooler lines were worse for wear. I took the flare fittings off prior to putting the engine in and I want to do the steel braided lines as well. I was wondering if you could pass on the AN sizes that you used for the adaptors. I probably need two different sizes because I completely removed the rear 90 deg adaptor(on the tranny), but kept the front adaptor up to the flare seat nut because it has an electric sensor on it. Anything would be greatly appreciated.
Jason
06-23-09, 03:15 PM
#711
Ryan,
Nice build man. I can't give you enough props for the attention to detail.
I've got my swap engine in (see sig) and my hard auto trans cooler lines were worse for wear. I took the flare fittings off prior to putting the engine in and I want to do the steel braided lines as well. I was wondering if you could pass on the AN sizes that you used for the adaptors. I probably need two different sizes because I completely removed the rear 90 deg adaptor(on the tranny), but kept the front adaptor up to the flare seat nut because it has an electric sensor on it. Anything would be greatly appreciated.
Jason
Nice build man. I can't give you enough props for the attention to detail.
I've got my swap engine in (see sig) and my hard auto trans cooler lines were worse for wear. I took the flare fittings off prior to putting the engine in and I want to do the steel braided lines as well. I was wondering if you could pass on the AN sizes that you used for the adaptors. I probably need two different sizes because I completely removed the rear 90 deg adaptor(on the tranny), but kept the front adaptor up to the flare seat nut because it has an electric sensor on it. Anything would be greatly appreciated.
Jason
Glad you are modding.
Ryan
06-26-09, 12:26 PM
#712
Quick update:
Ryan
- The Sunroof Slider is installed
- The headliner is installed
- The Sound proofing matting is 95% installed
- The Wiring for the two aftermarket ECU's was checked out by my buddy motorheaddown, and was found to be GOOD
- The Custom Plate for the new Pioneer AVIC Z2 has been made, and is completed
- The Dash is installed back in the car (Thanks Shane)
- The rest of the interior will go in this weekend
- I will start putting fluids in the car, prepping it for initial start up
Ryan
06-26-09, 03:53 PM
#713

you.....
are....
a....
B...E...A...S...T...
and create very VERY ub3r long threads, lol.
love the headlights too, the LEDs add some mad flare. ill be using a good amount of information in this thread for my 1uztt build, but it'll be much much softer then yours, a stage 1 setup will suit my needs till im done with auto school. only prob is i wont be able to start it till next may or so, kinda need to build a garage to battle the dry plains dust =P
many props, great work and who the hell says being OCD is bad =D
 06-28-09, 08:10 PM
#715
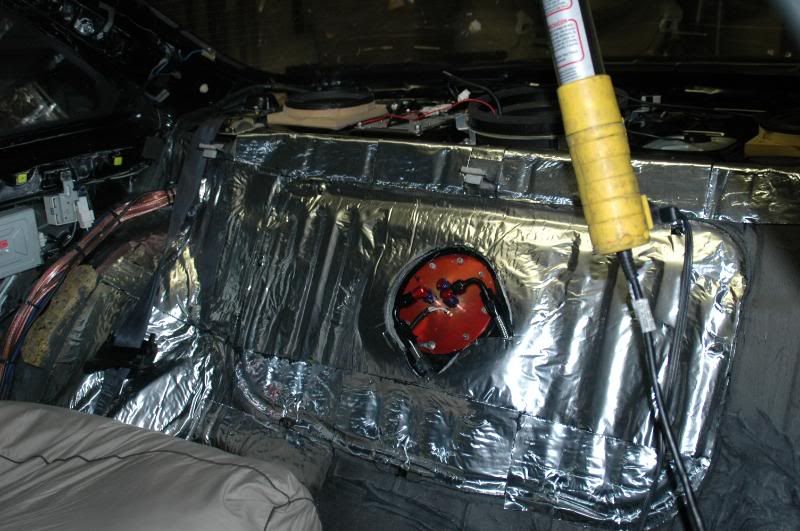
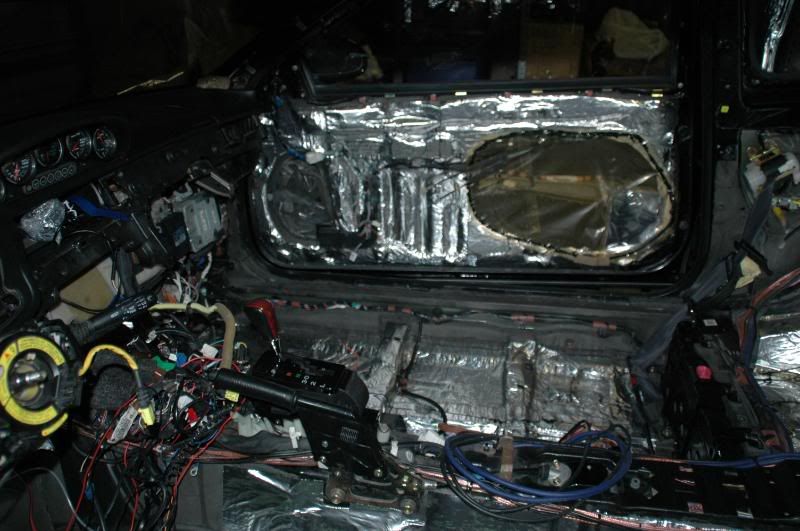
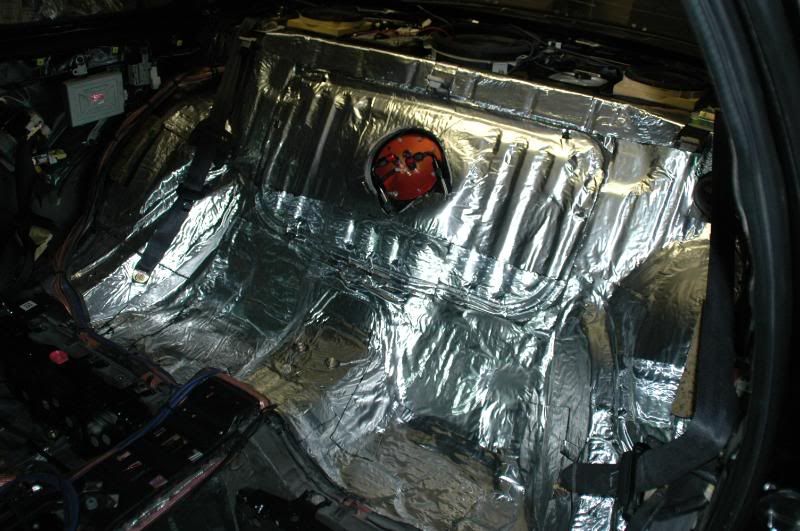
OK Gang. Another weekend spent mostly working on the project....:beer: I completed the soundproofingwith the butyl matting, and I took the Lexus rear soundproof mat, and added the neoprene matting to it to further dampen the potential hum I may get from the Walbros. I am glad I did this, but it is very tedious, as I said before, and virtually backbreaking work at times....I spent several hours on this over several weekends, but I believe it will be well worth the effort, I also only added approximately 30 lbs to the car by doing it.
I also worked on the installation of my two computers....I first connected them to the new wiring harness so I could look at the best layout. Fitment was perfect from Phoenix Tning. Both the Autronic SM4 and PCS will not fit in the stock floor position. I will have to mount the PCS nearby, probably on the front tranny tunnel., under the carpet.
I still have to install the rest of the push pins in the headliner. Battery goes in this week, and I plan to reinstall the speakers and disconnected stereo gear as well.
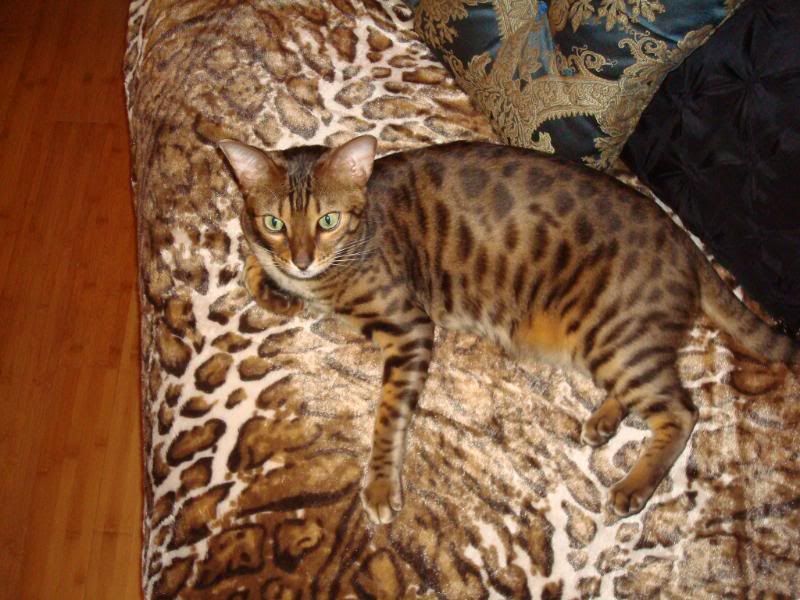
We kind of live out in the country, so I have not only posted pics of the progress of the car, but also of some deer that were no more than 10 feet from my back door. I have actually seen a 65 lb Florida Panther in my back yard once, as well as Eagles, hawks, and owls regularly. Pretty cool.
Soundproofing:
Ryoku
More to come....
Ryan
I also worked on the installation of my two computers....I first connected them to the new wiring harness so I could look at the best layout. Fitment was perfect from Phoenix Tning. Both the Autronic SM4 and PCS will not fit in the stock floor position. I will have to mount the PCS nearby, probably on the front tranny tunnel., under the carpet.
I still have to install the rest of the push pins in the headliner. Battery goes in this week, and I plan to reinstall the speakers and disconnected stereo gear as well.
We kind of live out in the country, so I have not only posted pics of the progress of the car, but also of some deer that were no more than 10 feet from my back door. I have actually seen a 65 lb Florida Panther in my back yard once, as well as Eagles, hawks, and owls regularly. Pretty cool.
Soundproofing:
Ryoku
More to come....
Ryan
06-28-09, 08:20 PM
#716
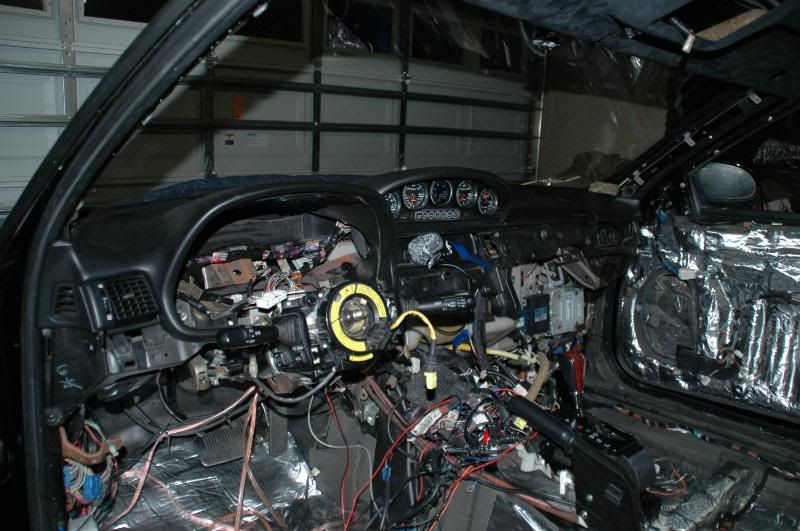
I know I posted up pics of the dash before, but it was just laying in the car at the incorrect angle. These pics show the dash actually installed properly and bolted down. I really like the angle of the gauges from the driver's position.
Dash Installed:

Ryoku's favorite past time:

More....
Ryan
Dash Installed:
Ryoku's favorite past time:
More....
Ryan
06-28-09, 08:38 PM
#717
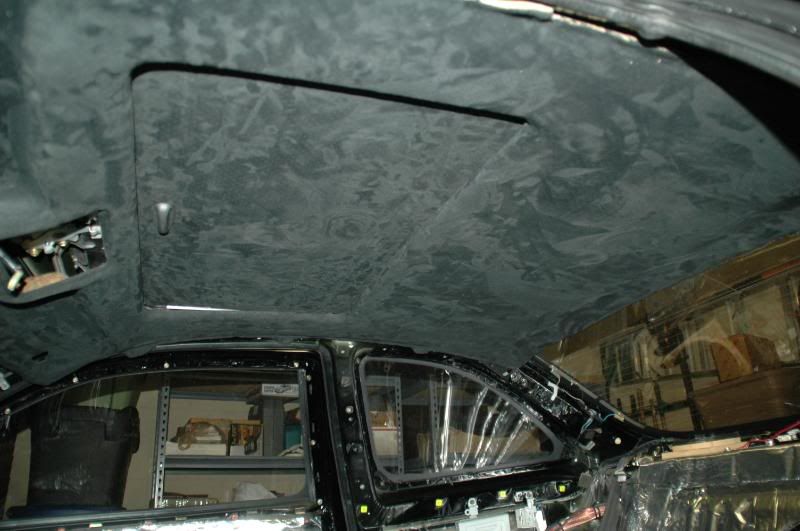
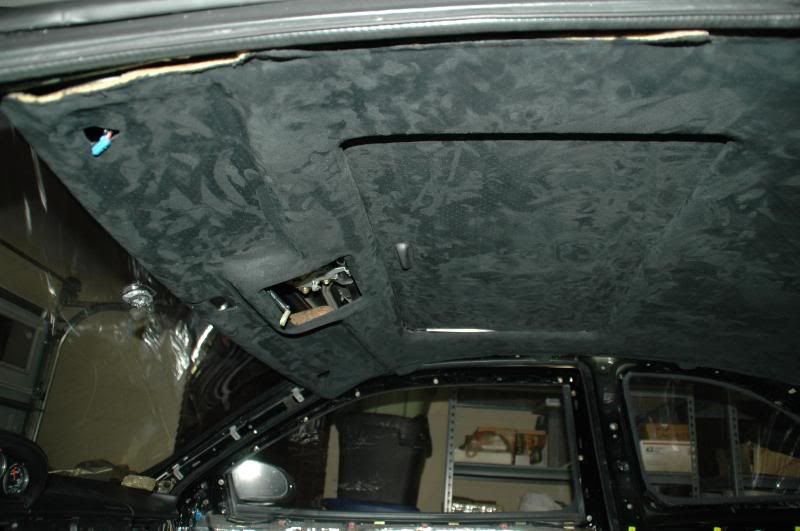
Here is the headliner. I need to brush it, but I absolutely love the perf black suede!!
Here is a pic of the Lexus rear sound proofing mat with the added eDead Neoprene matting added to it:
Pioneer AVIC Z2 installed in the custom plate made from the original Lexus stock radio face plate. This is installed in the tan center console, but will be permanently installed in the black interior when I place it in my car:

More....
Ryan
Here is a pic of the Lexus rear sound proofing mat with the added eDead Neoprene matting added to it:
Pioneer AVIC Z2 installed in the custom plate made from the original Lexus stock radio face plate. This is installed in the tan center console, but will be permanently installed in the black interior when I place it in my car:
More....
Ryan