
1992Lexus.. Complete build thread with pictures and links!

 12-04-11, 07:28 AM
#212
1JZ Single SC400
Thread Starter
iTrader: (59)
Join Date: Jan 2009
Location: Alabama, Roll Tide!
Posts: 8,518
Likes: 0
Received 15 Likes
on
12 Posts
Thanks AlphaMotor, if I could get people to do what they are telling me, it would be alot faster in the progress. I cant tell you how dissapointing how some people have done me. A mans word is his his bond in my book. I hope this thread will be coming alot faster in the next few months, or weeks in that matter. After driving Supraclones car, it makes me want it even fatser. His car is just plain stupid wicked fast.. and the SC is a heavy car, no problem for that motor!
I tried to gather a pretty good parts list so far with OEM lists and the aftermarket cross reference ones. I have learned alot in this trial and error state. I cant tell you how many times I had to redo something, but thats nature of the beast, cause every car and its characteristics are NOT the same. Some things just need to be modified.
I tried to gather a pretty good parts list so far with OEM lists and the aftermarket cross reference ones. I have learned alot in this trial and error state. I cant tell you how many times I had to redo something, but thats nature of the beast, cause every car and its characteristics are NOT the same. Some things just need to be modified.
12-04-11, 08:50 AM
#213
so your keeping your wot switch i see?? and is that the best you could get your oil lines off of the exhaust mani?? iam going to be faced with the same problem here soon. did you buy this kit??
http://www.ebay.com/itm/180741597476...WAX:IT&vxp=mtr
http://www.ebay.com/itm/180741597476...WAX:IT&vxp=mtr
12-04-11, 09:23 AM
#215
so your keeping your wot switch i see?? and is that the best you could get your oil lines off of the exhaust mani?? iam going to be faced with the same problem here soon. did you buy this kit??
http://www.ebay.com/itm/180741597476...WAX:IT&vxp=mtr
http://www.ebay.com/itm/180741597476...WAX:IT&vxp=mtr
12-04-11, 09:52 AM
#216
1JZ Single SC400
Thread Starter
iTrader: (59)
Join Date: Jan 2009
Location: Alabama, Roll Tide!
Posts: 8,518
Likes: 0
Received 15 Likes
on
12 Posts
I will be keeping the WOT switch as of right now. Thats is the only way I possibly could see routing that big size 10 steel braided line. Of course I ran it straight down through the manifold, but people didnt like that because of the heat build up of the manifold, even though it is wrapped. I agreed after further research. Quicksc4 is one of the best people on here that knows what is going on when it comes to doing special/custom setups on the 1JZ/2JZ into the SC's. I ran mine this way for the return to clear in all directions as much as possible. I also didnt sleeve it in the wrap cause I like the look of it. It gave me an inch away from all directions except the front part of the turbo housing. I didnt buy that kit, due to not knowing exactly how I was going to route the lines. Some used the front oil line feed from the block, I chose the rear, due to keeping one line in the back and one in the front-meaning the return line, thought it would be cleaner looking, etc. I bought all of my fittings and lines from a local place called CBI. I did indeed buy the 2 oil adaptor fittings for the turbo and oil drain in block from CSX racing. They have very fast shipping and their products look ok for the money. If you know the fitting size, threads, lengths etc, I can call for you or go by there to see if it cheaper. These that I have bought from CBI is top notch stuff. They can cut the steel braided lines to your lengths required. LMK, if I can help to save you some $$$.. Mark
Can you post pictures of your oil return and feed lines? Lets get some other opinions.
Can you post pictures of your oil return and feed lines? Lets get some other opinions.
Last edited by 1JZPWRD; 12-04-11 at 09:56 AM.
12-05-11, 11:47 AM
#217
1JZ Single SC400
Thread Starter
iTrader: (59)
Join Date: Jan 2009
Location: Alabama, Roll Tide!
Posts: 8,518
Likes: 0
Received 15 Likes
on
12 Posts
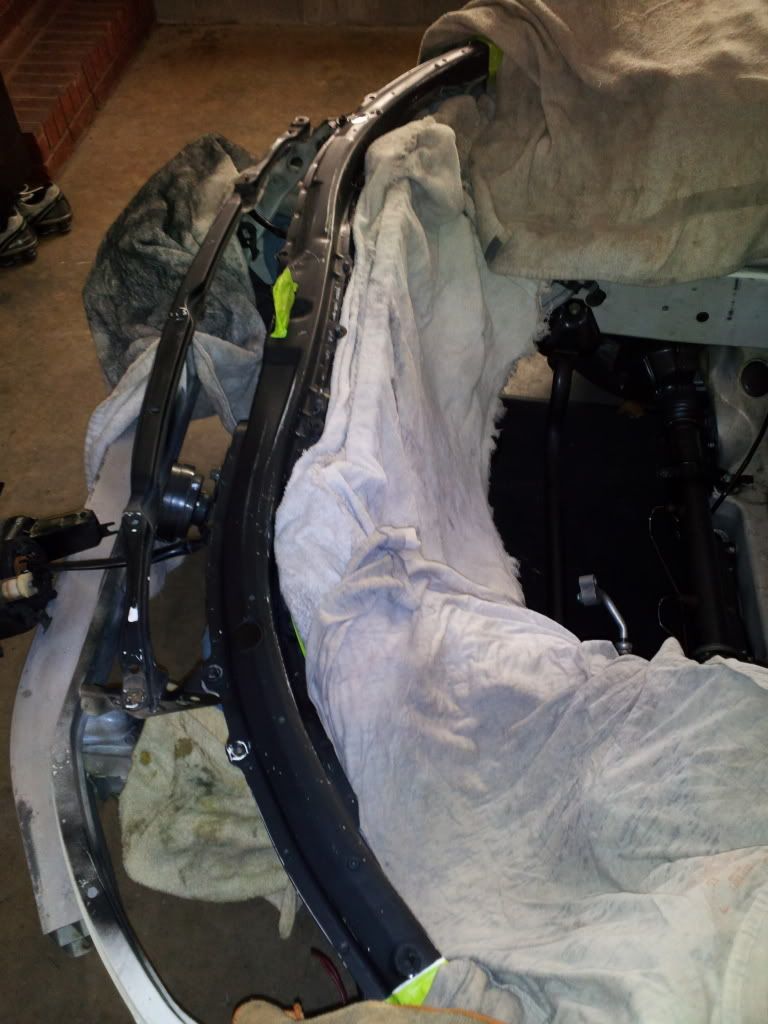
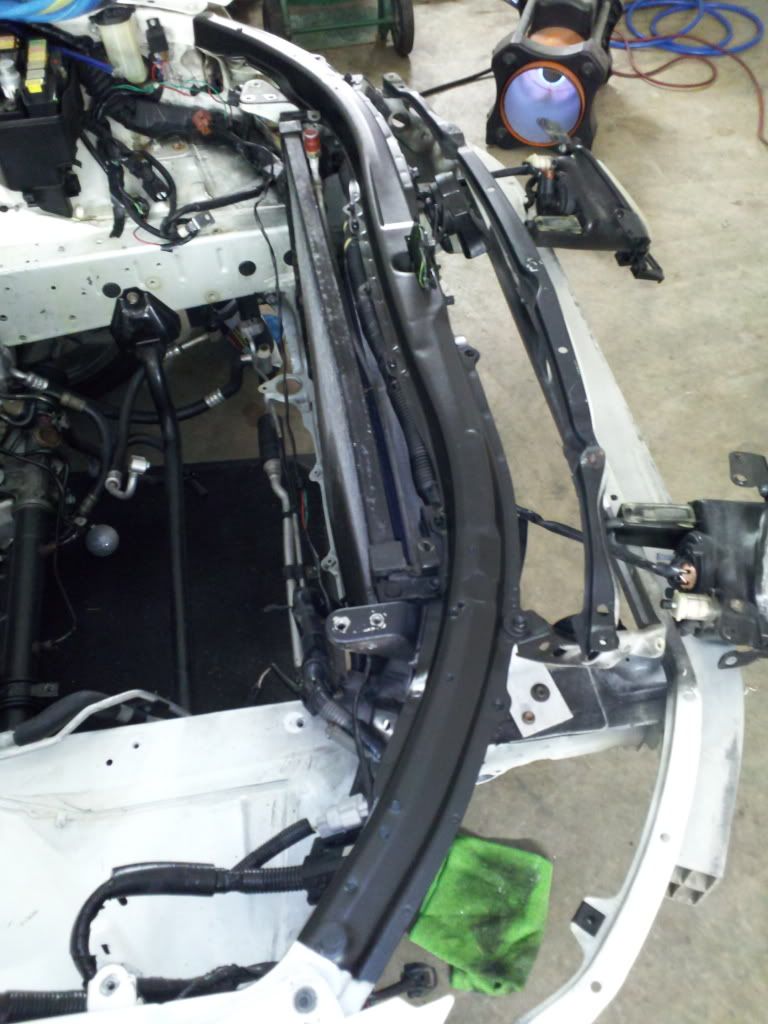
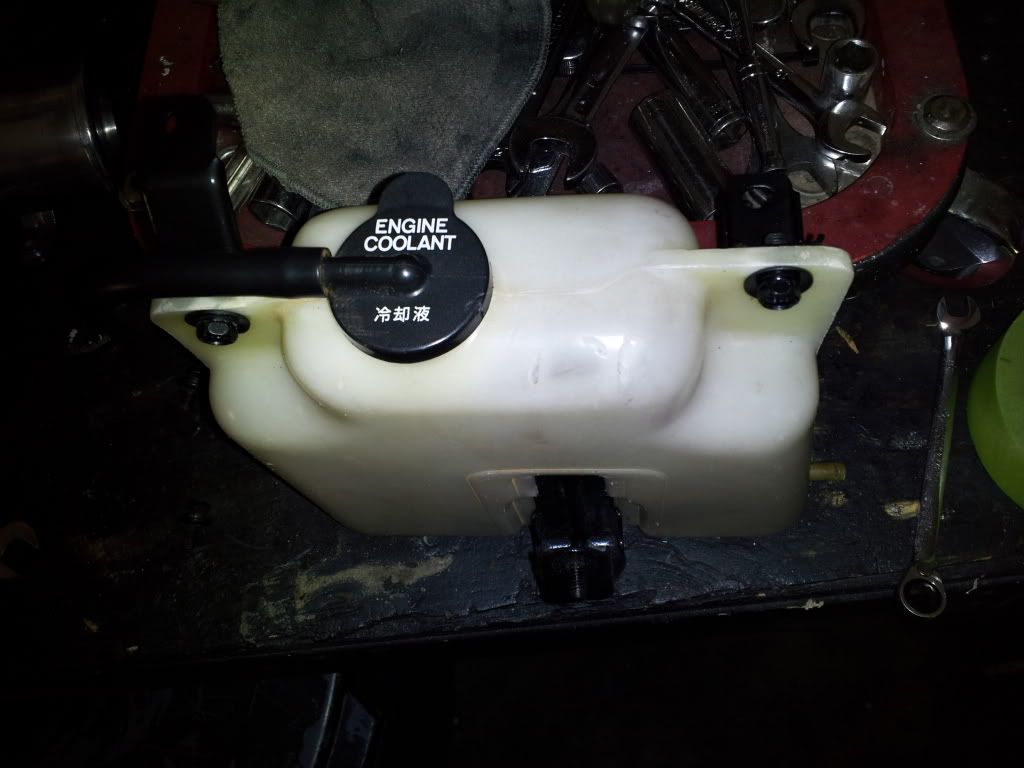
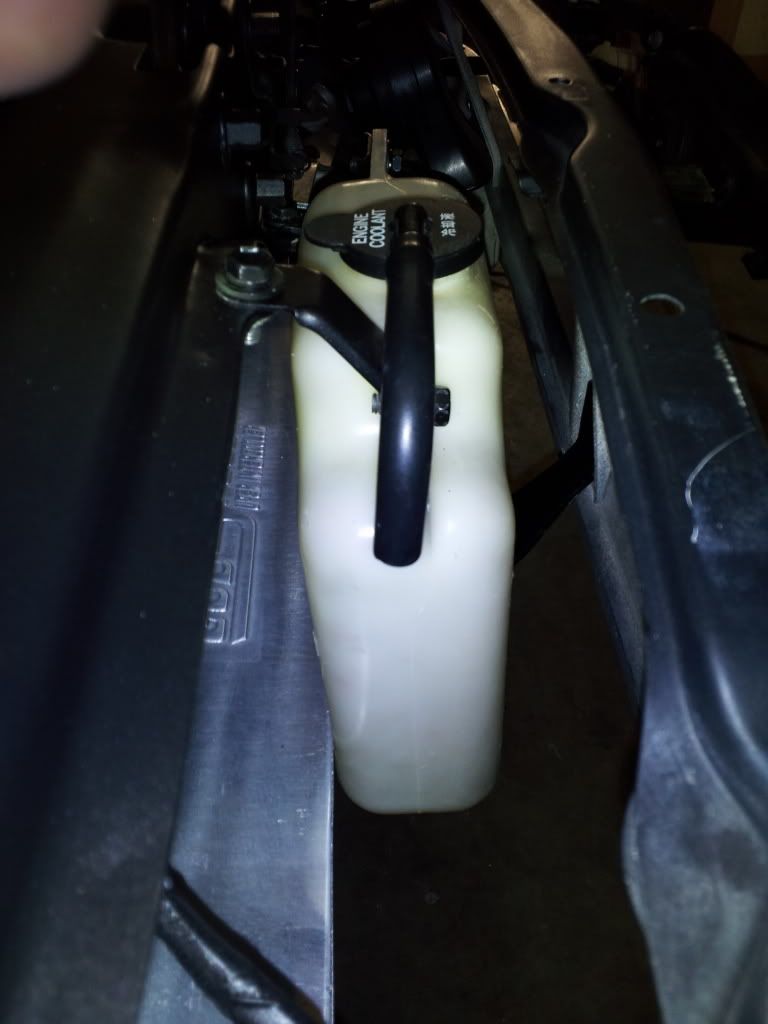
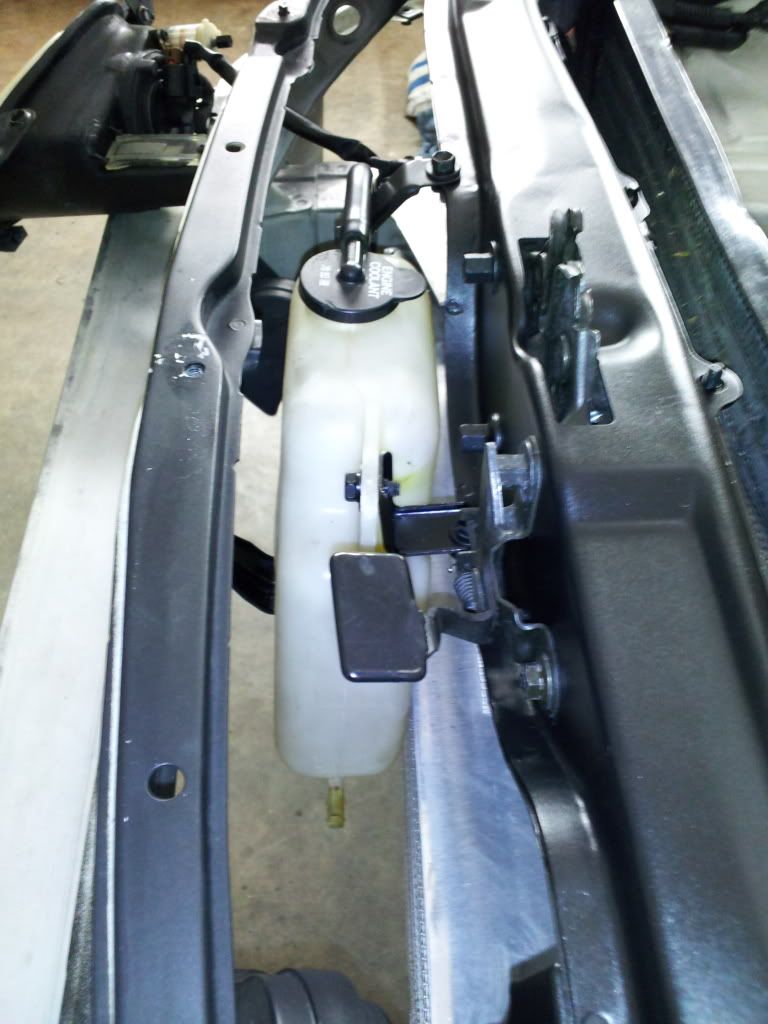
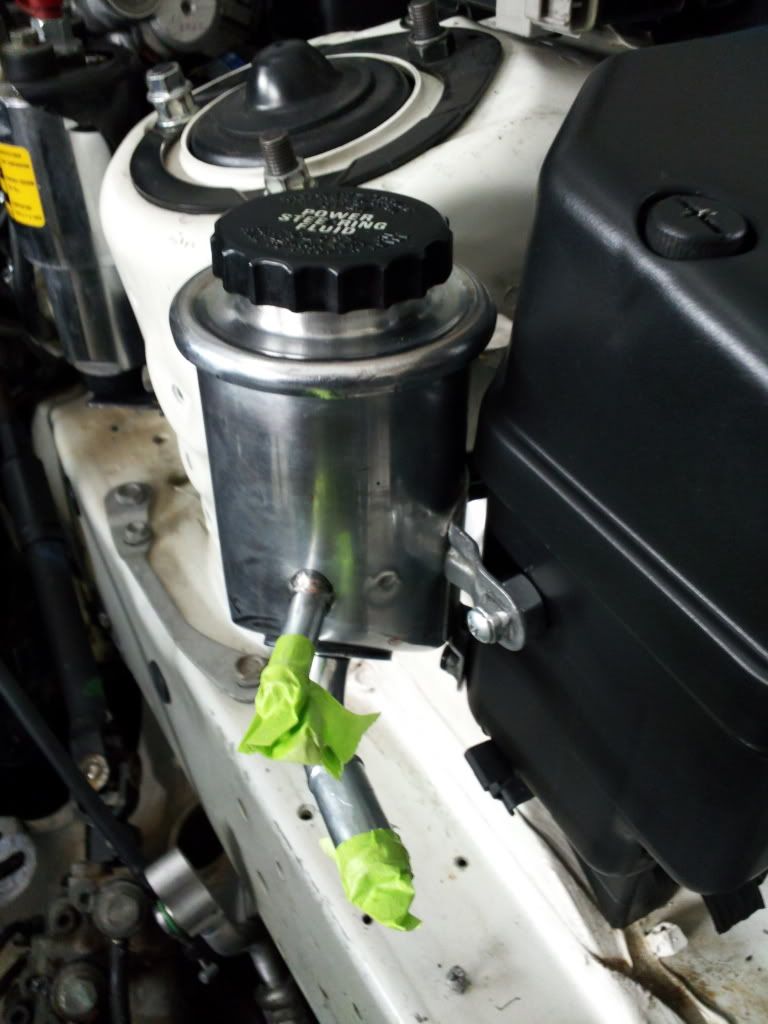
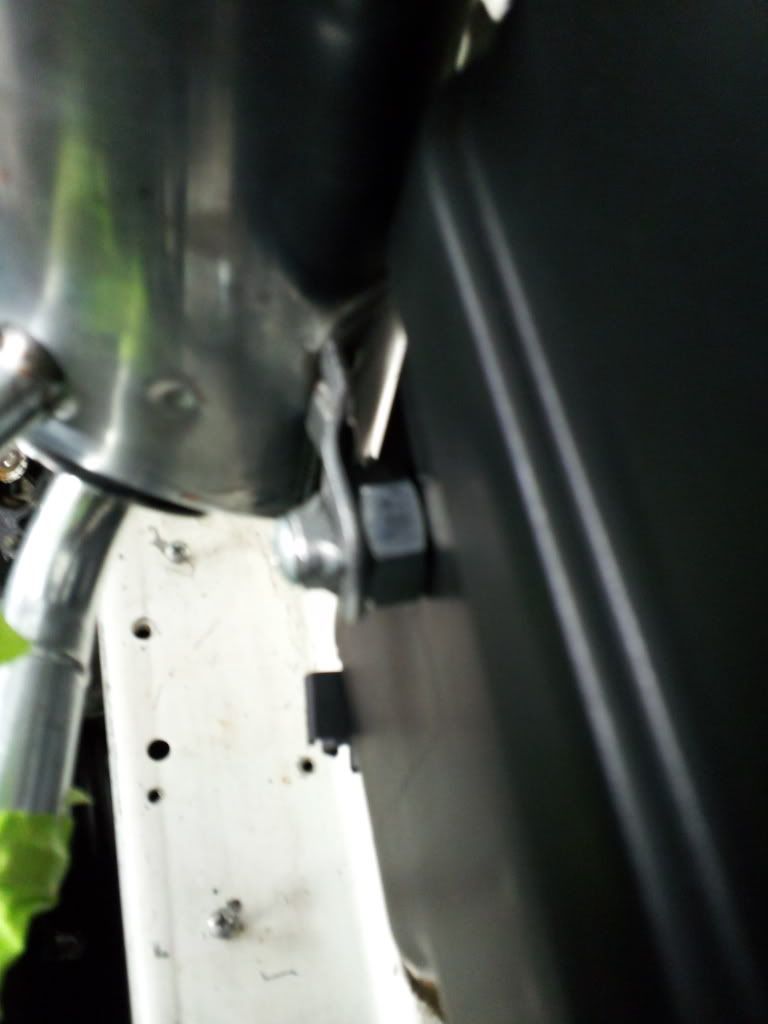
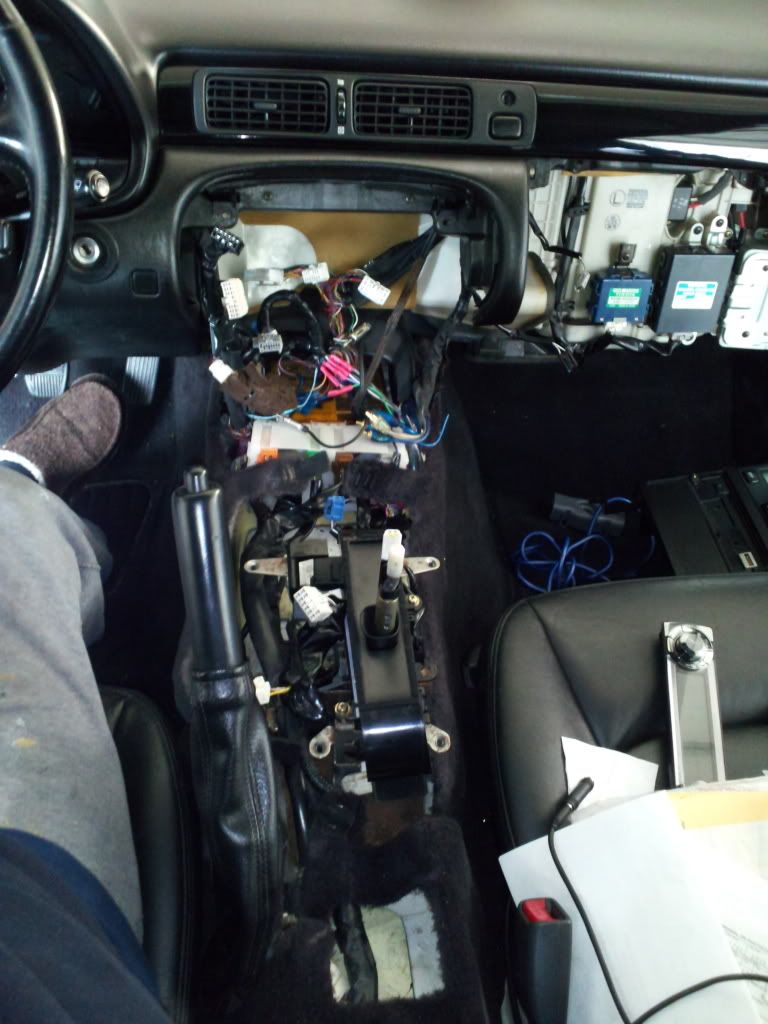
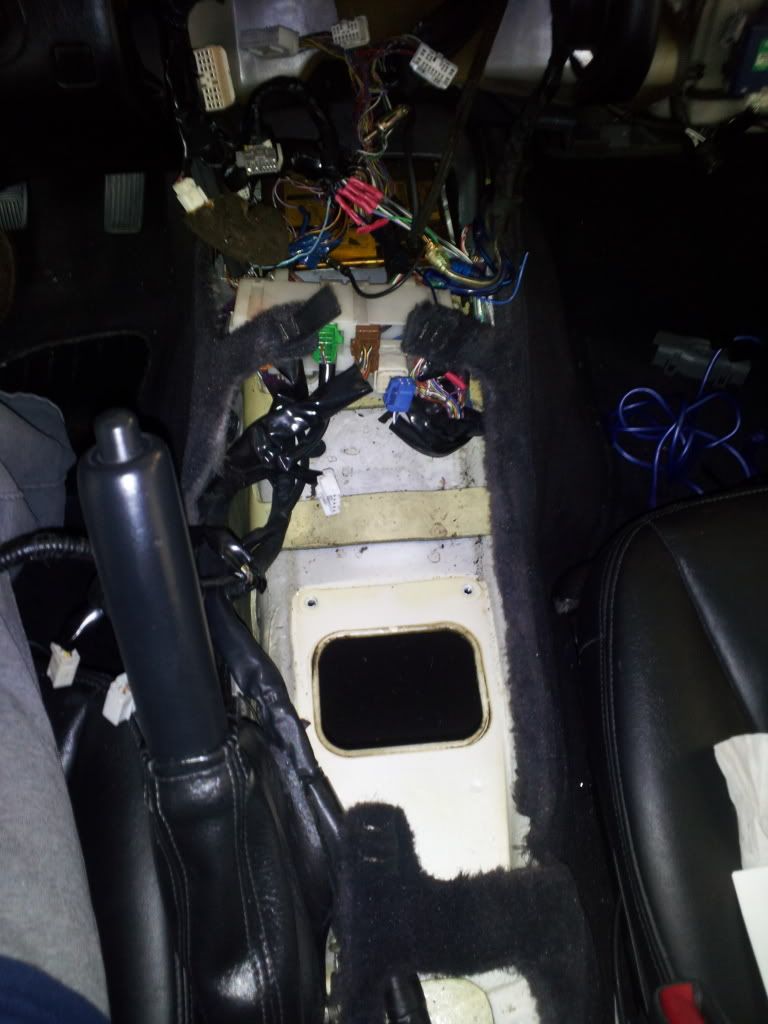
Made more progress today. Painted the front frame that was already factory black, but it had scratches. Mounted the overflow coolant tank and the power steering resevoir. I also removed the center console, radio, automatic shifter with housing, and the stock driveshaft bushing. I was amazed of how of good shape it was still in. Here is some pictures along the way.....
Removing the front release....
See the all the white scratches?...
Covering everything up...
First coat of Rustoleum semi gloss paint.. looks almost oem..
Finsihed with three coats..
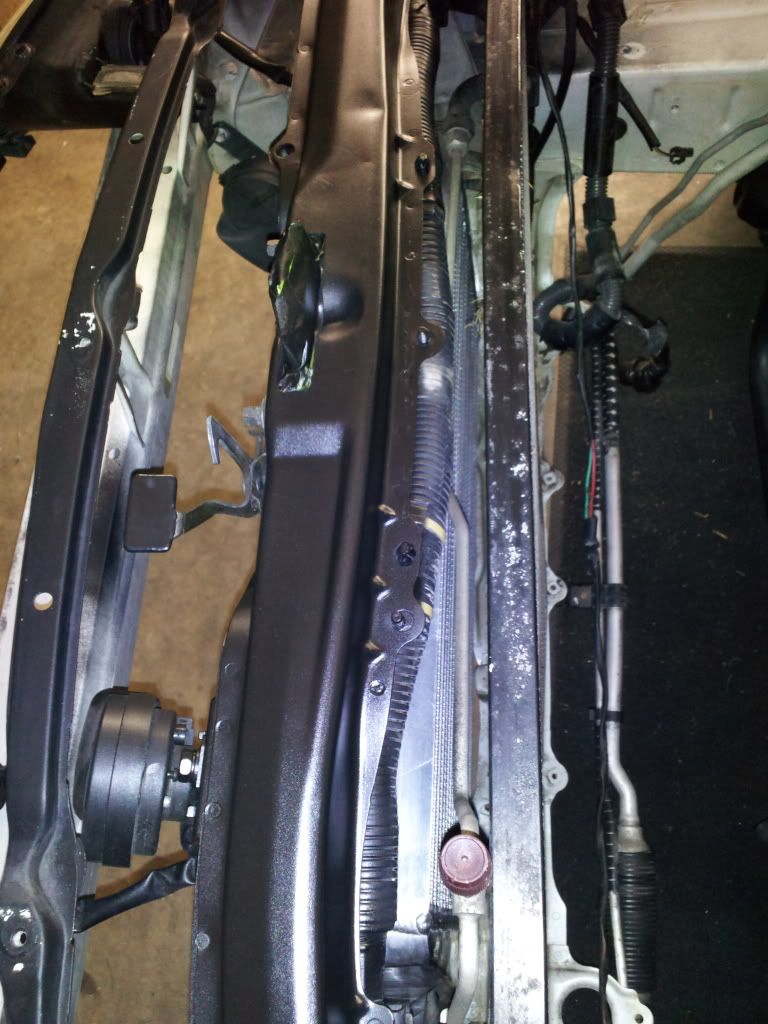
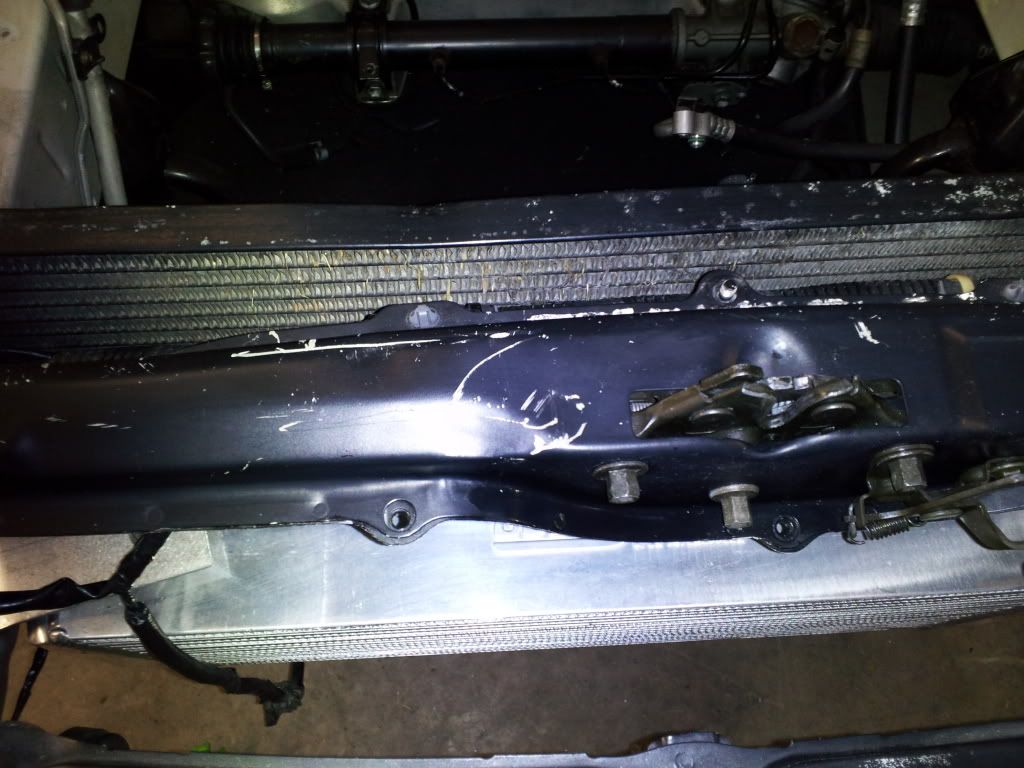
Coolant resevoir with brackets back on and ready to go in..
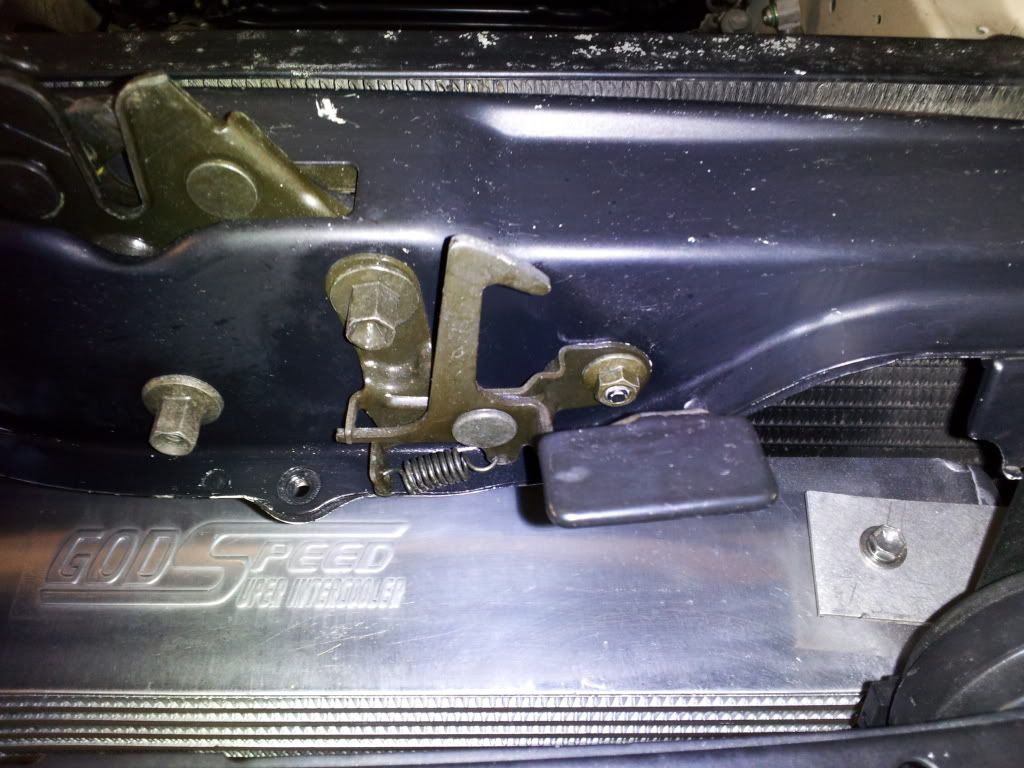
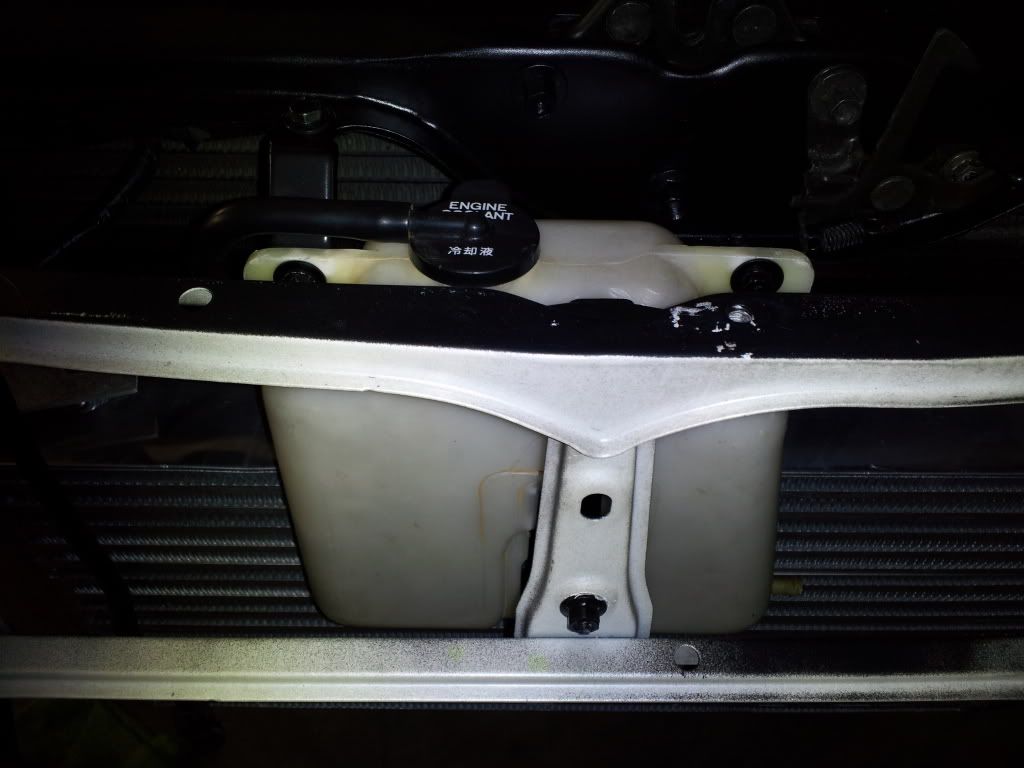
Cleared the FMIC, barely..
other side...
Front mounted...
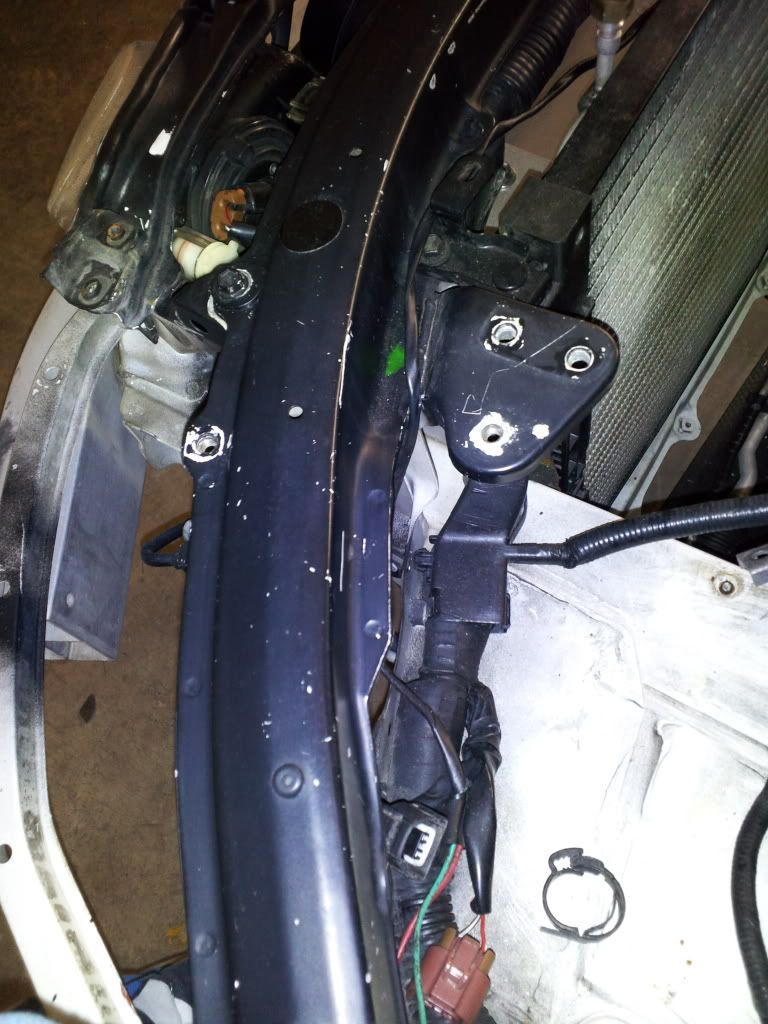
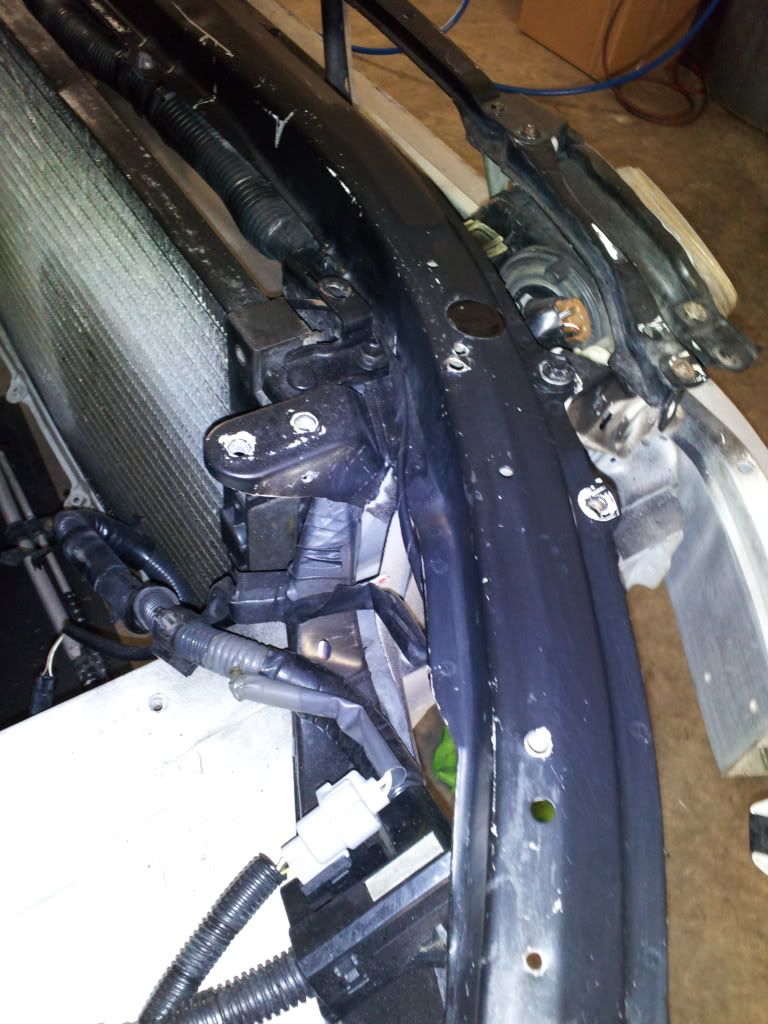
Getting ready to mount the resevoir.. the far bracket needed to be bent in a little to fit flush.
Fits snug...

Had to sand down the inside tab a little to fit flush...
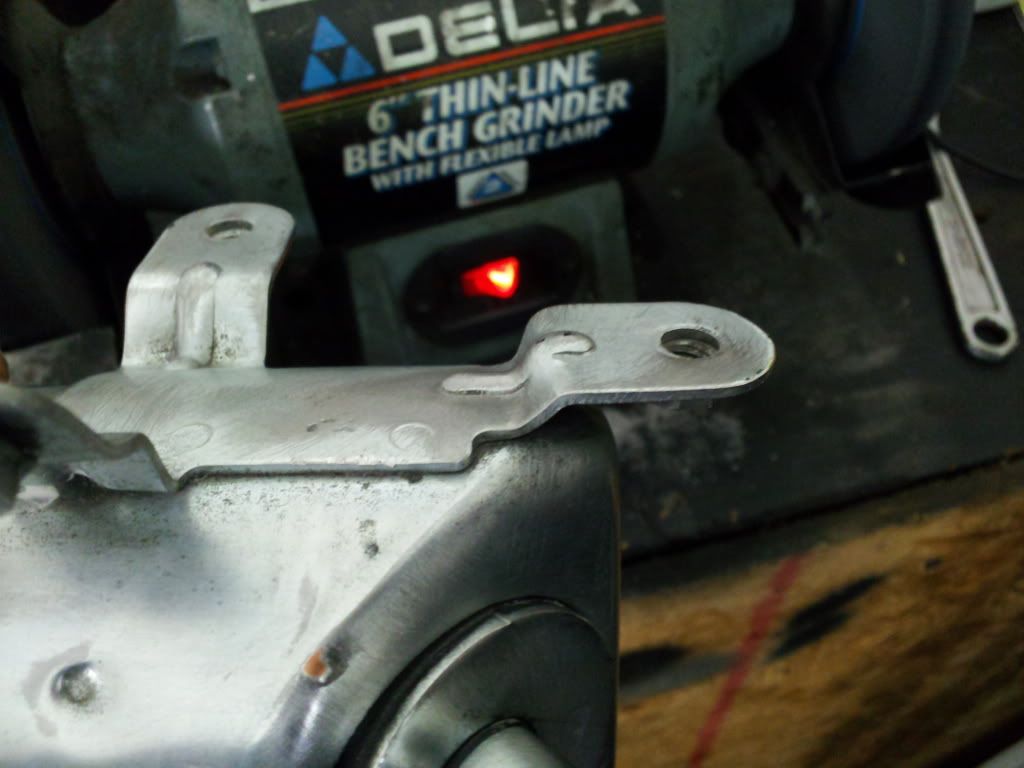
Saneded down...
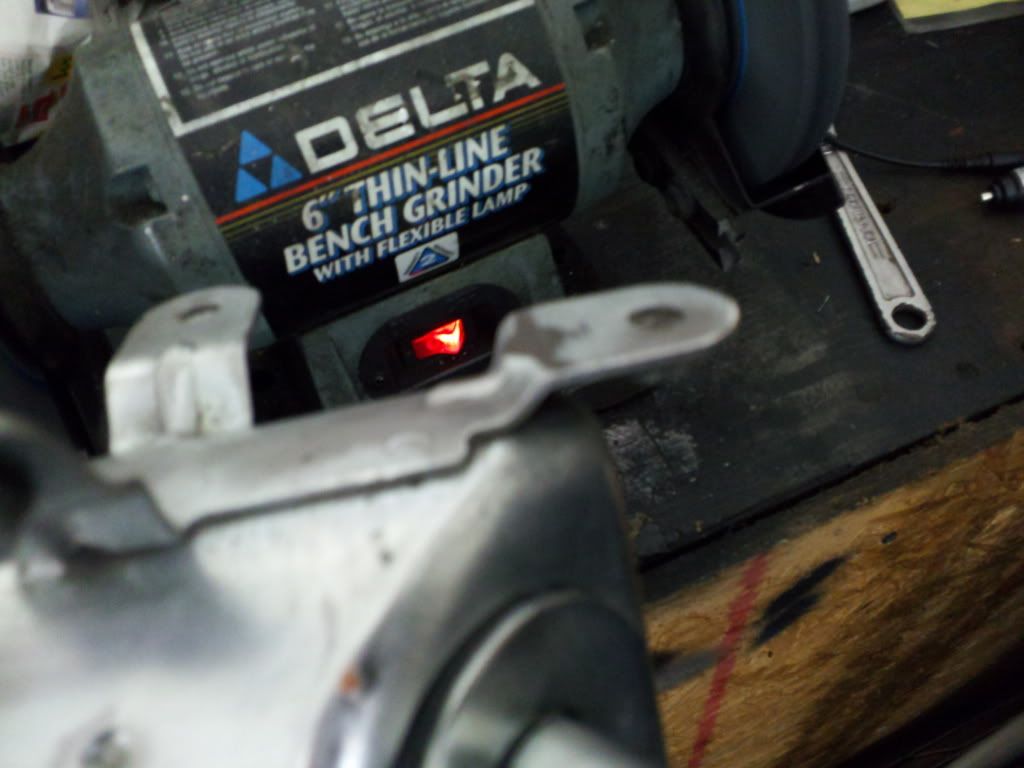
Mounted with sheetrock screws, secured and fit well, does not move. I also applied a nut behind the bracket I bent to assure it flushness against the plastic housing or fuse box...
Removing the shifter.. pull down on the plastic tab below..to access screws, then remove them..
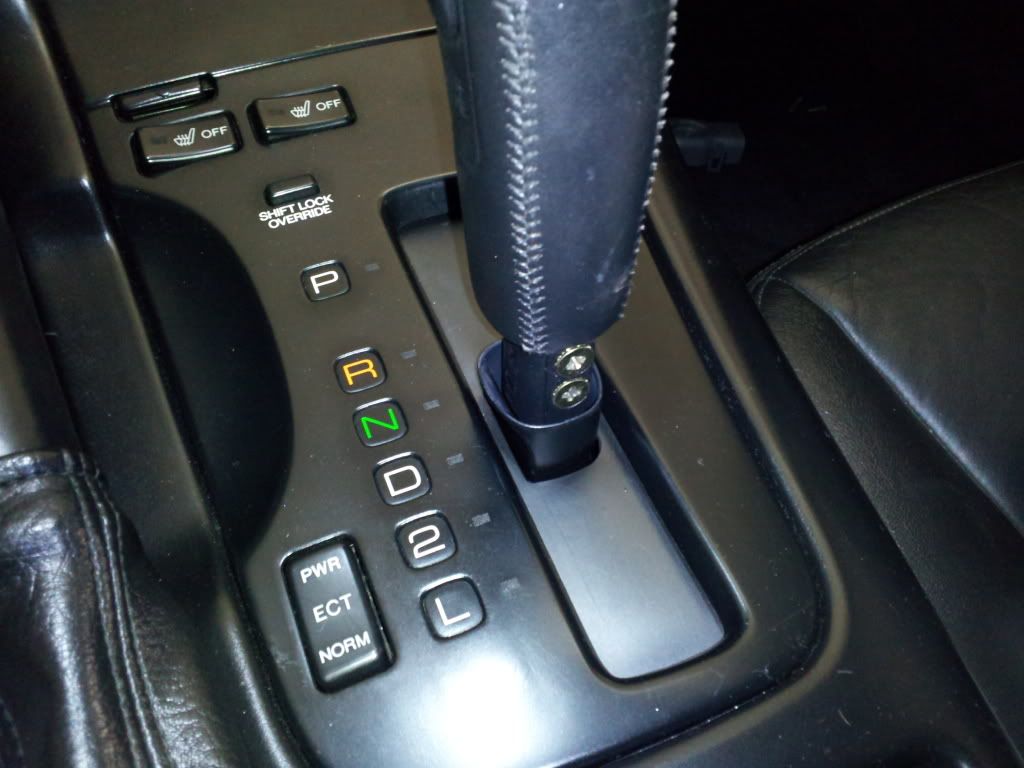
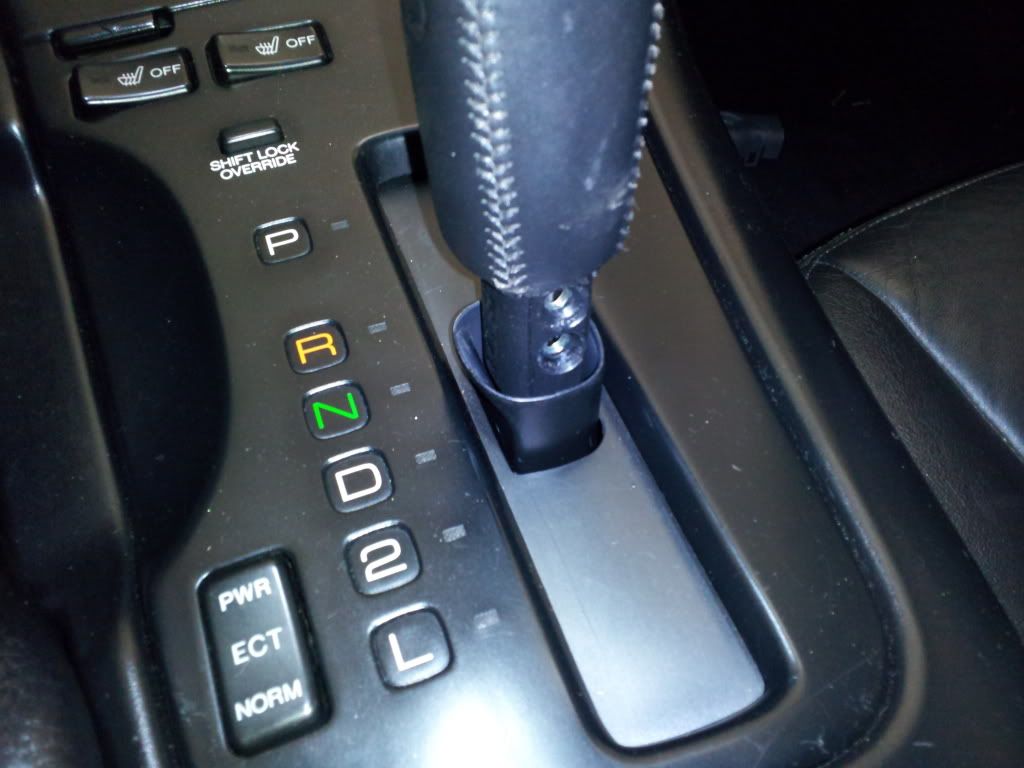
Pull up on the shifter bezel, then unplug the three harnesses...in white..

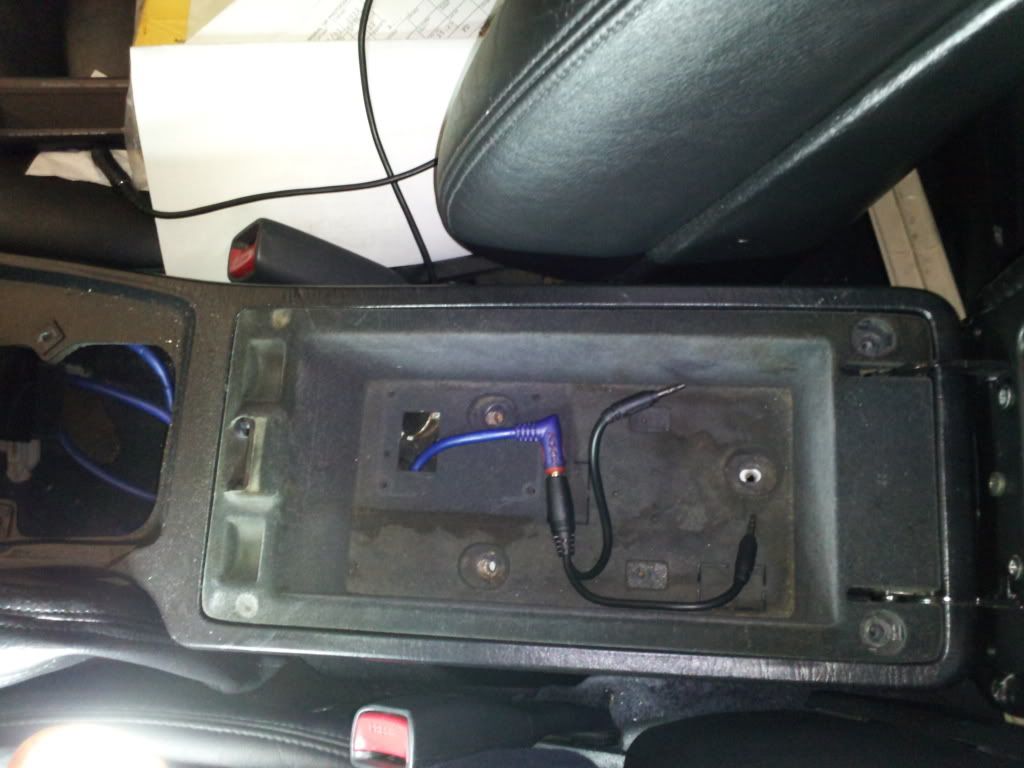
Remove cup holder, by pulling straight out, be careful, use both hands on each side..
Removing the front release....
See the all the white scratches?...
Covering everything up...
First coat of Rustoleum semi gloss paint.. looks almost oem..
Finsihed with three coats..
Coolant resevoir with brackets back on and ready to go in..
Cleared the FMIC, barely..
other side...
Front mounted...
Getting ready to mount the resevoir.. the far bracket needed to be bent in a little to fit flush.
Fits snug...
Had to sand down the inside tab a little to fit flush...
Saneded down...
Mounted with sheetrock screws, secured and fit well, does not move. I also applied a nut behind the bracket I bent to assure it flushness against the plastic housing or fuse box...
Removing the shifter.. pull down on the plastic tab below..to access screws, then remove them..
Pull up on the shifter bezel, then unplug the three harnesses...in white..
Remove cup holder, by pulling straight out, be careful, use both hands on each side..
Last edited by 1JZPWRD; 12-05-11 at 11:54 AM.
12-05-11, 12:05 PM
#218
1JZ Single SC400
Thread Starter
iTrader: (59)
Join Date: Jan 2009
Location: Alabama, Roll Tide!
Posts: 8,518
Likes: 0
Received 15 Likes
on
12 Posts
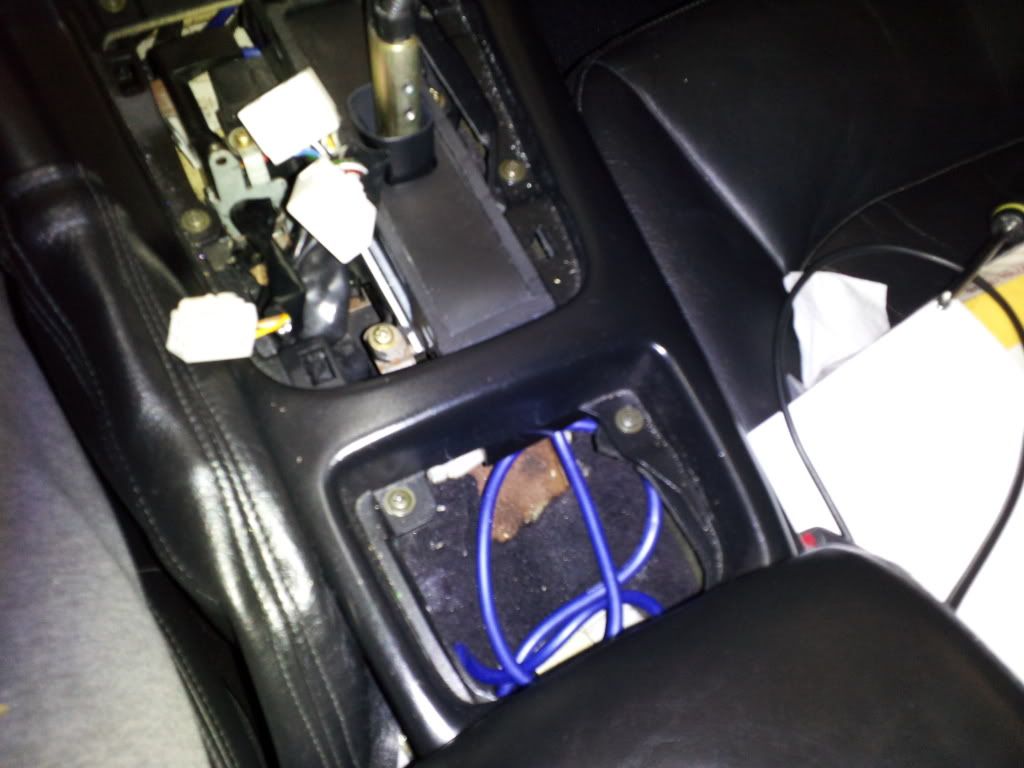
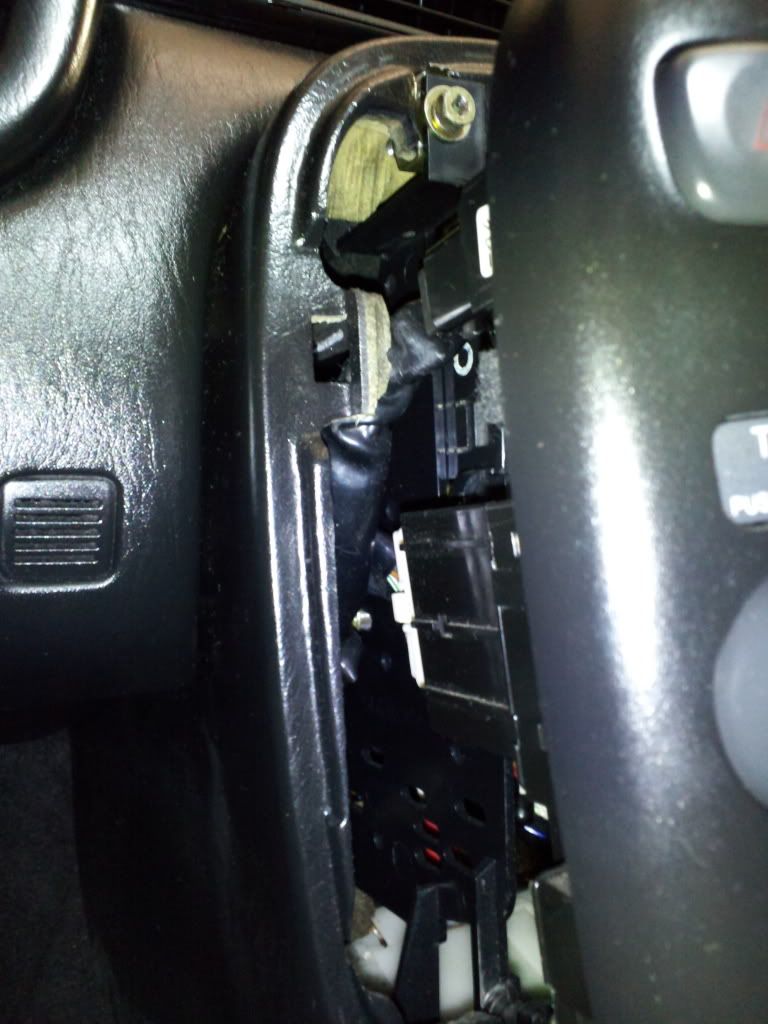
Remove the screws all around the console, around 10 or so phillips head..then pull up and out..unplug the two plugs
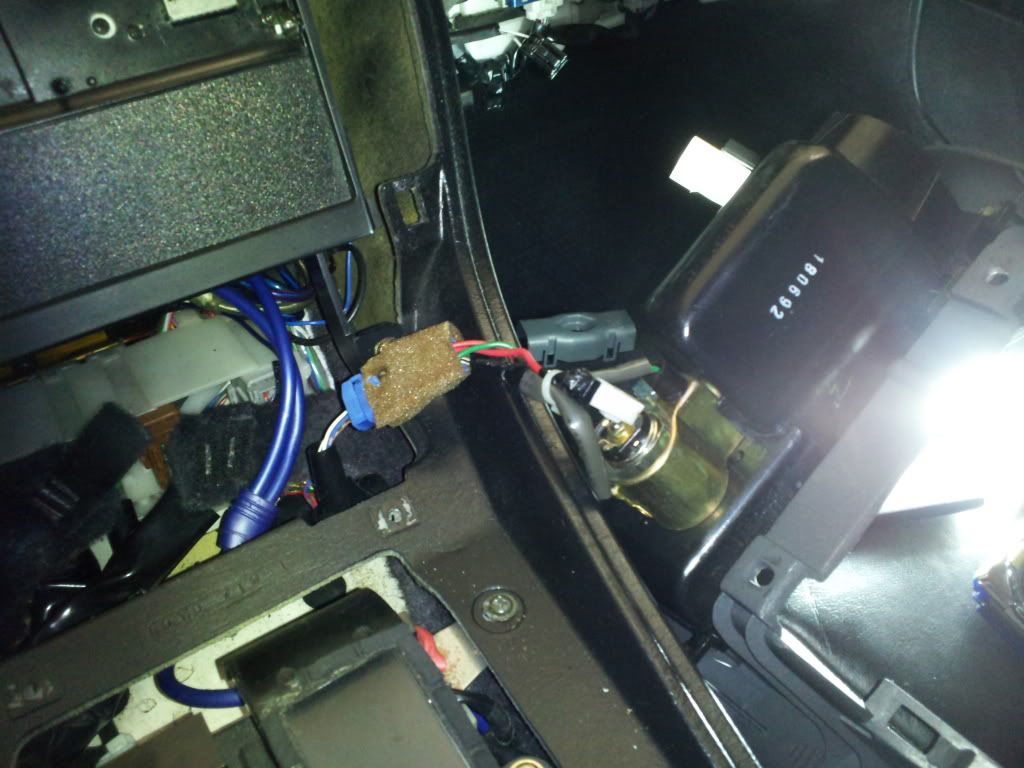
unplug the blue harness for lighter...
Place aside....remove the four screws that holds radio in and mount...remove the wires from radio and amps..
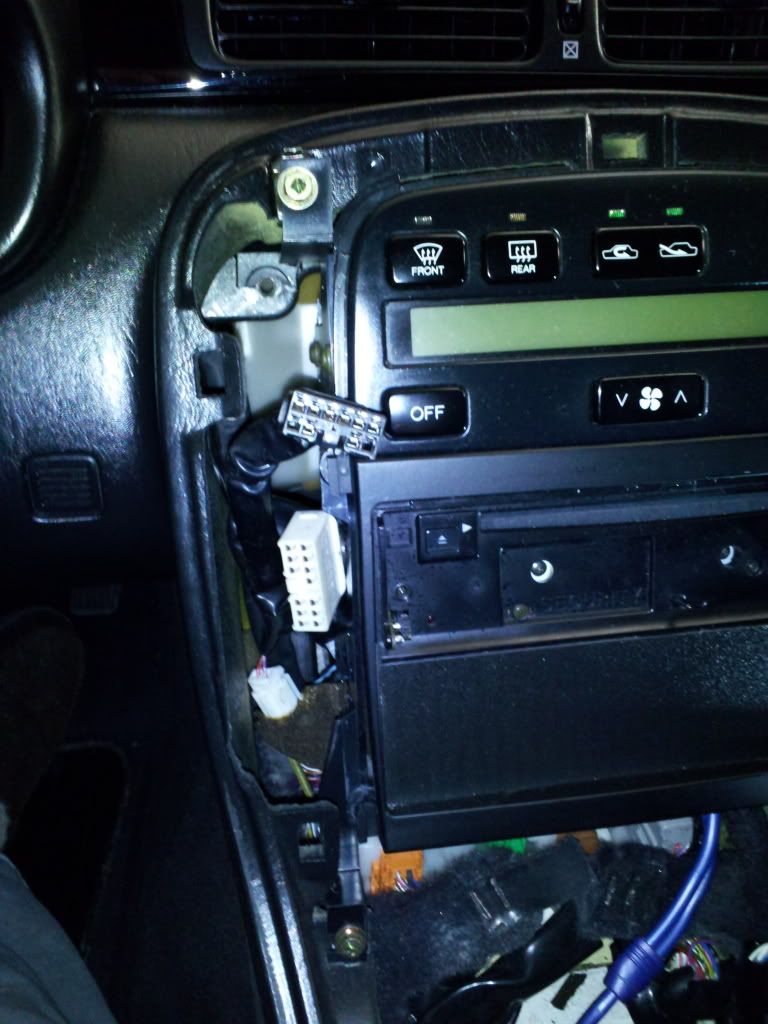
unplug the three white harnesses from bak of climate control..
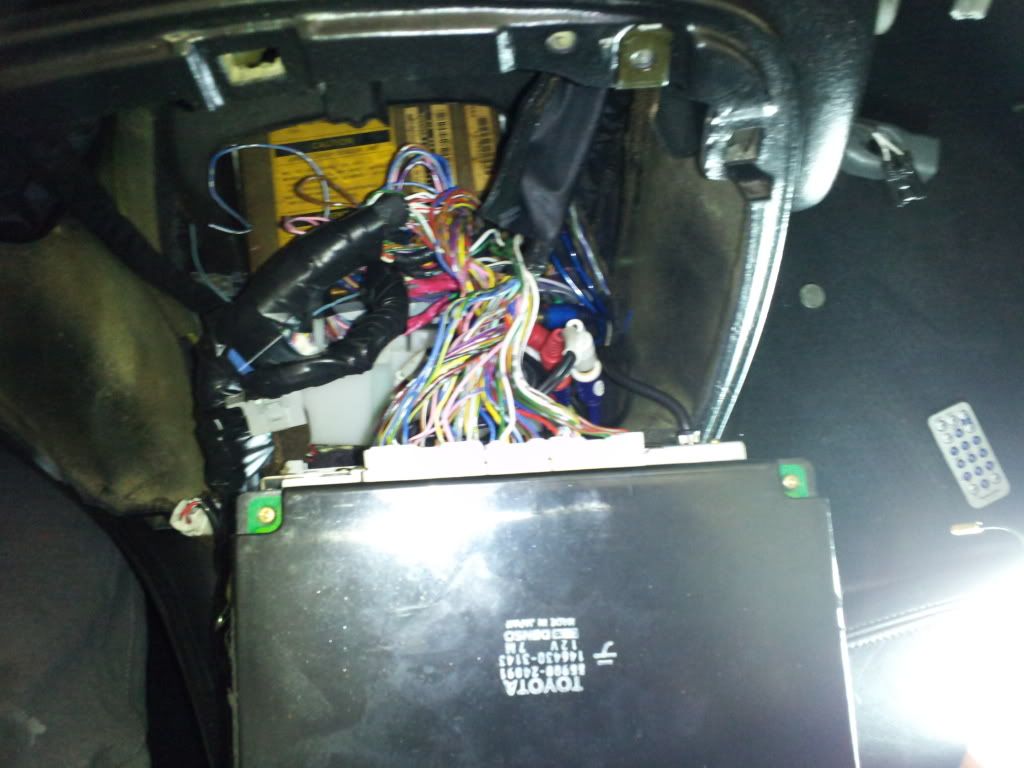
Unplugged and laid in the back...
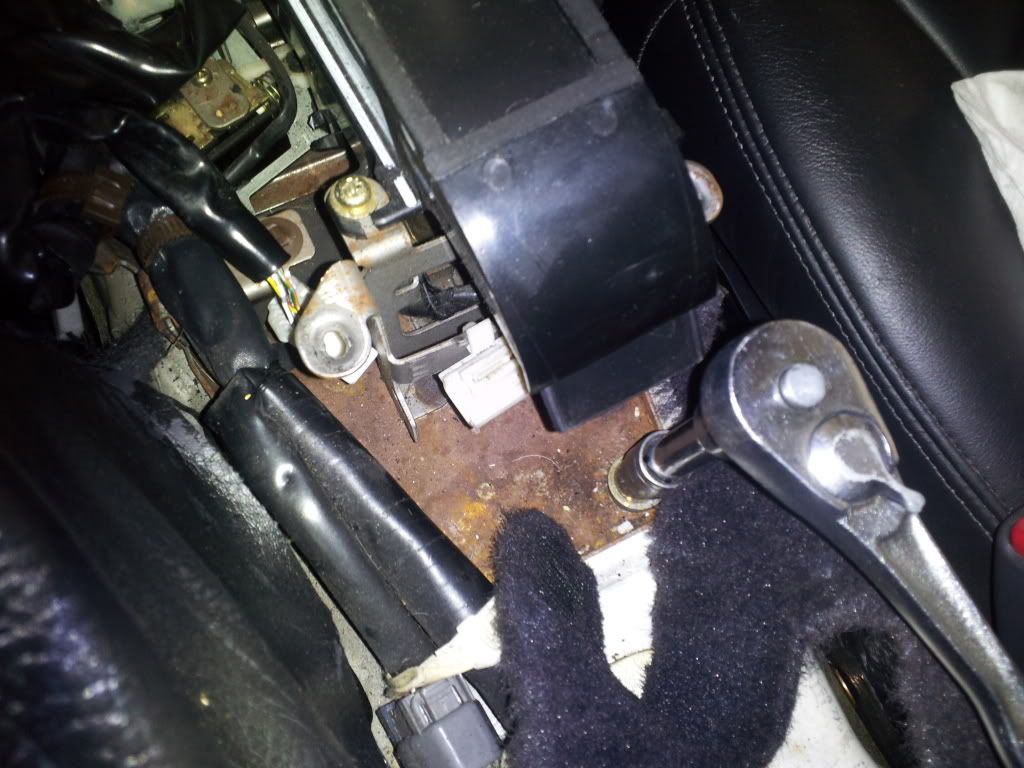
remove the 2 screws in console lid area and the 10mm bolts to remove the console...
Remove bolt screws on each side of console near the front or where your knees are...

Removed...
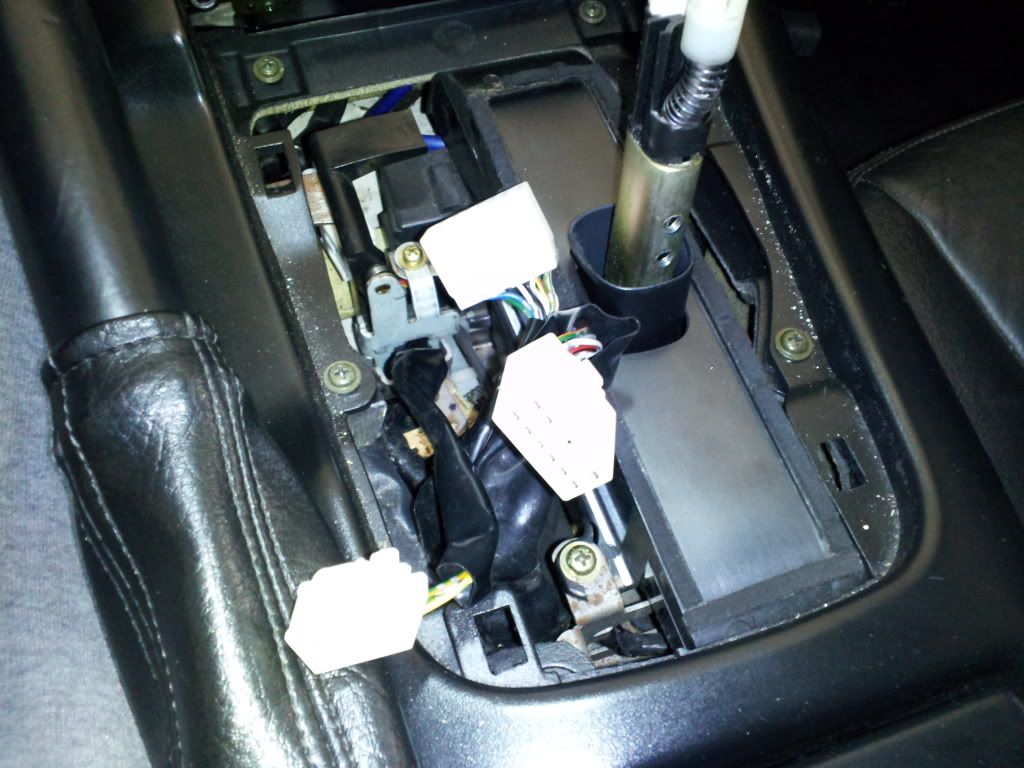
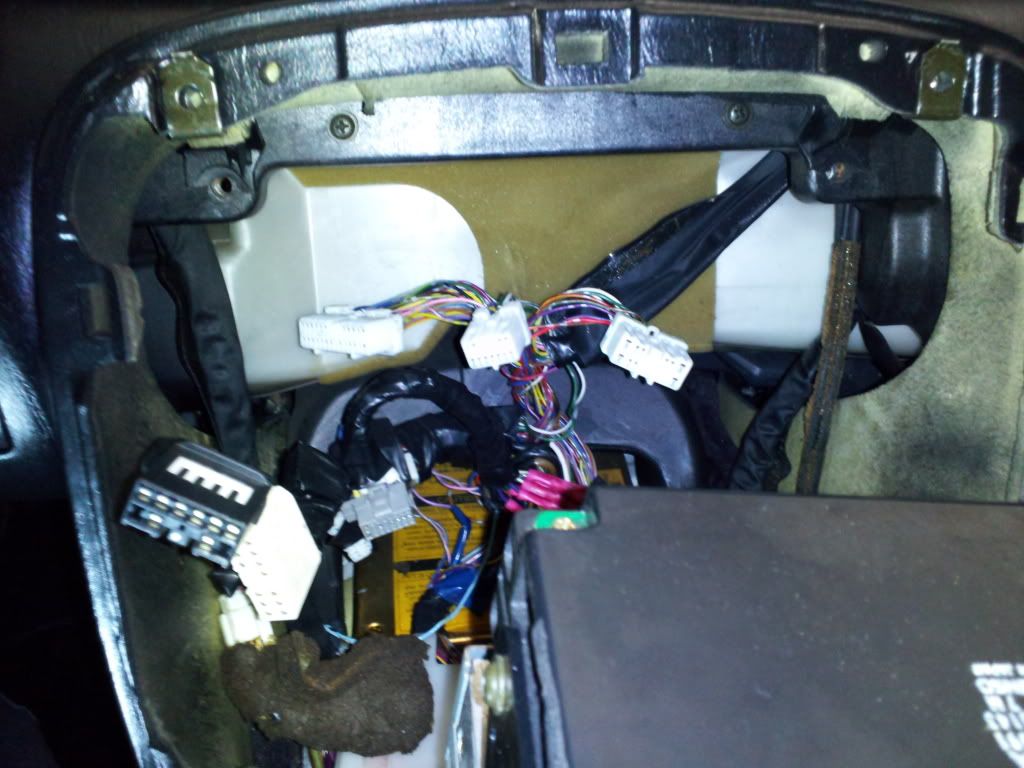
unplug this harness in front...
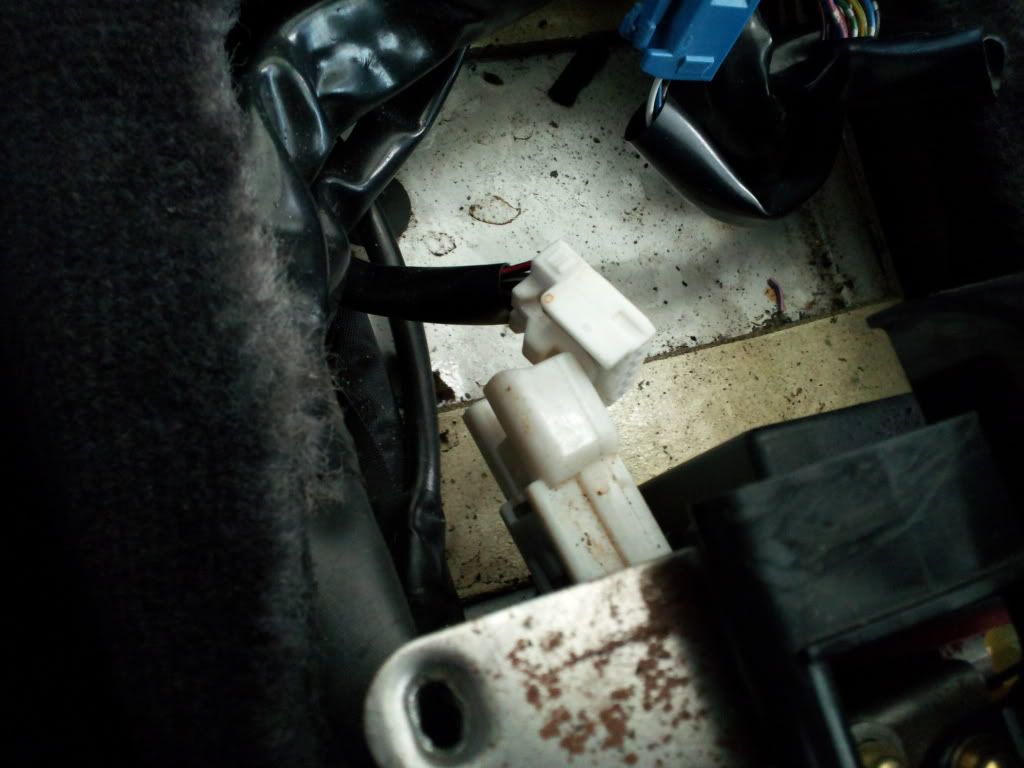
unplug this one in the rear...
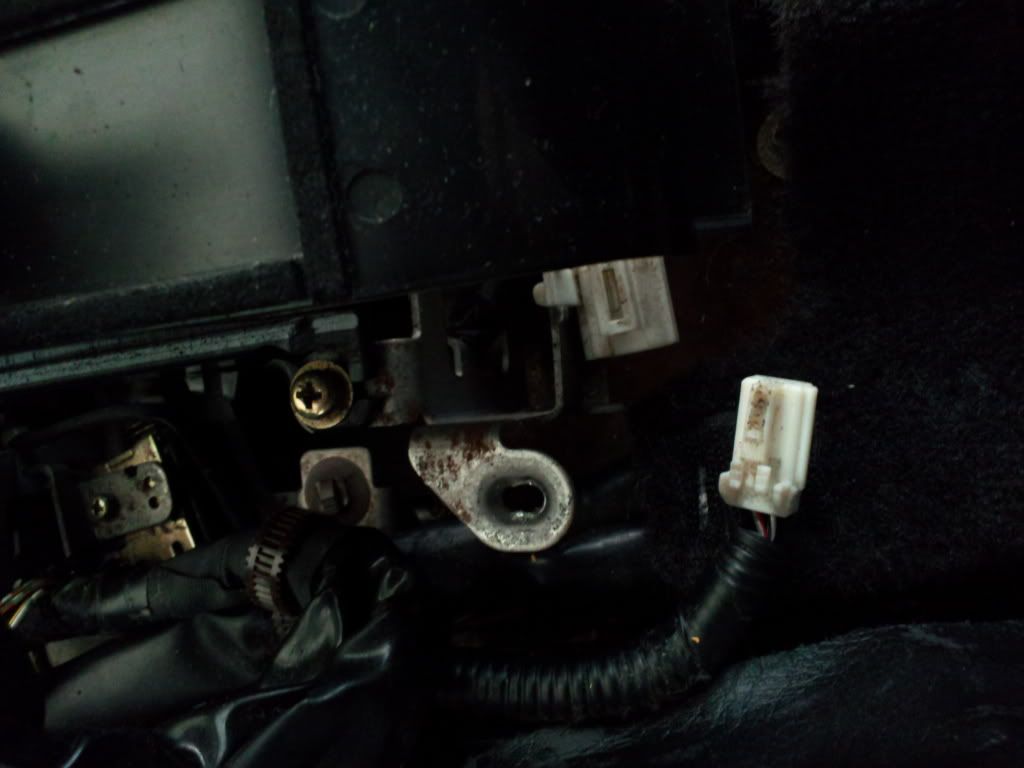
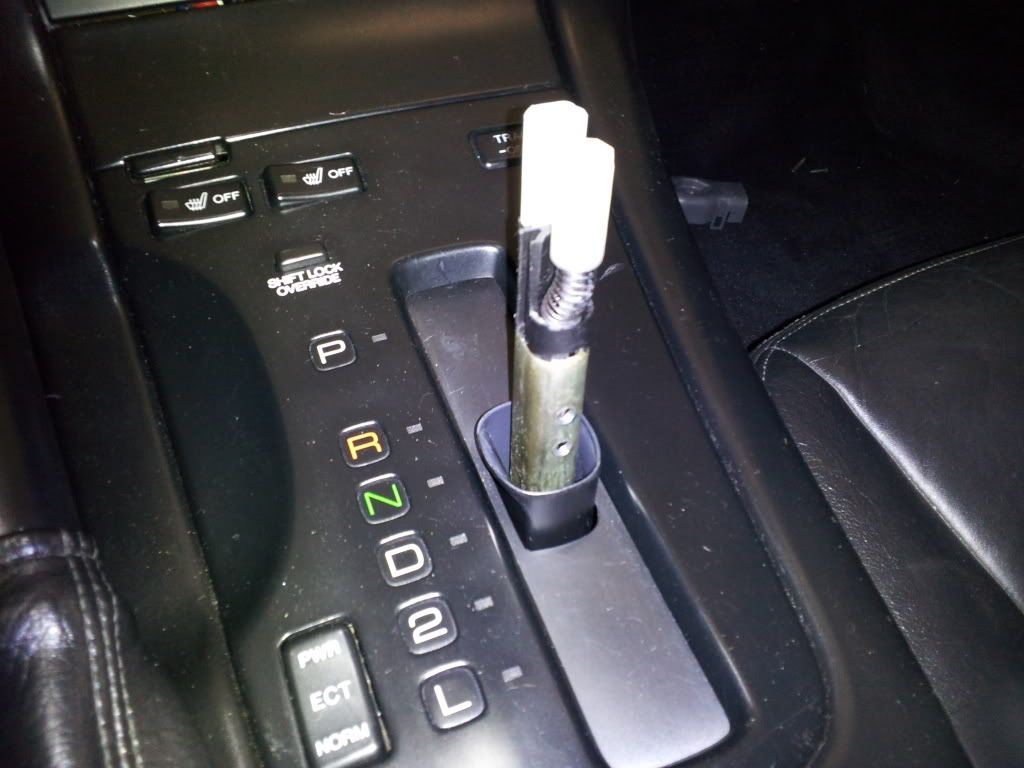
remove the four 10mm bolts around the shifter housing in frame of car...
Remove the wire harnesses tabs on the left side and set aside for now...
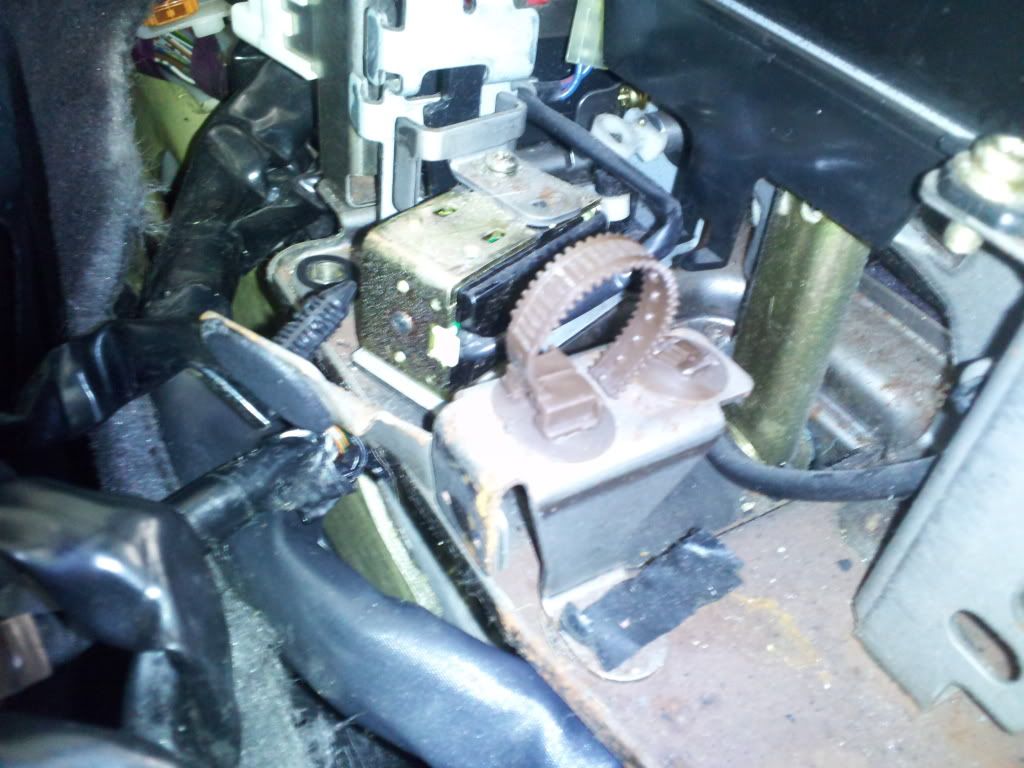
Remove shifter....
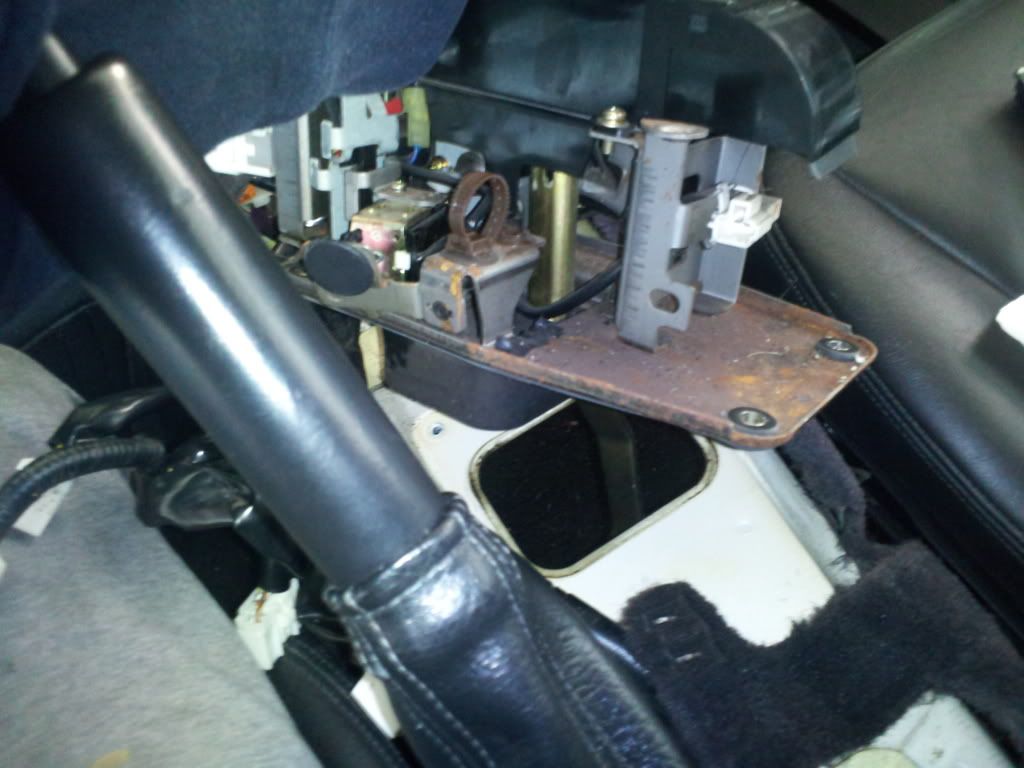
Out!!!!!!
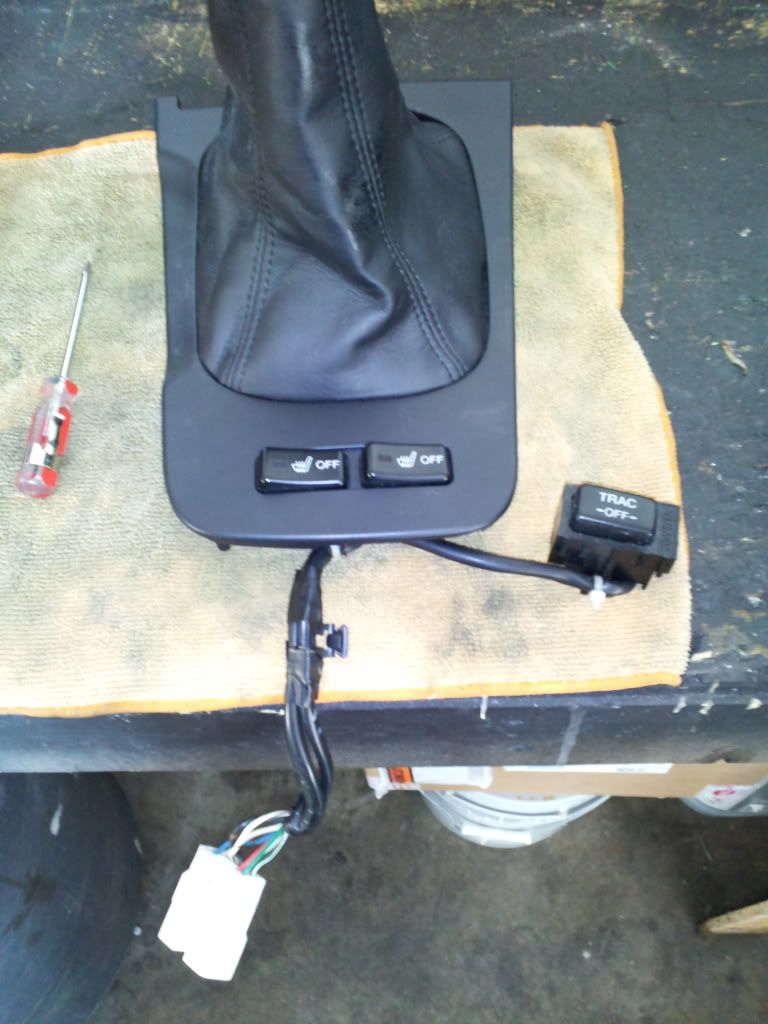
Installed the new switches from old one. Not sure what to do with the trac button for now???
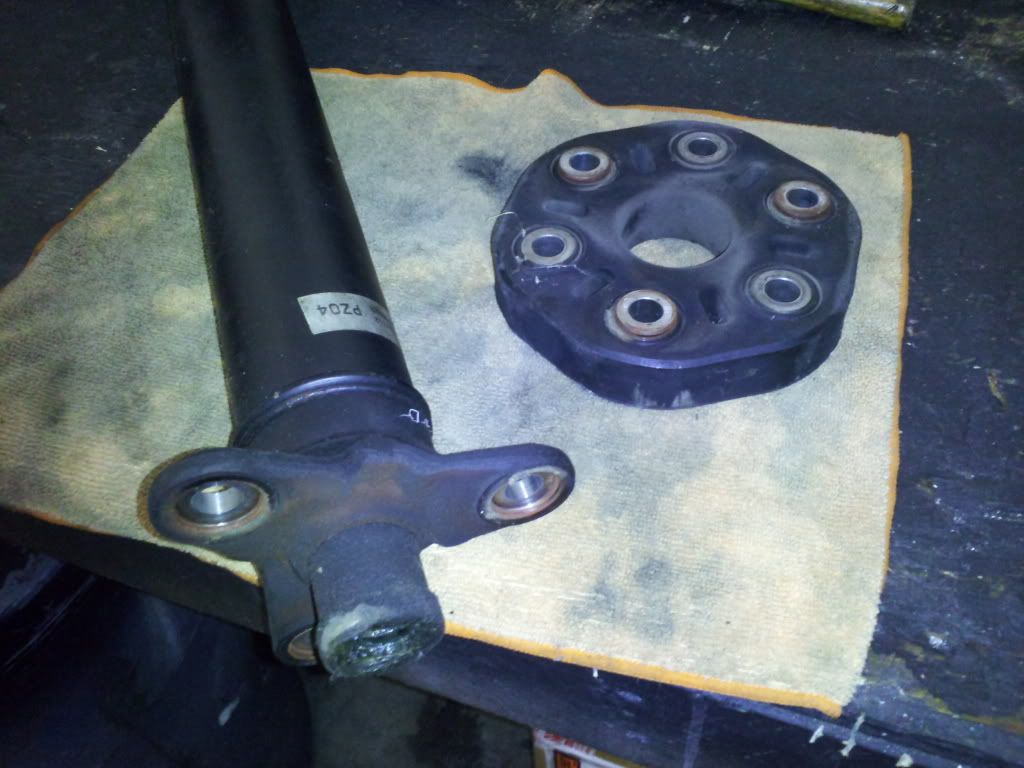
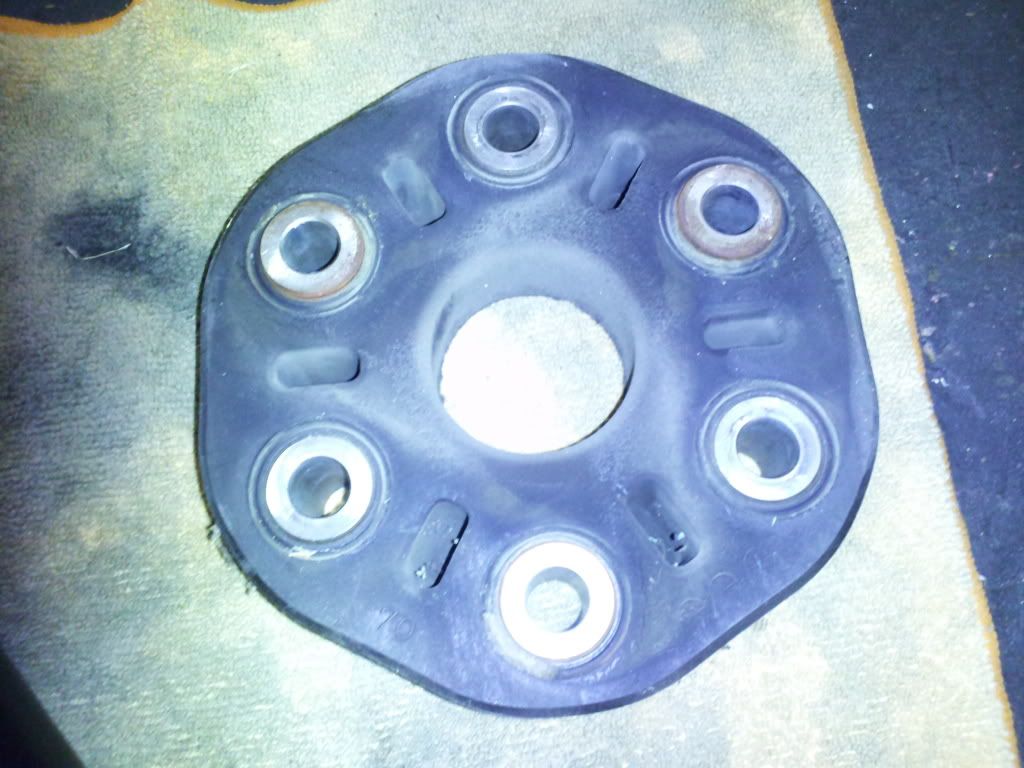
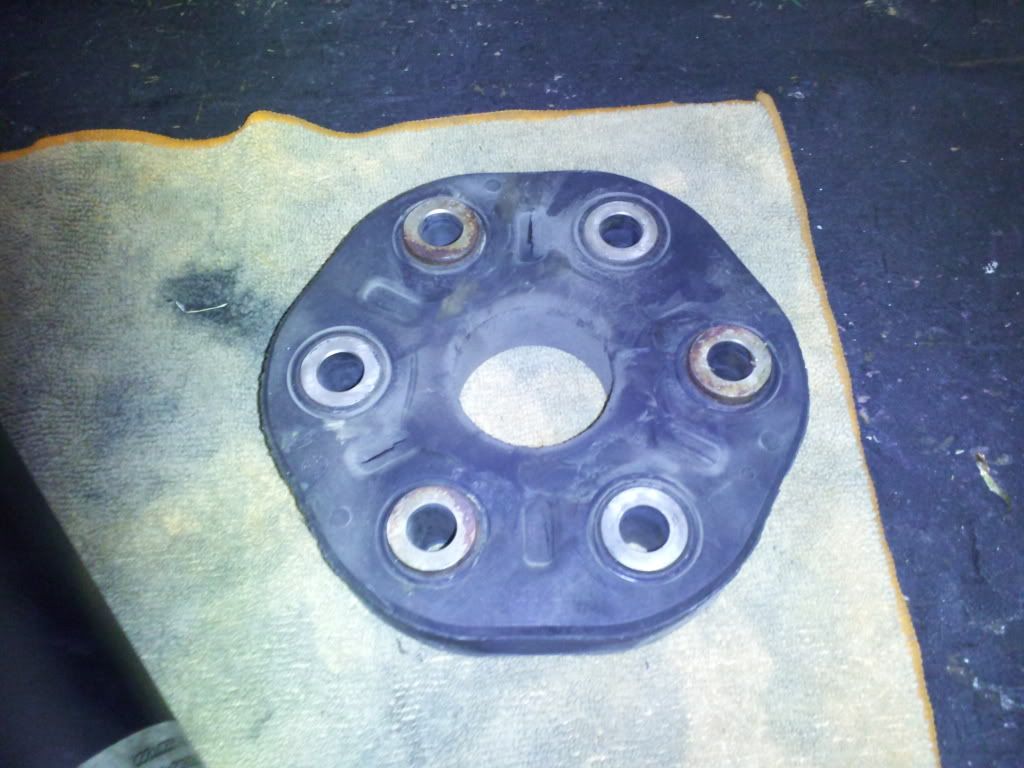
Removed the rubber bushing from stock sc400 drivesahft...in very good condition, no cracks or nothing. will reuse..
All done for today....
unplug the blue harness for lighter...
Place aside....remove the four screws that holds radio in and mount...remove the wires from radio and amps..
unplug the three white harnesses from bak of climate control..
Unplugged and laid in the back...
remove the 2 screws in console lid area and the 10mm bolts to remove the console...
Remove bolt screws on each side of console near the front or where your knees are...
Removed...
unplug this harness in front...
unplug this one in the rear...
remove the four 10mm bolts around the shifter housing in frame of car...
Remove the wire harnesses tabs on the left side and set aside for now...
Remove shifter....
Out!!!!!!
Installed the new switches from old one. Not sure what to do with the trac button for now???
Removed the rubber bushing from stock sc400 drivesahft...in very good condition, no cracks or nothing. will reuse..
All done for today....
 12-05-11, 04:11 PM
#221
i did this last week. iam sure you are throwing away all that automatic stuff?? and i went to the junkyard the other day and a sc300 had the damn coolant overflow bottle and i didn't snag it. damn
and wheres the pics of that front mount mounted?? also how much of the bumper support did you take out?? did you use a table saw or a air cutter??
and wheres the pics of that front mount mounted?? also how much of the bumper support did you take out?? did you use a table saw or a air cutter??
12-05-11, 04:19 PM
#222
1JZ Single SC400
Thread Starter
iTrader: (59)
Join Date: Jan 2009
Location: Alabama, Roll Tide!
Posts: 8,518
Likes: 0
Received 15 Likes
on
12 Posts
Well actually I am giving the auto stuff to another member. He needs a few parts. I have found out that most people who do the swaps does not post a lot of progress picturez along the way, well they do but not a lot of the wiring and such. Like boost gauge, widebands, boost controllees and such. That is what I am going to do, post stuff that I haven't seen before and the stuff I had questiins about. Another one is the resistor jump on the cluster. So if someone is reading this and plans on doing a swap, look here. I will try and take as many pictures as I can if everything!
Guys, thanks for the loads of confidence and the compliments.. I appreciate it!
Guys, thanks for the loads of confidence and the compliments.. I appreciate it!
12-05-11, 04:23 PM
#223
1JZ Single SC400
Thread Starter
iTrader: (59)
Join Date: Jan 2009
Location: Alabama, Roll Tide!
Posts: 8,518
Likes: 0
Received 15 Likes
on
12 Posts
Megamax, I didn't take any of the bumper support out. I mounted mine as far back as possible or closest to the ac condensor. Didn't want anyone to see the fmic, aka keepin it a sleeper! The only piece I removed is the black plastic shroud that directs the air. The other is posted in previous pages of this thread.
12-05-11, 04:31 PM
#225
1JZ Single SC400
Thread Starter
iTrader: (59)
Join Date: Jan 2009
Location: Alabama, Roll Tide!
Posts: 8,518
Likes: 0
Received 15 Likes
on
12 Posts
Yes it would. Look no further, when I do mine I will post DIY pictures along with the gauges and timing belt change with cam replacement. I want this to cover a lot questions in one thread.