
1992Lexus.. Complete build thread with pictures and links!
 12-11-11, 05:49 PM
#271
1JZ Single SC400
Thread Starter
iTrader: (59)
Join Date: Jan 2009
Location: Alabama, Roll Tide!
Posts: 8,518
Likes: 0
Received 15 Likes
on
12 Posts
Motor mounts come in finally. They were in really good shape.
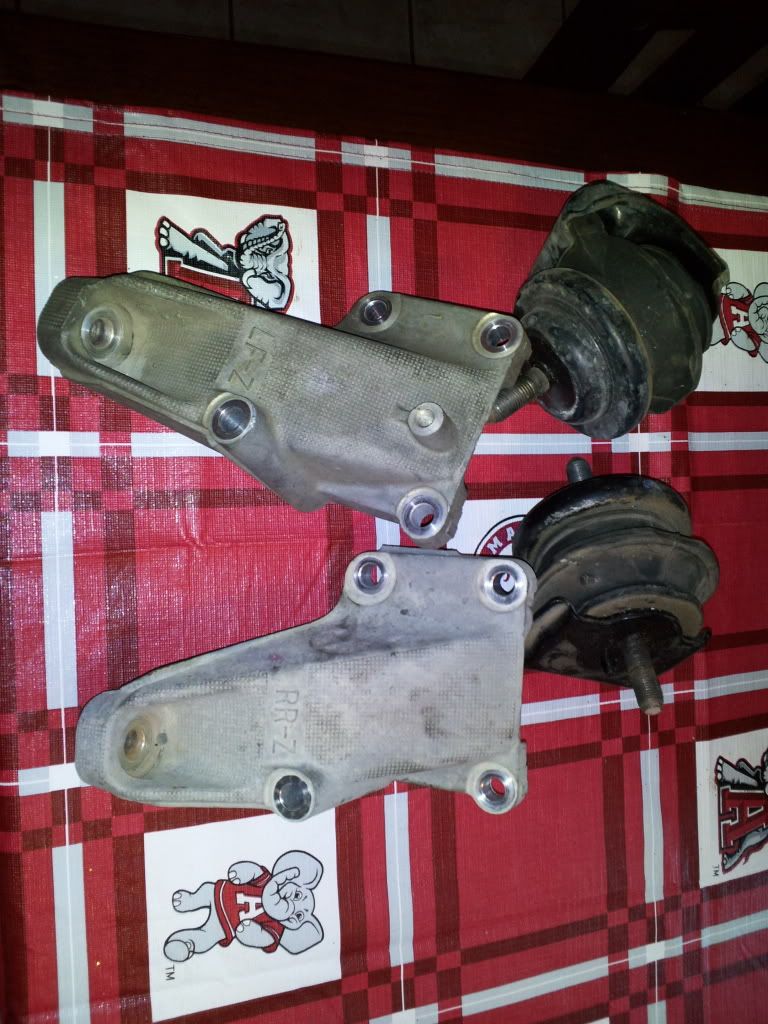
Painted them in black and cleaned them up with some degreaser.
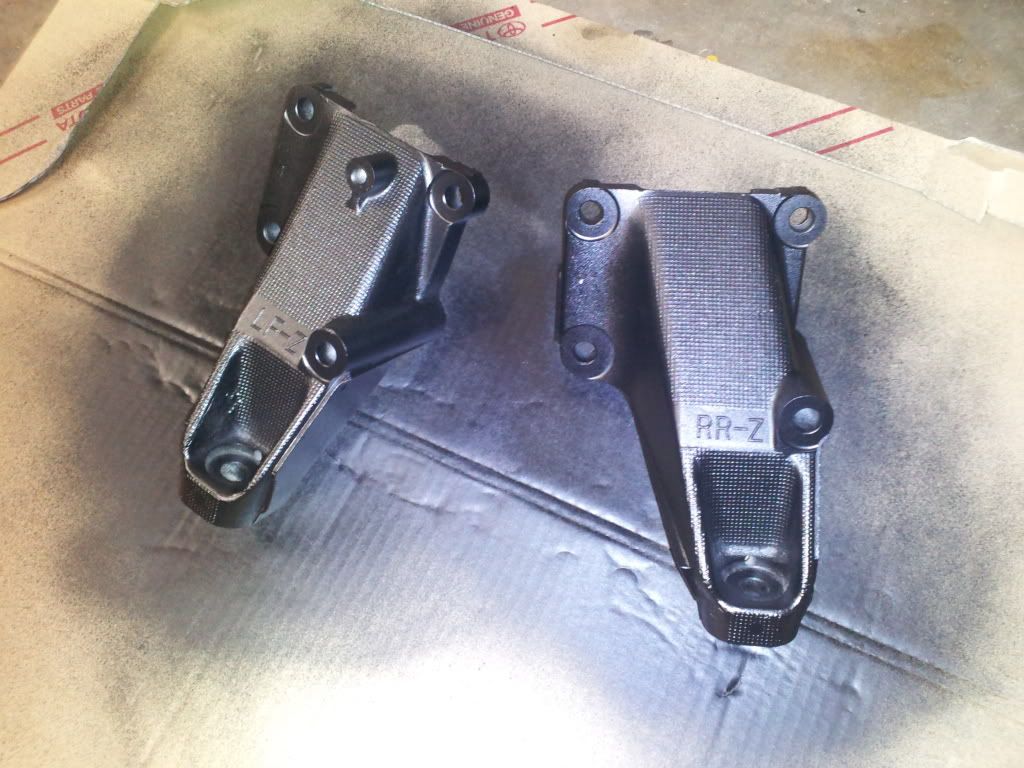
Installed ........with all new bolts
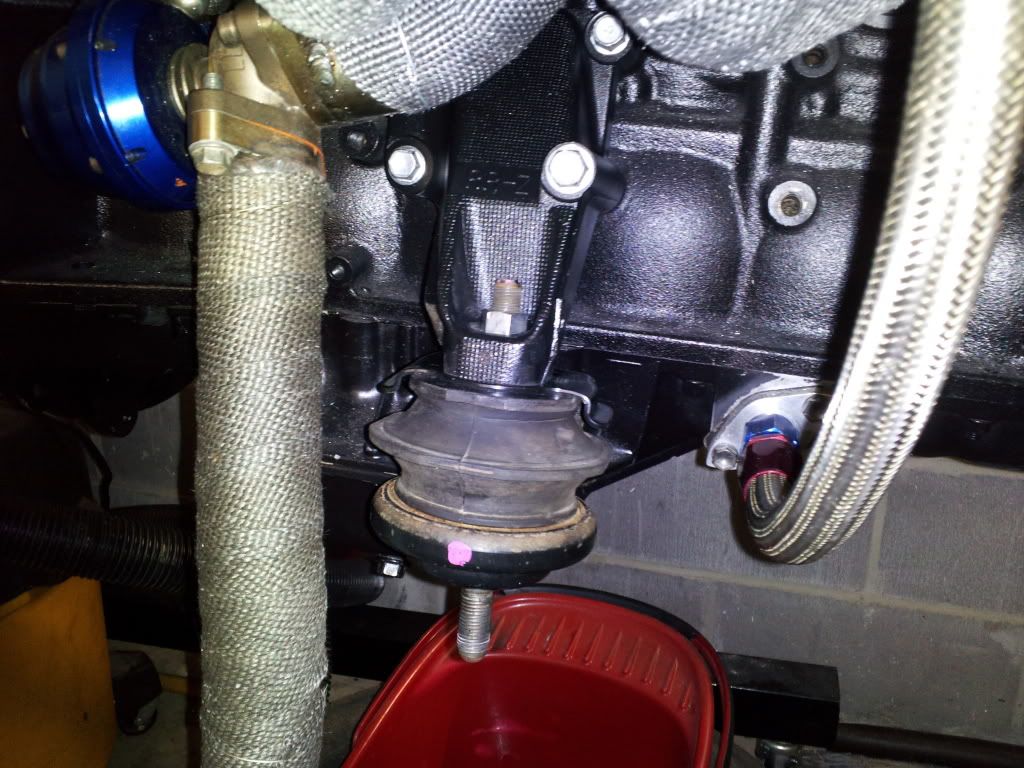
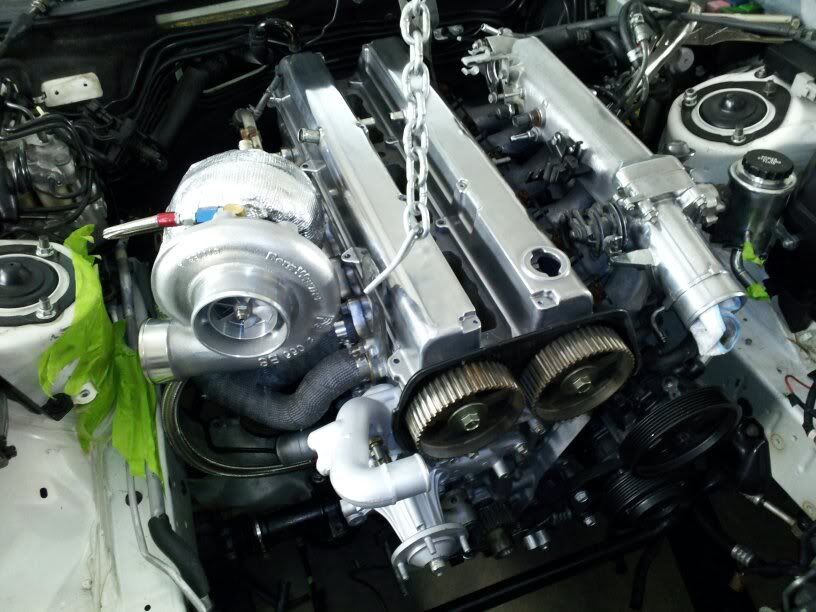
Wanted to see what the motor would like and to see if they would fit perfect.... well almost!
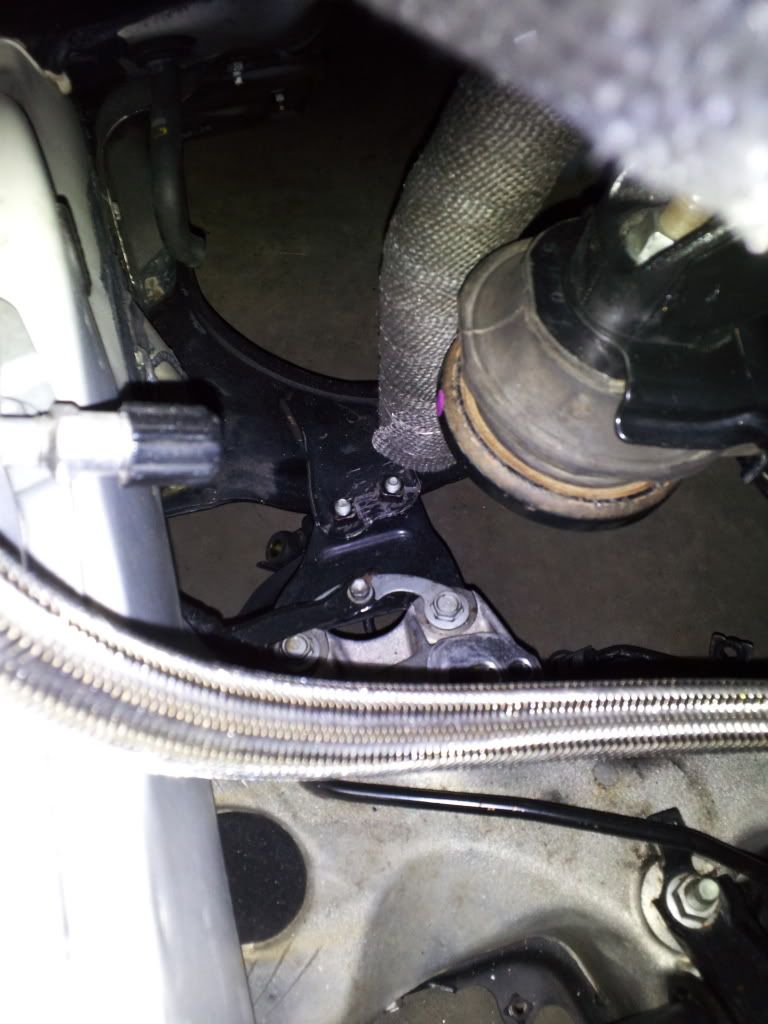
Hit the metal bracket with the exhaust wastegate dump tube. Removed the motor out again.
Had to remove the bracket. Do this underneath the car. ....
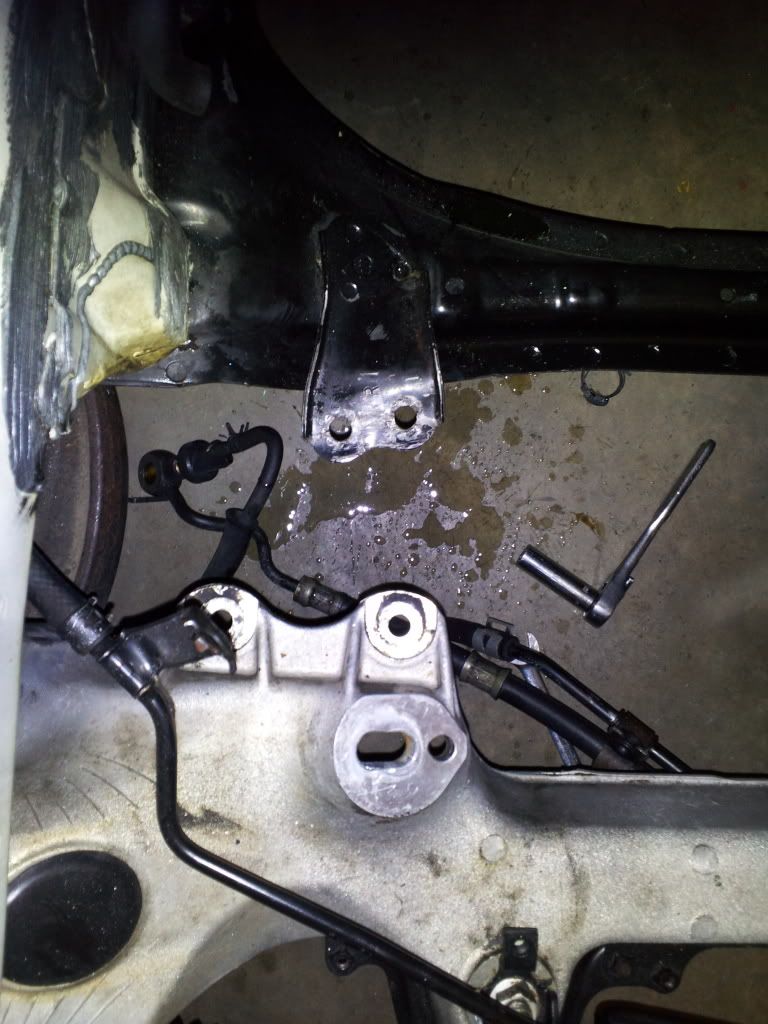
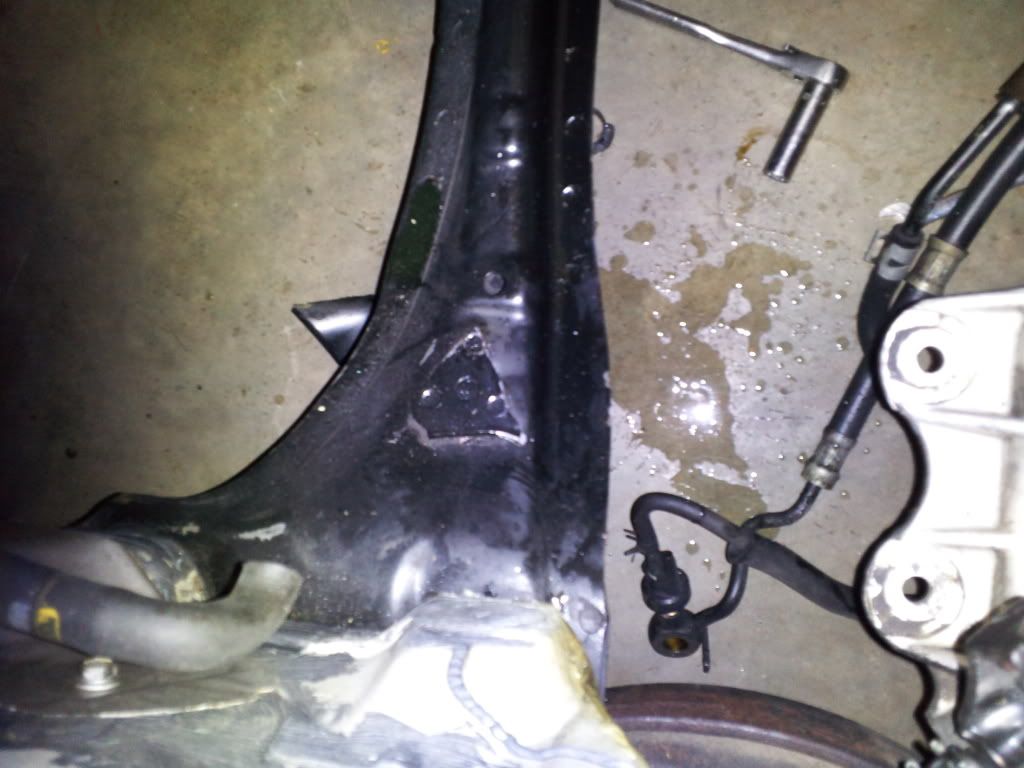
Once removed broke the bracket with a pair of monkey wrenches moving back and forth. Finally it broke....
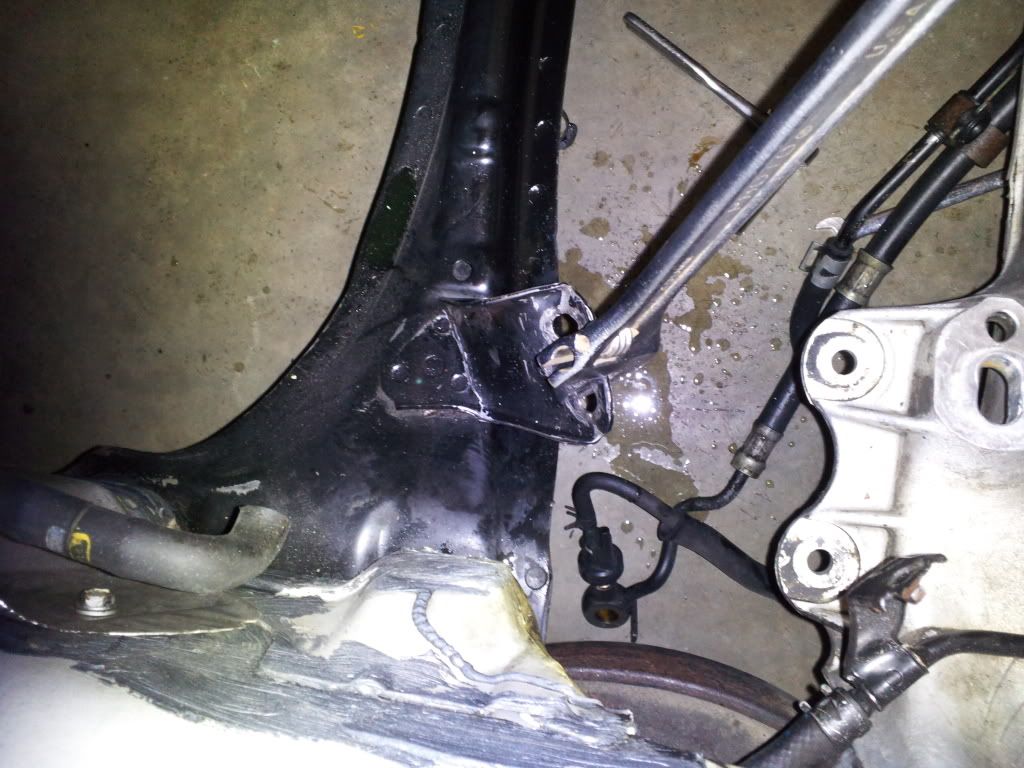
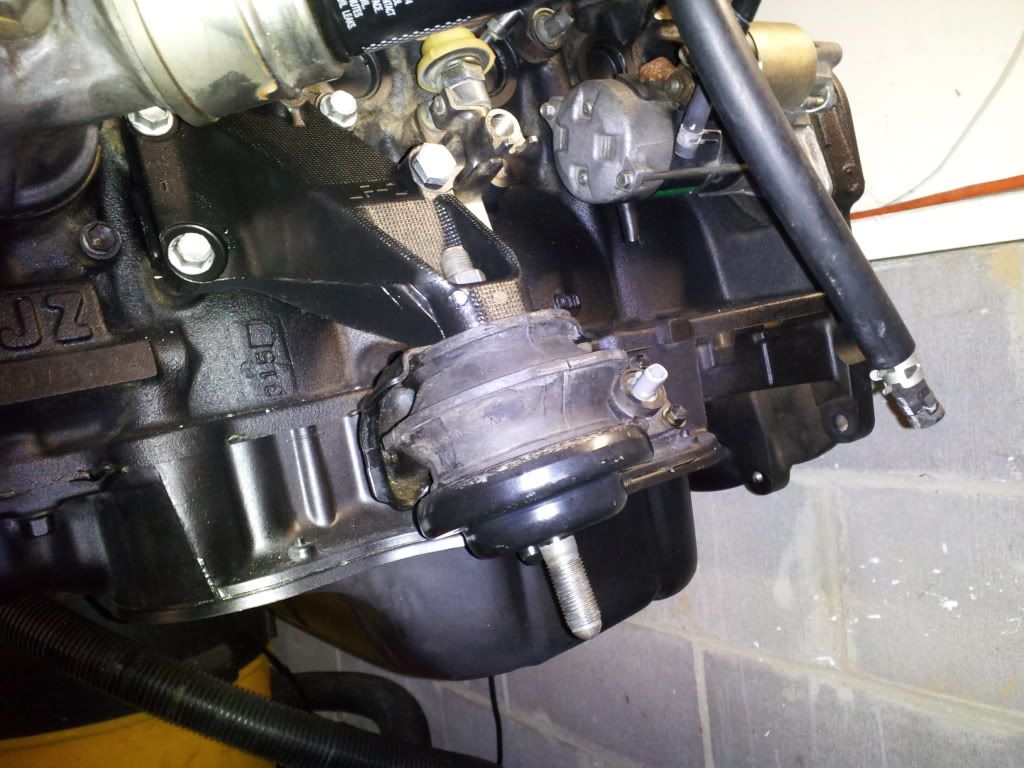
Reinstalled the motor again...
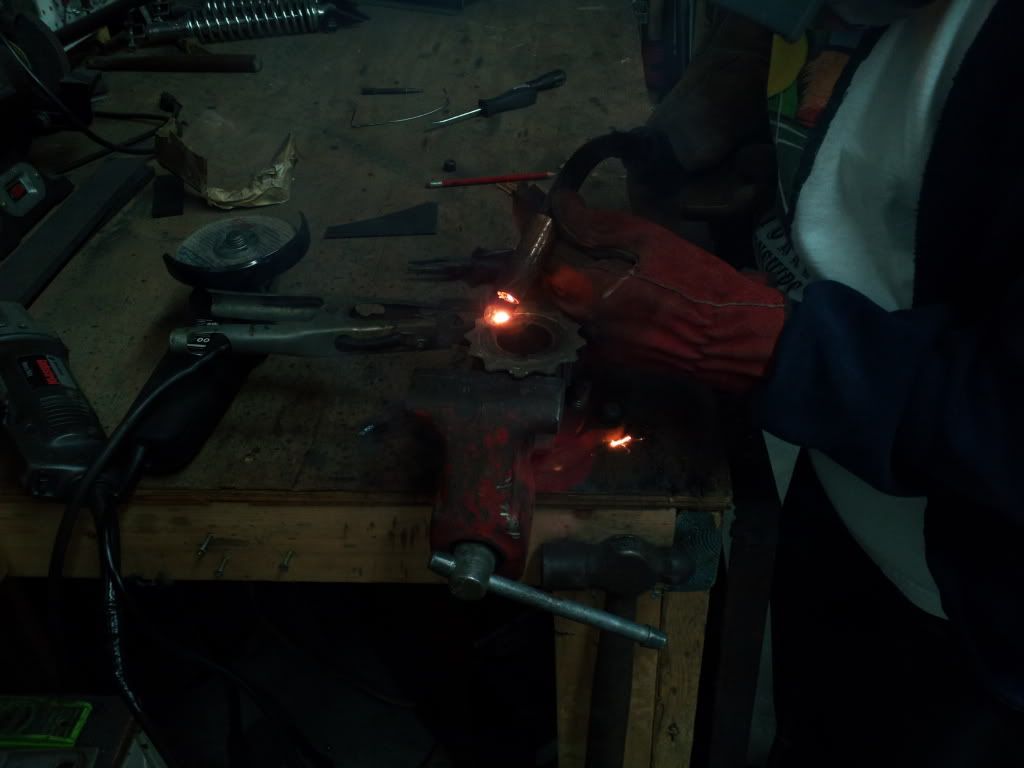
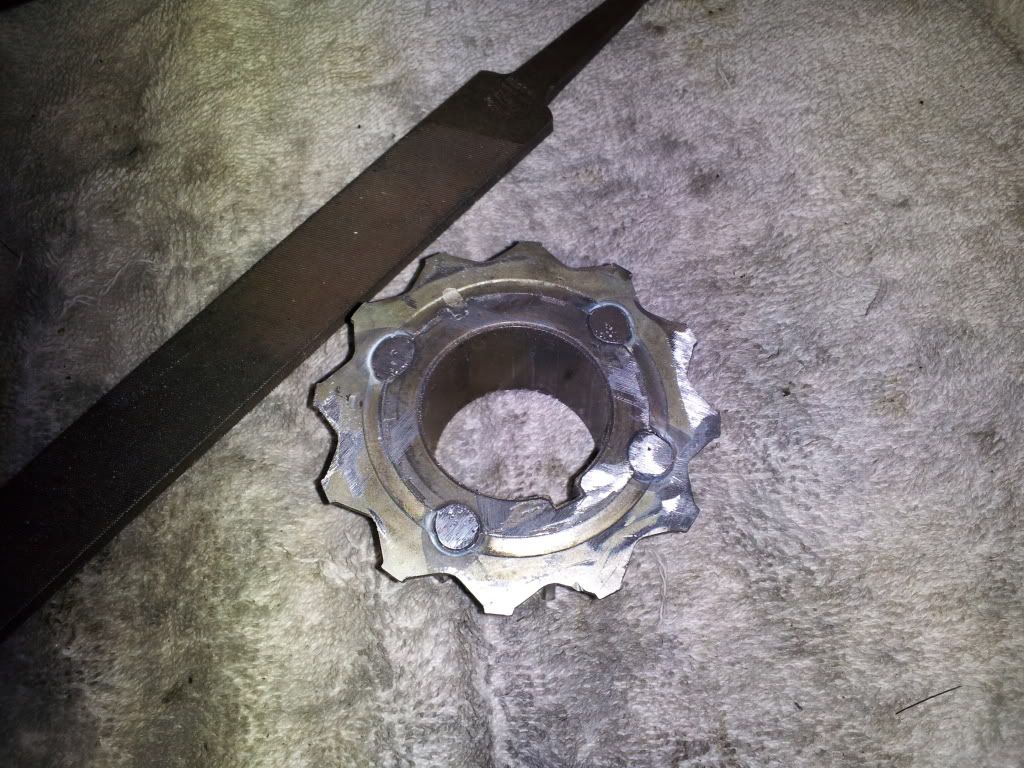
Removed the front gear again and removed the seal. Getting it ready for being welded. Done on the back side. Also noticed the grooves are a little rough, so these will filed down before reinstalled.
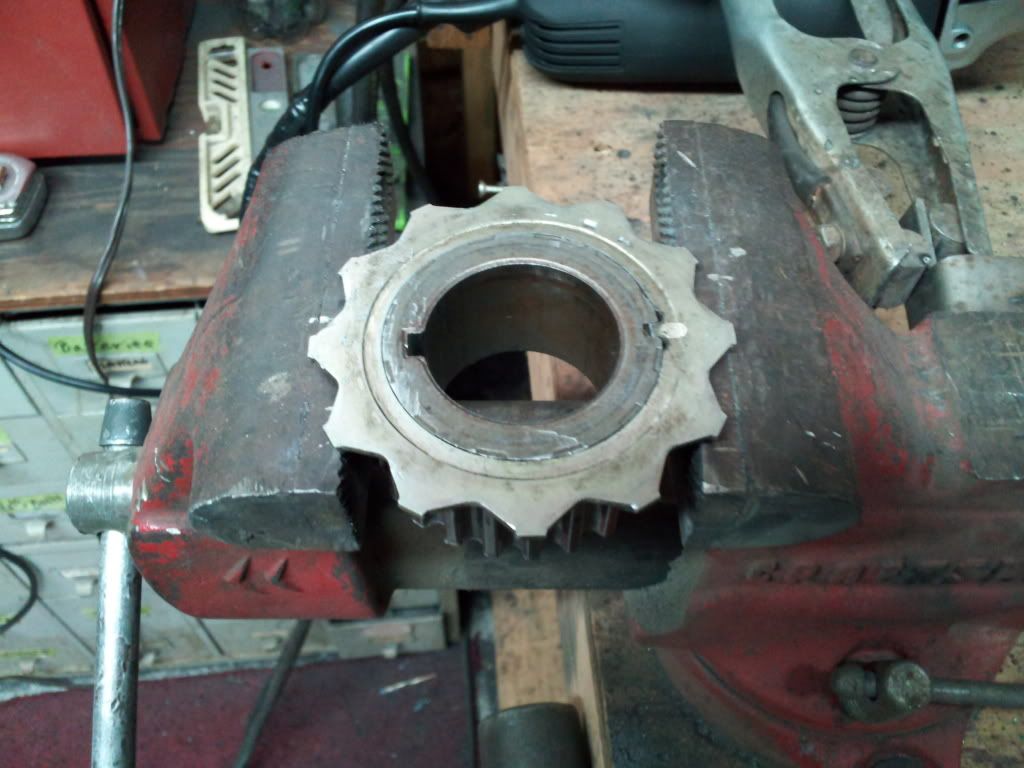
Being welded....
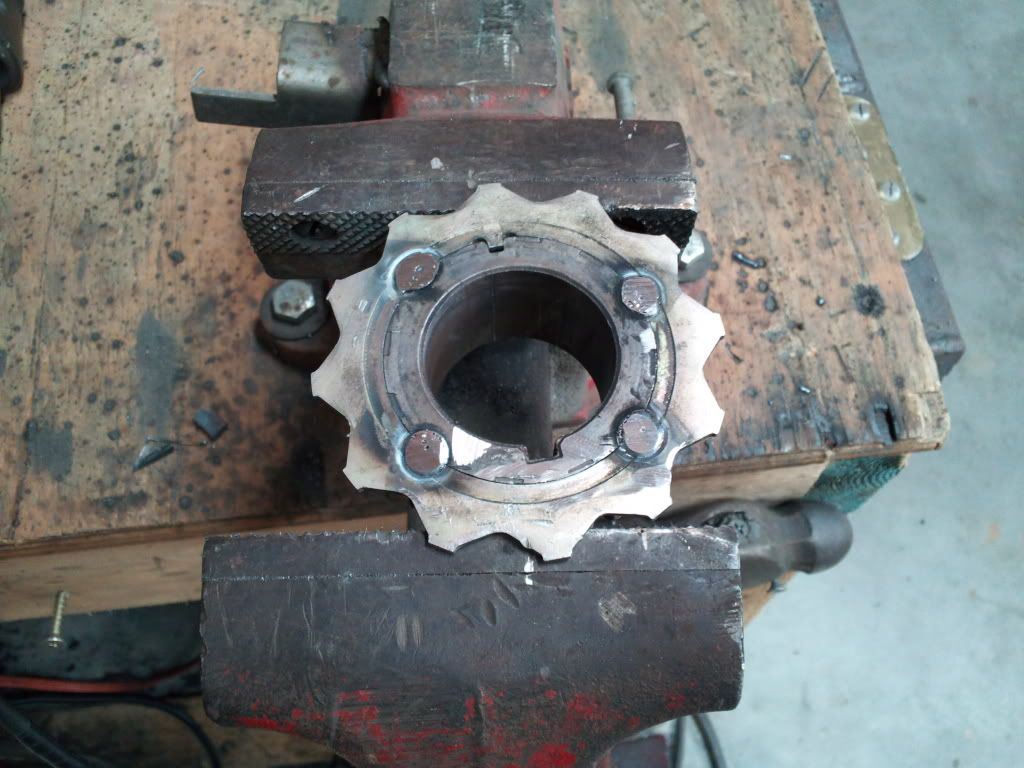
Done with four welds....
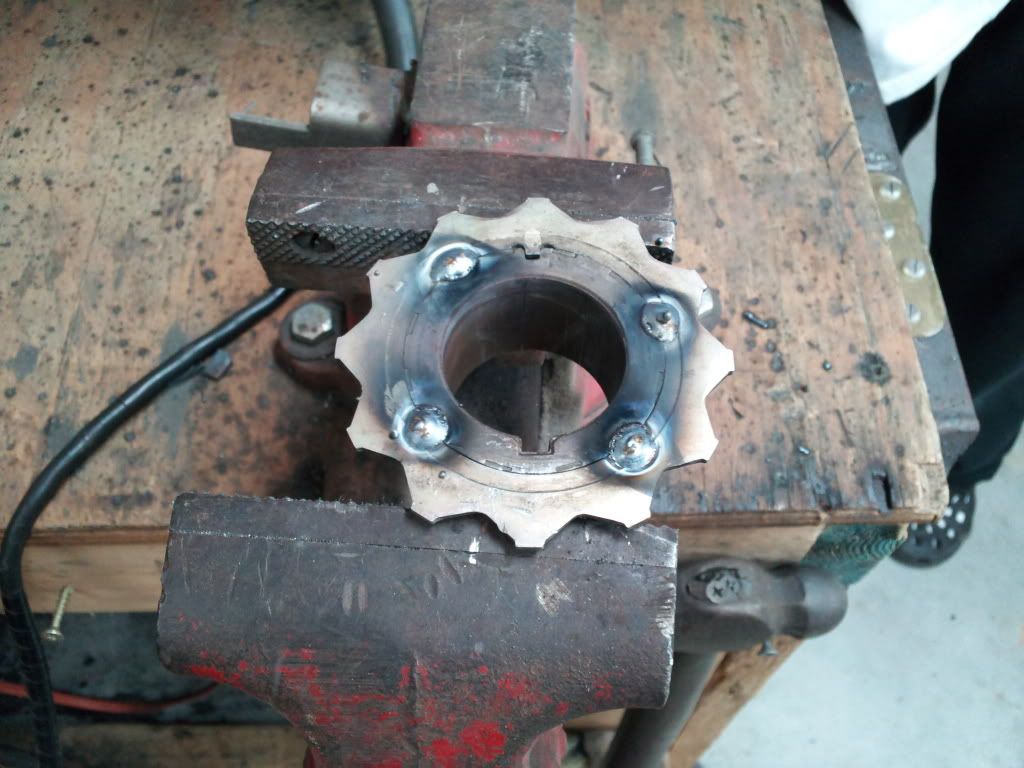
Grinded down but not enough....
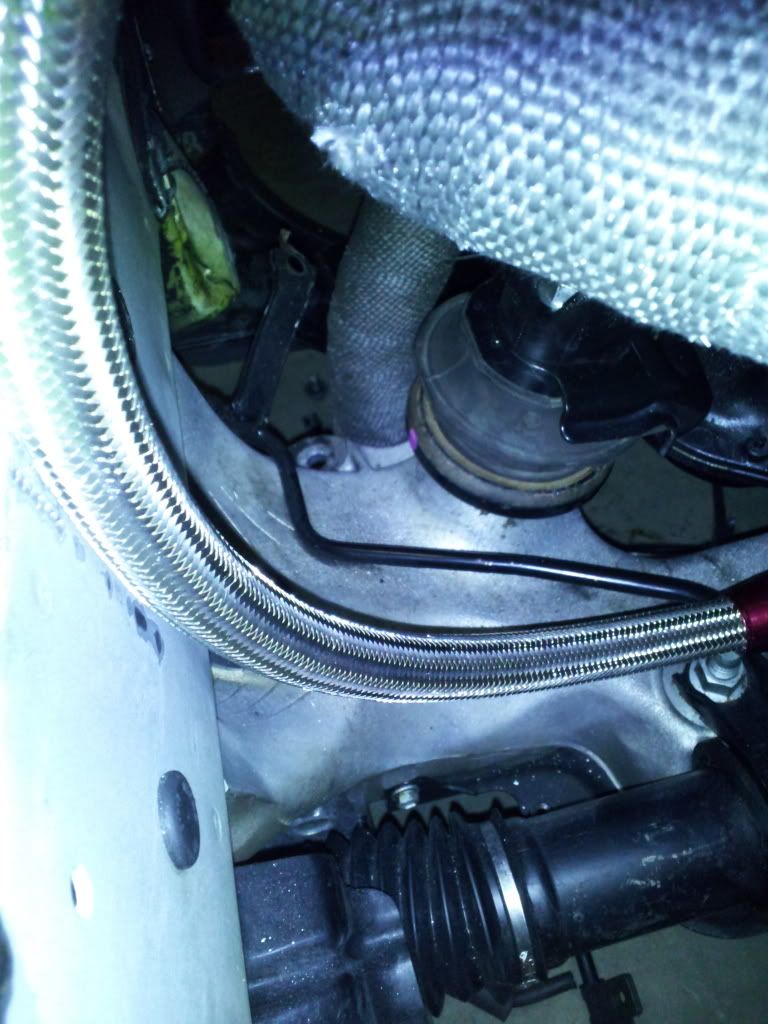
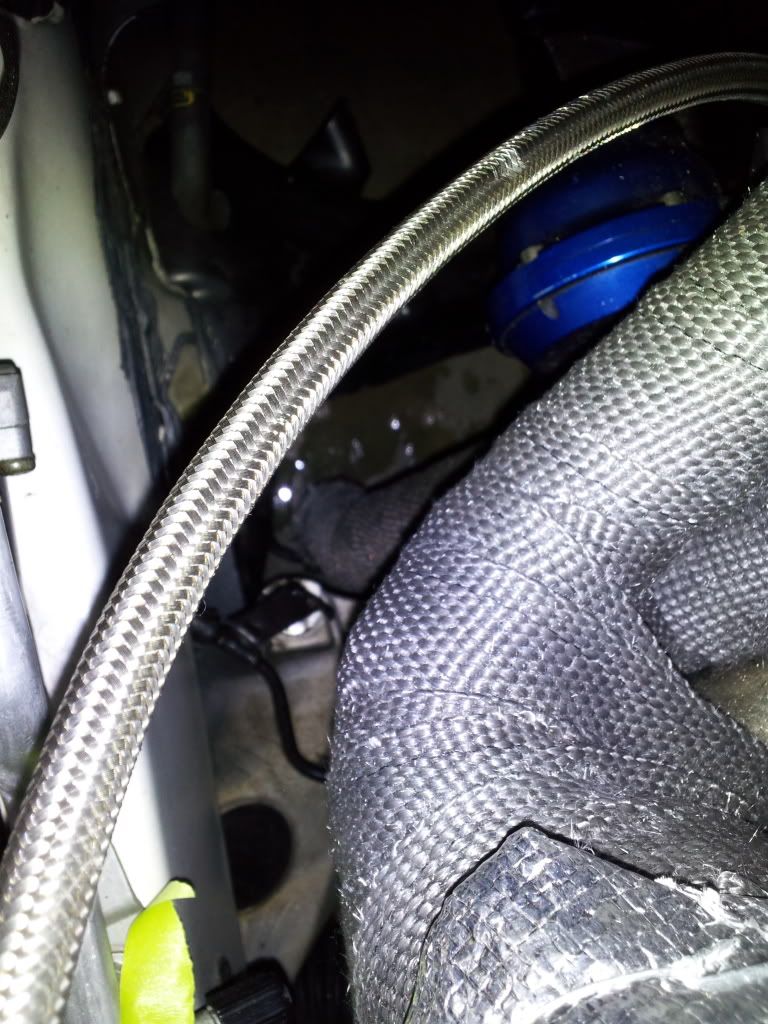
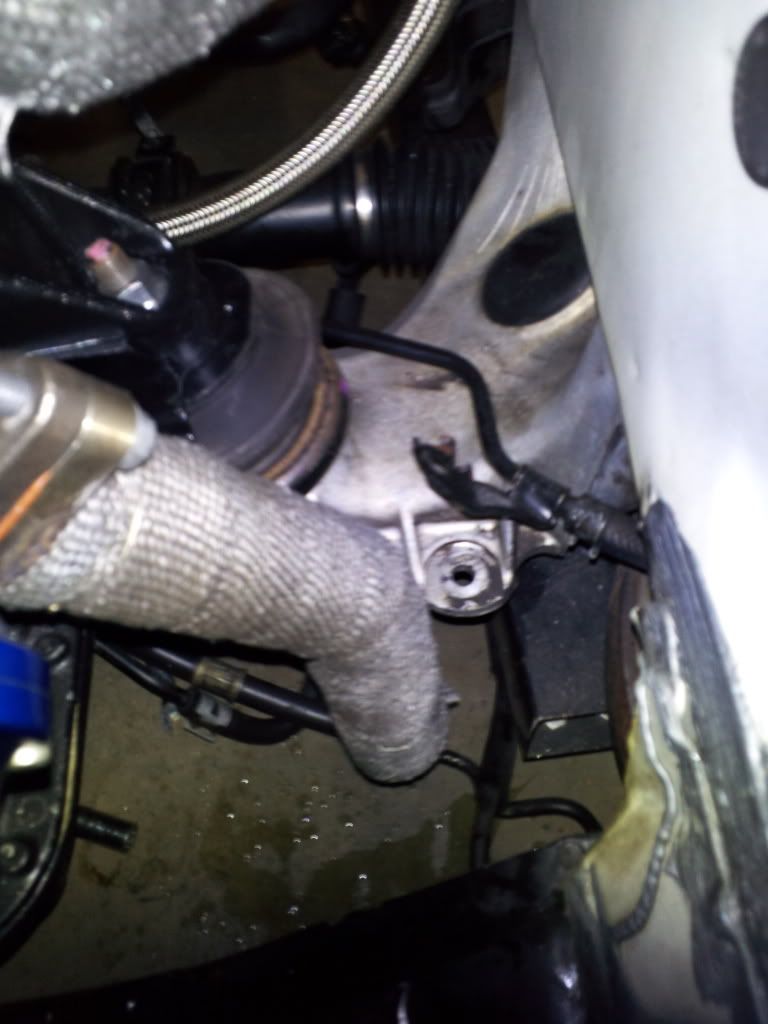
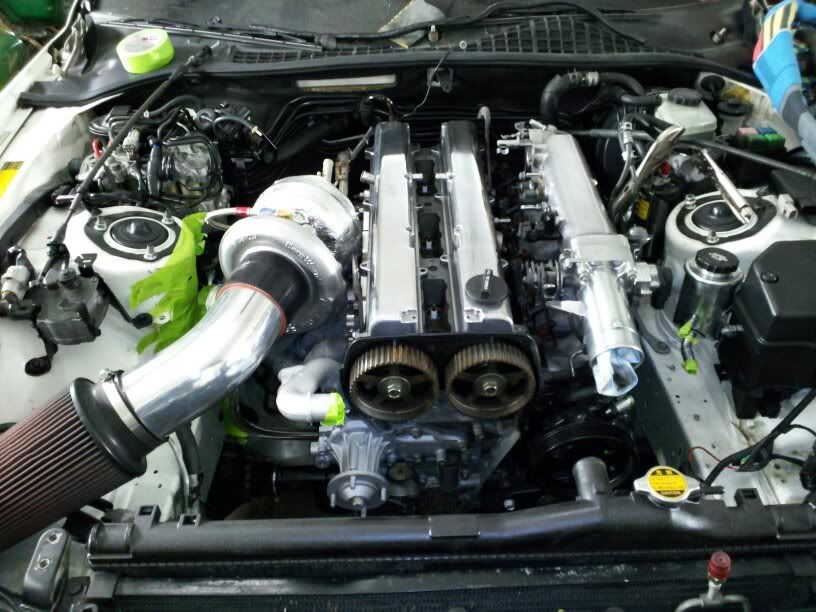
Motor in for now, just checking the mounts and piping routing along with the power steering lines.
Painted them in black and cleaned them up with some degreaser.
Installed ........with all new bolts
Wanted to see what the motor would like and to see if they would fit perfect.... well almost!
Hit the metal bracket with the exhaust wastegate dump tube. Removed the motor out again.
Had to remove the bracket. Do this underneath the car. ....
Once removed broke the bracket with a pair of monkey wrenches moving back and forth. Finally it broke....
Reinstalled the motor again...
Removed the front gear again and removed the seal. Getting it ready for being welded. Done on the back side. Also noticed the grooves are a little rough, so these will filed down before reinstalled.
Being welded....
Done with four welds....
Grinded down but not enough....
Motor in for now, just checking the mounts and piping routing along with the power steering lines.
Last edited by 1JZPWRD; 12-12-11 at 05:51 AM.
 12-11-11, 05:54 PM
#272
12-12-11, 06:46 AM
#278
such good pictures!
see im glad when i did my wastegate piping i did it with the motor installed. it was soo hard getting it to recirculate with the tight space. but i didnt have to bend that bar out the way.
i love what u did with the valve covers. all u did was paint strip it and polish?
see im glad when i did my wastegate piping i did it with the motor installed. it was soo hard getting it to recirculate with the tight space. but i didnt have to bend that bar out the way.
i love what u did with the valve covers. all u did was paint strip it and polish?
12-12-11, 09:39 AM
#279
1JZ Single SC400
Thread Starter
iTrader: (59)
Join Date: Jan 2009
Location: Alabama, Roll Tide!
Posts: 8,518
Likes: 0
Received 15 Likes
on
12 Posts
Yes. That's all I done was use aircraft paint stripper. Let it sit there for a few minutes and wipe the grey off. Lots of elbow grease with Mothers aluminum polish and the help of the powerball, but mostly by hand. I will continue to this until I am happy with them completely. If you look real close you can see some light scratches but in the sunlight they look great. I will be pulling it back out tomorrow and finishing some other things to it, like the vaccum lines and such. Btw, I am going to use all new lines for them. Also considering steel braided for the power steering and such, undecided yet. Hopefully my bumpers and plastic pieces are finished this week as well. Stay tuned. Thanks for keeping me motivated!
12-13-11, 02:19 PM
#281
1JZ Single SC400
Thread Starter
iTrader: (59)
Join Date: Jan 2009
Location: Alabama, Roll Tide!
Posts: 8,518
Likes: 0
Received 15 Likes
on
12 Posts
Made a little more progress. Filed down the back of the gear this afternoon. It is nice and smooth now. Redid a few vaccum lines with new ones. All I had time for. Also found one line with a whole in it. Tbis is why it is important to check all these with every motor.
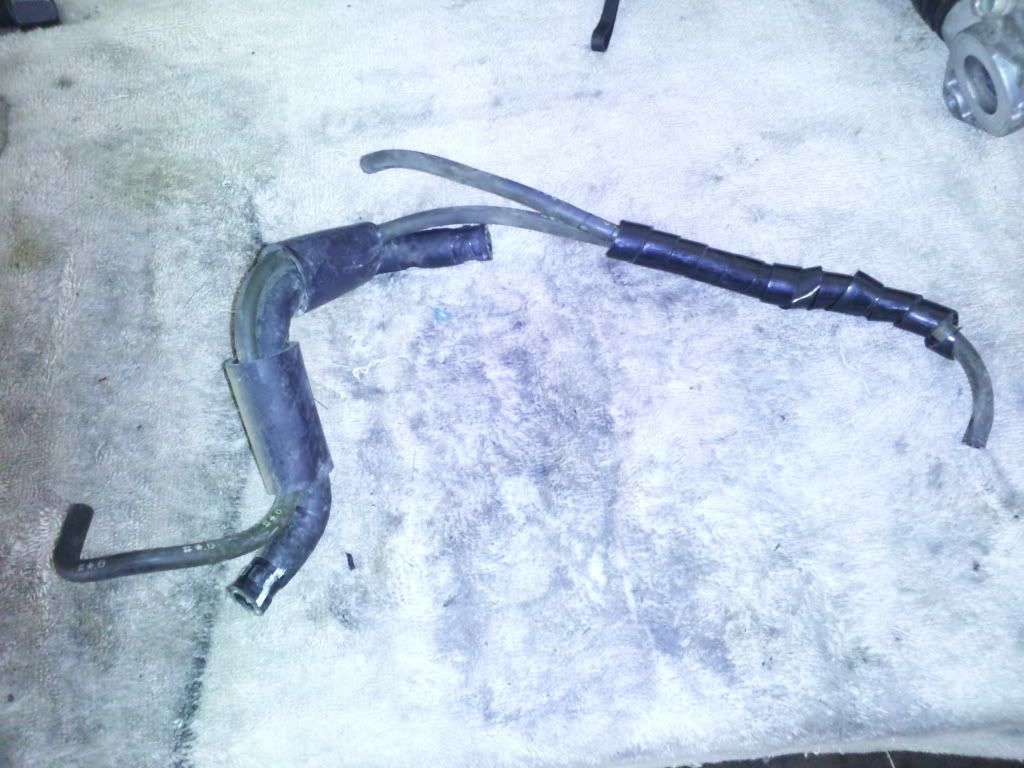
Old lines.
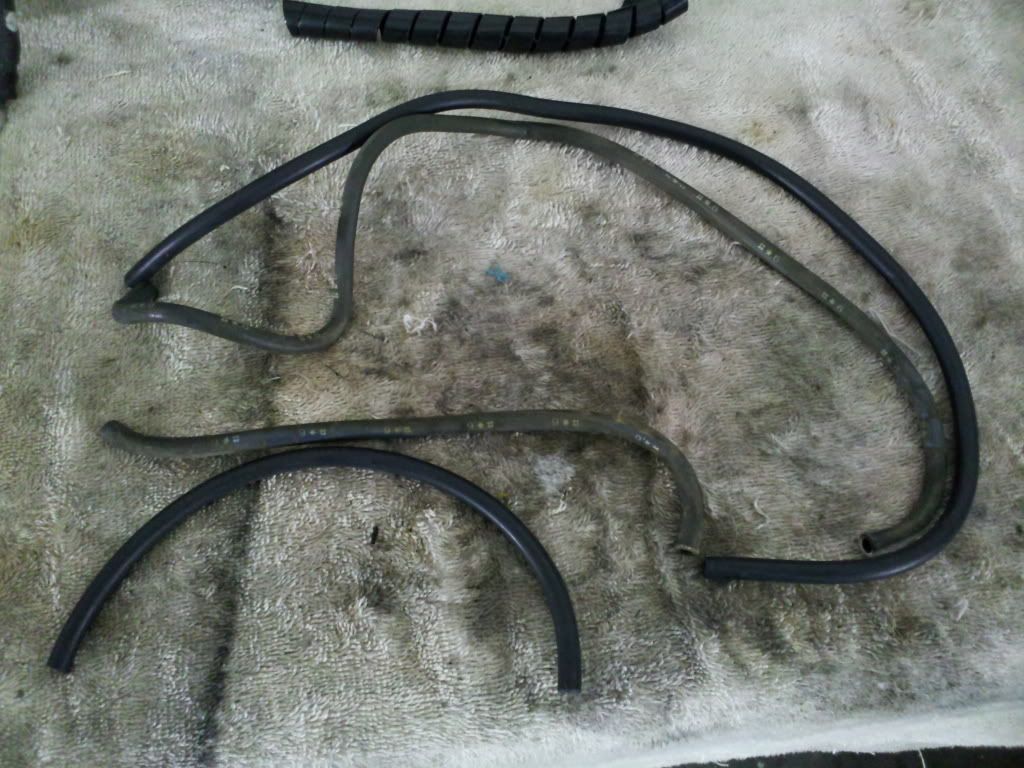
New ones uses.
This was busted.
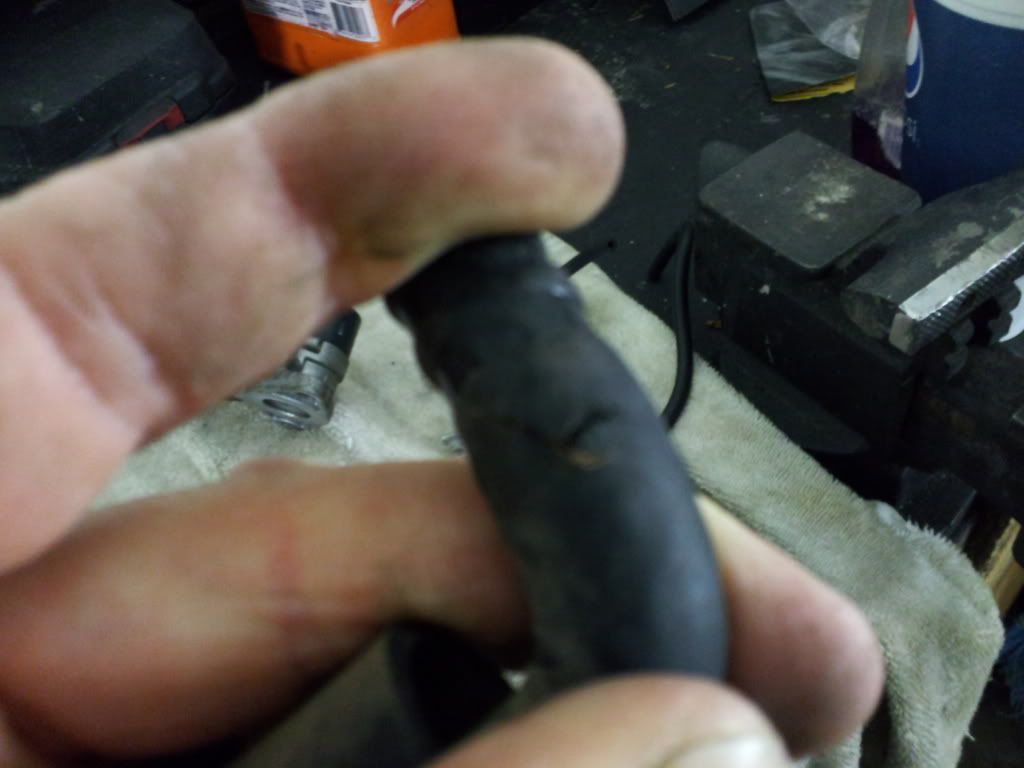
Cut the broke end off just behind it ...
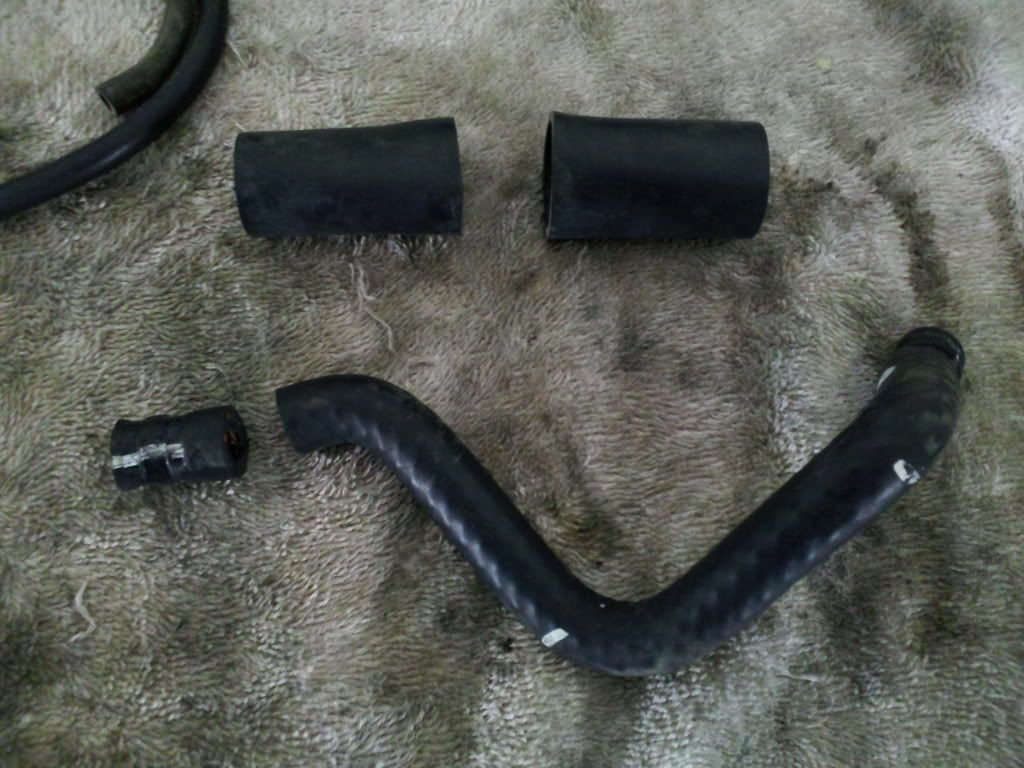
New lines cut and secured. Don't pull too tight will block off the line. Just snug. That's all!
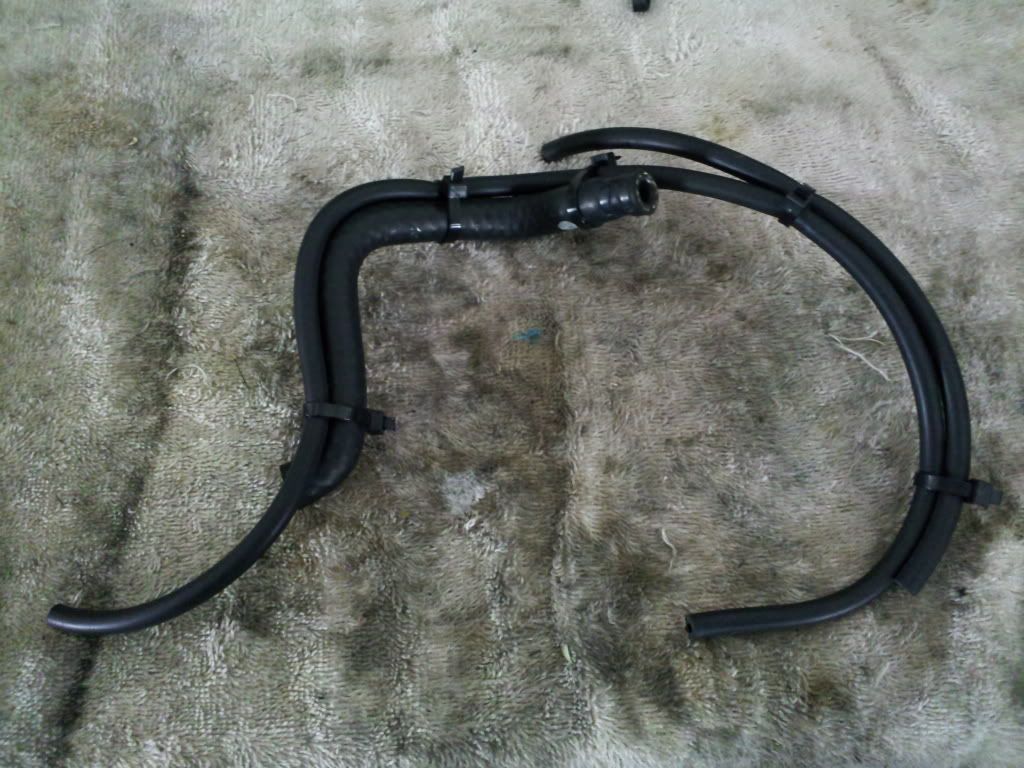
Use this size for most of the lines. It fits tight.

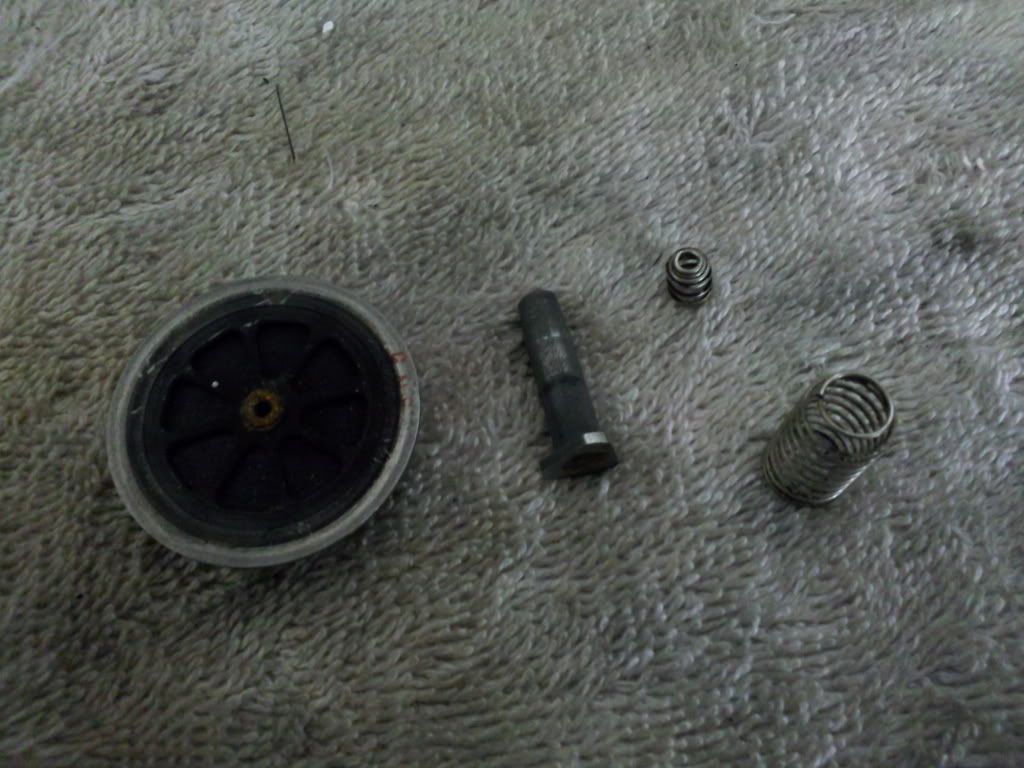
Cleaned the IAC components, were jet black and nasty. Need a new filter. On the list.
Old lines.
New ones uses.
This was busted.
Cut the broke end off just behind it ...
New lines cut and secured. Don't pull too tight will block off the line. Just snug. That's all!
Use this size for most of the lines. It fits tight.
Cleaned the IAC components, were jet black and nasty. Need a new filter. On the list.
 12-14-11, 04:58 AM
#283
Lexus Test Driver
iTrader: (44)
Join Date: Jan 2007
Location: Maryland /Germantown
Posts: 5,139
Likes: 0
Received 7 Likes
on
7 Posts
^^ It's not the crank sensor! it's the crank cog (timing belt gear) on the crank.the crank sensor goes on the passenger side of the oil pump with 2 wires on it.
"SC51" is a member on here and iirc he had that issue on his SC after his swap and many others.
The star plate on the back will slide off the gear over time and you will have a no start issue because it's the crank signal pick up.
"SC51" is a member on here and iirc he had that issue on his SC after his swap and many others.
The star plate on the back will slide off the gear over time and you will have a no start issue because it's the crank signal pick up.
12-15-11, 06:11 PM
#285
1JZ Single SC400
Thread Starter
iTrader: (59)
Join Date: Jan 2009
Location: Alabama, Roll Tide!
Posts: 8,518
Likes: 0
Received 15 Likes
on
12 Posts
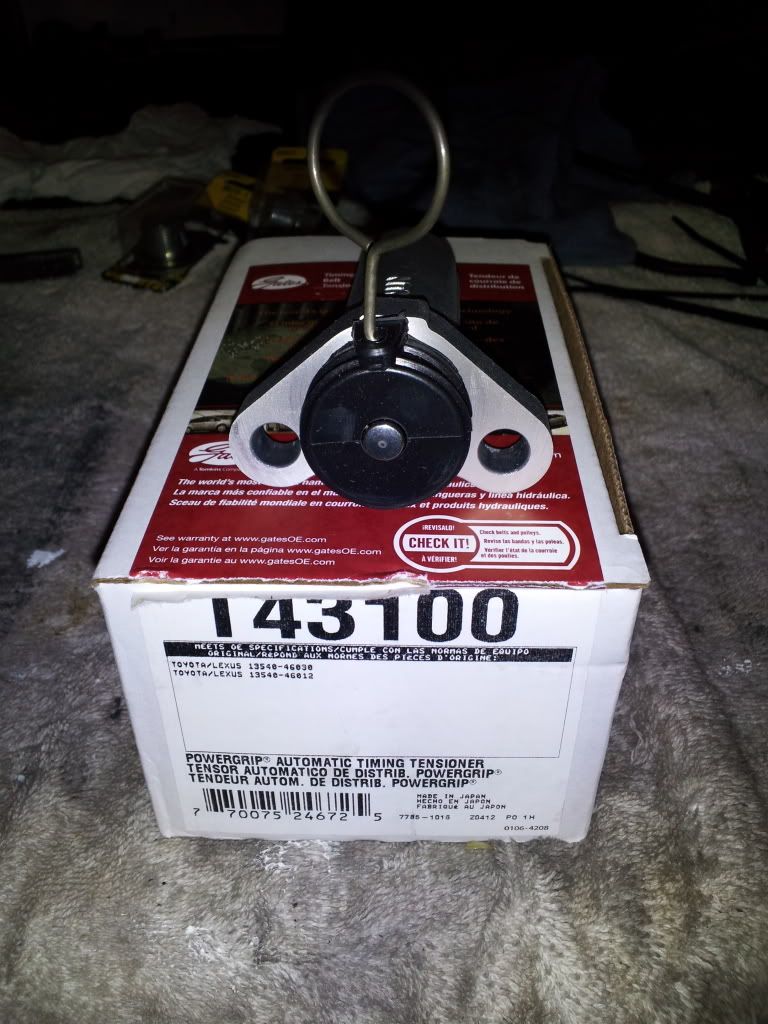
Made some more progress after we did some Christmas shopping. I went and picked up some parts from being special ordered. I wanted to share the part numbers from Oreilys to the OEM pieces. They were all either Gates or Beck Arley. I like both of them and have NEVER gave me any trouble.
Picked up the tensioner...
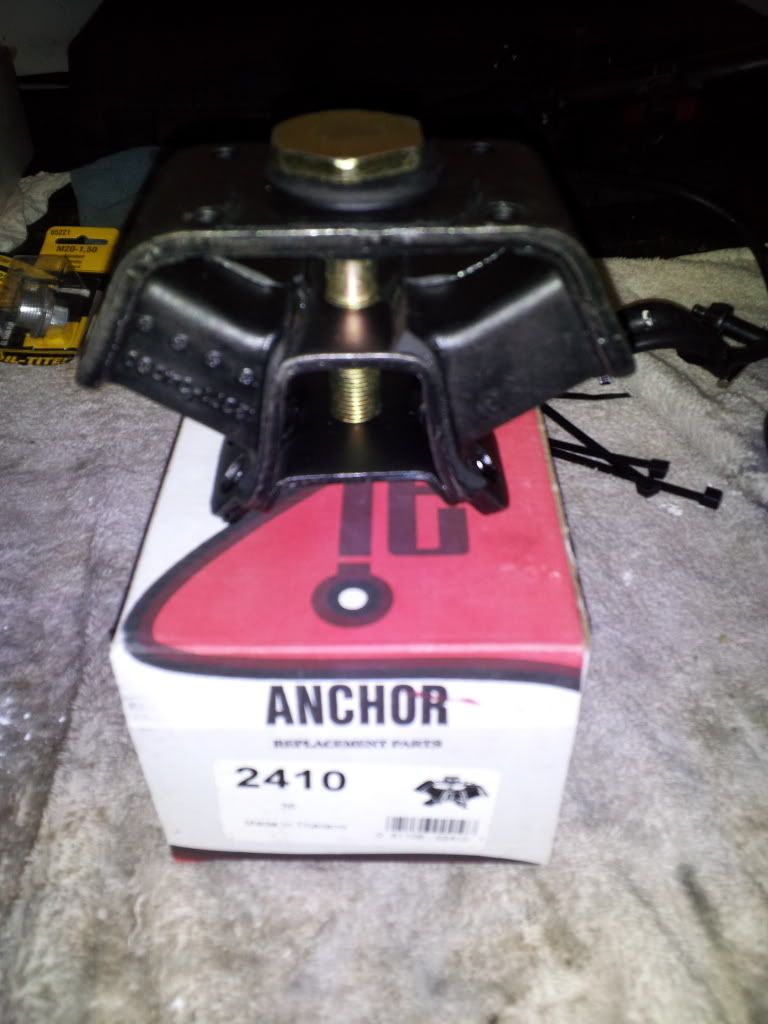
Tranny mount for the R154...
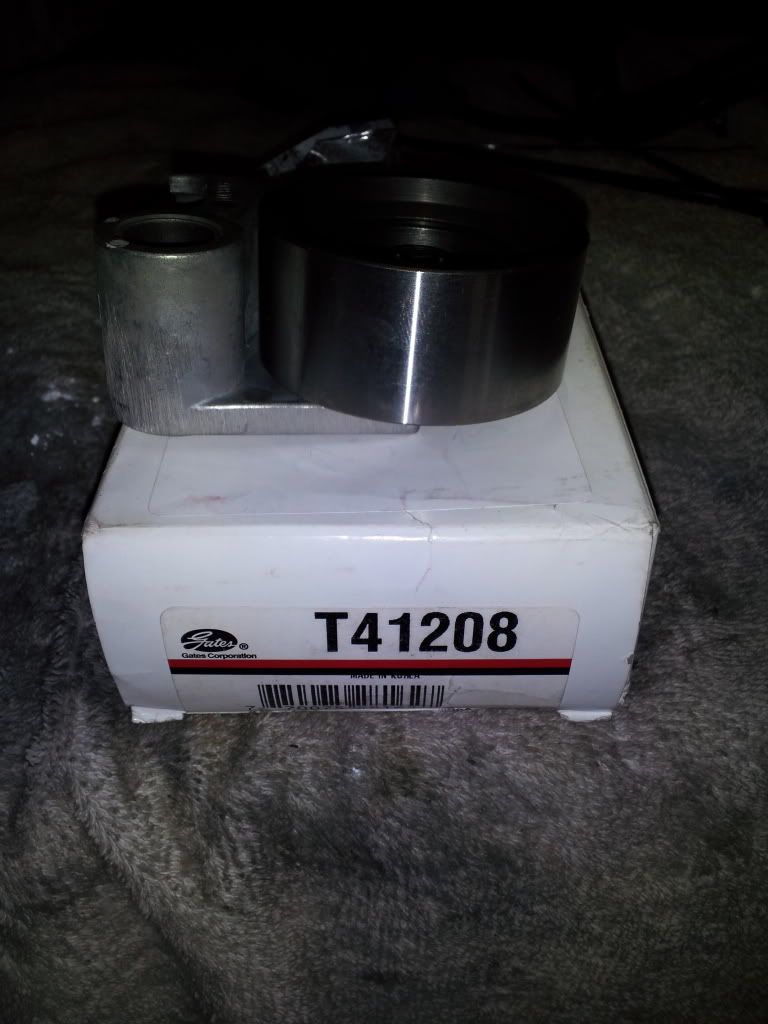
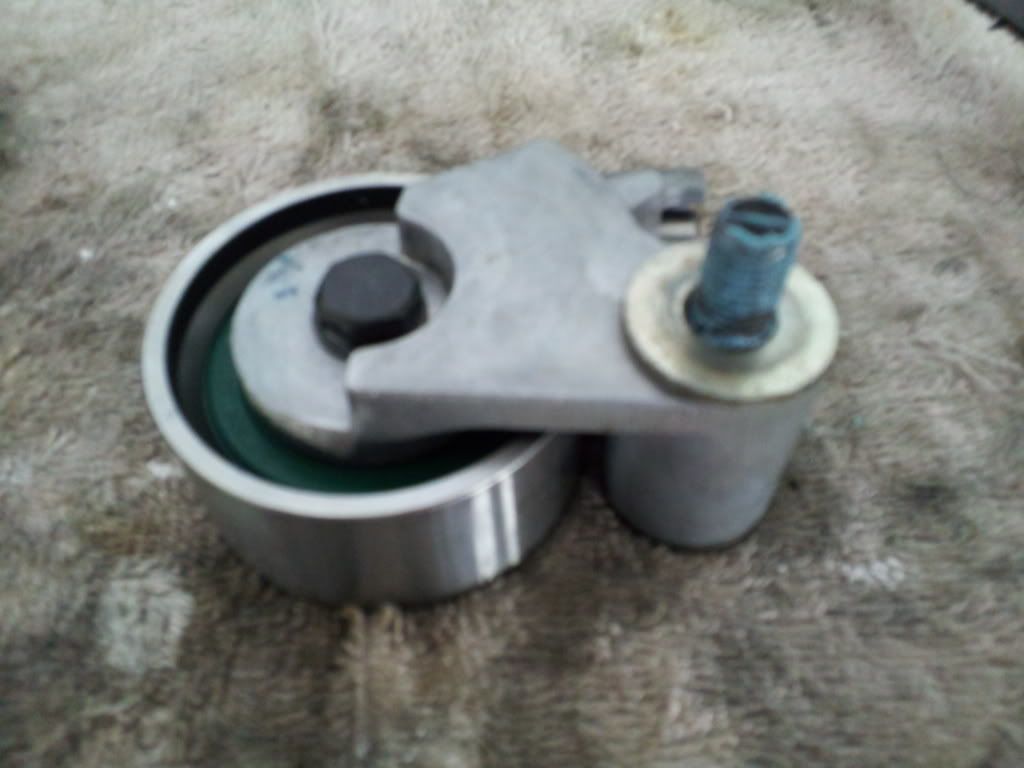
Timing belt tensioner pulley....
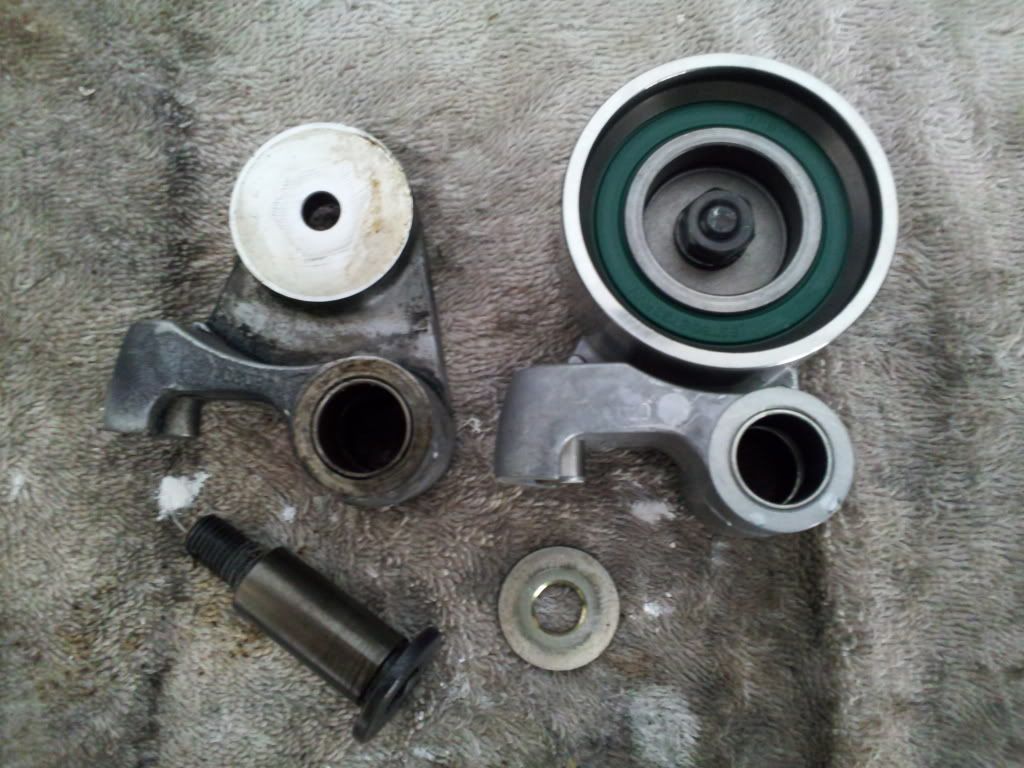
Shown side by side...
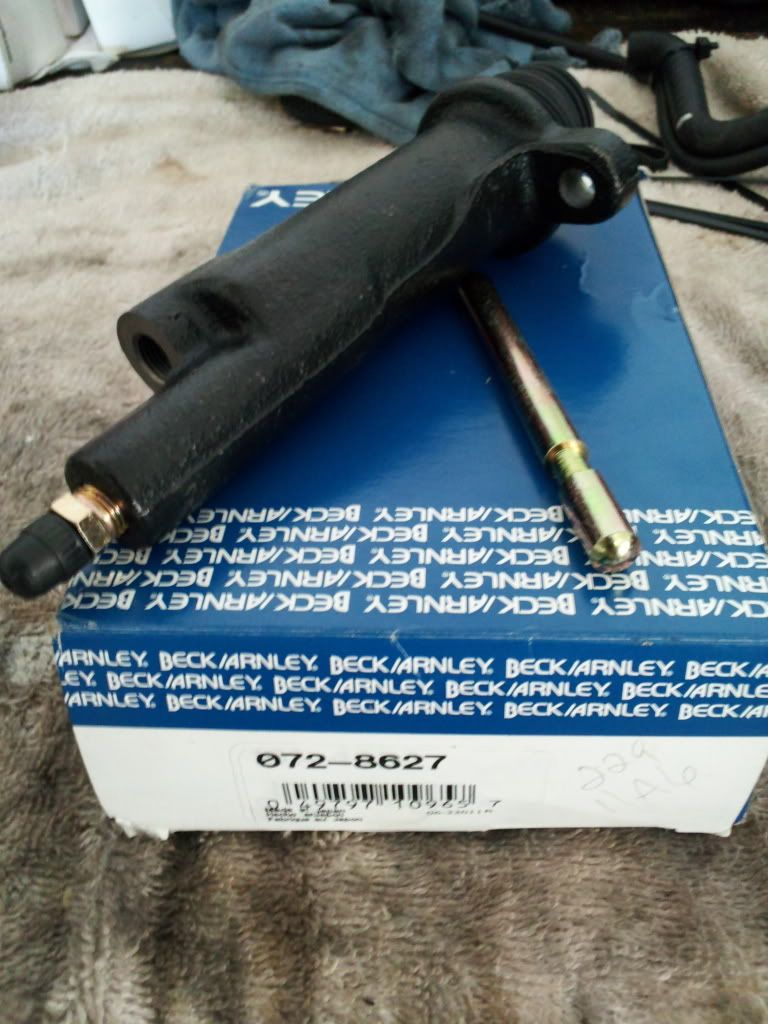
Clutch slave cylinder.. says JAPAN stamped on the side...
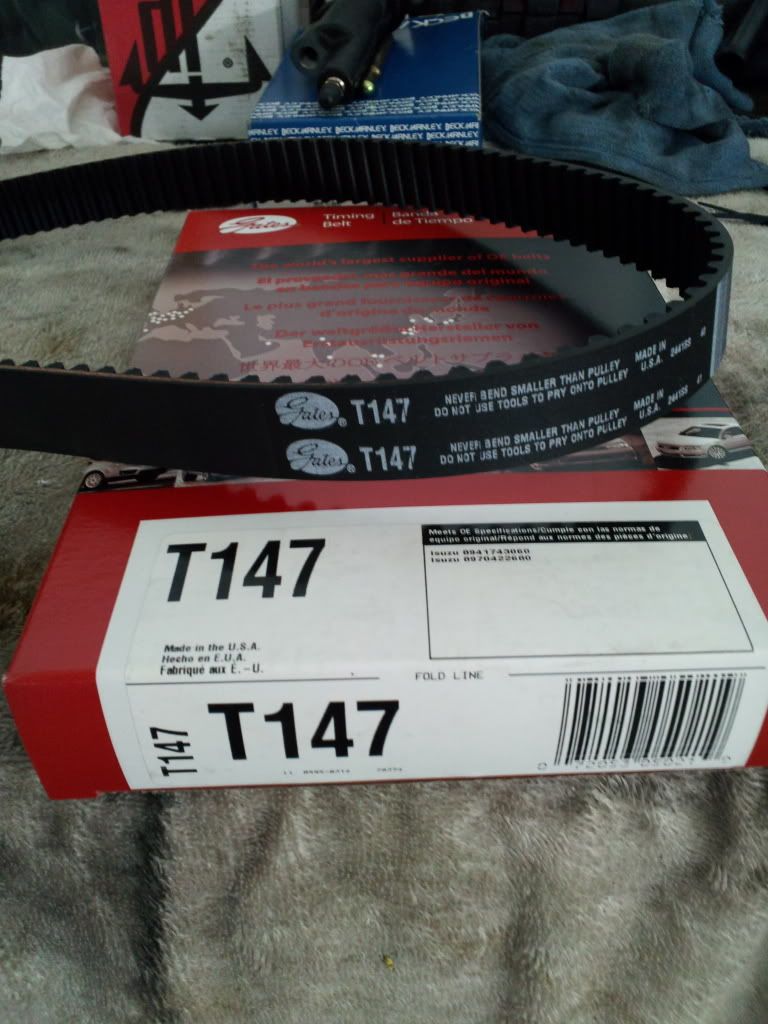
Timing Belt for a 1988 Isuzu trooper four cylinder... Perfect match...
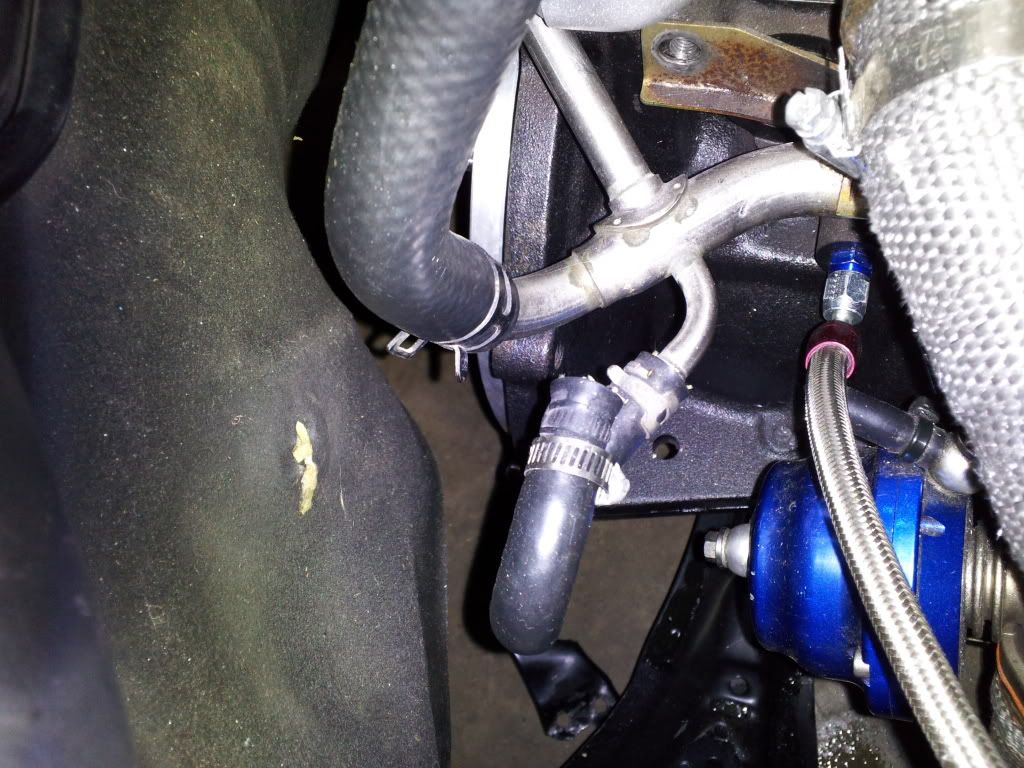
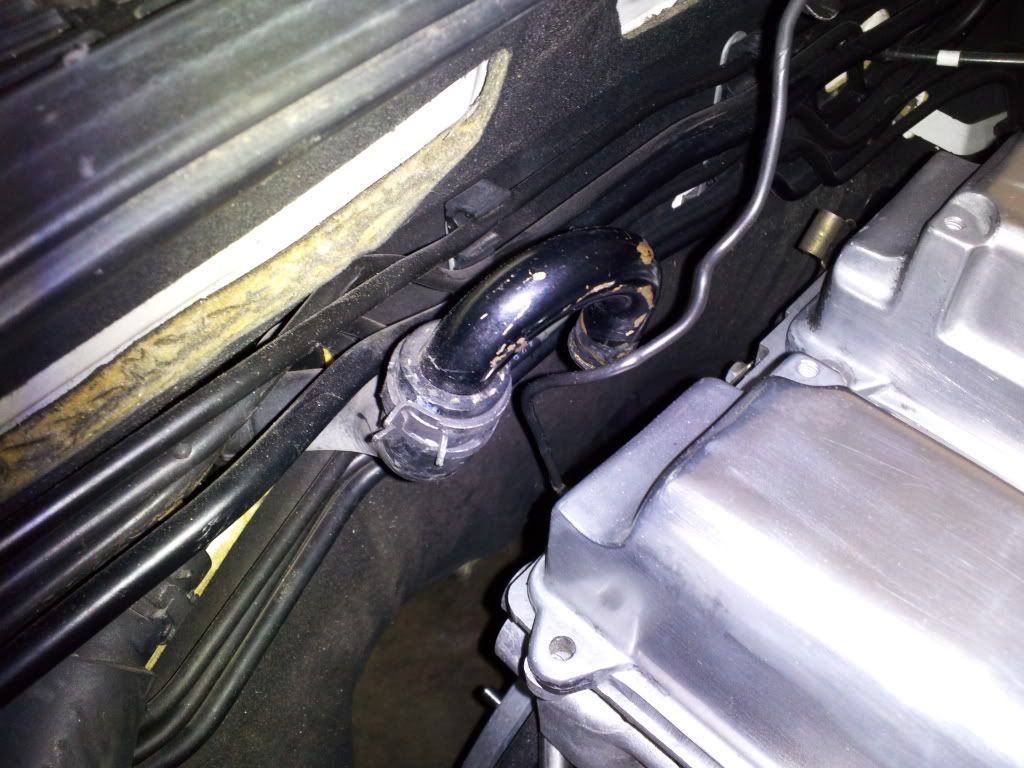
Here is what the heater lines look like factory under the manifold coming from water pump..
Two ways you can do this, use what I did, and remove it completely, cut it off and weld it closed, choice is yours...Use a new clamp if you do what I did...
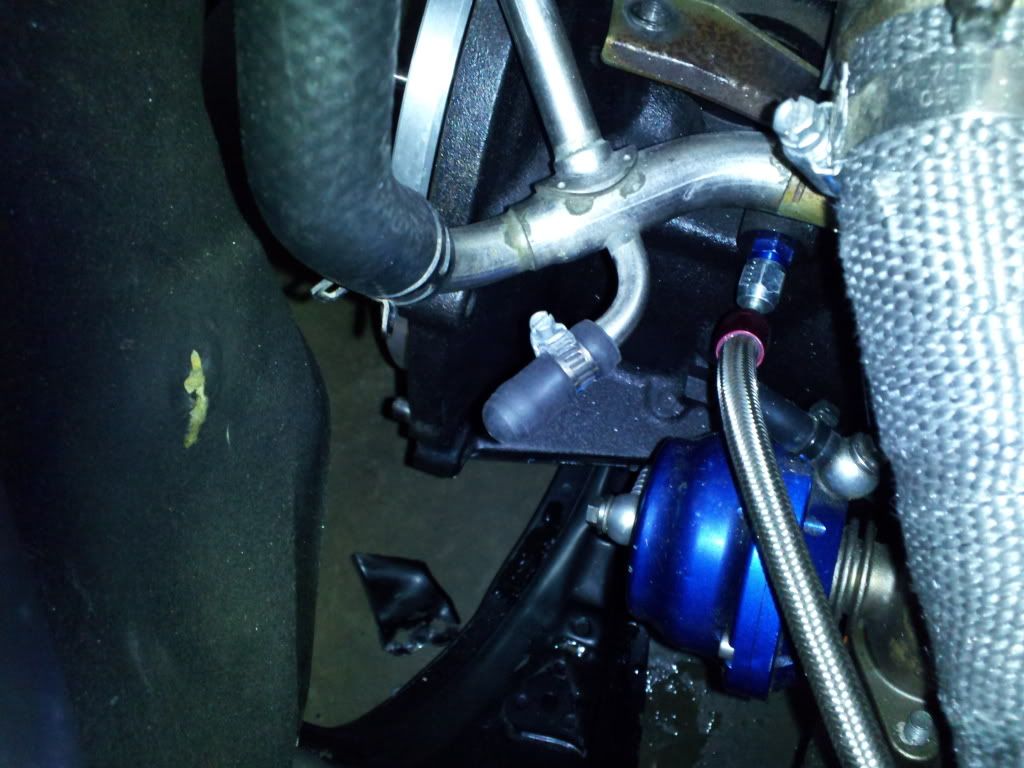
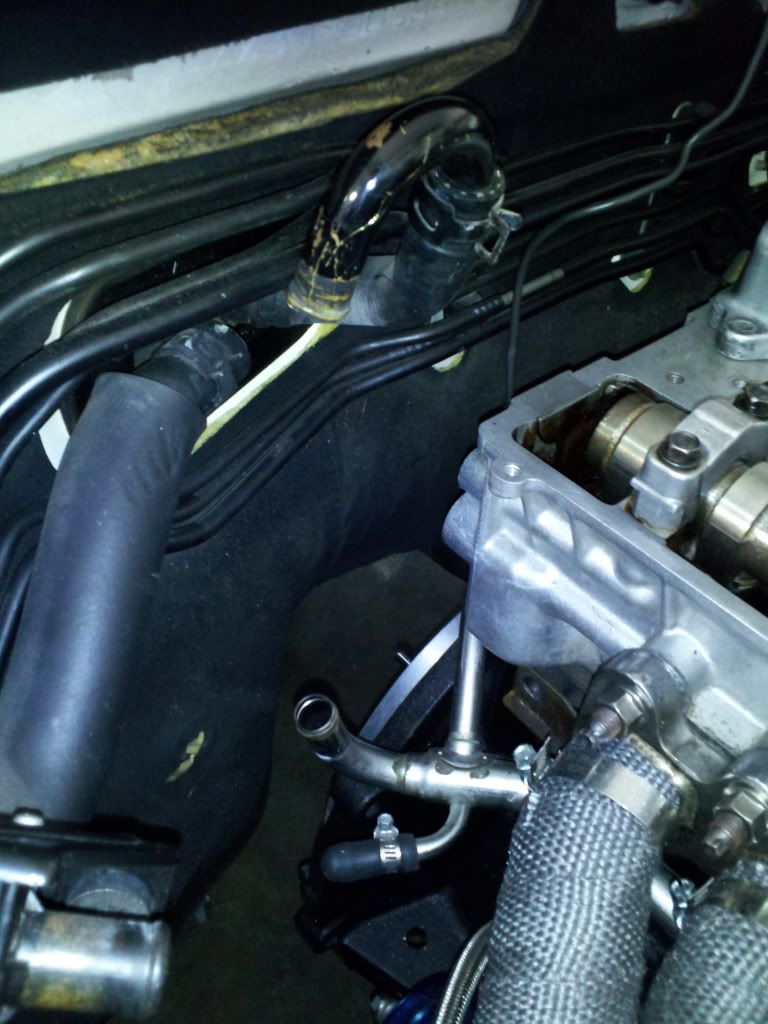
Remove the factory line as shown...

Remove this metal piece and paint as I did, then turn it around and face it the other direction...
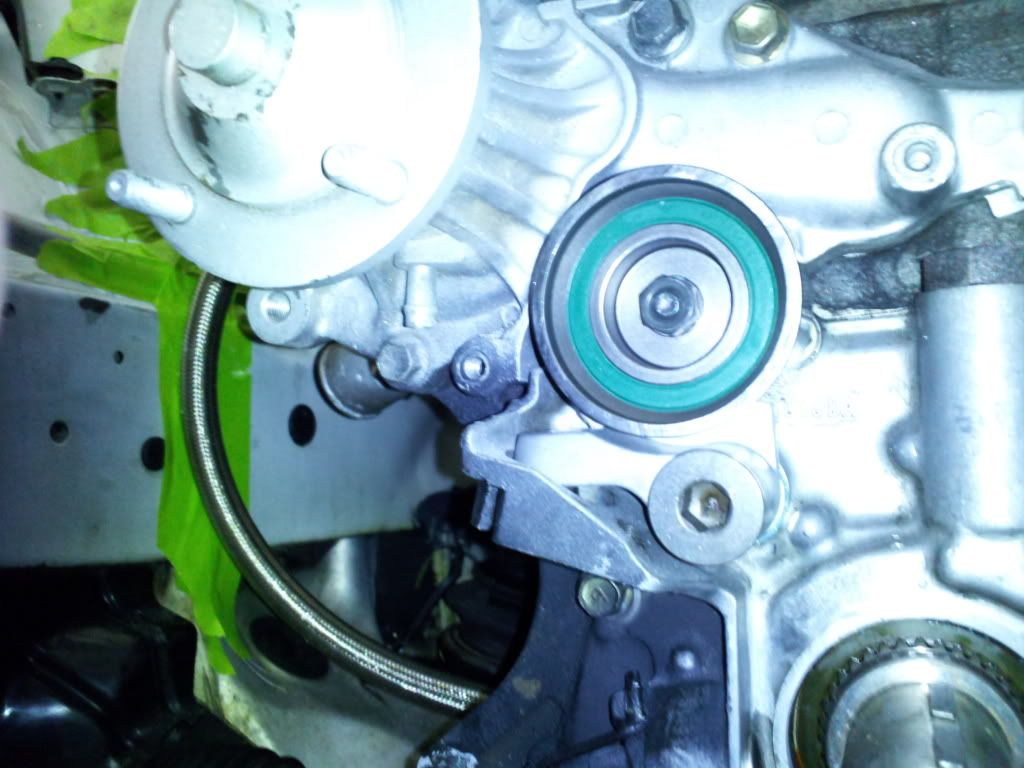
Apply a thin coat of thread lock medium, check the center bolt to assure correct tightness... and spins freely..
Mine had a little noise in it, so I replaced...
Remove the old one, then clean the old thread lock out, then install new one as shown...
Tranny mount installed, its upside down.. I used the rear set of holes, I may have to adjust once installed and under the car.. Now I need another support bracket
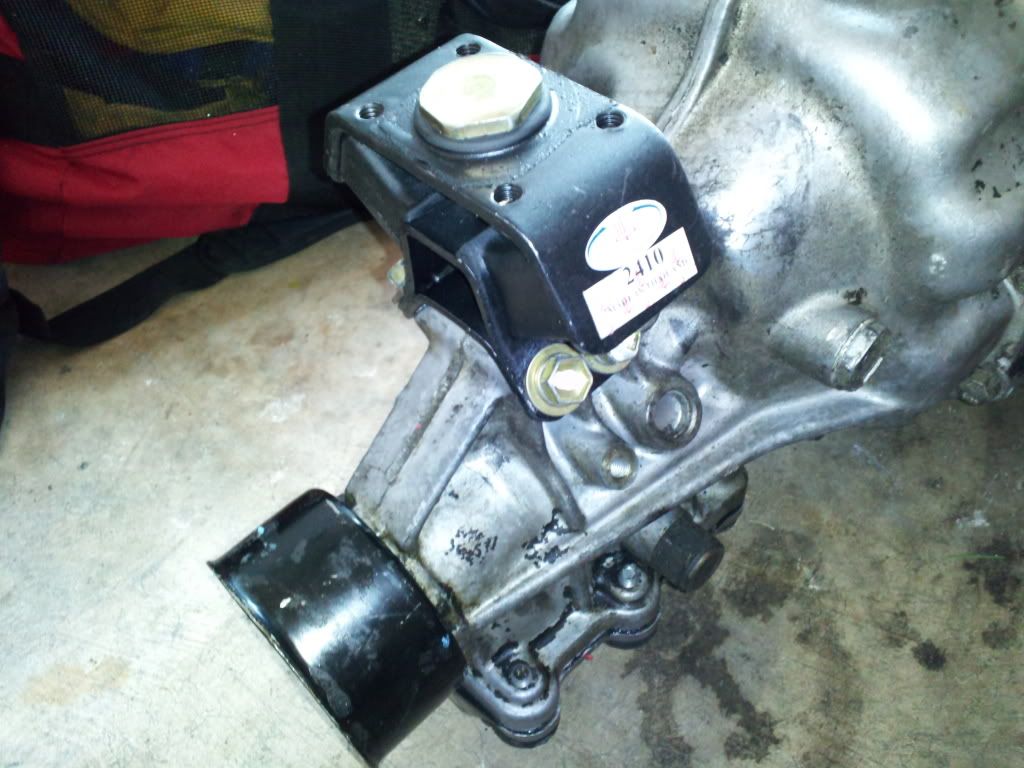
New slave cylinder installed..not shown the rod, did this later...

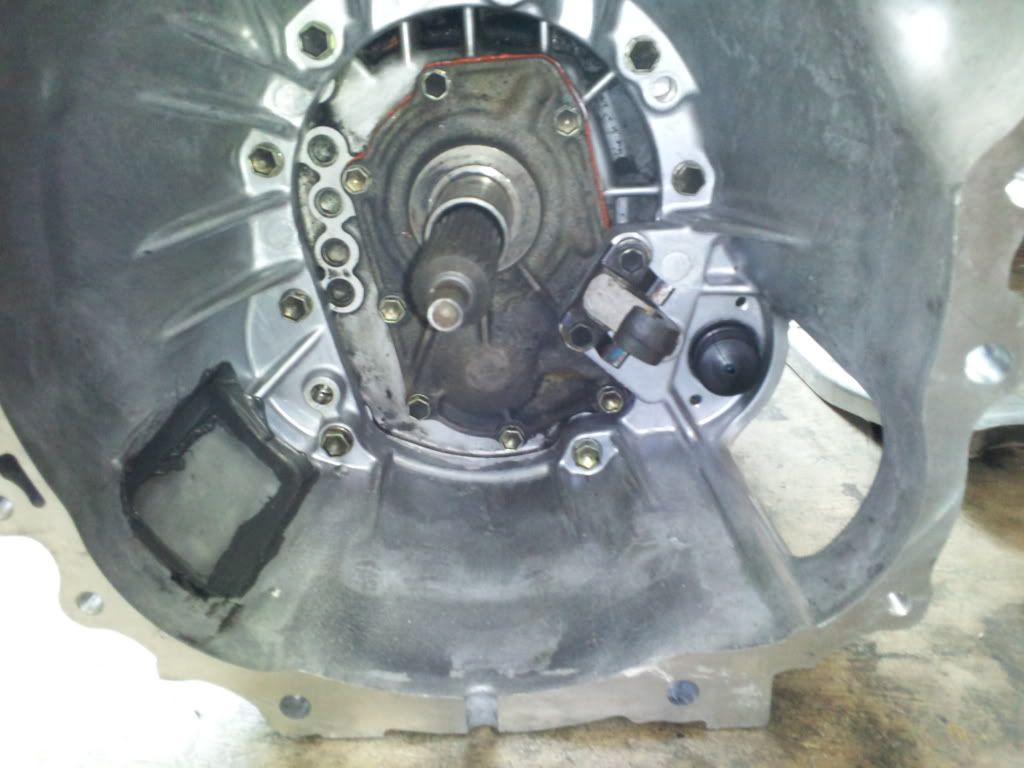
Inside bellhousing....
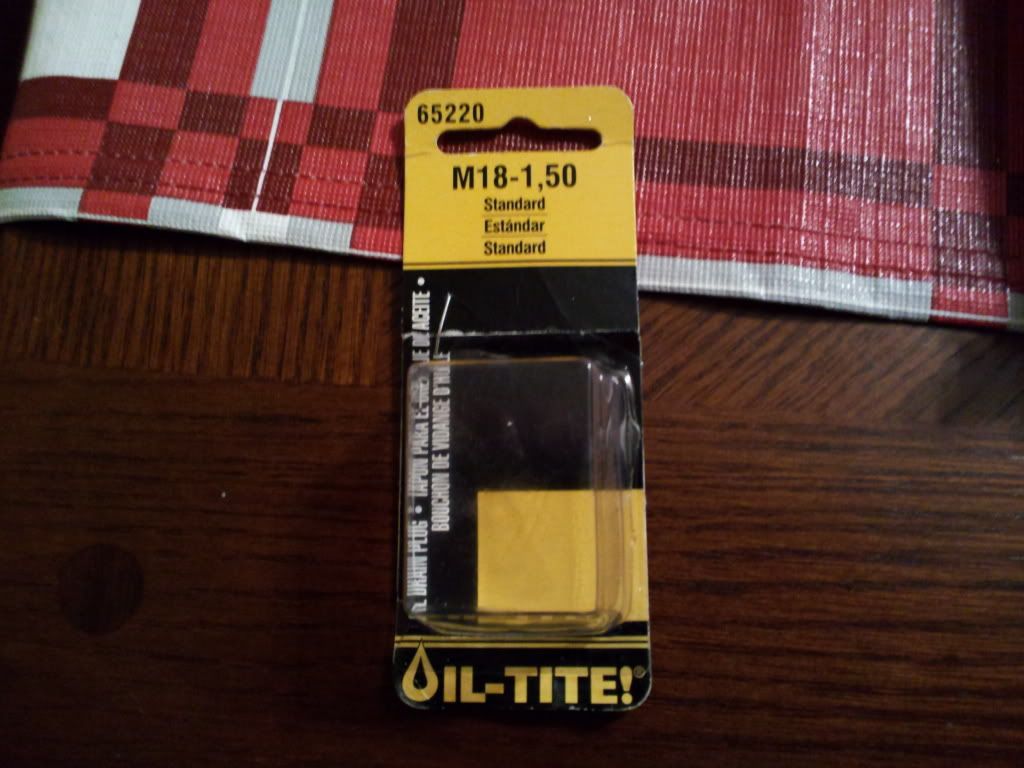
New bolt for drain plug with part number from oreilys..
Picked up the tensioner...
Tranny mount for the R154...
Timing belt tensioner pulley....
Shown side by side...
Clutch slave cylinder.. says JAPAN stamped on the side...
Timing Belt for a 1988 Isuzu trooper four cylinder... Perfect match...
Here is what the heater lines look like factory under the manifold coming from water pump..
Two ways you can do this, use what I did, and remove it completely, cut it off and weld it closed, choice is yours...Use a new clamp if you do what I did...
Remove the factory line as shown...
Remove this metal piece and paint as I did, then turn it around and face it the other direction...
Apply a thin coat of thread lock medium, check the center bolt to assure correct tightness... and spins freely..
Mine had a little noise in it, so I replaced...
Remove the old one, then clean the old thread lock out, then install new one as shown...
Tranny mount installed, its upside down.. I used the rear set of holes, I may have to adjust once installed and under the car.. Now I need another support bracket
New slave cylinder installed..not shown the rod, did this later...
Inside bellhousing....
New bolt for drain plug with part number from oreilys..