
1992Lexus.. Complete build thread with pictures and links!
 12-15-11, 06:13 PM
#286
1JZ Single SC400
Thread Starter
iTrader: (59)
Join Date: Jan 2009
Location: Alabama, Roll Tide!
Posts: 8,518
Likes: 0
Received 15 Likes
on
12 Posts
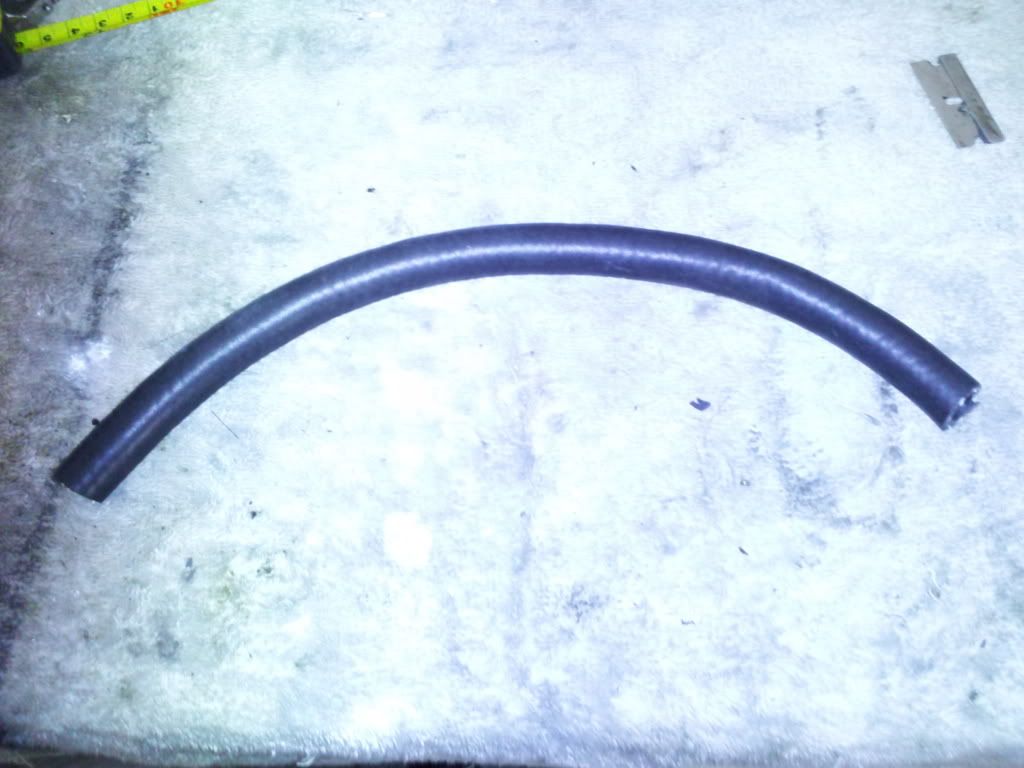
Measured the new hoses from one to other, self explained... the first one is 10 inches long..
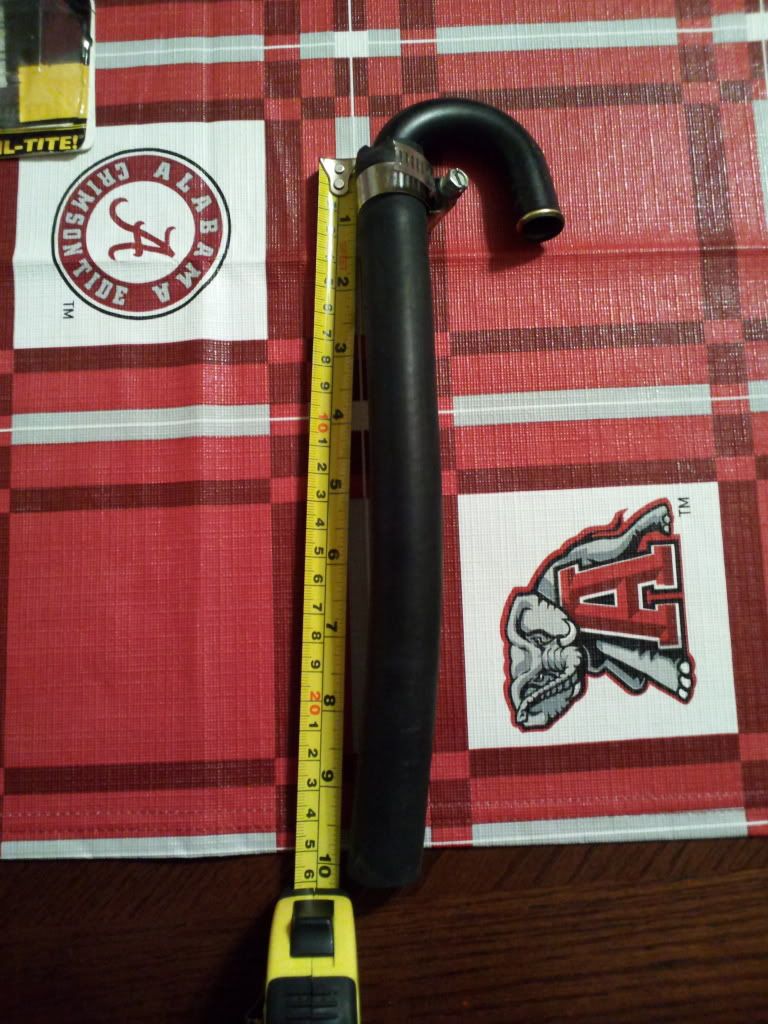
Second hose form the block on the other side of the motor, or on the back side of the head.. its 33inches long..
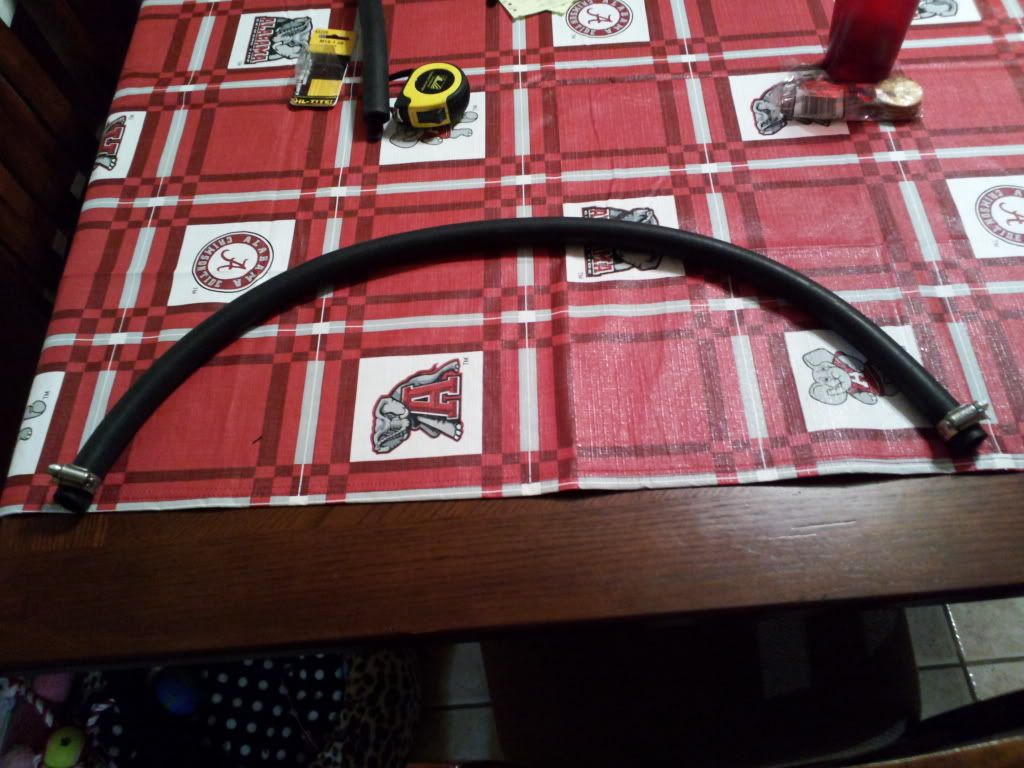
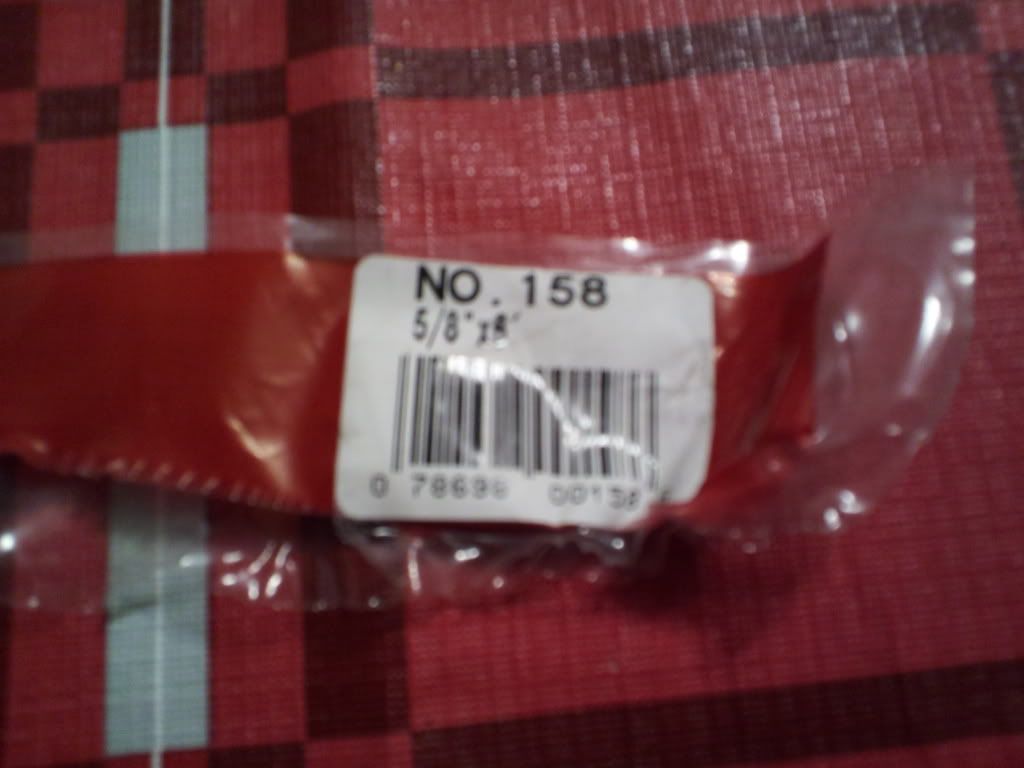
Hose size I used, fit snug and perfect, comes 6 feet long....
For those who need a diagram, found this on here earlier this year... this is what I went by...
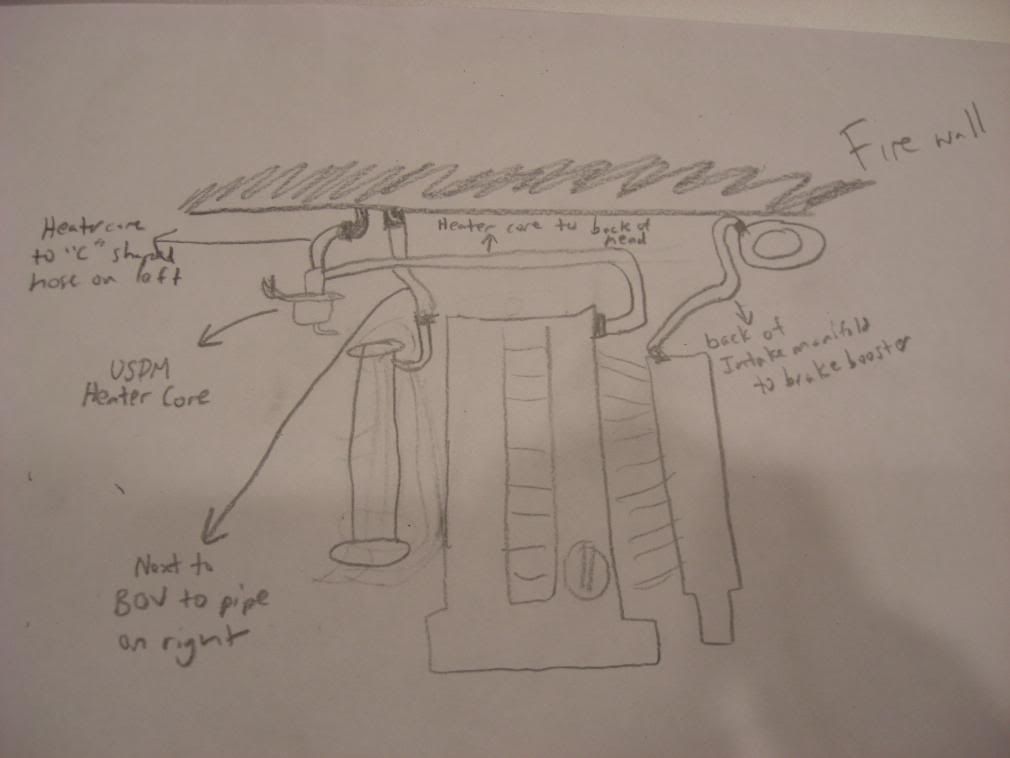
Second hose form the block on the other side of the motor, or on the back side of the head.. its 33inches long..
Hose size I used, fit snug and perfect, comes 6 feet long....
For those who need a diagram, found this on here earlier this year... this is what I went by...
Last edited by 1JZPWRD; 12-15-11 at 06:18 PM.
 12-15-11, 10:23 PM
#288
Lead Lap
iTrader: (2)

Join Date: Jan 2006
Location: texas
Posts: 488
Likes: 0
Received 0 Likes
on
0 Posts
^^ It's not the crank sensor! it's the crank cog (timing belt gear) on the crank.the crank sensor goes on the passenger side of the oil pump with 2 wires on it.
"SC51" is a member on here and iirc he had that issue on his SC after his swap and many others.
The star plate on the back will slide off the gear over time and you will have a no start issue because it's the crank signal pick up.
"SC51" is a member on here and iirc he had that issue on his SC after his swap and many others.
The star plate on the back will slide off the gear over time and you will have a no start issue because it's the crank signal pick up.
and to the op. the trick with using aftermarket parts is to make sure it isnt made in china.
Last edited by chingpo05; 12-15-11 at 10:36 PM.
12-16-11, 09:30 AM
#289
1JZ Single SC400
Thread Starter
iTrader: (59)
Join Date: Jan 2009
Location: Alabama, Roll Tide!
Posts: 8,518
Likes: 0
Received 15 Likes
on
12 Posts
I actually believe there is enough room to clear without a snag of any sort. In other words, I dont think it sits completely flushed anyway. Maybe a 2mm gap or so. The welded part was Quick's idea and he knows what is going on with these builds. This is a new process for me, coming from the 1UZFE. He wouldnt have led me astray. he is one of the most active members who responds and helps the SC community, not saying that you wouldnt..
Thanks for the compliments, still progress is moving forward and I am getting closer.. I ordered a new front main seal, and the TT upper and lower radiator hoses yesterday. Should be ready pickup in the morning.. I also need to pick up some more vacuum lines, I ran out.
Thanks for the compliments, still progress is moving forward and I am getting closer.. I ordered a new front main seal, and the TT upper and lower radiator hoses yesterday. Should be ready pickup in the morning.. I also need to pick up some more vacuum lines, I ran out.
12-16-11, 10:49 AM
#291
Lead Lap
iTrader: (2)
Join Date: Jan 2006
Location: texas
Posts: 488
Likes: 0
Received 0 Likes
on
0 Posts
I actually believe there is enough room to clear without a snag of any sort. In other words, I dont think it sits completely flushed anyway. Maybe a 2mm gap or so. The welded part was Quick's idea and he knows what is going on with these builds. This is a new process for me, coming from the 1UZFE. He wouldnt have led me astray. he is one of the most active members who responds and helps the SC community, not saying that you wouldnt..
Thanks for the compliments, still progress is moving forward and I am getting closer.. I ordered a new front main seal, and the TT upper and lower radiator hoses yesterday. Should be ready pickup in the morning.. I also need to pick up some more vacuum lines, I ran out.
Thanks for the compliments, still progress is moving forward and I am getting closer.. I ordered a new front main seal, and the TT upper and lower radiator hoses yesterday. Should be ready pickup in the morning.. I also need to pick up some more vacuum lines, I ran out.
12-16-11, 12:39 PM
#292
1JZ Single SC400
Thread Starter
iTrader: (59)
Join Date: Jan 2009
Location: Alabama, Roll Tide!
Posts: 8,518
Likes: 0
Received 15 Likes
on
12 Posts
chingpo05 you are absolutely correct, the cap is for coolant and they guy at Oreilys did mention that, to keep an eye on it.. Its pretty easy to see from up top and under the car, so I will be checking that as well if I start to loose coolant leaks. If it starts leaking, I will replace, bleed the system if needed, or have it welded up.
My main objective here in my thread and build was to put forth the effort that is missing from others that I have encountered. I am not knocking any ones car and their setup, but i feel that if you have a clean outside then the inside being motor bay and interior needs to match as well, being as clean. I am a very clean person and absolutely hate dirt, grease and grime.
Theother objective is to put forth the effort in pictures. There seems to be lacking of pictures of these swaps for exactly how things should be done or possibly done. I have searched and PM'd so many people about their setup it was getting ridiculous. I found out to try and post all of things that I had a question about on mine. This was my intentions all along, to help others in their quest for more power, lines ran, size, placement, etc. These were the questions that I had in the beginning. This is why I am taking the time out to post all of the pictures that I possibly can.
In the end, there have been alot of great builds, and I am not saying mine is better or worse, I just want my build to make a difference when someone searching a particular item, it will be found on my thread. Thats all I ask and want to do for the SC community, is to give back due to the overwhelming compliments and inspiration of other active members.
12-16-11, 02:35 PM
#294
1JZ Single SC400
Thread Starter
iTrader: (59)
Join Date: Jan 2009
Location: Alabama, Roll Tide!
Posts: 8,518
Likes: 0
Received 15 Likes
on
12 Posts
I am still trying to find the resistor mod and stumbled across this SC300 DIY on another forum. Here is finally the answer that I have been looking for... actually pictures.. I will post more links if I find anymore..
I dont know if my SC400 cluster is the same. i will try and find out this weekend and post my findings. If anyone can confirm this, post up! This is to get the tach working. Is there another resistor or mod that needs to be done while I am in there? I dont believe there is by the research I have done on here. Just double checking..
Thanks for the comment DoomLight.. most people seem to think so!!
http://www.supraforums.com/forum/sho...-R109-Resistor
https://www.clublexus.com/forums/per...ach-issue.html
https://www.clublexus.com/forums/sc-...tups-r109.html
For those who need the link fo the cluster removal, here it is...
http://lextech.org/forums/index.php?...3eb7&topic=8.0
Last edited by 1JZPWRD; 12-16-11 at 02:40 PM.
12-16-11, 05:26 PM
#296
Question. Since you already have a SC400 cluster, u know your tach will be off a little, like a few hundred rpms I believe,
My question is, since u have a SC400 cluster, will the speedo read correctly since its calibrated 3.92 rear end diff, even with the r154 tranny.
I only ask because my car with a 400 diff is 9 to 10 miles slower than actual speed now. And i have an original SC300 cluster in mine.
My question is, since u have a SC400 cluster, will the speedo read correctly since its calibrated 3.92 rear end diff, even with the r154 tranny.
I only ask because my car with a 400 diff is 9 to 10 miles slower than actual speed now. And i have an original SC300 cluster in mine.
12-16-11, 05:35 PM
#297
1JZ Single SC400
Thread Starter
iTrader: (59)
Join Date: Jan 2009
Location: Alabama, Roll Tide!
Posts: 8,518
Likes: 0
Received 15 Likes
on
12 Posts
Those are great questions. First off I will be keeping the stock rear end for now. Secondly ever since I replaced the needles with new ones my mph have been reading slow. It says 40 mph but really going 47-48 mph. I wont know exactly how far each needle will be until I have it running and installed. Keep in mind people say every car is different and will react accordingly. People also state that the 300 will read better. I will cross this obsticle when it comes. I believe it will be fine for now.
I will post my results with the stock rear end and the stock 400 cluster. Thanks for keeping the thread alive. Hope this helps out somewhat.
I will post my results with the stock rear end and the stock 400 cluster. Thanks for keeping the thread alive. Hope this helps out somewhat.
 12-19-11, 01:38 PM
#300
1JZ Single SC400
Thread Starter
iTrader: (59)
Join Date: Jan 2009
Location: Alabama, Roll Tide!
Posts: 8,518
Likes: 0
Received 15 Likes
on
12 Posts
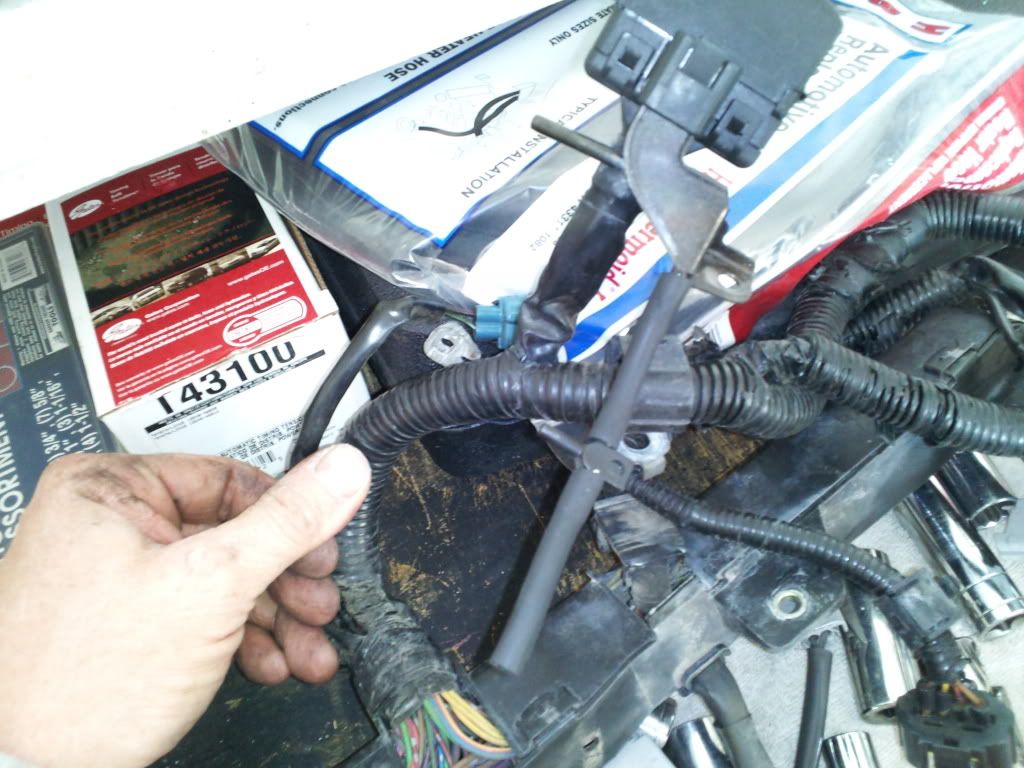
Sorry, it seems that I haven't been doing much.. I have done a few small things..
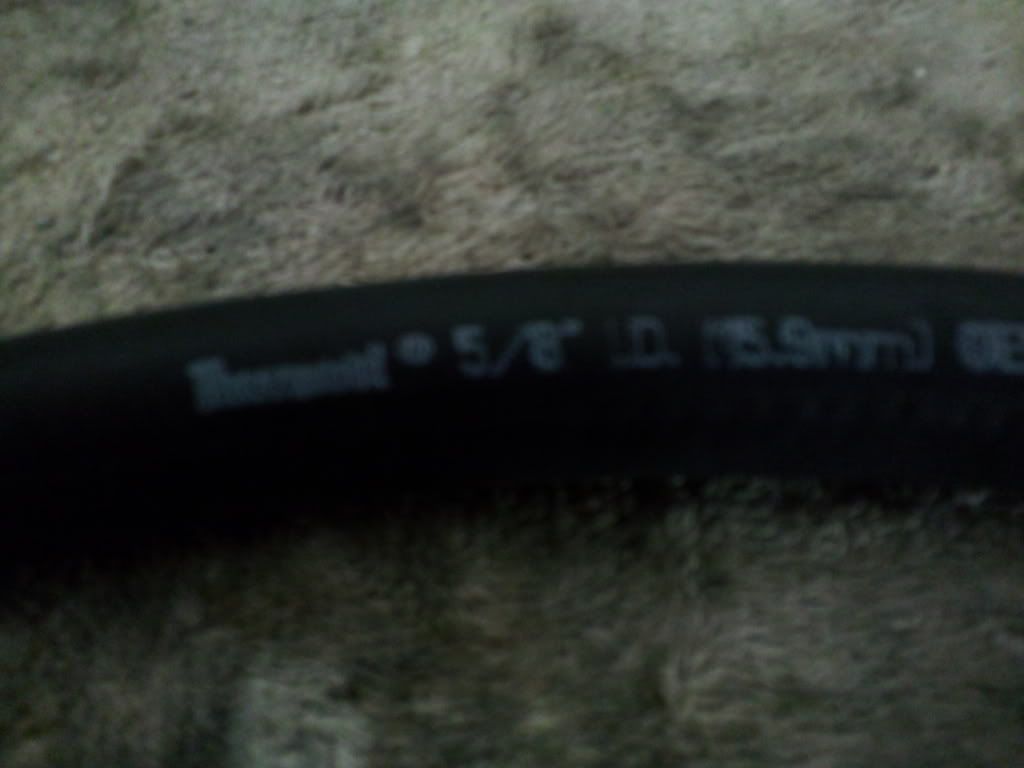
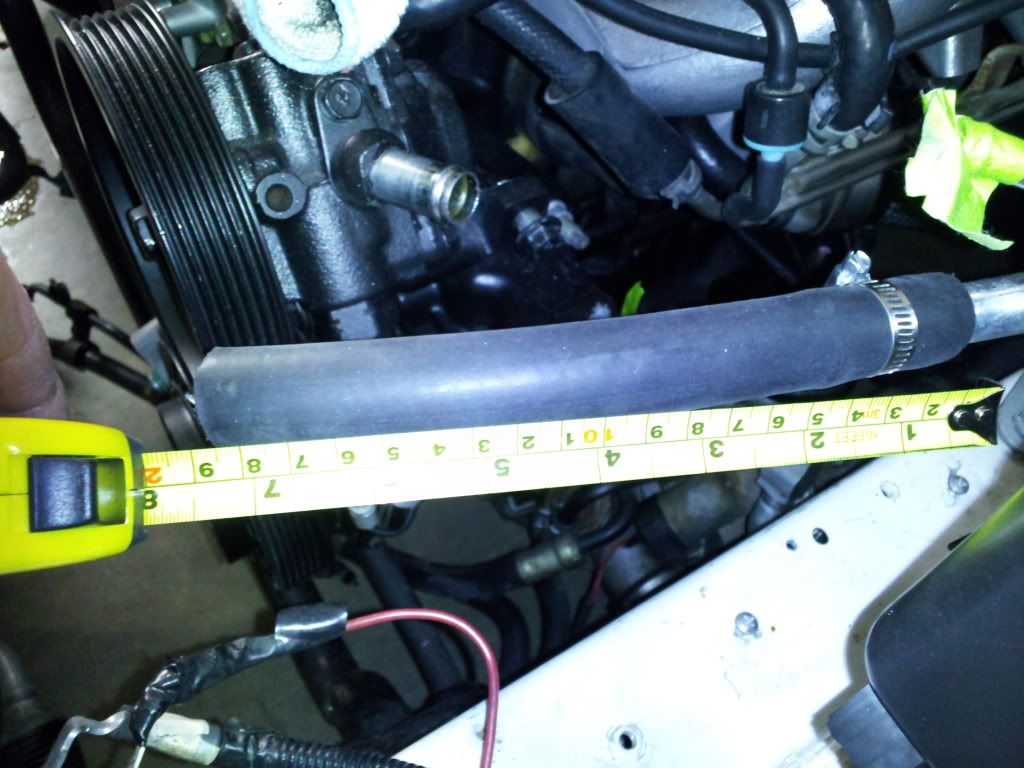
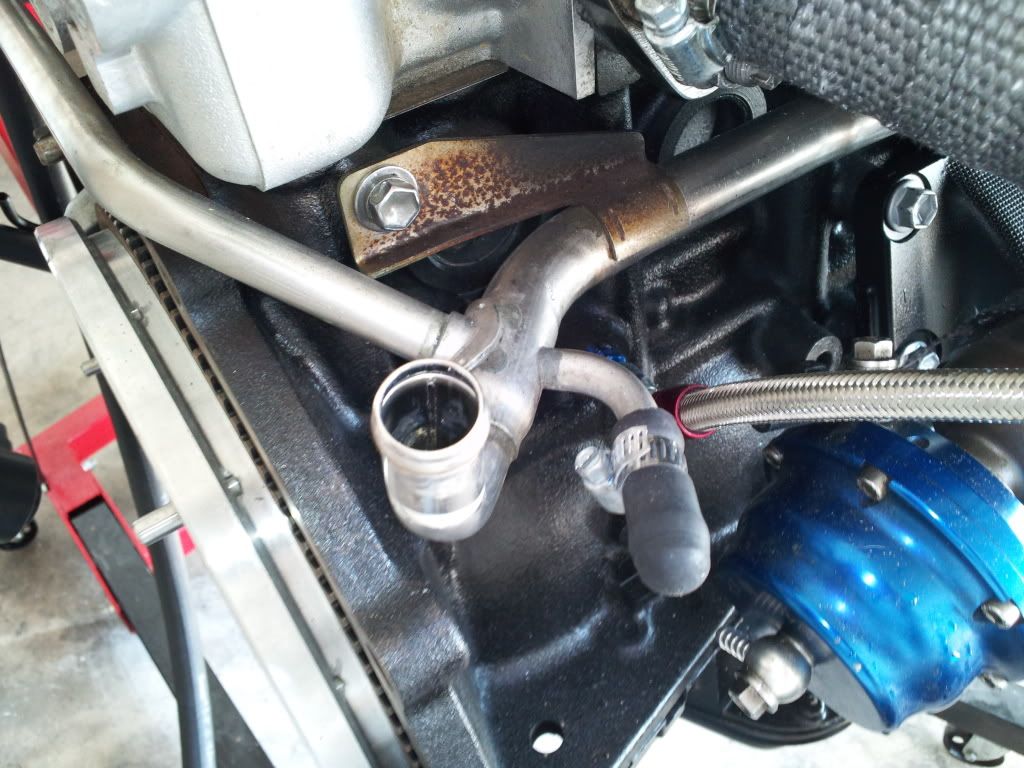
This is the size for the power steering line, its 5/8 for the bottom one on the reservoir... measured at 7 1/2 inches.

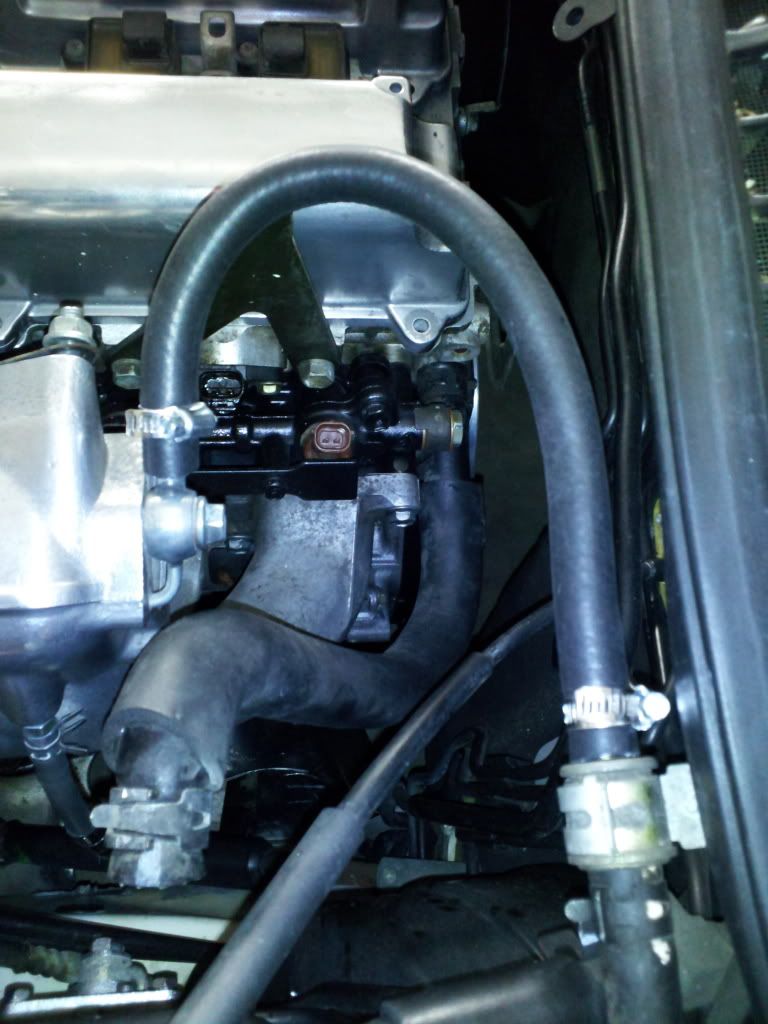
This is the one that goes to the brake booster and to the throttle body on the back side of course.. Used new clamps...
Ordered my new shifter plate cover yesterday, with the clutch fork, should be here shortly...
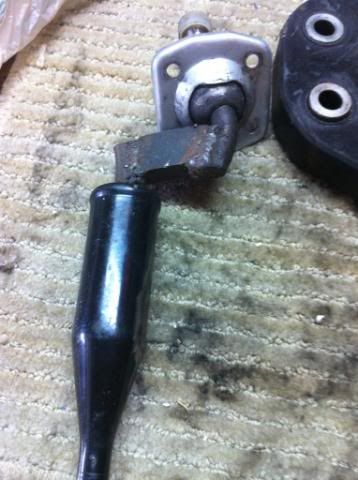
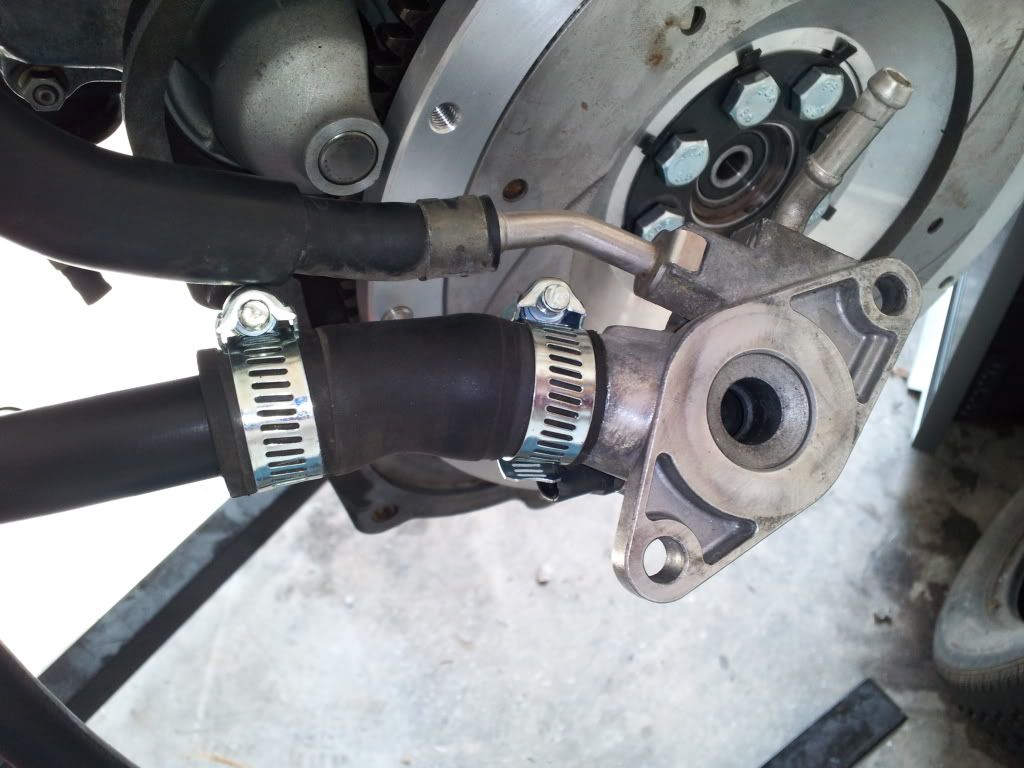
Remove the back plate off the back of the motor to reinstall the wiring harness...
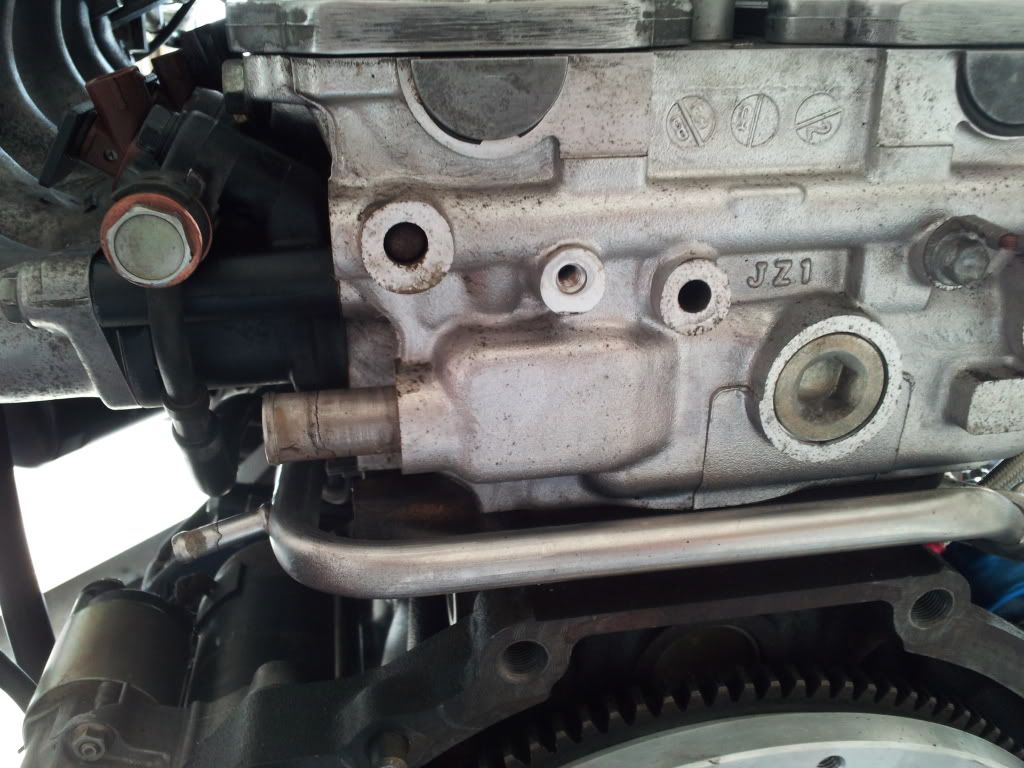
Installed the 12mm bolt that hold the tube around the intake side by the fuel regulator..
Installed the hose as previous stated in the thread, again with new clamp..easier to do with motor out..
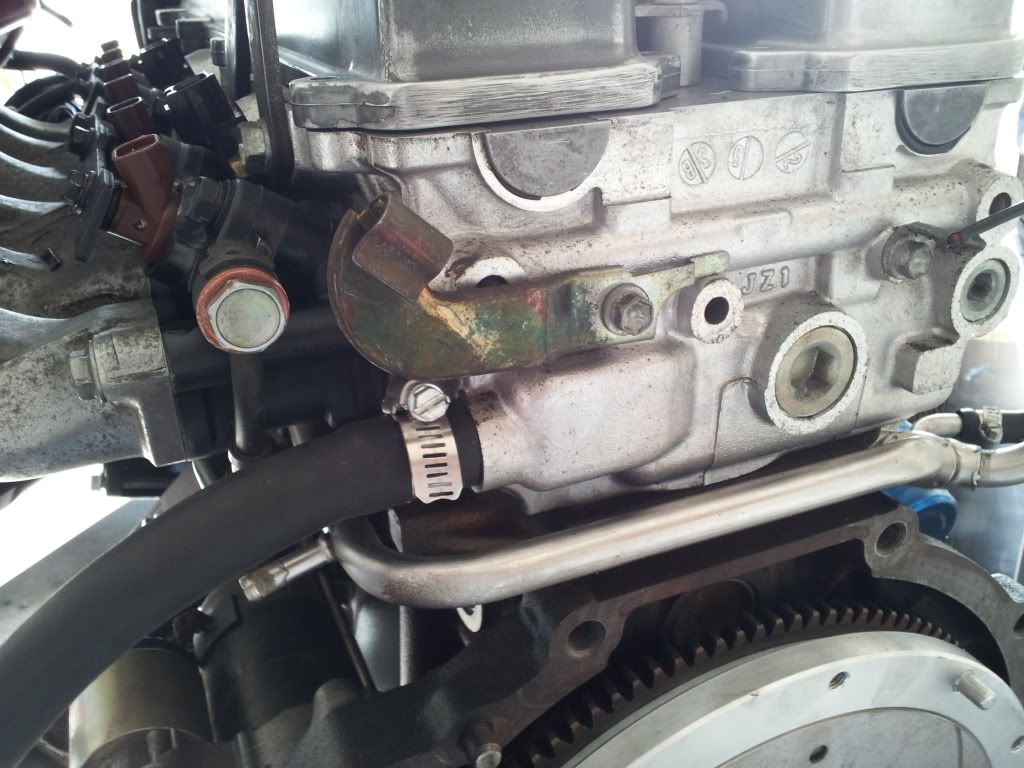
Installed new clamps and a new hose in 5/8 to the IACV...
Installed the other 12mm bolt on the exhaust side of the motor...to keep secure..make sure to clean both bolts on each side...
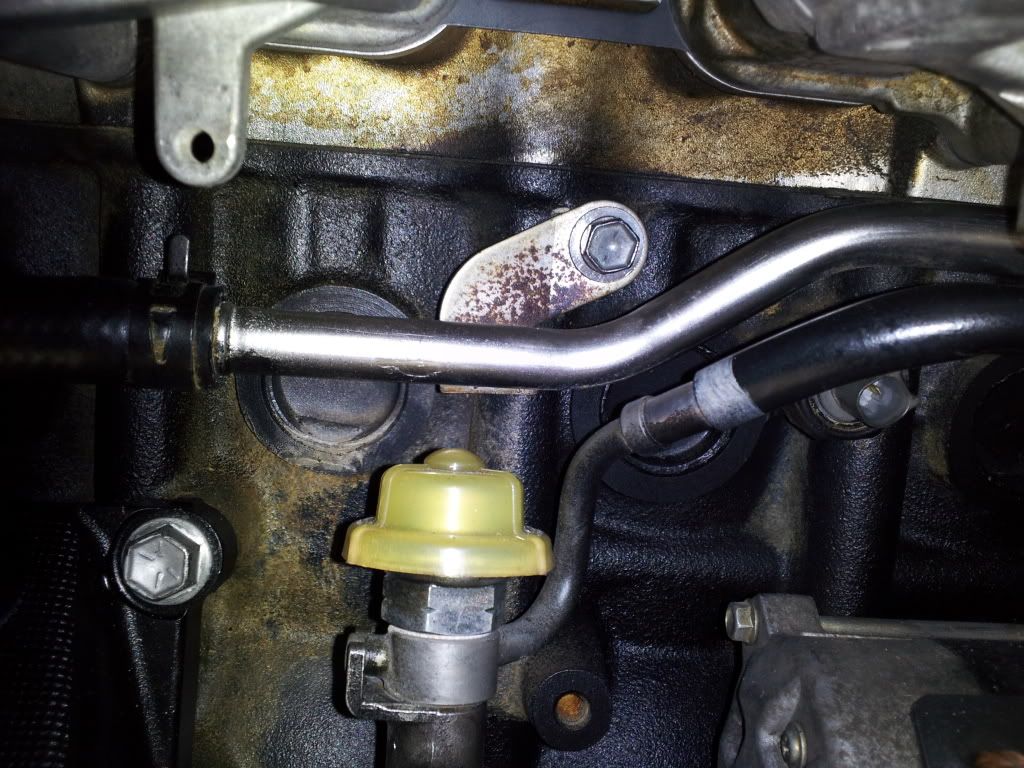
Installed the vacuum line by the oil filter... In the picture it is backwards, so turn it around, forgot to take another picture after installed correctly. Its held in by (2) 10mm bolts...
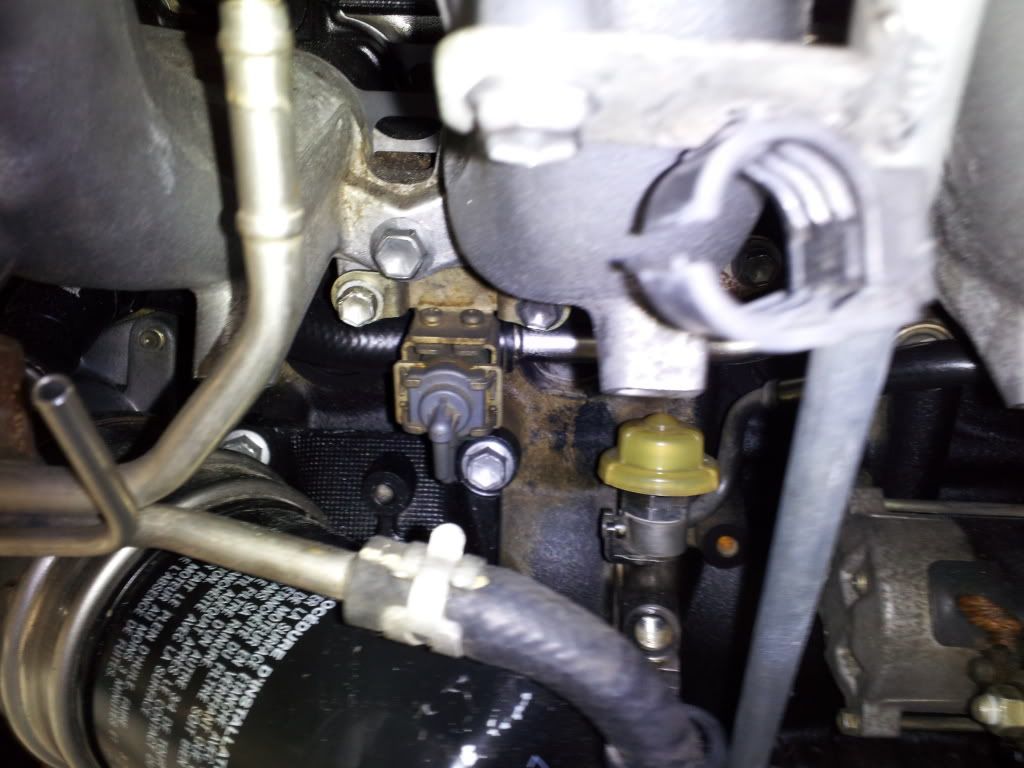
Installed two new vacuum hoses on this piece, approx 2 inches long each and the divider in the middle, this ties into the previous mounted piece in the picture on one side...
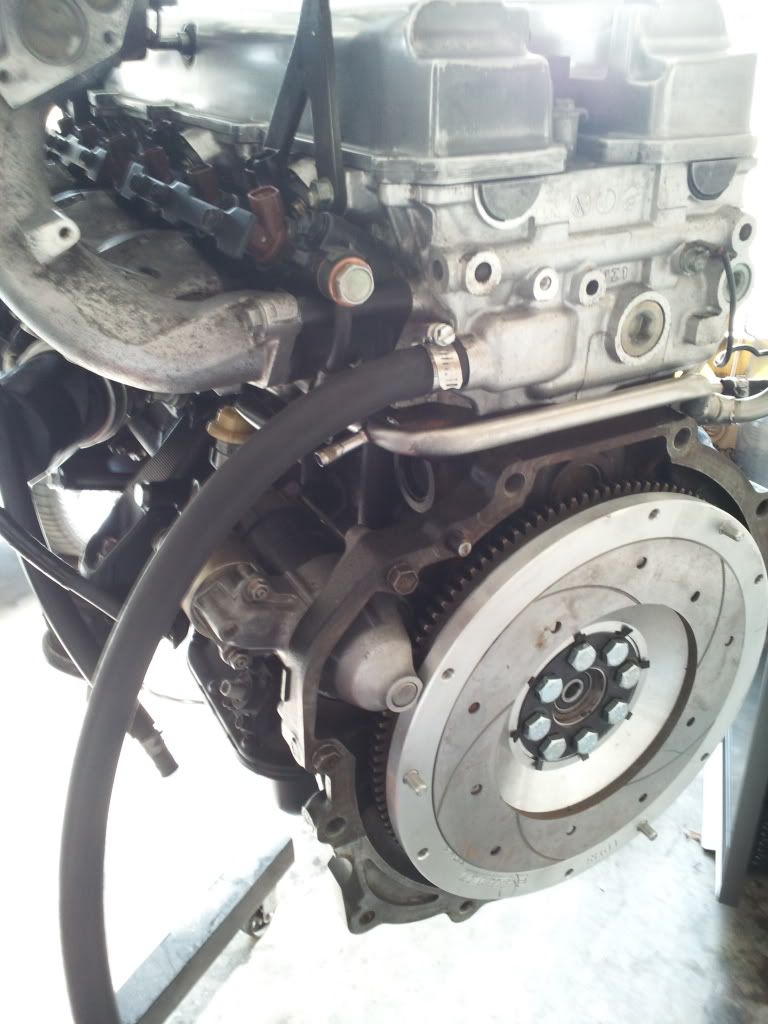
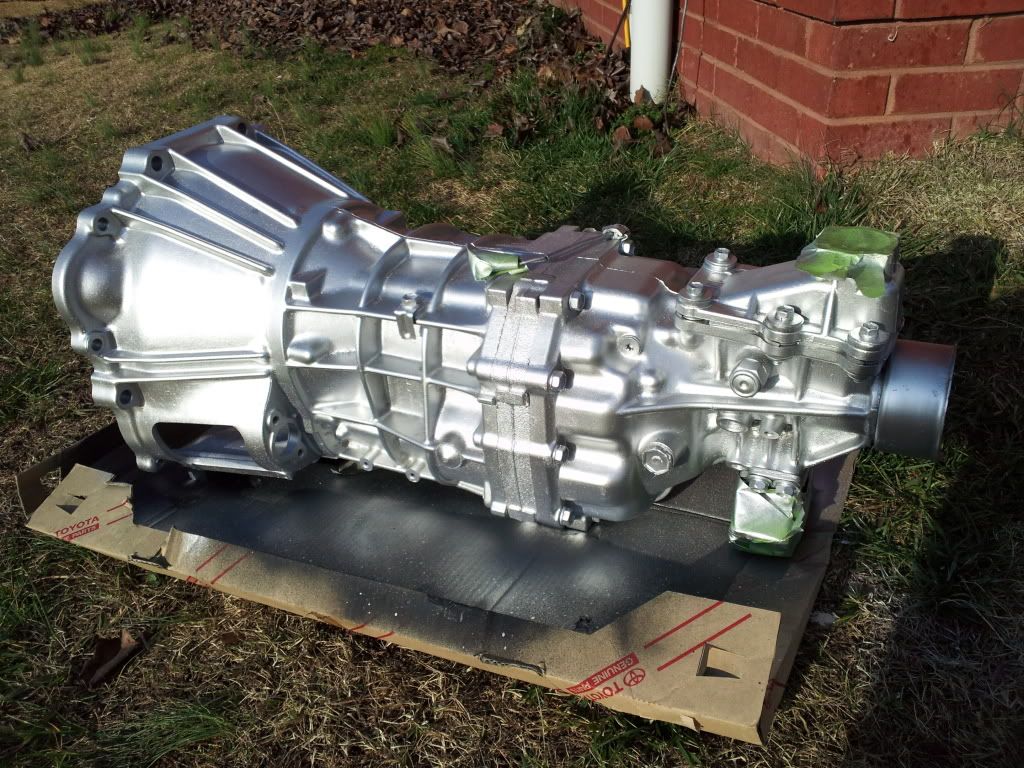
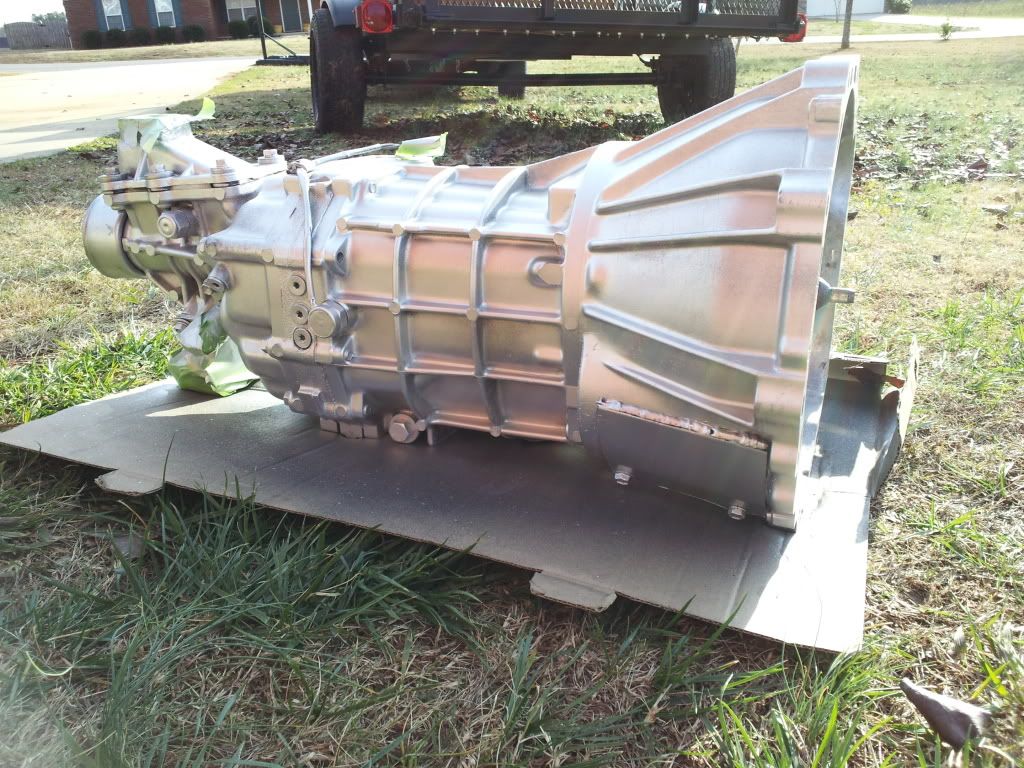
Painted the tranny with some aluminum paint.. i did this so I could see or detect any links in high boost.. :-)
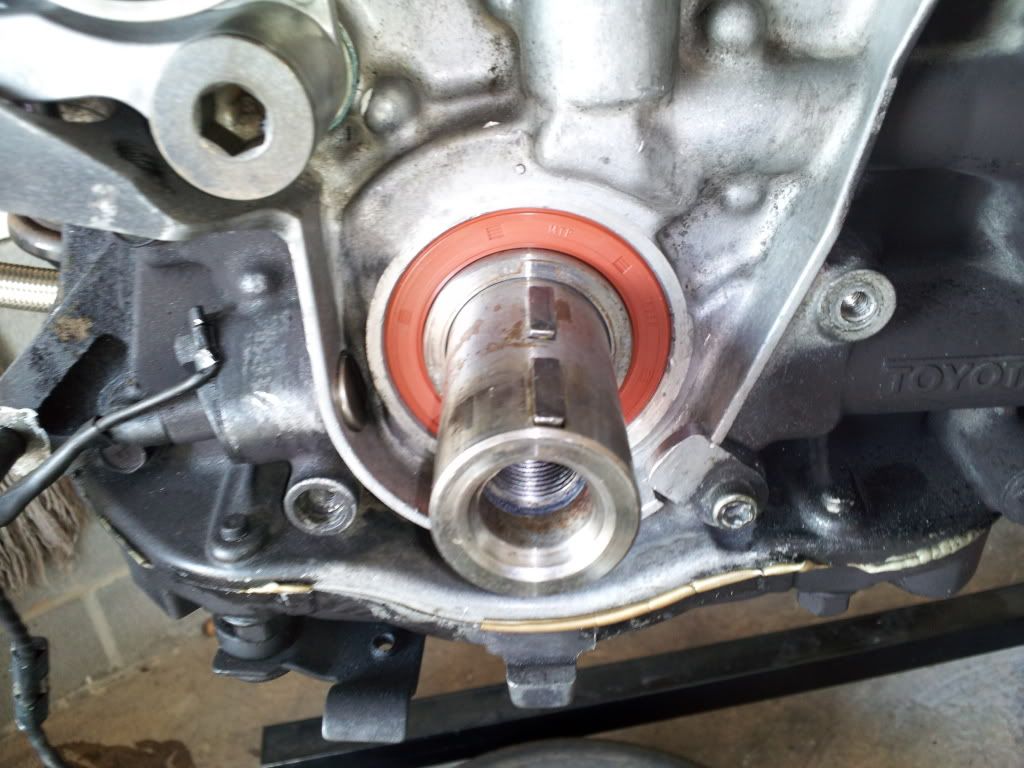
Cleaned the old seal shaft with brake cleaner, made sure no silicone was there and they blew dry with compressed air...
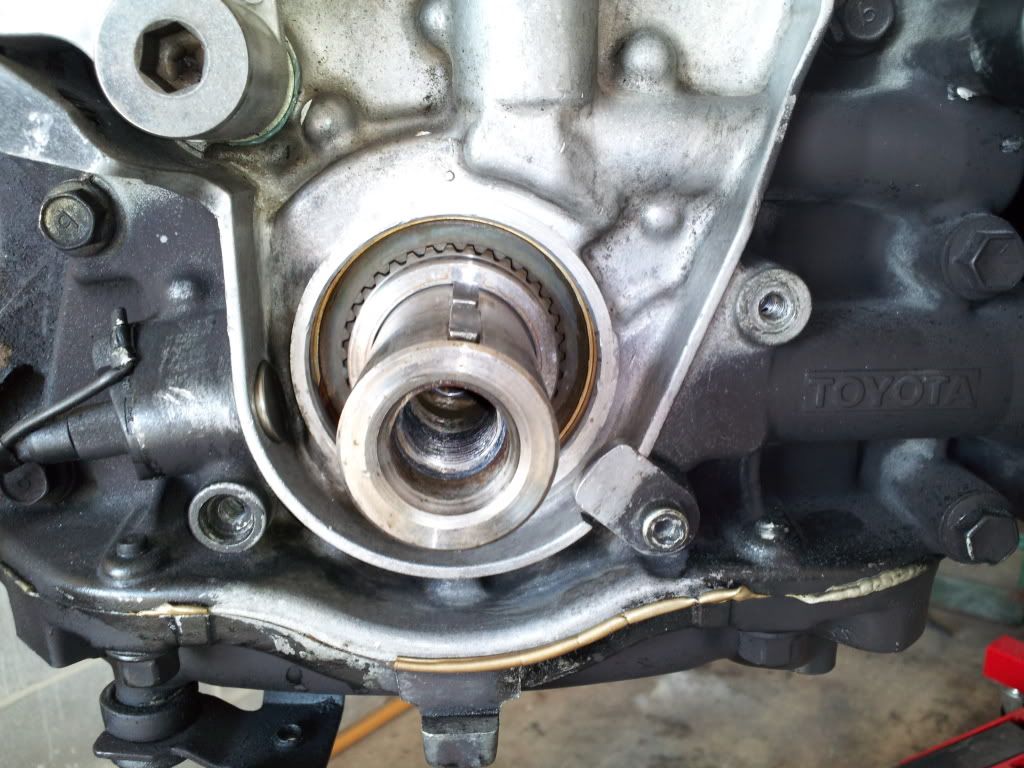
Installed new seal.. At this time I am prolly not going to replace the oil pump, due to funds. I have read on here so many of these swaps with HP and have found really no problems. I have trust in this one for now. I will also be installing the AEM oil pressure gauge so I can also keep an eye on pressure and so on....I did NOT use any type of lubricant or anything, just wipe it down good, and installed. Fit great...
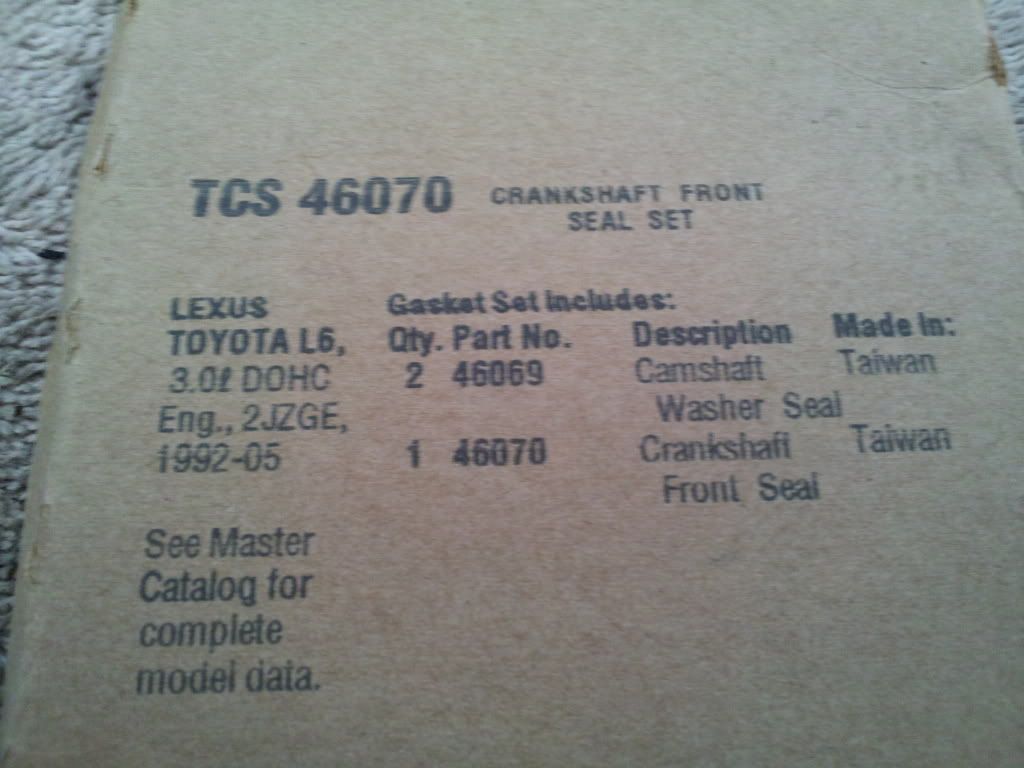
Part number for the Oreilys brand seal.. dealer had to special order, again this is the route I chose.. I have used these before and had no problem, we will see...
This is the size for the power steering line, its 5/8 for the bottom one on the reservoir... measured at 7 1/2 inches.
This is the one that goes to the brake booster and to the throttle body on the back side of course.. Used new clamps...
Ordered my new shifter plate cover yesterday, with the clutch fork, should be here shortly...
Remove the back plate off the back of the motor to reinstall the wiring harness...
Installed the 12mm bolt that hold the tube around the intake side by the fuel regulator..
Installed the hose as previous stated in the thread, again with new clamp..easier to do with motor out..
Installed new clamps and a new hose in 5/8 to the IACV...
Installed the other 12mm bolt on the exhaust side of the motor...to keep secure..make sure to clean both bolts on each side...
Installed the vacuum line by the oil filter... In the picture it is backwards, so turn it around, forgot to take another picture after installed correctly. Its held in by (2) 10mm bolts...
Installed two new vacuum hoses on this piece, approx 2 inches long each and the divider in the middle, this ties into the previous mounted piece in the picture on one side...
Painted the tranny with some aluminum paint.. i did this so I could see or detect any links in high boost.. :-)
Cleaned the old seal shaft with brake cleaner, made sure no silicone was there and they blew dry with compressed air...
Installed new seal.. At this time I am prolly not going to replace the oil pump, due to funds. I have read on here so many of these swaps with HP and have found really no problems. I have trust in this one for now. I will also be installing the AEM oil pressure gauge so I can also keep an eye on pressure and so on....I did NOT use any type of lubricant or anything, just wipe it down good, and installed. Fit great...
Part number for the Oreilys brand seal.. dealer had to special order, again this is the route I chose.. I have used these before and had no problem, we will see...