
1992Lexus.. Complete build thread with pictures and links!
 01-18-12, 06:59 PM
#376
Lexus Test Driver
iTrader: (44)
Join Date: Jan 2007
Location: Maryland /Germantown
Posts: 5,139
Likes: 0
Received 7 Likes
on
7 Posts
I think Gary (big green) on here had the same issue you may wanna check the old threads we had about 4-5years ago .
I need to start writing the stuff down, can't remember my name sometimes.. let me see if i can find the threads.
it never worked on my car i am not sure what it was i talk to tweak because he did my harness at that time , but i didn't bother with it.
sorry i wish i can help you on this.
I need to start writing the stuff down, can't remember my name sometimes.. let me see if i can find the threads.
it never worked on my car i am not sure what it was i talk to tweak because he did my harness at that time , but i didn't bother with it.
sorry i wish i can help you on this.
Last edited by 99SC42; 01-18-12 at 07:04 PM.
 01-19-12, 04:55 PM
#377
1JZ Single SC400
Thread Starter
iTrader: (59)
Join Date: Jan 2009
Location: Alabama, Roll Tide!
Posts: 8,518
Likes: 0
Received 15 Likes
on
12 Posts
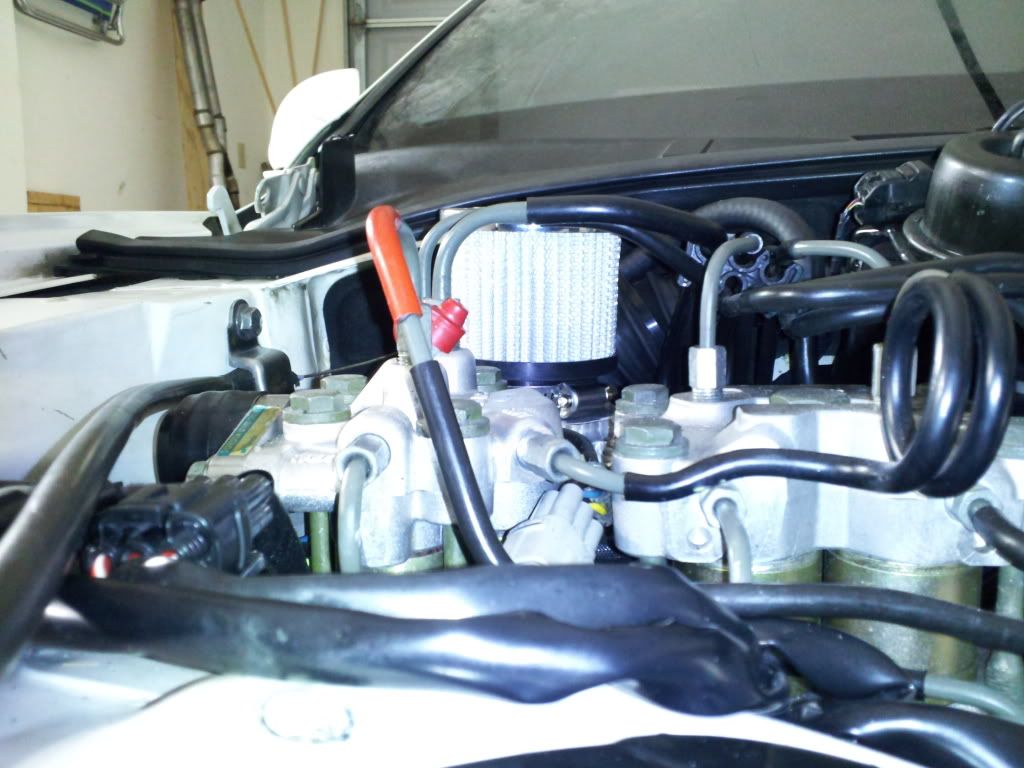
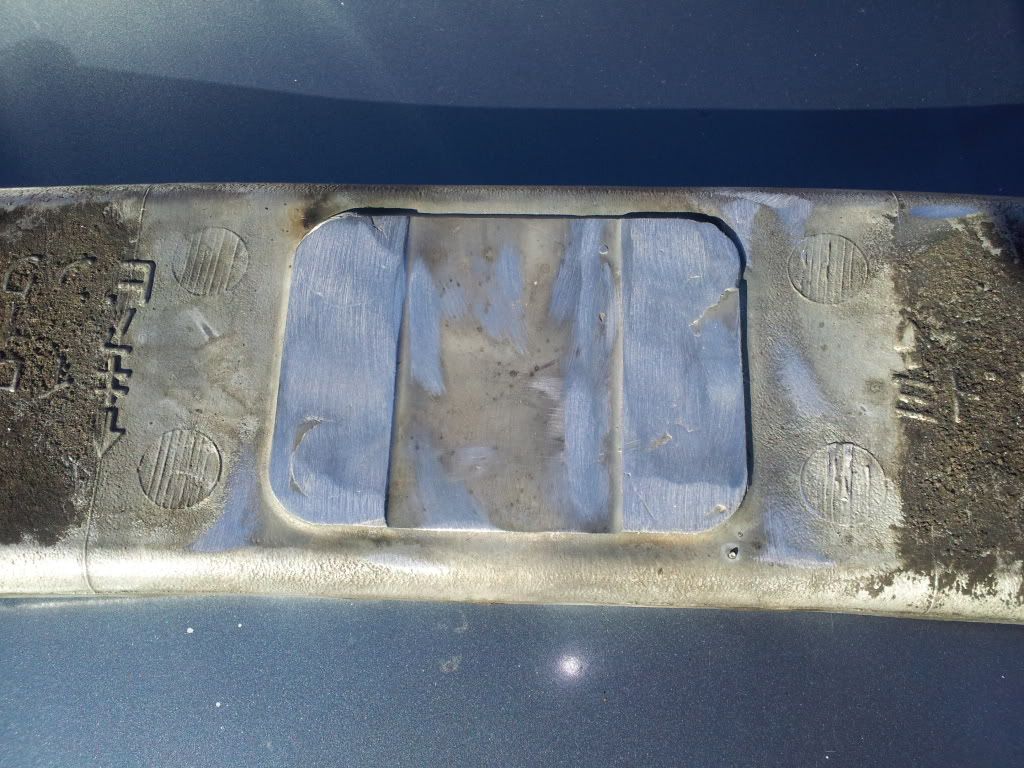
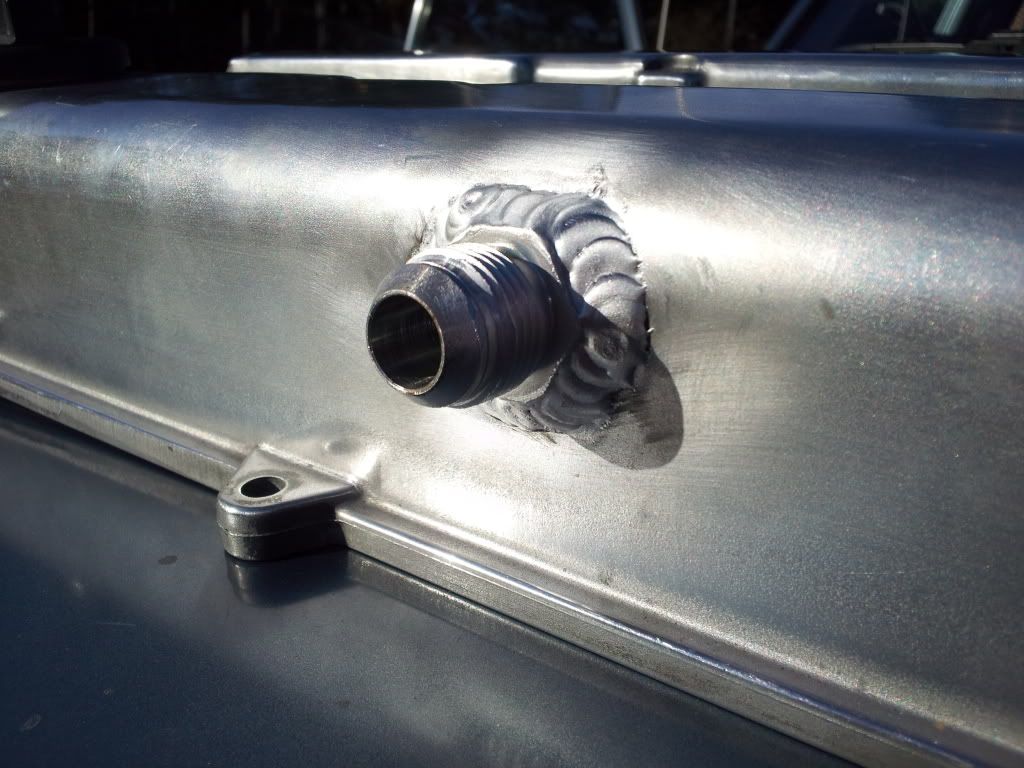
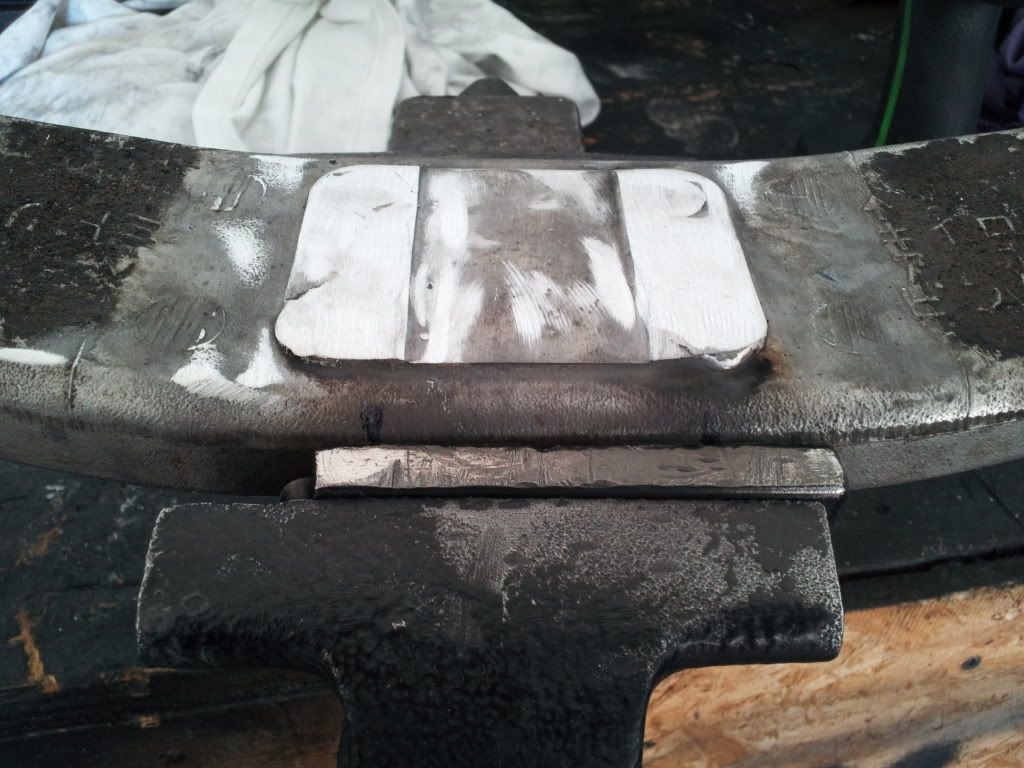
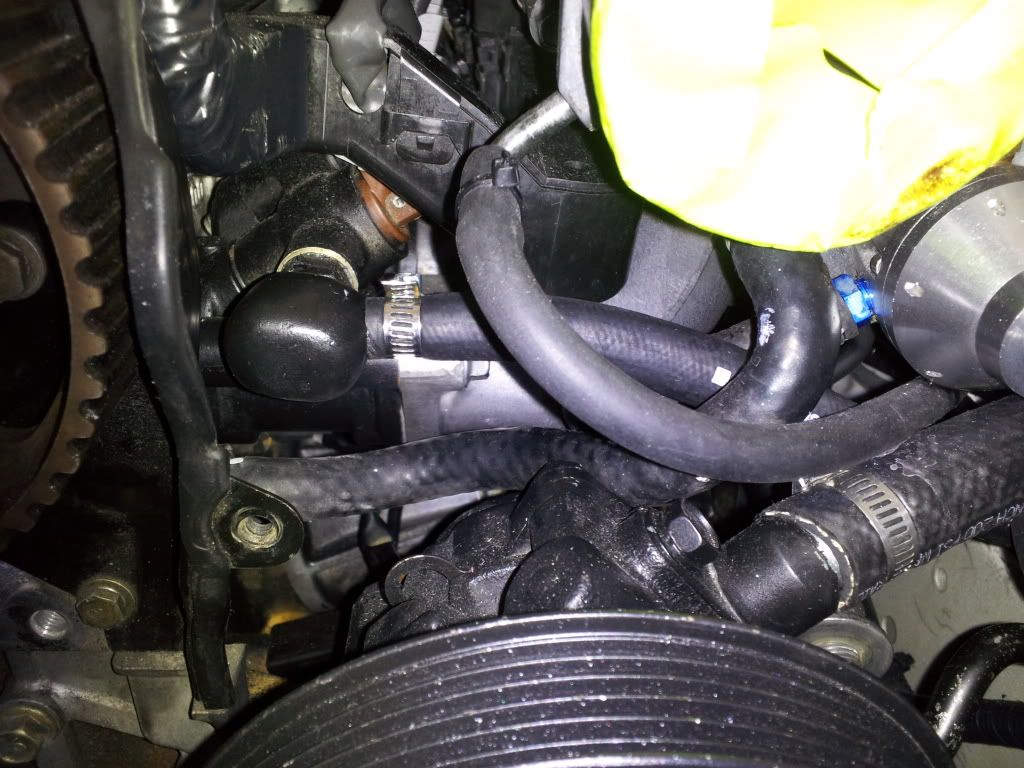
Thanks QuickSC4. I am sure someone if not me will figure it out. I bought some parts today. Bought a Morosso catch can with filter, several fittings, fuel filter for the return, since I got rid of the charcoal canister. I removed a few brackets from the trac and abs to make room for the catch can oil lines. I decided to go steel braided this route. I also had to bought a wye so two lines will go into one side of the catch can. I was thinking this would be a greater look. I dropped off the valve covers to get the size 90 degree fittings welded, along with the SC400 trannsmission crossmember. I ended getting the holes filled in, then I will drill new holes to accomadate the new locations for the screws. Here is some pictures..

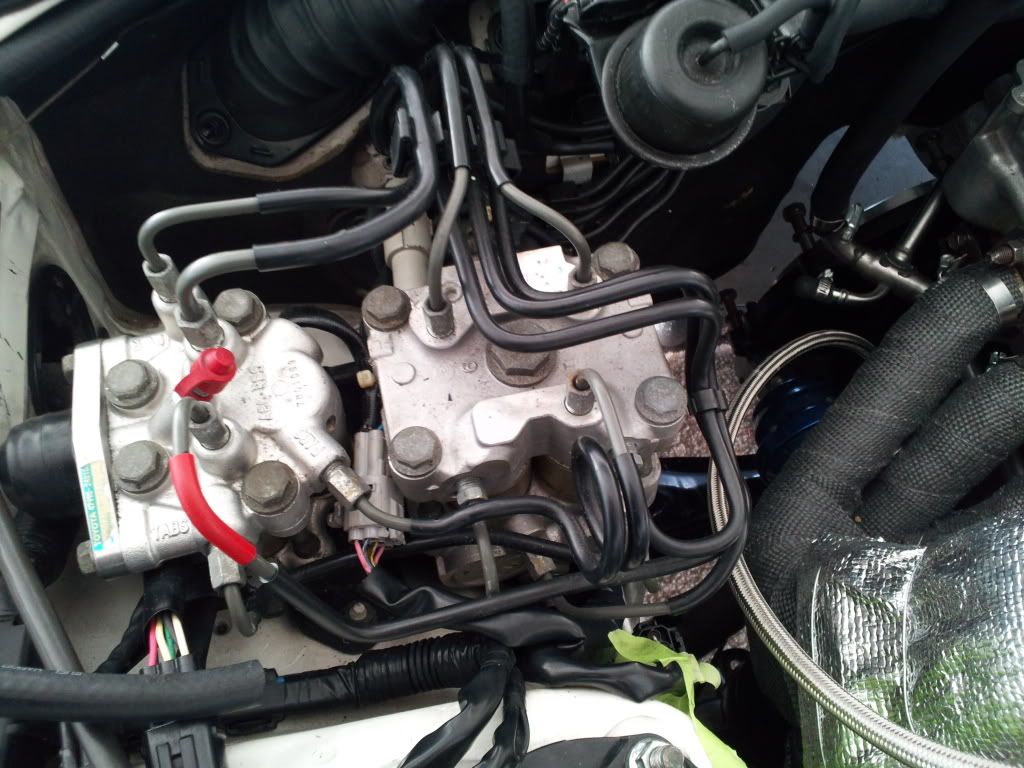
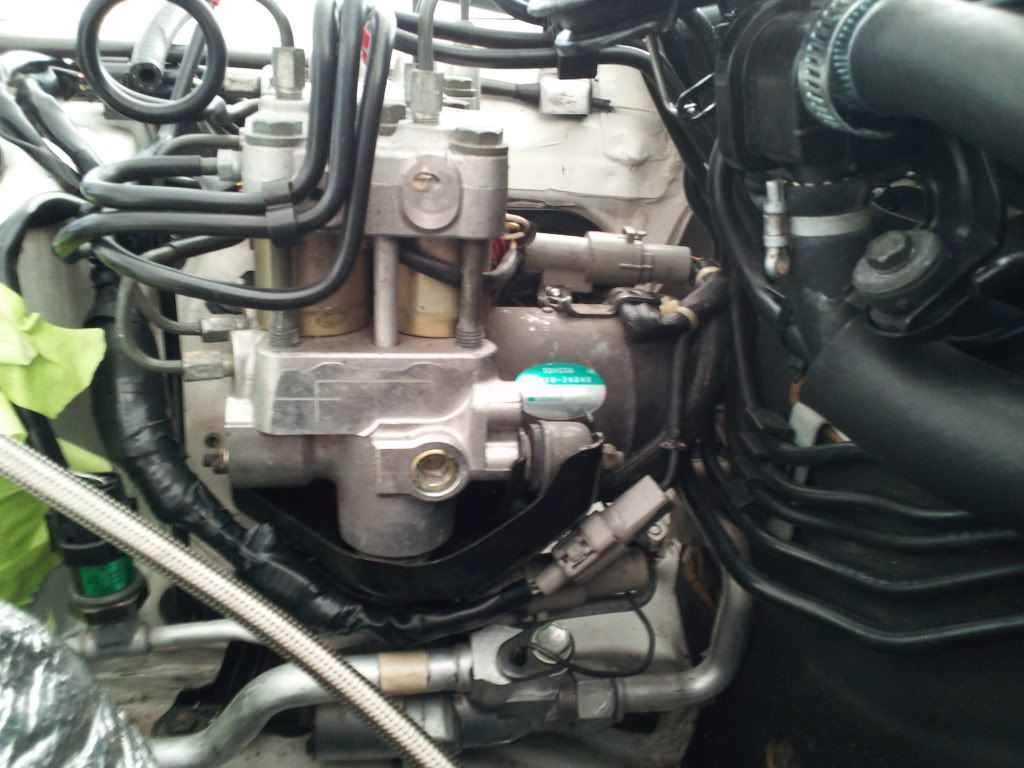
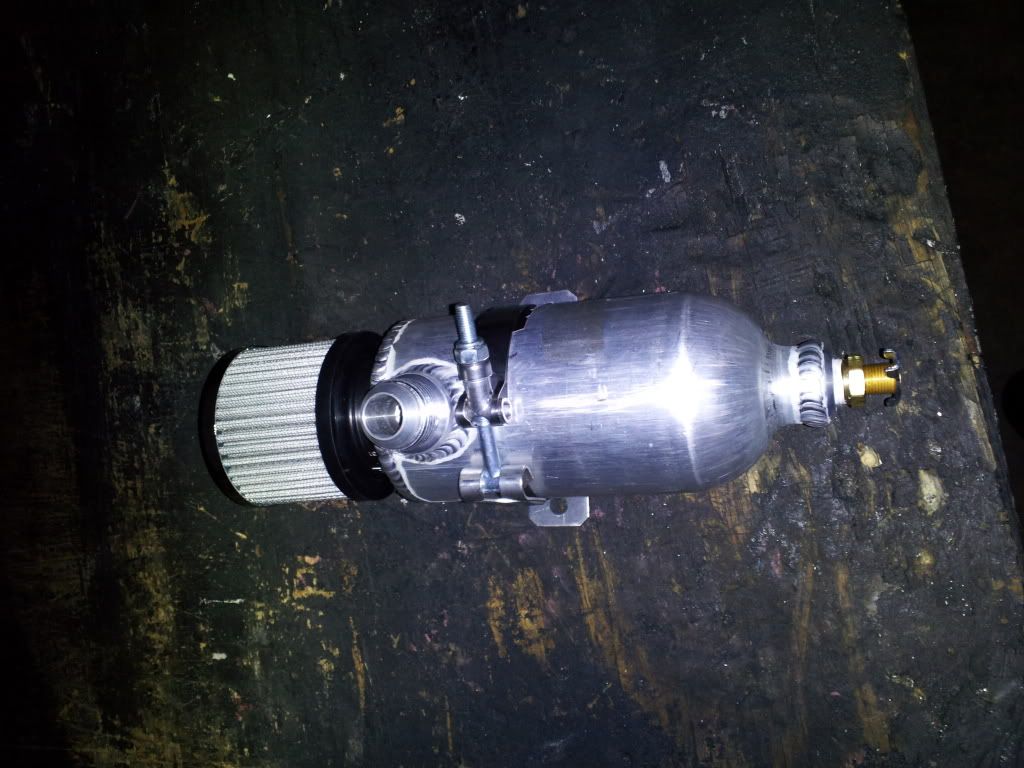
I will prolly be drilling a hole through the wheel well into the engine bay so I can access the drain spout much easier. I wont know for sure until I mount it and see where/how everything goes together. This would have been done today, but I had to order a wye to accept the size 10 fittings. I also have to build another custom bracket and attach this to the car and then to the bracket that came with the oil catch can.
I will prolly be drilling a hole through the wheel well into the engine bay so I can access the drain spout much easier. I wont know for sure until I mount it and see where/how everything goes together. This would have been done today, but I had to order a wye to accept the size 10 fittings. I also have to build another custom bracket and attach this to the car and then to the bracket that came with the oil catch can.
01-20-12, 06:35 PM
#378
1JZ Single SC400
Thread Starter
iTrader: (59)
Join Date: Jan 2009
Location: Alabama, Roll Tide!
Posts: 8,518
Likes: 0
Received 15 Likes
on
12 Posts
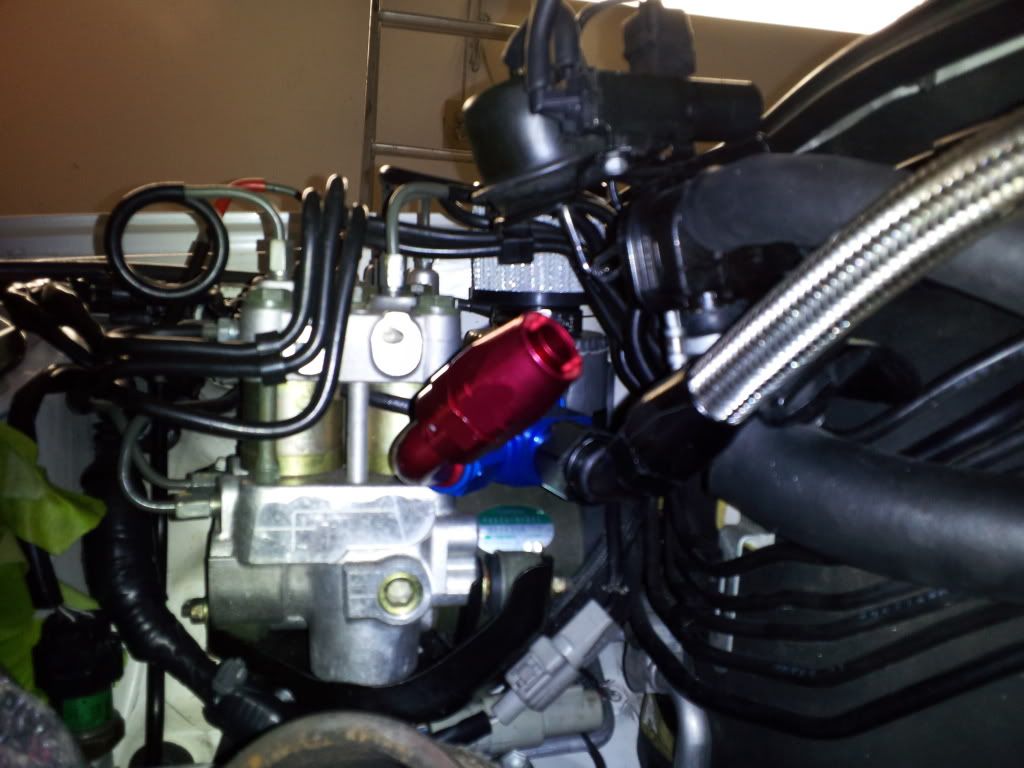
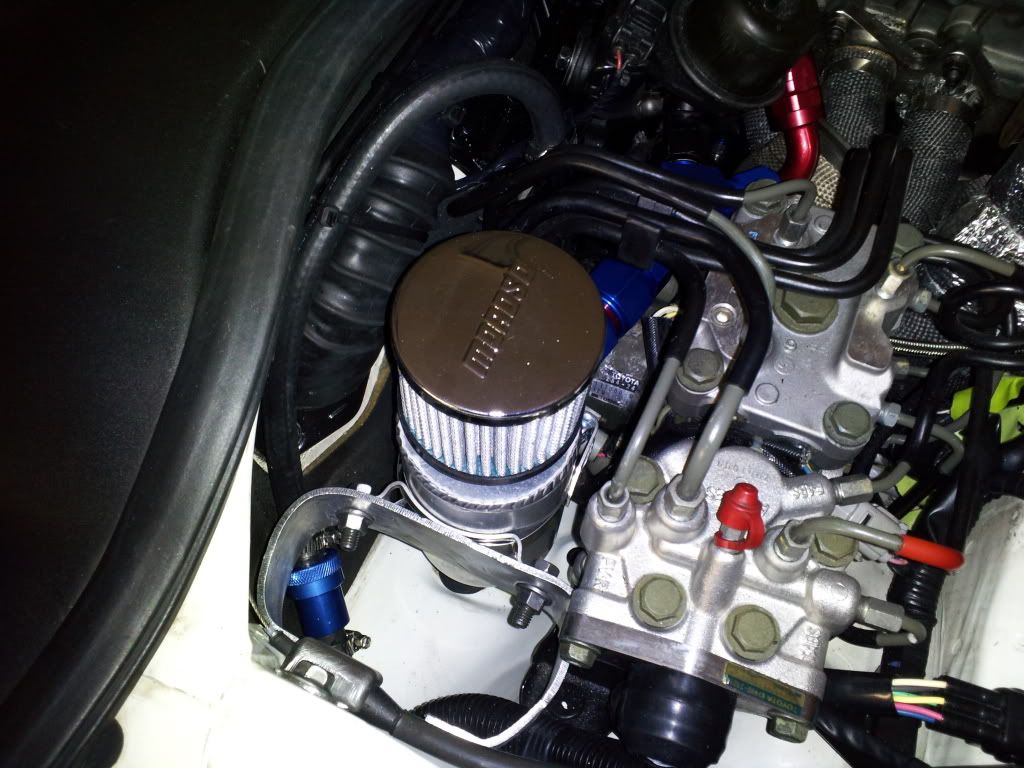
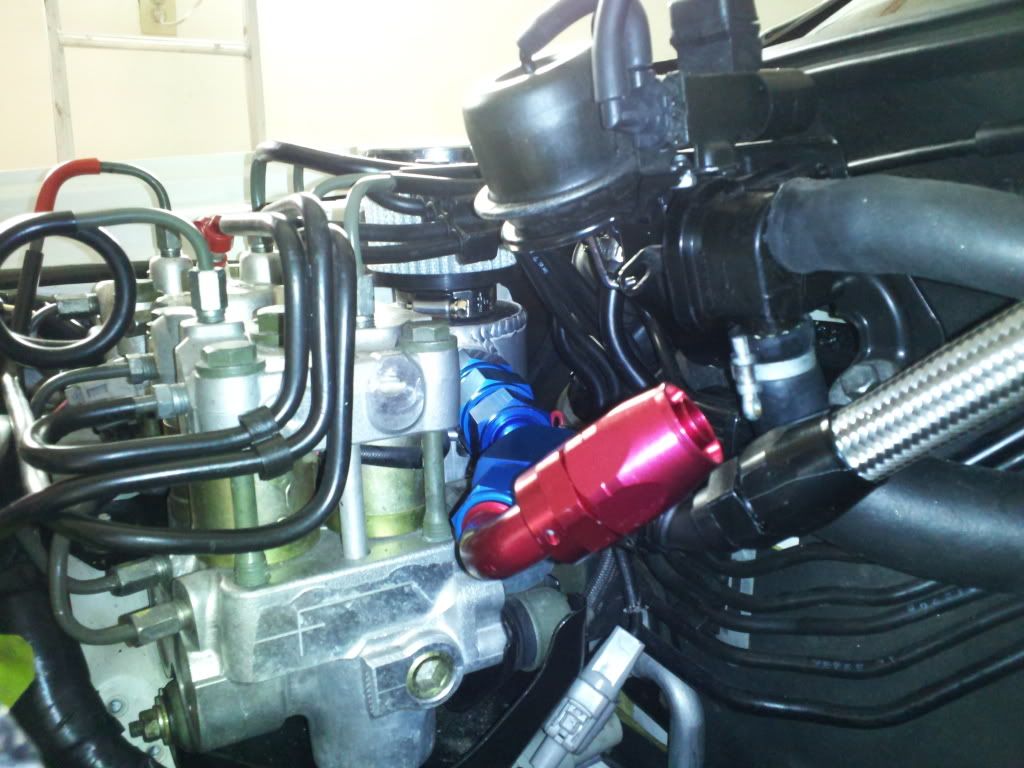
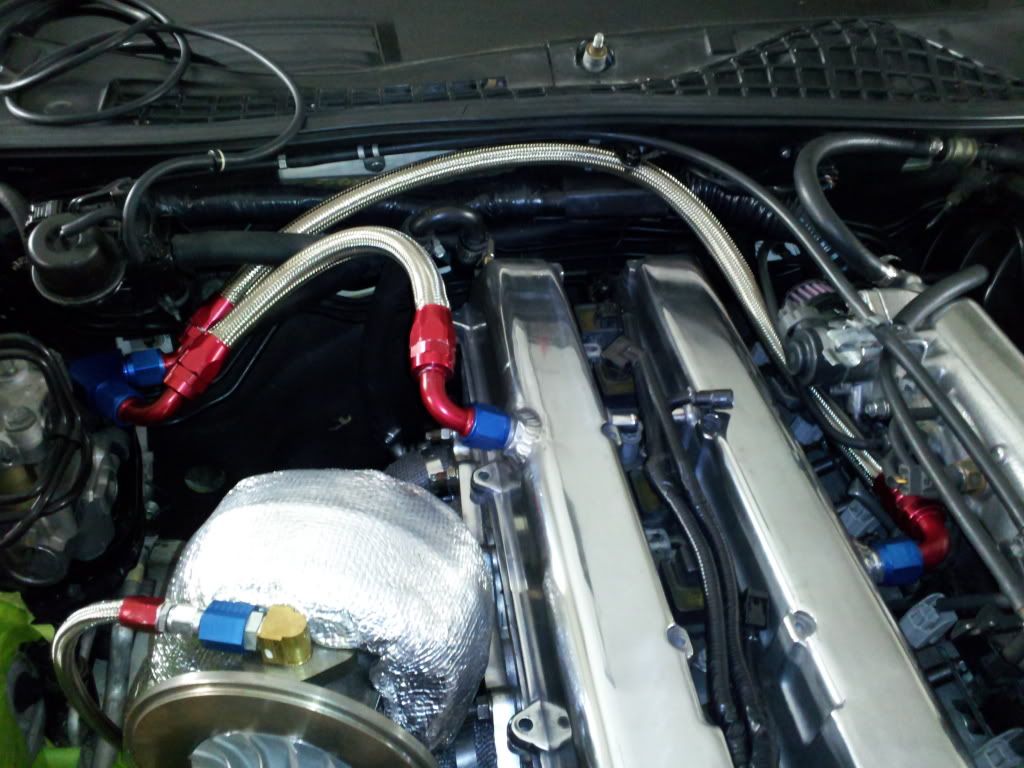
The oil catch can is mounted to the new bracket. Ran the lines and used some old fittings to see which one I need. Turned out pretty well. I spent over 200 bucks so far just for this thing... Havent paid the welder yet either.. I made like a "C" bracket so I can run my hand under it to drain the tank..
 01-28-12, 03:06 PM
#381
1JZ Single SC400
Thread Starter
iTrader: (59)
Join Date: Jan 2009
Location: Alabama, Roll Tide!
Posts: 8,518
Likes: 0
Received 15 Likes
on
12 Posts
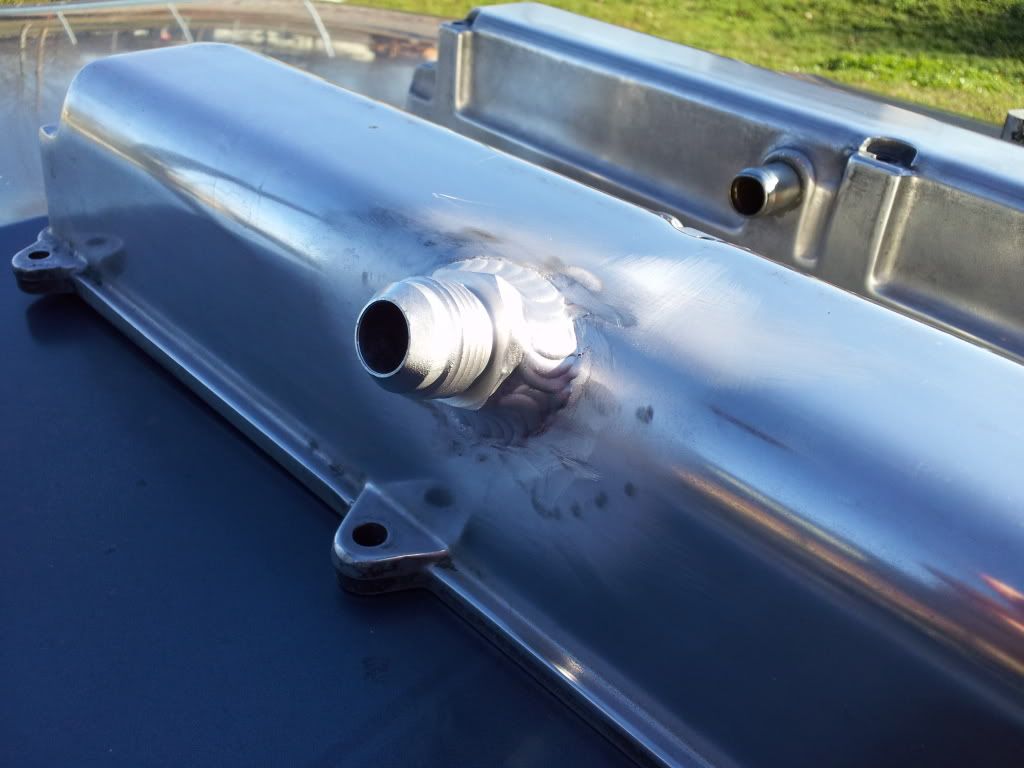
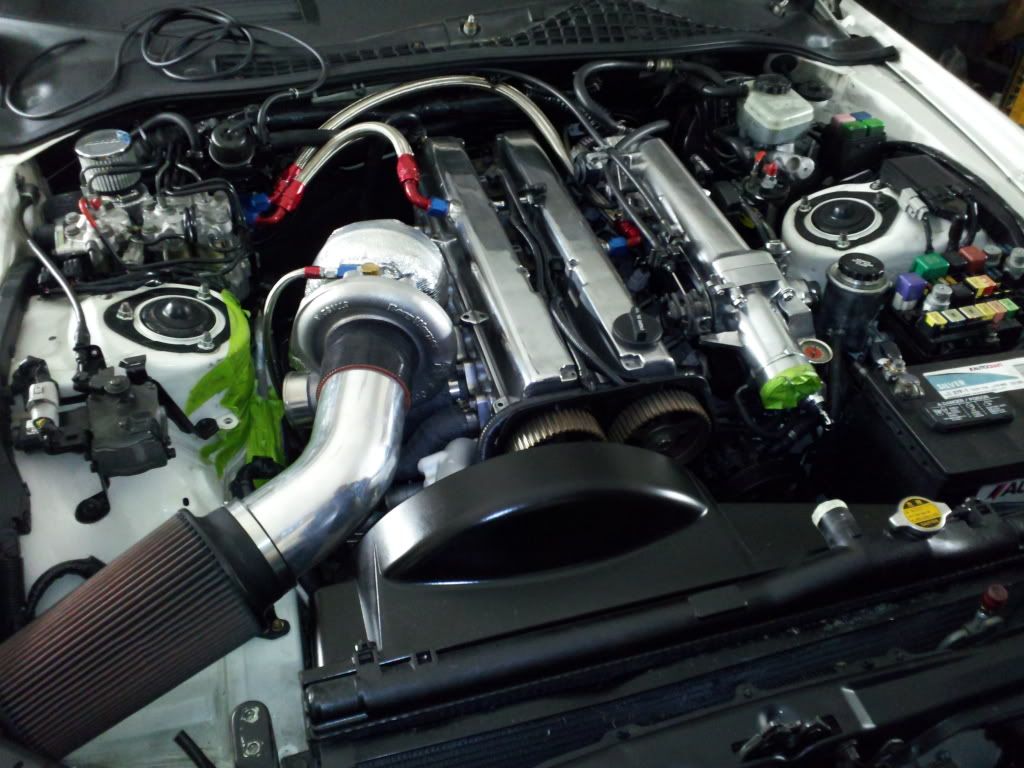
I went buy the local welding shop and picked up my valve covers. I had him weld some fittings for the size 10. I was overall impressed with his work again. He is the only shop that can do this type of work in my area. It cost me $125.00. I know have to resand them down again and start over with polishing from him handlig them both. I also received a phone call that the tax return will be here on Monday. The clutch, standalone, and cams will beordered on Monday. FINALLY !!!!
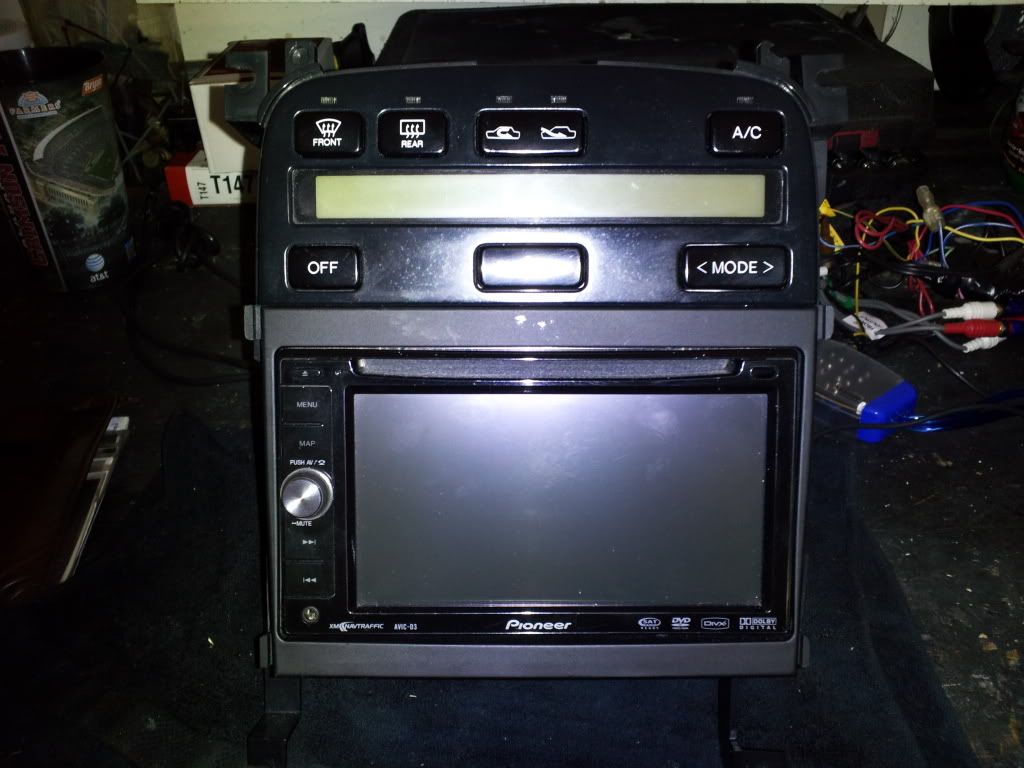
I havent done much just looking everything over. I did rewire the stereo again and put the stock sub back in the hole and made sure my new headunit worked. The Pioneer AVIC-D3 is a beautiful piece of equipment. Looks great!
I dropped the four pieces for paint. This guy seems to be motivated to do the work. If you have been following my thread, you know the trouble it has been for the paint work.. Nick I havent forget about you and the bottom lip. Will get this from you this week.
Here are the pictures....

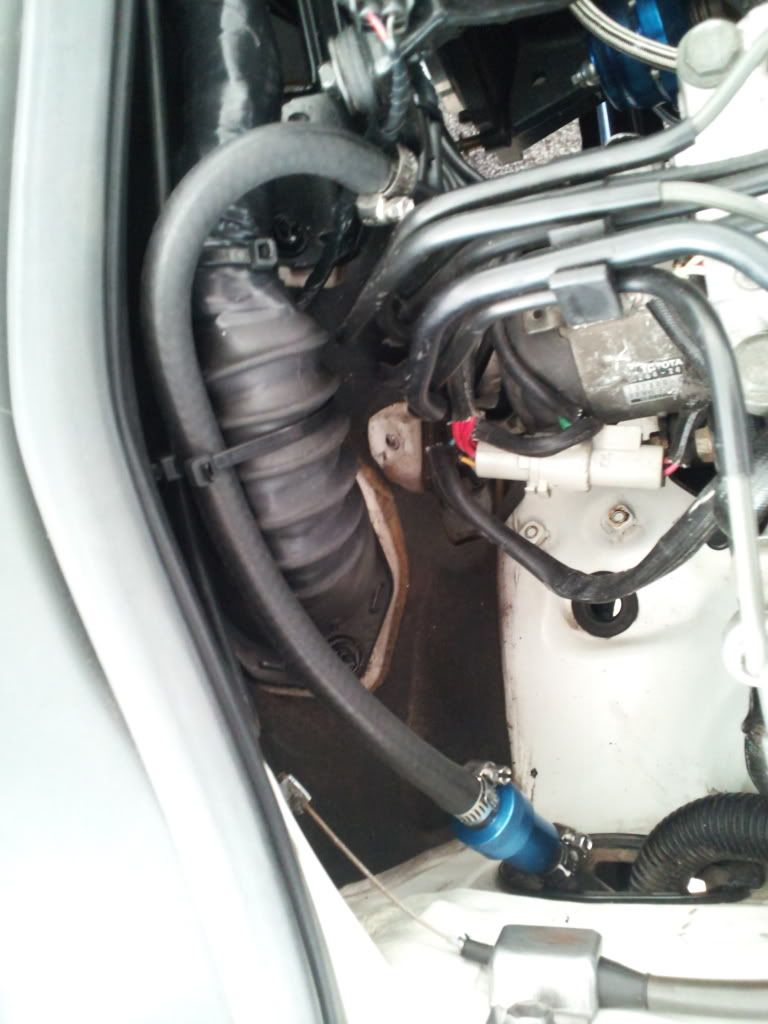
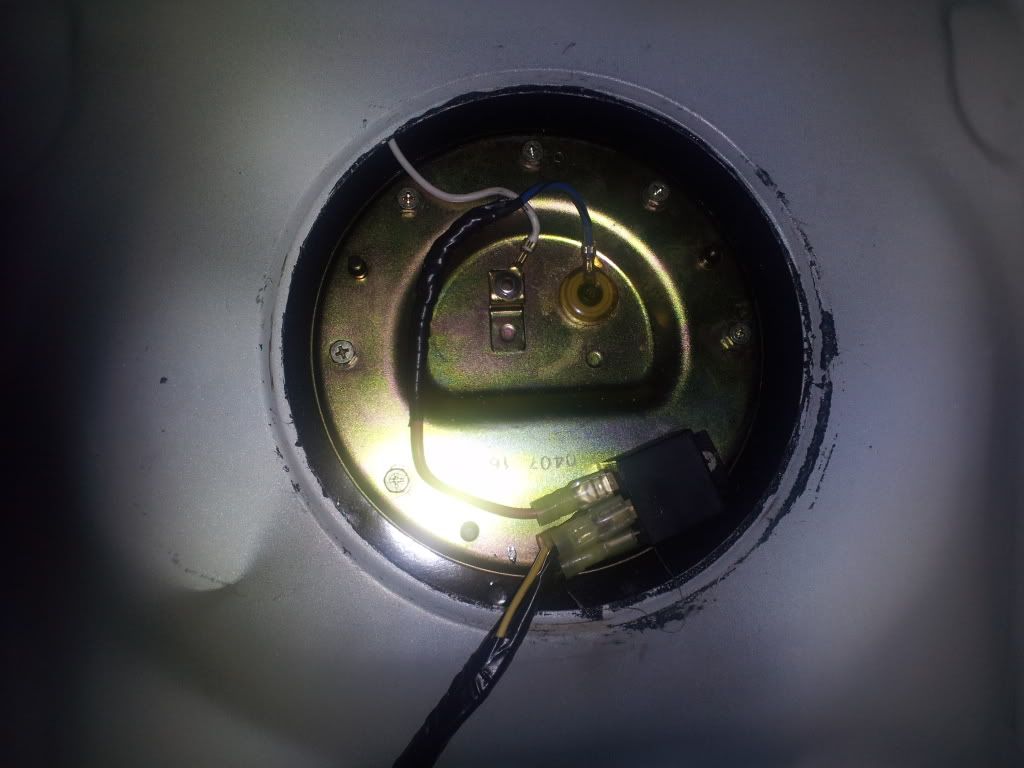
This is how and where I mounted the fuel pump relay. I bypassed the oem all together. I used a 10 gauge wire for power with a 30 amp inline fuse. Works great!
I havent done much just looking everything over. I did rewire the stereo again and put the stock sub back in the hole and made sure my new headunit worked. The Pioneer AVIC-D3 is a beautiful piece of equipment. Looks great!
I dropped the four pieces for paint. This guy seems to be motivated to do the work. If you have been following my thread, you know the trouble it has been for the paint work.. Nick I havent forget about you and the bottom lip. Will get this from you this week.
Here are the pictures....
This is how and where I mounted the fuel pump relay. I bypassed the oem all together. I used a 10 gauge wire for power with a 30 amp inline fuse. Works great!
01-29-12, 06:33 PM
#383
1JZ Single SC400
Thread Starter
iTrader: (59)
Join Date: Jan 2009
Location: Alabama, Roll Tide!
Posts: 8,518
Likes: 0
Received 15 Likes
on
12 Posts
Sounds like a plan. I am getting close.. I hope this things starts... :-)
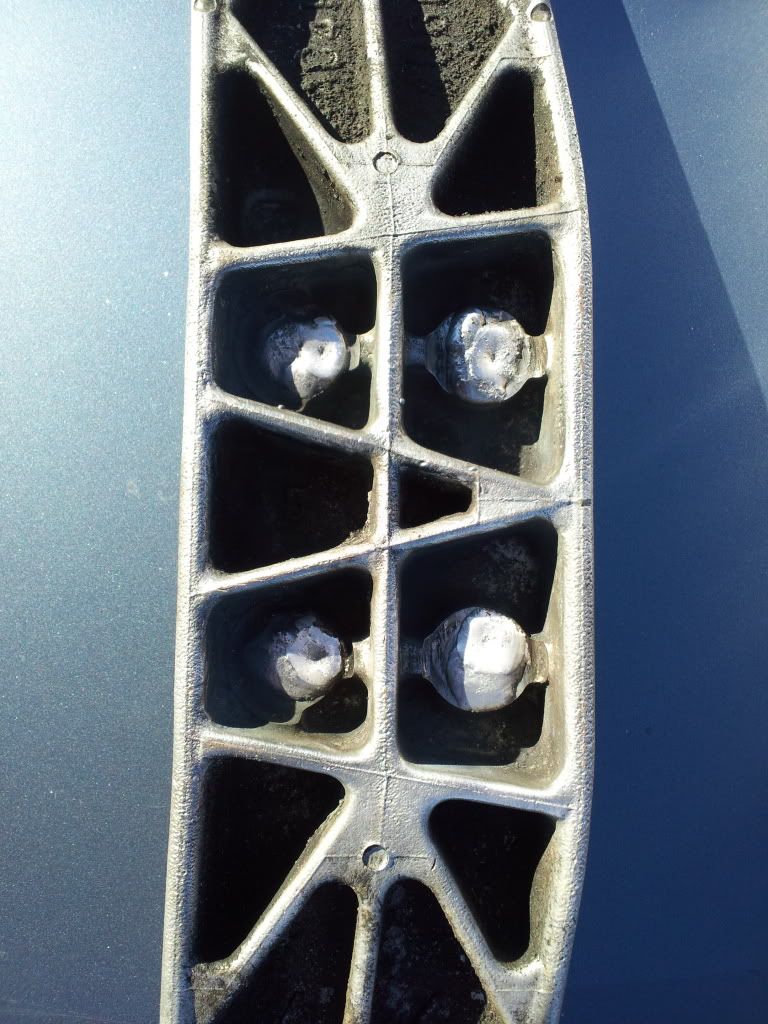
I made more progress today. I drilled out the crossmember to assure proper fitment to the rubber tranny mount. I also ordered the HKS BOV and the intercooler piping today.
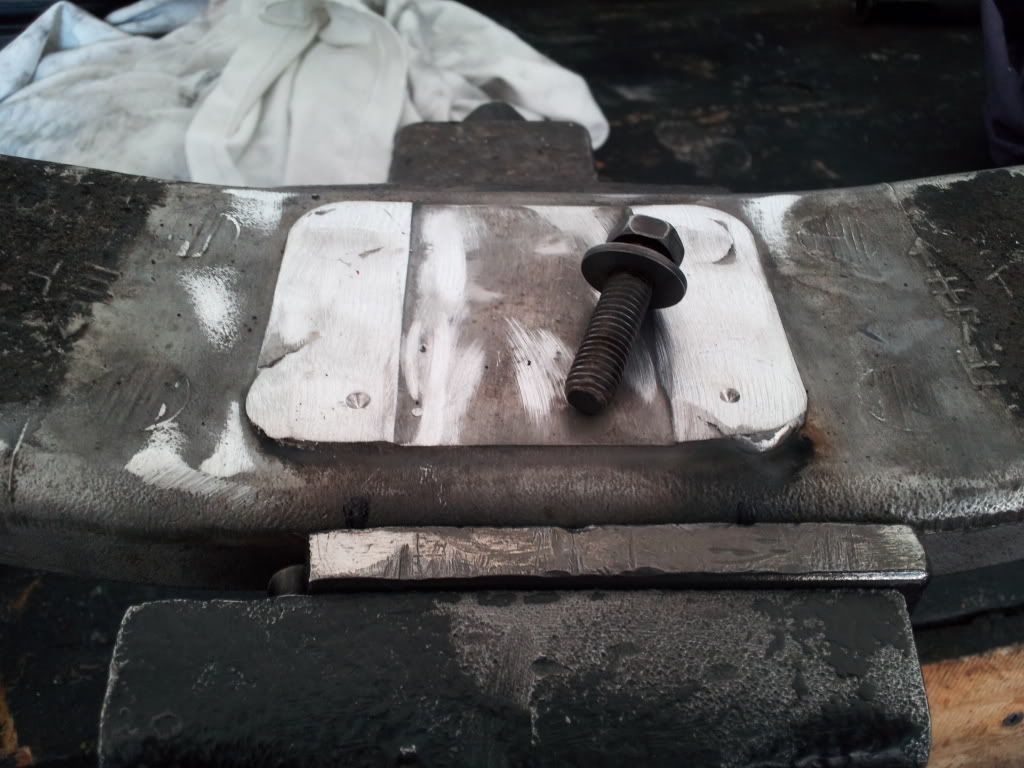
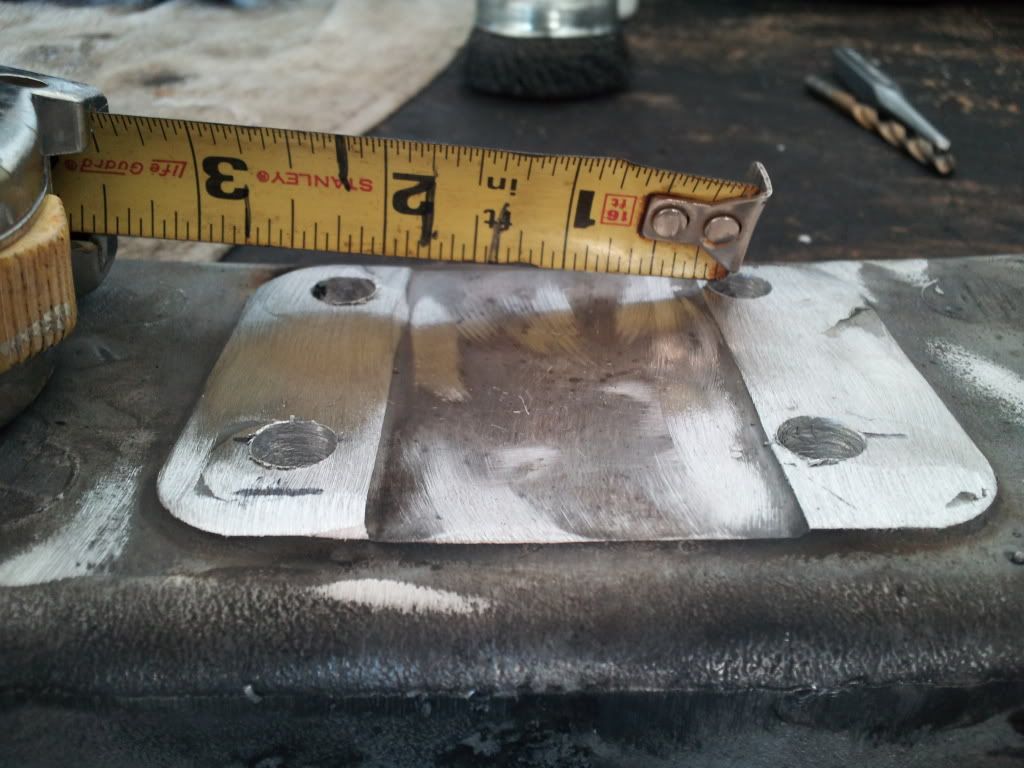
I didnt bolt it to it yet, due to not knowing for sure which way it will be under the car. Of course there will be pictures. I just drilled the holes today and made sure the holes lined up and are centered. I just need to know is everyone leaving or removing the adjustment screw on the rubber mount? I have no idea which to do. Seems to me to remove due to having a noise or clunking coming from the metal to aluminum possibly??? Someone chime in..
I also figured out why my brake light stayed all the time when the battery was hooked up. It was the brake light switch. I found it to be broken. I will buy another this week, a measly 25 bucks or so...
More parts ordered tomorrow.... :-)
I made more progress today. I drilled out the crossmember to assure proper fitment to the rubber tranny mount. I also ordered the HKS BOV and the intercooler piping today.
I didnt bolt it to it yet, due to not knowing for sure which way it will be under the car. Of course there will be pictures. I just drilled the holes today and made sure the holes lined up and are centered. I just need to know is everyone leaving or removing the adjustment screw on the rubber mount? I have no idea which to do. Seems to me to remove due to having a noise or clunking coming from the metal to aluminum possibly??? Someone chime in..
I also figured out why my brake light stayed all the time when the battery was hooked up. It was the brake light switch. I found it to be broken. I will buy another this week, a measly 25 bucks or so...
More parts ordered tomorrow.... :-)
01-31-12, 05:22 PM
#385
1JZ Single SC400
Thread Starter
iTrader: (59)
Join Date: Jan 2009
Location: Alabama, Roll Tide!
Posts: 8,518
Likes: 0
Received 15 Likes
on
12 Posts
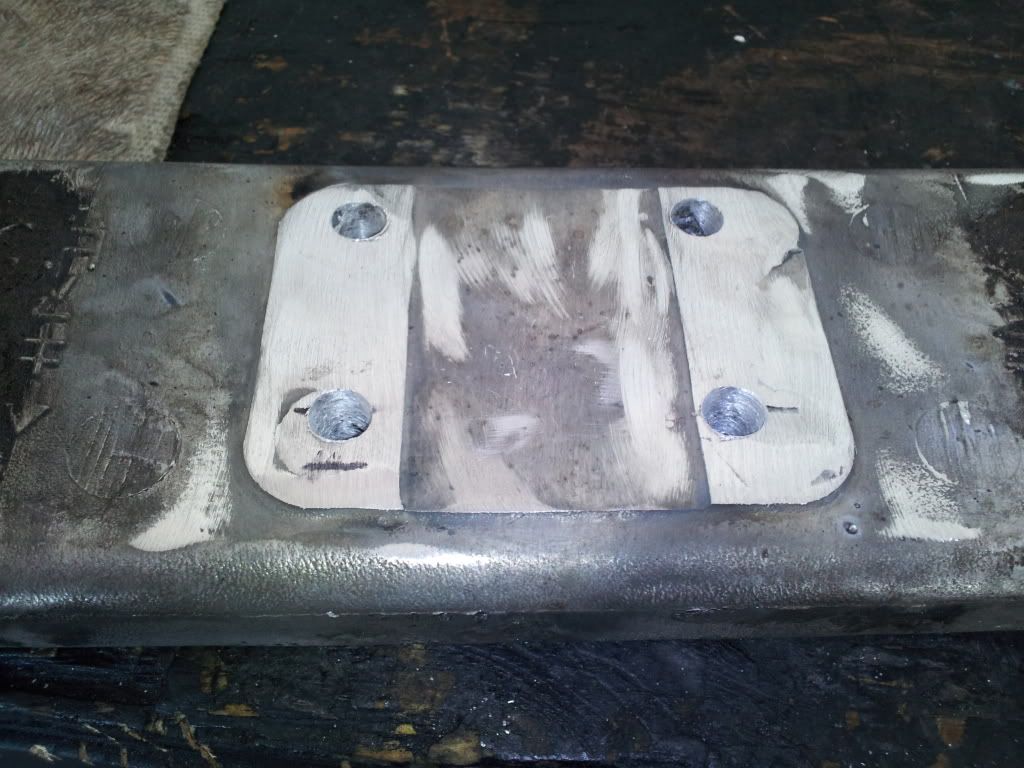
I think this will be ok with out the bolt in there. I would rathe rbe resting on the small thin piece of rubber than the bolt itself. The bolt is what aligns the driveshaft correctly, after the research I have done. I will look into this more if the vibration occurs at any speed.
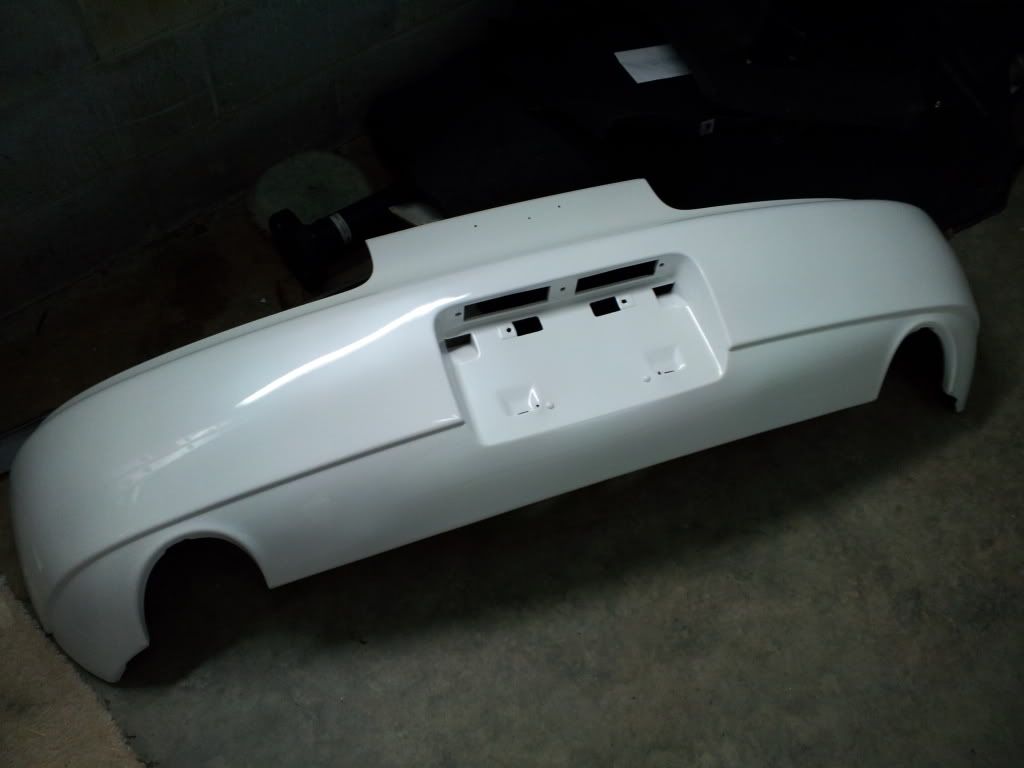
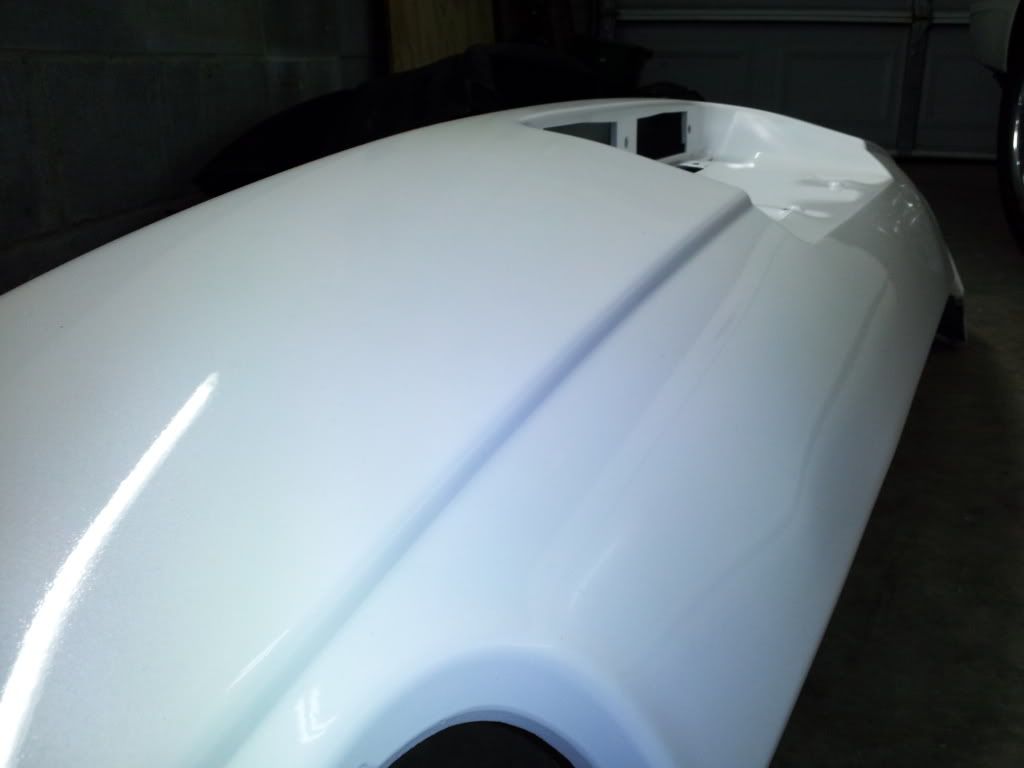
Got the bumpers painted today. I havent received any pictures, but i am assuming they look good. He brought a piece that had been painted in three different places. To get a better match. His work looks good. I hope it holds up. More pictures coming in the next few days... Stay tuned.. Fellas its getting close.
Got the bumpers painted today. I havent received any pictures, but i am assuming they look good. He brought a piece that had been painted in three different places. To get a better match. His work looks good. I hope it holds up. More pictures coming in the next few days... Stay tuned.. Fellas its getting close.
02-03-12, 08:01 PM
#386
1JZ Single SC400
Thread Starter
iTrader: (59)
Join Date: Jan 2009
Location: Alabama, Roll Tide!
Posts: 8,518
Likes: 0
Received 15 Likes
on
12 Posts
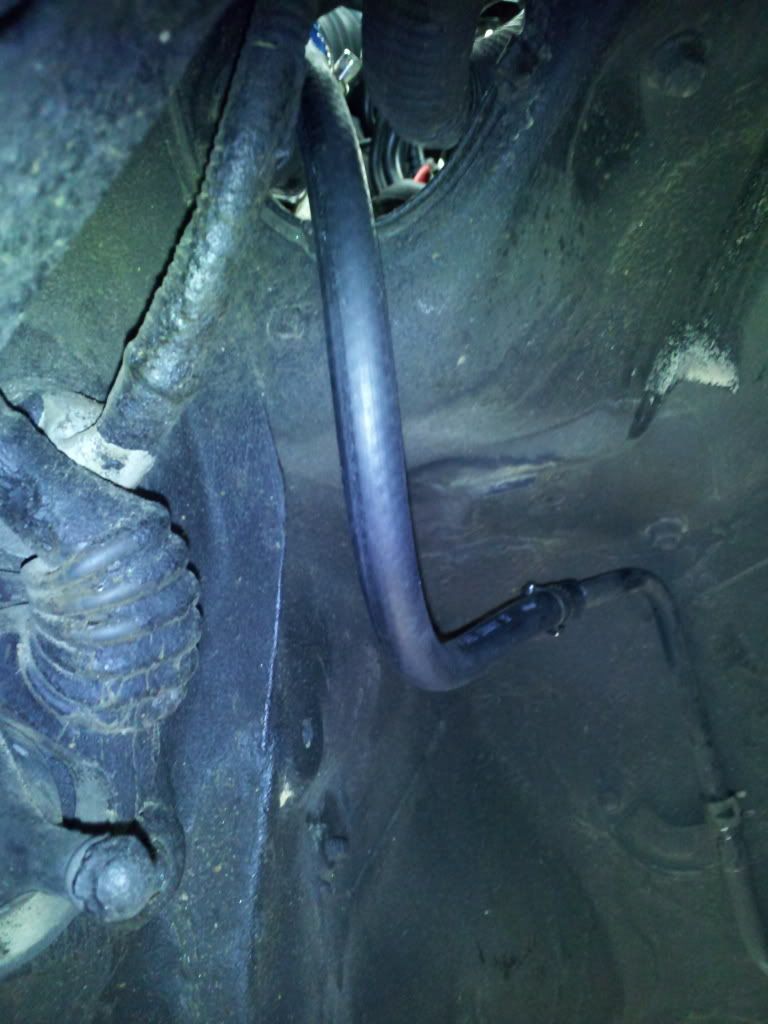
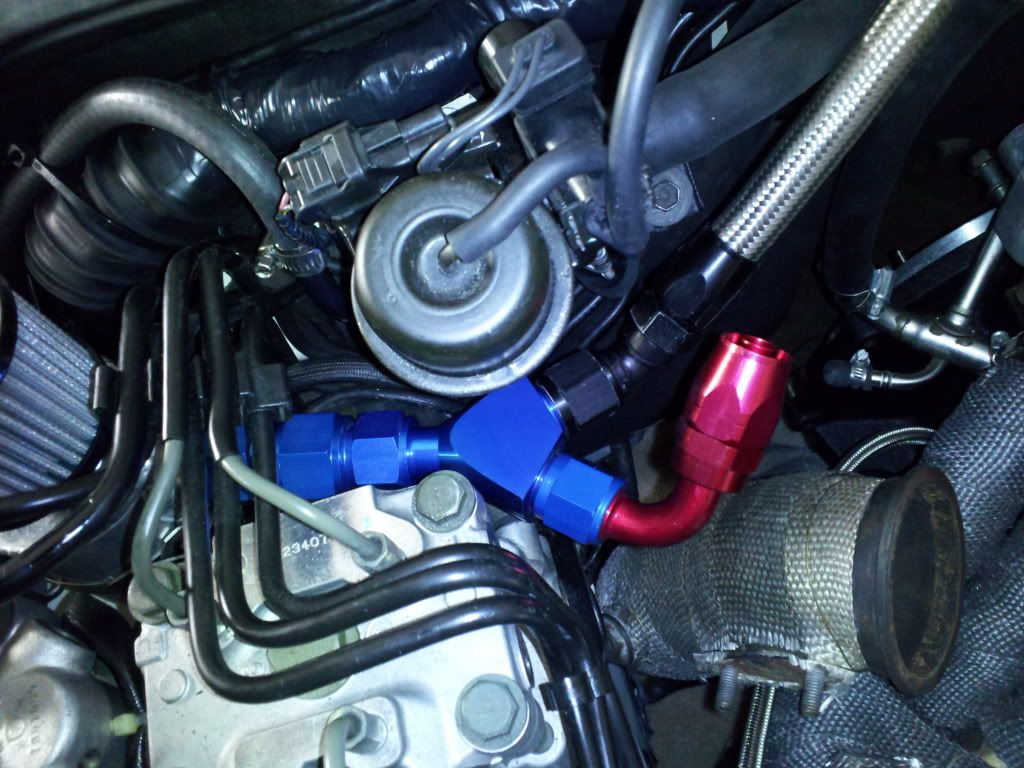
Received the rear bumper yesterday. Looks great. Needs to be wetsanded and buffed. Overall paint quality is really good. Waiting on the others to be delivered. Ran the oil size 10 fittings to the catch can. Finished the fuel pressure return elbow and line...
Ordered the following parts yesterday...........
DM 3 inch black elbow with clamps for turbo
DM 3 inch intercooler piping with clamps, couplings in black
DM 2.75 to 3 inch reducer coupling in black
HKS SSQV BOV in aluminum
AEM digital oil pressure gauge
AEM digital wideband gauge
Brian Crower stage 2 cams....yes you read this right.. finally in....
ACT stage 4 clutch from DM
Pioneer east/west DVD discs for my Navigation.
Still need the front driveshaft for the R154, one on Ebay pending....
 02-04-12, 11:37 AM
#388
1JZ Single SC400
Thread Starter
iTrader: (59)
Join Date: Jan 2009
Location: Alabama, Roll Tide!
Posts: 8,518
Likes: 0
Received 15 Likes
on
12 Posts
My buddy brought the other pieces by late last night after the previous post. The gas cap lid, front bumper, and the center coil cover is done. The only thing left is the cam cover. He said it was giving him some fit but it is being worked on. My phone was dead, so no pictures, but I will post some on Monday or Tuesday.. I did place the center cover on there and I about sheeeet my self, on how good it looked sitting there.. Cams will be here by Tuesday by the tracking.. Installed this week with new cam seals. Stay tuned.....
 02-05-12, 06:51 AM
#390
1JZ Single SC400
Thread Starter
iTrader: (59)
Join Date: Jan 2009
Location: Alabama, Roll Tide!
Posts: 8,518
Likes: 0
Received 15 Likes
on
12 Posts
That reason is simple. I talked to several owners, Scotturnot, and others that have the boosted V8. They expressed their concern on the cost for the parts. It of course was doable but very costly. My budget was 7K. Everything on the car was going to be custom. I cant weld either. I also priced a new set of rings, pistons, gaskets, seals, etc. That alone was over 1500 for a reliable well known company, this wasnt adding cams either. That was another 1K and had to be custom made. I then havent even boosted the car yet or priced those. The 1JZ and 2JZ was a clear choice on my budget. My setup will be one of the cleanest out there with A/C, and cruise control. My second goal was to make this a highway sleeper. I think this will be accomplished in the several weeks.