
GFM slow and steady "build"
 05-05-13, 11:06 AM
#136
Pole Position
Thread Starter


 def worth the extra $300 IMO. Also didn't cheap out on tires and bought something good, have seen too many people running off brand tires that come from horrible molds and are actually oval and never balance out
Specs are 19x9 et 32 19x10 et37 215/35 235/35 rears barely clear after the shaving and doesn't rub at all. Fronts will be coming down more tomorrow though
 05-06-13, 09:58 AM
#138
Driver

Join Date: Apr 2013
Location: Q
Posts: 106
Likes: 0
Received 0 Likes
on
0 Posts
Forgive me if this was in the post somewhere, but I couldn't find it. How did you get the NAV hack installed and what was the part you showed in the picture?
Also, which parts for the stainless pedals? Easy to install?
Nice ride!!
Also, which parts for the stainless pedals? Easy to install?
Nice ride!!
05-06-13, 10:41 AM
#139
Pole Position
Thread Starter
Thanks sir 
The nav hack was just to enable rear camera while driving, there is a thread on here with the detailed info, the picture was of the rocker switch to turn it on or off.
You can buy the pedals from Sewell, straight forward install and they have a video of how to install them in their site
You can buy the pedals from Sewell, straight forward install and they have a video of how to install them in their site
05-06-13, 10:46 AM
#140
Pole Position
Thread Starter
In some other news, had issues with the tpms adapters leaking, so back on stock wheels until my friend has some downtime at work. Annoying but it is what it is.
Had time to paint the plugs I used in the bumper. Please excuse the bugs, just washed the car Friday too
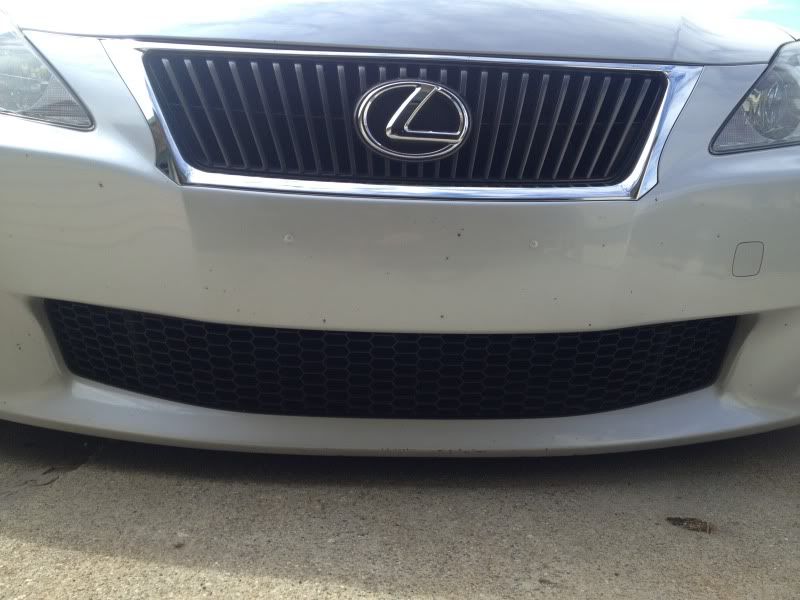
Paint matches pretty darn well and is def better than the screws until I get some body work done. Excellent temp solution.
Going to start pulling the pillars today in prep for the headliner swap tomorrow. Ill be sure to bring out my actual camera and snap pics of the process since I know there is little to no helpful info on swapping headliners

 05-07-13, 09:31 AM
#144
Pole Position
Thread Starter
So here is the first part of the headliner swap. Ill probably rewrite this and post it more as a diy later.
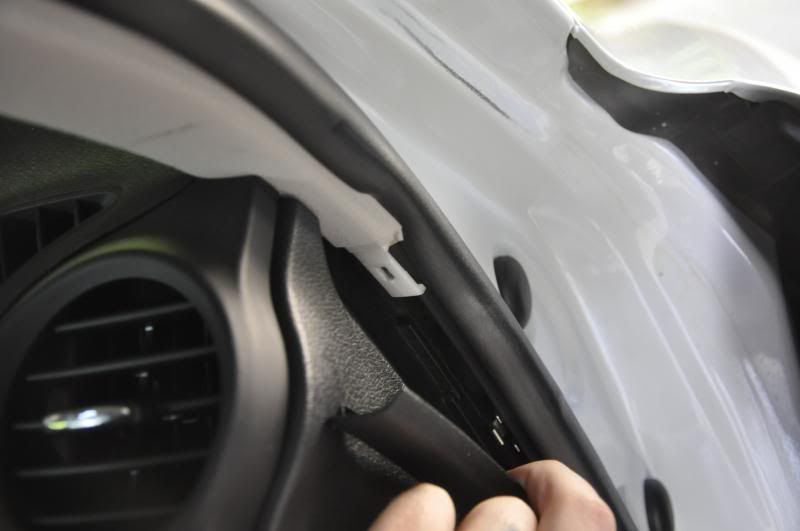
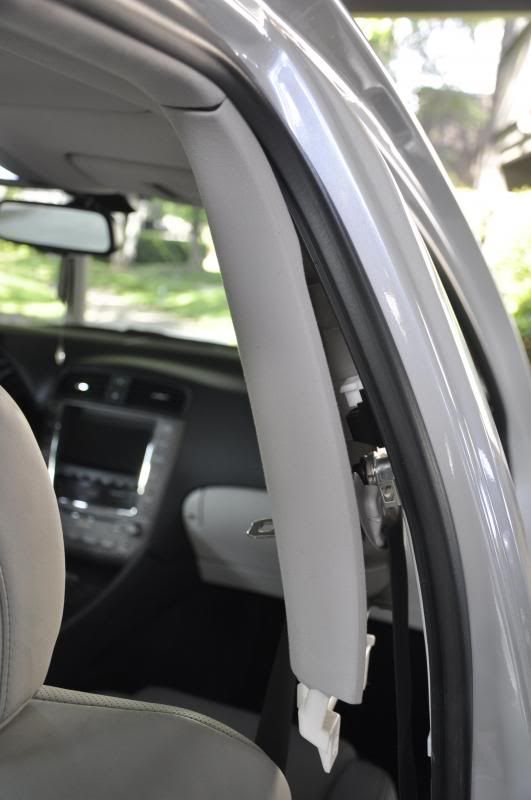
First a pillars;
pry away from the body as far as you can
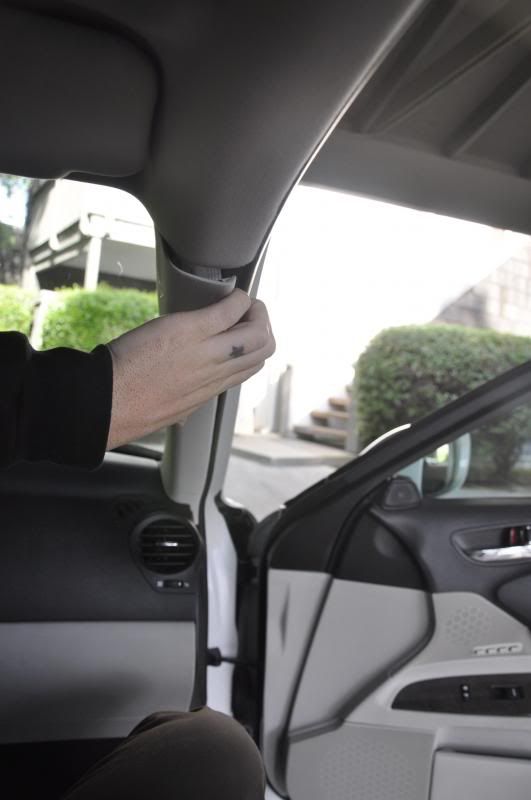
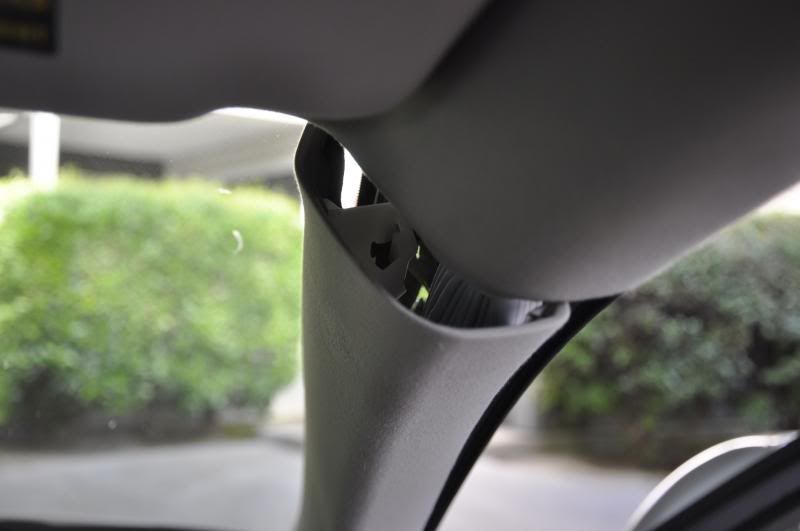
use a needle nose pillars to twist the black plastic to release the pillar
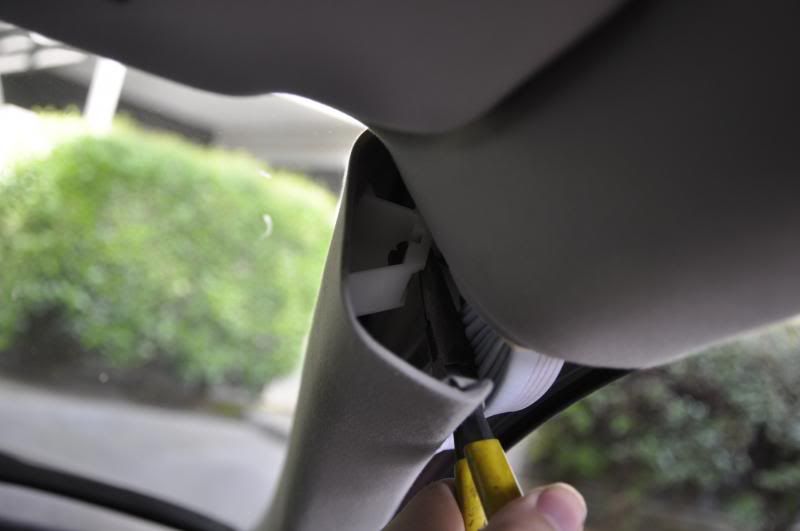
there is one tab at the bottom connected to the lower trim that will need to be released and then the pillar is free
b pillars:
remove the front and rear scuff plates

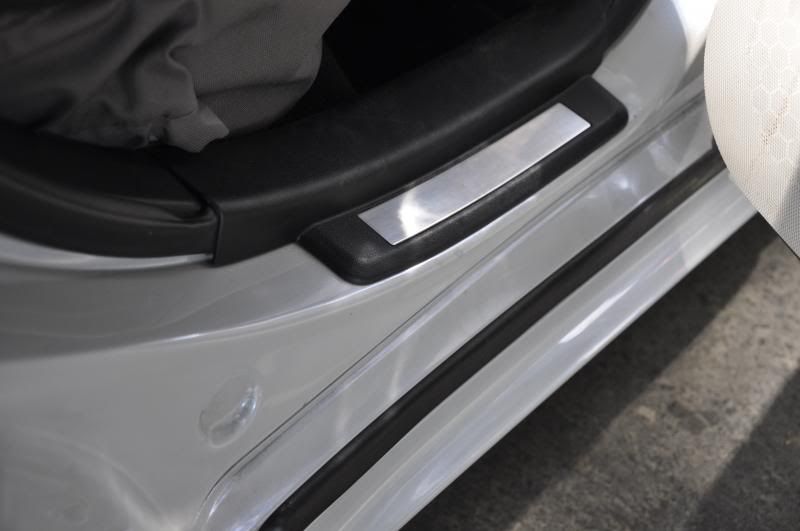
remove lower b pillar plastic trim
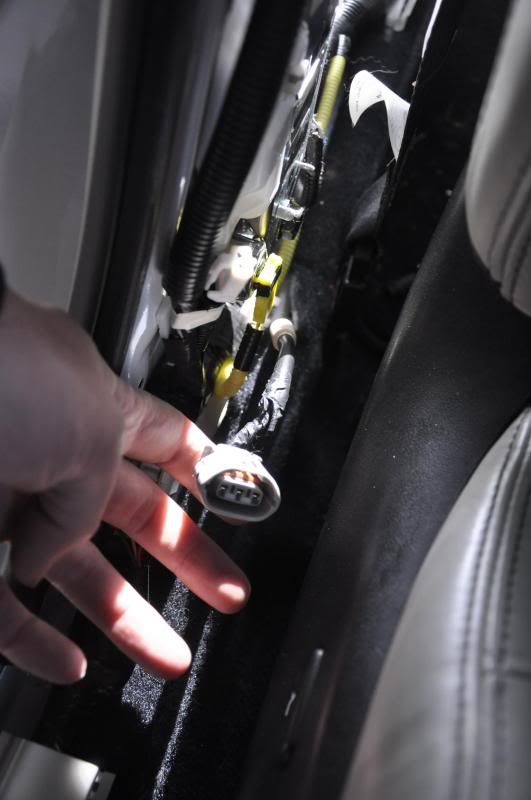
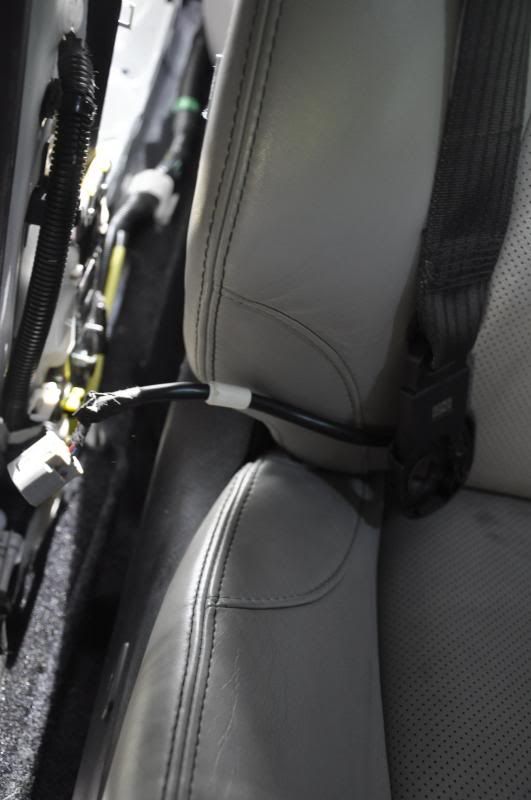
remove lower seatbelt bolt cover and undo bolt. unclip wiring
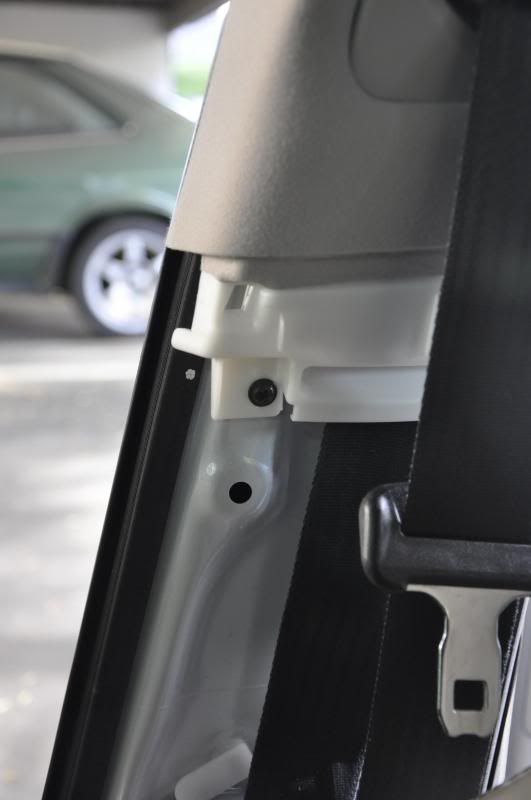
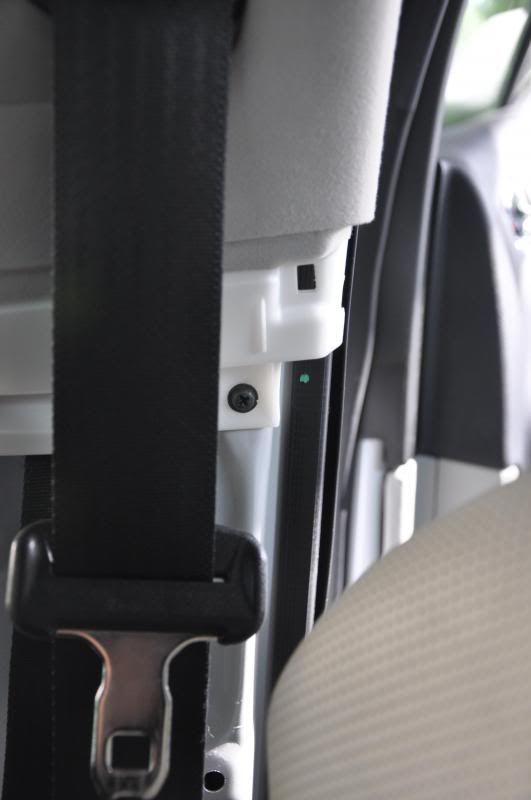
remove two screws on lower b pillar
pry out and pull down, thread seatbelt thru the opening
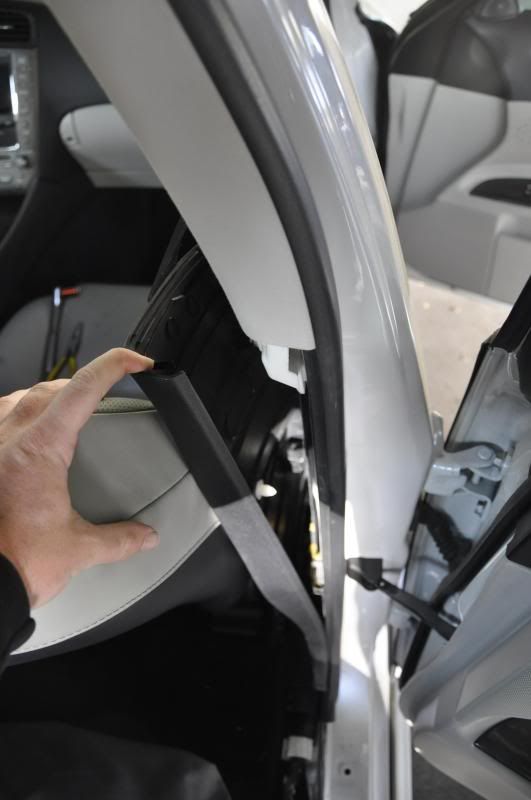
c pillar:
pry and pull away from the body, there is a tab holding it to the lower trim plastic that needs to be released

Lower trim that needs to be released

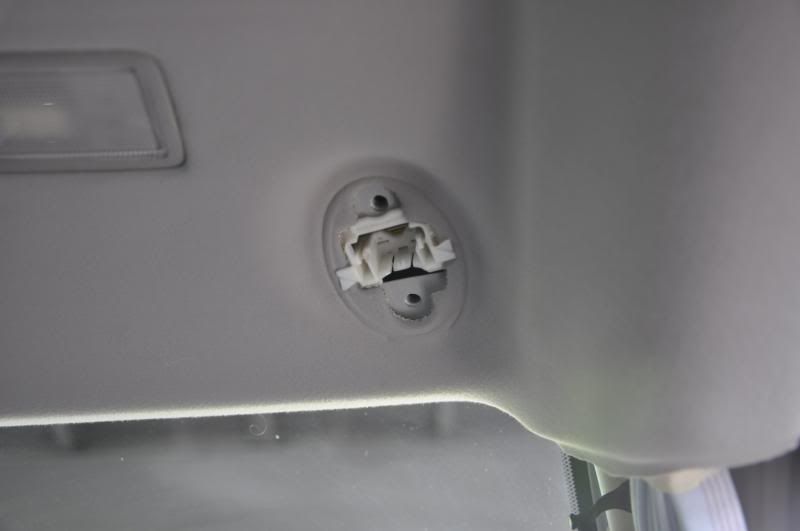
Visors:
visor holder:
twist 90* and gently pull out (yes i already had the black ones in)
visor:
remove cover (prys off)
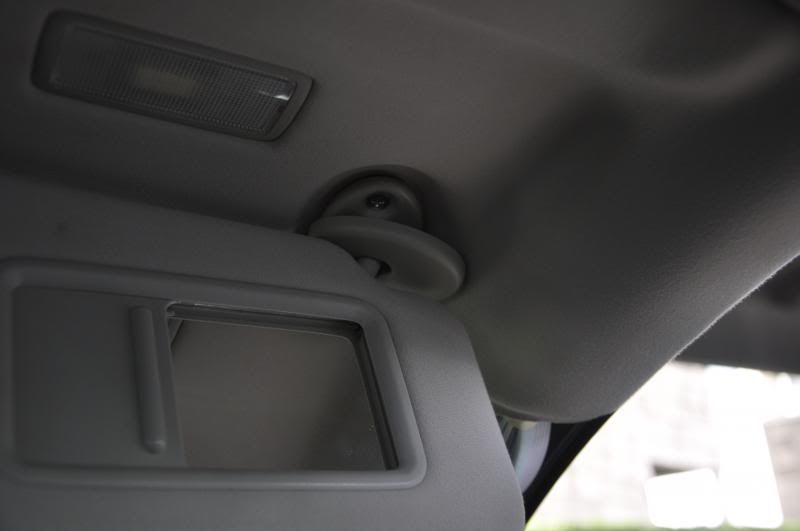
undo two screws and visor will just pull out
I will add more as soon as I finish. the pillars took maybe 15 mins to remove. once my friend gets here it will also be easier to snap pics
First a pillars;
pry away from the body as far as you can


use a needle nose pillars to twist the black plastic to release the pillar

there is one tab at the bottom connected to the lower trim that will need to be released and then the pillar is free

b pillars:
remove the front and rear scuff plates


remove lower b pillar plastic trim

remove lower seatbelt bolt cover and undo bolt. unclip wiring


remove two screws on lower b pillar


pry out and pull down, thread seatbelt thru the opening


c pillar:
pry and pull away from the body, there is a tab holding it to the lower trim plastic that needs to be released

Lower trim that needs to be released

Visors:
visor holder:

twist 90* and gently pull out (yes i already had the black ones in)


visor:
remove cover (prys off)

undo two screws and visor will just pull out

I will add more as soon as I finish. the pillars took maybe 15 mins to remove. once my friend gets here it will also be easier to snap pics
Last edited by euroimage; 05-07-13 at 02:52 PM.
 05-07-13, 02:46 PM
#147
Pole Position
Thread Starter
took us about 2.5hrs honestly not bad at all for our first times doing a 2is headliner. results are well worth the time/money and effort.
05-07-13, 03:02 PM
#148
Pole Position
Thread Starter
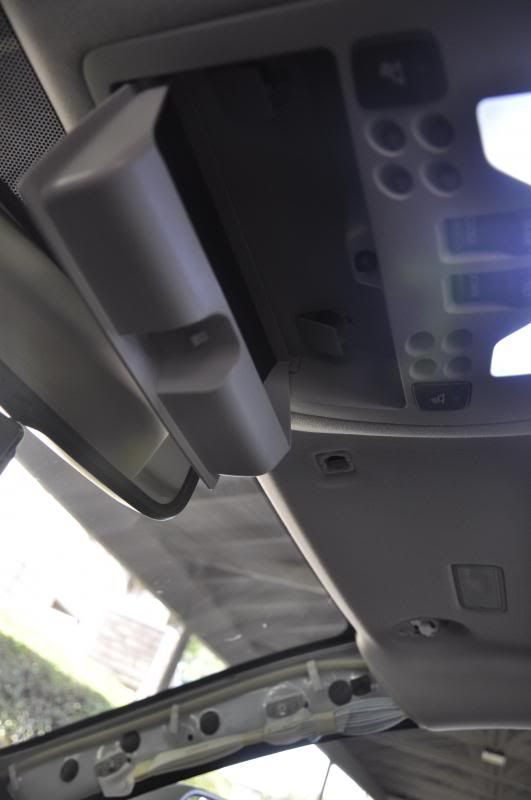
continued:
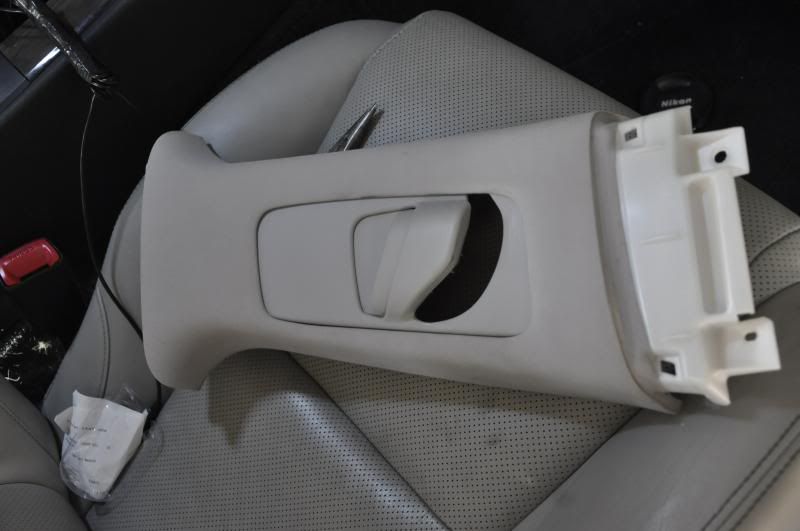
remove the upper console with the 2 screws and pull down
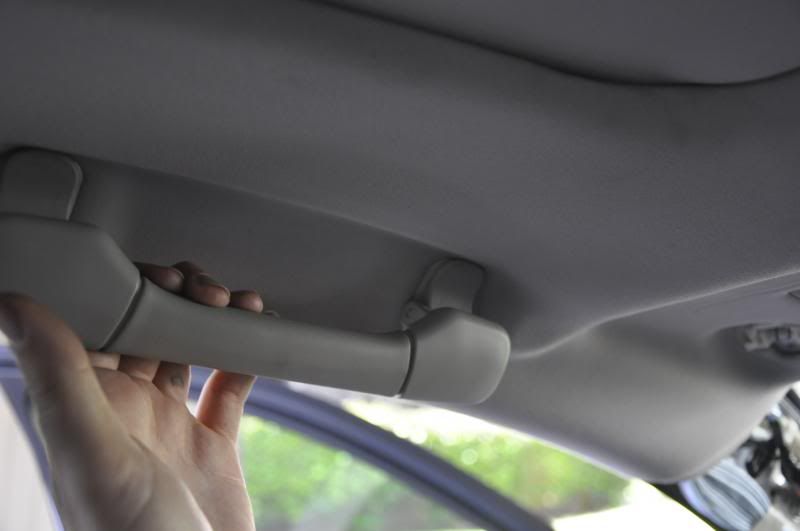
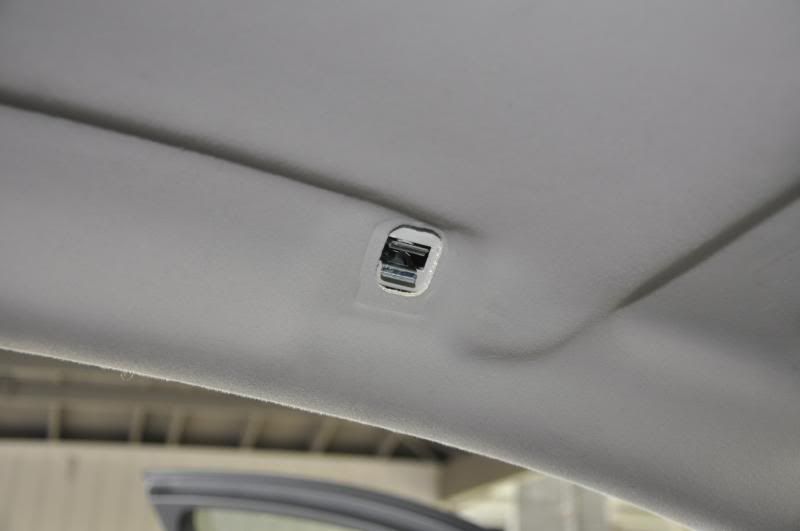
remove handles by prying out the plastic "plug" and remove metal clips
remove rear upper lights (pull to remove, didnt take pics)
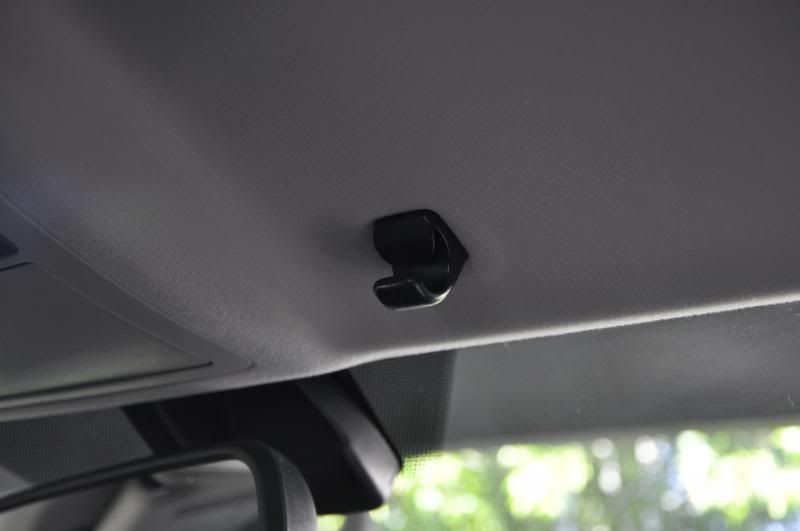
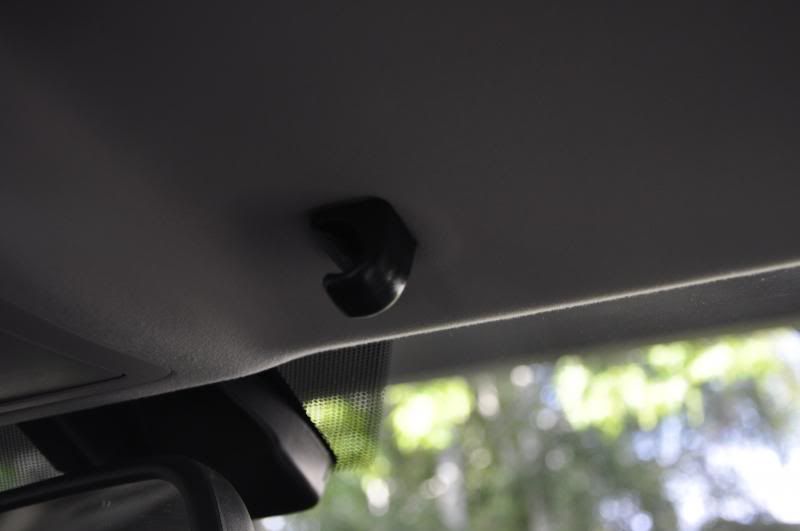
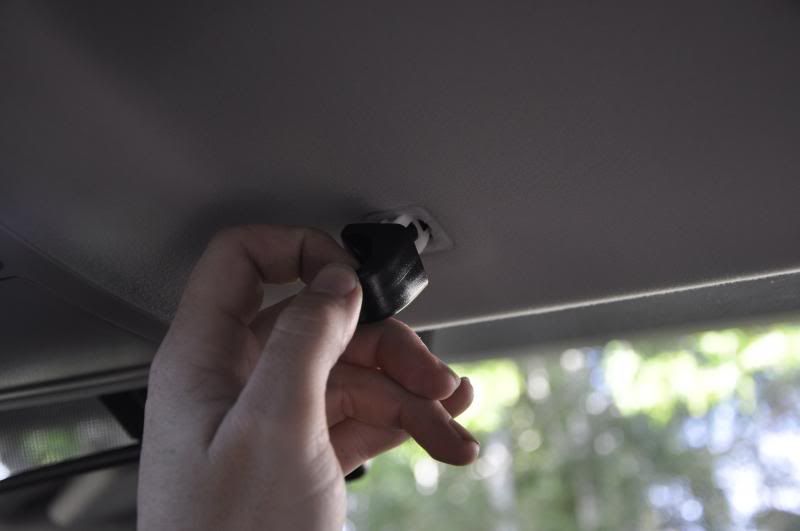
remove coat hangers (one screw)
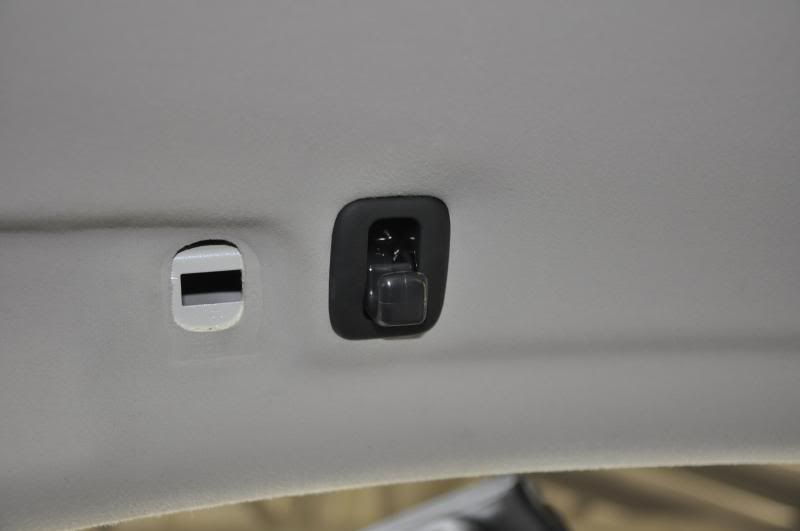
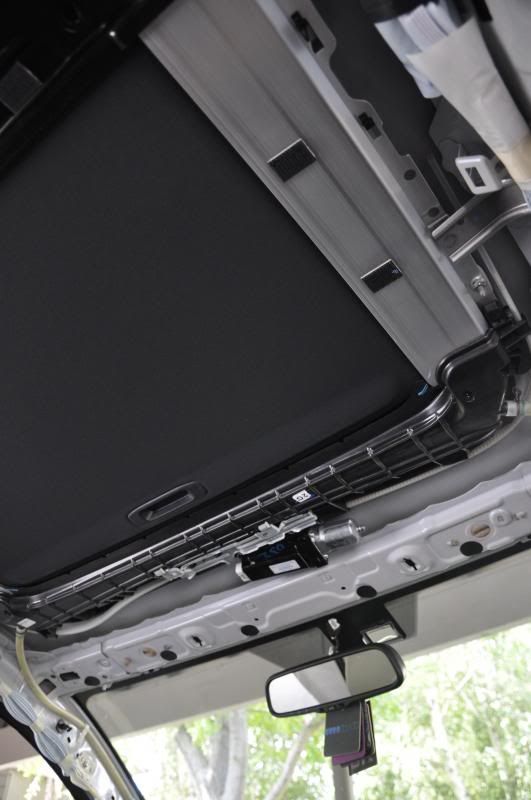
Then pull down headliner carefully. there are 2 clips in the very back, a handful of clips along the side, and velcro right behind the sunroof
Next you need to drop down the back of the sunroof to be able to remove the sunshade
these bolts will need to be removed:
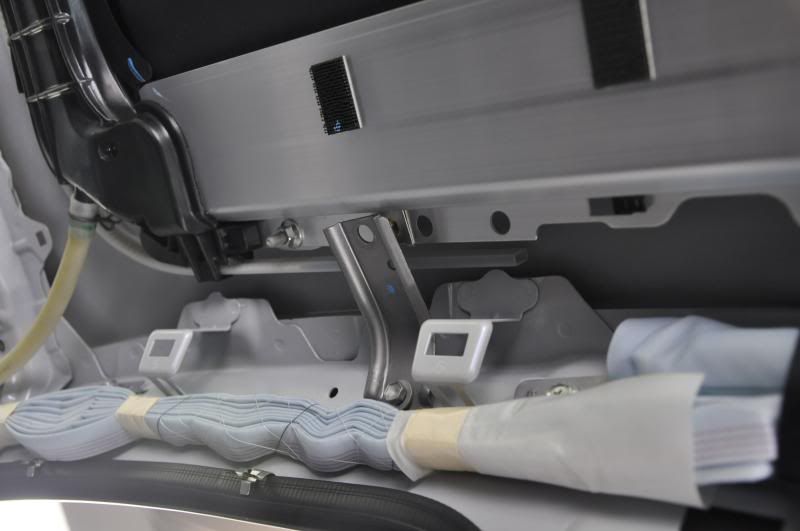
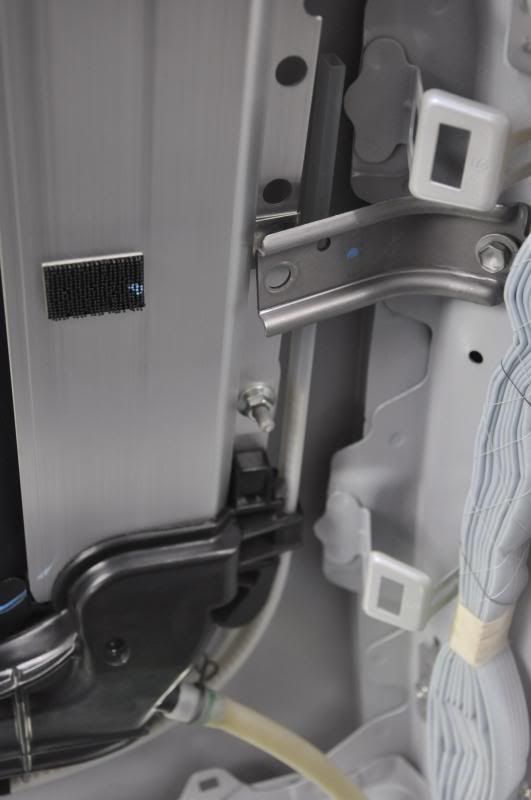
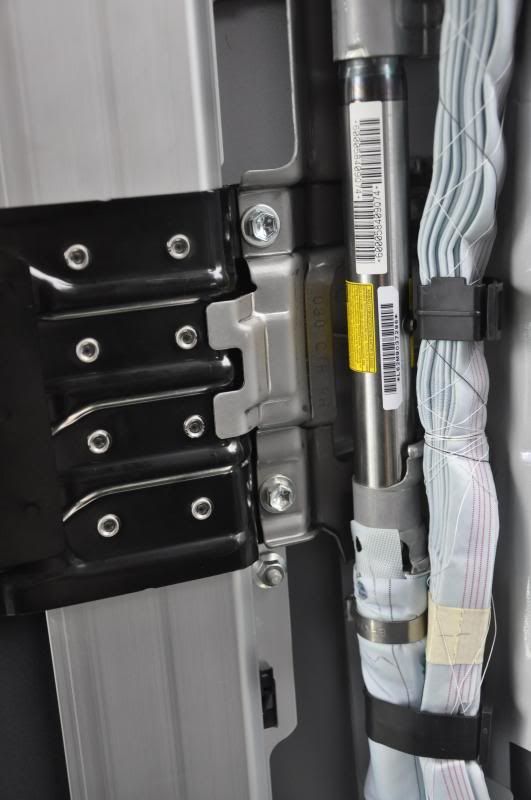
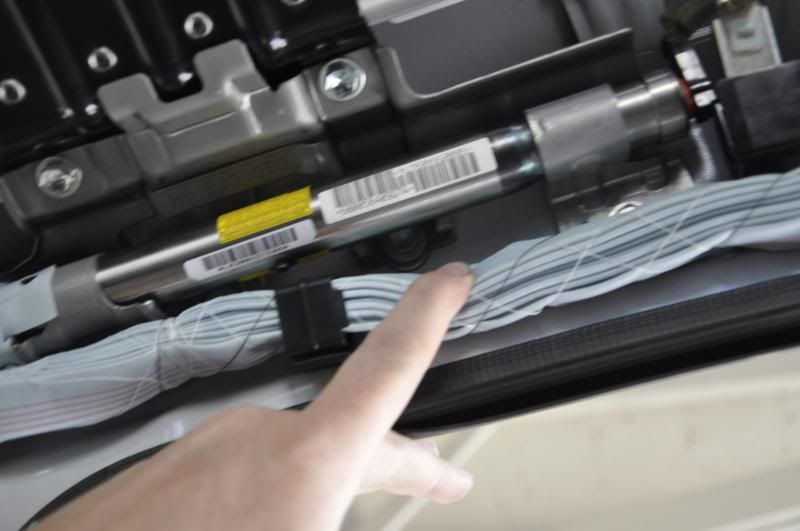
Once you are able to drop it down far enough to get a screw driver in there, remove the end of the rail that goes into the drain
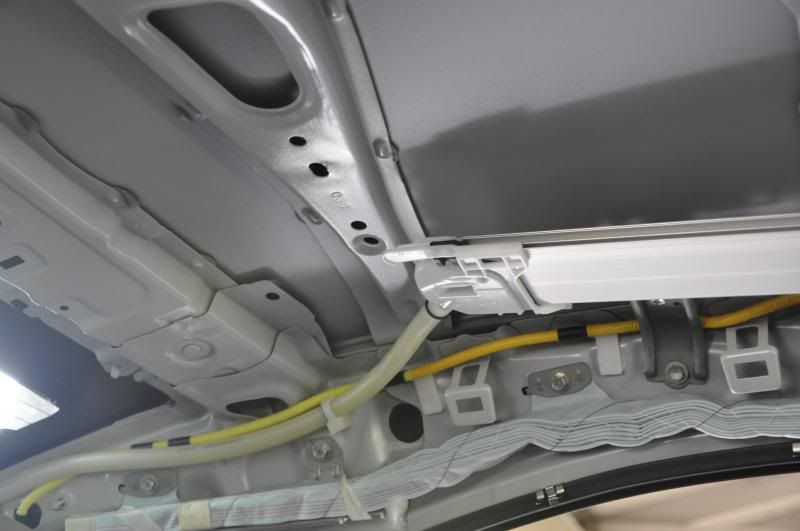
slide out the original sunshade and install the new one
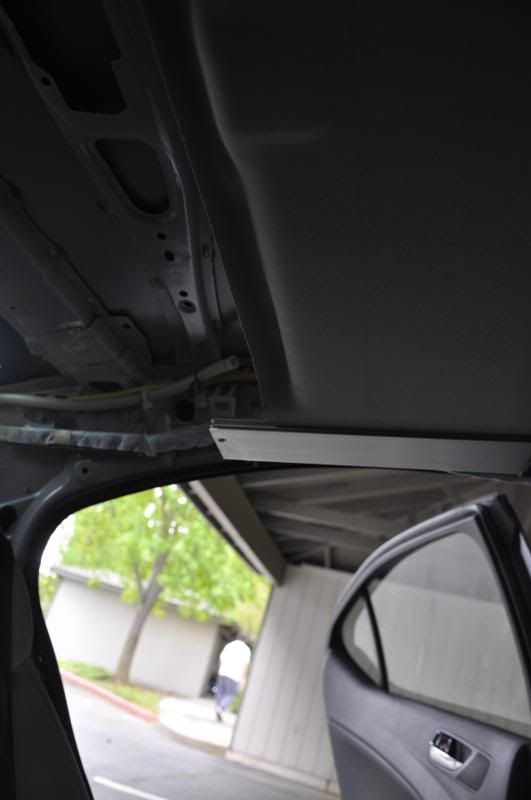
then the headliner itself
removing a front seat makes installing the headliner MUCH easier
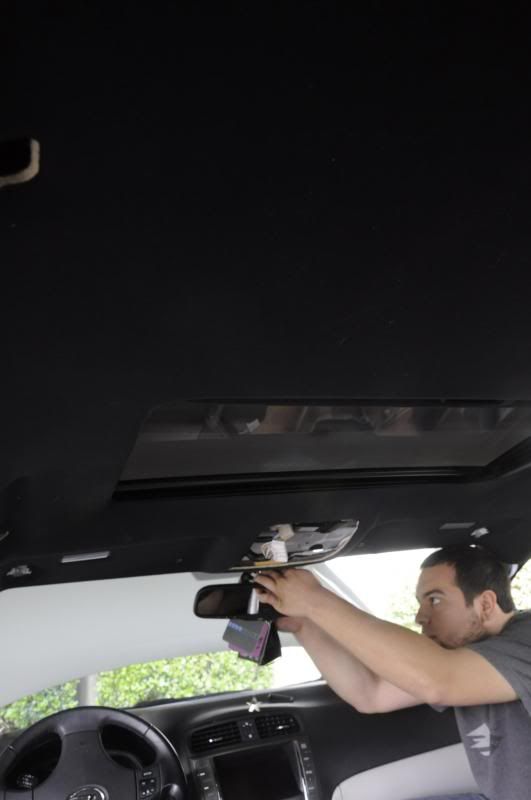
make sure everything lines up properly, the front of the headliner slips over a lip on the sunroof the rest clips up in place.
then add back all the pillars and visors etc. then sit back and enjoy your new headliner
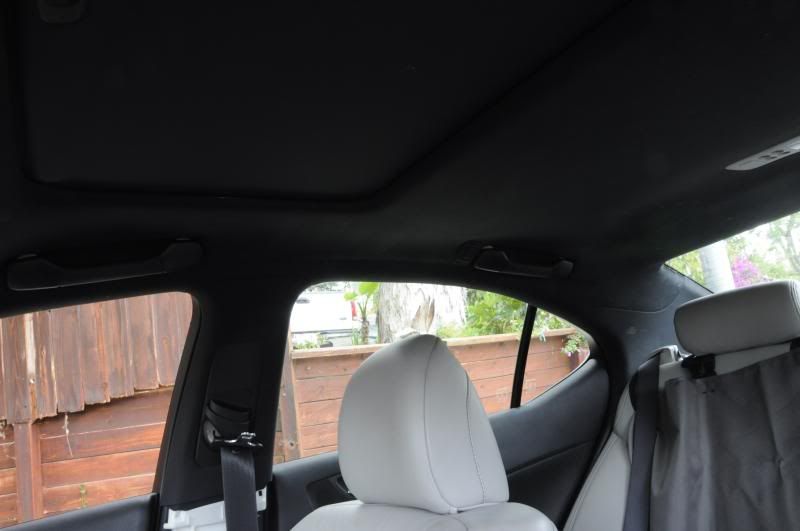
yes i still need to dye the upper consoles
remove the upper console with the 2 screws and pull down

remove handles by prying out the plastic "plug" and remove metal clips


remove rear upper lights (pull to remove, didnt take pics)
remove coat hangers (one screw)

Then pull down headliner carefully. there are 2 clips in the very back, a handful of clips along the side, and velcro right behind the sunroof
Next you need to drop down the back of the sunroof to be able to remove the sunshade
these bolts will need to be removed:


Once you are able to drop it down far enough to get a screw driver in there, remove the end of the rail that goes into the drain


slide out the original sunshade and install the new one

then the headliner itself
removing a front seat makes installing the headliner MUCH easier

make sure everything lines up properly, the front of the headliner slips over a lip on the sunroof the rest clips up in place.
then add back all the pillars and visors etc. then sit back and enjoy your new headliner

yes i still need to dye the upper consoles


