
Project AARP Casino Cruiser - LS400 5spd drift car build

 ! As for the intermediate gaskets, are you referring to the one between the upper and lower plenum?
 05-13-13, 06:56 AM
#108
would an sr tranny not be stronger and hold up longer since its made for more power and pretty much the same thing? or u said it would work with the Z tranny too...i guess the KA trannys are dirt cheap and can get them about anywhere...or why u go with the ka tranny?
Last edited by OKSTANCE; 05-13-13 at 07:00 AM.
 05-15-13, 06:32 PM
#110
Have you bolted the egr delete plates on yet? When you do, I'd love to see some pictures of the intake. I've seen the diagrams on lextreme, but it's hard to get an idea of whats not going to be used. I've been wanting to make some block off plates myself. Just haven't had the time. Glad to see you have some more time for her now though! 
05-19-13, 06:09 PM
#112
Driver
Thread Starter

Have you bolted the egr delete plates on yet? When you do, I'd love to see some pictures of the intake. I've seen the diagrams on lextreme, but it's hard to get an idea of whats not going to be used. I've been wanting to make some block off plates myself. Just haven't had the time. Glad to see you have some more time for her now though!
Last edited by nismo4life; 05-19-13 at 06:16 PM.
05-19-13, 06:23 PM
#113
Driver
Thread Starter
Update #15 5/19/13
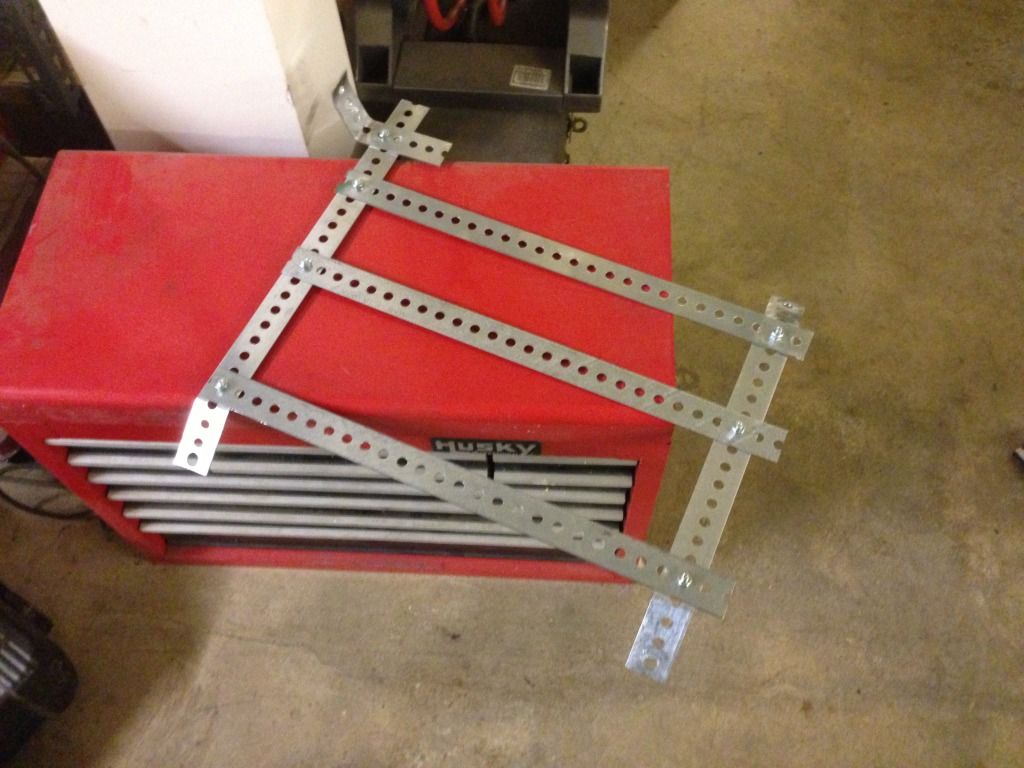
Well this week was fairly productive. My brother was still tied up so I started making a template for the seat bracket.
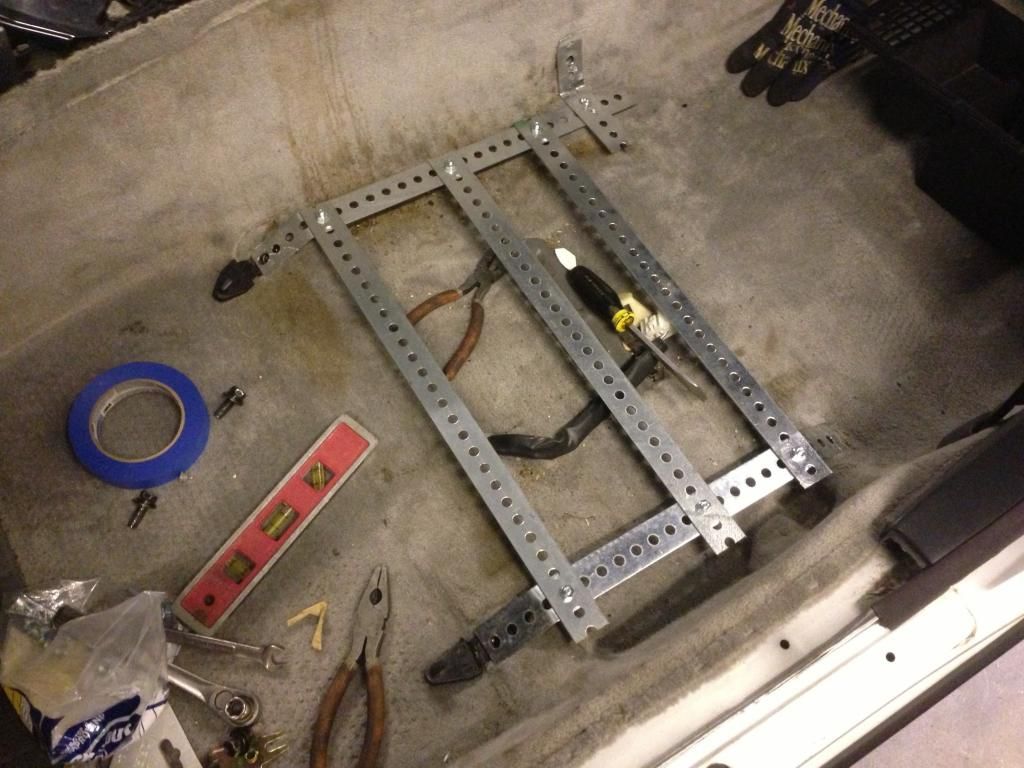
So I waited with this until I my brother finally got some free time. I've been pestering him to teach me how to weld, and he finally did.
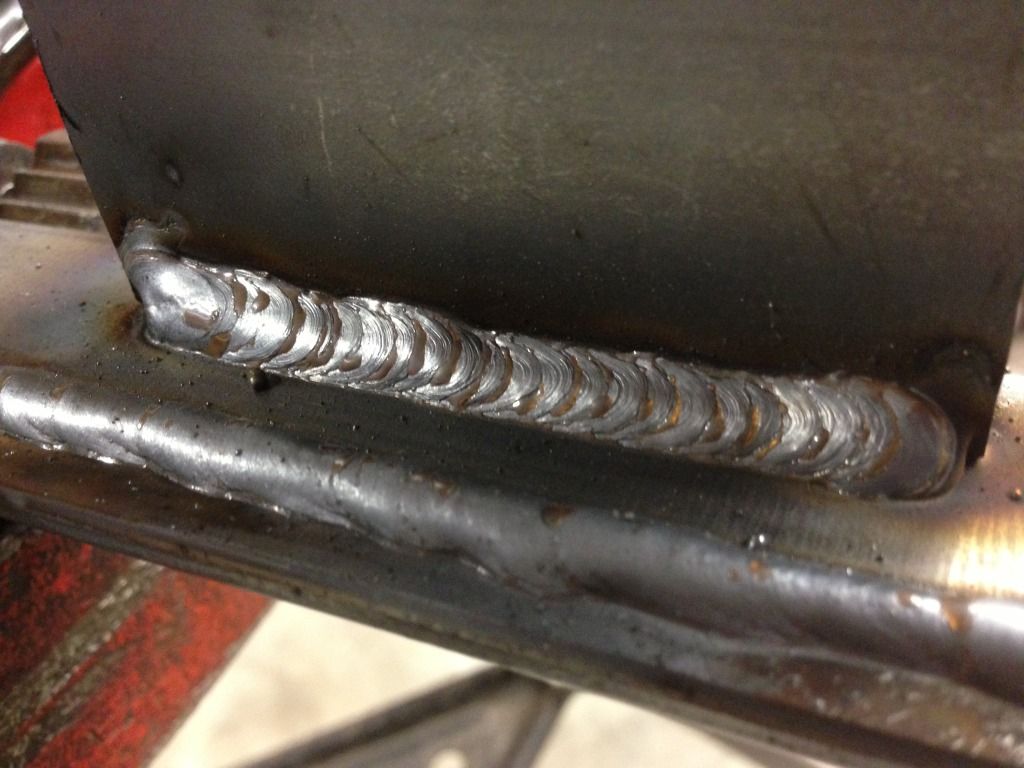
Always understood the concept, but never had a chance to practice. Some of my first welds.
So I practiced on scrap, my brother welded this up because he didn't trust me doing it.
Got some 1 5/8" square tubing and made some risers. Those I did weld in. Man, I really want to trade my Glock for a Miller or Lincoln now lol!
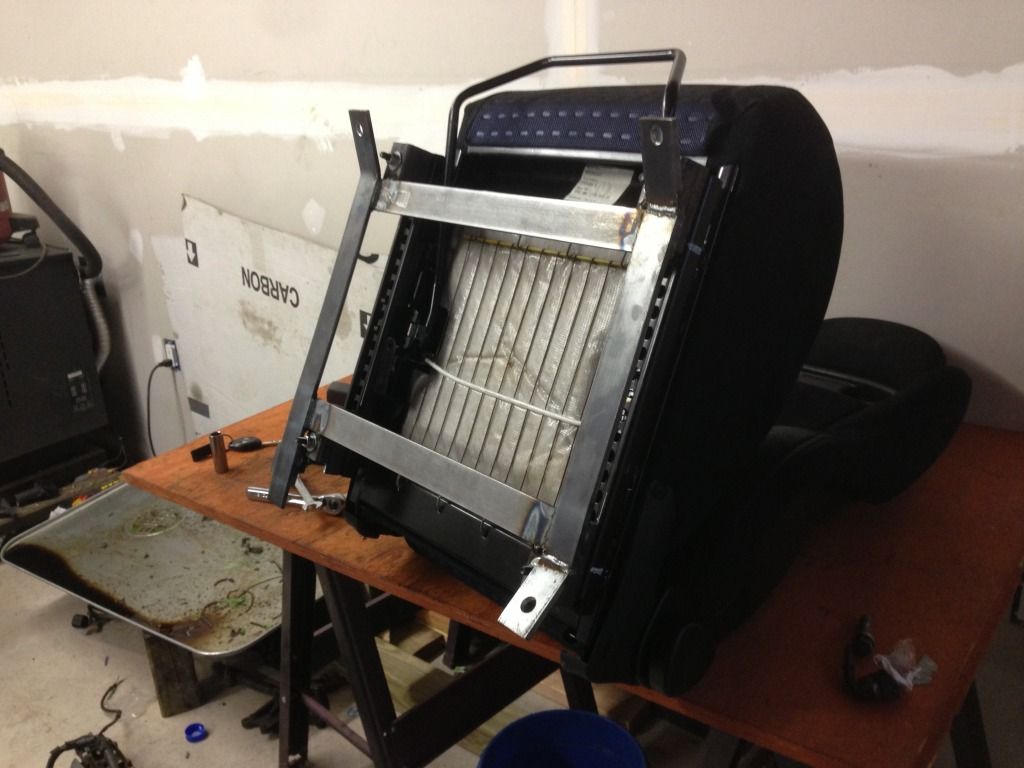
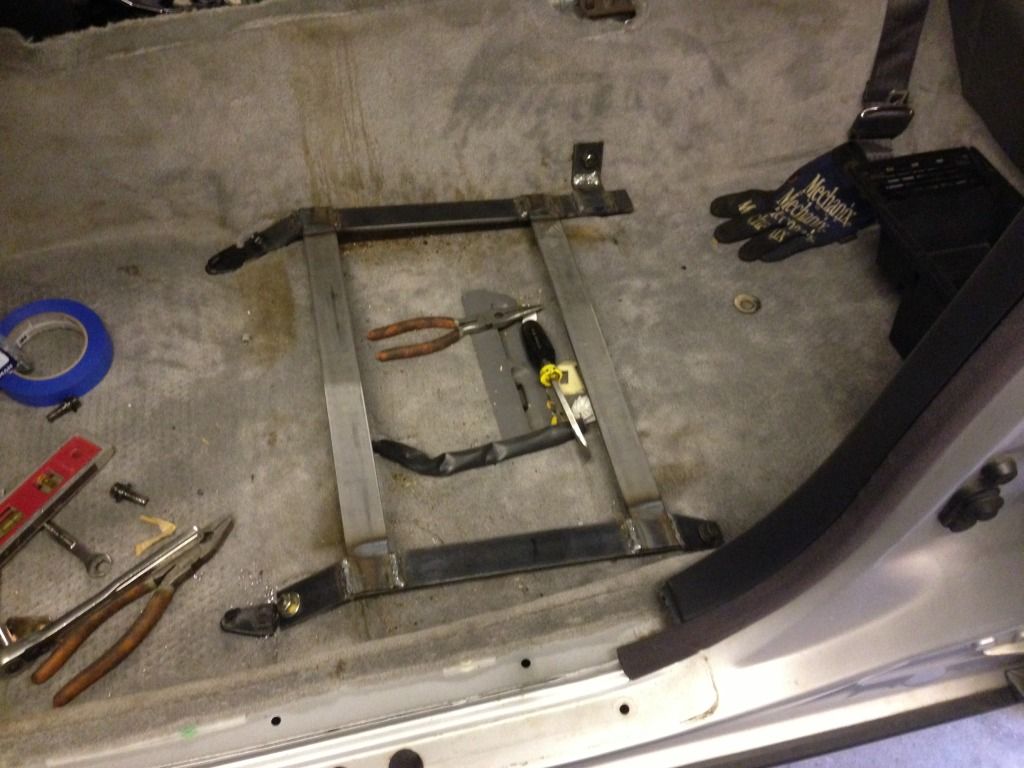
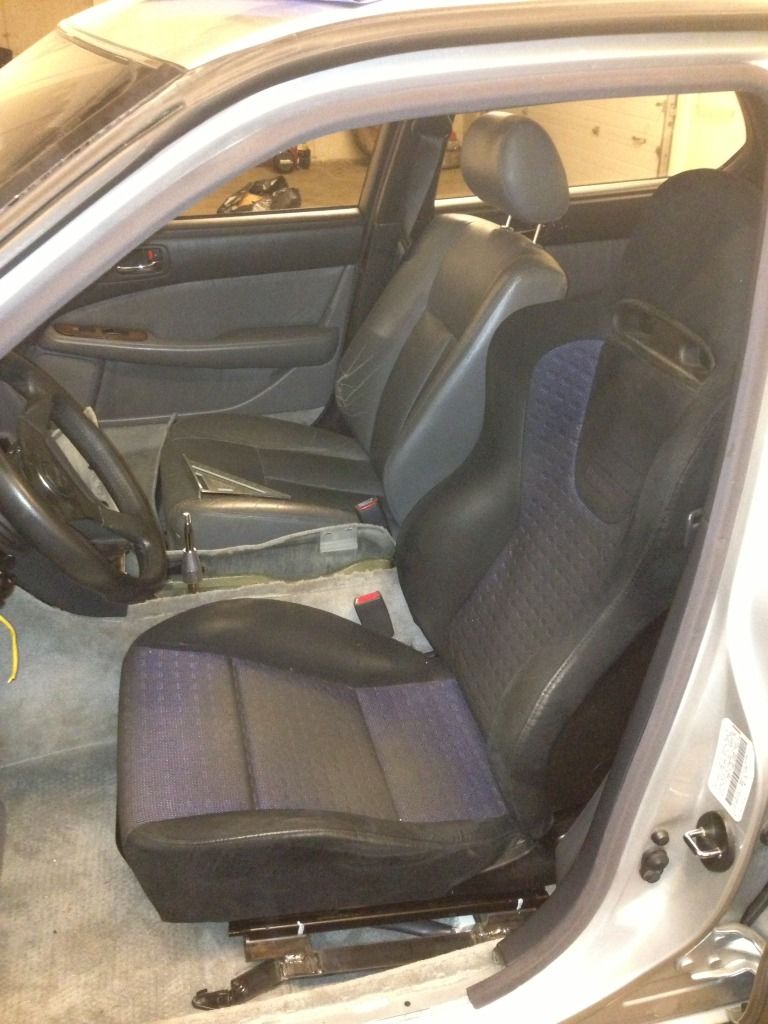
aaaaaaand final product!
ASD hydrobrake comes in tomorrow. Going to figure out a location for it and make a bracket to mount it. Until next time!
Well this week was fairly productive. My brother was still tied up so I started making a template for the seat bracket.


So I waited with this until I my brother finally got some free time. I've been pestering him to teach me how to weld, and he finally did.
Always understood the concept, but never had a chance to practice. Some of my first welds.

So I practiced on scrap, my brother welded this up because he didn't trust me doing it.

Got some 1 5/8" square tubing and made some risers. Those I did weld in. Man, I really want to trade my Glock for a Miller or Lincoln now lol!

aaaaaaand final product!


ASD hydrobrake comes in tomorrow. Going to figure out a location for it and make a bracket to mount it. Until next time!
Last edited by nismo4life; 05-22-13 at 09:18 PM.
05-20-13, 10:47 PM
#114
Pole Position
iTrader: (2)

Join Date: Jul 2008
Location: Texas/Pennsylvania
Posts: 236
Likes: 0
Received 0 Likes
on
0 Posts
Can't wait to see this. Been researching about this and cannot figure out to properly run a hydrobrake in the LS400. Also, not to mention I'm still having problems with my front brakes for some odd reason. Hope my issue is the brake lines.
05-21-13, 03:59 PM
#116
Driver
Thread Starter
You got it! Bought a Wilwood proportioning valve. Can reduce the pressure by 57% it claims. Going to run it directly off the master, then a line to the hydro, hydro to a tee where the factory rear brake lines then go to the calipers.
05-22-13, 09:55 PM
#117
Driver
Thread Starter
Update #16 5/23/19
Got a lot done in the last 5 days.
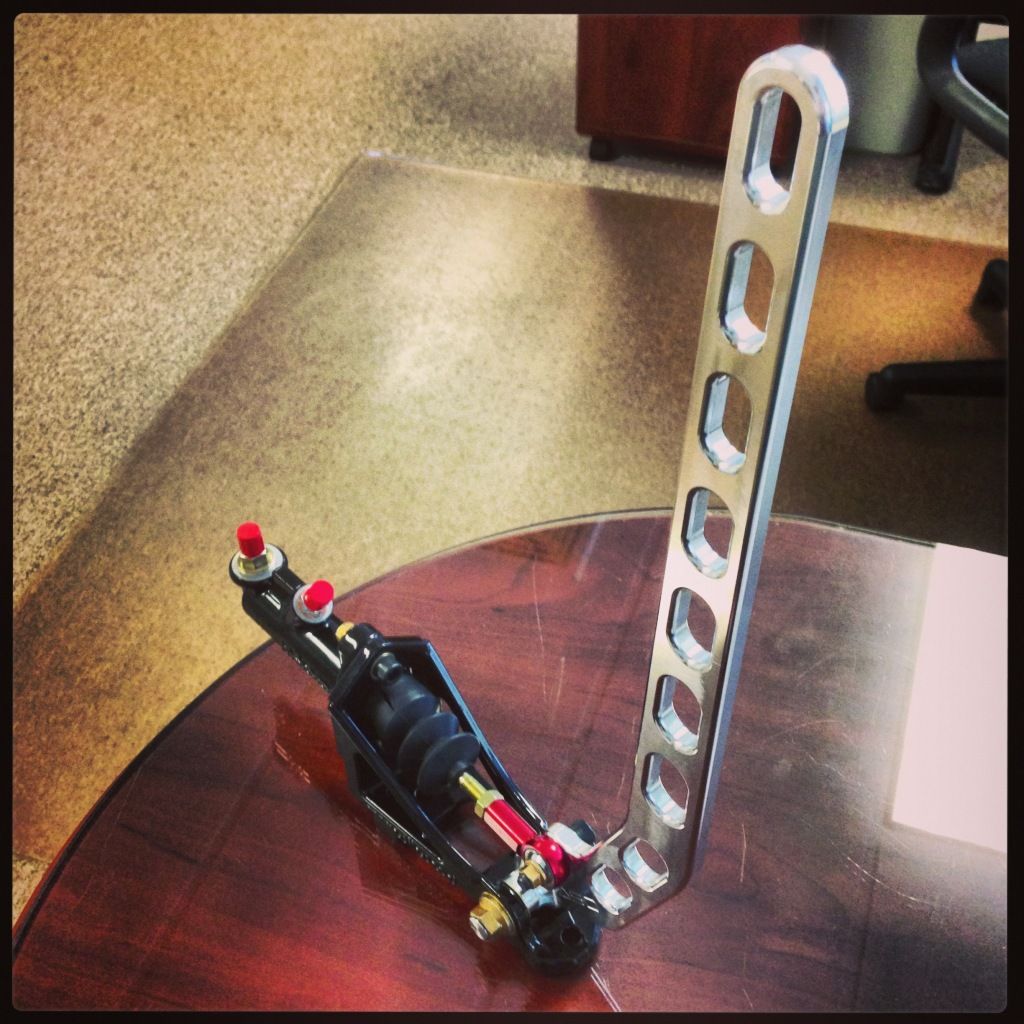
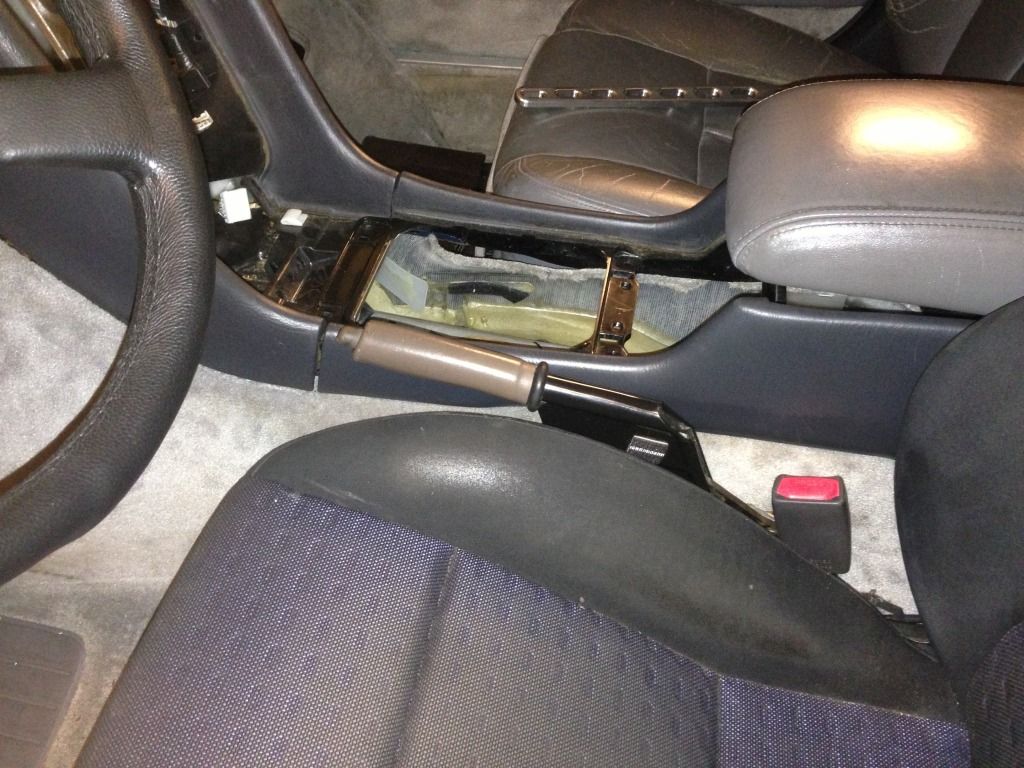
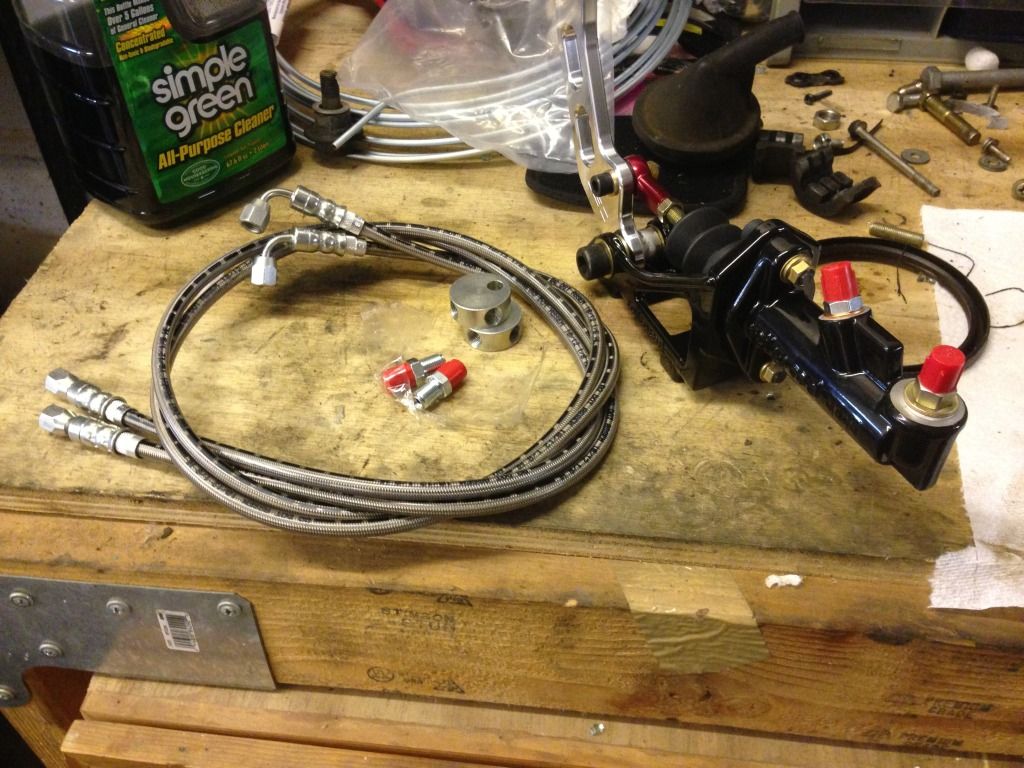
First the ASD handbrake came in. Christ is this thing beautiful.
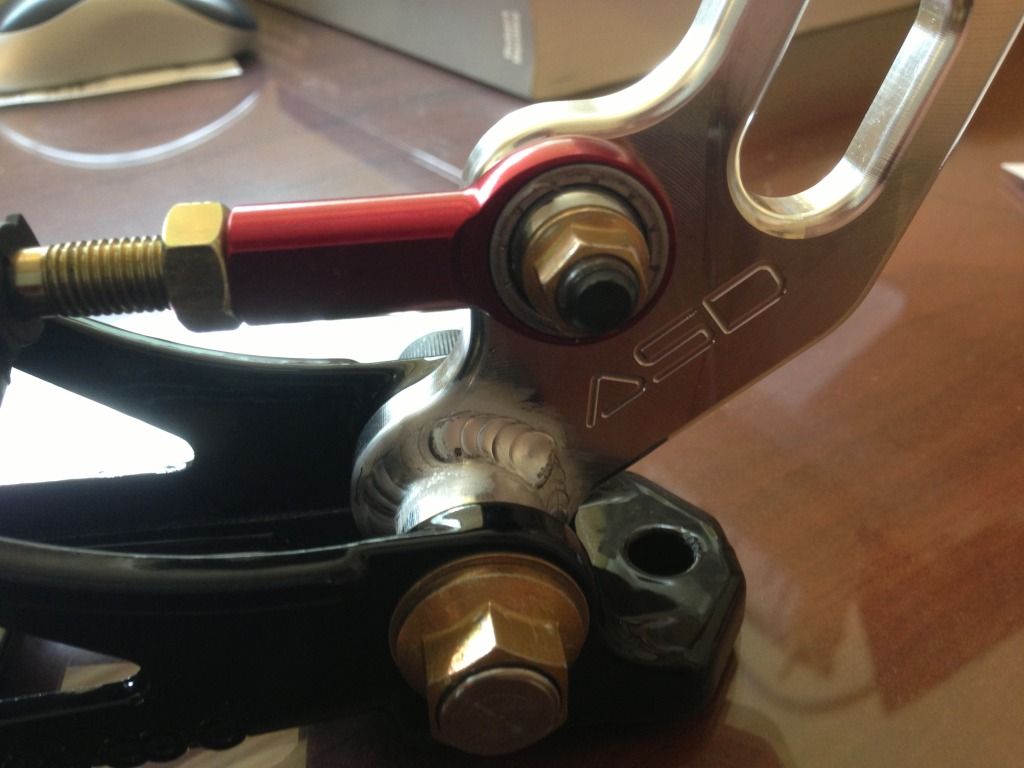
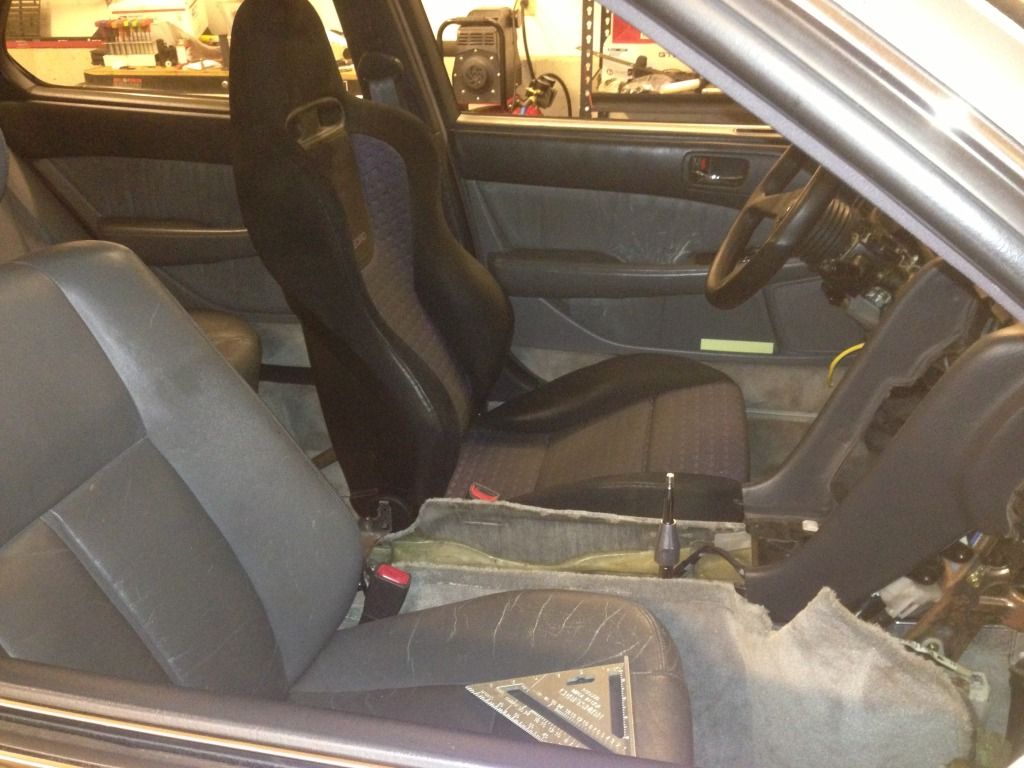
Test fit it to see if I could find a place for it that I liked. Looks like I'm going to be losing the cup holder, center console vent ducting, and the arm rest since my elbow hits it when I pull the brake.
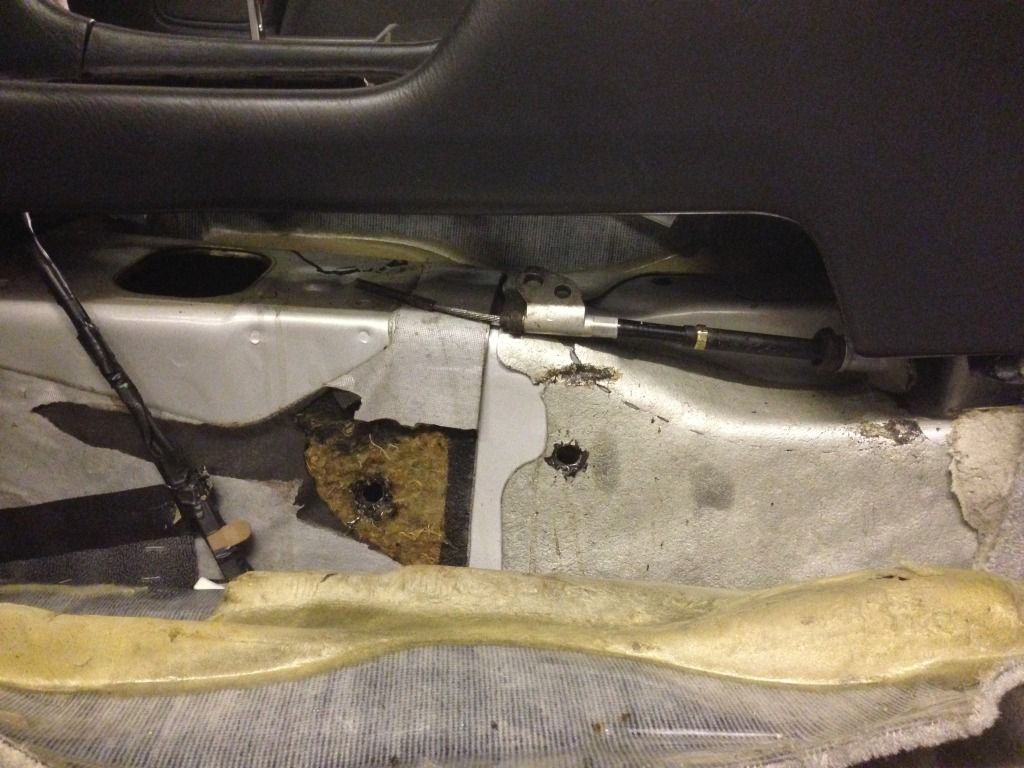
Also realized I hadn't done anything for the parking brake, so I got to work to see what I could figure out. Turns out it was rather easy. I purchased the handle, and parking brake cables from some guys on ebay. I used the SC handbrake lever, and the front half of the SC parking brake cable to get this to work. First I drilled some holes into the tranny tunnel after mocking up the height I wanted it to be at. Then I picked up some hardware to install it. used 2 1/2" bolts, and some large 5/8" nuts as spacers.
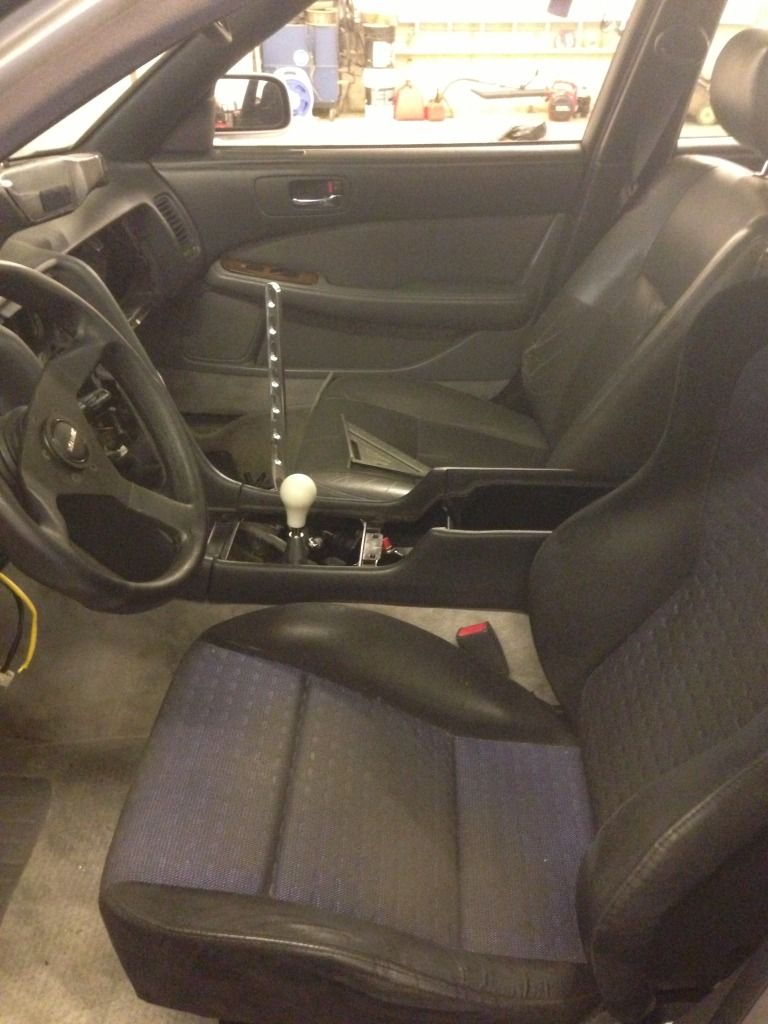
Final result is this. Funny thing is with the ****ty lighting I have at the shop, I never realized the handle is brown until I finished haha. Guess I'll have to get a darker handle cover from the pick and pull sometime.
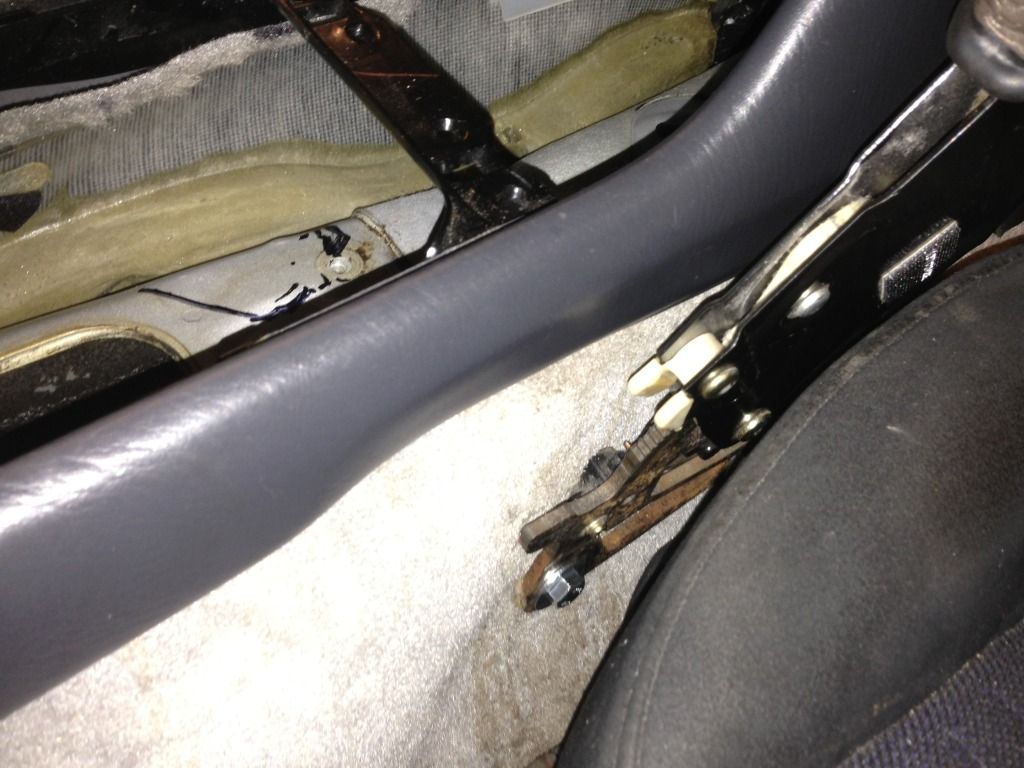
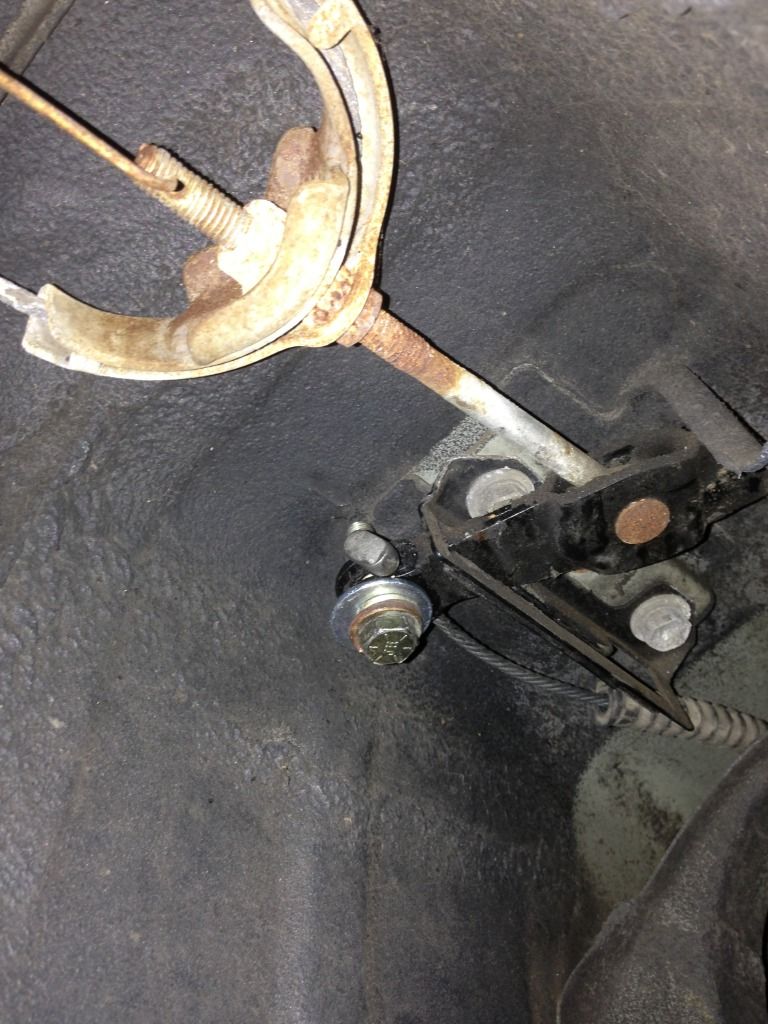
As for how I rigged it to the stock assembly, I routed the SC cable through the factory hole in the floor, and put it through where the stock one would go. Since the SC has a flat long piece at the end of the cable I put a bolt, lock washer and nut at the end so it wont back out. Couldn't fit the bolt from the top otherwise I would of put it that way, but it won't be backing out ever. Love that loctite! Simple solution and it works great. Used the ebrake today to undo the bolts on the axles.
After that I got to doing the rear main finally. Gross and dirty. Got it done and reinstalled, and moved onto the radiator.

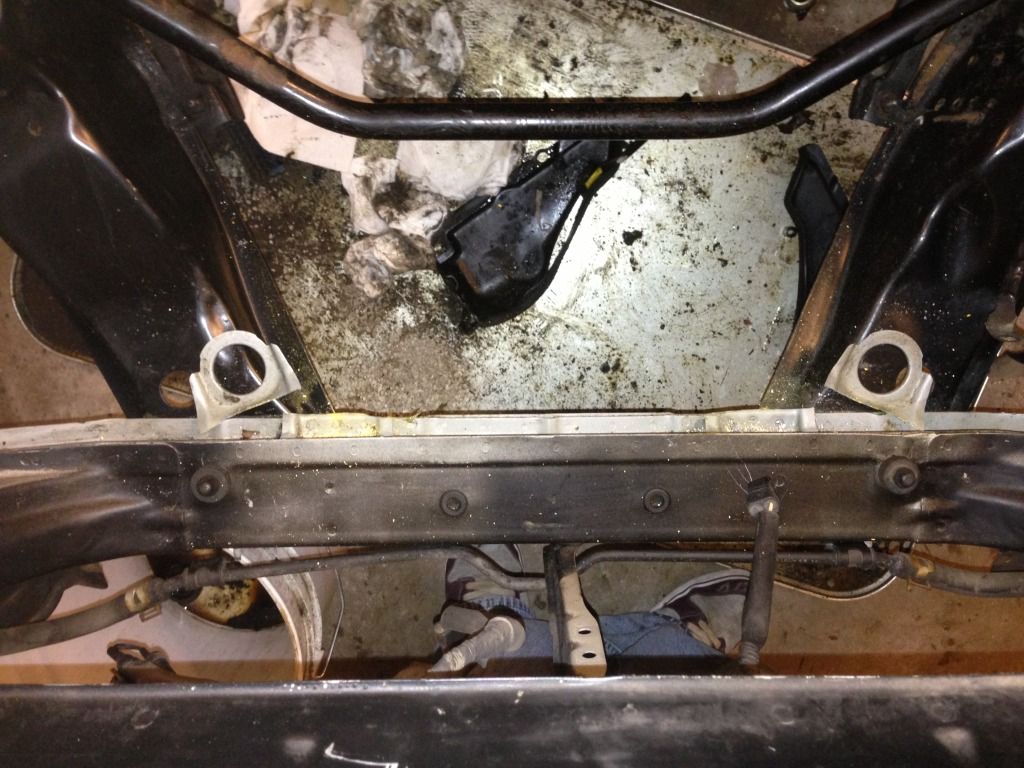
Issue I had with the MKIV Supra rad is that the dowels it has welded on the bottom don't sit into anything on the LS bay. I needed to find some kind of bushing to put at the bottom of the dowels to prop the rad up slightly so it would rest on rubber and not metal to metal. First thing was to get rid of the factory rad resting plates. After trying to drill out the spot welds I got tired and just grabbed the tiger saw. 8 seconds later....
So once that was done I needed to find some kind of bushing to have it rest on. Don't ask me how this came to be, because honestly I have no idea why I even thought of doing it, but **** it works so who cares! haha.
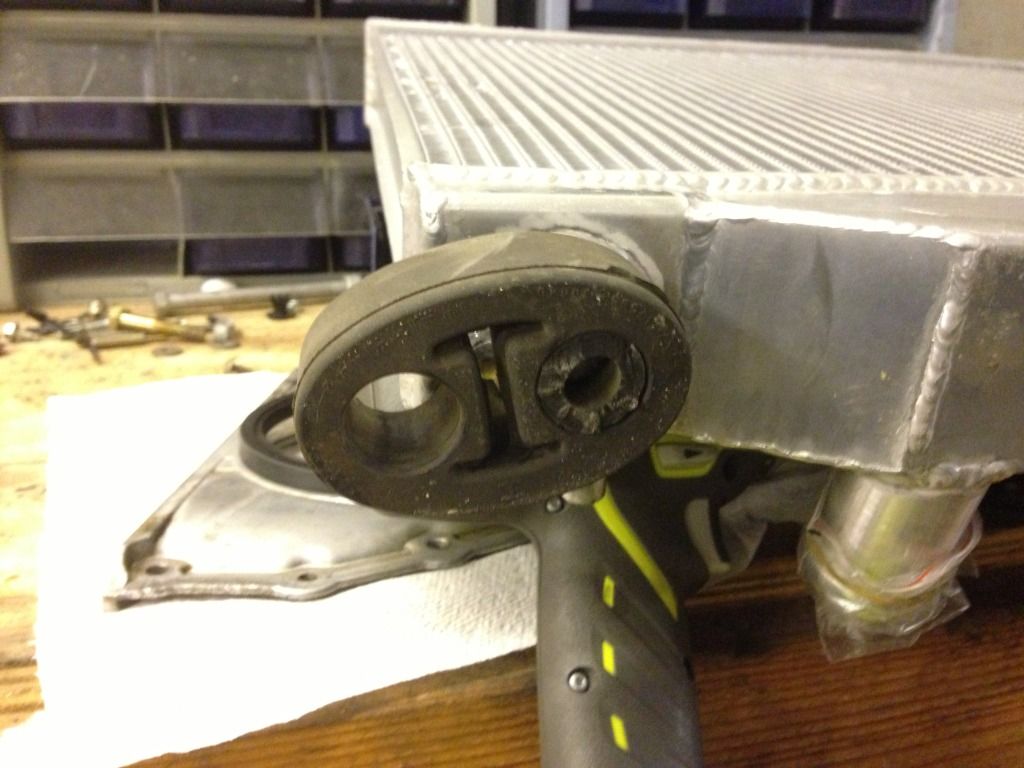
Yup, thats the factory exhaust hanger, and sleeve that goes on the metal hangers on the chassis. I cut the very end off one side since it had a stepped lip to make it easier to put the hanger over it. They prop the radiator up just enough so the factory stay's grab it almost like it was meant to be in this car.
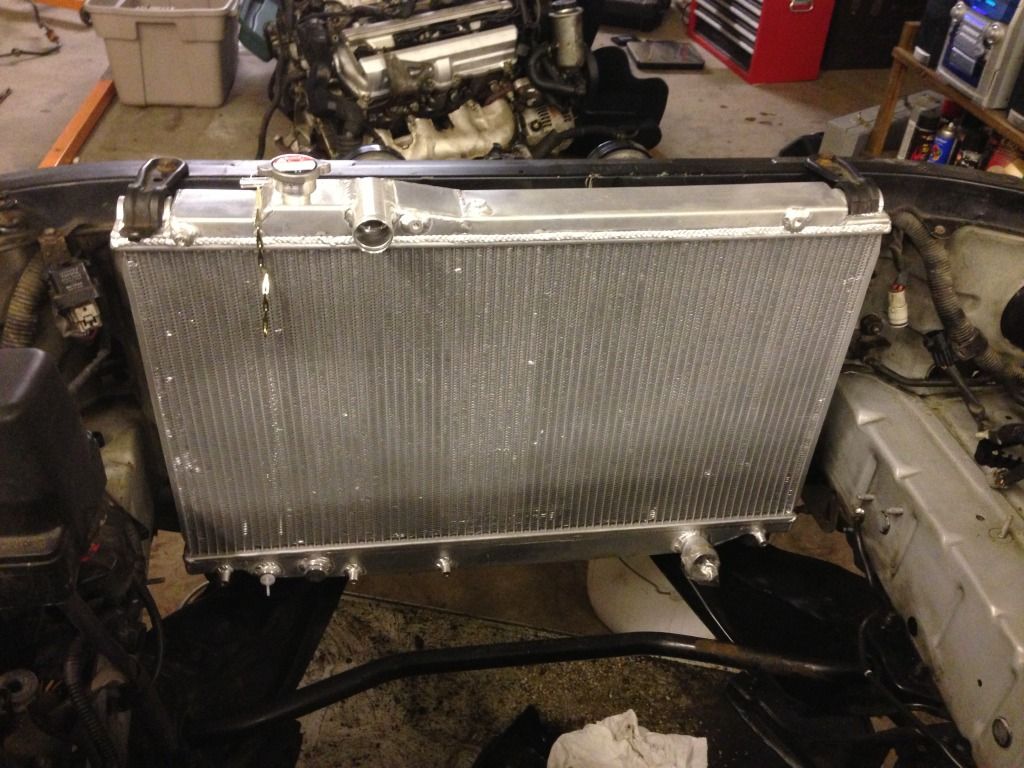

Just the right amount of height. **** spending money on more stuff, just reuse what you got! So far, reused factory exhaust hangers, a 240sx clutch pedal assembly, Honda Ruckus crankcase bolt. What else can we recycle? hah.
I then took a break, and went out to a shop in Manchester, CT called Fluid Dynamics. They carry EVERY oddball fitting you will ever need. Snapped a photo of the small assortment of AN fittings they had. They were the only place in CT that could get an M10x1.0 brake tee fitting, and it was $7.xx a piece vs over 20 online..if I could even find it anywhere in the states.
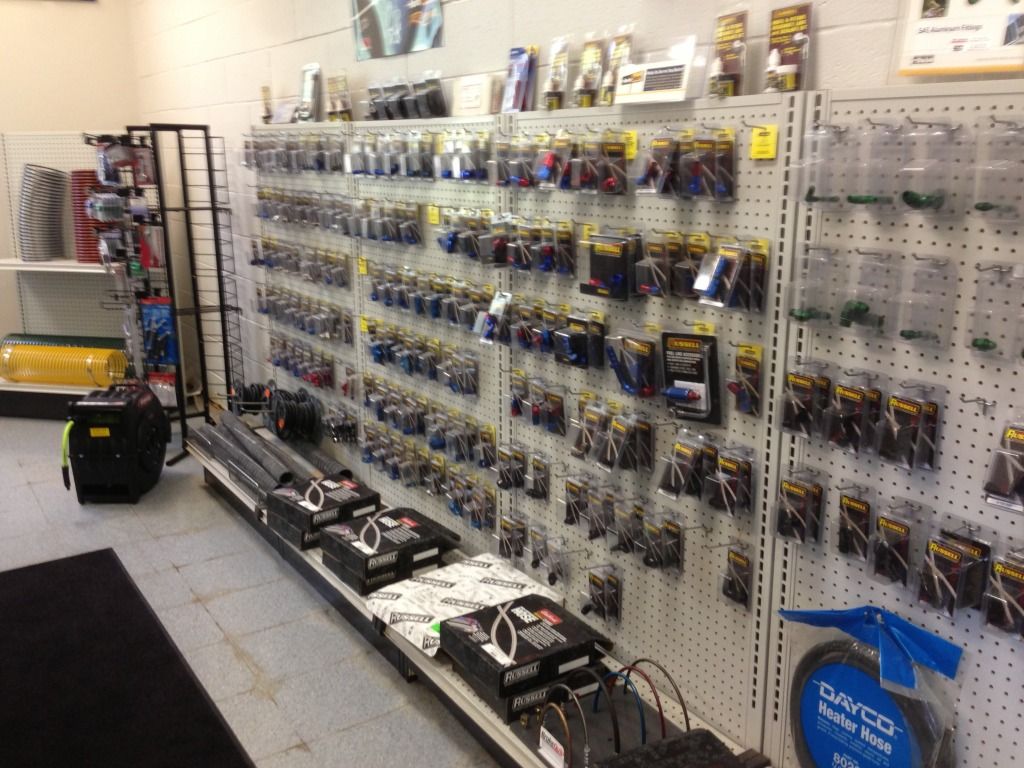
So I got talking to the guy, and he told me they make lines on the spot. I needed 2 x 4ft -3 female to female braided lines for the hydro brake, with a 90* fitting on one side of both lines. Summit would of cost me $74, and I would of had to wait until Tuesday. These guys made them in 5 minutes, pressure tested them, and I left with them for $83. I'll pay the 9 bucks for instant gratification.
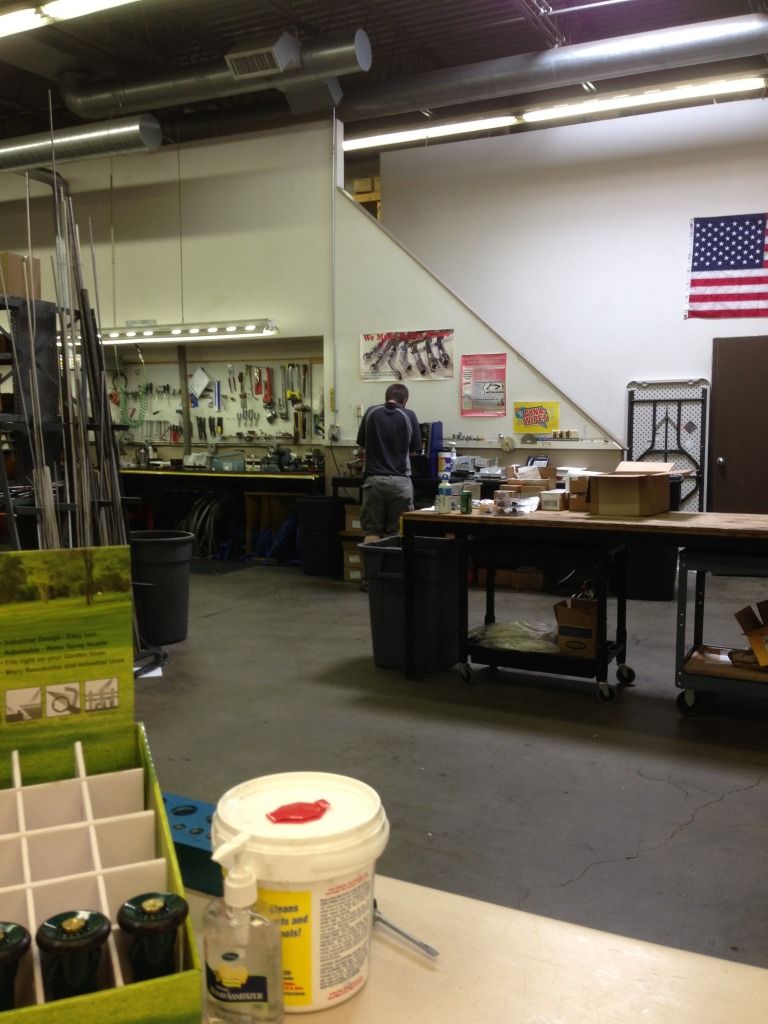
Guy making said lines.
I now have everything I need to run all the brake lines, so I can get the motor back in hopefully next week.
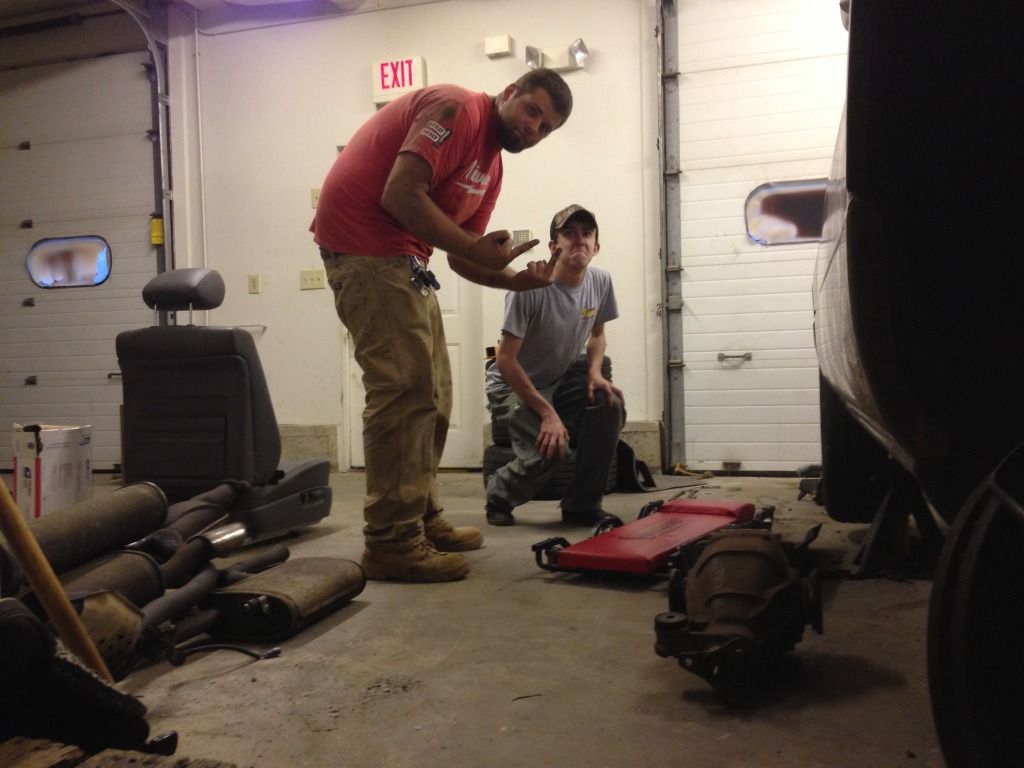
Later I had a couple of my buddies stopped by to hang out, and see the progress. Ended up lending a hand. Helped me figure out where exactly the hydrobrake is going, and how exactly to make a platform for it. Then they were a huge help pulling the rear diff out so I can get it welded.
And that's where today ends. Hope to have more updates soon, but my brother has a race he's leaving for on Wednesday in northern PA so I'll be helping him get the car ready. We'll see what happens!
Got a lot done in the last 5 days.
First the ASD handbrake came in. Christ is this thing beautiful.


Test fit it to see if I could find a place for it that I liked. Looks like I'm going to be losing the cup holder, center console vent ducting, and the arm rest since my elbow hits it when I pull the brake.

Also realized I hadn't done anything for the parking brake, so I got to work to see what I could figure out. Turns out it was rather easy. I purchased the handle, and parking brake cables from some guys on ebay. I used the SC handbrake lever, and the front half of the SC parking brake cable to get this to work. First I drilled some holes into the tranny tunnel after mocking up the height I wanted it to be at. Then I picked up some hardware to install it. used 2 1/2" bolts, and some large 5/8" nuts as spacers.


Final result is this. Funny thing is with the ****ty lighting I have at the shop, I never realized the handle is brown until I finished haha. Guess I'll have to get a darker handle cover from the pick and pull sometime.

As for how I rigged it to the stock assembly, I routed the SC cable through the factory hole in the floor, and put it through where the stock one would go. Since the SC has a flat long piece at the end of the cable I put a bolt, lock washer and nut at the end so it wont back out. Couldn't fit the bolt from the top otherwise I would of put it that way, but it won't be backing out ever. Love that loctite! Simple solution and it works great. Used the ebrake today to undo the bolts on the axles.

After that I got to doing the rear main finally. Gross and dirty. Got it done and reinstalled, and moved onto the radiator.

Issue I had with the MKIV Supra rad is that the dowels it has welded on the bottom don't sit into anything on the LS bay. I needed to find some kind of bushing to put at the bottom of the dowels to prop the rad up slightly so it would rest on rubber and not metal to metal. First thing was to get rid of the factory rad resting plates. After trying to drill out the spot welds I got tired and just grabbed the tiger saw. 8 seconds later....

So once that was done I needed to find some kind of bushing to have it rest on. Don't ask me how this came to be, because honestly I have no idea why I even thought of doing it, but **** it works so who cares! haha.

Yup, thats the factory exhaust hanger, and sleeve that goes on the metal hangers on the chassis. I cut the very end off one side since it had a stepped lip to make it easier to put the hanger over it. They prop the radiator up just enough so the factory stay's grab it almost like it was meant to be in this car.


Just the right amount of height. **** spending money on more stuff, just reuse what you got! So far, reused factory exhaust hangers, a 240sx clutch pedal assembly, Honda Ruckus crankcase bolt. What else can we recycle? hah.
I then took a break, and went out to a shop in Manchester, CT called Fluid Dynamics. They carry EVERY oddball fitting you will ever need. Snapped a photo of the small assortment of AN fittings they had. They were the only place in CT that could get an M10x1.0 brake tee fitting, and it was $7.xx a piece vs over 20 online..if I could even find it anywhere in the states.

So I got talking to the guy, and he told me they make lines on the spot. I needed 2 x 4ft -3 female to female braided lines for the hydro brake, with a 90* fitting on one side of both lines. Summit would of cost me $74, and I would of had to wait until Tuesday. These guys made them in 5 minutes, pressure tested them, and I left with them for $83. I'll pay the 9 bucks for instant gratification.
Guy making said lines.

I now have everything I need to run all the brake lines, so I can get the motor back in hopefully next week.

Later I had a couple of my buddies stopped by to hang out, and see the progress. Ended up lending a hand. Helped me figure out where exactly the hydrobrake is going, and how exactly to make a platform for it. Then they were a huge help pulling the rear diff out so I can get it welded.

And that's where today ends. Hope to have more updates soon, but my brother has a race he's leaving for on Wednesday in northern PA so I'll be helping him get the car ready. We'll see what happens!
Last edited by nismo4life; 05-22-13 at 10:08 PM.
05-22-13, 10:29 PM
#118
Driver
Thread Starter
I do have a few questions for you guys though.
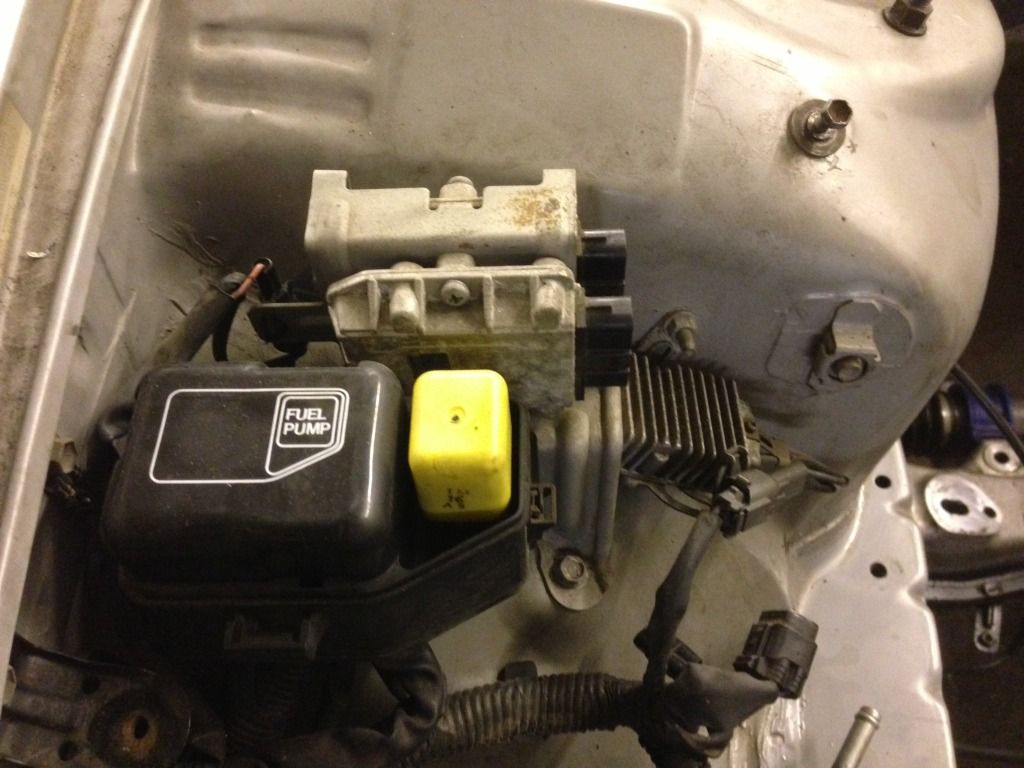
What are the 2 silver control modules, and the one with the heat sink on it on the right? Igniters?! Can I remove them? Obviously I can't take the one that says Fuel Pump out lol.
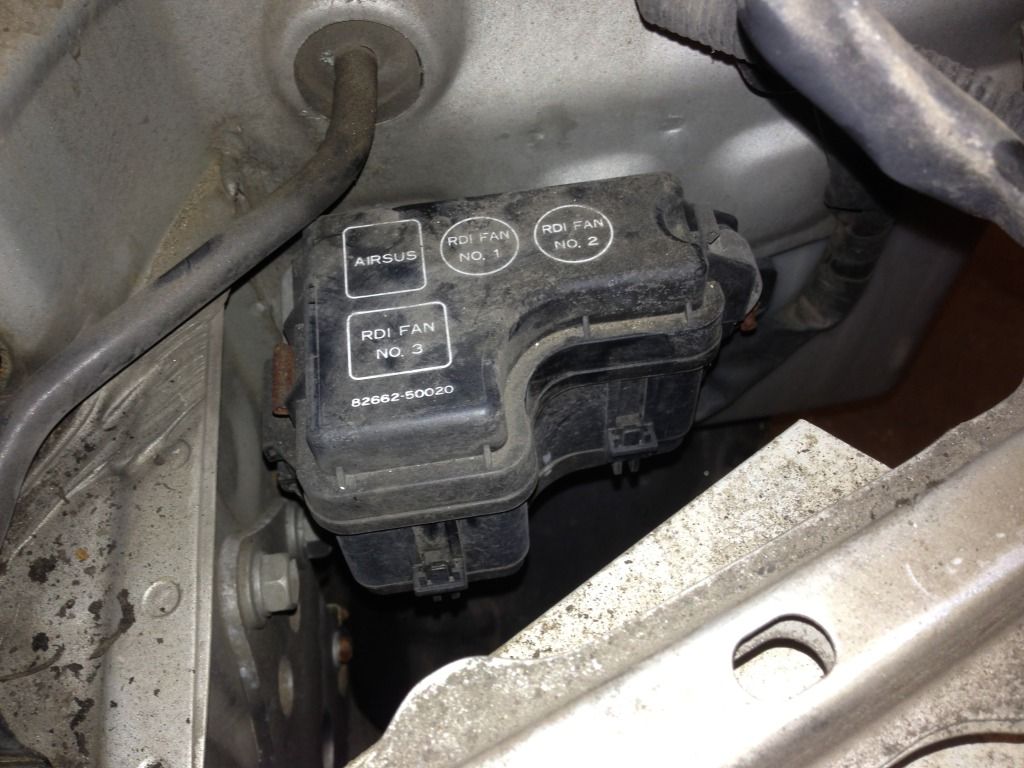
And this one is under the driverside headlight. I'm running a custom rad, no AC, and a universal thermal switch for the aftermarket fans, so can I just unplug and remove this entire box? Don't see any reason why it would cause an issue, but figure I'd ask in case there was some magical witchcraft.
 05-22-13, 10:38 PM
#119
nice progress man. keepin my eye on this build. i remember the first time i welded. i fell in love with it and my first weld a crappy blob, my second looked like i been doing it for years. once you add welding to your arsenal it really opens up some possibilities
06-05-13, 08:40 PM
#120
Driver
Thread Starter
Ok, so any drifters, or suspension literate people if you could chime in I'd appreciate it.
I'm looking to get a set of Megan EZ's for the car. My concern is the spring rates they come with are 12k/8k. Now its obvious I'm removing a considerable amount of weight from the car. As it currently stands from some rough projections I'm in the mid 3400's. My goal of 3300 with full interior is going to be a stretch, so I might be looking at something closer to 3400, or 3399 if I can
 . That being said, I have noted that I have removed a considerable amount more from the front half of the car than the rear. Looking like 115 from the back half, 200 from the front (between trans, seats, airbag, and everything deleted in the engine bay). Guessing this is going to get me closer to 50/50 so I was thinking of going with a 10k/10k spring rate setup. I want it to be somewhat livable as well as responsive and not bounce around like a mexican jumping bean all over the track when I go sliding. Anyone have any insight if this is a good route to go with, or should I consider a different spring rate?