Back again new Project 1996 Lexus LS400
 09-01-13, 09:37 PM
#1
Driver School Candidate
Thread Starter

Join Date: Mar 2011
Location: AUSTIN, TX
Posts: 33
Likes: 0
Received 0 Likes
on
0 Posts
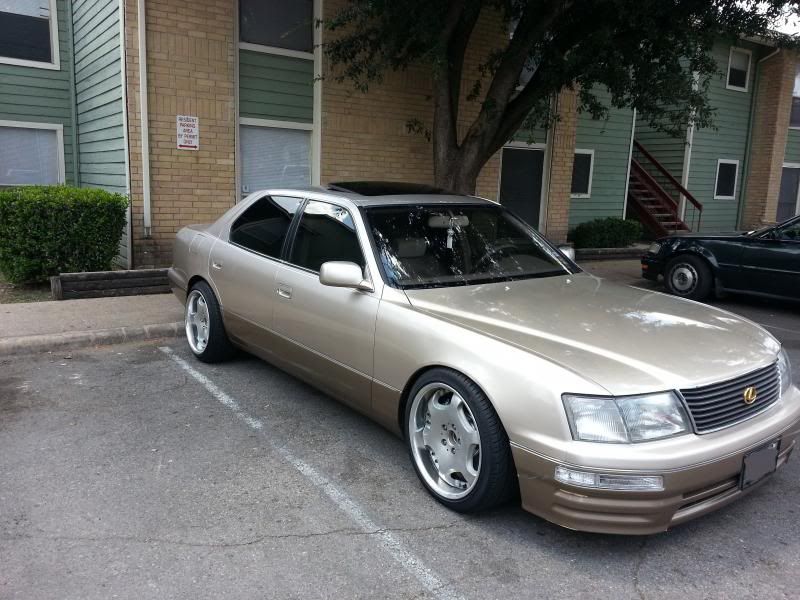
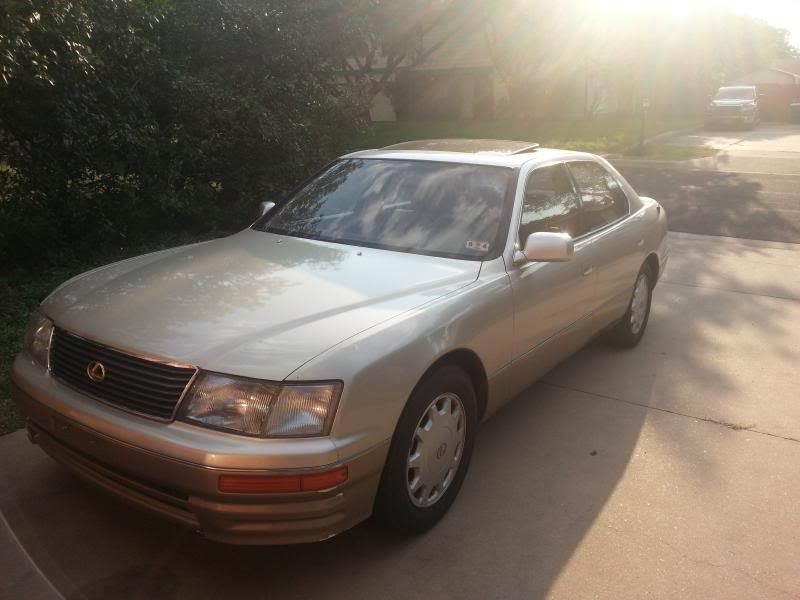
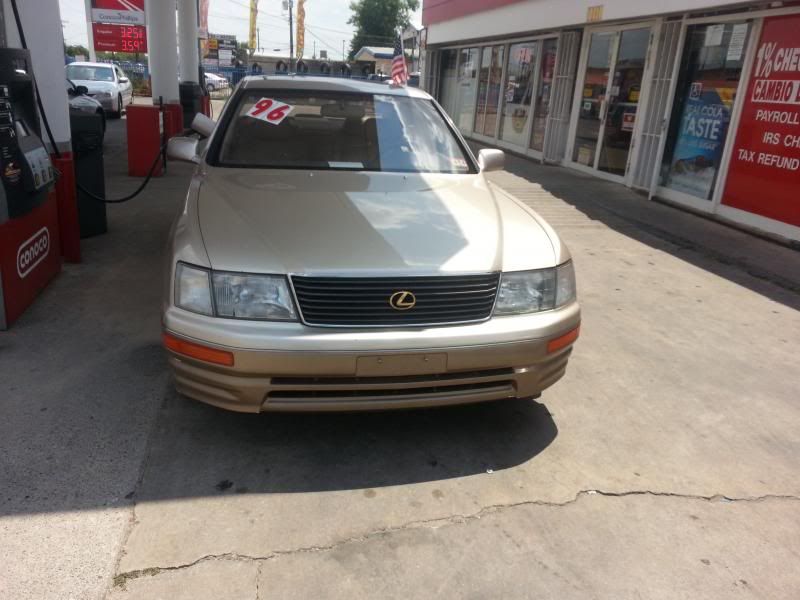
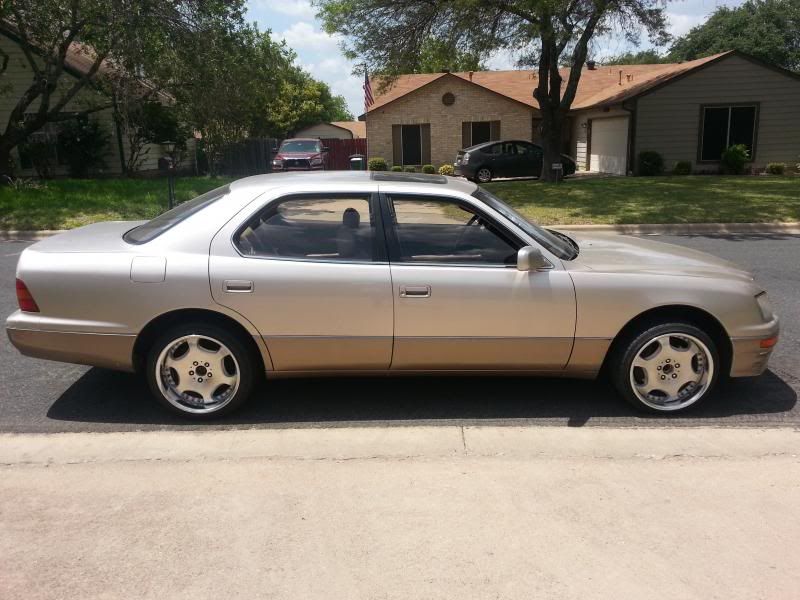
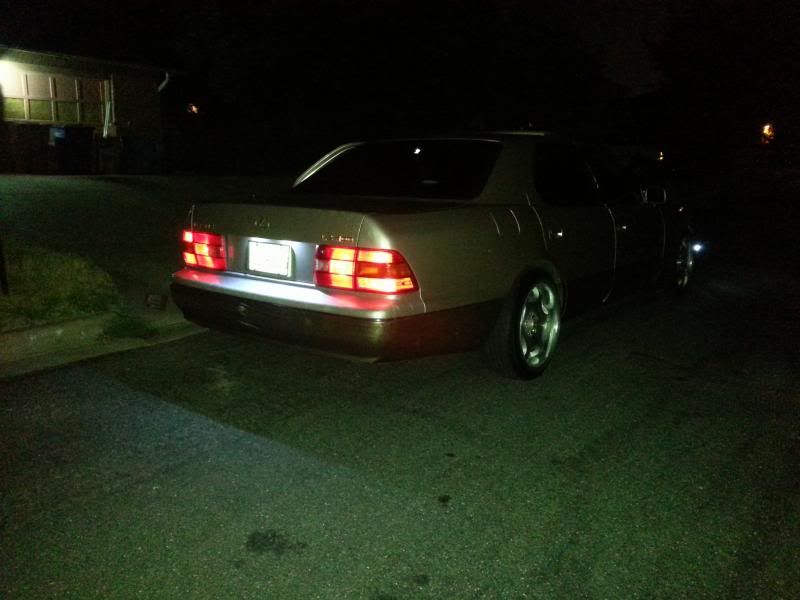
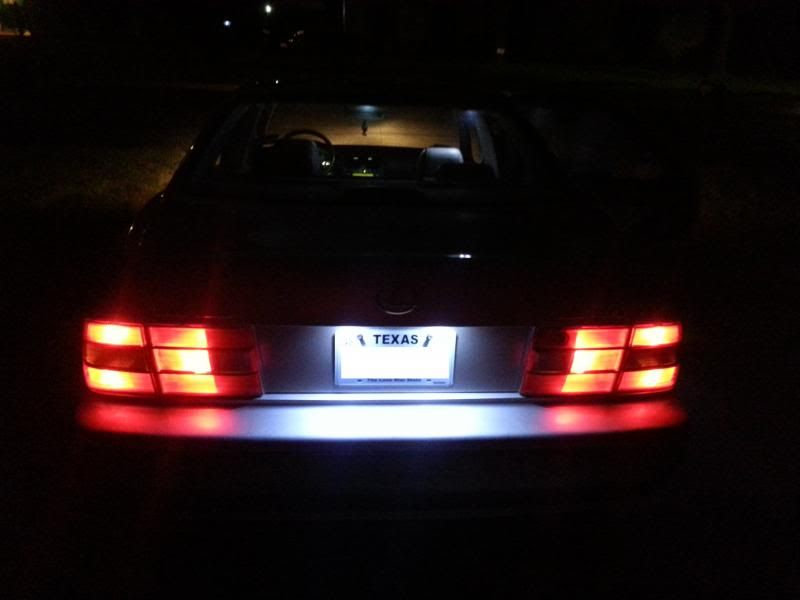
Hello, I've been on leave from this website for quite a while, since I sold my 1992 Lexus SC400 for needing money. I'm back again with a new toy and new project for making a VIP 1996 lexus ls400 in great city and state of Austin Tx. I've yet to see any VIP lexus ls400 of this year in town so hopefully I can meet some from this website in the area. So without further ado, I present my 1996 Lexus LS400 Code name "IBUKI".
Some list of parts I've bought since buying this car in June 6th 2013.
small list I know but, she is a project
So I purchased this car in june down the street from me with 197,000 miles on it and still going strong what struct me was the shape the car was in for the mileage and year.
some pics...
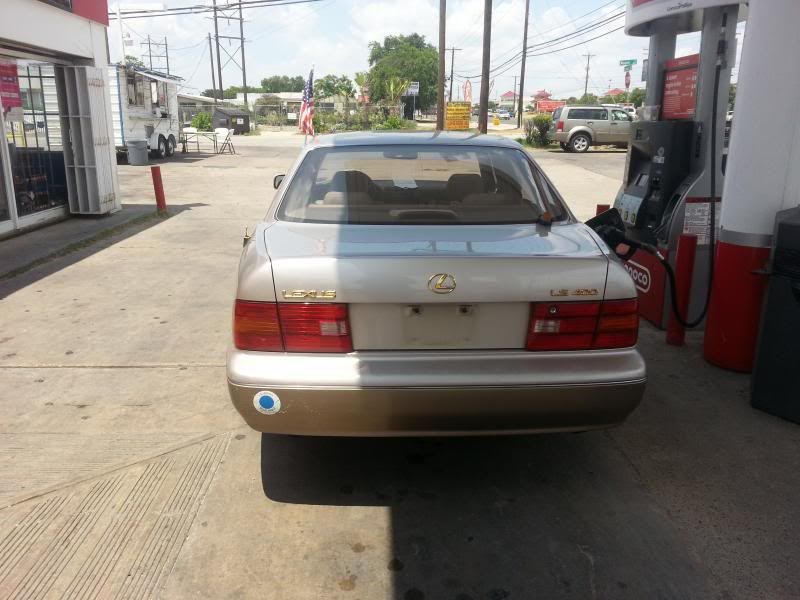
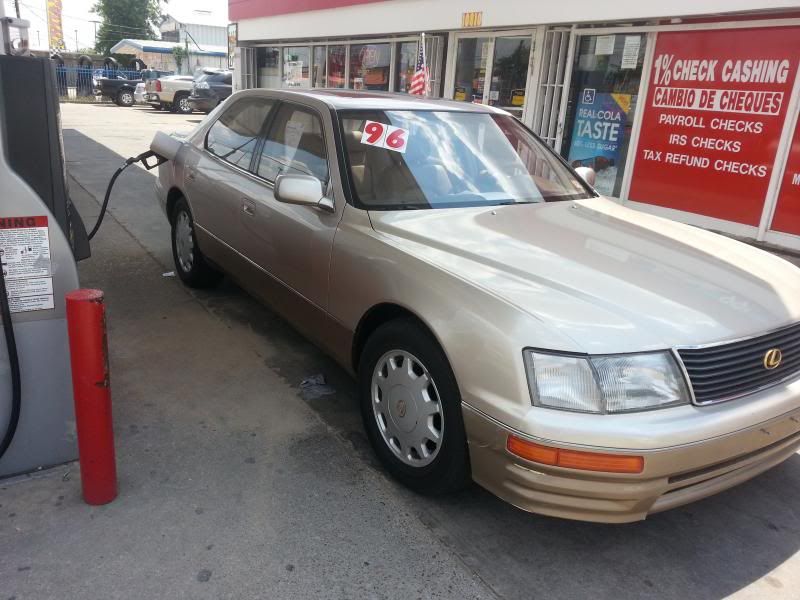
I just had to buy it 3100$ out the door.
soon after I couldn't wait to start to mod.
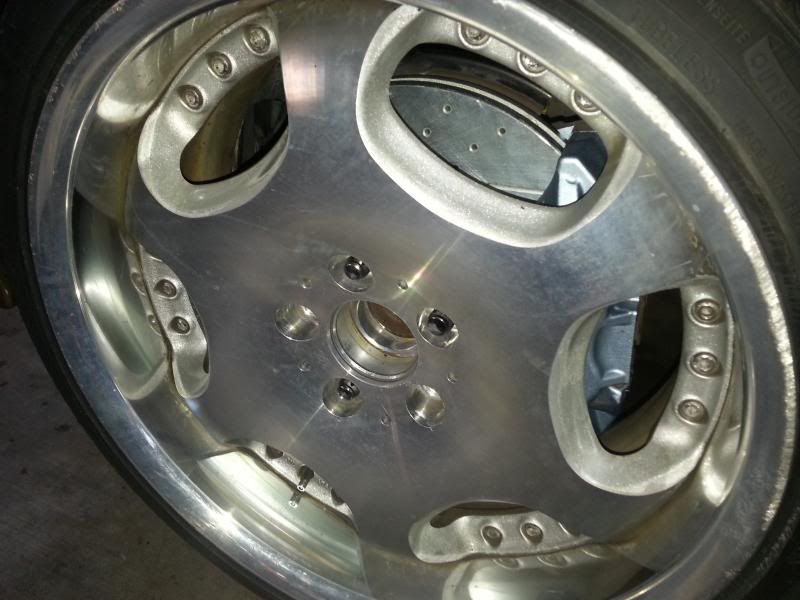
First thing I found was a set of rare Work Ryver DT3's on craigslist for 950$ with a set of adapters 5x4.5/5.4.5 = 114.3
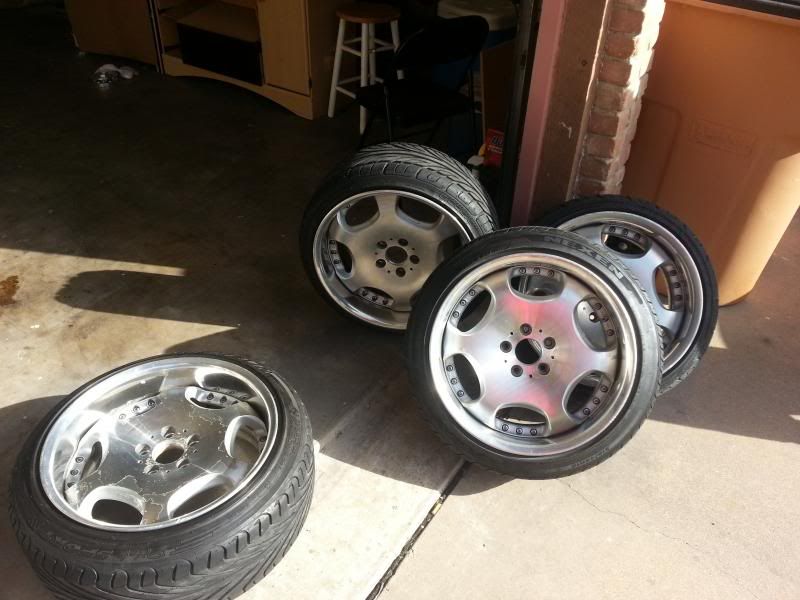
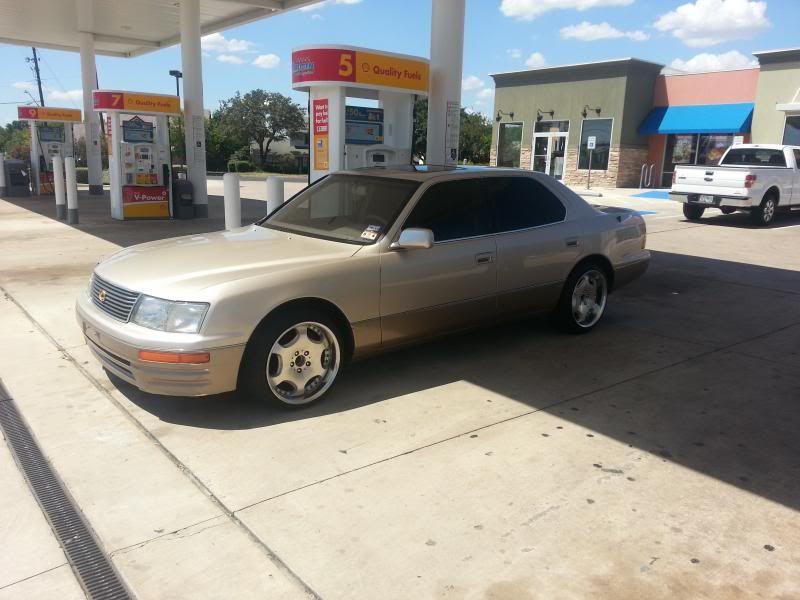
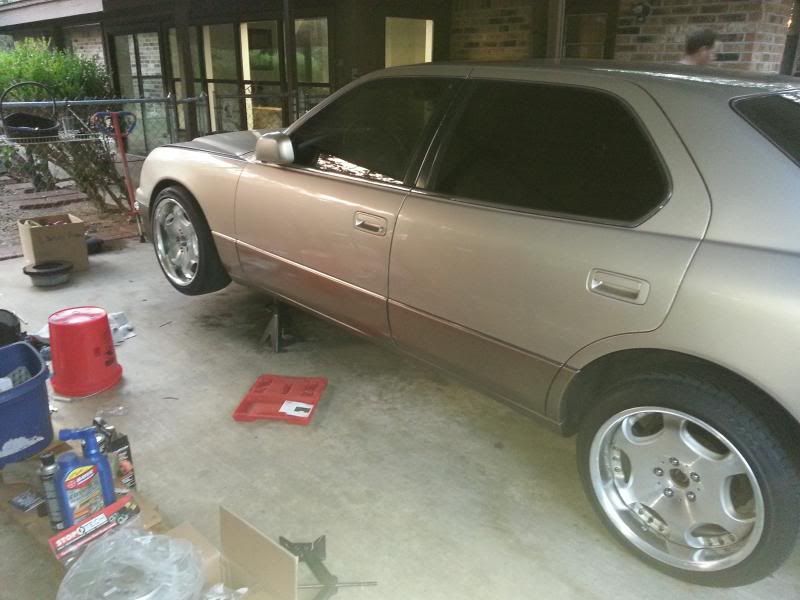
this is what she looked liked after the install BOY OH BOY was I in need of a DROP!
Monster Truck Fail
So after this ordeal i set out and ordered Function and Form Type 2 for 875 on ebay weeks later.

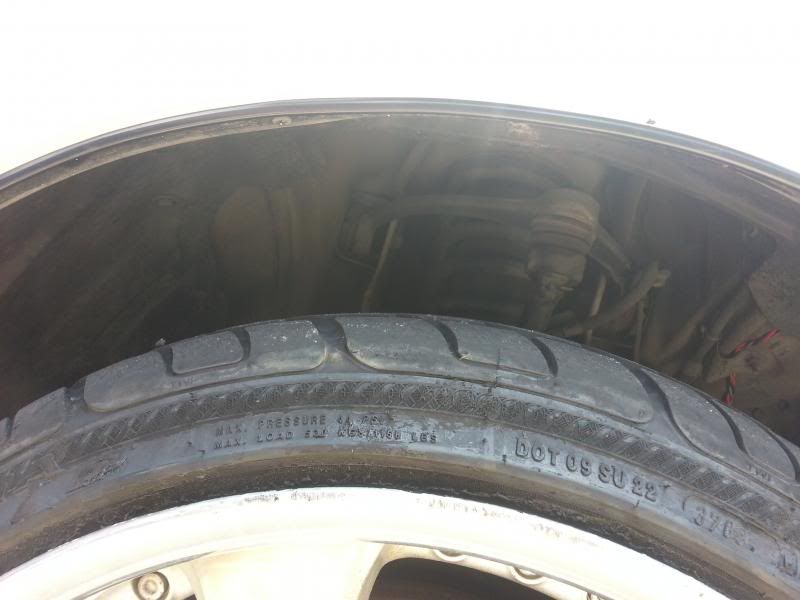
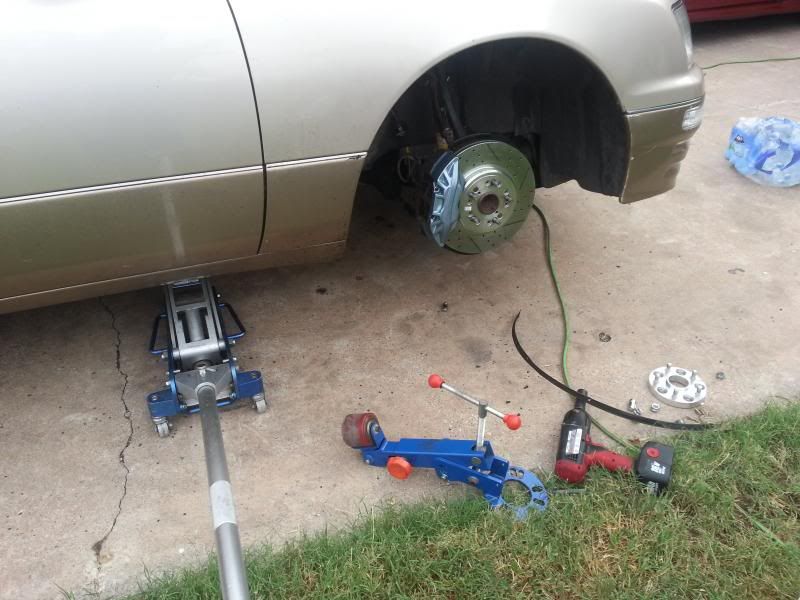
Well I didn't stop here I went ahead and did a full brake job and refresh
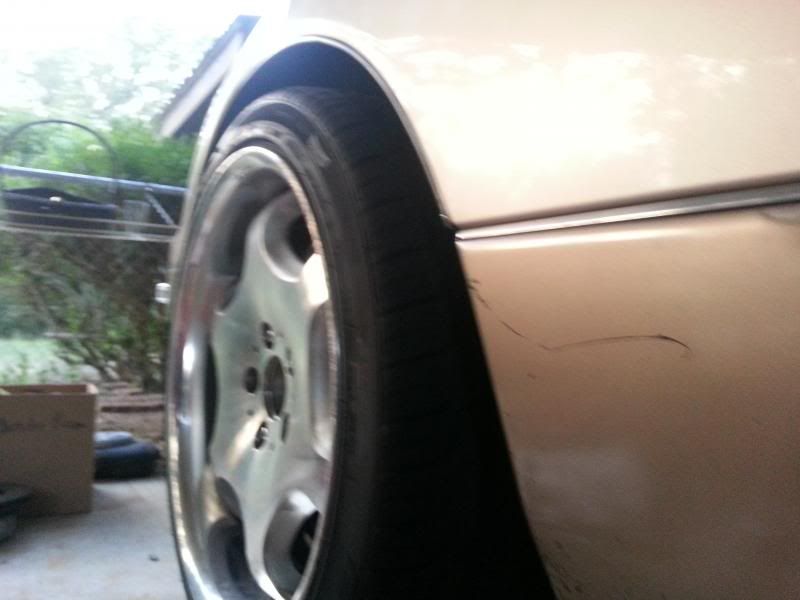
Fenders needed to be rolled after the drop

Some list of parts I've bought since buying this car in June 6th 2013.
- Remote Start and Alarm from Prestige
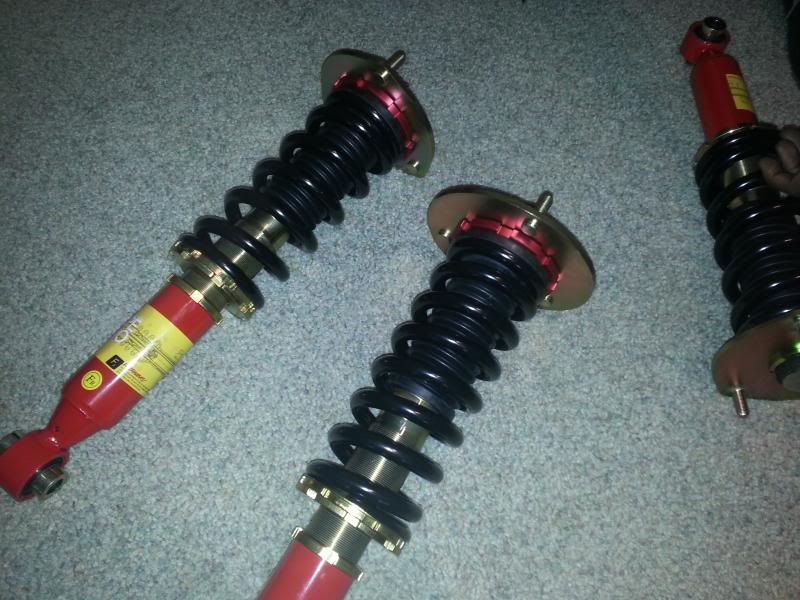
- Function & Form Coilovers F2 Type 2 1991 - 2000 Lexus LS400 Sedan V8
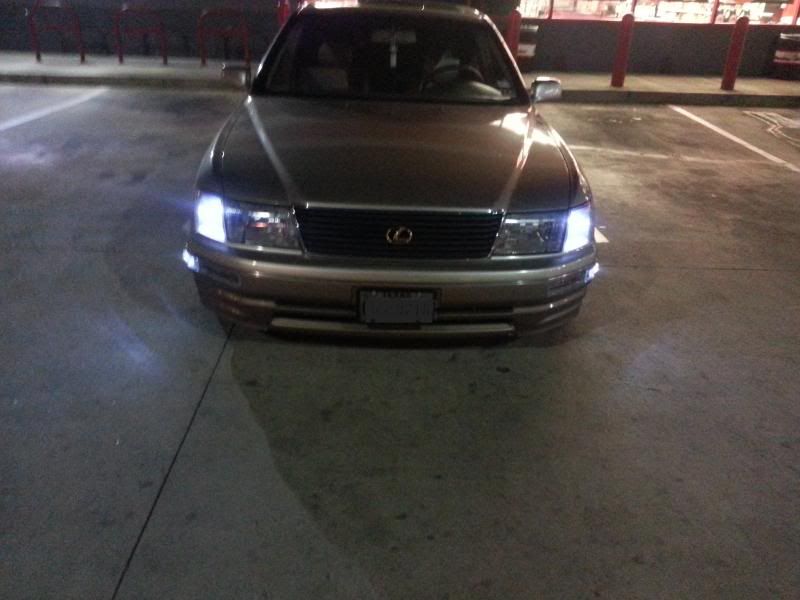
- 55w Xenon HID H4-3 Low Beam Kit 4300k Diamond White For Lexus LS400 1995-1997
- NEW PAIR 1995 1996-1997 LEXUS LS400 LS 400 DEPO FRONT CLEAR BUMPER SIGNAL LIGHTS
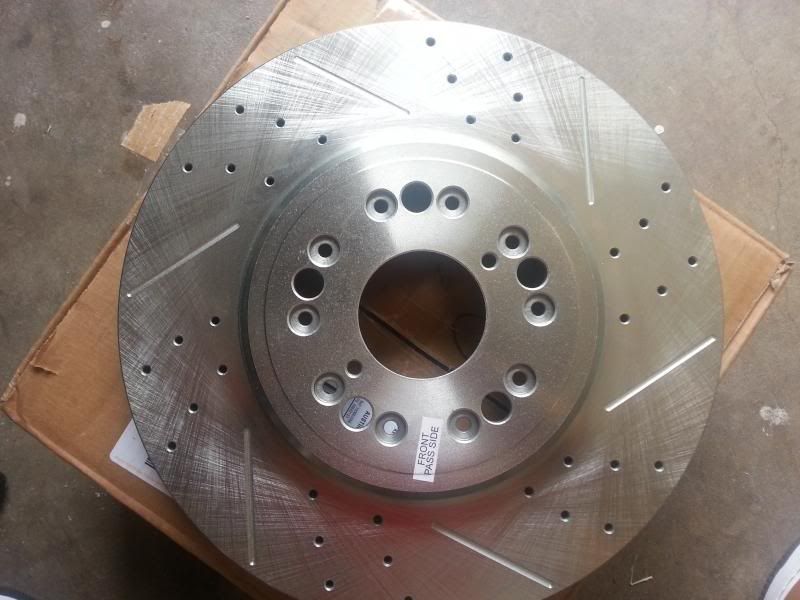
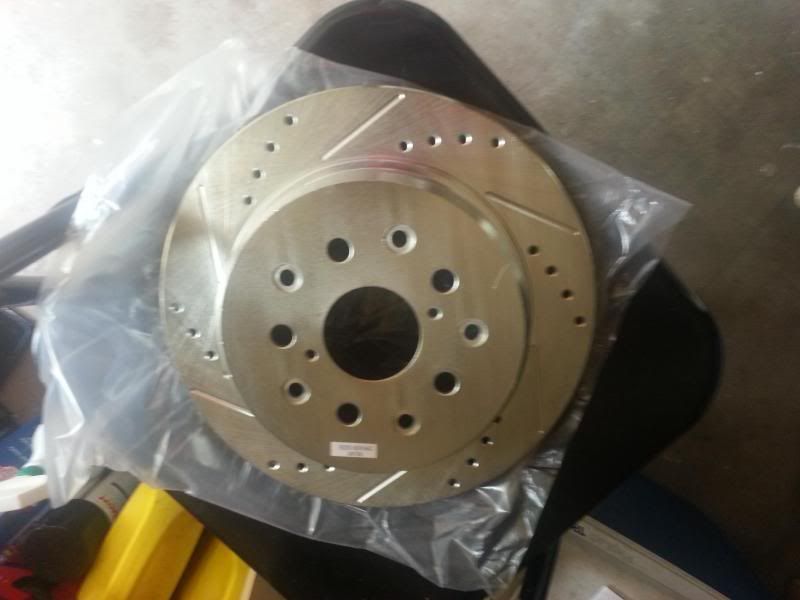
- LEXUS LS400 95 96 97 98 99 00 DRILLED SLOTTED BRAKE ROTORS & PADS FRONT AND REAR
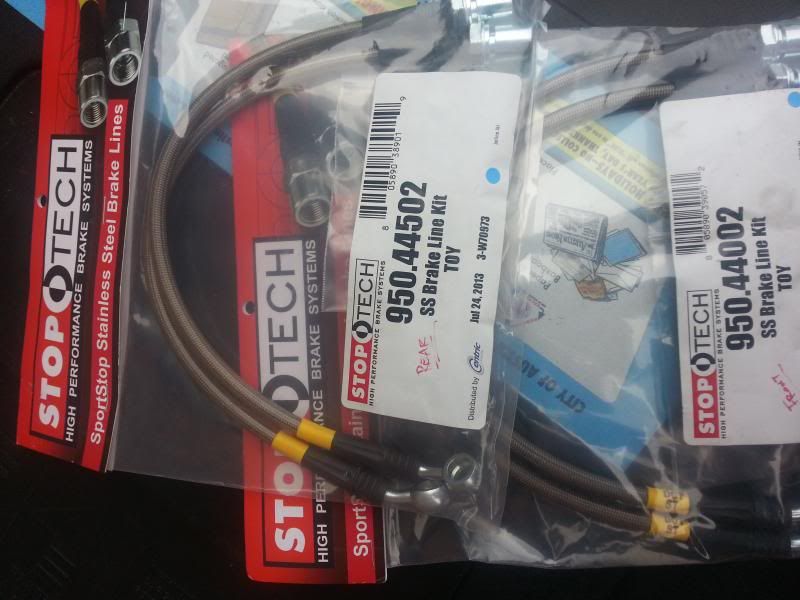
- LEXUS LS400 95-00 (REAR) and (FRONT) StopTech Stainless Steel Brake Lines (SS LINES)
- LS400/SC400 SPARK PLUGS-WIRES-DISTRIBUTOR CAP-ROTOR (Install Pending)
- 8
Spark Plugs*(Dbl. Platinum)
Denso (OEM Recm'd)
1
TE119 Wire Set (10 Piece)
NGK / Japan
2
Dist. Caps (#03350)
BOSCH
2
Dist. Rotors (#04268)
BOSCH - 90-97 4.0L Lexus LS400 SC400 V8 "1UZFE" DOHC 32V Timing Belt Water Pump Kit (Install Pending)
- +1 Timing Belt (209) Teeth
+1 GMB Timing Belt Tensioner Bearing
+1 GMB Timing Belt Idler Bearing
+2 Camshaft Seals
+1 Crankshaft Seal
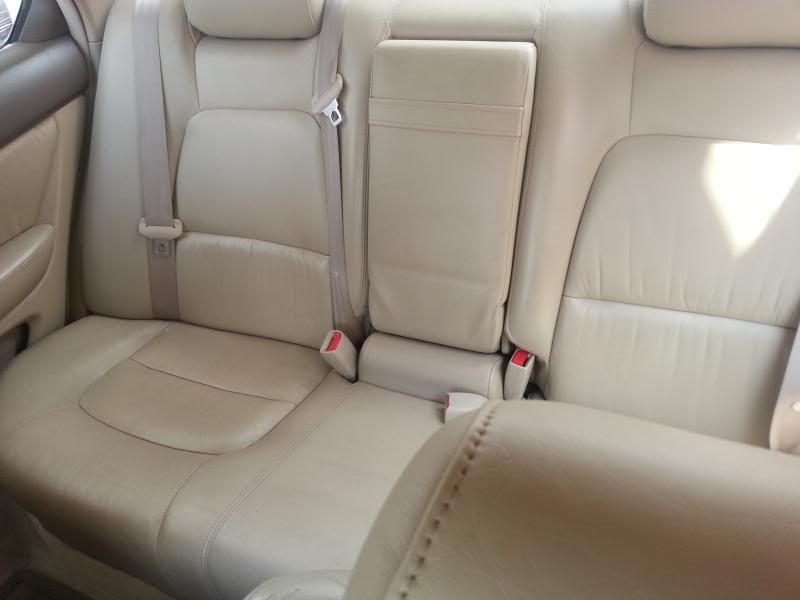
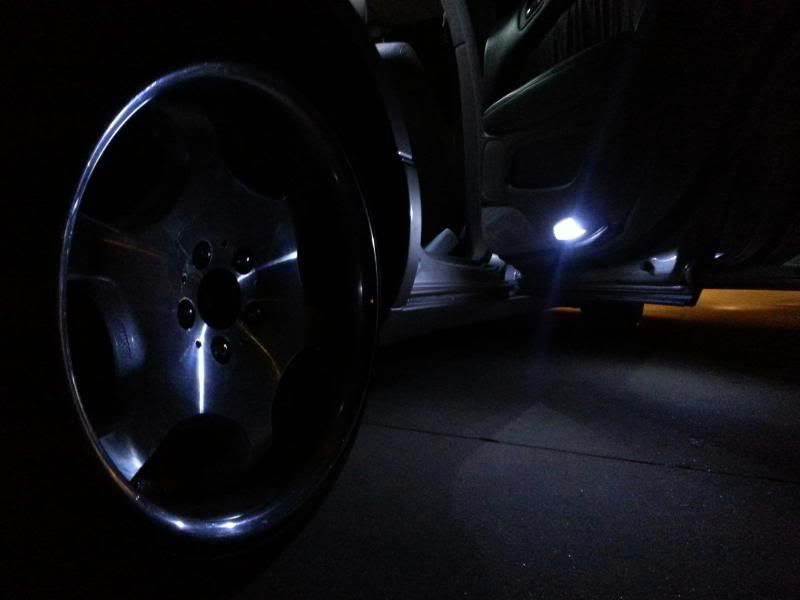
+1 Water Pump with Gasket - Full Interior LED replacement bulb kit from Gluxlite.com
- 1 Pillow from Junction Produce (1 more on order)
- Various Accessories
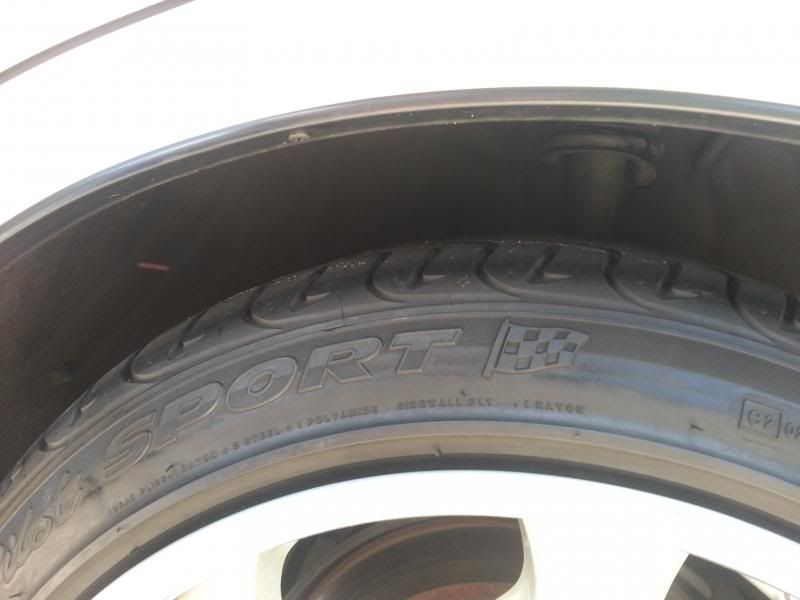
- 18 Inch Work Ryvers DT3's Staggerd on 225/40/18(F) 215/40/18(R) all new tires, getting new front 215/35/18's soon
- 30 % tint on front driver and passenger 5% on back passenger and driver and rear window.
small list I know but, she is a project
So I purchased this car in june down the street from me with 197,000 miles on it and still going strong what struct me was the shape the car was in for the mileage and year.
some pics...


I just had to buy it 3100$ out the door.
soon after I couldn't wait to start to mod.
First thing I found was a set of rare Work Ryver DT3's on craigslist for 950$ with a set of adapters 5x4.5/5.4.5 = 114.3


this is what she looked liked after the install BOY OH BOY was I in need of a DROP!


Monster Truck Fail
So after this ordeal i set out and ordered Function and Form Type 2 for 875 on ebay weeks later.


Well I didn't stop here I went ahead and did a full brake job and refresh


Fenders needed to be rolled after the drop

Last edited by lextex86; 09-01-13 at 09:59 PM.
 09-01-13, 09:41 PM
#2
Driver School Candidate
Thread Starter
Join Date: Mar 2011
Location: AUSTIN, TX
Posts: 33
Likes: 0
Received 0 Likes
on
0 Posts
Some install Pics
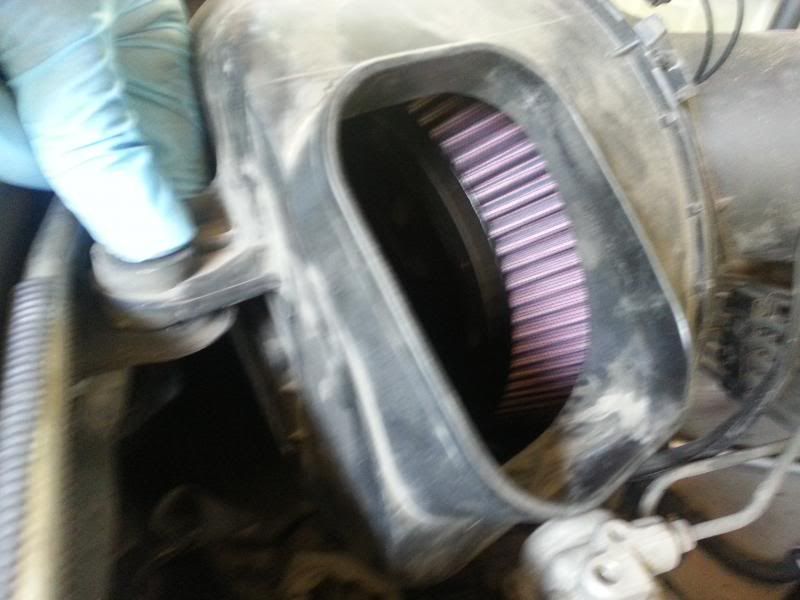
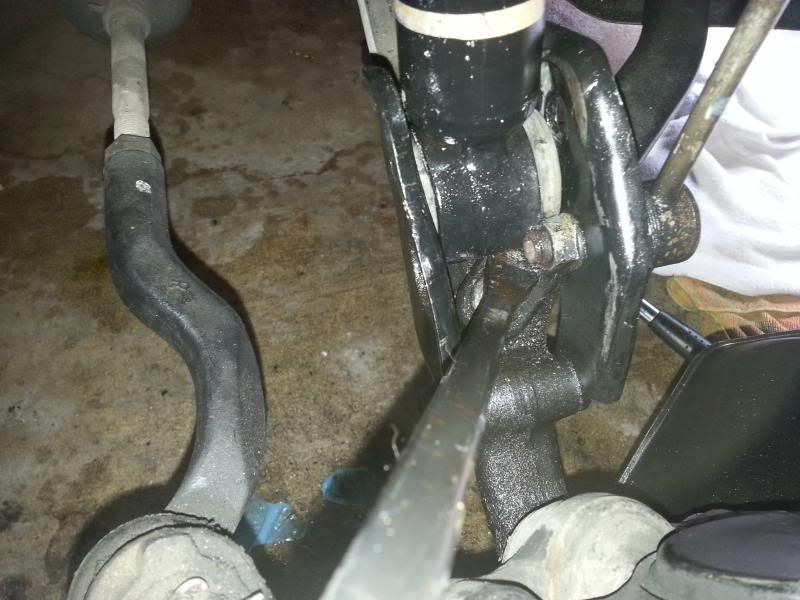
this held me up had to uninstall and re install the entire suspension system added hours on job ugh.... old spring shot backwards....
Some LED PICS
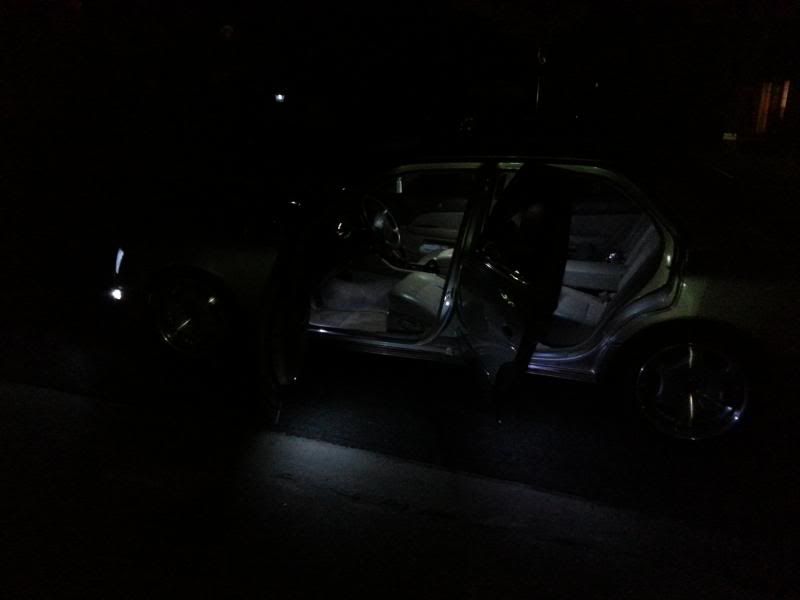
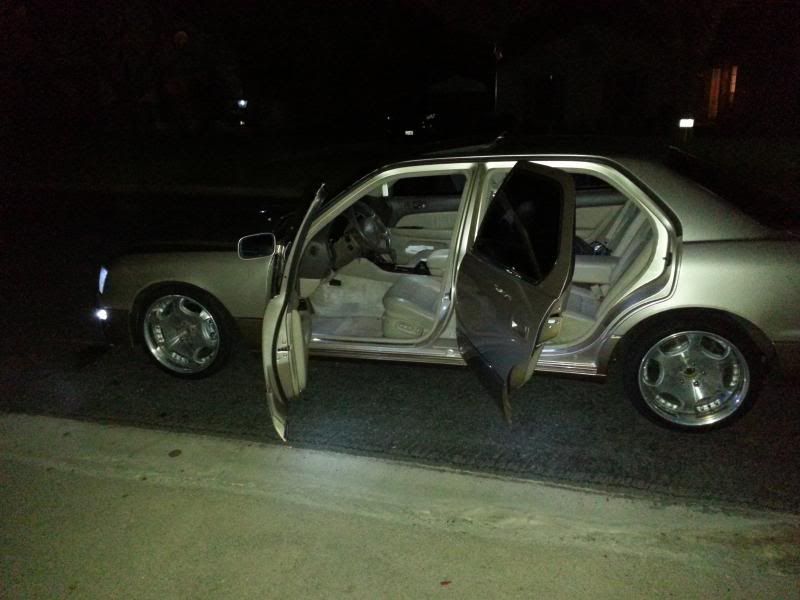
Ill add some bonus pictures later more to come.
Future Mods..
Plasti Dip White add Peralizer
Re surface rims make new again
Install my HIDs (need help with this never did hids like these)
better front tires
passenger side bar
more JP pillows and interior pieces
re due sound system
Spoiler that flared upwards that looks nice
Side vidors for windows
Back window spoiler
Chrome Grill
Red and Clear Brake Lights
some more things to come as soon as I think of some more
I still have so far to go but I wanted to start it off right any help and info would be greatly Appreciated I look forward to starting off good on this new VIP life
 09-02-13, 01:50 AM
#4

good start.
One thing, I advise you to sell your generic GMB timing belt kit and pick up the Aisin kit with waterpump. Price is cheap/about the same but most of the components are of much higher (pretty much OEM) quality.
I'm actually going to be in Austin for F1 in November, minimeet?
One thing, I advise you to sell your generic GMB timing belt kit and pick up the Aisin kit with waterpump. Price is cheap/about the same but most of the components are of much higher (pretty much OEM) quality.
I'm actually going to be in Austin for F1 in November, minimeet?


Trending Topics

 09-03-13, 01:36 PM
#12
Top Tip: remove lower nut, looser lower bolt but do not remove, remove top nuts, firmly hold shock/spring assy, pull out bolt, remove assy. (if rear, do the same but push spindle down, guide bottom of shock inwards until it's ~90* to the ground, then pull out sideways, top mount first.)

Thread
Thread Starter
Forum
Replies
Last Post