
Canopy's SC400 Project
 09-03-13, 12:33 PM
#1
Driver School Candidate
Thread Starter

Join Date: Aug 2013
Location: Bay Area, CA
Posts: 21
Likes: 0
Received 0 Likes
on
0 Posts
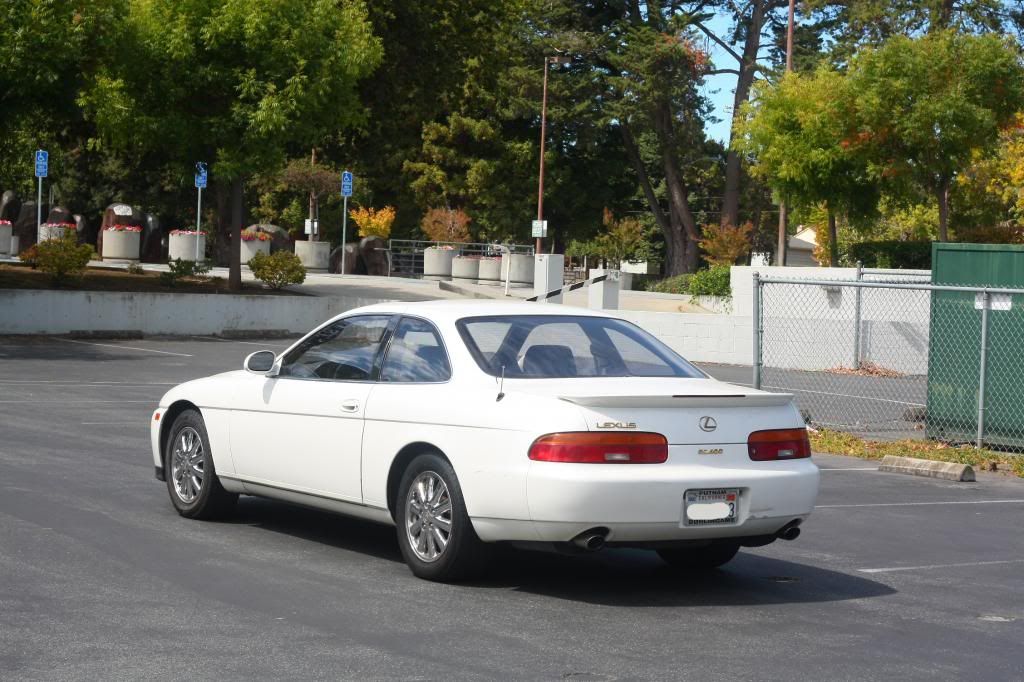
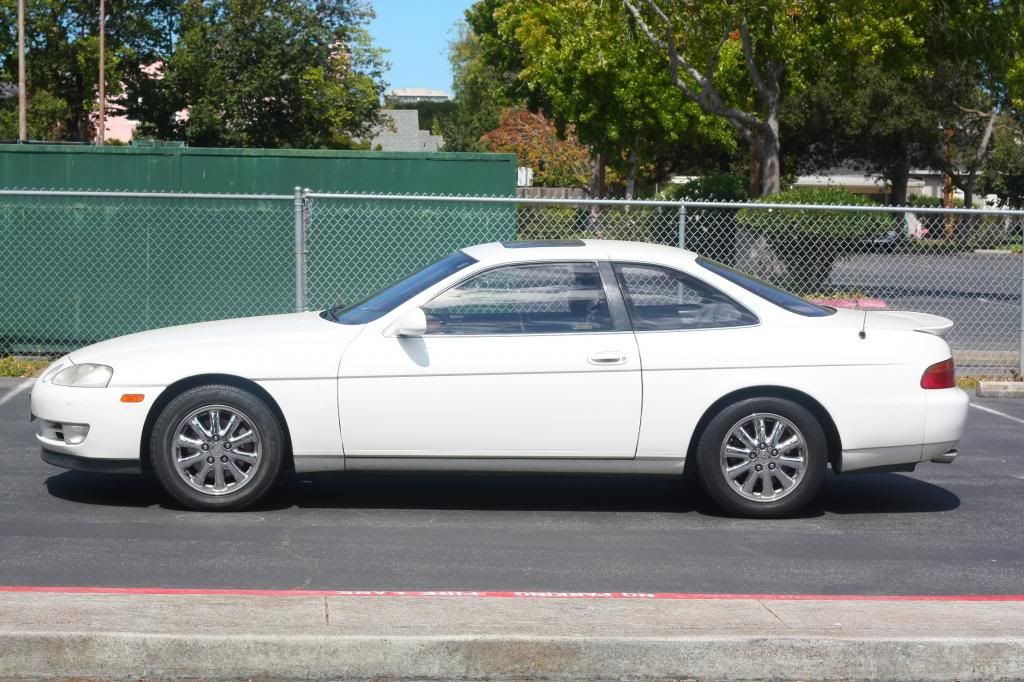
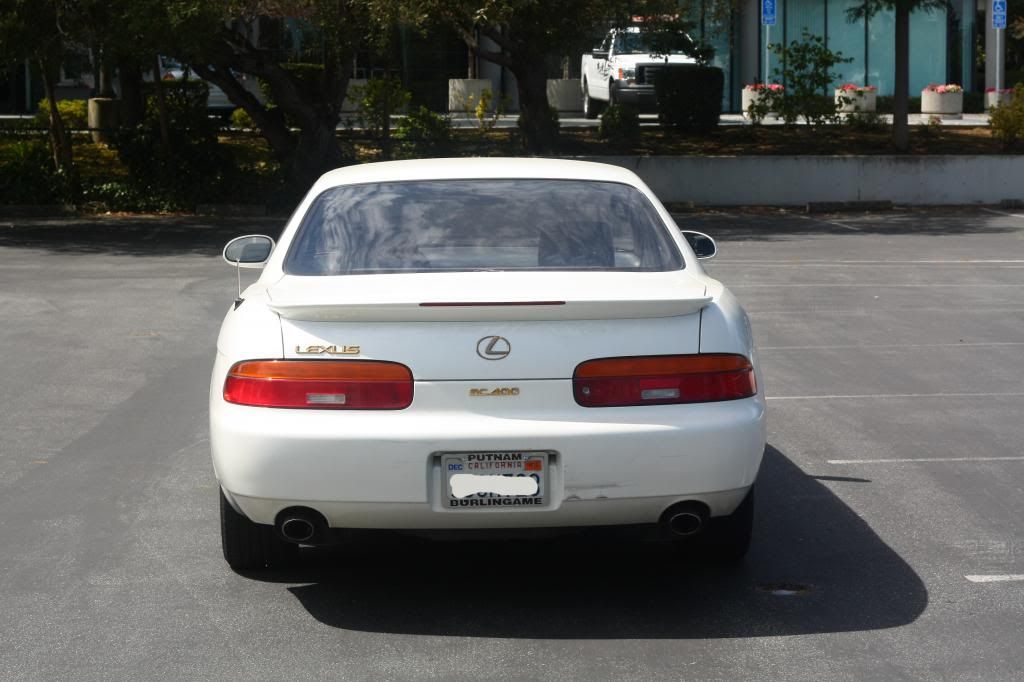
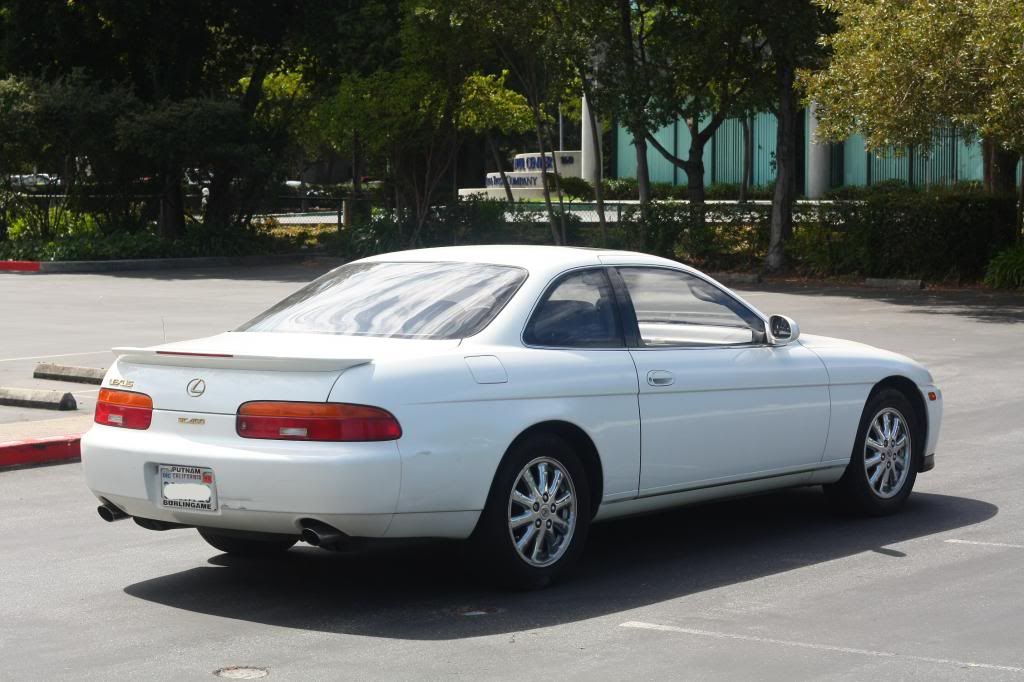
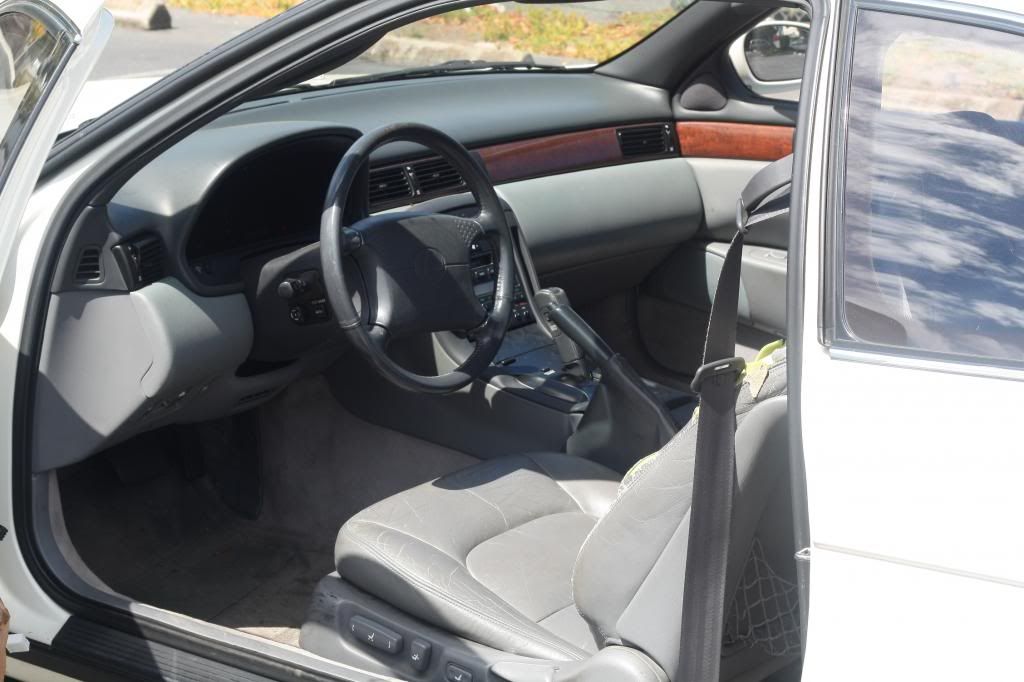
So I picked up this 92 SC400 from a buddy of mine, was his mom's car since 1996. It's white pearl with grey interior and fully loaded. My goal is to eventually make this car show worthy. The build will mainly focus on exterior/interior mods, bodykit, air, rims for the start. I don't really need this thing to make power, I have a GTR for that.
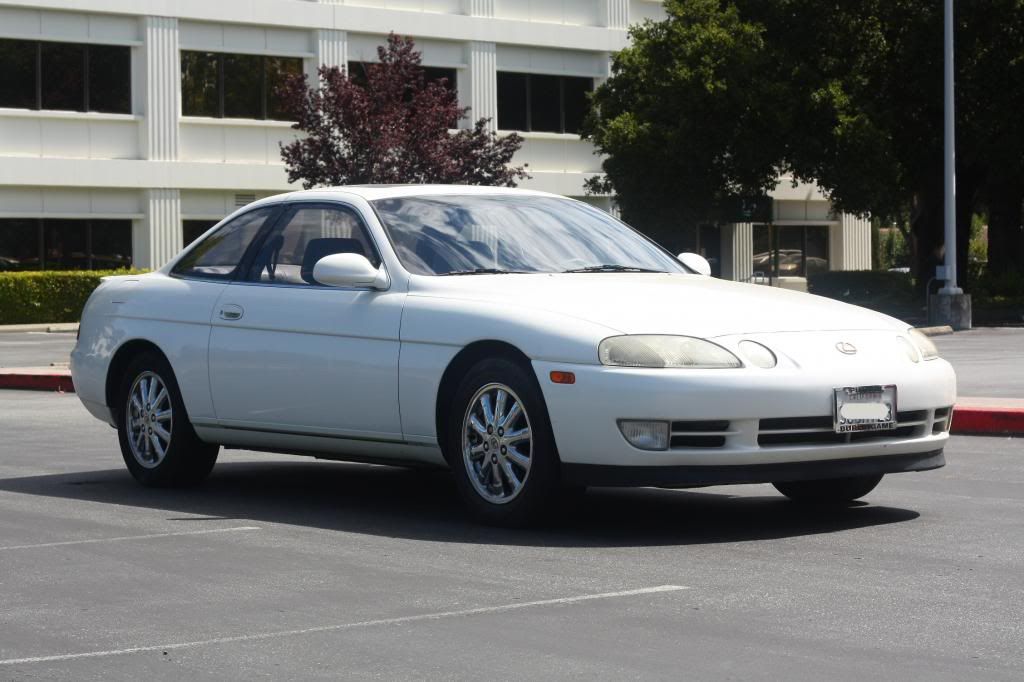
First things first, the car needs some work to bring it back up to oem standards. Front LCA's and drivers window regulator need attention asap. Pretty common stuff. I took some baseline stock photos which I will upload later when I'm off work.
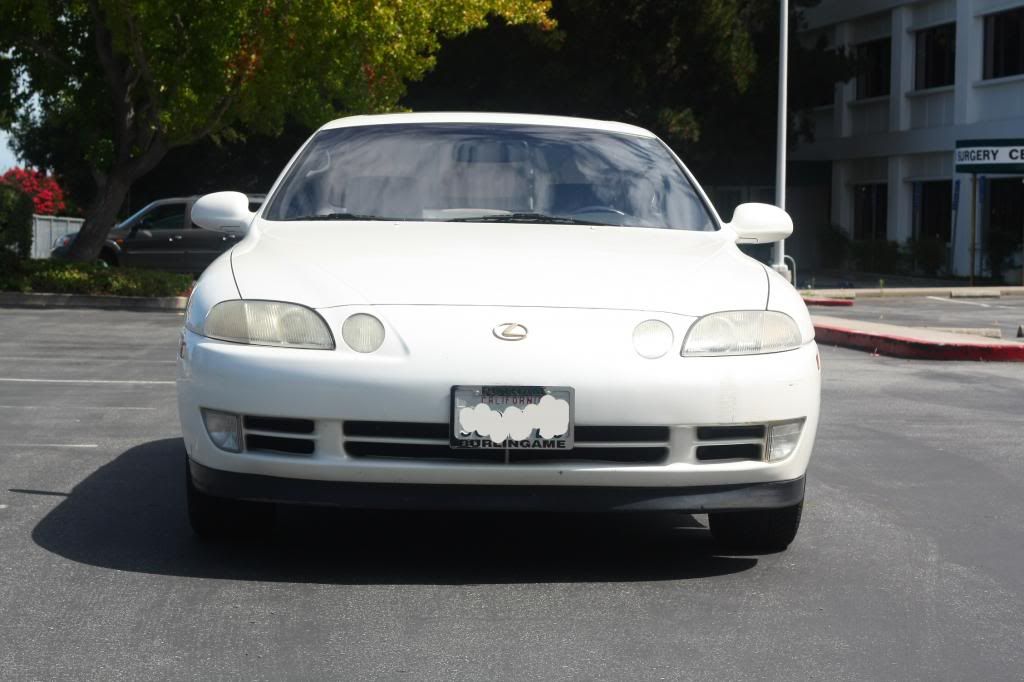
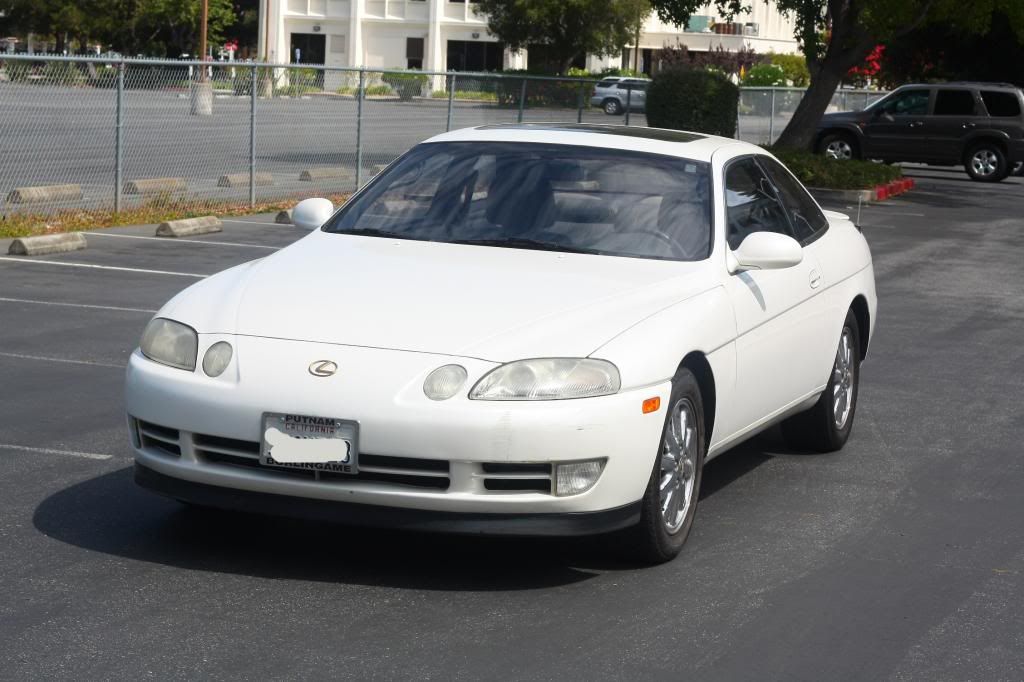
Here are some baseline photos:
First things first, the car needs some work to bring it back up to oem standards. Front LCA's and drivers window regulator need attention asap. Pretty common stuff. I took some baseline stock photos which I will upload later when I'm off work.
Here are some baseline photos:


Last edited by canopy; 09-03-13 at 06:47 PM.
 09-03-13, 06:51 PM
#5
Driver School Candidate
Thread Starter
Join Date: Aug 2013
Location: Bay Area, CA
Posts: 21
Likes: 0
Received 0 Likes
on
0 Posts
Thanks!
Added stock pictures. This weekend or next I'll get to work on the paint. Clay bar, buff and polish with my porter cable. Then I'll get a better idea of how good the paint is. At the same time I will buff up the headlights, they are pretty foggy.
Added stock pictures. This weekend or next I'll get to work on the paint. Clay bar, buff and polish with my porter cable. Then I'll get a better idea of how good the paint is. At the same time I will buff up the headlights, they are pretty foggy.
 09-06-13, 08:10 PM
#7
Driver School Candidate
Thread Starter
Join Date: Aug 2013
Location: Bay Area, CA
Posts: 21
Likes: 0
Received 0 Likes
on
0 Posts
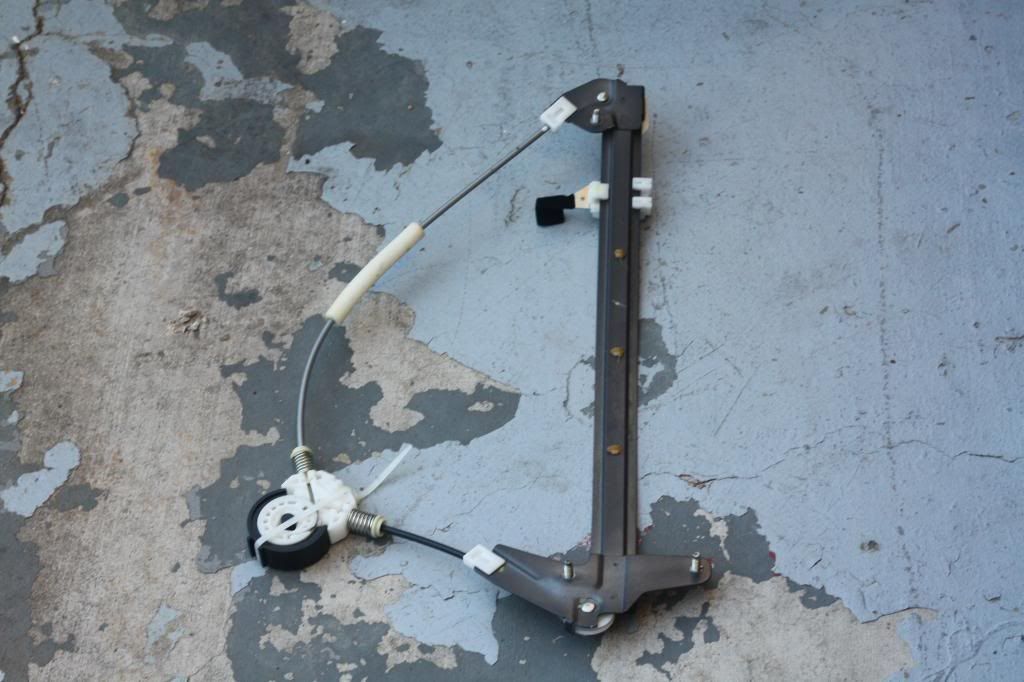
So I got my new OEM window regulator from Toyolex parts. I was going to do the JB weld fix that's posted here on the forums but when I took the old regulator out the plastic piece that gets JB'd just fell apart into tiny bits. Next up is the front LCA's, still trying to decide if I should do just bushings or buy whole new arms. After that it's time for the fun stuff, modding!
New regulator
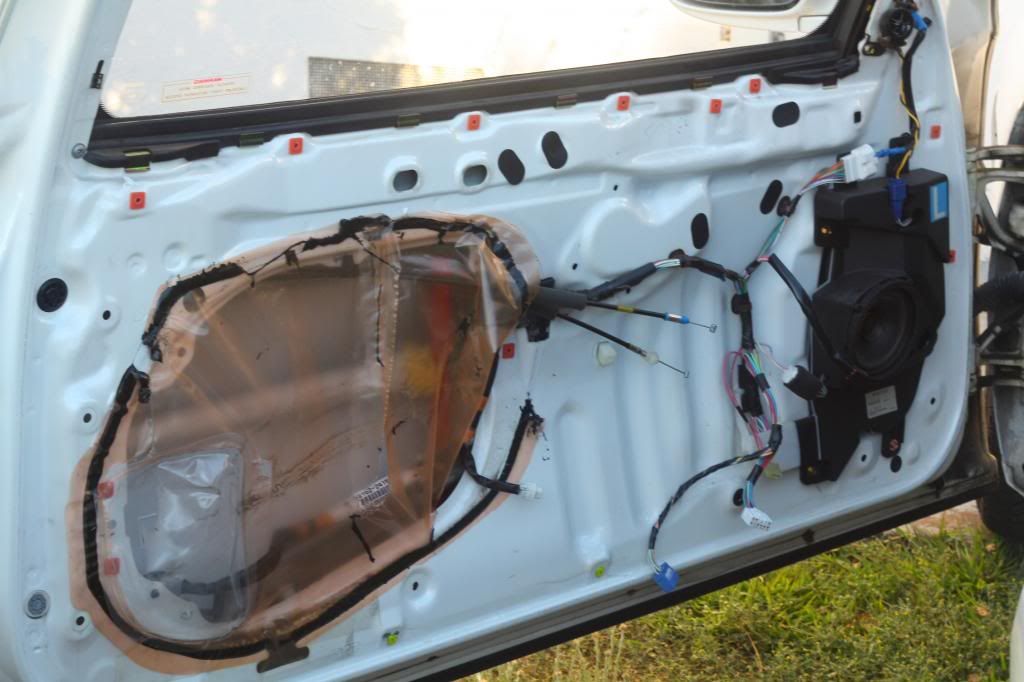
Door panel off. I like the clarity of the stock Nakamichi sound system but I have much bigger plans for the audio. At some point I will redo the whole system.
New regulator

Door panel off. I like the clarity of the stock Nakamichi sound system but I have much bigger plans for the audio. At some point I will redo the whole system.

Trending Topics
09-07-13, 11:50 PM
#8
when you redo your audio you should let me get your old nakamichi, mines freaking shot, haha, or maybe i should just upgrade... idk, but careful with the regulator if you havent installed it in yet, that plastic round thing once that pops out good luck winding it back up and fititng it in, i ruined a couple of junkyard ones because htey just popped apart 
09-09-13, 10:52 AM
#10
Driver School Candidate
Thread Starter
Join Date: Aug 2013
Location: Bay Area, CA
Posts: 21
Likes: 0
Received 0 Likes
on
0 Posts
^ Thanks, it was a good find. A lot of sc's in my area are tore up and converted to "donks" with like 22" wheels on. 
Yeah at some point, not sure when, I will sell all the OEM Nakamichi stuff. I'll pm you first and see if you still need it. I've installed these regulators before so yeah I know what you mean, 1 slip and 'boing' there goes the cables.
when you redo your audio you should let me get your old nakamichi, mines freaking shot, haha, or maybe i should just upgrade... idk, but careful with the regulator if you havent installed it in yet, that plastic round thing once that pops out good luck winding it back up and fititng it in, i ruined a couple of junkyard ones because htey just popped apart
09-09-13, 05:40 PM
#11
Driver School Candidate
Thread Starter
Join Date: Aug 2013
Location: Bay Area, CA
Posts: 21
Likes: 0
Received 0 Likes
on
0 Posts
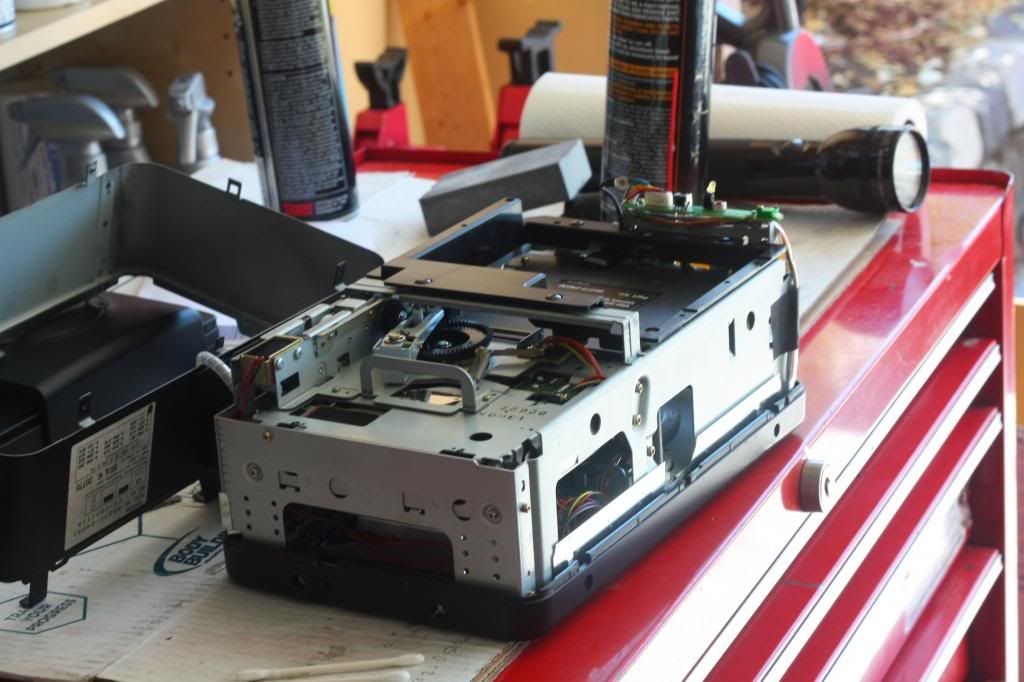
I was having trouble with playing some of my CD's in the disc changer so after reading a few threads on here about cleaning the rollers and such I decided to take it out and give it a try. I cleaned the rubber rollers, cleaned the optical pickup, and blew all kinds of dust and crap out of there. Put it all back together and now I can play a few more CD's than before but still not perfect. Oh well, it's all going to get ripped out and replaced anyways.
 09-09-13, 07:41 PM
#12
Driver School Candidate
iTrader: (2)

Join Date: Jul 2013
Location: GA
Posts: 35
Likes: 0
Received 0 Likes
on
0 Posts
[QUOTE=canopy;8131295]^ Thanks, it was a good find. A lot of sc's in my area are tore up and converted to "donks" with like 22" wheels on.
Yea, but here, looks like they left some animals in the car... the interior as ripped / shredded
Yea, but here, looks like they left some animals in the car... the interior as ripped / shredded
09-12-13, 06:25 PM
#14
Driver School Candidate
Thread Starter
Join Date: Aug 2013
Location: Bay Area, CA
Posts: 21
Likes: 0
Received 0 Likes
on
0 Posts
Thanks!
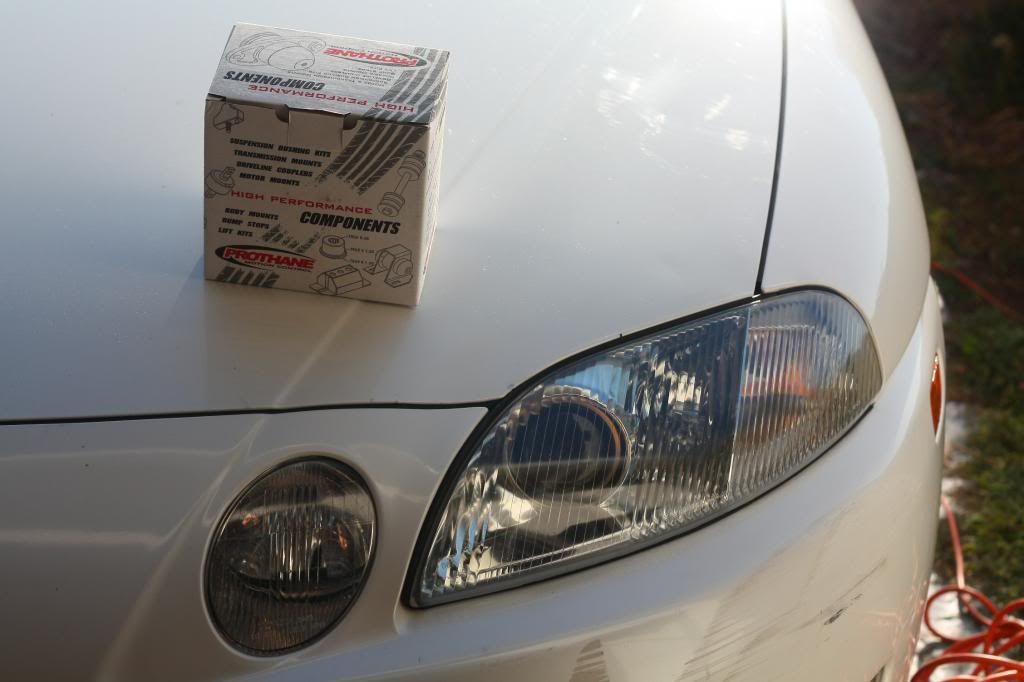
Today I had a little free time so I busted out my trusty headlight resto kit and got to work on all the exterior lighting. The headlights were the worst but came out great. I can even see the projector through the lens again! I also had enough time to tape off a 2x2 foot section on the hood, I wanted to run through it with a clay bar and then porter cable buffer to see if it will shine up good. There was years of grit on the paint, it was so rough. I clayed, then hit it with an orange pad/swirl remover, then my red jewel pad and some polish. The results were very good and I will do a full body clay and polish in the near future.
Before

After-Just got my Prothane front control arm bushings, my next job. Once those are done its time for airbags!
The taillights are super clean with zero cracks anywhere! I do like the 97+ ones though and may swap out someday.
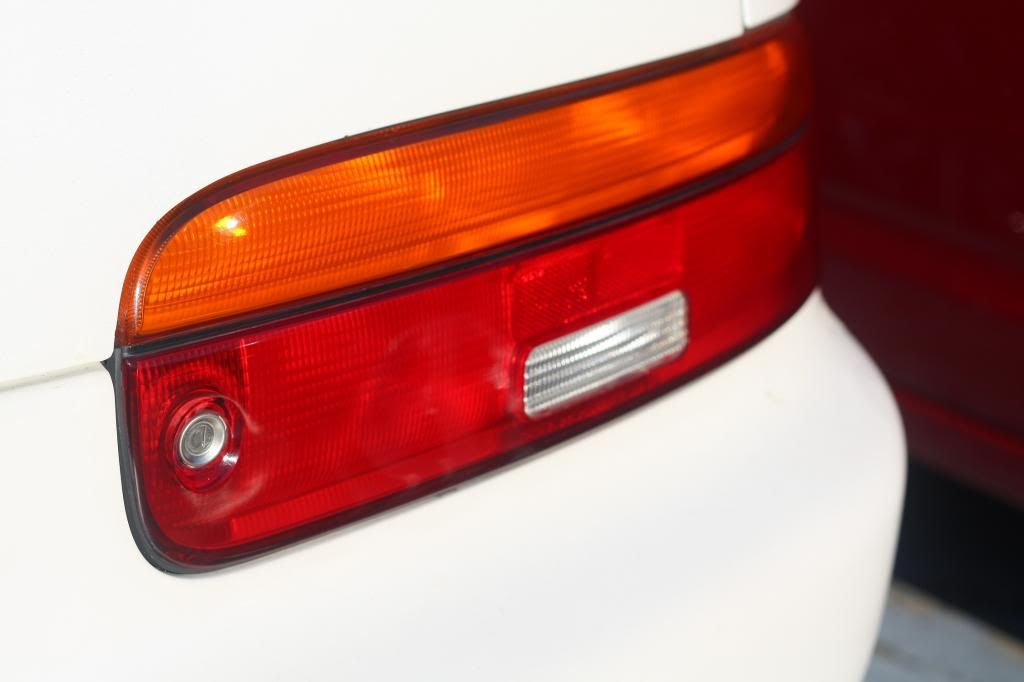
Today I had a little free time so I busted out my trusty headlight resto kit and got to work on all the exterior lighting. The headlights were the worst but came out great. I can even see the projector through the lens again! I also had enough time to tape off a 2x2 foot section on the hood, I wanted to run through it with a clay bar and then porter cable buffer to see if it will shine up good. There was years of grit on the paint, it was so rough. I clayed, then hit it with an orange pad/swirl remover, then my red jewel pad and some polish. The results were very good and I will do a full body clay and polish in the near future.
Before

After-Just got my Prothane front control arm bushings, my next job. Once those are done its time for airbags!

The taillights are super clean with zero cracks anywhere! I do like the 97+ ones though and may swap out someday.


Thread
Thread Starter
Forum
Replies
Last Post