
My SC300 build thread
 10-14-13, 02:29 PM
#1
Driver School Candidate
Thread Starter

Join Date: Oct 2013
Location: Arizona
Posts: 20
Likes: 0
Received 0 Likes
on
0 Posts
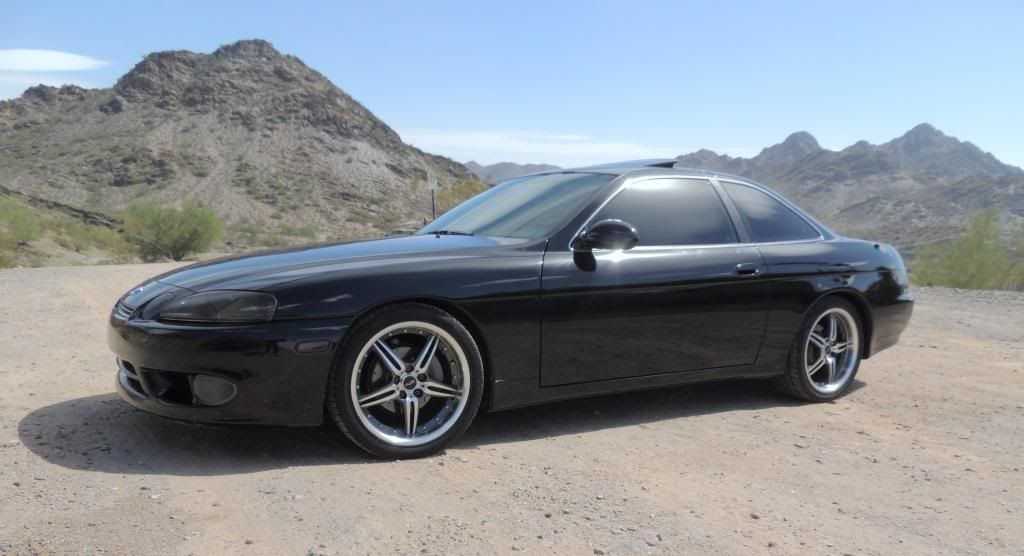
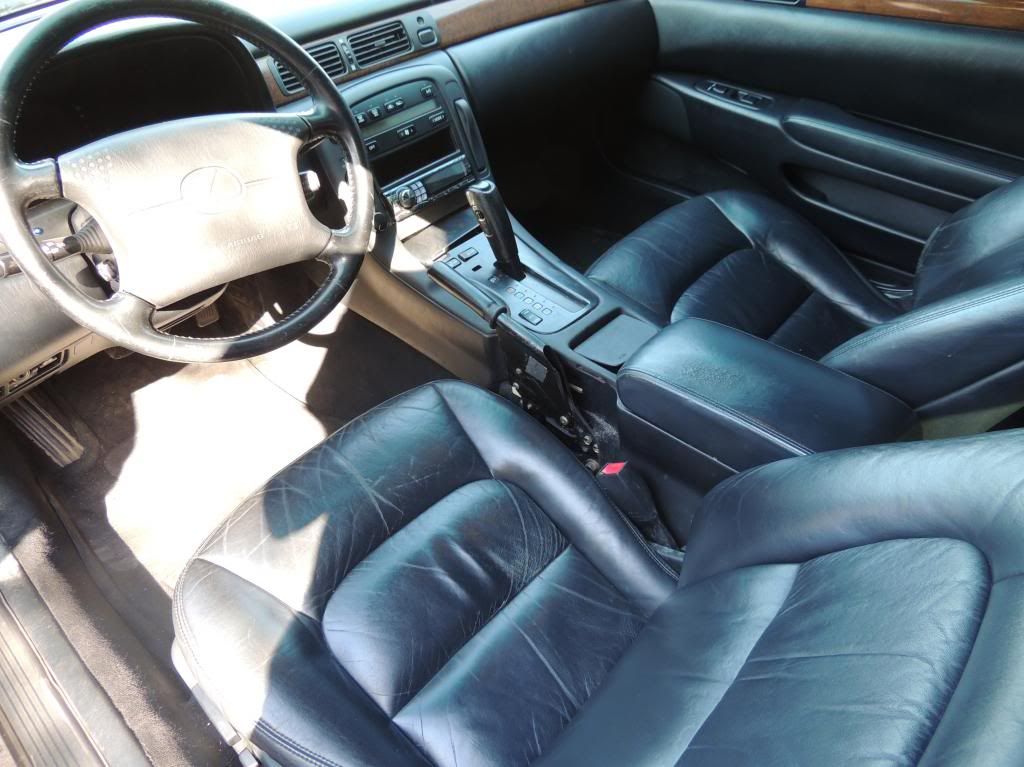
Hey Club Lexus, I figured I'd go ahead and get this started while the car is as it came from the previous owner. It is a black 97 SC300 with factory black interior. The interior is fairly clean with only a few issues, such as a broken cup holder, and ash tray, which replacements are already on the way for.
The plan is to swap a gte in down the line, along with r154 conversion at the same time, but before I can even think about any of that, I'll need to square away a few things in the braking/suspension department. The car feels like it could use some fresh bushings up front. The steering likes to wander around a bit, especially on roads with grooves in them, so I have some solid steering rack bushings on the way to tighten everything up.
I'll make sure to post progress and lots of pics.
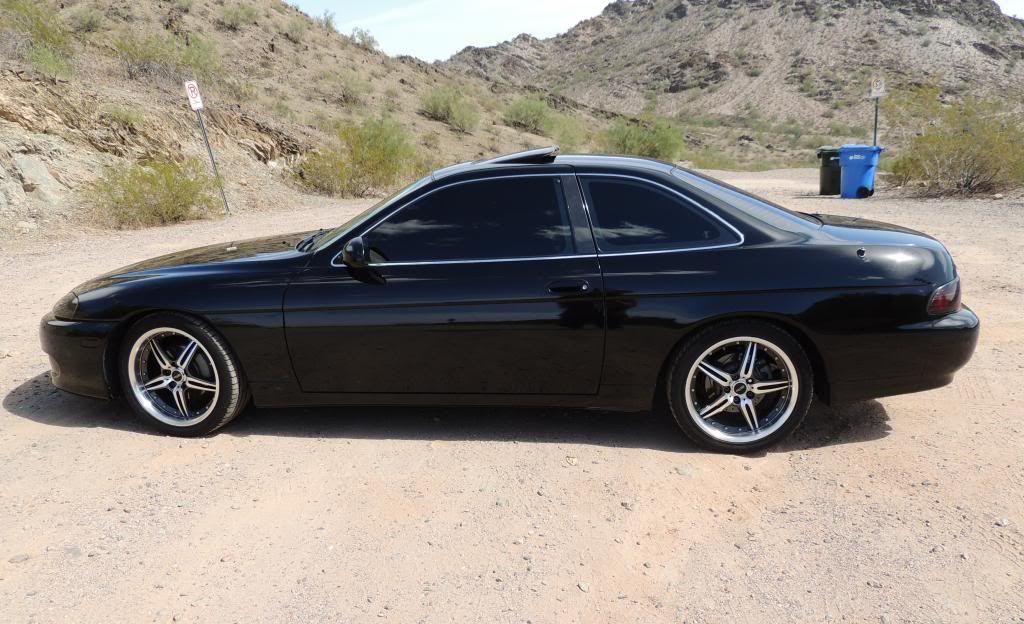
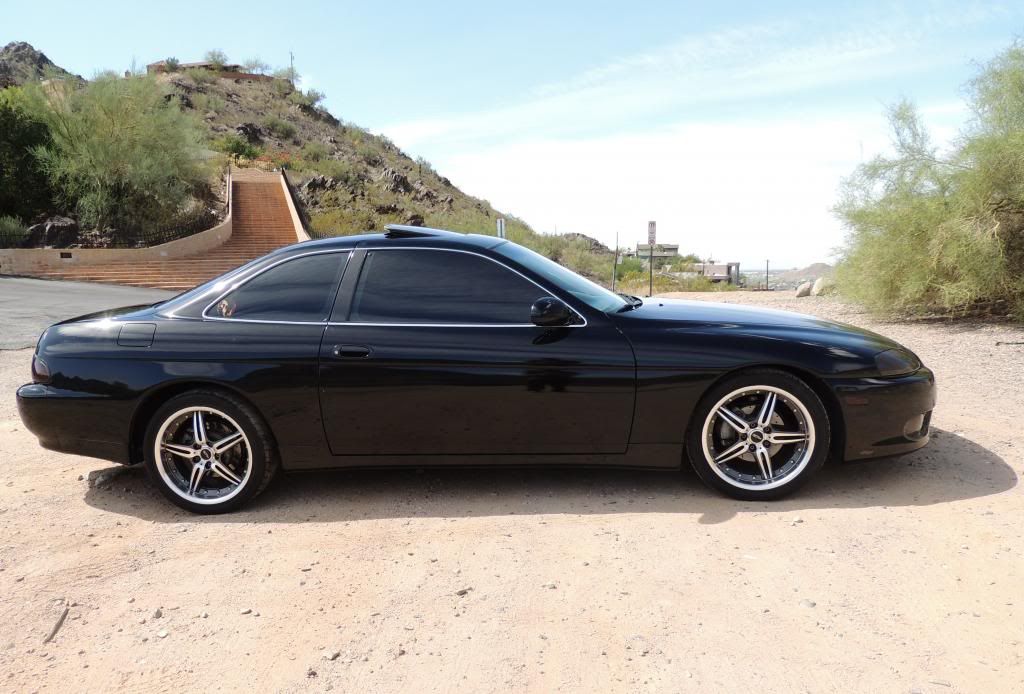
As she sits now.
The plan is to swap a gte in down the line, along with r154 conversion at the same time, but before I can even think about any of that, I'll need to square away a few things in the braking/suspension department. The car feels like it could use some fresh bushings up front. The steering likes to wander around a bit, especially on roads with grooves in them, so I have some solid steering rack bushings on the way to tighten everything up.
I'll make sure to post progress and lots of pics.
As she sits now.


 10-14-13, 02:58 PM
#2
Driver School Candidate
Thread Starter
Join Date: Oct 2013
Location: Arizona
Posts: 20
Likes: 0
Received 0 Likes
on
0 Posts
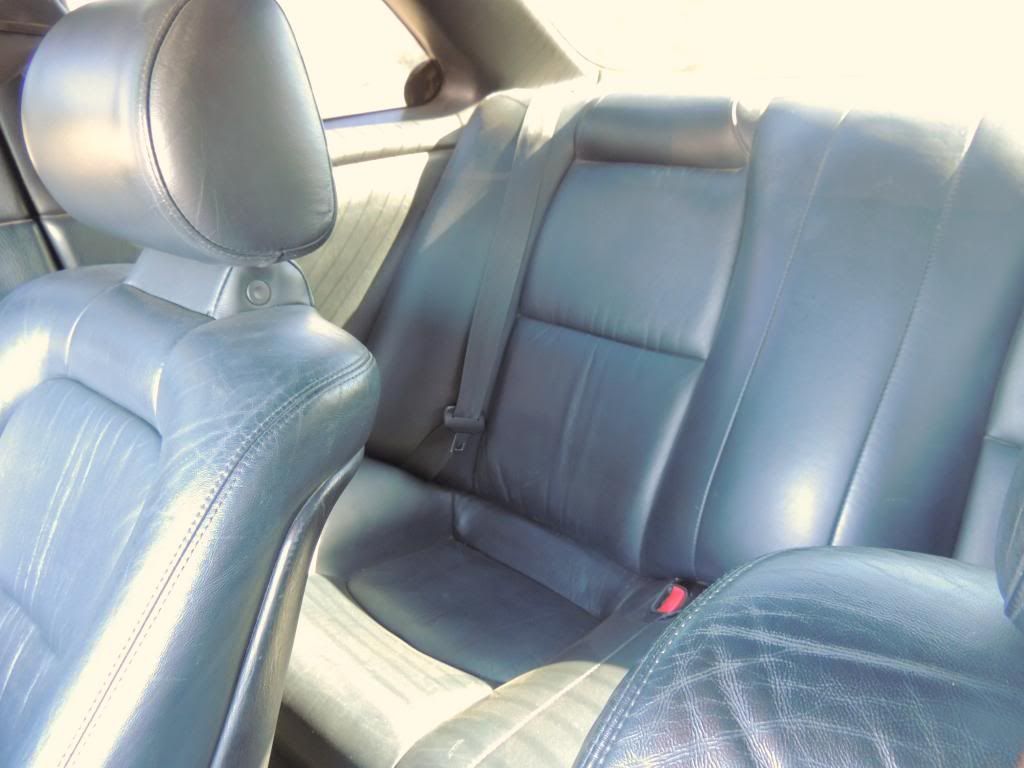
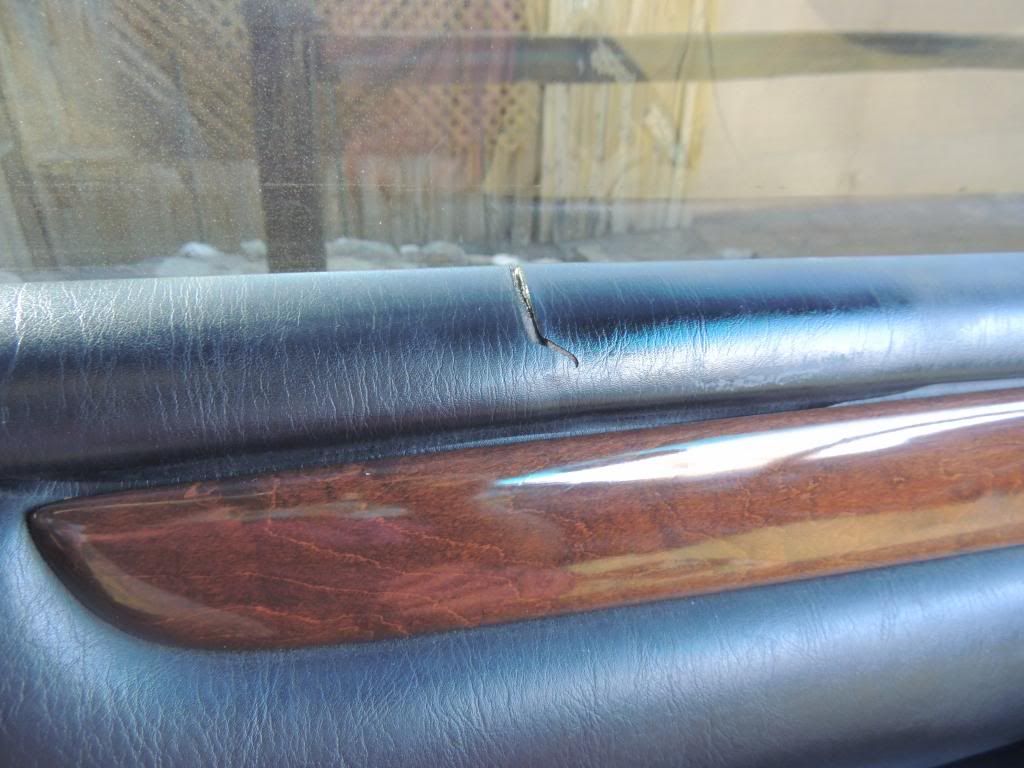
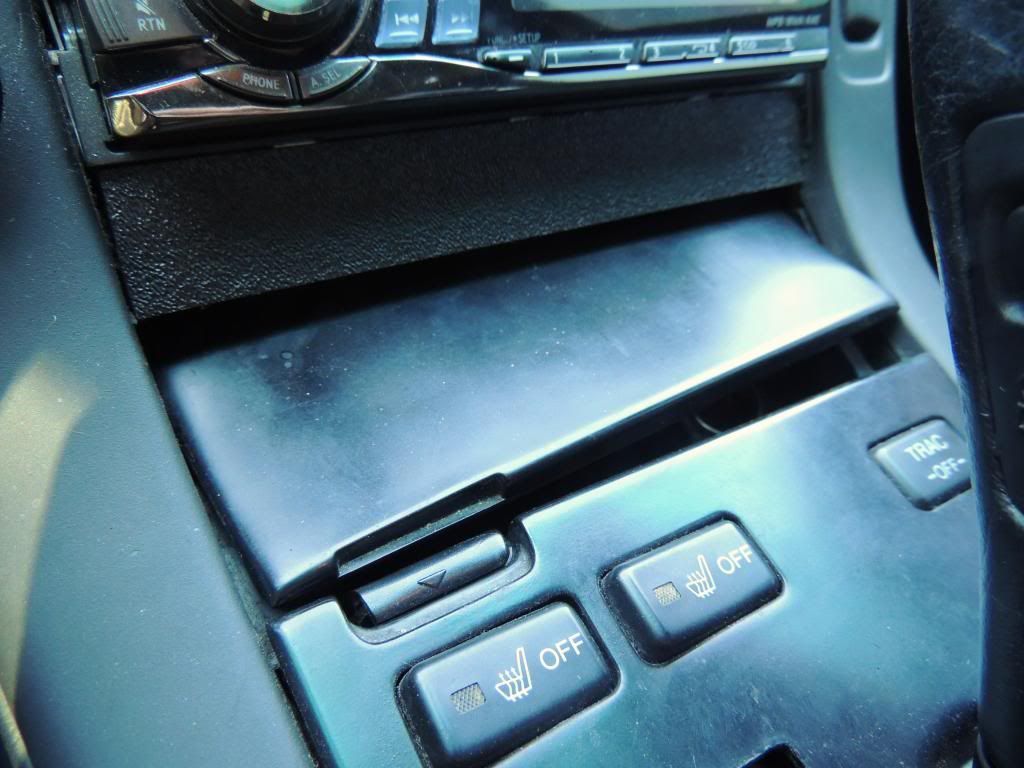
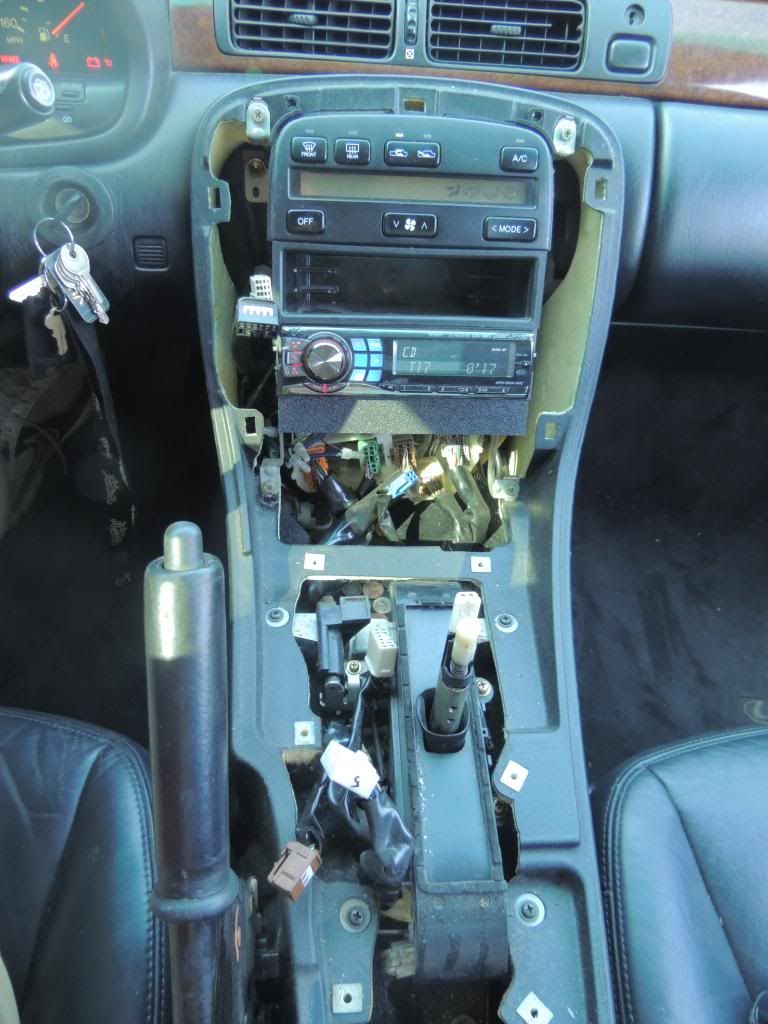
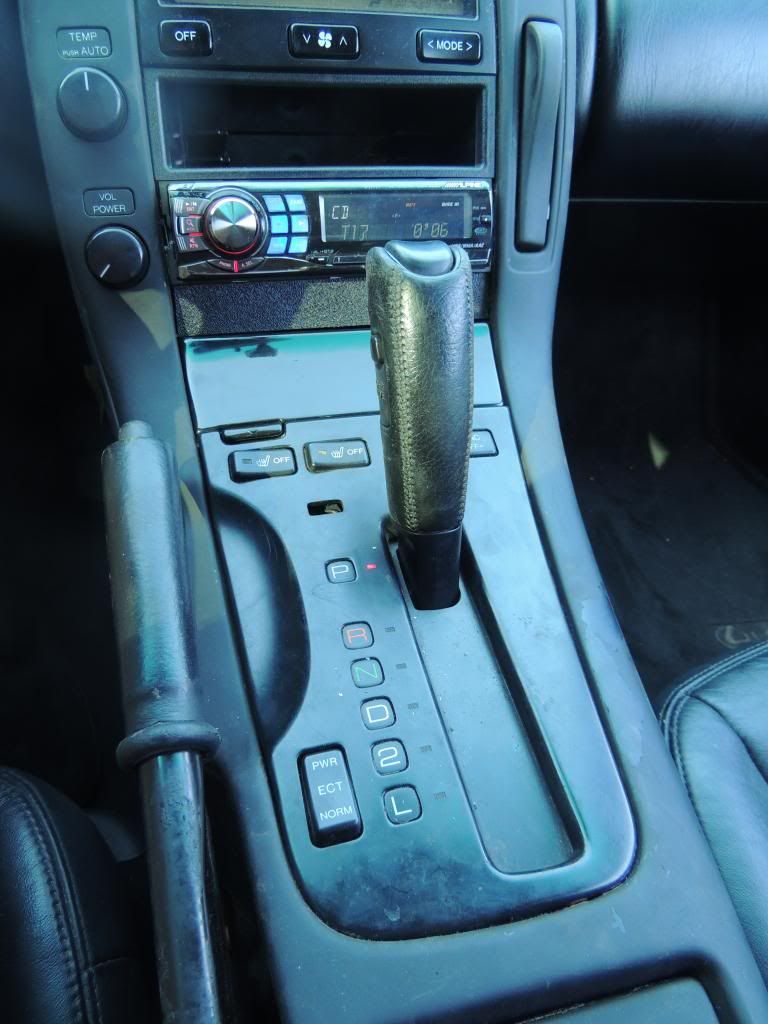
Interior shots. The leather is a little worn, but overall in fairly good condition. No tears on any seats. I have the normal tear that these get in the upper window cover on the drivers side. My e-brake boot was completely shredded as well, and I have a replacement on the way, along with a new ash-tray since mine is jacked. The only thing that doesn't work in the interior is the seat position memory buttons on the driver panel, otherwise everything seems to work fine. Overall I'm pretty happy considering it has 189,000 miles on the clock. A few new parts, and some detailing, and it should look much much better inside.
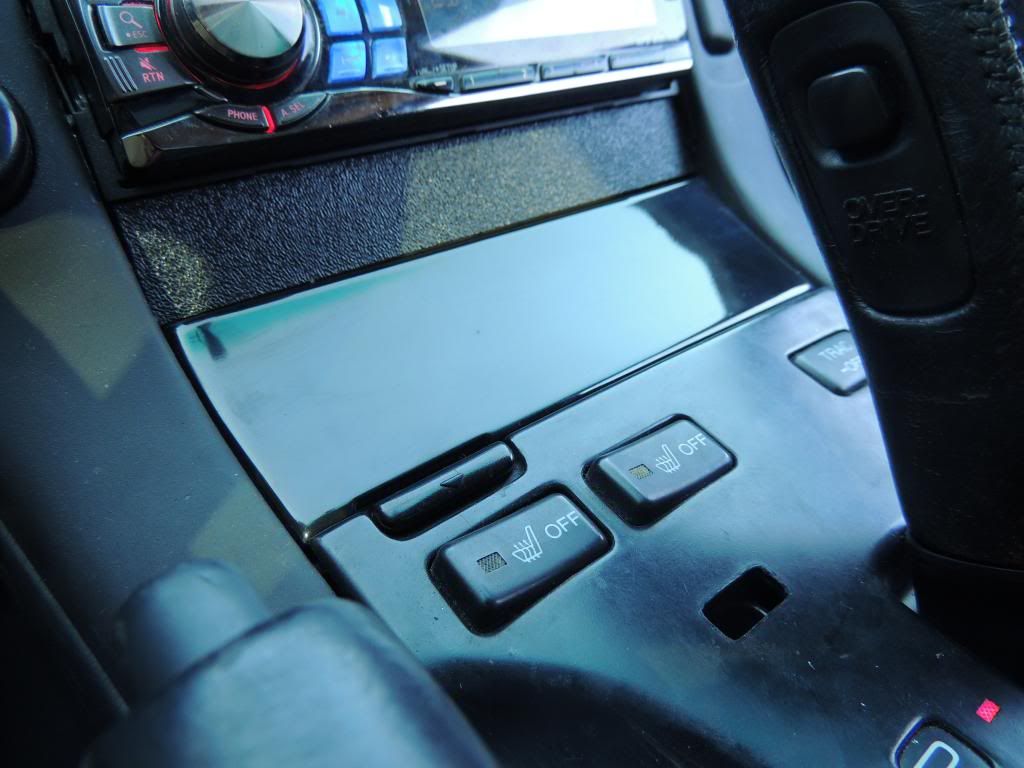
I'm not sure what I'm going to do about the center trim bezel. It is peeling slightly on the right side. Luxurymods.com has original black oem ones, but I think I may try to re-finish the original one and see how it comes out first.
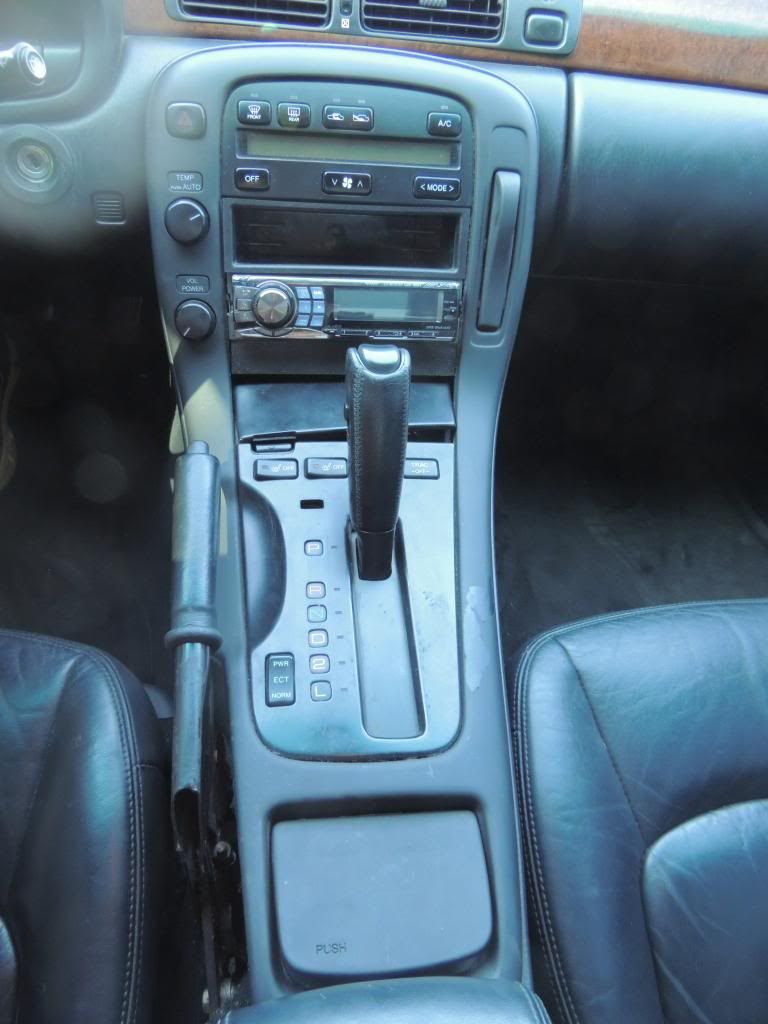
I'm not sure what I'm going to do about the center trim bezel. It is peeling slightly on the right side. Luxurymods.com has original black oem ones, but I think I may try to re-finish the original one and see how it comes out first.


 10-15-13, 10:25 AM
#4
Driver School Candidate
Thread Starter
Join Date: Oct 2013
Location: Arizona
Posts: 20
Likes: 0
Received 0 Likes
on
0 Posts
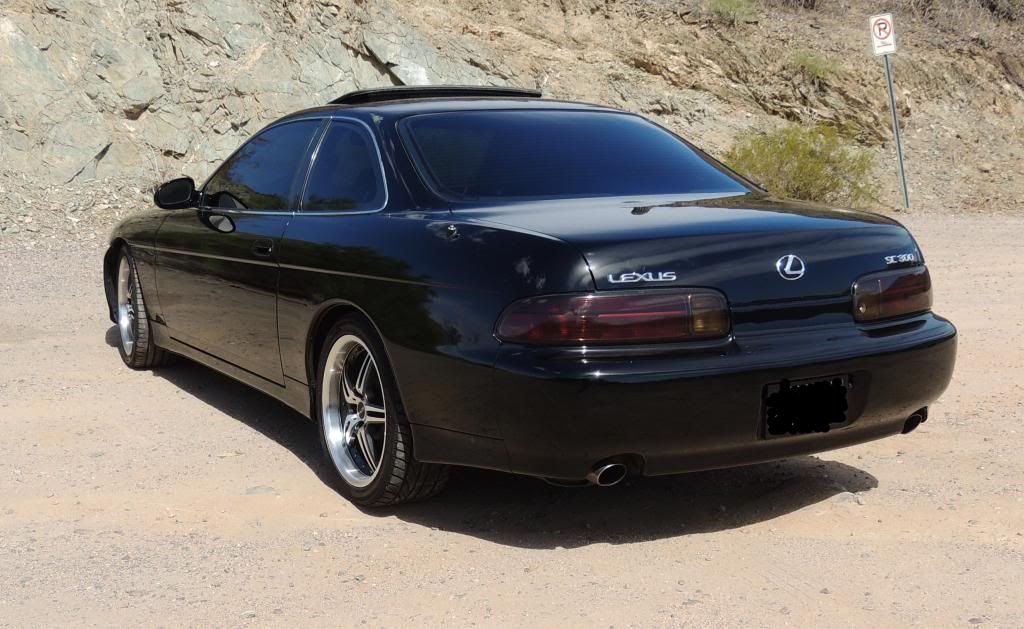
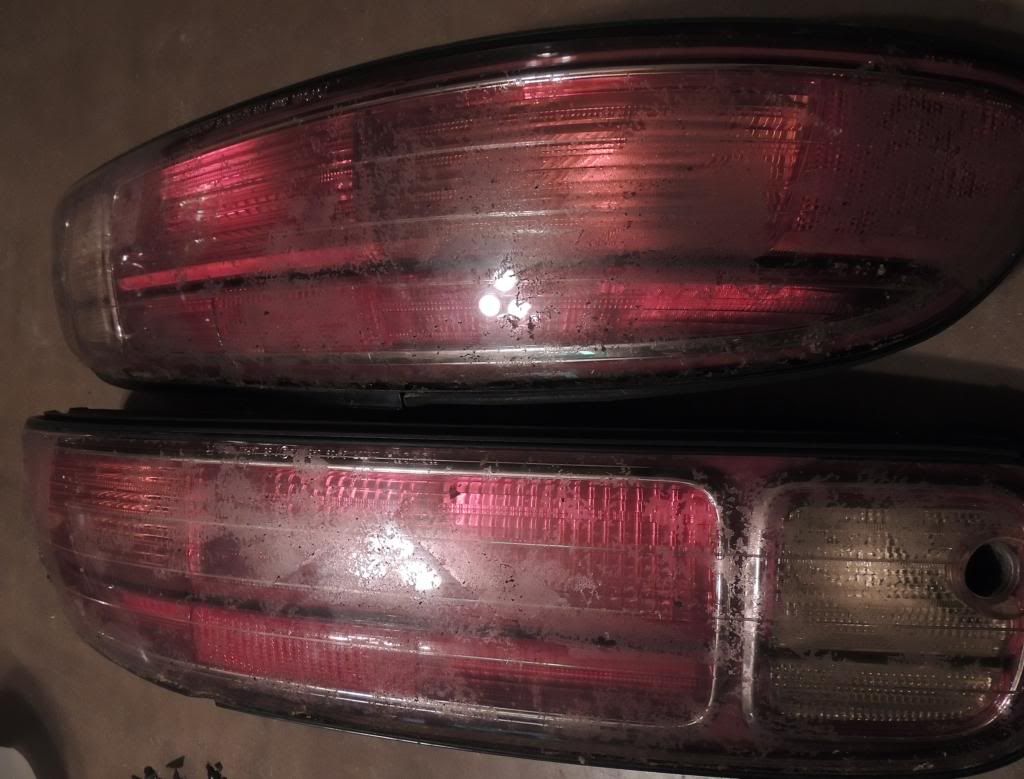
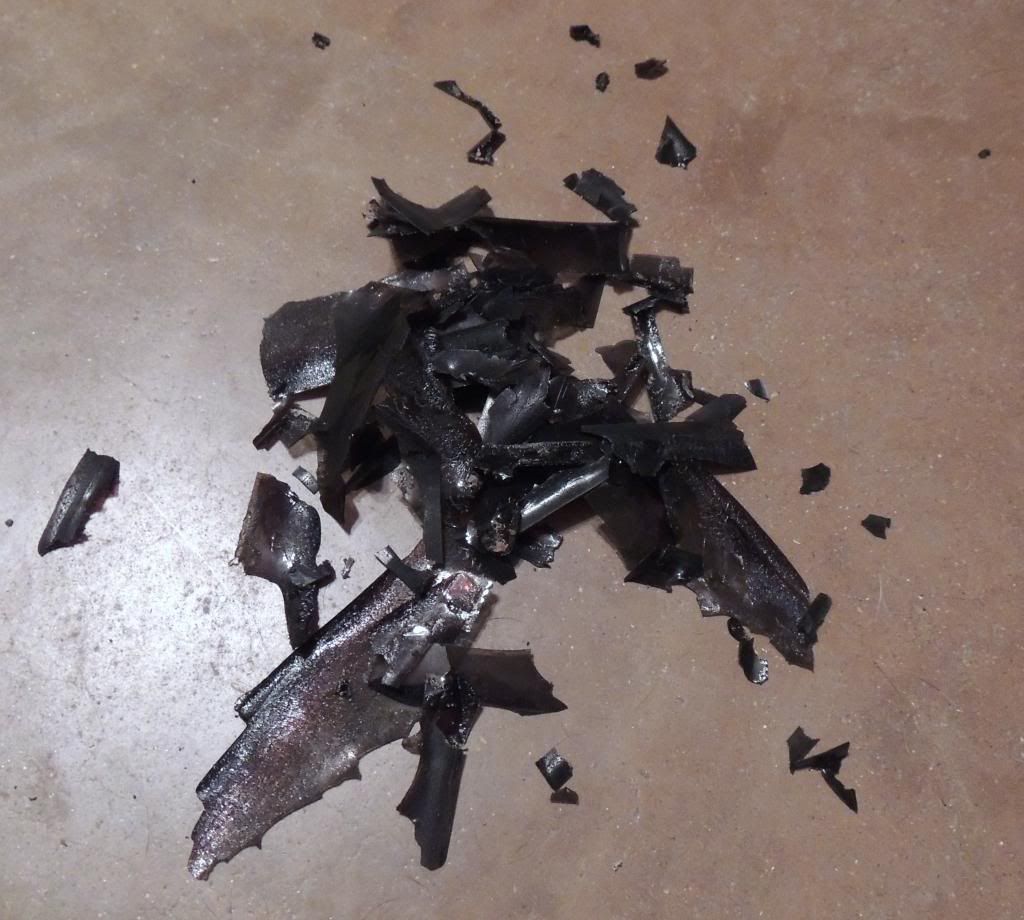
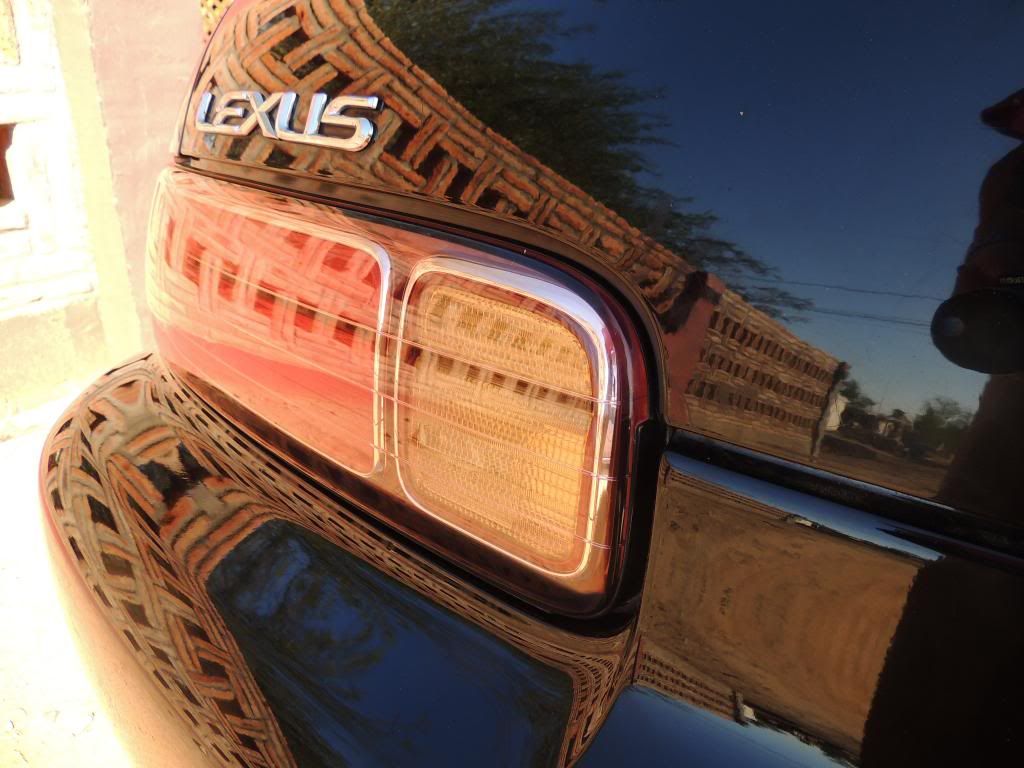
Well I figured I'd start removing the "smoked" light covers that came on the car starting with the tails. Too much rice for me, not to mention the original install looked poor. The Arizona sun was not nice to the vinyl covers that were on the tails, and it was starting to crack, and become very brittle. Fortunately I had nothing better to do than to spend my night chipping off the previous owners mess
Mostly peeled/chipped away
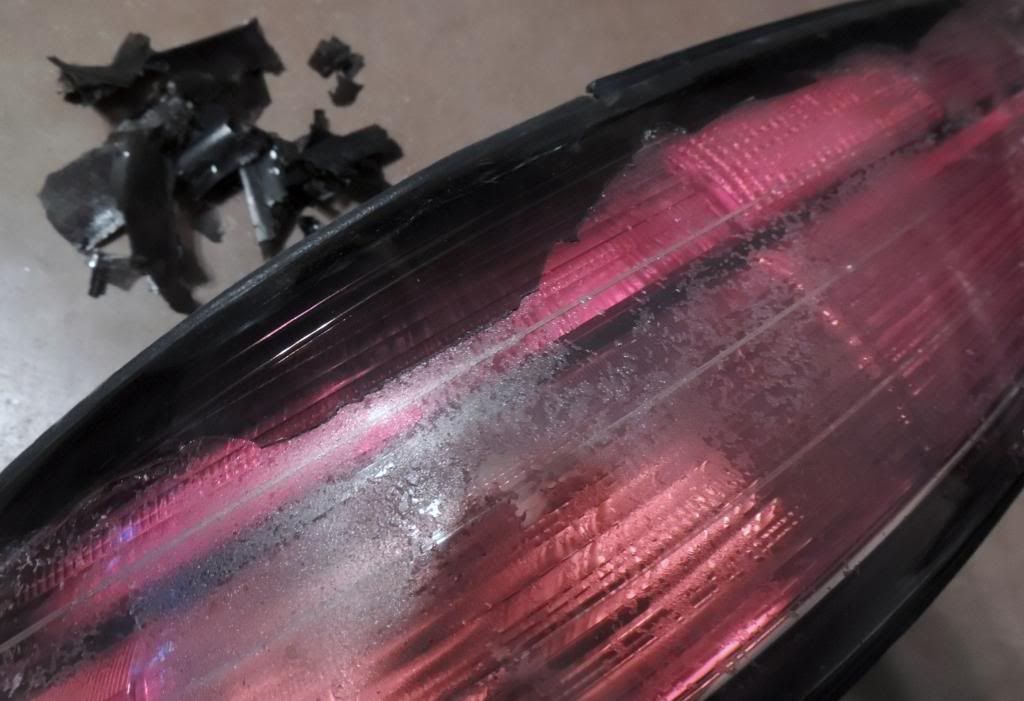
All peeled away, but with tons of nasty crud left behind from the adhesive.
Pile of "smoked" garbage from one light...
Scrubbed all the adhesive off with a scotch brite, then followed up with some 2000 grit sandpaper, then 3000 grit, and finished with some meguires plastic polish. I think they came out great.
Mostly peeled/chipped away

All peeled away, but with tons of nasty crud left behind from the adhesive.

Pile of "smoked" garbage from one light...

Scrubbed all the adhesive off with a scotch brite, then followed up with some 2000 grit sandpaper, then 3000 grit, and finished with some meguires plastic polish. I think they came out great.

 10-15-13, 01:28 PM
#6
Driver School Candidate
Thread Starter
Join Date: Oct 2013
Location: Arizona
Posts: 20
Likes: 0
Received 0 Likes
on
0 Posts
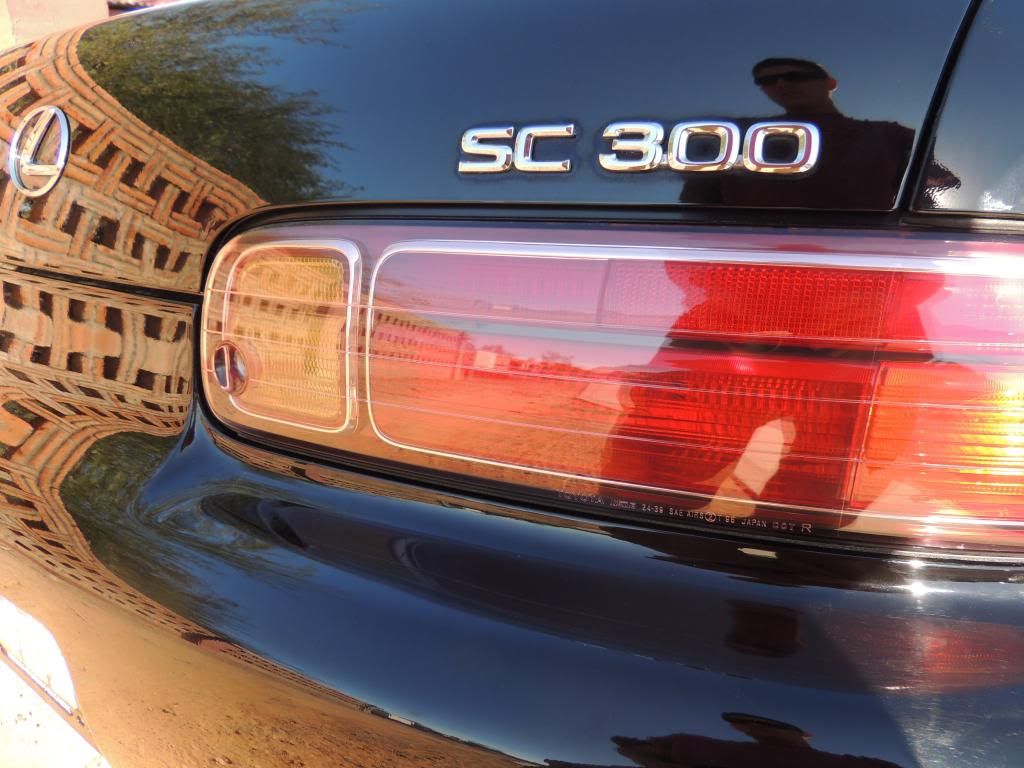
Thanks. I'm not sure if I want to keep these tails or not though. I figured I'd polish them up and drive it for a bit and feel it out.
I really like the looks of the 96 tails cleared out like this which were done by a member here Blizzy.

Here is the DIY on those tails.
https://www.clublexus.com/forums/sc-...-96-tails.html
I figured I'd polish them up and drive it for a bit and feel it out.I really like the looks of the 96 tails cleared out like this which were done by a member here Blizzy.
Here is the DIY on those tails.
https://www.clublexus.com/forums/sc-...-96-tails.html
Trending Topics
10-15-13, 03:39 PM
#8
Driver School Candidate
Thread Starter
Join Date: Oct 2013
Location: Arizona
Posts: 20
Likes: 0
Received 0 Likes
on
0 Posts
Today my ash-tray showed up. I don't smoke, but my ash tray was pretty mangled, and I wanted a clean replacement. The old one not only had a broken cover gear, but once I got it out, noticed it had a broken mounting bracket as well.
Here's how it looked..
Somebody has been here before ...the threads on this screw were stripped completely, and the screw was stuck.
Handled
Screw out, handle off.
Guts
All back together with the new ash tray.
I gave it a little polishing as well.
Here's how it looked..

Somebody has been here before
...the threads on this screw were stripped completely, and the screw was stuck.
Handled

Screw out, handle off.

Guts

All back together with the new ash tray.

I gave it a little polishing as well.


 10-17-13, 04:59 PM
#12
Driver School Candidate
Thread Starter
Join Date: Oct 2013
Location: Arizona
Posts: 20
Likes: 0
Received 0 Likes
on
0 Posts
Ok. Steering rack bushings are in. Sorry no pics, it was dark, and I just wanted to get it done. It didn't completely stop my "wandering" problem completely, but it sure did make the car much more driveable and noticeably more responsive. While I was under the car I noticed that my control arm bushings are pretty tore up, so it looks like I'll be ordering some supra arms as replacements. I was actually pretty suprised at what good condition my steering rack bushings were in considering how tore up the LCA bushings are.
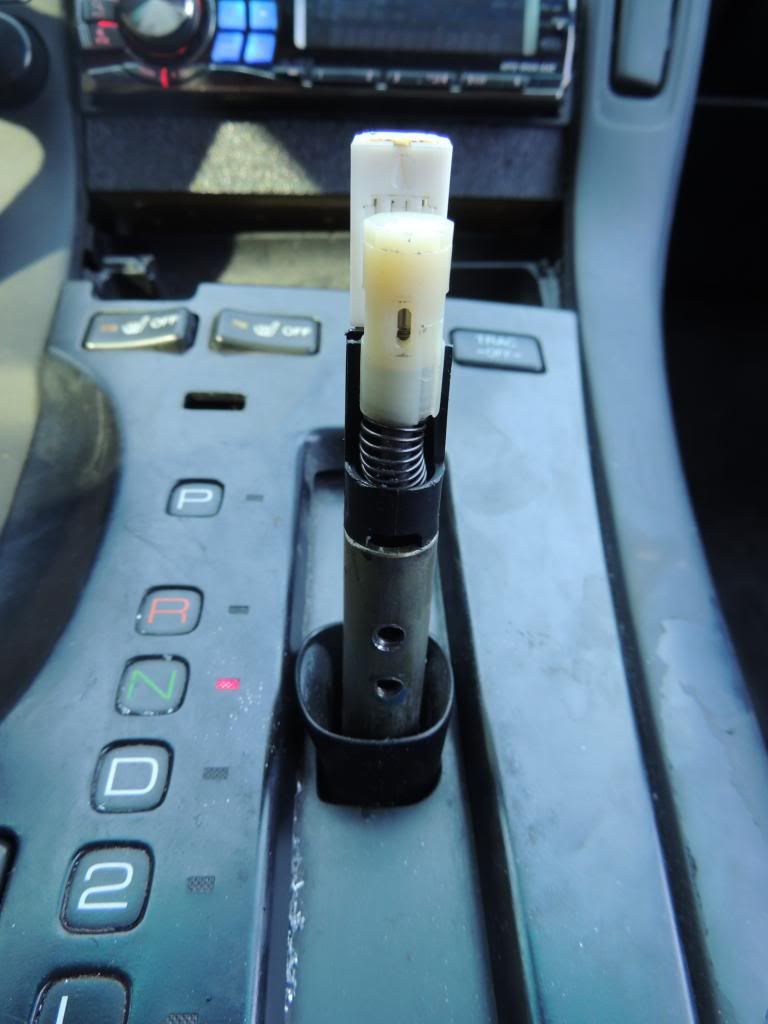
Today I got my e-brake boot that I ordered on ebay. For $20 shipped I figured it was worth a shot since I couldn't find a reasonable replacement elsewhere. It'll get the job done, but is not nearly the quality that the original was. The stitching is kind of crappy IMO, and it's very basic cheap fake leather. I've since found that luxurymods.com has an OEM boot for a decent price. I'll likely end up swapping this one down the road. For now this looks much better than nothing at all.
Now it's time to do a proper detail of the interior since it's complete.
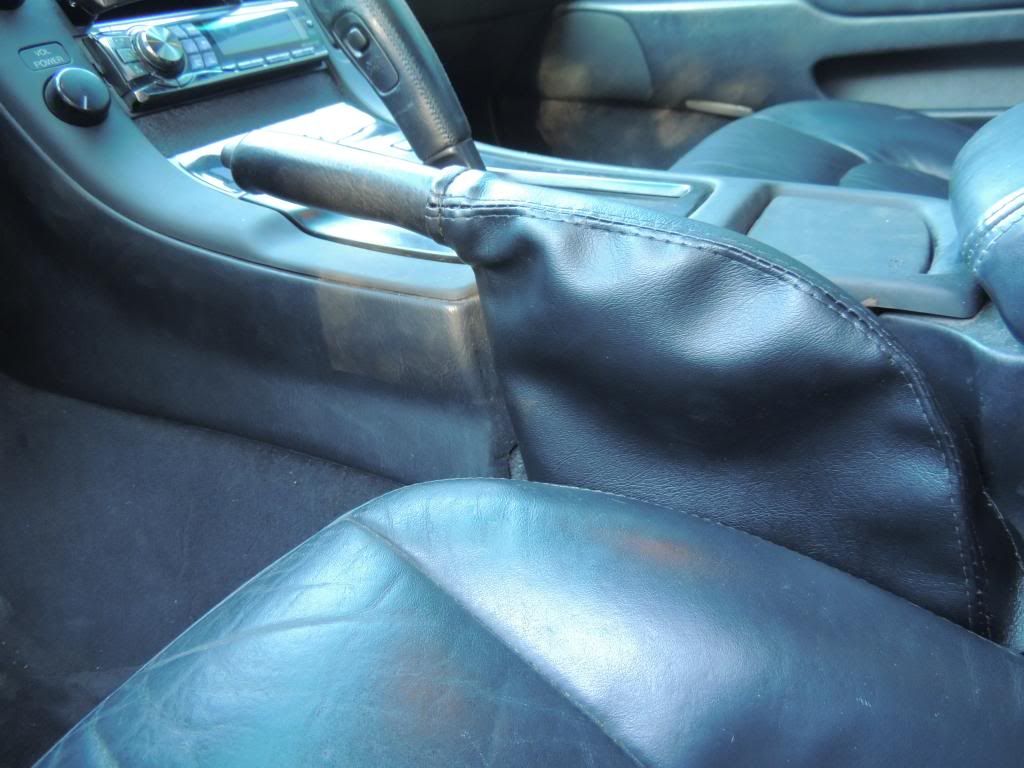
I was actually pretty suprised at what good condition my steering rack bushings were in considering how tore up the LCA bushings are.Today I got my e-brake boot that I ordered on ebay. For $20 shipped I figured it was worth a shot since I couldn't find a reasonable replacement elsewhere. It'll get the job done, but is not nearly the quality that the original was. The stitching is kind of crappy IMO, and it's very basic cheap fake leather. I've since found that luxurymods.com has an OEM boot for a decent price. I'll likely end up swapping this one down the road. For now this looks much better than nothing at all.
Now it's time to do a proper detail of the interior since it's complete.

 10-17-13, 09:03 PM
#15
Driver School Candidate
Thread Starter
Join Date: Oct 2013
Location: Arizona
Posts: 20
Likes: 0
Received 0 Likes
on
0 Posts
Here is the DIY I looked at before doing this. Fairly simple to remove the old ones, even on jackstands.
https://www.clublexus.com/forums/sus...k-warning.html
Install of the solid ones is a little tricky as they don't just drop right in place. You either need to hammer them in, or line them up with the rack holes and run a bolt through them so when you tighten them up, the bushings are "pressed" into place.