When you click on links to various merchants on this site and make a purchase, this can result in this site earning a commission. Affiliate programs and affiliations include, but are not limited to, the eBay Partner Network.
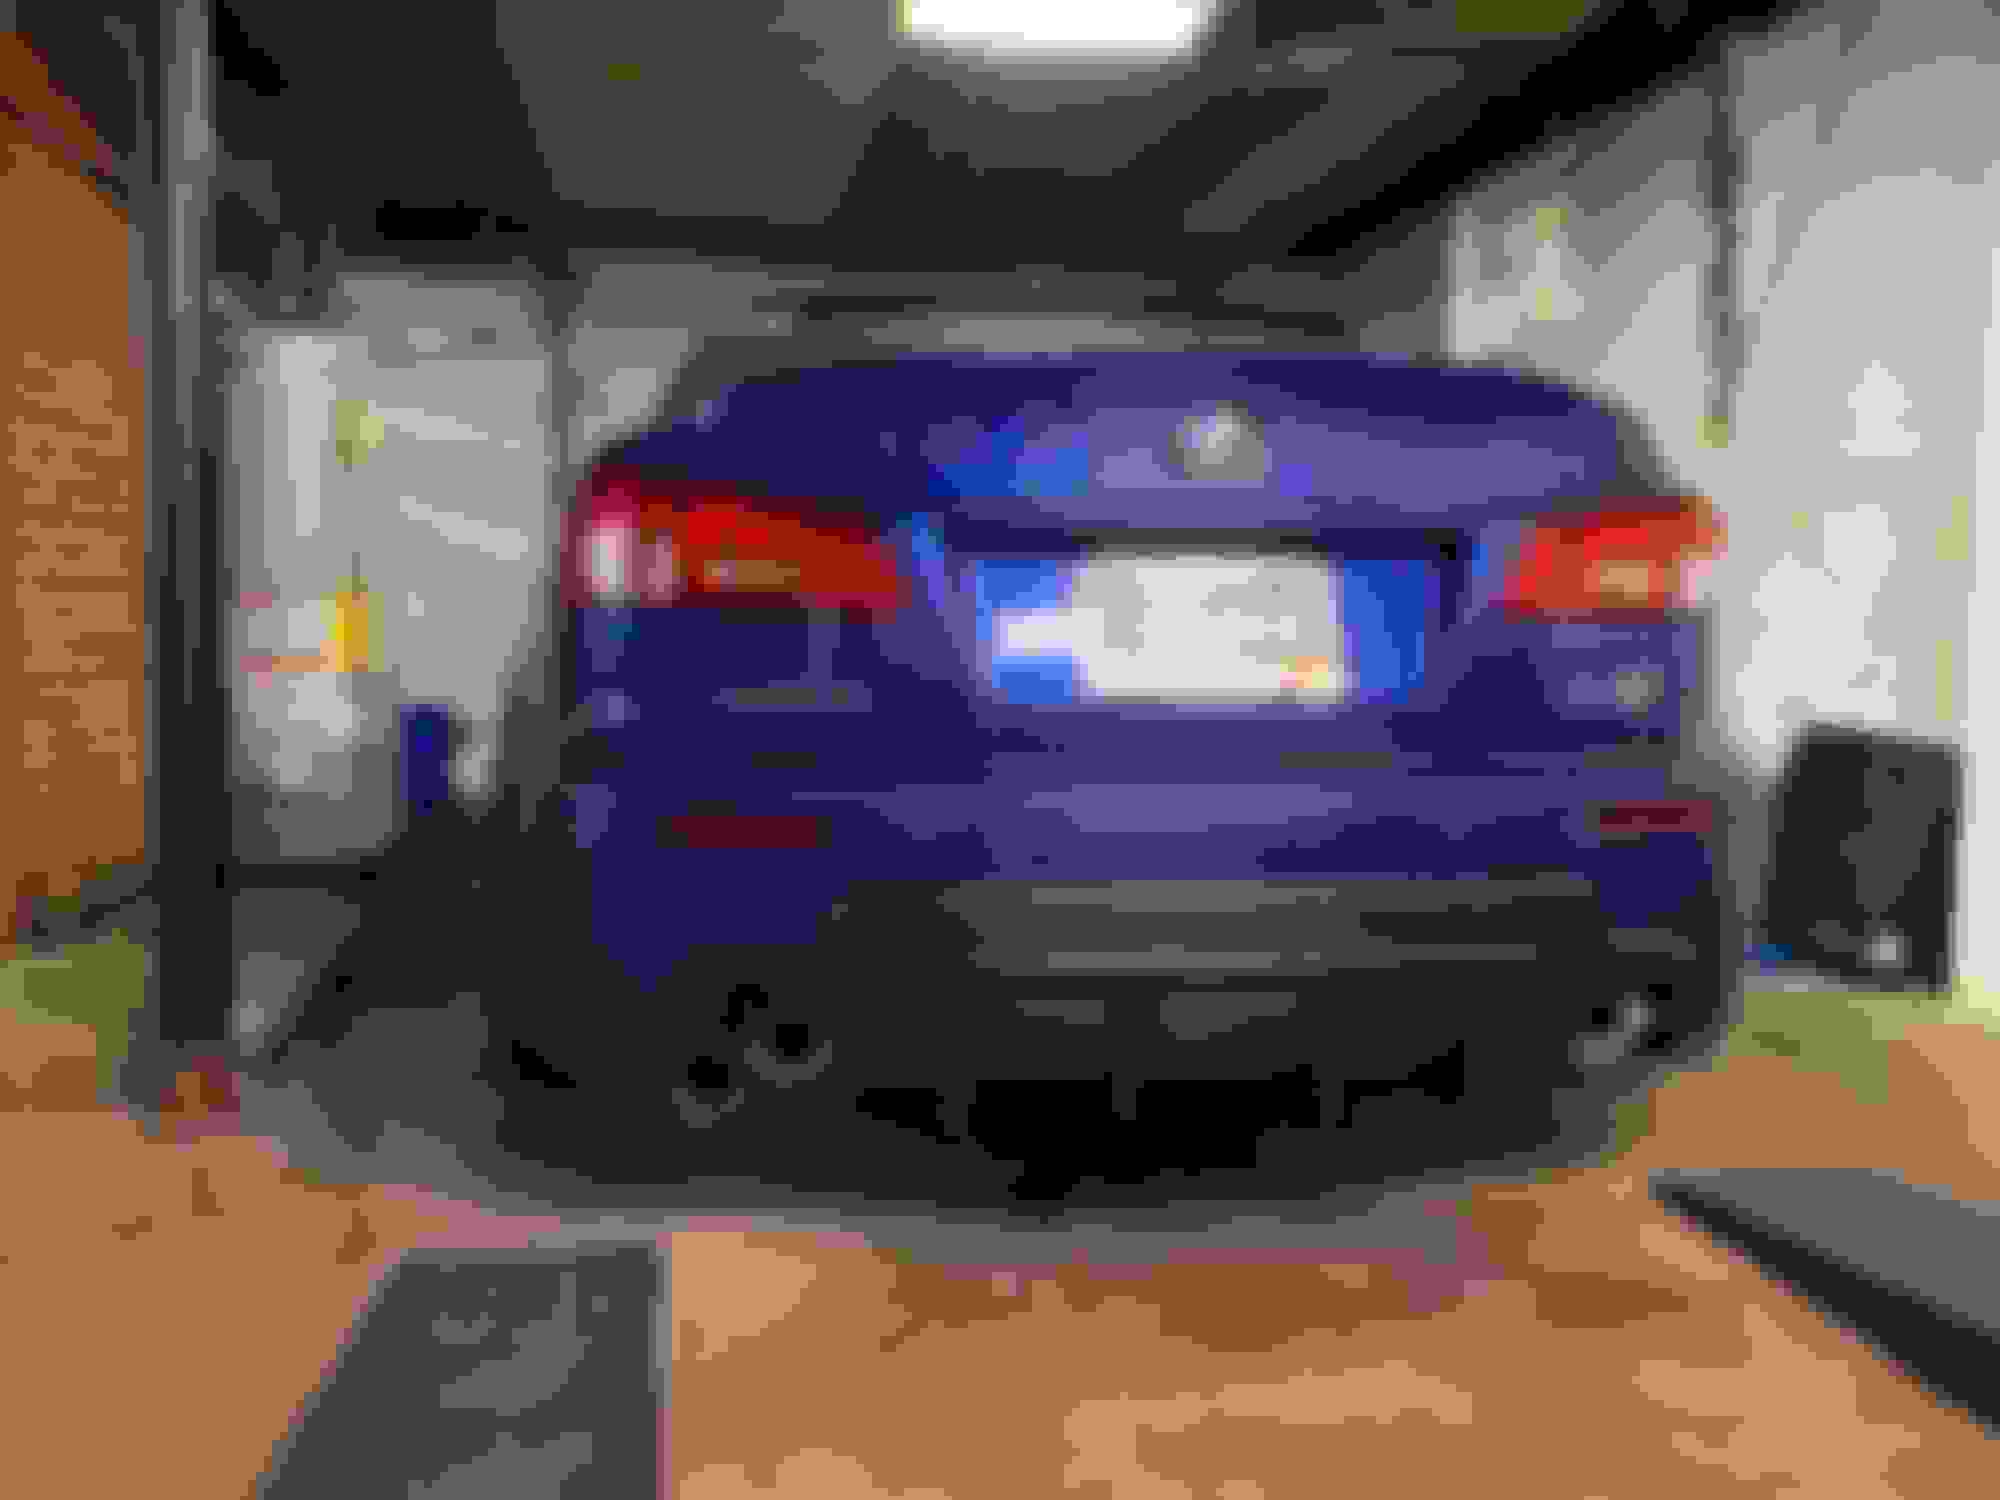
Group A Motoring "c-west style" front lip and Group A Motoring "Tom's style" rear diffuser with bigger fins.
The front lip has excellent fitment and rear diffuser had 85% fitment for me (probably because I have ISS forged tips). I installed some self-tapping screws on the bottom of the diffuser and the fitment looks fairly good now, I'd say 95%.
Can you get on those race ramps, and do they provide enough clearance to change oil? My car takes longer to get off the ground than it does to maintain with the toms lip, and I�m not even lowered yet.
Can you get on those race ramps, and do they provide enough clearance to change oil? My car takes longer to get off the ground than it does to maintain with the toms lip, and I�m not even lowered yet.
Yes, no problem with the race ramps. I have the low profile extensions. Yes, oil changes are a breeze and I actually changed my tranny mount while on the race ramps, although I was cramped.
Have you done a leakdown test on your engine? It is alarming you are filling up any catch can at all. I have no catch can and I've never had even a tiny puff of smoke at any time from my engine, much less at the track. Sounds like there is leakage past the rings in a big way.
Have you done a leakdown test on your engine? It is alarming you are filling up any catch can at all. I have no catch can and I've never had even a tiny puff of smoke at any time from my engine, much less at the track. Sounds like there is leakage past the rings in a big way.
No leakdown, but compression was great, dynos high @ 425 dynojet, can never collects anything during street driving or spirited street driving, valvetrain has always been "happy" and loud, KCLV is high. The can filling up and manifold chugging oil happens only on track days during the summer on 80F+ days. I hate accessing the spark plugs on this engine, otherwise I'd do a leakdown.
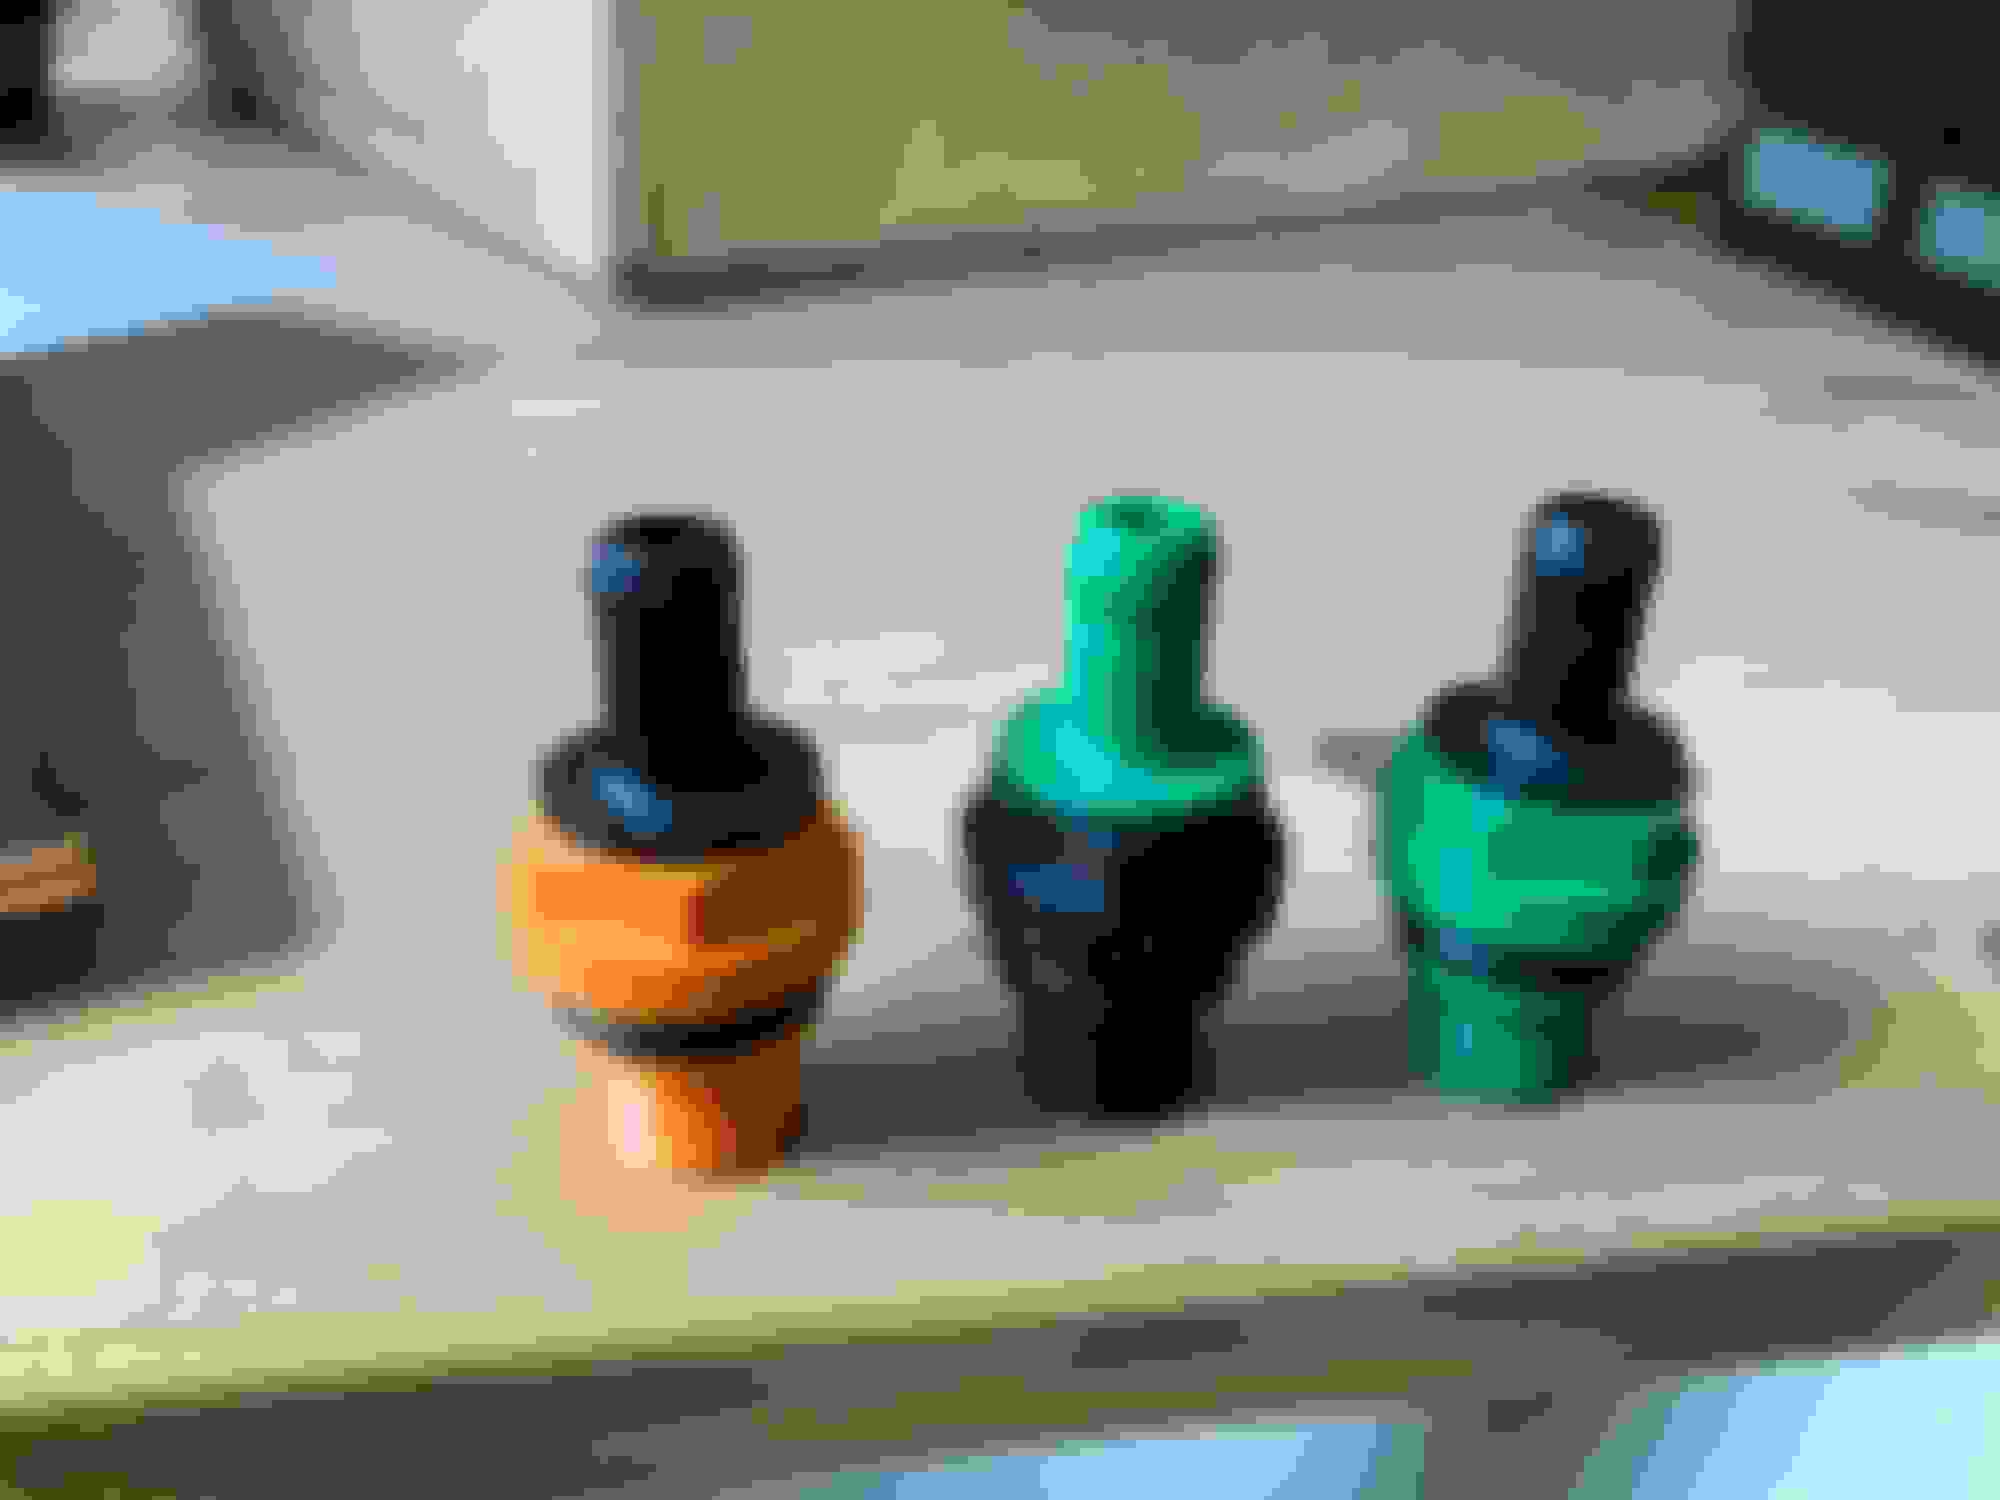
I was replacing a catch can hose reducer and I noticed the PCV valve has gone bad. There's a thread on it now and I suspect the bad PCV valve might be at least partially responsible for the car filling up the catch can and burning more oil than anticipated at the track. Shown is an ISF valve, Tundra valve, and LS600h valve. All fit the 2URGSE application. I decided to install the Tundra valve. It was a pain to install the new valve and new PCV hose as I had to remove the intake manifold partially (I lifted it partially with one hand and installed the PCV valve with the other). This consists of unplugging a bunch of harnesses, undoing the hard coolant lines on the passenger side of the engine, and undoing 8 torx bolts and 2 nuts on the manifold. I believe the Tundra valve is more robust and may last longer than the ISF valve (refer to thread on the ISF subforum).
Lobuxracer claims PCV valve removal is doable with a 3/8" 22m ratchet bit with extension. However, I'm not sure how easy it will be to install a new PCV hose as they are quite soft which makes it hard to secure on the PCV valve nipple unless you have more room to work with. Plastic harness shroud part # atop the manifold: 82817-30L40--you'll most likely need a new one (anything more than breathing on the plastic cover will crack it).
pictured is ls600h valve compatibility (all valves shown fit the same).
all done and back to being pretty
I got the Valentine V1 gen2 as well. It has bluetooth connectivity and when paired with V1Driver through iOs, it works quite nicely. It's fairly superior to its predecessor.
I'll make a video and show you how I did it. Didn't disconnect anything electrical, and definitely didn't lift the manifold, but it would be impossible without some OK stork pliers. I actually used a 1/2" drive socket 30mm in diameter and 38.3mm tall. It would be much easier with a 3/8" socket a little bit smaller in diameter and similar height. It can't be much taller though or you'll never get it over the nipple on the valve.
I'll make a video and show you how I did it. Didn't disconnect anything electrical, and definitely didn't lift the manifold, but it would be impossible without some OK stork pliers. I actually used a 1/2" drive socket 30mm in diameter and 38.3mm tall. It would be much easier with a 3/8" socket a little bit smaller in diameter and similar height. It can't be much taller though or you'll never get it over the nipple on the valve.
That sounds good. I'm more interested to find out how you install a new PCV tube. I actually was able to install it in that small space, albeit without the clamp at first, by freezing the tube for ~30min and quickly getting it onto the nipple while it was stiff.
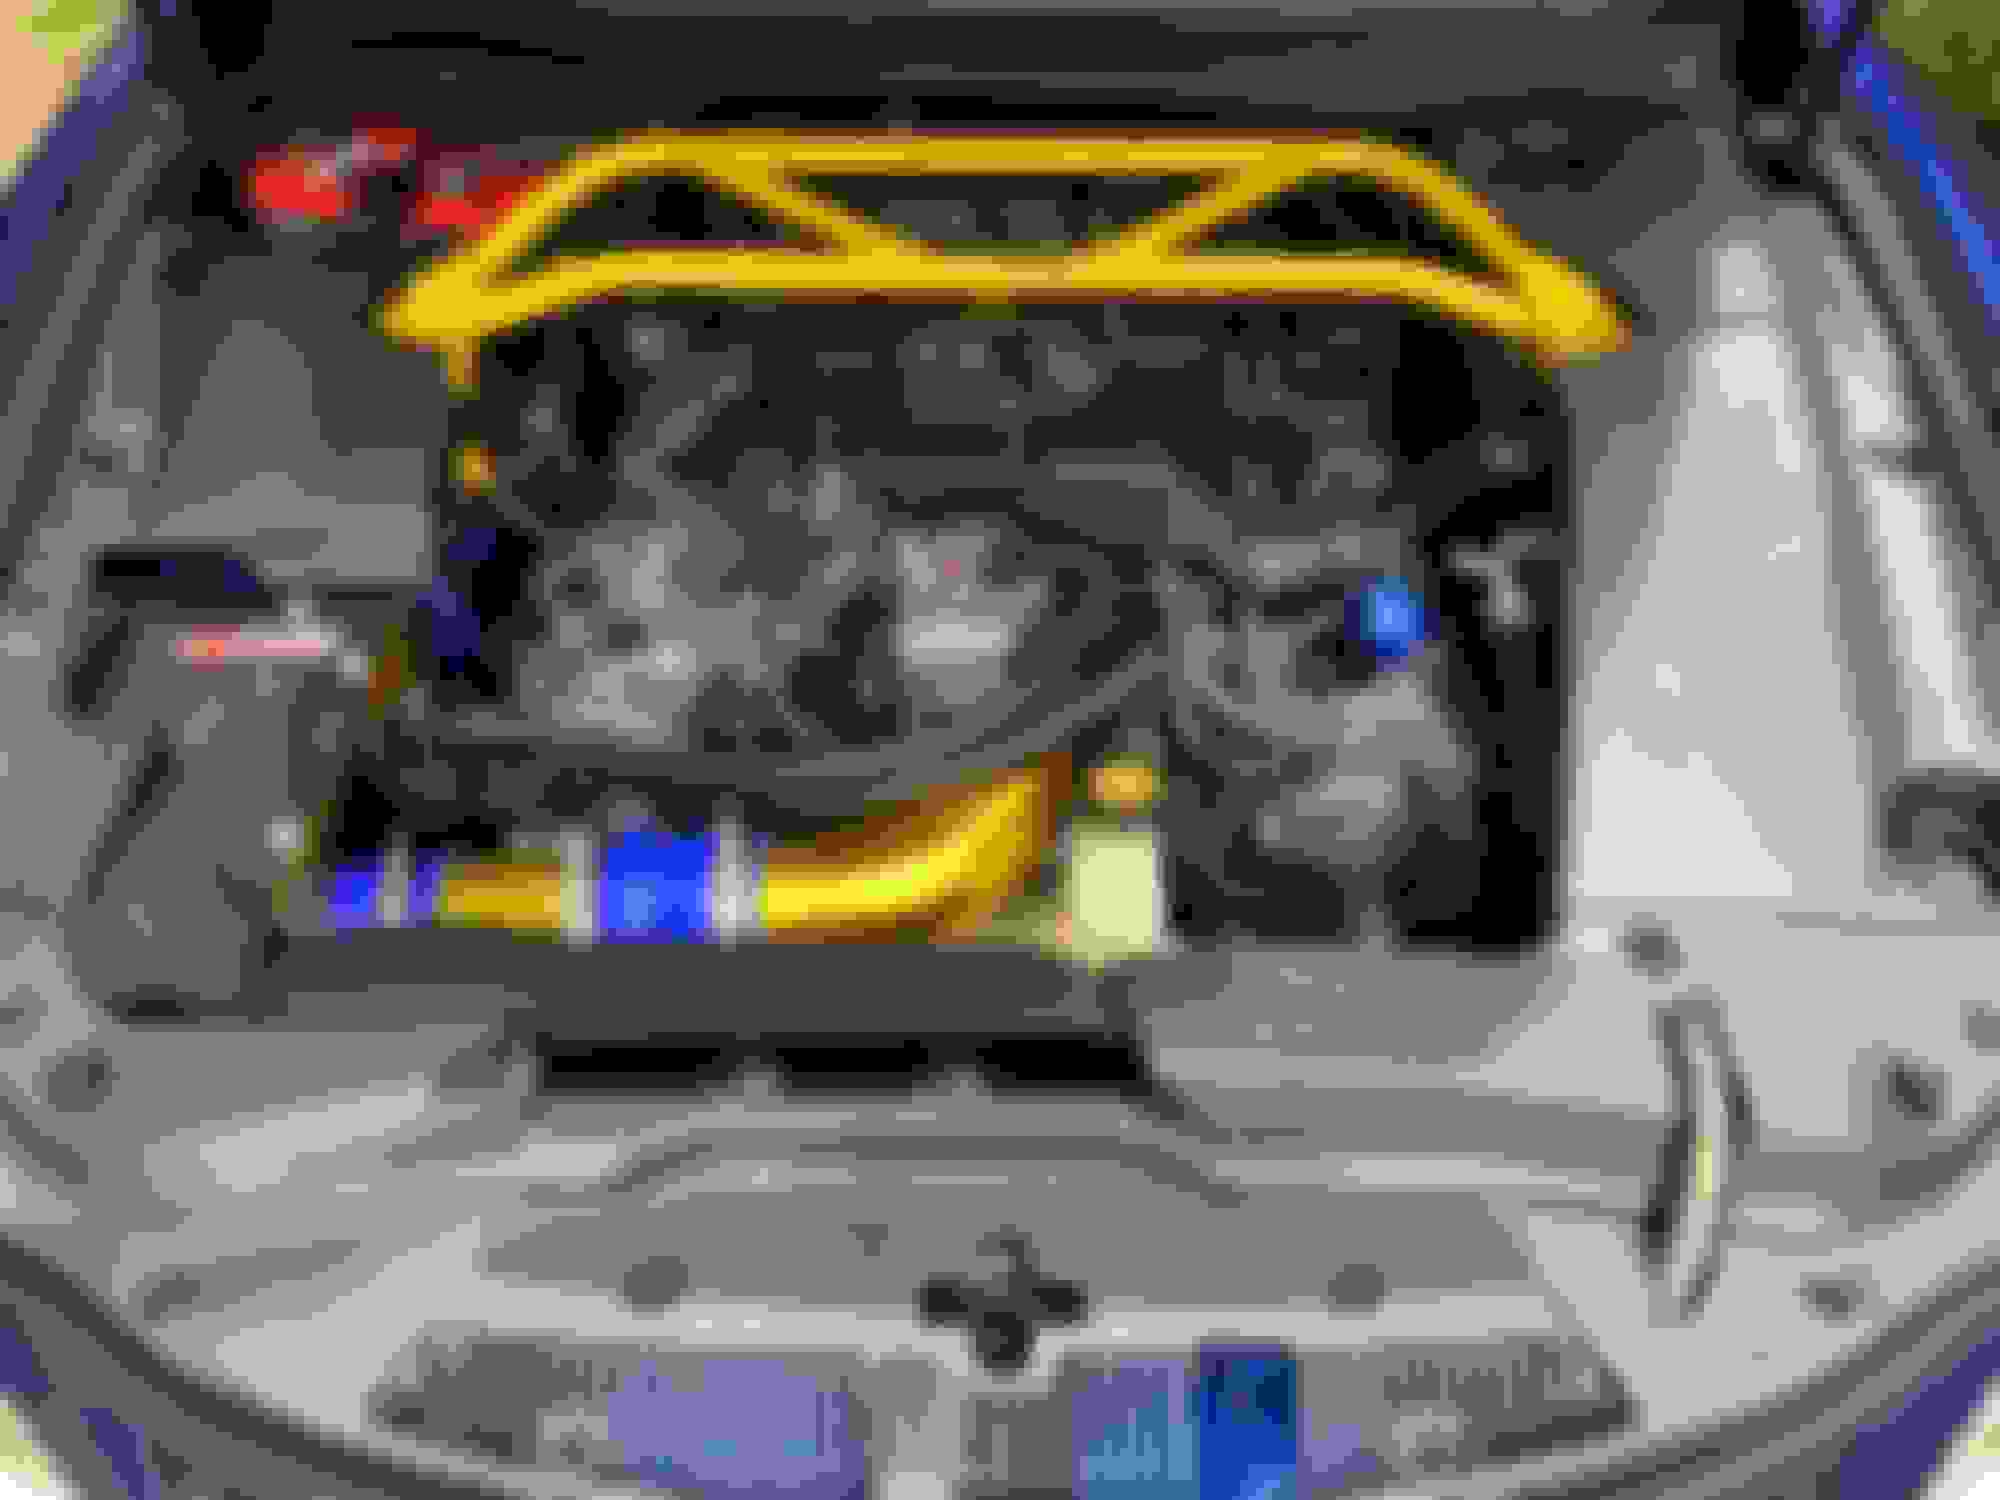
I found poly steering rack bushings by Daizen Sport Tuning for the 2IS so I decided to give them ago. The key to install is removing the 12mm bolt near the headers that attaches the steering rack to the steering shaft. This gives enough room for each of the bushings to be pressed out. I read that you could "poke" out the bushings with a screwdriver but mine were glued to the housing. I even tried soaking them overnight in gasoline (softens up rubbers) but no dice. Was this mod worth it? Not really. Was it noticeable? I immediately felt a more slingshot-like feel upon steering the wheel. MPSC2 with a track alignment is next. Specs will be
-3* front camber/-2.5* rear; 0 front toe; +0.1" rear toe; w/corner balancing. I previously had between -3 and -2* front and rear camber and the car just ate up curves. Sikky front and rear sway bars both set at middle settings. Aggressive rebound and compression (few clicks/turns from full stiff for front and rear).
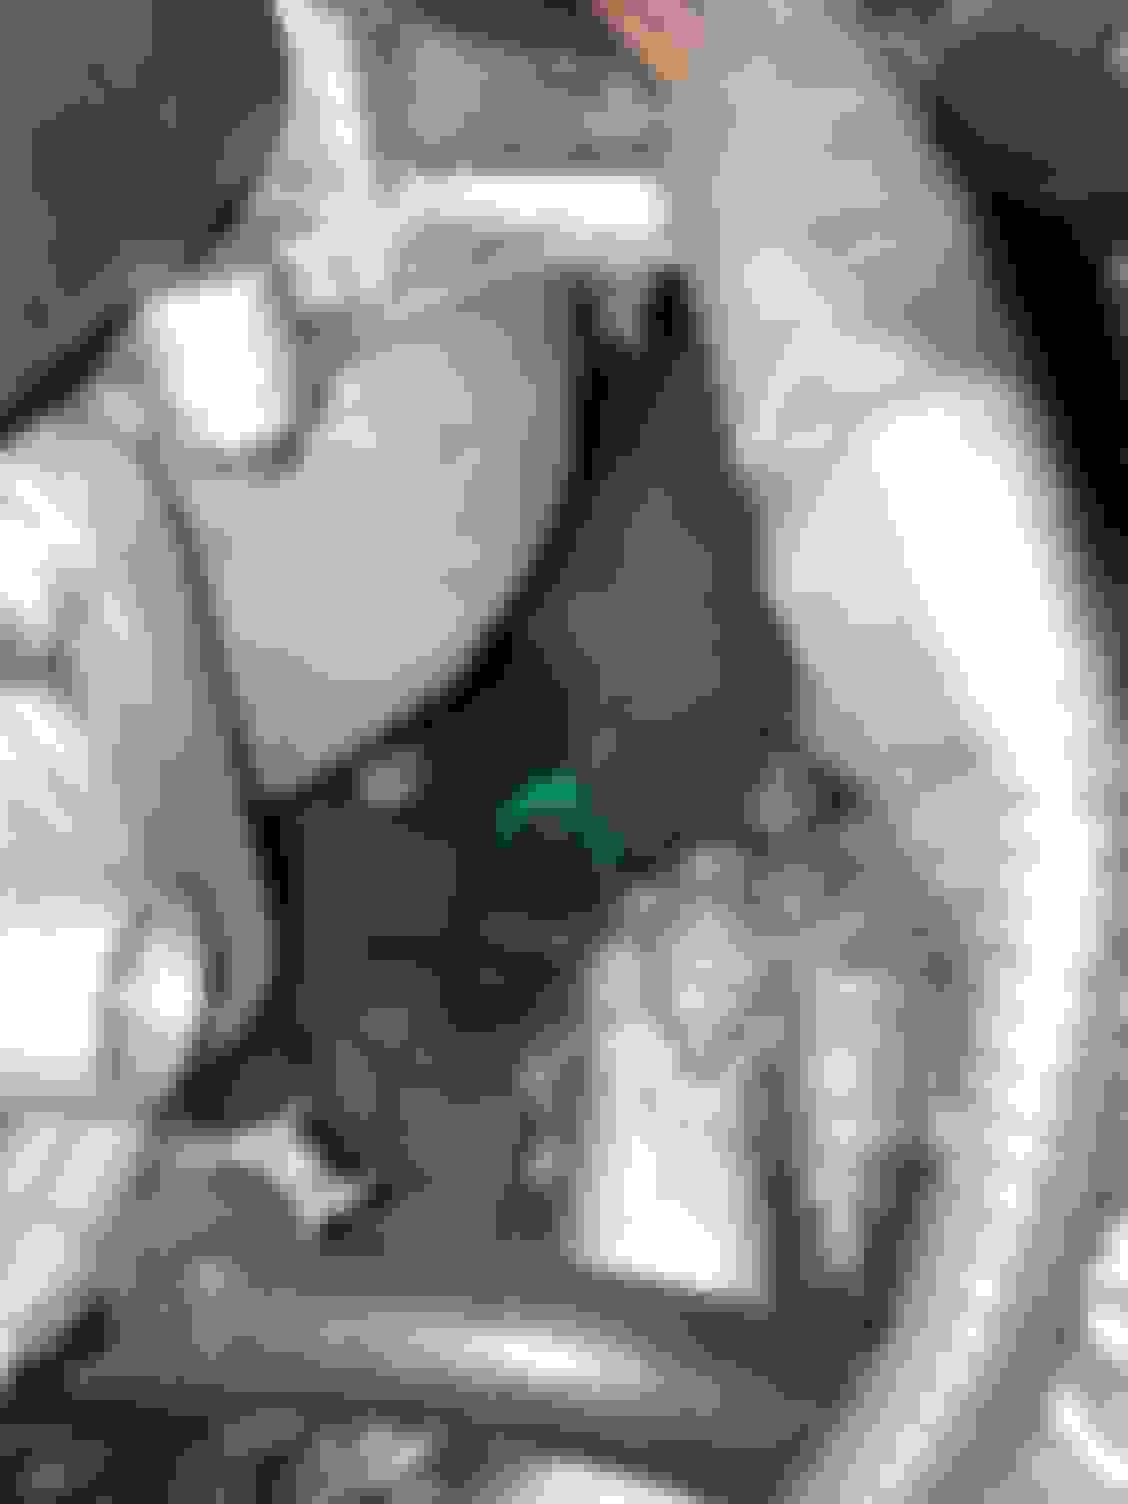
Not enough room without unbolting steering rack from shaft^
^Here is the junction (right under the headers); make sure to get the splines completely back on when re-installing.
^PU bushings installed
New Michelin pilot sport cup 2 240 mounted all around in 265/30/19. These are cup 2s with more tread and slightly higher price tag. I like them so far. RR-Racing did the alignment; they did a great job.
Specs: -3* front camber; -2.5* rear camber; 0 front toe; 1/16" total rear toe.


 05-17-20, 10:41 PM