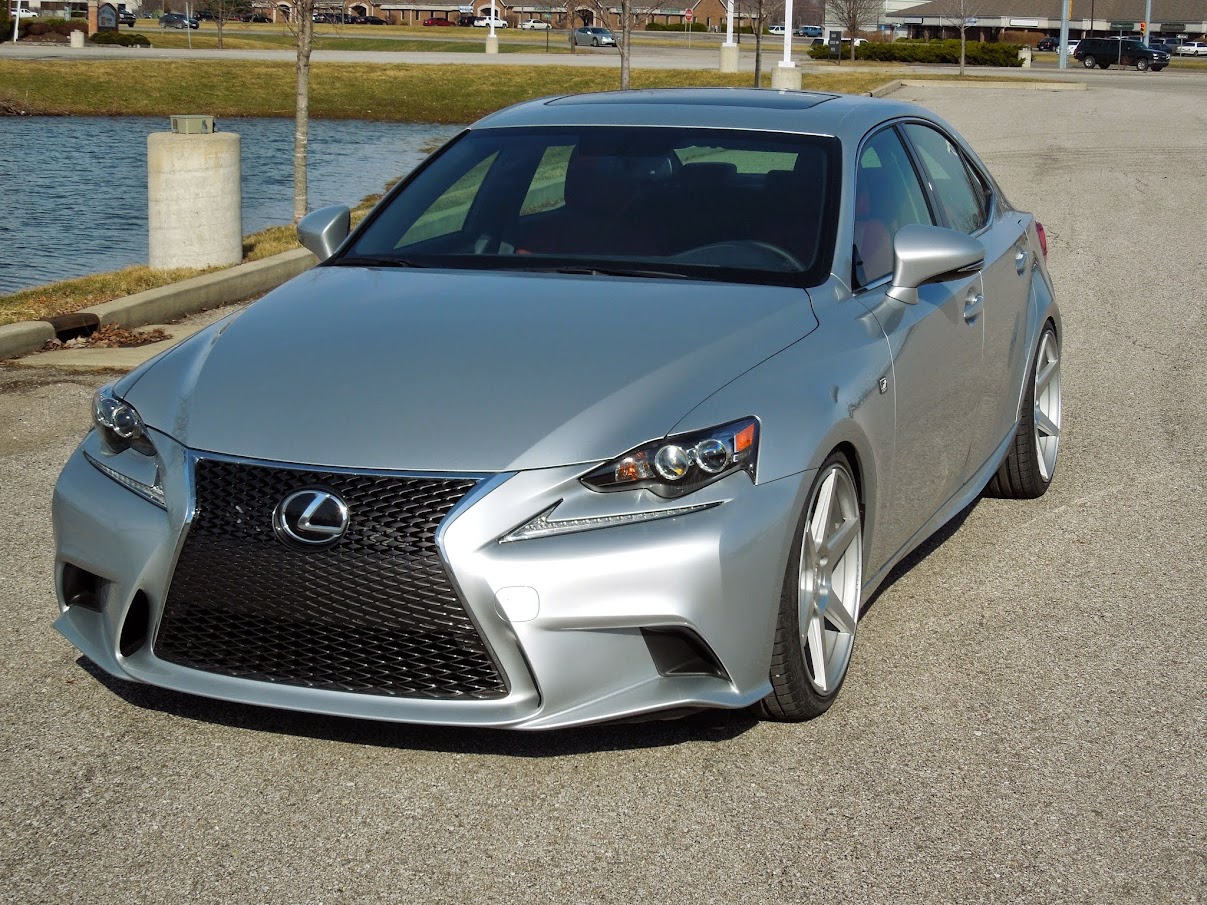
Jaz's SLM/Rioja 350 RWD
#1
I got my baby from Lexus of Nashville in November. Now that the long and brutal winter is over, it's time to mod the IS.
Suspension:
Current setup = BC Racing coilovers 9k front & 8k rear (standard rates)
fender height - measured from the floor to the fender:
front left = 24.88
front right = 25.00
rear left = 24.88
right rear = 25.00
front camber =
rear camber =
Old setup = RS*R Super Down Springs
fender height - measured from the floor to the fender:
front left = 24.68 (2.13 drop)
front right = 24.75 (2.18 drop)
rear left = 24.56 (1.75 drop)
right rear = 24.68 (1.75 drop)
front camber = 1.7 and 1.7
rear camber = 2.4 and 2.6
Wheels:
Current setup = Avant Garde M590 in brushed grigio
8.5+35 wheels
9.5+40 wheels
Old setup = Stance SC-6
8.5+35 wheels
9.5+40 wheels
Tires:
Continental DW tires
235/35/19
265/30/19
235/40/18 Dunlop Winter Sport 3d on stock wheels for the winter
Kics Legdurra lug nuts
Non F-sport front pads to alleviate brake dust
Exterior:
Expel Ultimate PPF on bumper, hood, fenders, and mirrors. Nearly all edges are wrapped.
Opti-coat 2.0 on paint and on PPF
Opti-glass
Window tint - coming soon
Paint correction/polish with the following:
Nanoskin Autoscrub fine pad (instead of clay)
Menzerna 1500 with Uber orange pad
Menzerna 4500 with Uber green pad
Dr Color Chip
My previous STI's build thread (tastefully modded and clean). She was fast and fun, but I grew up. http://www.iwsti.com/forums/gr-membe...rting-out.html
Here are a few threads about the suspension mods and tire/wheels setup:
Wheel - tire fitment: https://www.clublexus.com/forums/is-...wered-3is.html
RSR Super Down springs: https://www.clublexus.com/forums/sus...s-of-info.html


Photo shoot at Tire Rack


Suspension:
Current setup = BC Racing coilovers 9k front & 8k rear (standard rates)
fender height - measured from the floor to the fender:
front left = 24.88
front right = 25.00
rear left = 24.88
right rear = 25.00
front camber =
rear camber =
Old setup = RS*R Super Down Springs
fender height - measured from the floor to the fender:
front left = 24.68 (2.13 drop)
front right = 24.75 (2.18 drop)
rear left = 24.56 (1.75 drop)
right rear = 24.68 (1.75 drop)
front camber = 1.7 and 1.7
rear camber = 2.4 and 2.6
Wheels:
Current setup = Avant Garde M590 in brushed grigio
8.5+35 wheels
9.5+40 wheels
Old setup = Stance SC-6
8.5+35 wheels
9.5+40 wheels
Tires:
Continental DW tires
235/35/19
265/30/19
235/40/18 Dunlop Winter Sport 3d on stock wheels for the winter
Kics Legdurra lug nuts
Non F-sport front pads to alleviate brake dust
Exterior:
Expel Ultimate PPF on bumper, hood, fenders, and mirrors. Nearly all edges are wrapped.
Opti-coat 2.0 on paint and on PPF
Opti-glass
Window tint - coming soon
Paint correction/polish with the following:
Nanoskin Autoscrub fine pad (instead of clay)
Menzerna 1500 with Uber orange pad
Menzerna 4500 with Uber green pad
Dr Color Chip
My previous STI's build thread (tastefully modded and clean). She was fast and fun, but I grew up. http://www.iwsti.com/forums/gr-membe...rting-out.html
Here are a few threads about the suspension mods and tire/wheels setup:
Wheel - tire fitment: https://www.clublexus.com/forums/is-...wered-3is.html
RSR Super Down springs: https://www.clublexus.com/forums/sus...s-of-info.html
Photo shoot at Tire Rack

Last edited by jaznraz; 06-20-14 at 06:38 AM.
#3
When you get your PPF done, would you mind taking pics of the front bumper for me (front and side shots)? i want to see how noticeable the lines are and if at any place they have to cut (front side vents i hear), i wonder how easy it is to trap road grime on there.
#4
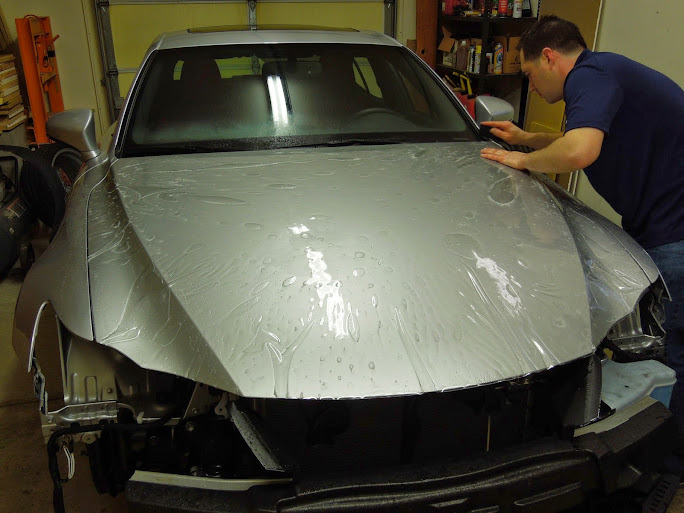
Polished the car today, fixed rock chips, applied Opti-coat 2.0 to the rear half of the car, and got it ready for the Xpel Ultimate paint protection film (PPF aka clear bra) that's getting installed tomorrow.

The PPF installer is going to wrap as many edges as possible which means this needs to happen.


New 3is owners...do yourself a huge favor and get PPF installed immediately after you buy the car. I waited too long as you can see from the rock chips. After 4 months and 4000 miles, I had about 20 chips that had to be fixed prior to the PPF install.


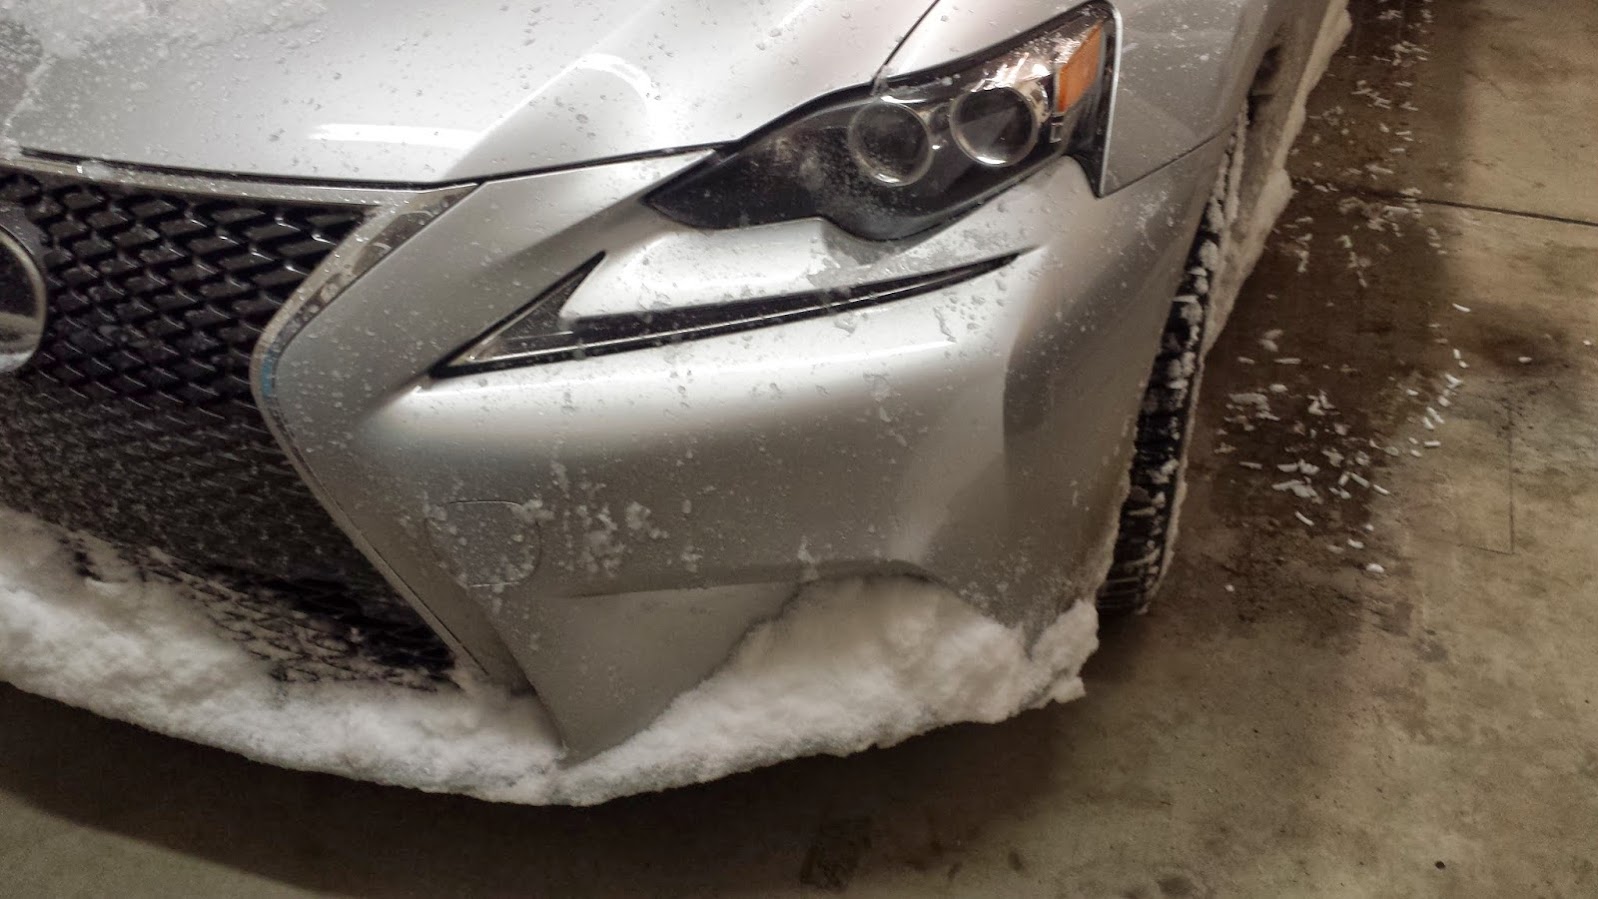
My youngest found a good use for the stock Turanza. This one picked up a nail in the sidewall on day one of ownership. She was rolling down the driveway inside of the tire yesterday....I missed the "good" photo op.

The PPF installer is going to wrap as many edges as possible which means this needs to happen.
New 3is owners...do yourself a huge favor and get PPF installed immediately after you buy the car. I waited too long as you can see from the rock chips. After 4 months and 4000 miles, I had about 20 chips that had to be fixed prior to the PPF install.
My youngest found a good use for the stock Turanza. This one picked up a nail in the sidewall on day one of ownership.
 She was rolling down the driveway inside of the tire yesterday....I missed the "good" photo op.
Last edited by jaznraz; 04-03-14 at 05:27 AM.
#5
Will do, I will post pics tomorrow. I believe the installer said there would be 4 seams way down low.
Last edited by jaznraz; 04-07-14 at 06:14 AM.
#6
Xpel Ultimate ppf is installed. I'm pretty happy with the product, but the install on the front bumper was a pain. The installer with 15 years experience said it was the hardest one that he's done. I also insisted that as many edges as possible were wrapped which caused him some grief. They had two guys on the car and it took seven hours to fully wrap the front bumper, the hood, and the front fenders. You really can't tell where it's been installed and where it wasn't (example = fender vs door). The finish, clarity, and shine of the Xpel is top notch.


seams on bottom front

seam between drl and headlight

seam on front/side

corner treatments had to be done like this to keep it from lifting up or bunching

the seams can't be seen from more than 3 feet away

seams on bottom front
seam between drl and headlight
seam on front/side
corner treatments had to be done like this to keep it from lifting up or bunching
the seams can't be seen from more than 3 feet away
Trending Topics
#10
I used Dr Color Chip and followed their instructions, I'm sure they have a DIY video or instructions online. I did this on my previous car (blue) and it worked much better than what I experienced on the silver Lexus. The last process of Dr Color Chip method, you wipe off the excess paint with a solution and cloth but when I did this, it wanted to wipe the paint out of the chip area. I just kept doing it over and over again until it worked. Since the chip (and bumper plastic) is black and the paint is silver, it really shows when the paint is pulled out of the chip area.


