When you click on links to various merchants on this site and make a purchase, this can result in this site earning a commission. Affiliate programs and affiliations include, but are not limited to, the eBay Partner Network.
They are weak compared to what you were doing.
some people will consider this aggressive while others say it is not. eye of the beholder i guess.
i'm not into super camber look to make it fit look so this is perfect for me.
They are weak compared to what you were doing.
some people will consider this aggressive while others say it is not. eye of the beholder i guess.
i'm not into super camber look to make it fit look so this is perfect for me.
specs are as followed,
19x9 +32
19x10 +40
Nothing to do with camber, cause i'm not into that i like to be able to drive my car. you have went a lil lower with the specs and just saying this because i was also on bags but either way car and wheels look good !
Nothing to do with camber, cause i'm not into that i like to be able to drive my car. you have went a lil lower with the specs and just saying this because i was also on bags but either way car and wheels look good !
I rather not go any more aggressive.
The rear 245/35r19 tire is already rubbing on one side (driver) bumper, very slightly but makes horrible noise.
Do not understand why one side only and the car has never been in accident obviously.
Going to have Alignment for Toe adjusted to see if it helps if not then I will have to go with the camber arms to induce very slight camber change to get that 1-2mm I need away from the bumper
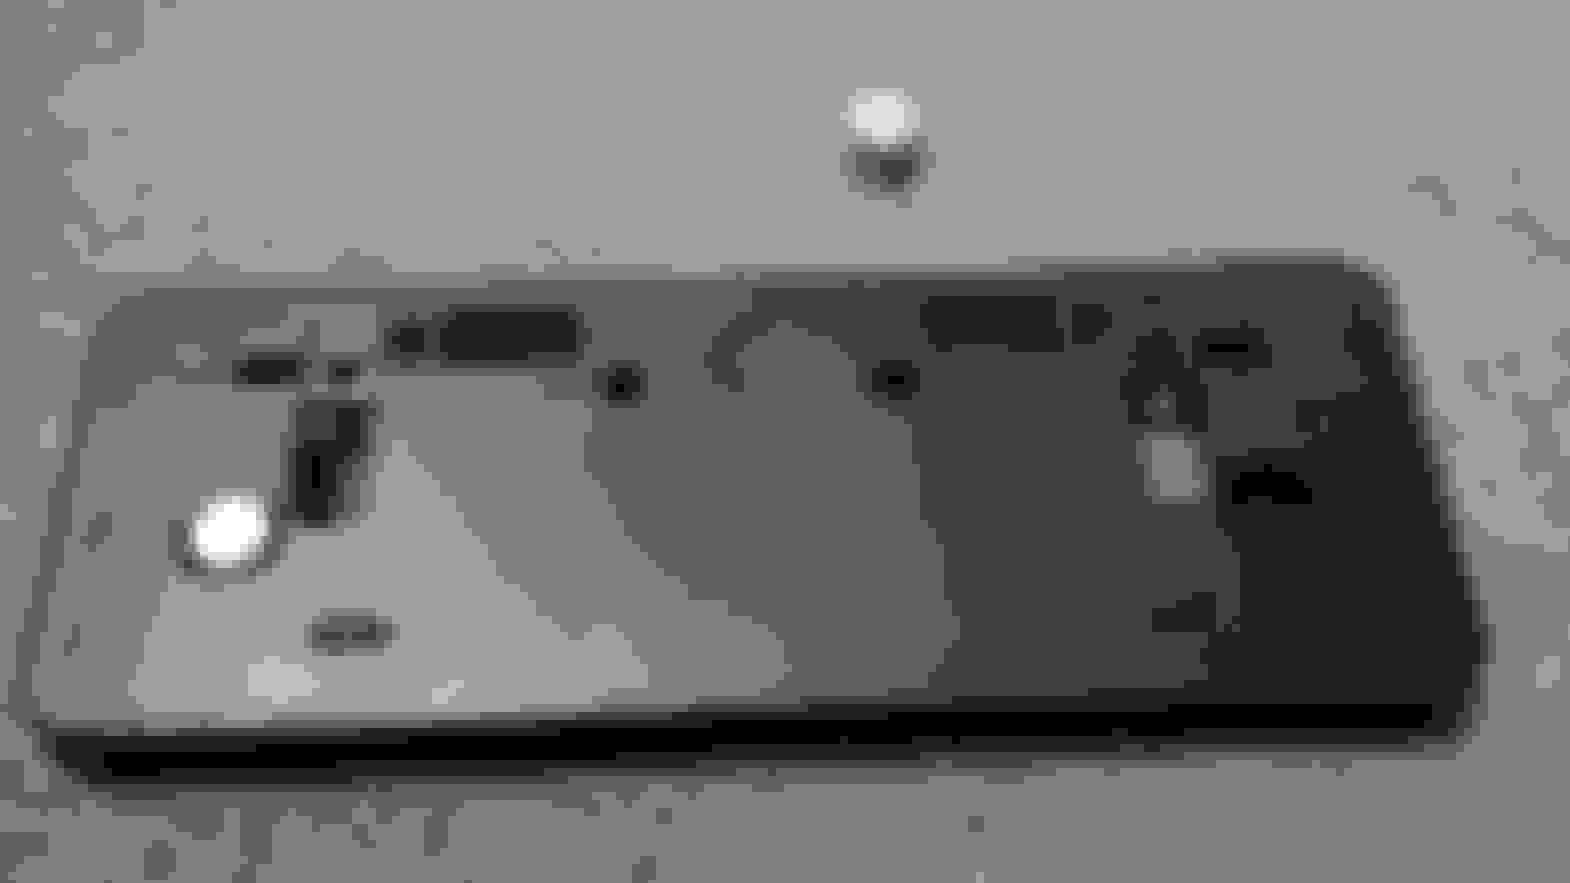
Worked on removable magnet mount license plate for the front bumper.
The super strong magnets I'm using
it fits perfectly into the OEM plate holder mounting holes
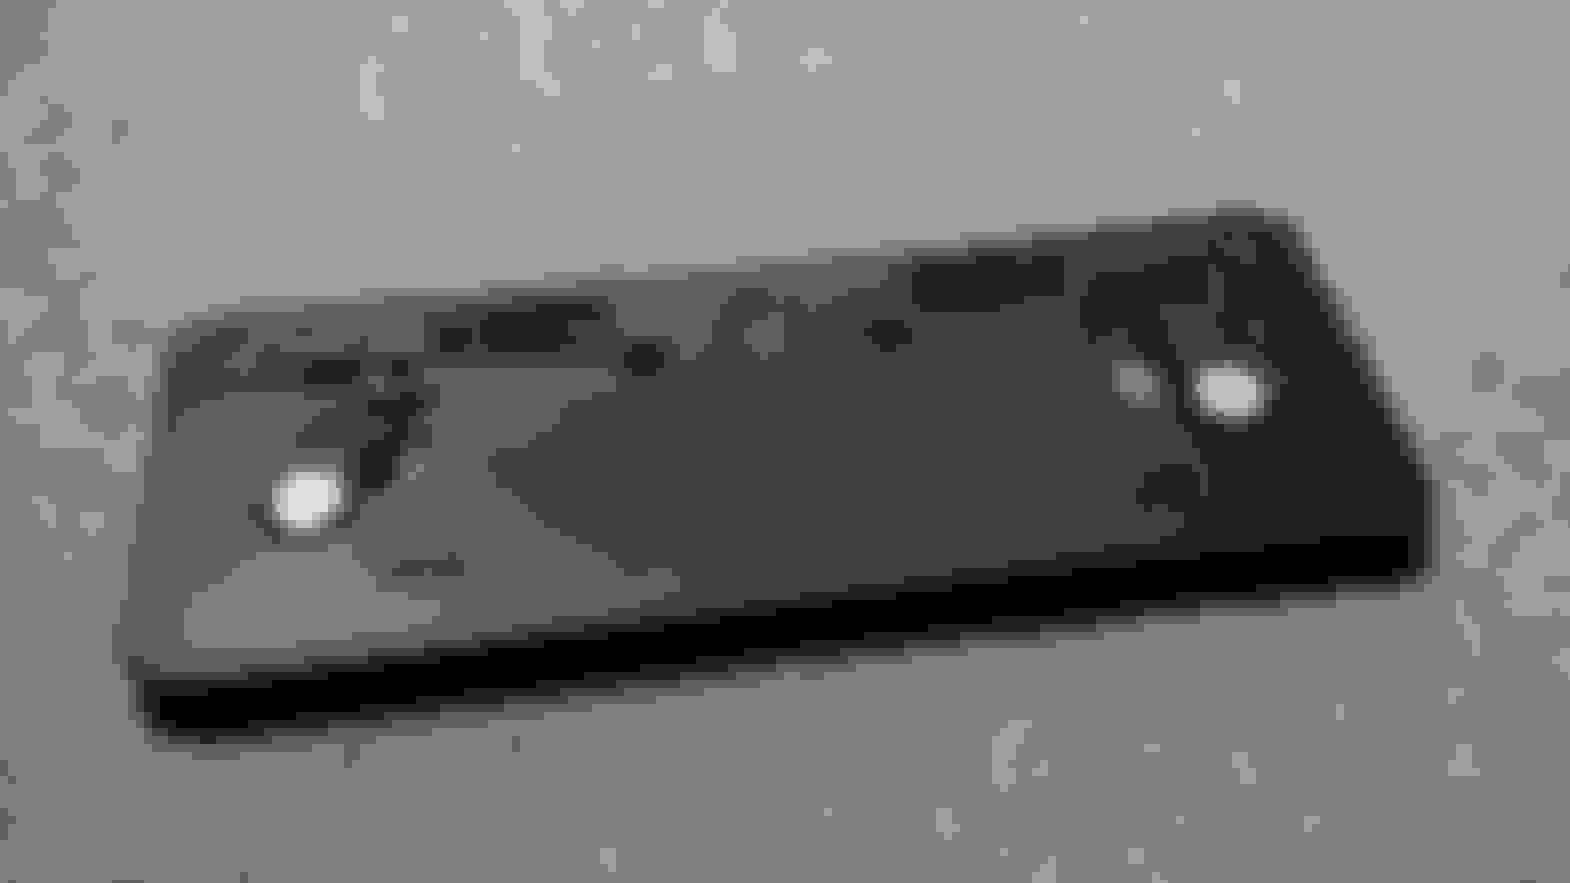
Both pressed into place. License plate will hold them in place and do not even need to glue or tape them down.
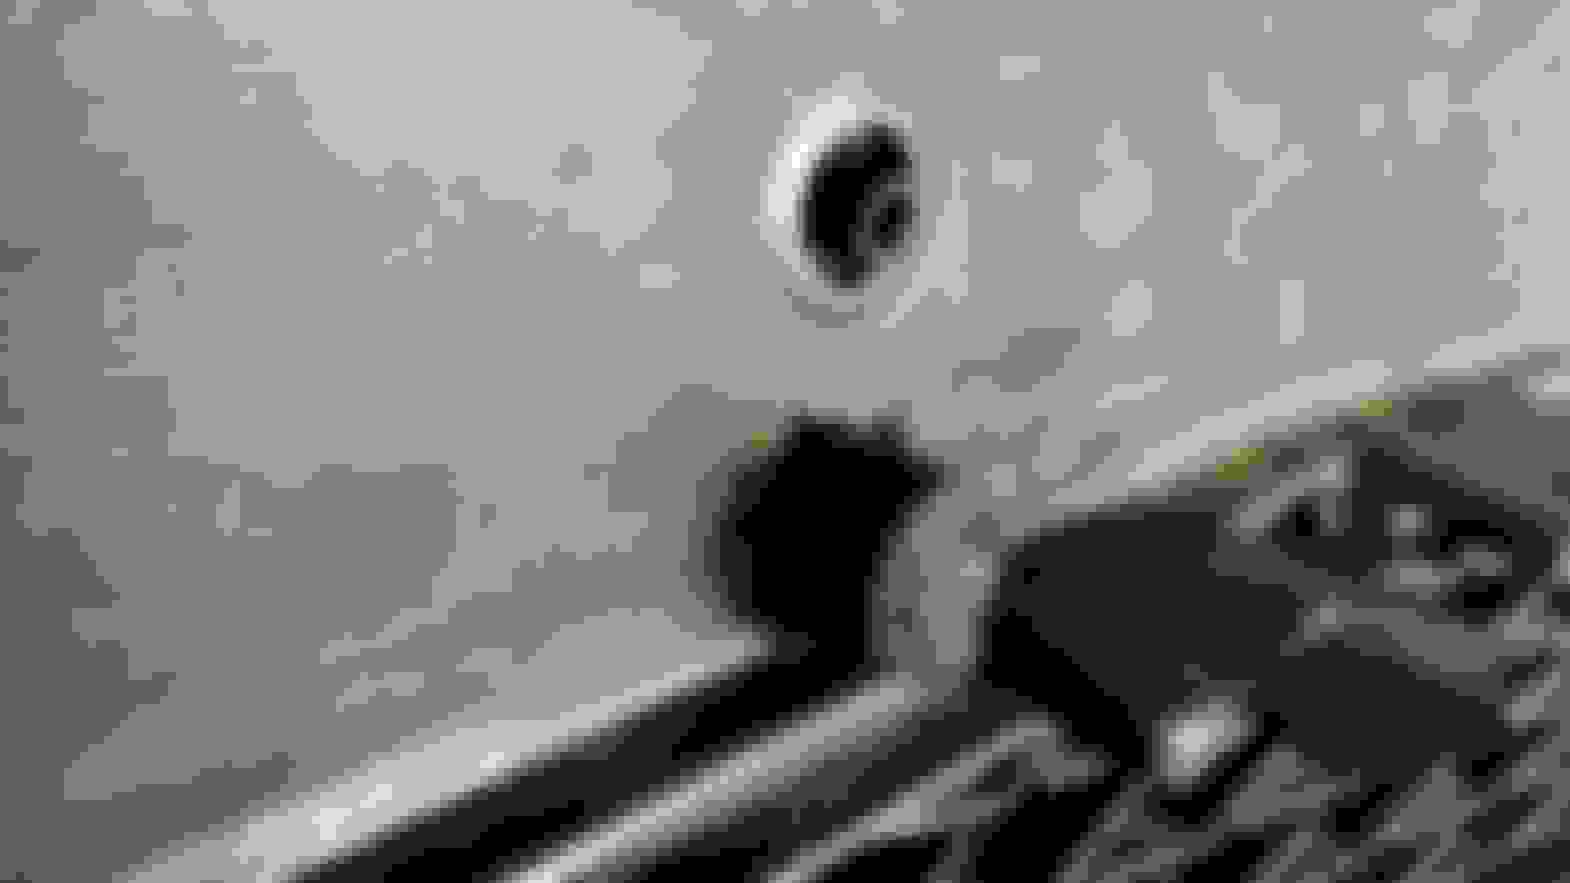
Marked on back side of bumper where i will dremel through plastic so that the magnets sit on the actual grill plastic so the magnets will be stronger hold
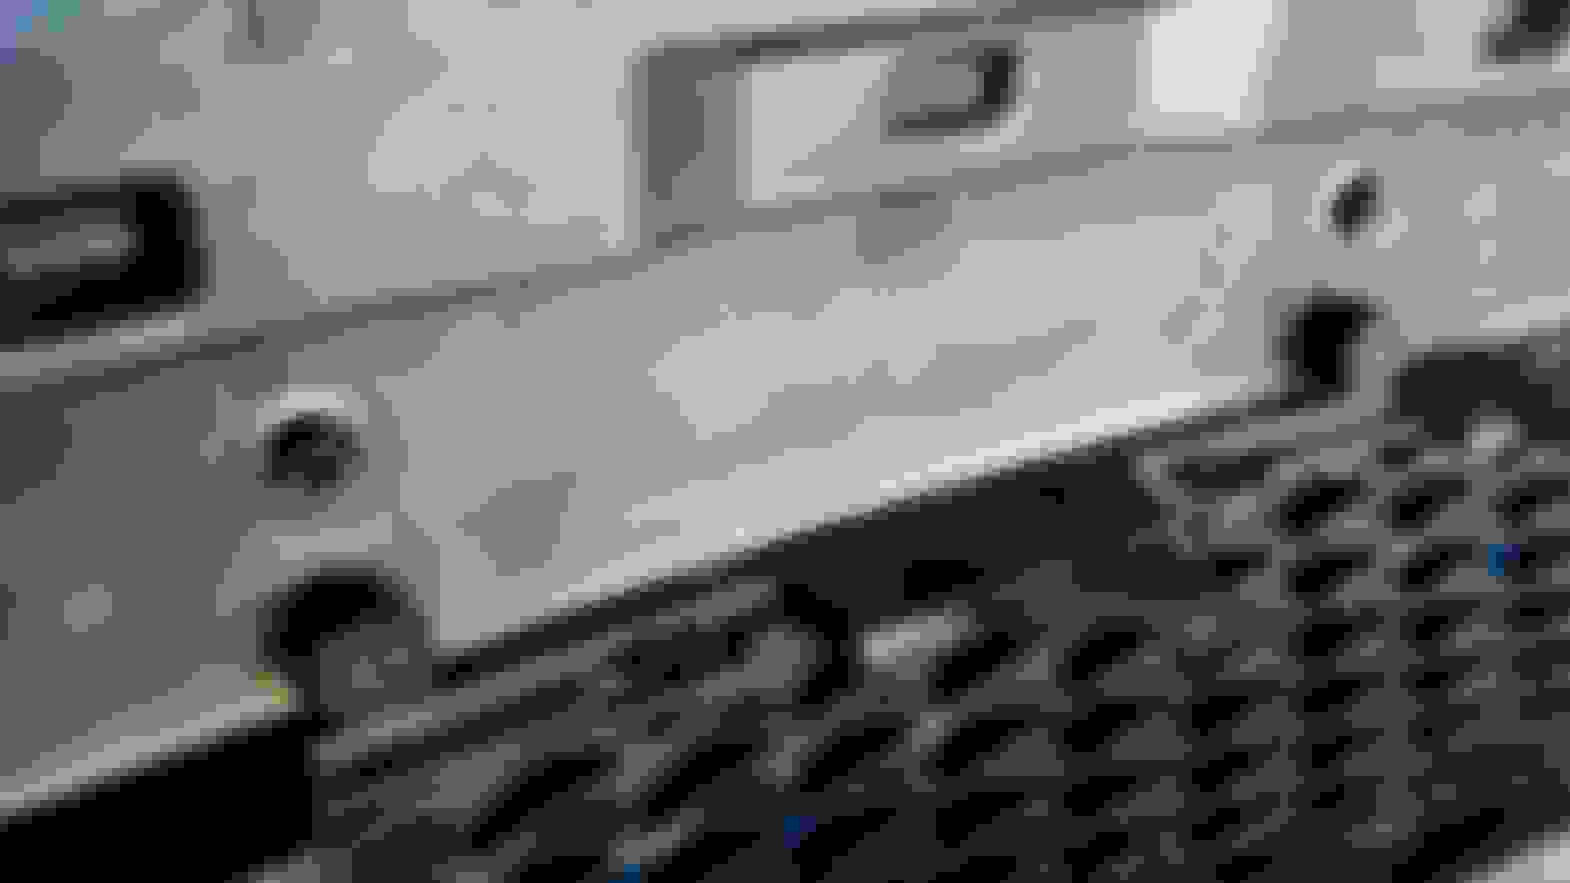
dremeled through bumper, this part will never be seen that it was cut
Double sided taped and wrapped the magnets so they dont accidentally seperate
Messed with the ijdmtoys fogs a bit
wanted opaque they mentioned but they didnt have it in production so I decided to emulate the look.
Bought some of this.
came up with this
comparison of with and without film
ran a fog light harness in the vehicle so made a harness plug off the Light side as well so it is easy to remove with it still attached to bumper.
final product
great job, but can you edit what you meant to say right under the comparison pics? I can't make out what you mean? also, what was the reason for removing the back for? couldn't you just add the connector to the wires w/o removing the back cover? if it's okay w/ you, I'd like to get w/ you offline to discuss your work. I want to do the same set up as you, but am need of assistance...aka wiring diagram...haha! thanks and again, great job!


 10-29-15 | 01:44 PM