*Dave's gs4hunna build*
#2
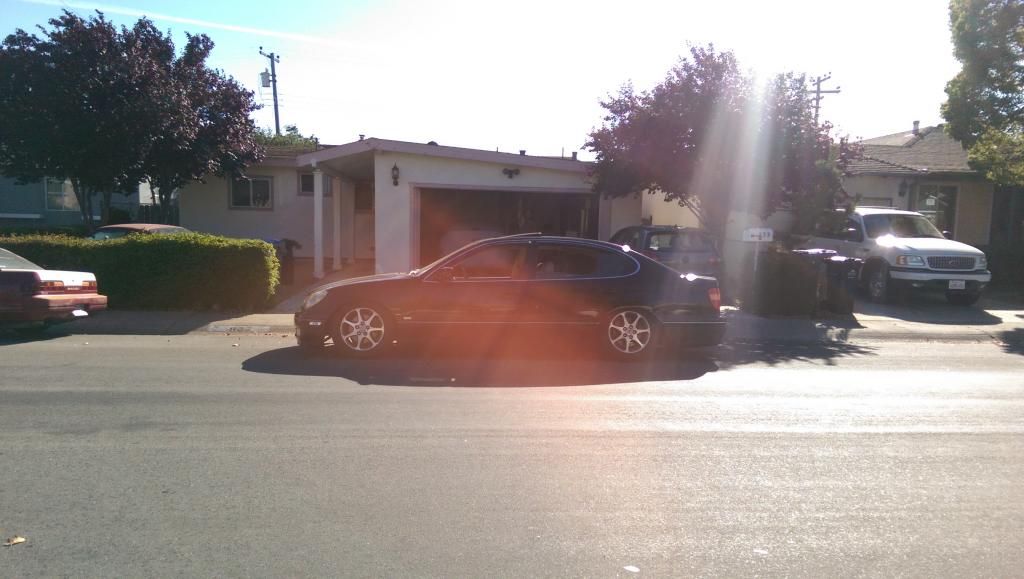
Hey cl name is David and I'm from Nor-cal , recently got a 00' gs400 in black/tan. This is my second lexus but first ARISTOO! this is going to be my build thread so that anyone who wants to see my progress can see but also myself. I am coming from that Nessan Skid racer community... haven't drifted at the track legit-ly lol let's say there is one of "those" behind my friends shop. lol Anyways here is my start... Thanks for viewing.
| The first night I bought her. | The girl i bought it from I knew her pretty good lol so I got it for 3500 200k miles BUT the service was recently done at 195k with documents. So brand new car. sike.
| The first night I bought her. | The girl i bought it from I knew her pretty good lol so I got it for 3500 200k miles BUT the service was recently done at 195k with documents. So brand new car. sike.
#3
Couple days after owning this car I had to add some touches. Can not drive a stock car. lol
So I went on my trusted personal led site. Ebay lol got a bunch oh 194 smd wedge bulbs with 20 leds on each bulb I believe. in 6k. Also ordered clear side markers for $20 on ebay too lol
Some more days after that I was looking up on craigs and found these visors. got them for 40bucks. Good so far not so much into her so Don't flame me. lol
#4
About a week after that or so. I found an srt intake on cl for that low low. Drove out to Vallejo and got it for $95 cuz of toll lol. The only con was that I didn't get the ecu piggy back thing because the girl played like she didn't know anything bout it. So an apexi neo should be on its way once I get my funds situated.
Don't really know which direction I can say im going with on this car but it will most likely be street inspired/handling/slammed. 326Aristo is for reference... My other baby is the maroon car with white mb's and sc rear. Full pbm suspension minus front and rear knuckles front and rear lowers.
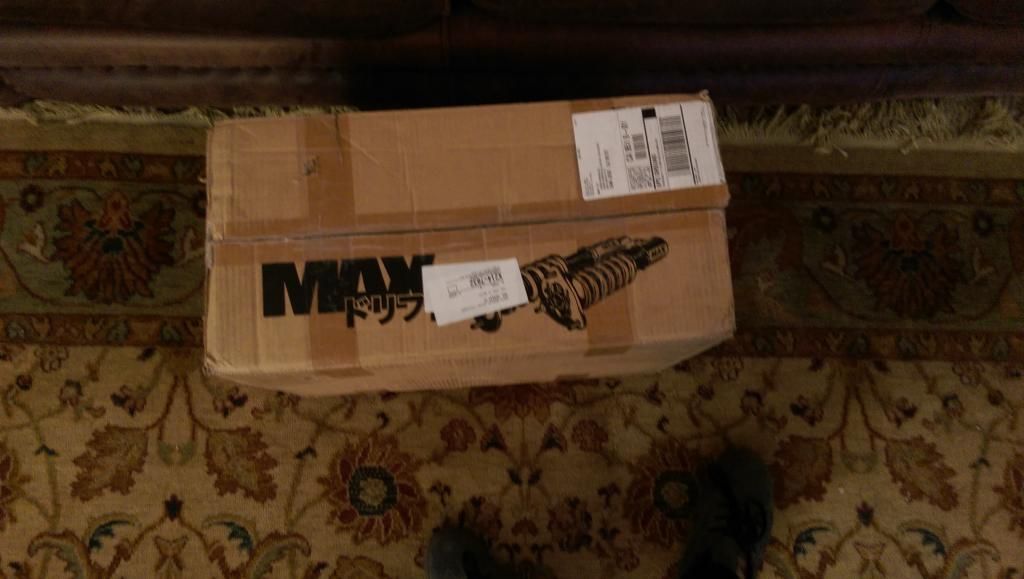
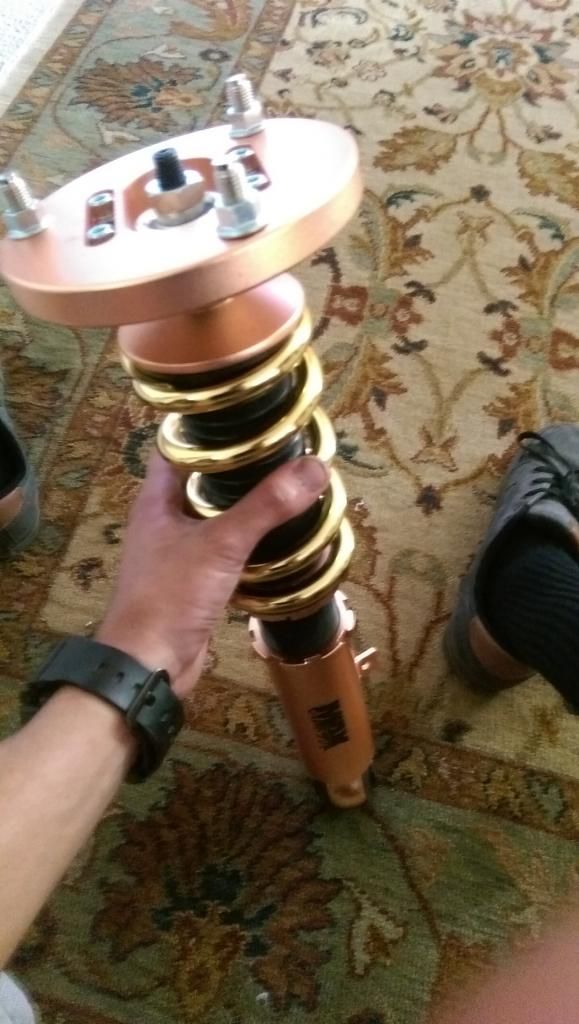
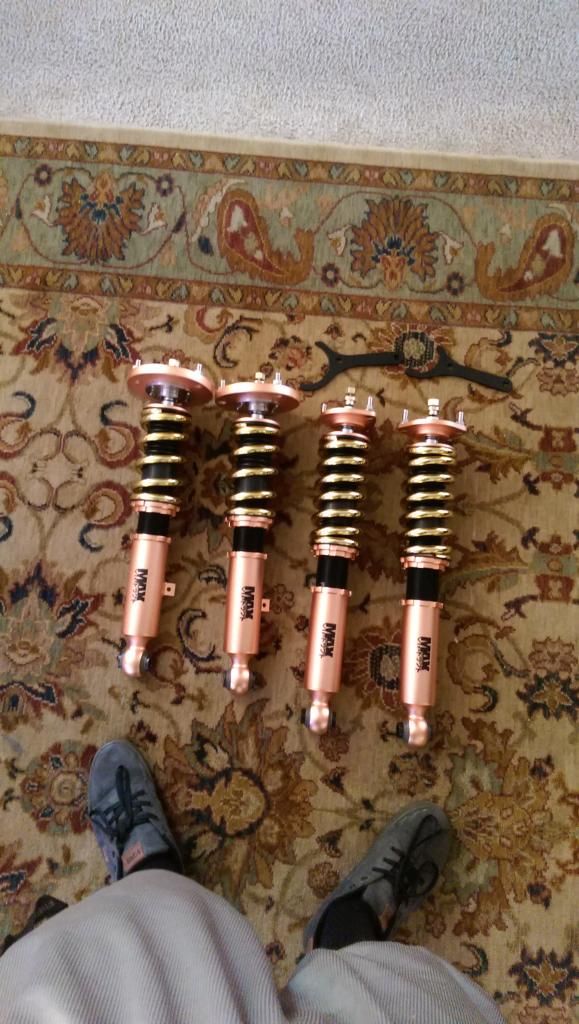
Last friday I ordered some pbm coil's for my gs and some poly sway bar bushings. Still waiting for them to arrive. :// Coils are 18k/16K these are my first set of coils on gs and pbm coils. I've never ridden on them for s chassis but heard some friends say they are really stiff.
#6
#7
Damn so I posted this in the help forum I think by accident and they submitted it back to this thread making me look like an idiot but fak et.! Anyways. Got these babies in the mail today. Got front and rear and if YOU or any one else is going to spend TWENTY bucks on your gs/aristo. These are a must. Honestly. No bs. lol 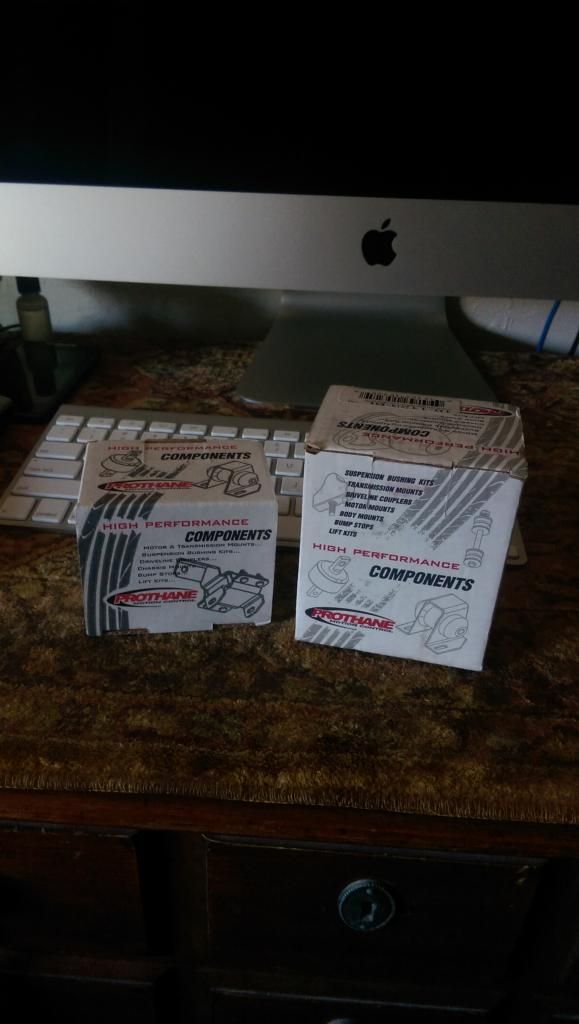
As soon as I got home from work I seen them and yup right to work. lol
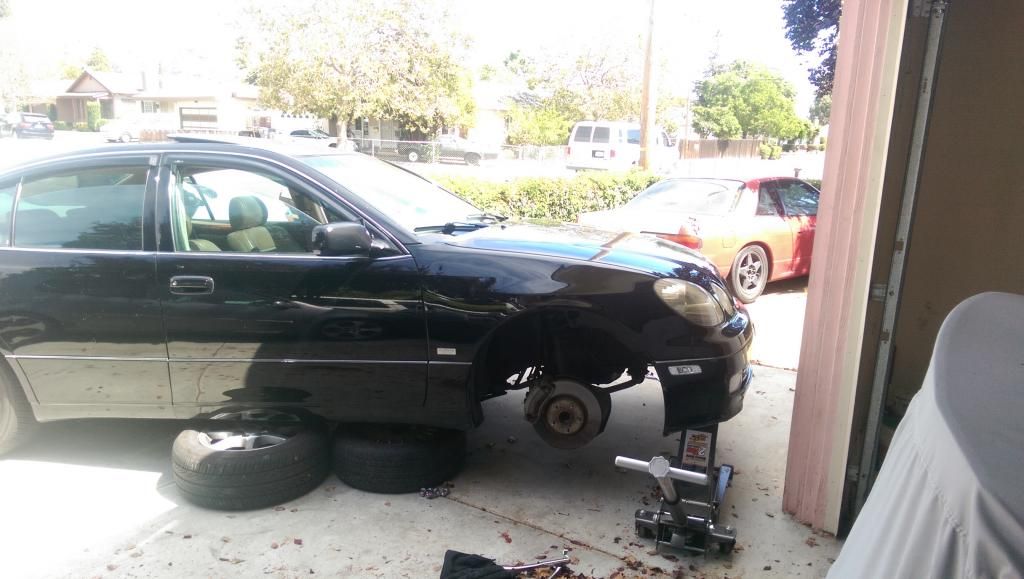
Quality on them is good. They are so easy to put on and hard at the same time. lol If you can't then idk what to tell you?
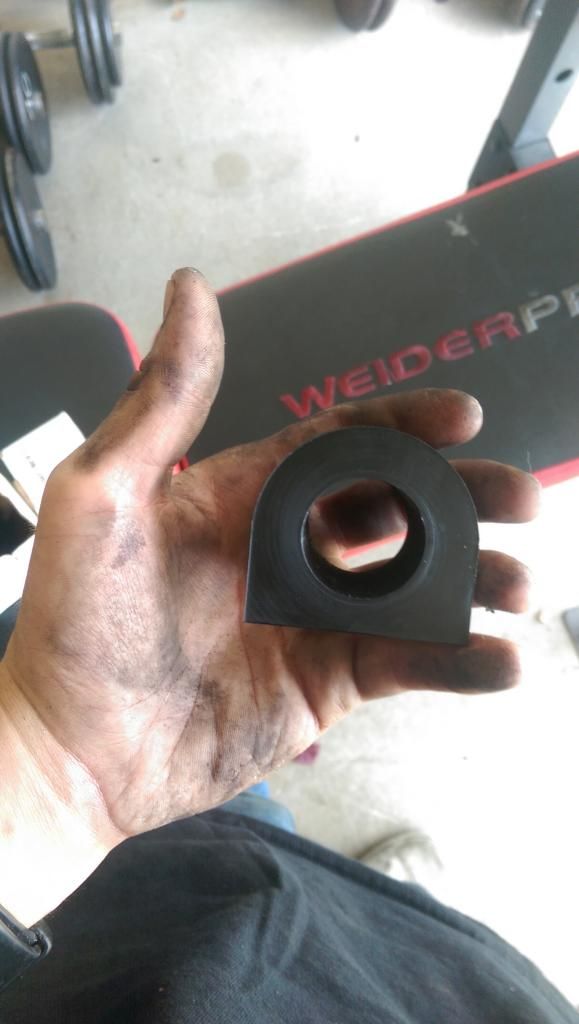
Old / New When I took the old ones out I was surprised because they weren't that beat up. Oh well the new ones are Stiff as Fuuhhh.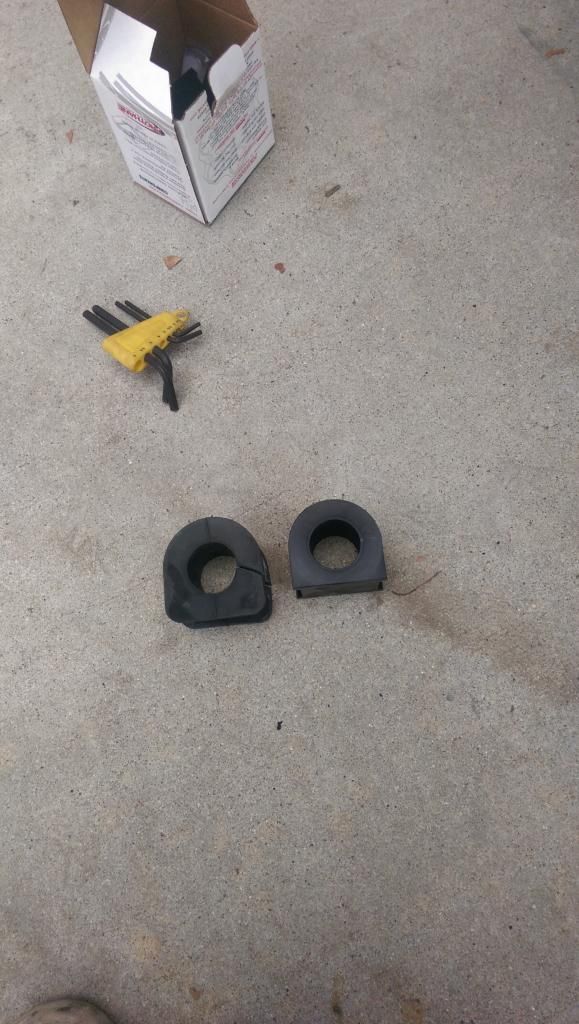
While I was under there I thought I would remove these and put them where they really belong.
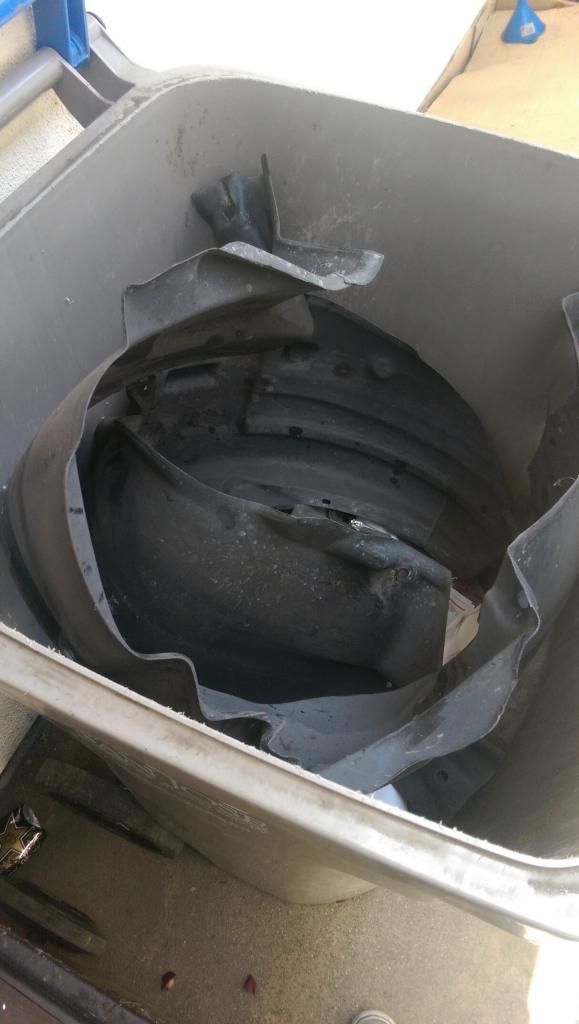
This is some JDM shiz yo. No messin around. Added 2hp too.
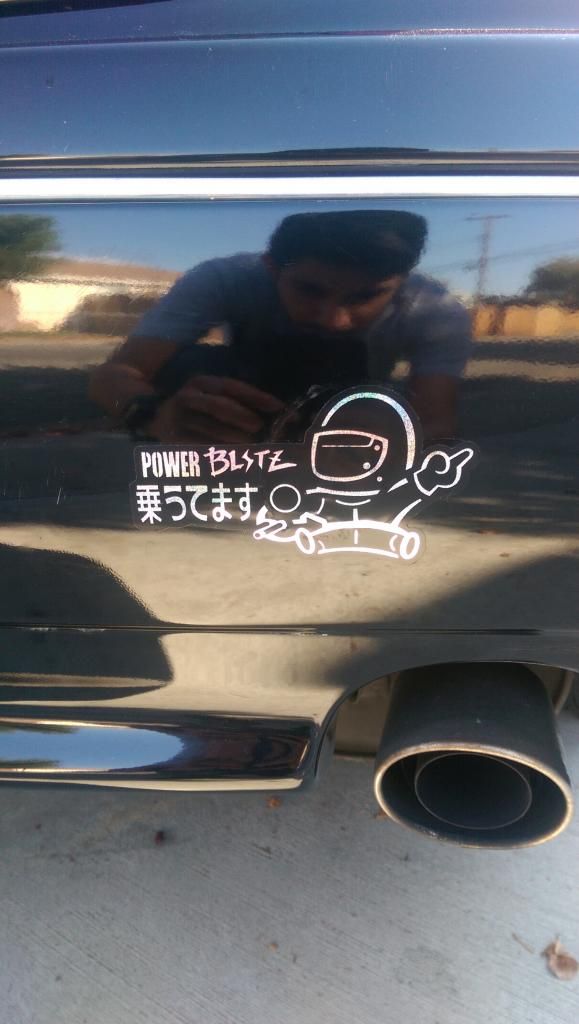
LOL. Anyways I am still waiting on my pbm's to get here as I type thissss. Guess ill post some pics when they are here.
Overall on bushings tho my car squeaks now because of them but who cares racecar right?

As soon as I got home from work I seen them and yup right to work. lol

Quality on them is good. They are so easy to put on and hard at the same time. lol If you can't then idk what to tell you?

Old / New When I took the old ones out I was surprised because they weren't that beat up. Oh well the new ones are Stiff as Fuuhhh.

While I was under there I thought I would remove these and put them where they really belong.

This is some JDM shiz yo. No messin around. Added 2hp too.

LOL. Anyways I am still waiting on my pbm's to get here as I type thissss. Guess ill post some pics when they are here.
Overall on bushings tho my car squeaks now because of them but who cares racecar right?
Trending Topics
#8
#9
My old bushings were also in pretty decent condition so I didn't notice any difference when I changed them.
#10
. Yeah I used most of it for front install got the coils on now. Can't really tell a difference with bushing. I need some adjustable endlinks
#14
#15
Here is what the coils look like in the rear. 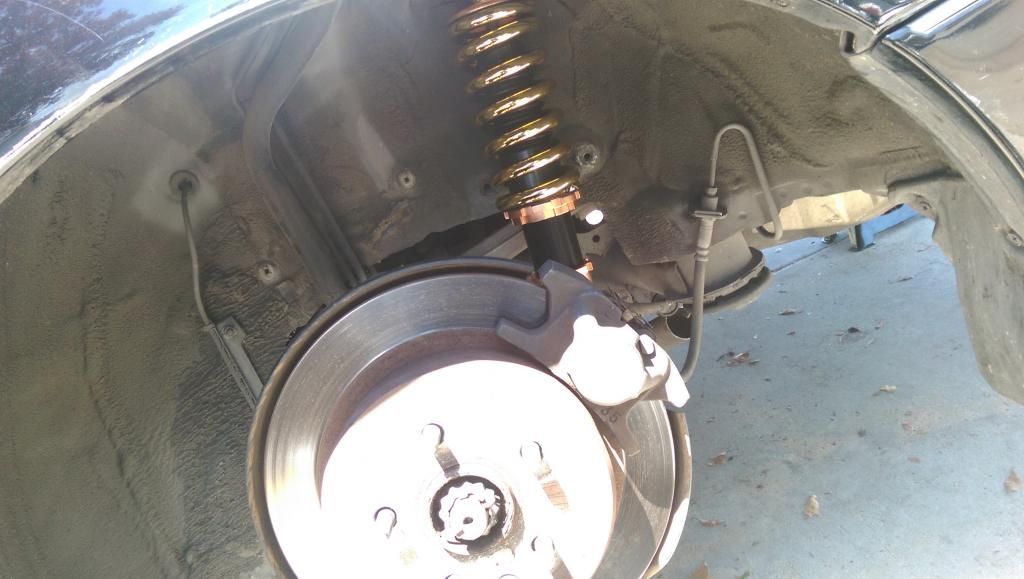
Also cut my lca holes about 30 mins ago. The process is a lot easier than I thought. All you gots to do is go to home depot and get you a 2.5 in hole saw with arbor and pilot drill. About 25 bucks. Jack your car up and disconnect the wishbone arm for clearance.
Here is the outcome
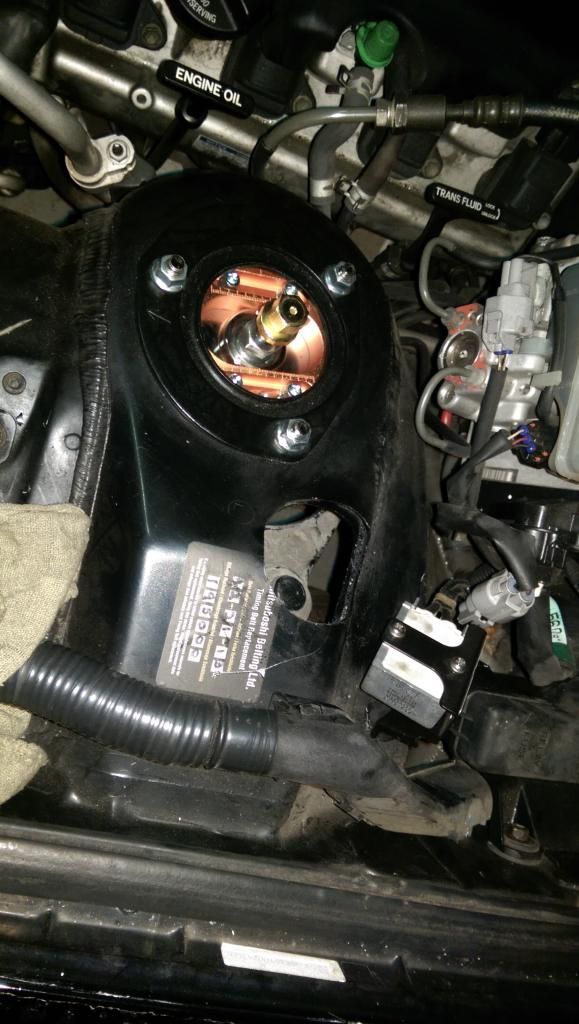
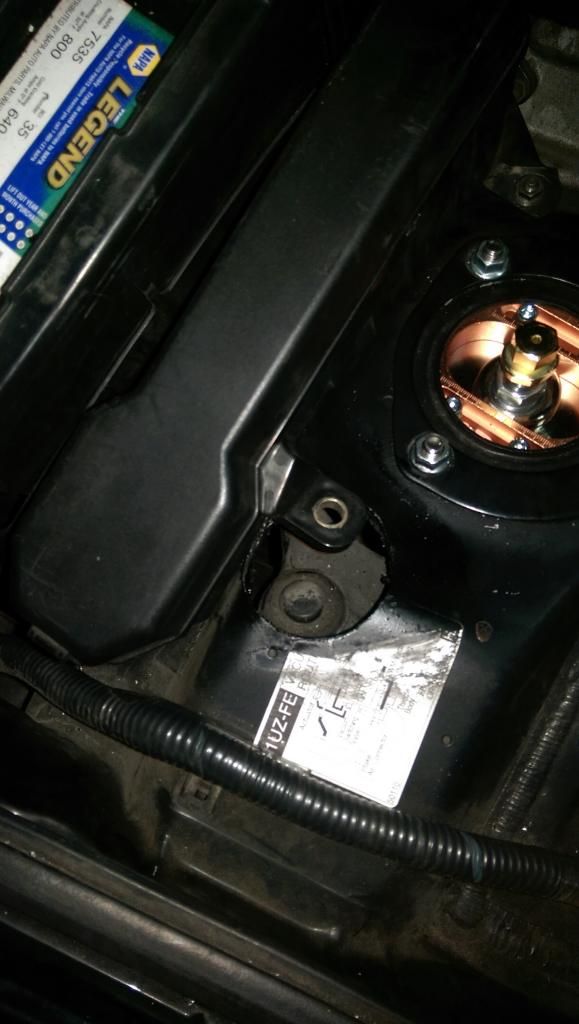
For the drivers side you need to unbolt the square amp looking thing out of the way. My father bent the tab so that I could mount it further up in the pic. For the passengers side I removed my battery unbolted the fuse box so that I could have more room. You don't have to follow my directions but this is what I found easy for me.

Also cut my lca holes about 30 mins ago. The process is a lot easier than I thought. All you gots to do is go to home depot and get you a 2.5 in hole saw with arbor and pilot drill. About 25 bucks. Jack your car up and disconnect the wishbone arm for clearance.
Here is the outcome


For the drivers side you need to unbolt the square amp looking thing out of the way. My father bent the tab so that I could mount it further up in the pic. For the passengers side I removed my battery unbolted the fuse box so that I could have more room. You don't have to follow my directions but this is what I found easy for me.


 I How's the intake?
