2002 Lexus IS300 Sportcross Maintenance Log
 01-04-15, 02:46 PM
#1
Pit Crew
Thread Starter
This thread will mainly be a maintenance log of sorts for my 2002 Lexus IS300 Sportcross I recently picked up. The second reason for this “non-build” is to meet the post requirements for the FS/WTB section. I've always wanted the IS300 wagon but so few were made for Canada that they're fairly hard to find. I saw another one for sale February 2014 but it sold to the first person that saw it at the dealer. It took some convincing (of myself mainly) to trade a half a decade newer, AWD, manual transmission Subaru Outback with all maintenance up-to-date for a RWD auto but I was convinced to do it so I would "shut up about it".
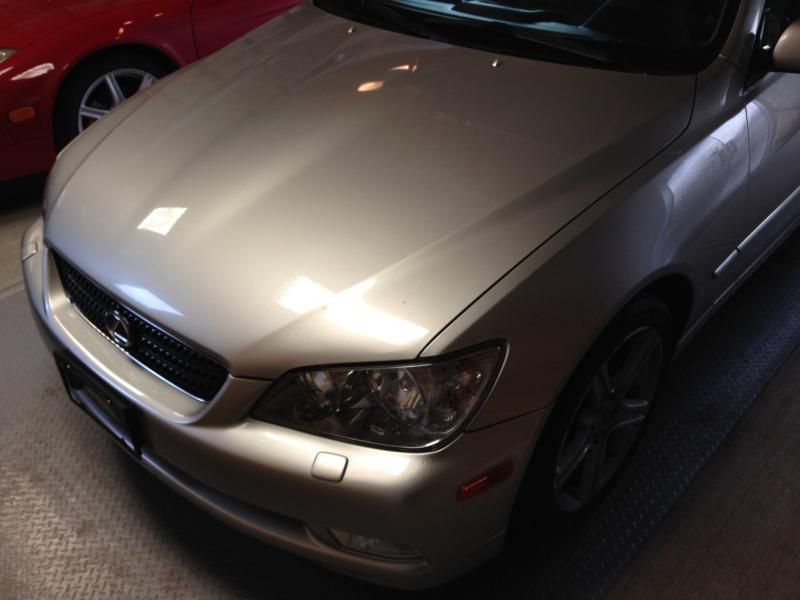
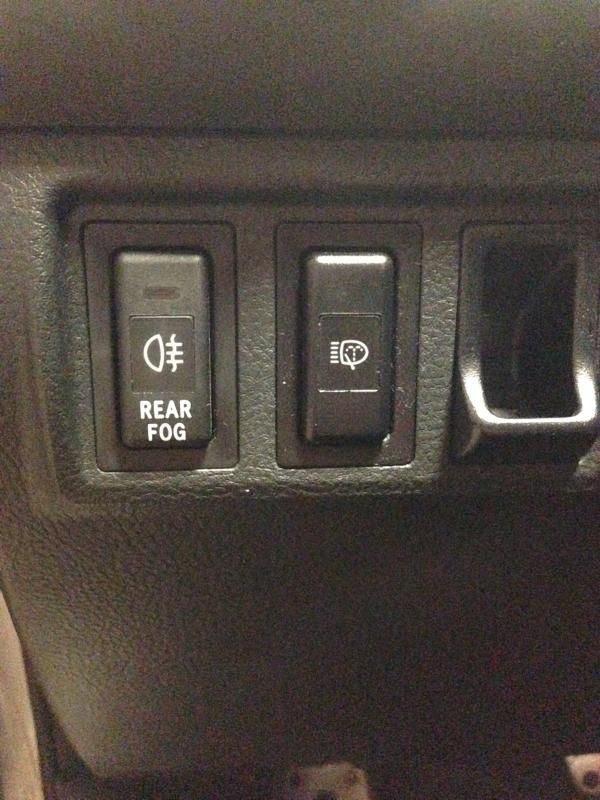
I thought the Sportcross was just a name people gave to the wagons but sure enough right on the insurance card it says IS300 Sportcross. This one is a fully loaded Canadian model (everything in metric/SI units and daytime running lights) with the rear fog lights, headlight washers, 9 speaker stereo with subwoofer, Homelink, Auto dim mirrors (including dimming side mirrors), M98 rear differential = Torsen LSD, then the usual options like full leather, heated seats, et cetera. No block heater surprisingly. The car when I bought it had 94k kilometers on it which really isn't all that bad for a 12 year old car. The car spent the majority of its life in Vancouver so the plus side to that is there is no rust (so I thought). The paint is in rough shape but nothing that a power polish won't solve I believe. It seems like the last owners when they did drive it in winter cleaned the car off “too good”. Instead of brushing off the snow lightly they got it spotless right down to the paint. In my mind I picture them taking the snowbrush and in a hefty axe swing motion hit the car and drag down the hood to clear the snow off. There is also evidence that they scraped hard at the windows as all have fine scratches everywhere. Plus they had pets which rode in the back so all of the back panels have dog scratches everywhere.....and the hair....what a f'ing pain in the *** it is to get dog hair out.
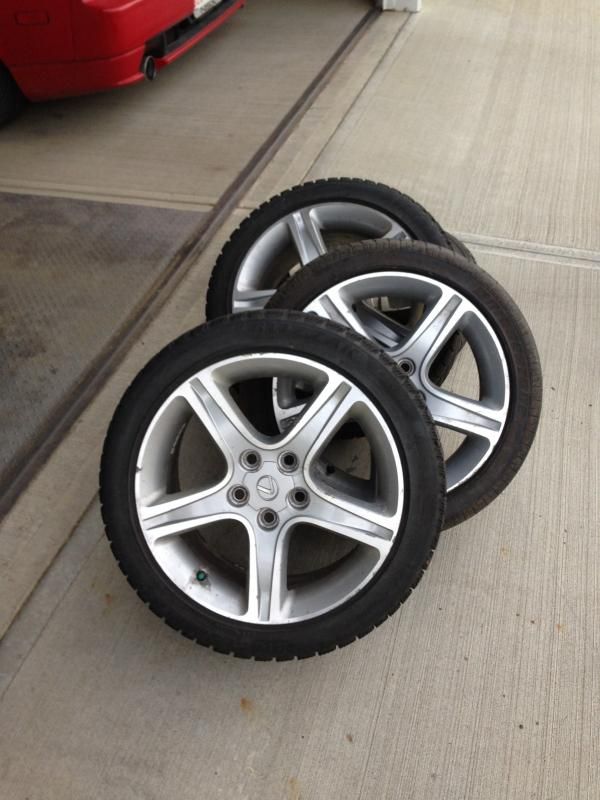
All that aside and best of all it came with two sets of the illusive staggered set of wagon rims (the rears being wider than normal) whereas the sedans all had the same width. When the guy told me he had a winter set of wheels I immediately assumed steel wheels so that was a nice surprise. He also had an extra front wheel. So basically it came with 10 full sized IS300 rims total (full size spare came with it as well). He also gave all maintenance records and the car was dealer maintained all of its life but I'm fairly disappointed in the state of the car. There are receipts for $1000+ worth of work for things like brake jobs, tranny flushes, rear diff flushes and timing belts/water pumps but it seems like they only changed the "required" items. Anything that said inspect they didn't do. As such I now have a squeaky timing idler so I basically have to go in there and redo the whole job because some tech spun the idler and deemed it adequate somehow. And really how would the previous owners know otherwise when the dealer is telling them "it's fine"? So there are a few things to do yet.
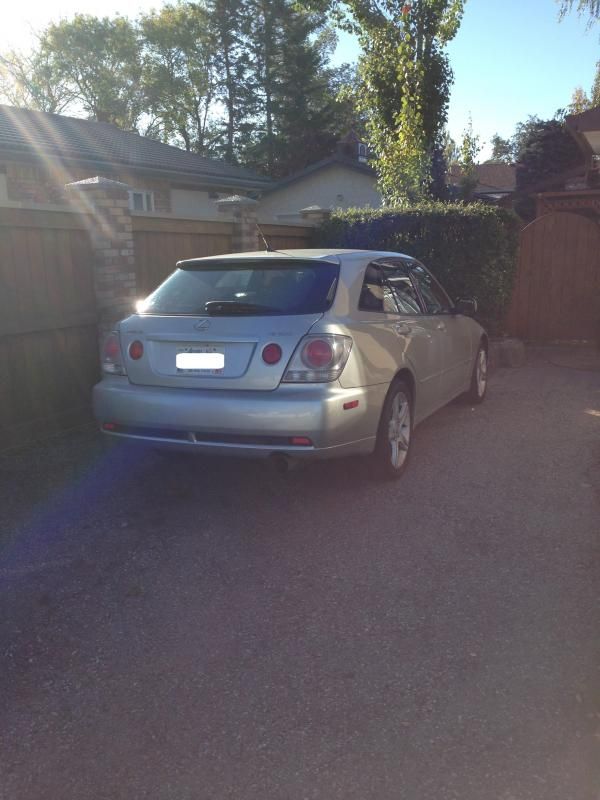
Here is the car after I bought it.
In Calgary
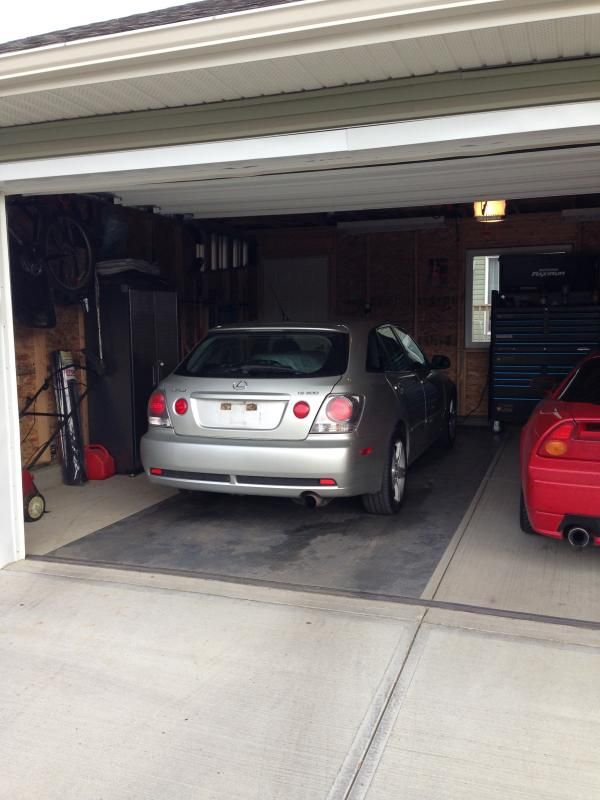
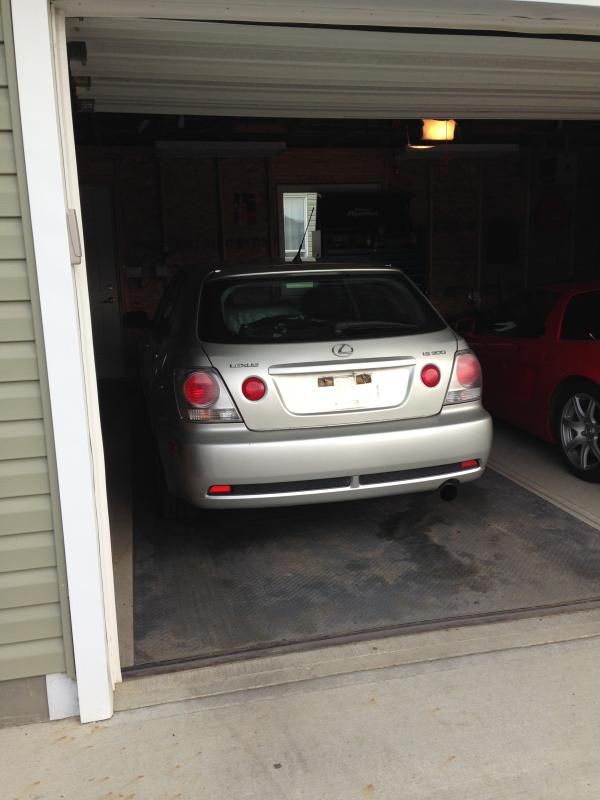
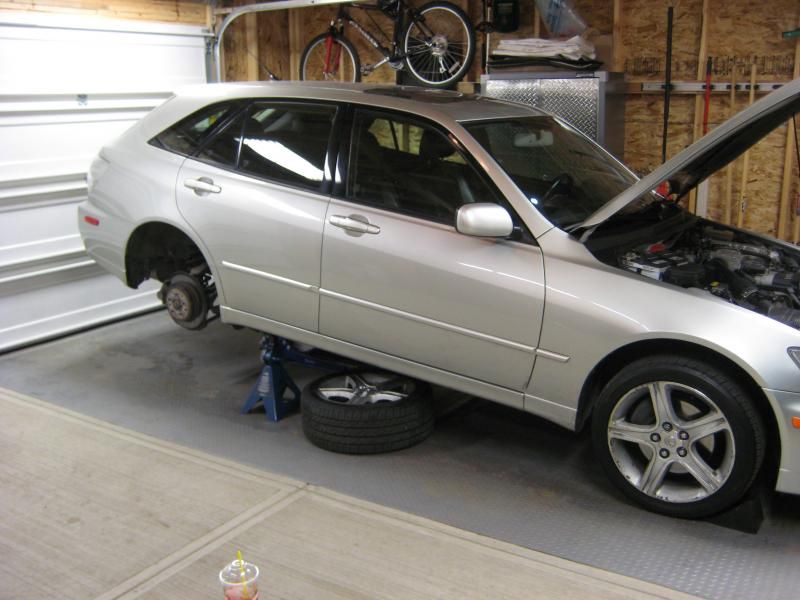
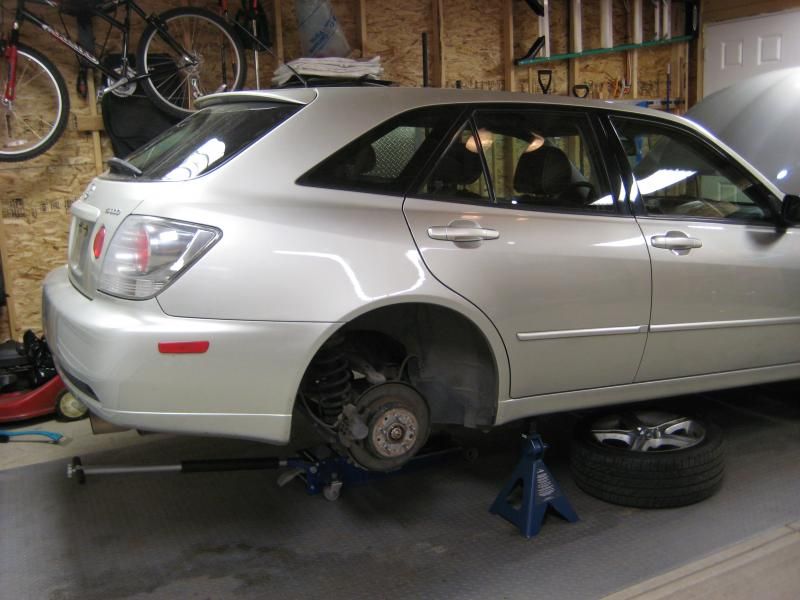
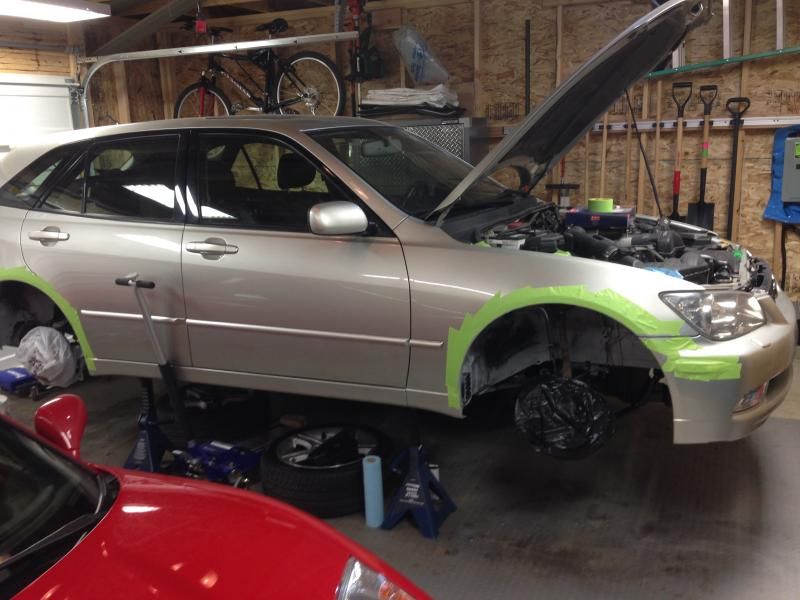
In my garage

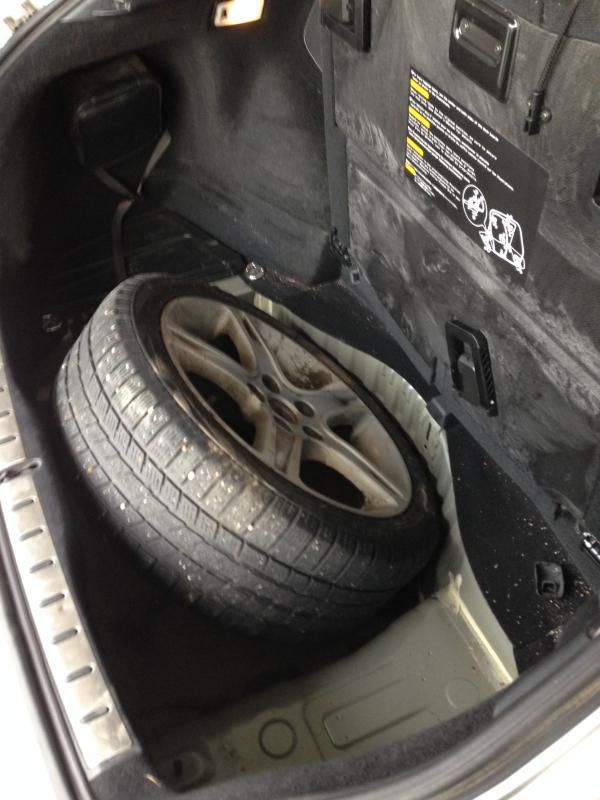
It's hard to see the filthiness of the hatch area but there is dog hair everywhere

Second set of staggered wheels with Blizzaks on them
Full size spare. There is a full size spare with a summer tire and the other is with a winter tire.
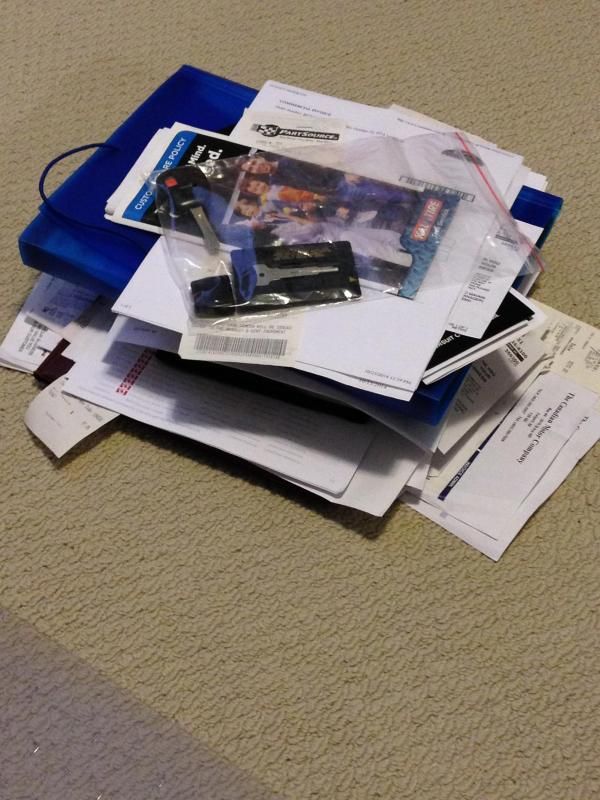
Full records, all keys and all manuals came with the car
I thought the Sportcross was just a name people gave to the wagons but sure enough right on the insurance card it says IS300 Sportcross. This one is a fully loaded Canadian model (everything in metric/SI units and daytime running lights) with the rear fog lights, headlight washers, 9 speaker stereo with subwoofer, Homelink, Auto dim mirrors (including dimming side mirrors), M98 rear differential = Torsen LSD, then the usual options like full leather, heated seats, et cetera. No block heater surprisingly. The car when I bought it had 94k kilometers on it which really isn't all that bad for a 12 year old car. The car spent the majority of its life in Vancouver so the plus side to that is there is no rust (so I thought). The paint is in rough shape but nothing that a power polish won't solve I believe. It seems like the last owners when they did drive it in winter cleaned the car off “too good”. Instead of brushing off the snow lightly they got it spotless right down to the paint. In my mind I picture them taking the snowbrush and in a hefty axe swing motion hit the car and drag down the hood to clear the snow off. There is also evidence that they scraped hard at the windows as all have fine scratches everywhere. Plus they had pets which rode in the back so all of the back panels have dog scratches everywhere.....and the hair....what a f'ing pain in the *** it is to get dog hair out.
All that aside and best of all it came with two sets of the illusive staggered set of wagon rims (the rears being wider than normal) whereas the sedans all had the same width. When the guy told me he had a winter set of wheels I immediately assumed steel wheels so that was a nice surprise. He also had an extra front wheel. So basically it came with 10 full sized IS300 rims total (full size spare came with it as well). He also gave all maintenance records and the car was dealer maintained all of its life but I'm fairly disappointed in the state of the car. There are receipts for $1000+ worth of work for things like brake jobs, tranny flushes, rear diff flushes and timing belts/water pumps but it seems like they only changed the "required" items. Anything that said inspect they didn't do. As such I now have a squeaky timing idler so I basically have to go in there and redo the whole job because some tech spun the idler and deemed it adequate somehow. And really how would the previous owners know otherwise when the dealer is telling them "it's fine"? So there are a few things to do yet.
Here is the car after I bought it.
In Calgary

In my garage


It's hard to see the filthiness of the hatch area but there is dog hair everywhere

Second set of staggered wheels with Blizzaks on them

Full size spare. There is a full size spare with a summer tire and the other is with a winter tire.

Full records, all keys and all manuals came with the car

 01-04-15, 02:49 PM
#2
Pit Crew
Thread Starter
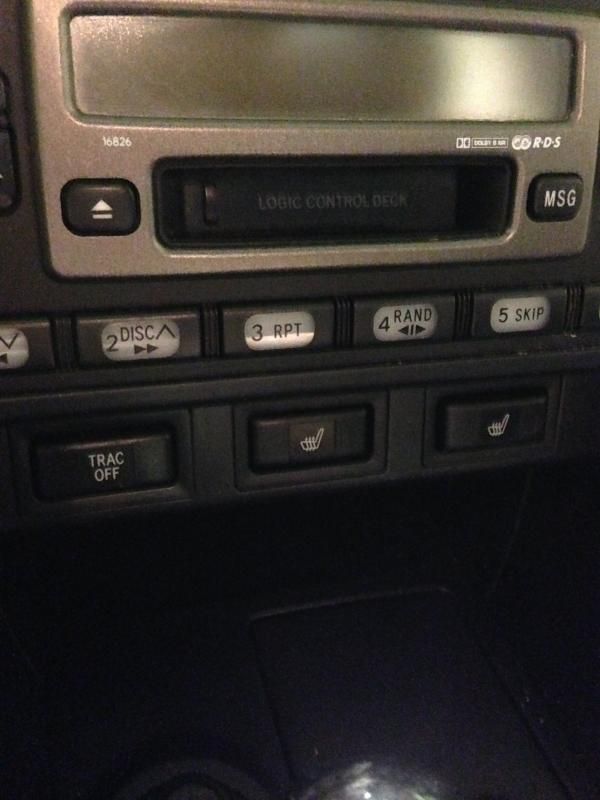
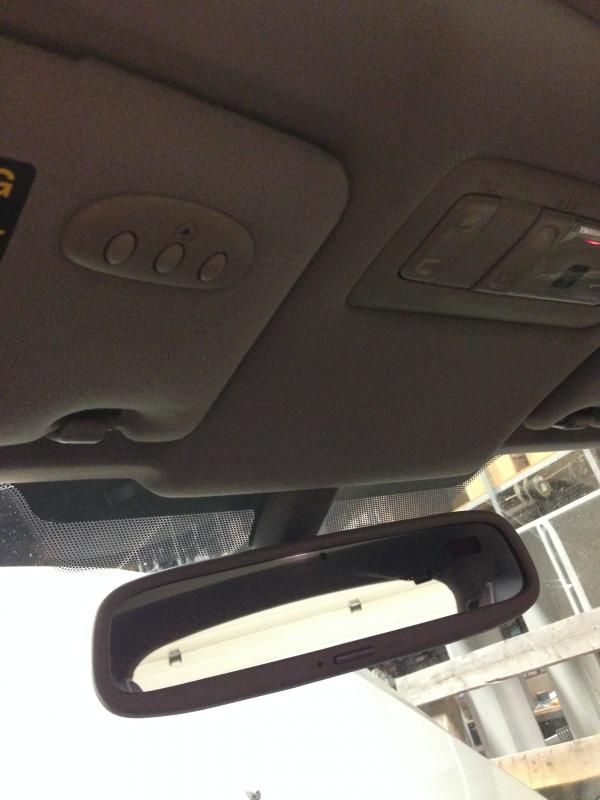
Some of the options
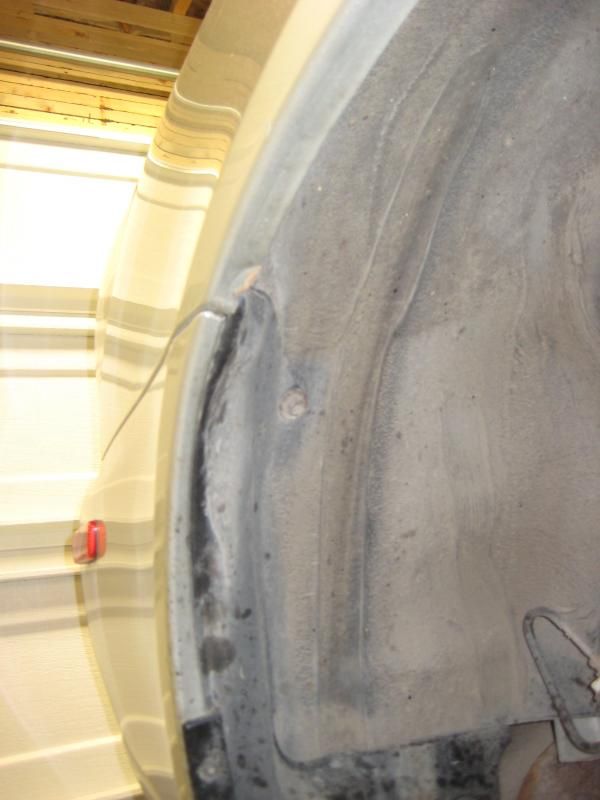
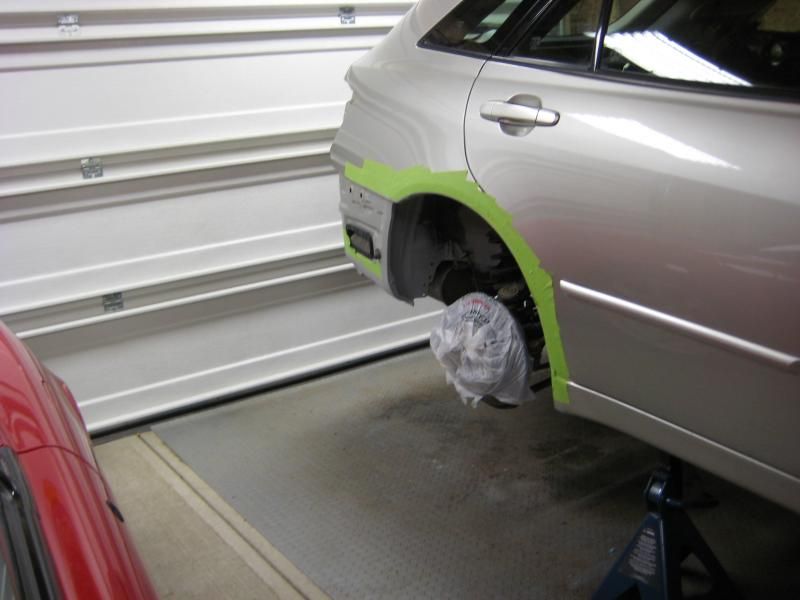
I then proceeded to undercoat the car as it had none on it. It’s mainly to cover the bare patches of metal.
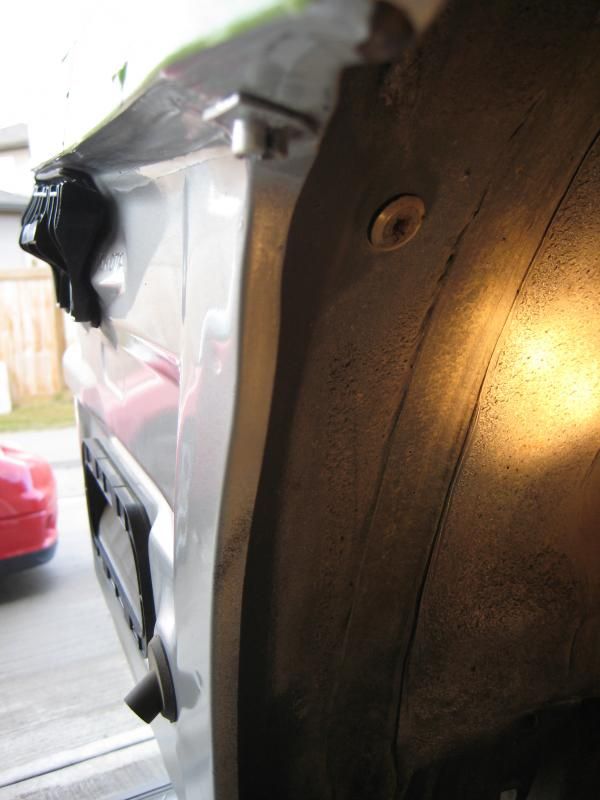
Unfortunately I did find some rust starting to form. All of the rust came off with a green scotch pad. The metal underneath was still intact.
Unfortunately I did find some rust starting to form. All of the rust came off with a green scotch pad. The metal underneath was still intact.
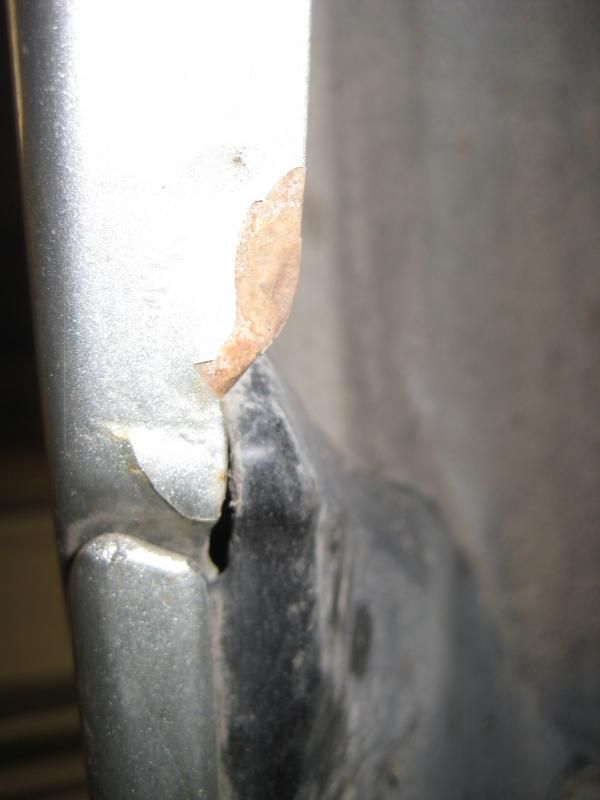
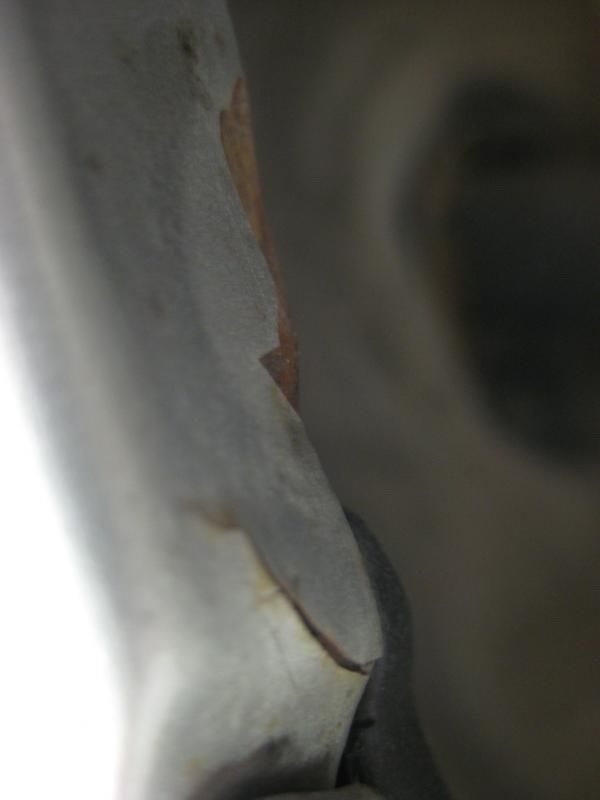
Also a spot of paint peeling on the oxidised aluminum. Note, getting 12 year old masking tape off is a bugger.


I then proceeded to undercoat the car as it had none on it. It’s mainly to cover the bare patches of metal.


Unfortunately I did find some rust starting to form. All of the rust came off with a green scotch pad. The metal underneath was still intact.

Unfortunately I did find some rust starting to form. All of the rust came off with a green scotch pad. The metal underneath was still intact.


Also a spot of paint peeling on the oxidised aluminum. Note, getting 12 year old masking tape off is a bugger.
 01-04-15, 02:49 PM
#3
Pit Crew
Thread Starter

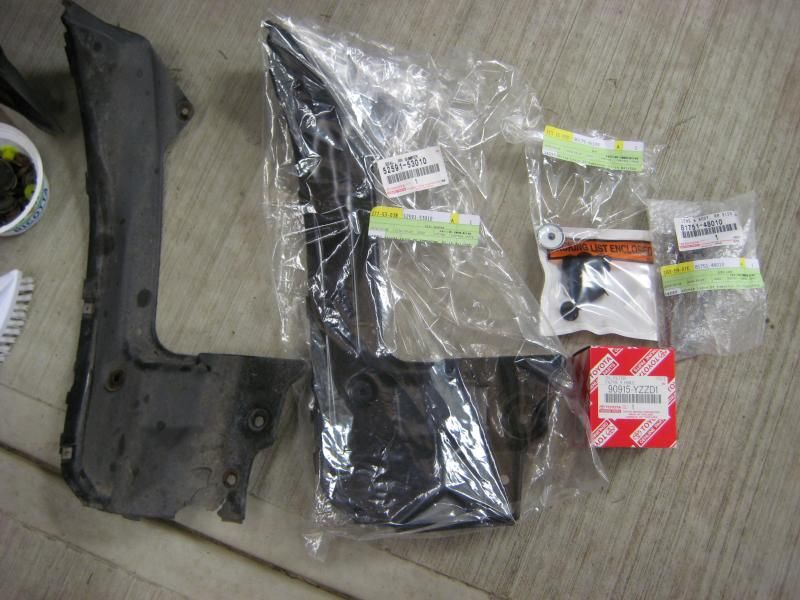
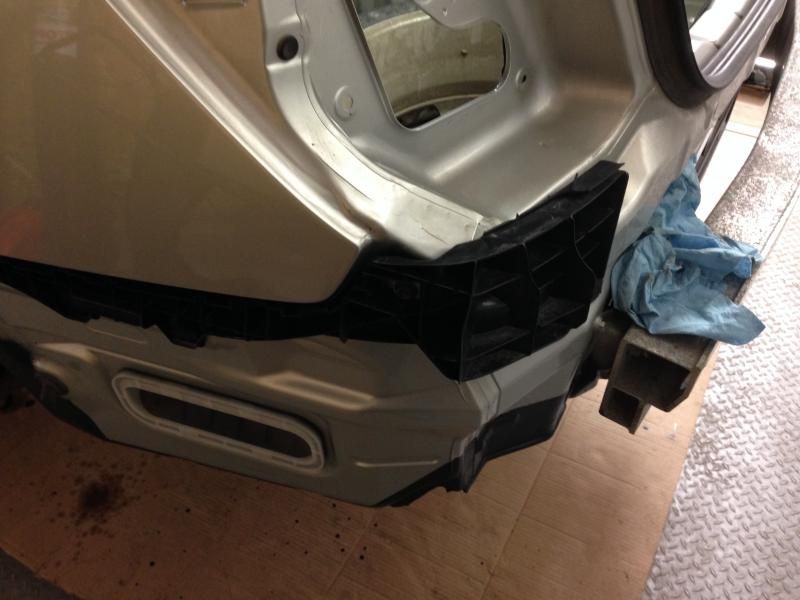
So with the newly found rust spot I had to take the rear bumper off and parts of the interior. It was a good way to get acquainted with the new car.
The pile of parts that had to be removed

I found more bare metal behind the passenger tail light

Driver's side was okay

Driver's quarter panel looked clean

Passenger quarter panel also looked good

A few more picture here and there


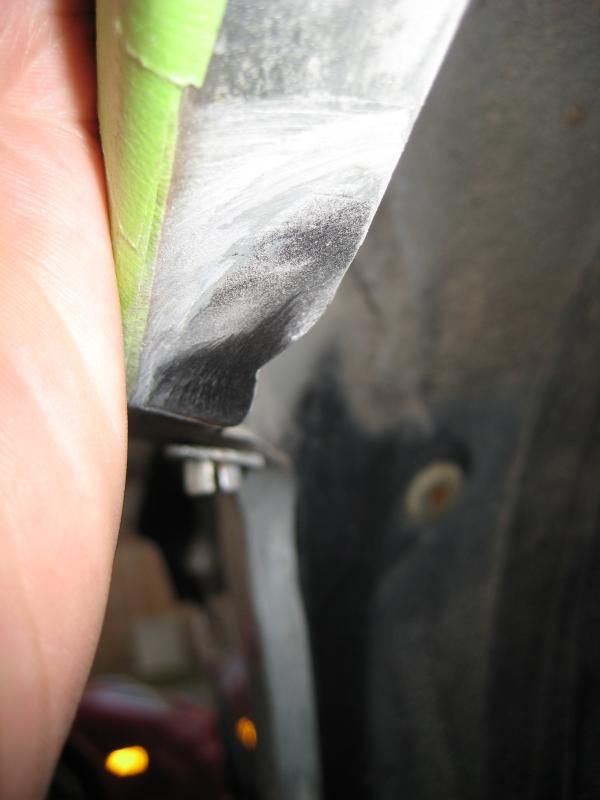
The following is the definition of surface rust. I notice most people selling their cars when they say has surface rust you can put your fingers through the rust holes.

More spots lower down but all fairly manageable
01-04-15, 02:50 PM
#4
Pit Crew
Thread Starter


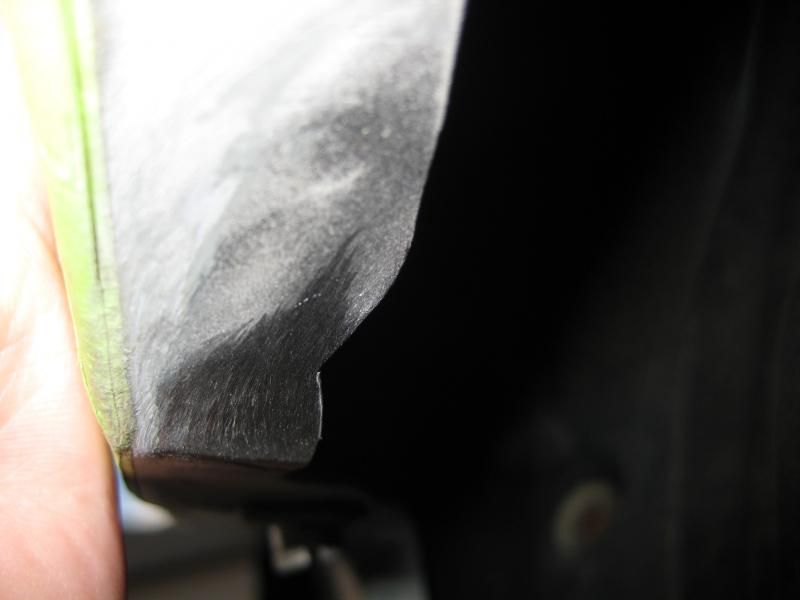
Inside of driver's quarter panel looks good with no rust

Again surface rust. This entire spot came out with only a scotch pad


Inside of passenger quarter panel also looked good
 01-04-15, 02:51 PM
#5
Pit Crew
Thread Starter
Here is that one spot sanded down. Notice the primer is still intact
The other piece higher up
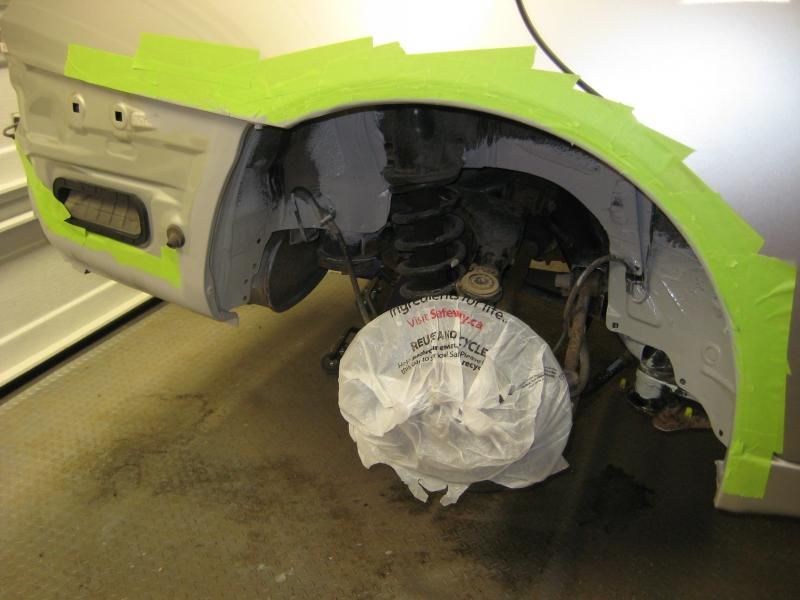
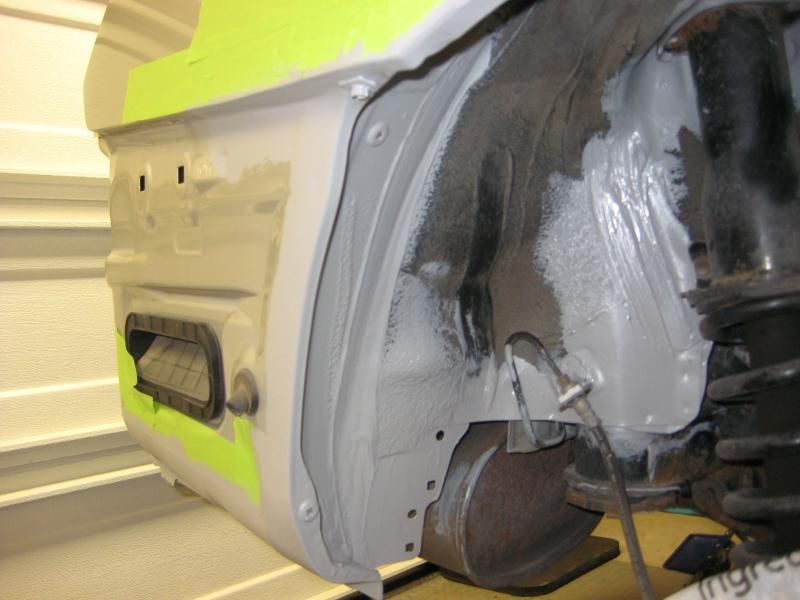
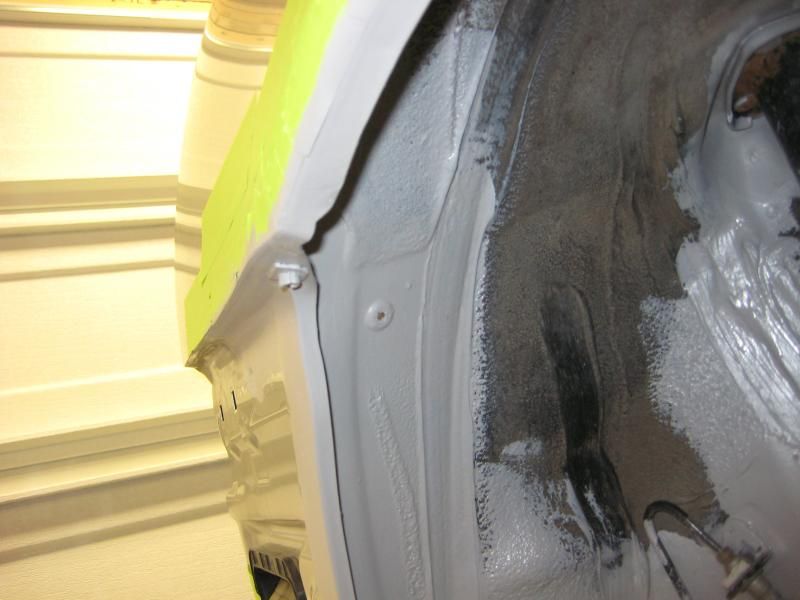
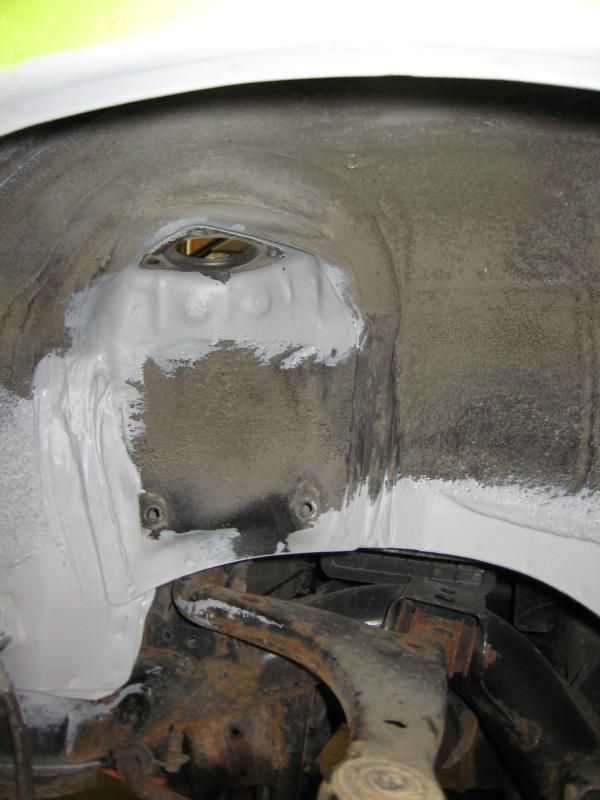
So with that I then proceeded to mask everything off and rust prevent/undercoat.

I used the Rust Check preventer stuff. POR15 was also an option but I heard it was a bugger to work with. I can confirm that. I bought both but ended up using the Rust Check more. I started with a light coat then went with a normal layer.

The other piece higher up


So with that I then proceeded to mask everything off and rust prevent/undercoat.


I used the Rust Check preventer stuff. POR15 was also an option but I heard it was a bugger to work with. I can confirm that. I bought both but ended up using the Rust Check more. I started with a light coat then went with a normal layer.


Trending Topics
01-04-15, 02:54 PM
#8
Pit Crew
Thread Starter

And then back to the rears for a few more coats


Here is the rubbed off piece behind the passenger tail light

Filled in

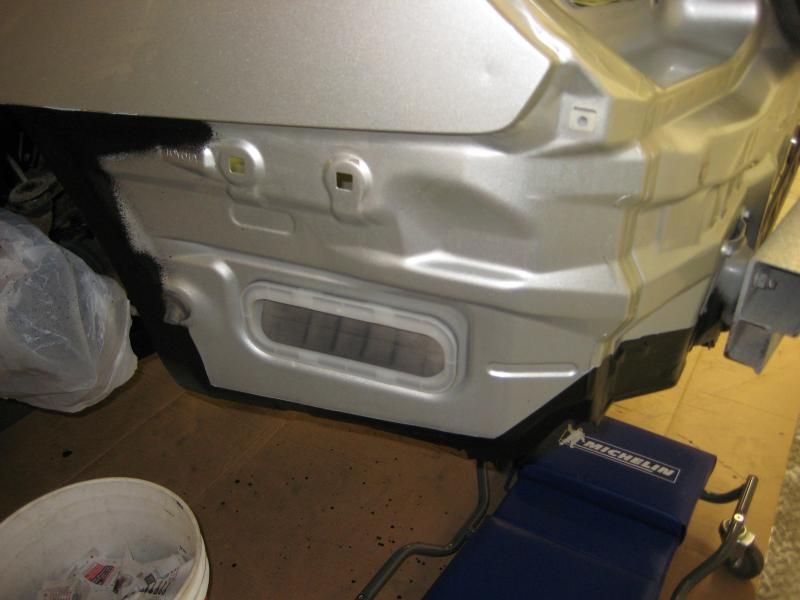
And here is the rear license plate area bare patch. It looks like the Superman symbol


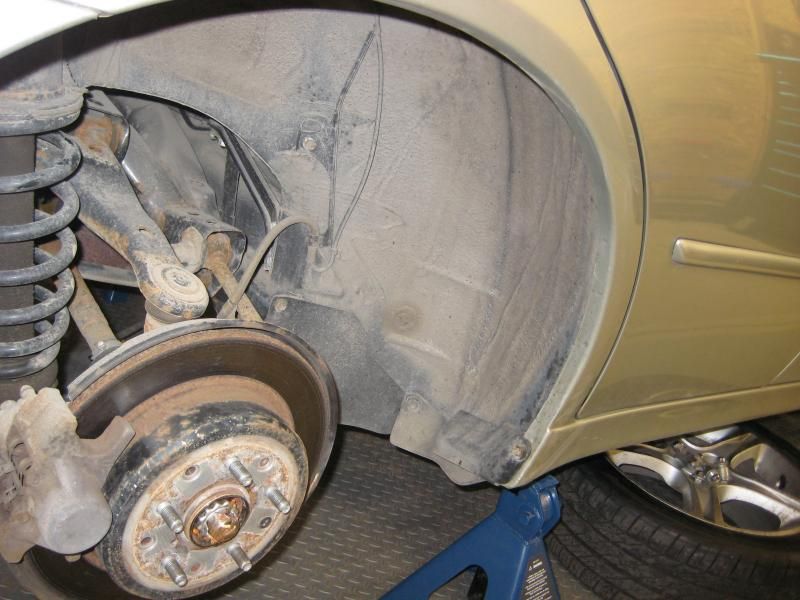
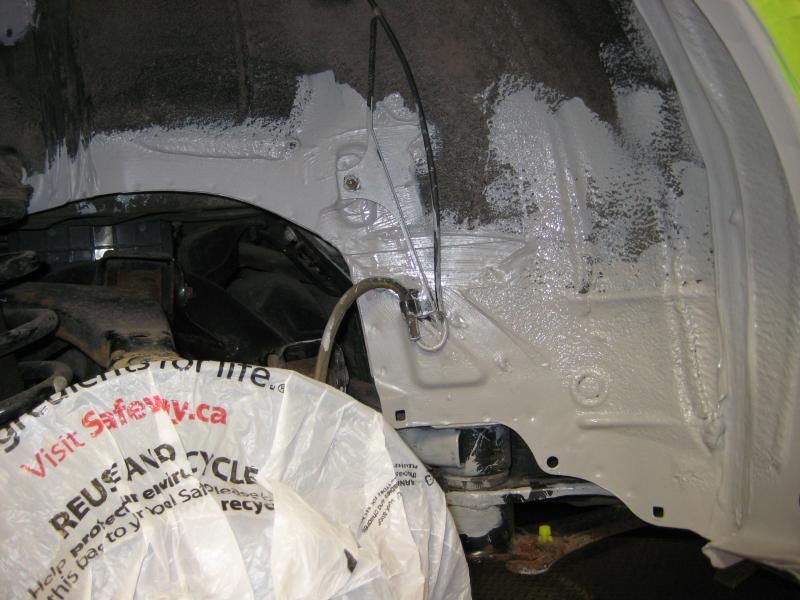
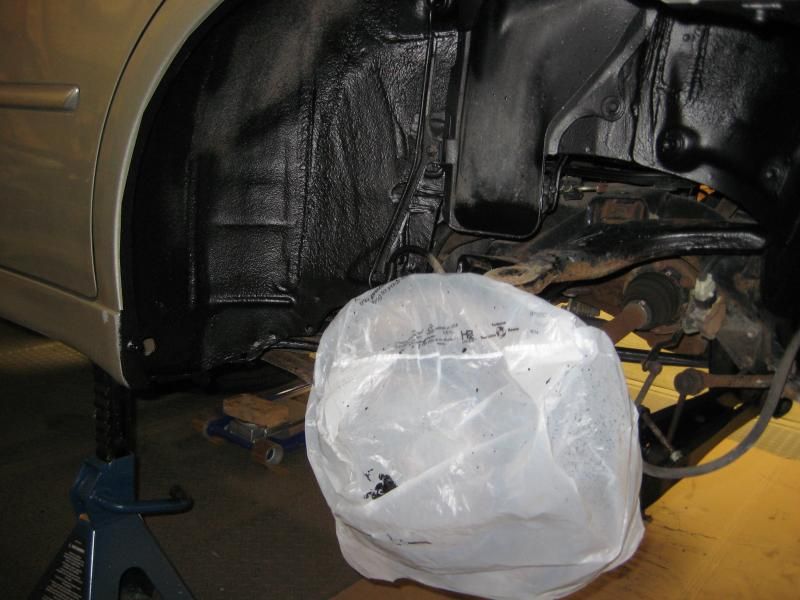
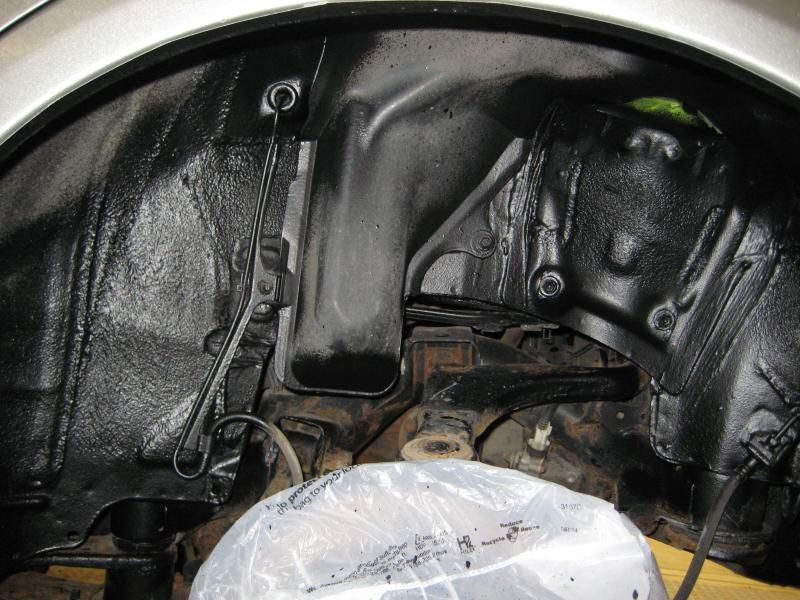
Then once everything dried I did the undercoating spots behind the splash shields. After that took the car to a proper undercoating place once I was done.


 01-04-15, 02:55 PM
#9
Pit Crew
Thread Starter
Missed a spot
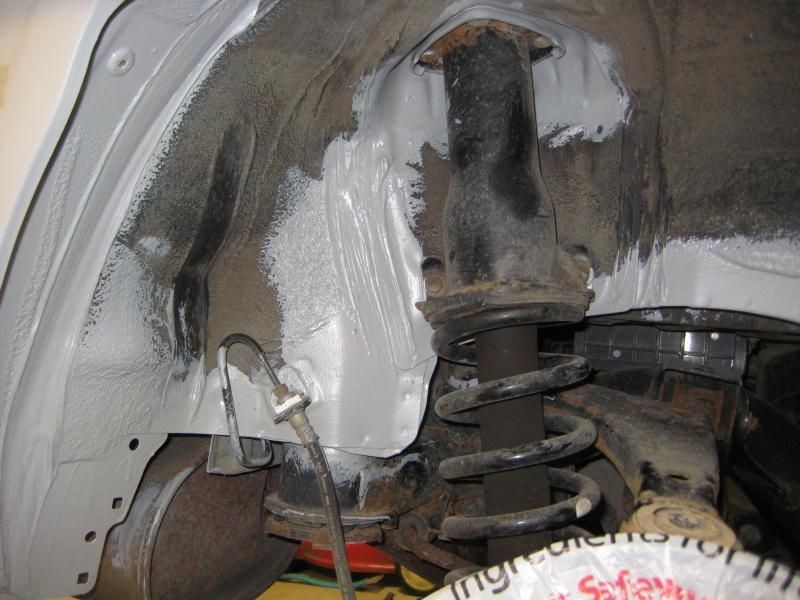
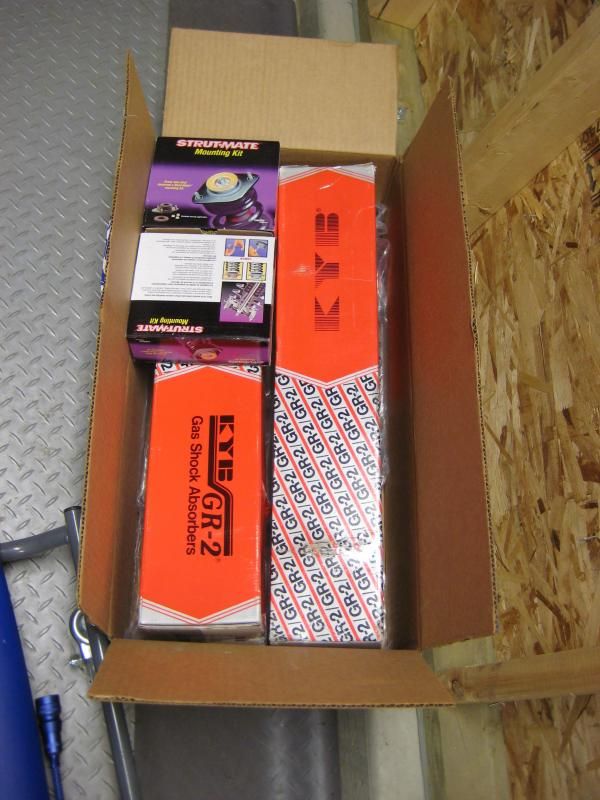
I was going to wait on the shocks until summer but the back right one was pretty bad. It leaked all of its gas but then started filling up with road grime water. Once full of water it prevented the spring from doing anything (incompressible fluid yada yada yada). Every time I went over a bump it "hopped" the back end over. Wasn't so bad in the dry but it completely messed with the stability control if the bump was big enough.
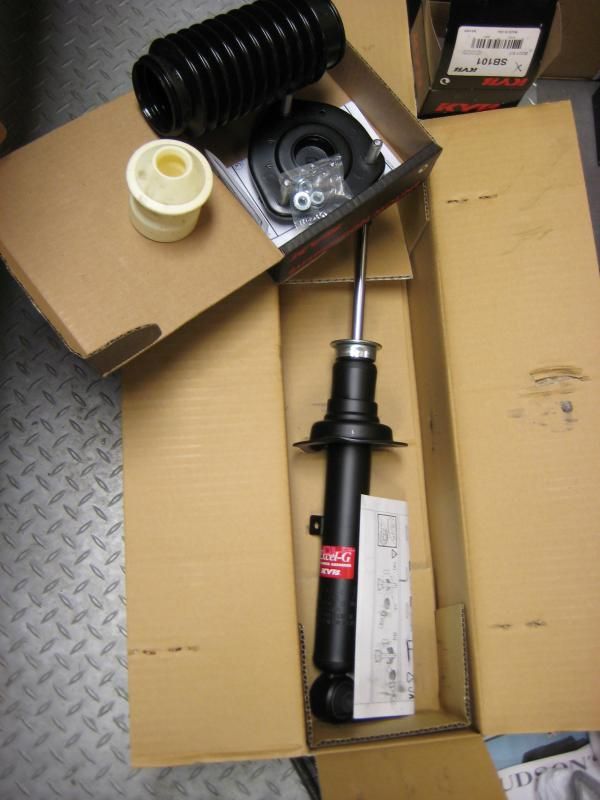
Quick order with Rock Auto and I was on my way
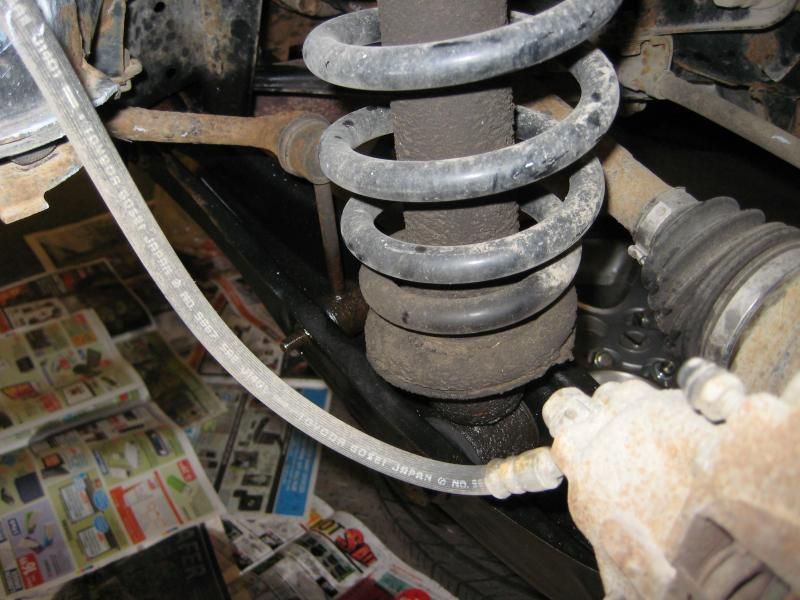
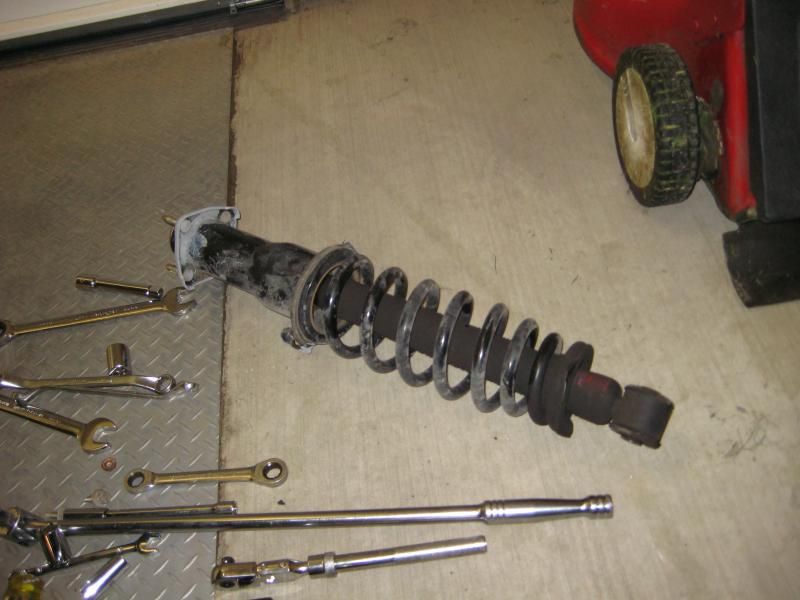
The disassembly. Many pictures are the same as above.
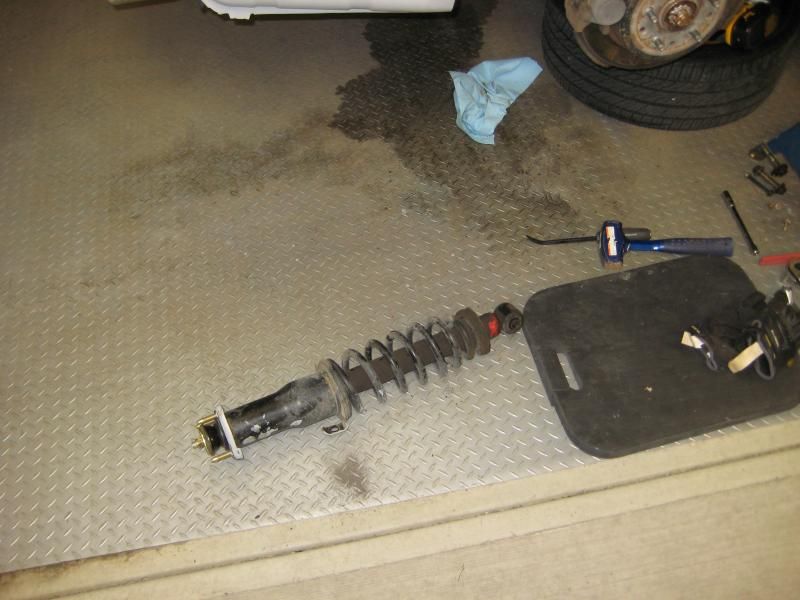
The failed back right shock
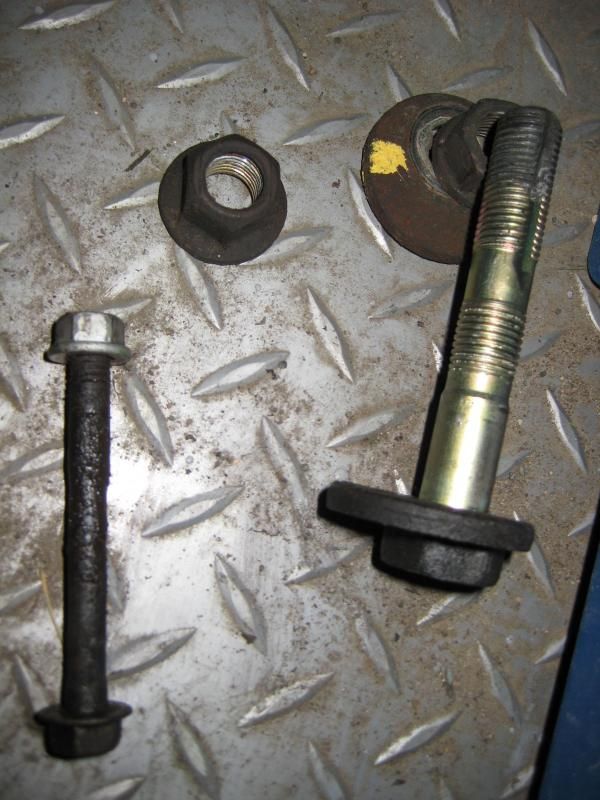
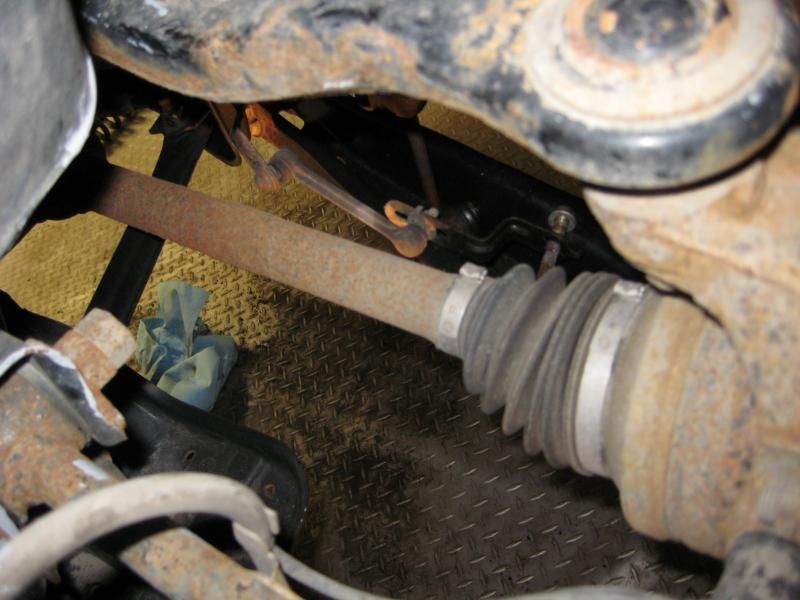
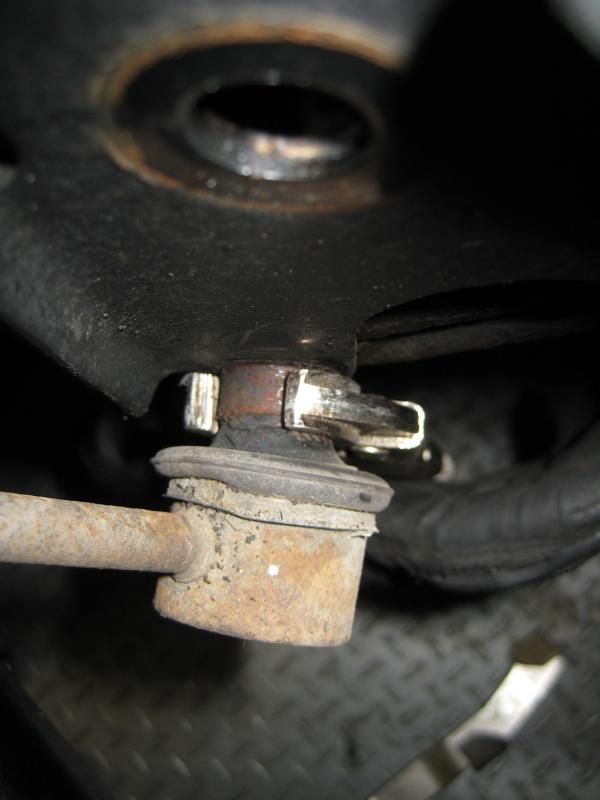
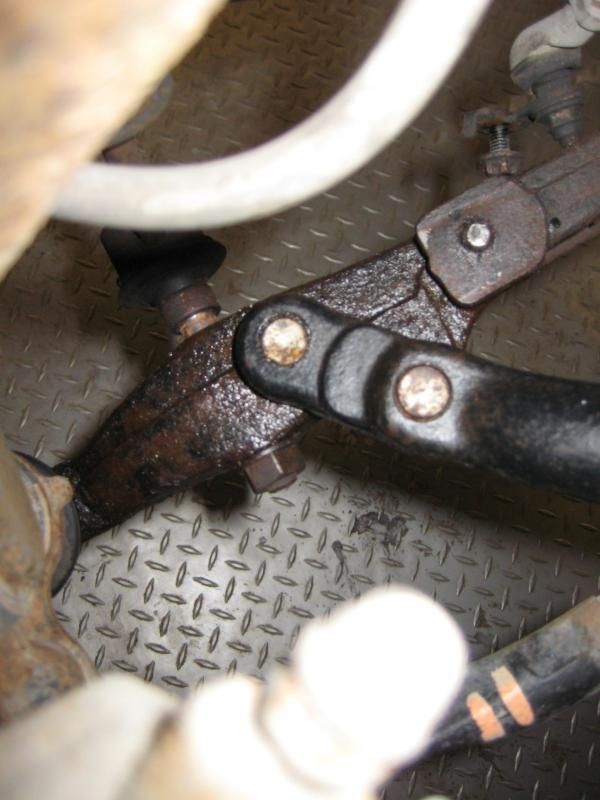
Mark the alignment bolt as necessary
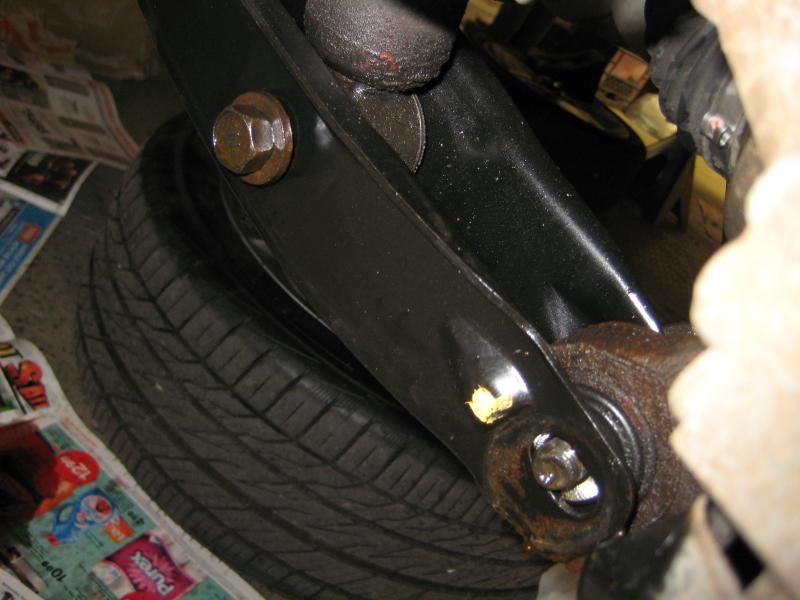
It's hard to see what's going on in this picture and it looked worse in person but this is the lower shock bolt. The lack of movement from the shock seems to have worn away at the diameter of the bolt itself. It's the smaller bolt of the two.
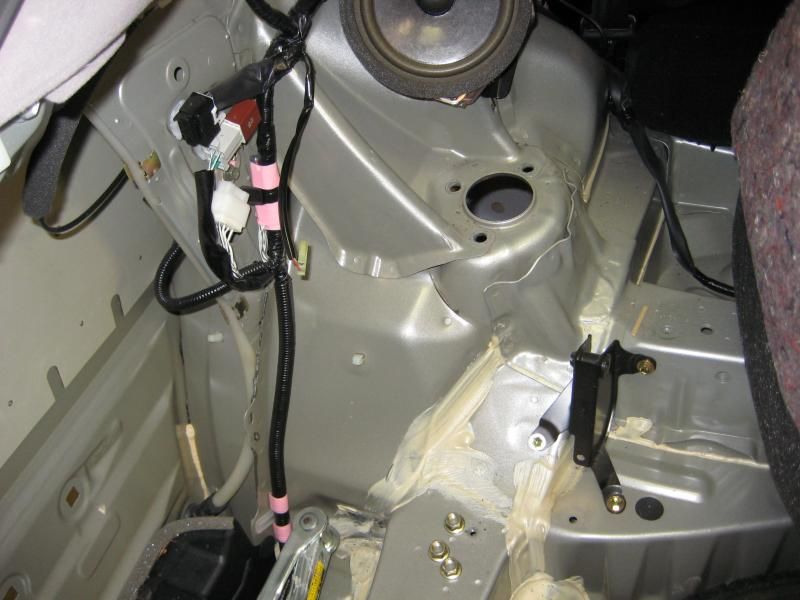
I already had the interior apart so that was easy.
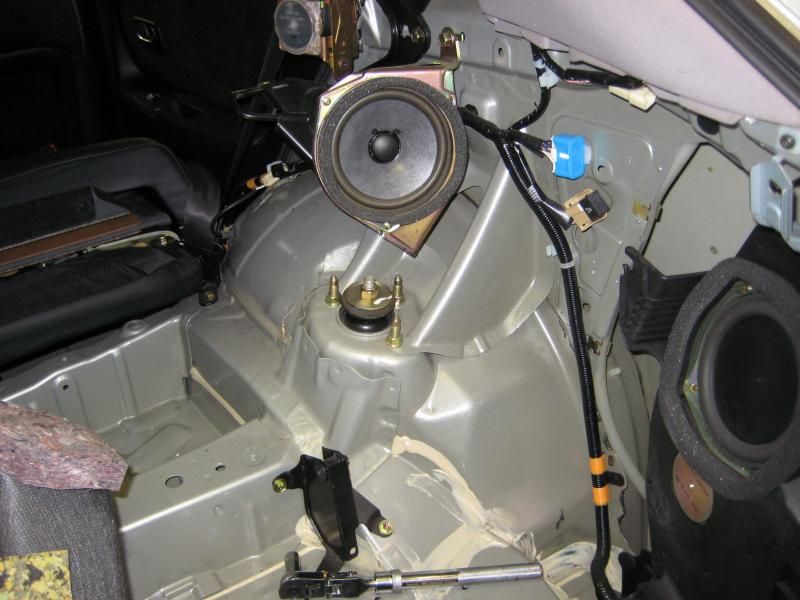
First strut out
Touched up a few missed spots on the rust prevent stuff


I was going to wait on the shocks until summer but the back right one was pretty bad. It leaked all of its gas but then started filling up with road grime water. Once full of water it prevented the spring from doing anything (incompressible fluid yada yada yada). Every time I went over a bump it "hopped" the back end over. Wasn't so bad in the dry but it completely messed with the stability control if the bump was big enough.
Quick order with Rock Auto and I was on my way


The disassembly. Many pictures are the same as above.
The failed back right shock

Mark the alignment bolt as necessary

It's hard to see what's going on in this picture and it looked worse in person but this is the lower shock bolt. The lack of movement from the shock seems to have worn away at the diameter of the bolt itself. It's the smaller bolt of the two.

I already had the interior apart so that was easy.

First strut out

Touched up a few missed spots on the rust prevent stuff
 01-04-15, 02:56 PM
#10
Pit Crew
Thread Starter
Repeat on the other side
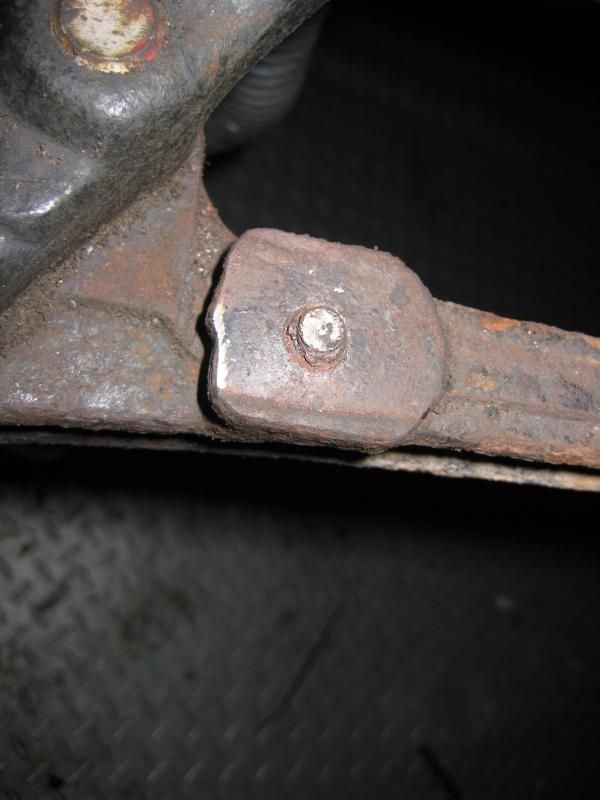
For the fronts had the stubborn spinning sway bar link. But the lightest of pressure from $0.99 vice grips did the job
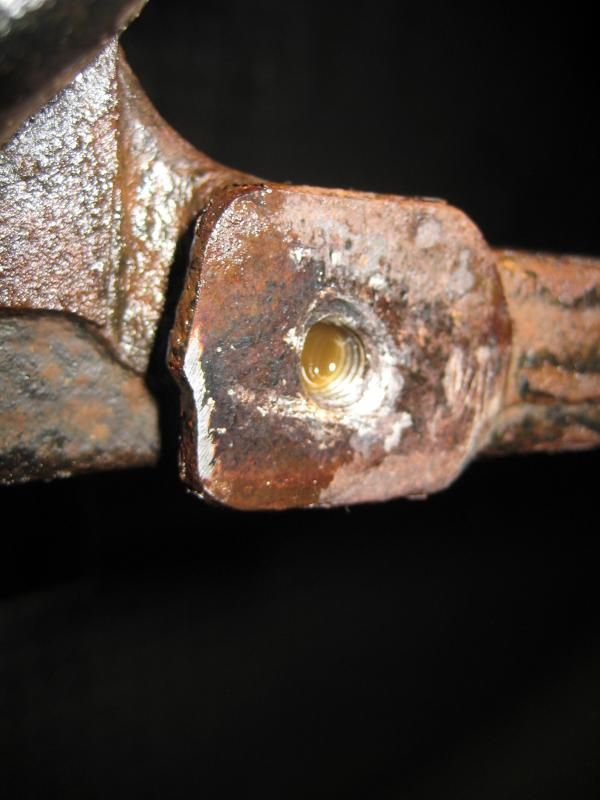
Then I moved onto the front strut mount. I researched that everyone in the rust belt region strips this bolt. So I penetrated it for a week straight (while I was doing the rust stuff above) in hopes it would do anything. Nope...a 3/8" ratchet spun the head right off.
......and repeat for the other side
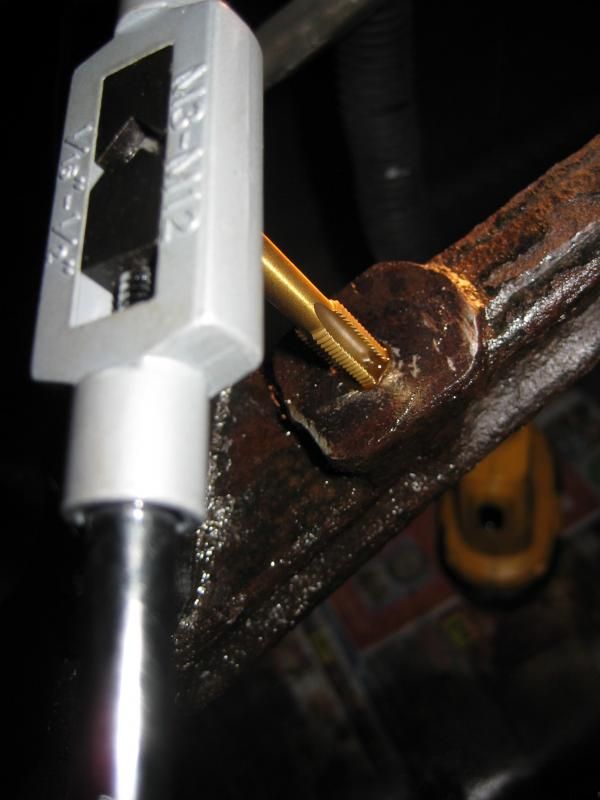
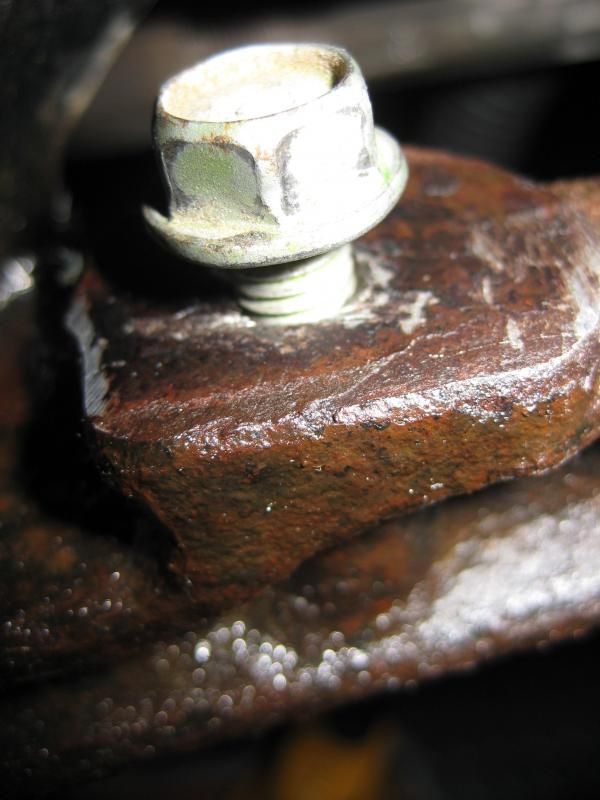
The pictures don't show it but the next few steps took the most amount of time. Drilling broken bolts sucks. Good thing is I had decent access and only missed the center by a little bit. A new bolt fit right in no problem.


For the fronts had the stubborn spinning sway bar link. But the lightest of pressure from $0.99 vice grips did the job

Then I moved onto the front strut mount. I researched that everyone in the rust belt region strips this bolt. So I penetrated it for a week straight (while I was doing the rust stuff above) in hopes it would do anything. Nope...a 3/8" ratchet spun the head right off.

......and repeat for the other side

The pictures don't show it but the next few steps took the most amount of time. Drilling broken bolts sucks. Good thing is I had decent access and only missed the center by a little bit. A new bolt fit right in no problem.


 01-04-15, 02:57 PM
#11
Pit Crew
Thread Starter

Once it was drilled out I beat the crap out of it with a punch to break the bolt in on itself

Start on swapping the shocks.
Mark the orientation of the top hat bolts to the bottom bolt hole

Find out too late that Rock Auto has their descriptions wrong for the front bellows kit. They claim base model has these but the service manual only shows one for all models. I let them know but they claim my wagon is the top of the line variant. I told them the Sportdesign is the best one and not the Sportcross but they just shrugged their shoulders


Hard to see what's going on here but the guy who did the struts previously mixed up the left and right side top hats. I'm fairly sure they're the same though

Take off the spring

The next two pictures show a time laps of about 15 minutes between the time I compressed it and took the pictures

It moved about a centimeter

And it was full of liquid

The new kit only had the top bumper in it. I would have guessed the bottom one takes more abuse....

Always put a new rubber on


 01-04-15, 02:59 PM
#13
Pit Crew
Thread Starter


Torque everything to spec and that's pretty much it

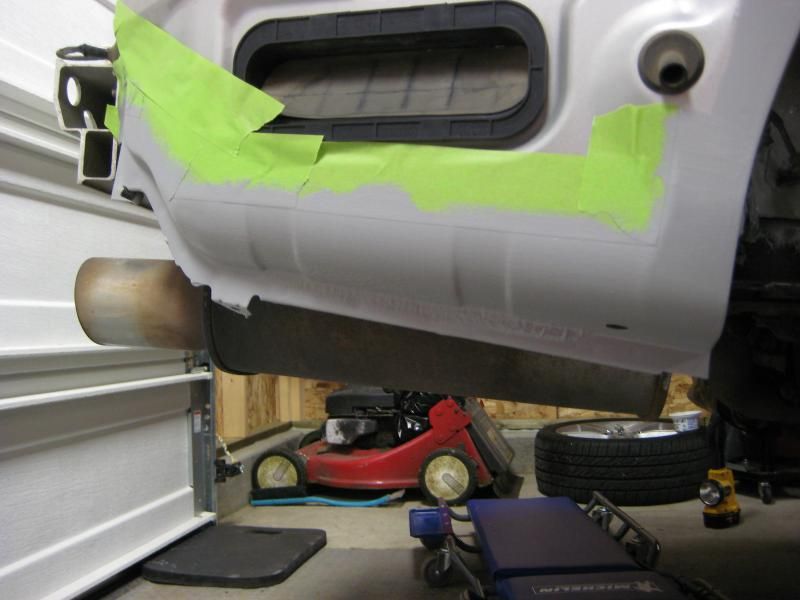
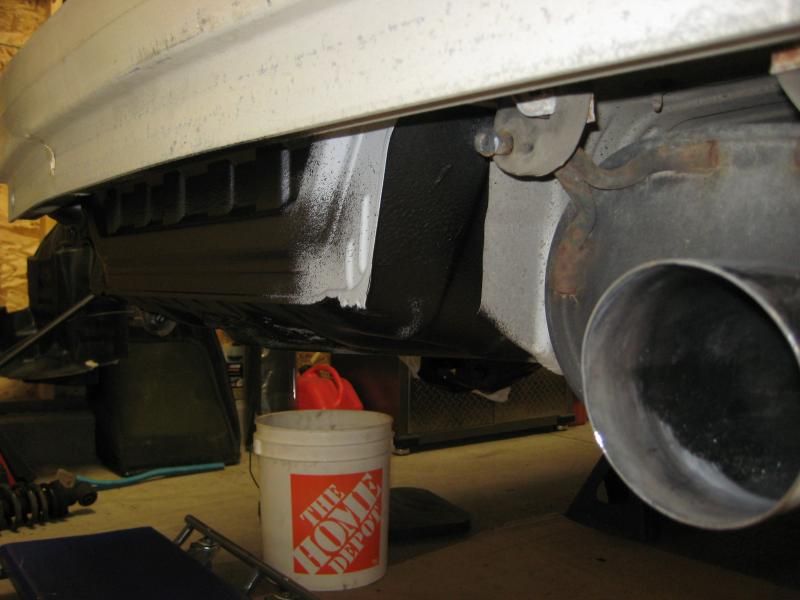
While I had the bumper off I decided to show my exhaust hole a little love and attention. I noticed it was dirty so I rubbed it the right way. At first I thought the previous owner cheap’d out and put an aftermarket muffler on. I think it just wasn't cleaned in 12 years.


 01-04-15, 02:59 PM
#14
Pit Crew
Thread Starter
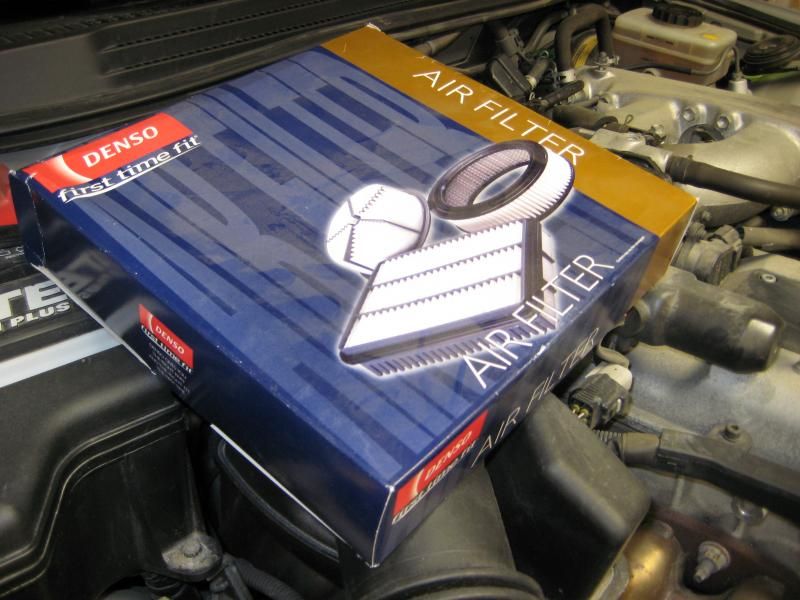
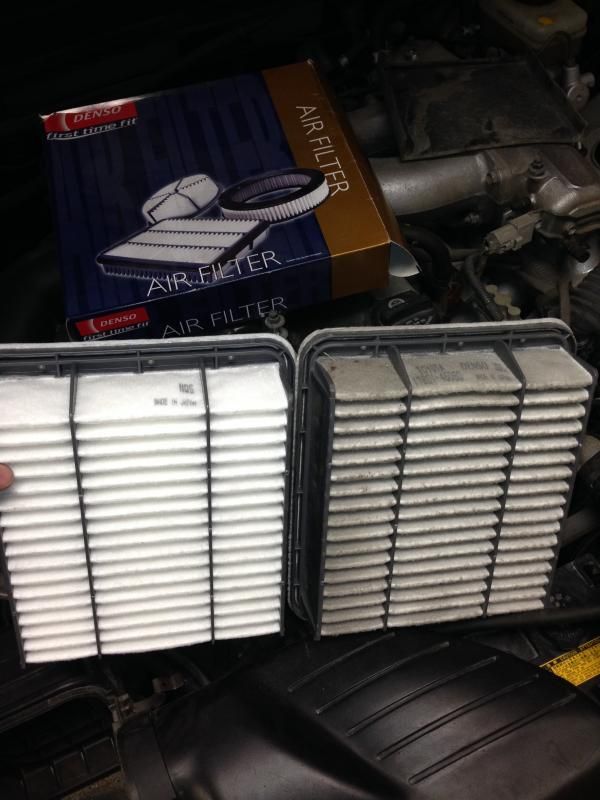
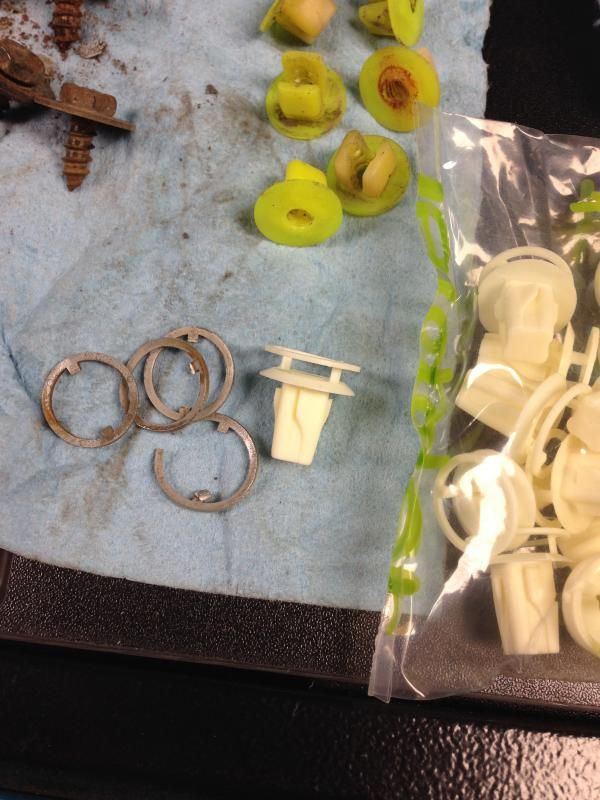
Also replaced a few small parts and did some maintenance items.
Put the car back together
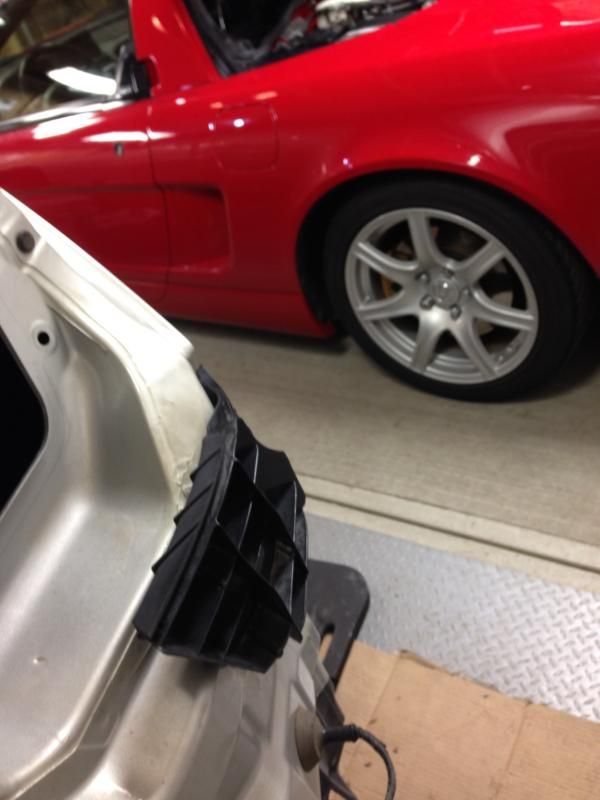
The rear marker light harness was taped on the bumper when I took it off so I put it back the same way. Doesn't seem proper to me
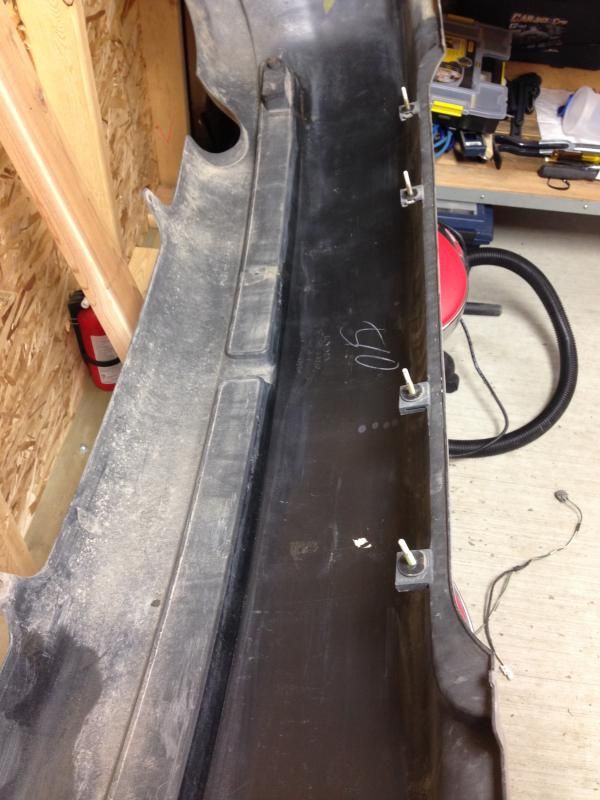
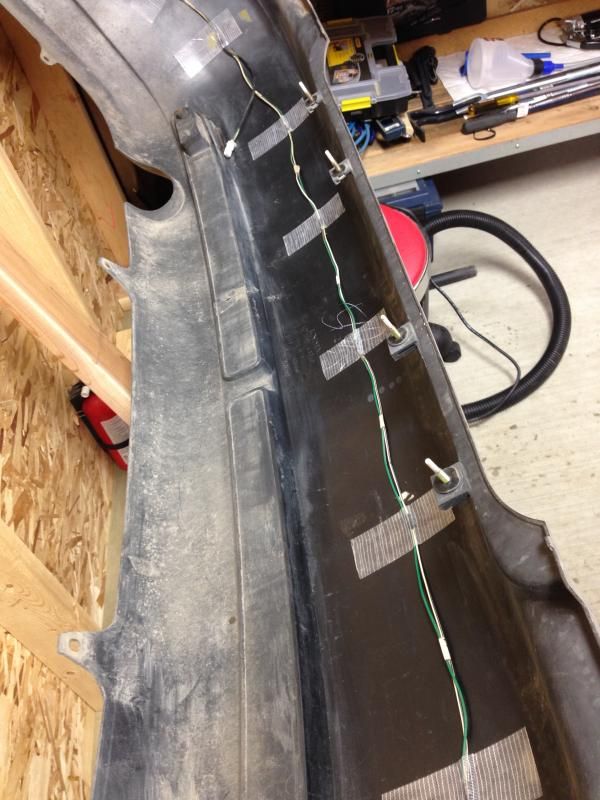


Put the car back together


The rear marker light harness was taped on the bumper when I took it off so I put it back the same way. Doesn't seem proper to me


