When you click on links to various merchants on this site and make a purchase, this can result in this site earning a commission. Affiliate programs and affiliations include, but are not limited to, the eBay Partner Network.
I had no suspicion at all that it was my 2nd turbo until recently. The shaft play was very minimal (I thought) and it seemed okay to save a lot during the engine build.
The inadequate clutches masked the issue and then it seemed more likely until a few days ago that I must have had a malfunction somewhere in the sequential staging/transition system (not the case at all which is technically a plus).
I�ve never owned a turbo car before and wasn�t familiar with the telltale signs of a worn out turbo. I just knew that with these engines the 2nd turbo usually gets worn out first at well beyond stock boost for a very very long time. After looking up a lot of videos depicting dead turbo whine and symptoms and running in non-sequential (TTC) mode it was the only thing left that it could be.
...
Ali... yep, I will have my spare set of CT12B�s rebuilt. I�ve already discussed details with The Boost Lab. They�ll get fully cleaned, tested and rebuilt back to OEM Toyota specs (probably with even tighter shaft tolerances than stock) with new bearings, new seals and if necessary new stock specification steel impeller blades/shafts.
I�m going to send in just the spare #2 to get the ball rolling now and later I will send in the spare #1 for rebuilding.
I�ve got another full OEM gasket kit to help with the reinstall process.
Going single turbo was never going to be an option for this car as the engine and turbochargers need to remain stock for emissions compliance. If not for that I�d have gone with a VVT-i cylinder head and a more modern quick spooling 58-60mm single turbo.
....
Rudy... the JDM CT20A�s that your 2JZ-GTE engine has are MUCH more common and out there in use than the twin turbos that I have. You will see many common stock and upgrade rebuilding options for those from many usual suspects 2JZ/SC/Supra tuning shops and supporting companies.
They are actually cheaper to rebuild and upgrade than the USDMs due to how they are designed.
The USDM/UK Supra CT12B�s that I have on the other hand are far less common (most remove them and go single). By design they are more expensive to rebuild or upgrade. It�s actually more common to find the hybrid Garrett GT28 �STU� upgrade for them by BNR/Stu Hagen rather than a mild TD04 wheel upgrade or totally stock rebuild service... each of which are more expensive to have done when compared to the same respective rebuild or upgrade services for the JDM CT20 2JZ-GTE twins (like yours).
And just FYI you do have �STU� hybrid upgrade/rebuild options available for your JDM�s also, which again is significantly cheaper than it would be with the USDM twins.
...
The A/C vent gauge wiring:
Thanks Rudy! Here�s hoping I�ll get a little grommet with the new voltmeter gauge that�s on the way. Otherwise I�ll just find one somewhere that is the right size.
Once that�s done I�ve got to run two more 14ga wires from the console area through the firewall to go into my new updated connectors in the engine bay area. That should give me more than enough extra sensor inputs from now on.
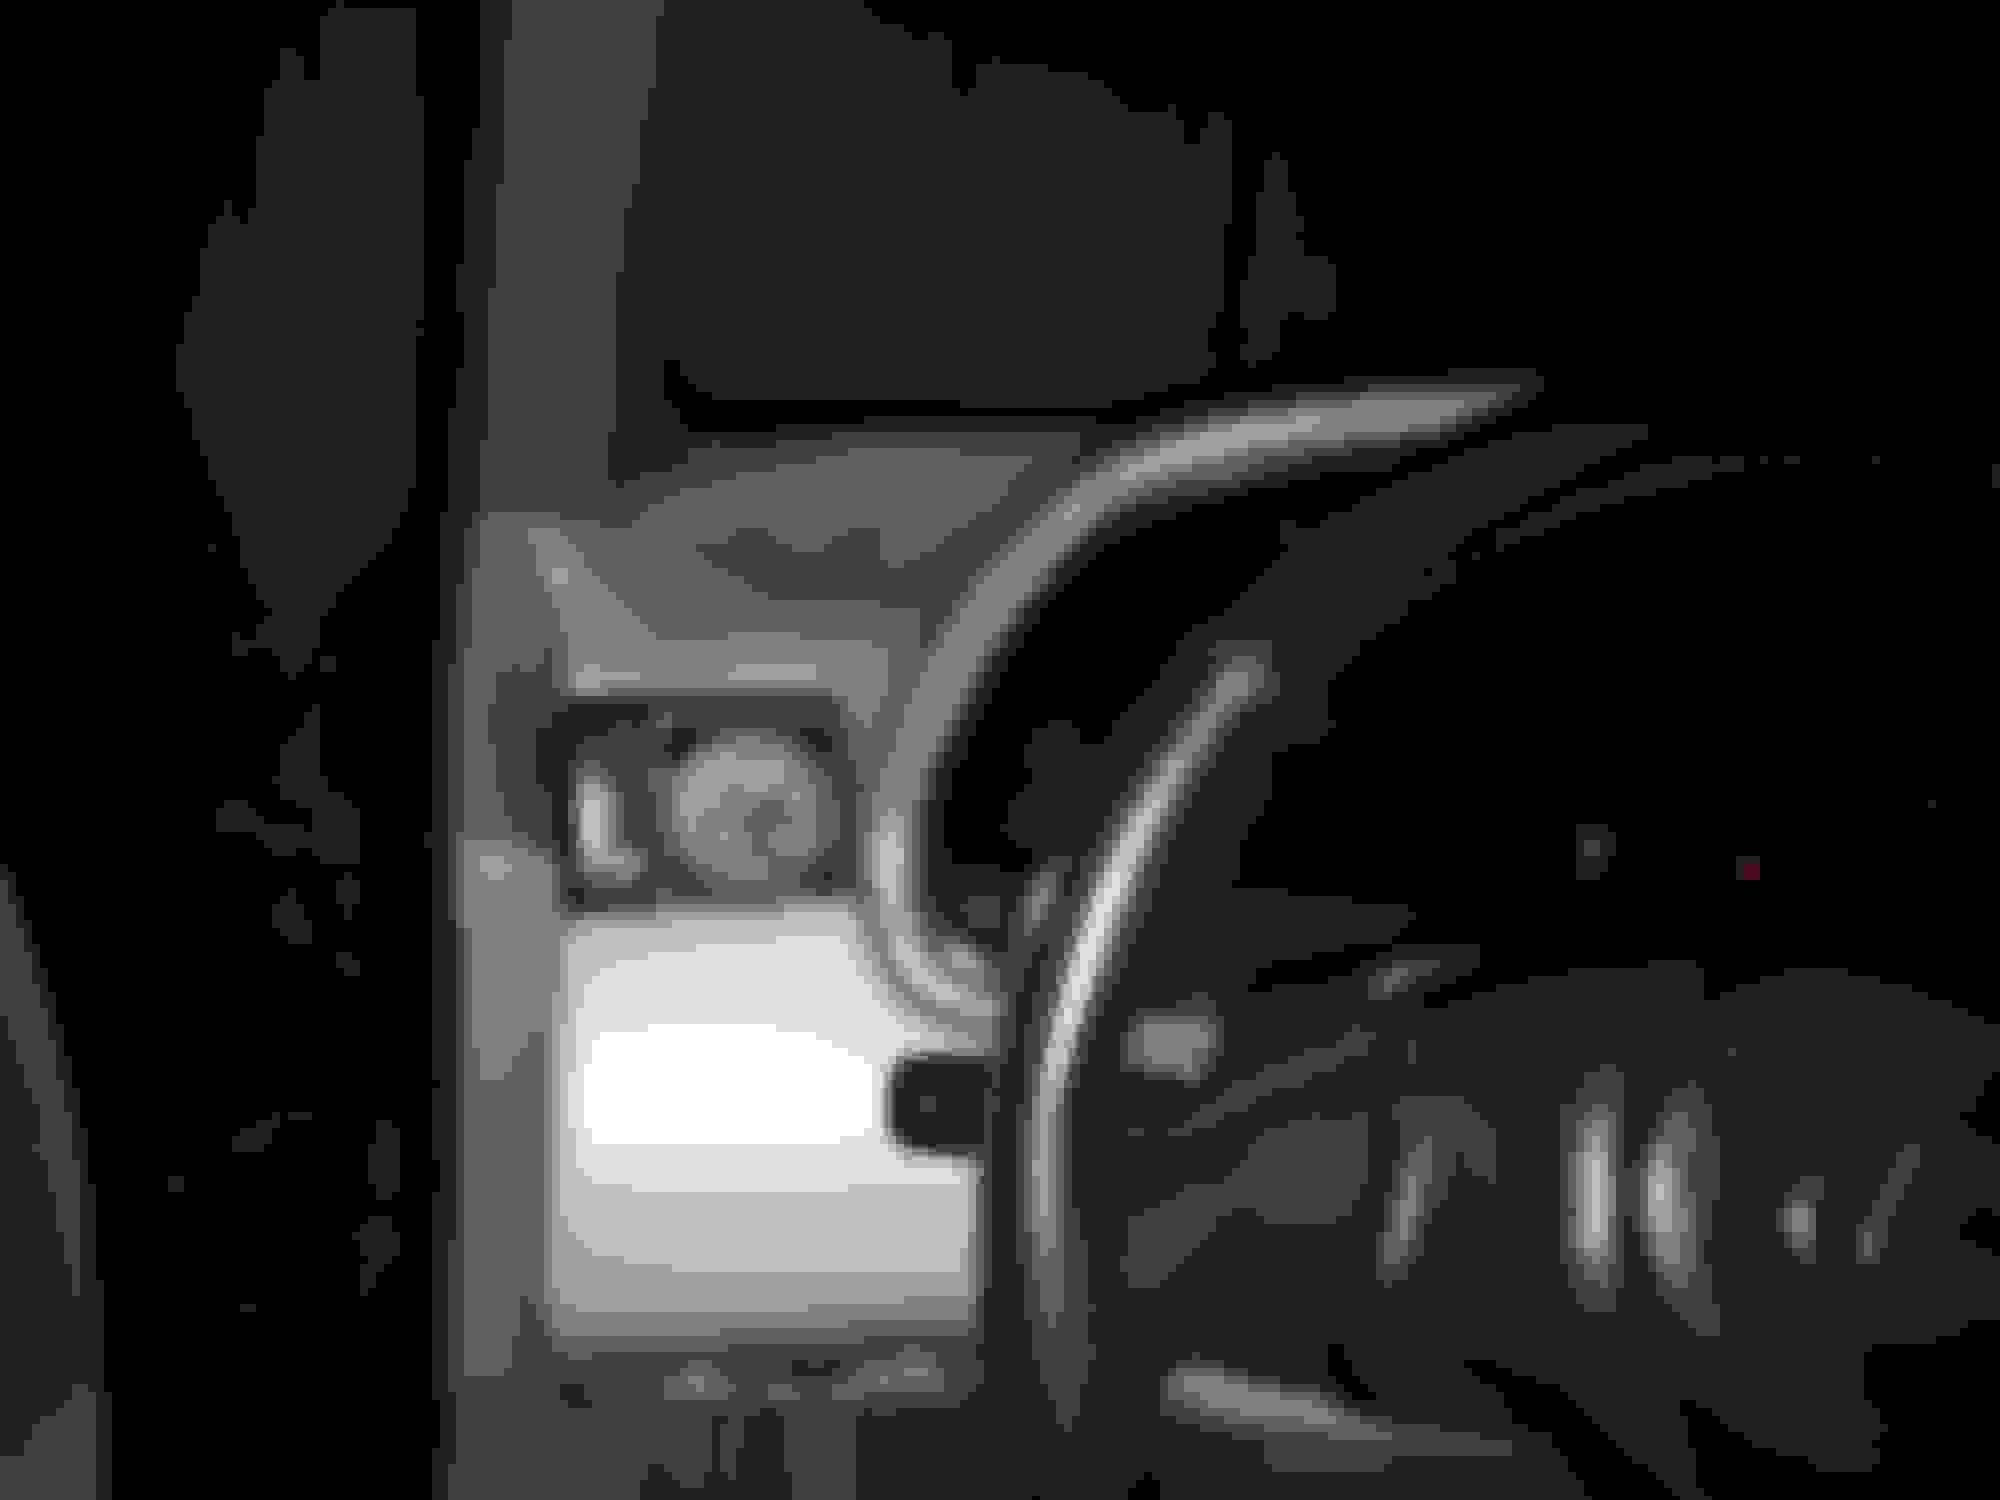
I broke out the PB Blast, got a long cheater bar and separated these two from the central collector housing. Two spare CT12B candidates soon to undergo rejuvenation surgery.
A stud puller helped in one instance where two studs intersect at 90 degrees from one another.
This also takes a 12mm wrench, a 12mm ratcheted wrench, a 6mm open end wrench (not ideal but it works) to hold the studs in place well enough to loosen the nut on each of them. But I preferred to break the nut/stud loose first with the PB Blast, fixed 12mm wrench and big cheater bar.
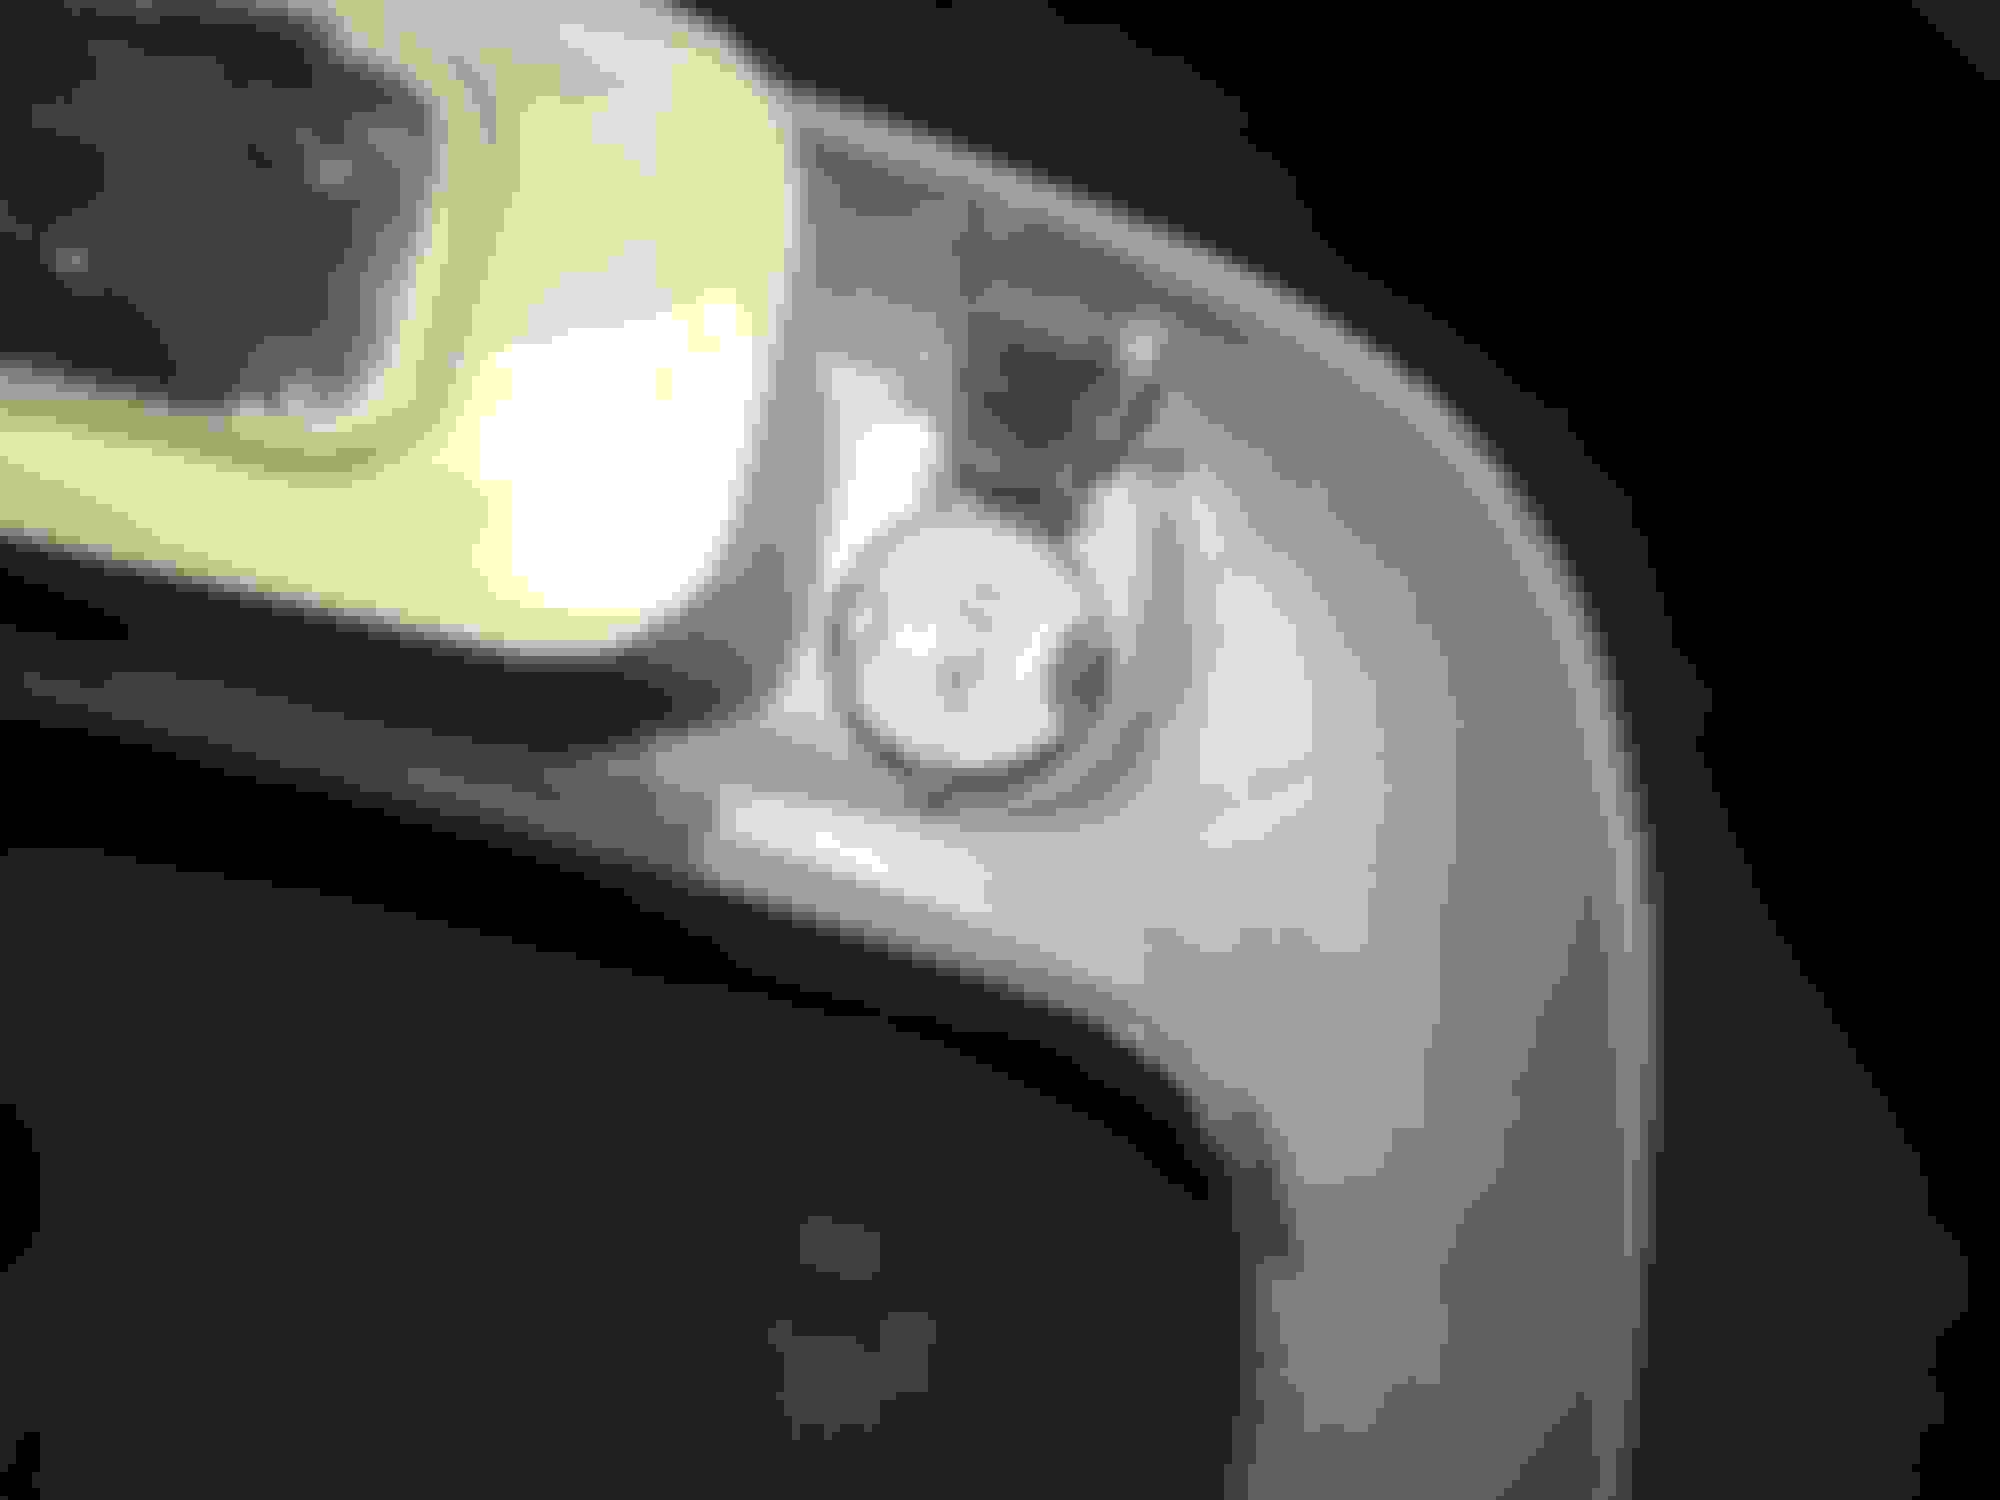
My only concern with these turbos is that the actuator mounting brackets were unbolted when I got them. Trying to get them back into their correct mounting positions is a bit of a challenge. I hope the actuator arms are not bent.
If they are I’m crossing my fingers that the turbo rebuilder can get them aligned back to normal and smooth travel again when everything is inspected.
...
Note: these aren’t the CT12B’s currently installed in my SC. It’s a spare set that I’ve had in storage.
Once I have a fresh front and rear turbo waiting on standby I’ll then get into swapping the old ones out.
I'm sure you're bummed, however, it'll be such a nice feeling to have those rebuild and know that now with your new clutch you can beat on that car a little without a worry in the world! I'm hoping mine last me a good year or two... You were right about how much fun the sequentials are! Especially on the highway being able to cruise and pass cars without downshifting.
Too bad you weren't local - I'd love to come by, lend a hand, and see those little bad boys out of the car!
Well it's more that I'm disappointed in myself and my lack of foresight. I picked up the first set of USDM turbos several years ago and given that I did have a LOT of time to get around to rebuilding them to stock specs if I'd really wanted to. But you know, parts for a full swap and engine build do add up and there's always a much larger picture reason to hold off on spending $1,000+ to rebuild a set of turbochargers.
All in all I do have the car close to sorted out now. I just wish I had done a few things differently earlier on in the build process to eliminate the need for some costly re-do mini projects such as swapping out a set of stock twins with the engine in the car so soon after having finished installing a new engine.
But it'll be fine and the car is already exceptional even when limited to roughly half its 6800 RPM. The OS Giken clutch really is a nice piece of kit and has become very second nature to drive normally with. Plenty more torque capacity in those two bronze discs than the engine is currently putting out.
If I were in CO I'd take you up on that offer Rudy, thanks! I'd also hit up Ali SC3 and say hello!
First thing is to get the spare turbochargers in for a full inspection and see what the word is on their rebuild potential.
I'm working on the new gauge for the vent pod in the mean time and a little project to turn the unused factory volume **** into a 12V DC accessory port.
It's so hard to be able to predict those things, don't give yourself a hard time! Sounds like you've got plenty to keep yourself busy in the meantime. That car is going to be so well sorted by the end of it!
There's always plenty to keep me busy in general, lol. You're right. And it is just a car. It's just easy in hindsight to see where I made easily (or in this case expensively) corrected mistakes. It's a very good car already.
The spare rear CT12B turbo went out today. I'll soon hear what the rebuild shop has to say about it.
Left to do on the car in general:
--Replace the twin turbos with rebuilt units
--At some point in the future re-seal the upper and lower oil pans
--Re-install the rebuilt Torsen diff
--For the Gixxer-Drew suspension: swap out my 600lb front and 325lb rear Hypercoil springs and install the new 500lb & 250lb Hypercoil springs I've had waiting for a few years now. And install rear helper springs. That should improve the daily ride quality over poorly maintained or poorly resurfaced roads without sacrificing much in the way of handling.
--Finish the gauges
--Install the patch harness I built to trick the OEM Pioneer sub-amp and main amplifier into allowing true manual up/down factory antenna control (wiring insight thanks to Raine!). Currently I have to shut the car off to make the antenna go down but I can keep it from going up with a switch I installed.
--Get my new driver's side door hinge painted and set up an appointment time with my body shop to install it in place of the original one.
--Since I have a spare set of factory tan front seatbelt assemblies, I need to get those sent out to Safety Restore for re-webbing and then install them.
--Get my gauge cluster sent in to Tanin to have the sometimes unresponsive tach and speedometer gauges repaired or replaced.
--Find and finally fix a little exhaust leak that appears to be coming from either the lower exhaust connection from the #1 TT catalytic convertor or from the upper section of that catalytic convertor. I also may try one of the specially made gaskets for the stock exhaust connections in that location over the stock gaskets if this is a common issue in that location. I figure it may be due to a very tiny bend in one of the stock exhaust pieces during shipping.
Oh, and at some point when I can get to it a real restoration paint job will be in order :P
....
I've also seriously been thinking of installing a rear view camera... but not in the dashboard. Rather by using a custom installed (needs a V-mount bracket on the windshield) Gentex #ADVGENM5S aftermarket rear view mirror. That model has a little 4:3 backup screen built in, a digital compass function and of course auto-dim. Gentex mostly sells to OEM's and they also made the stock mirrors for our SC's.
For the rear view camera I actually want to embed a nearly flush-mounted backup camera into the stock SC400 1992-1996 rear wing that I have on my SC. That would very closely replicate the backup camera function that came in the same rear wing as stock on the rare Soarer UZZ32 Active cars. I dislike aftermarket license plate mounted backup cameras with a passion so a fully embedded camera is the only way I'd do it.
I'd have to run the necessary wires from the spoiler through the trunk lid through the back seat panel side access port down under the rear seats and through the center console. The mirror wires would have to be run through the head liner, down the side windshield pillar, through the upper to lower dash somehow and then to the center console (or maybe everything would just be connected under the dash).
I'd like that function but I'm in no hurry to start another mini electrical project.
haha you certainly have enough to keep you busy while you wait for the turbos! I'll be curious to hear what they say, and if you don't mind posting later on I'd also be curious what the cost will be. Sometimes I fantasize about a paint job for mine as well! It's not as clean overall as I wish it was, but I'd love to have a nice fresh coat of paint on mine. Your car is going to be damn near new after all of the love its received the last few years.
The back up camera idea is awesome. I'd like to have one as well but I am always turned off by aftermarket kits. Your idea sounds ultra clean and would be on par with the rest of the work you've done thus far.
haha you certainly have enough to keep you busy while you wait for the turbos! I'll be curious to hear what they say, and if you don't mind posting later on I'd also be curious what the cost will be.
From The Boost Lab Inc. of Tampa my rough quote is about $500 to rebuild each Supra CT12B turbo with the following services: new heavy duty bearings, new seals, new OEM Toyota 270 degree thrust bearing, full VSR balancing, bead blasting of the rear housing and ultra sonic and hot tank cleaning of both housings. Full inspection and testing of the all-important factory waste-gate actuator.
They also have an available service to ceramic coat the compressor side housing if desired at additional cost.
I know that a 360 degree thrust bearing is a very popular option but I'm told that for the boost levels I plan to stay at (stock 10-12 PSI up to 15-16 PSI maximum) the new OEM Toyota 270 degree thrust bearings are very strong and reliable.
If I happen to need new impeller shafts I have found a good source for those as well at about $150 for a set for high quality reproductions (not from China).
For both turbos it will be double the estimated amount, so probably anywhere between $1,000-$1200. Note that this is just to rebuild them to stock specs. No compressor upgrade and certainly no heavy duty Stu Hagen GT28 Hybrid upgrade for only $1k-$1.2k. Those options are available from other turbo rebuilders but are MUCH more expensive for USDM CT12B's.
For my purposes (factory reliability, keeping the turbos well within their stock efficiency ranges and thus potentially keeping them reliable for very high mileage anywhere from 150k miles to perhaps 300k+ miles) this will do just fine.
....
Remember, the goal with my build isn't to beat anyone else's 1/4 mile numbers or be the very fastest but rather to stay emissions legal for CA and dramatically improve how fast the car is over the stock 2JZ-GE with great responsiveness (and fun!) and to be able to, in theory, drive the car almost anywhere for any manner of long distance trips and not worry about racking up lots of miles on the engine with near stock serviceability and lifespan.
Although I know I can easily push even stock spec fresh CT12B's to 15 PSI on 91 or 92 pump gas with the stock cats and be absolutely fine. On 93 pump gas 16 PSI. 18 PSI is doable of course but again, that would go against the goals of super long longevity for all the components.
I've had Jared Pink himself (formerly of SpeedForSale and a frequent collaborator with Tavarish and an all-around awesome guy who knows Supra MKIV's inside and out) tell me that he's seen some totally stock MKIV Supra Turbo engines left totally unmodified at the stock 10-12 PSI boost setting go to 300k+ miles on their stock turbochargers, depending on the attention to oil changes and overall use. Really impressive for engine and turbo technology first released in 1990.
....
Rudy, for your JDM steel wheel CT20's the cost for a stock rebuild or even an upgrade to STU Hybrid specs is less expensive than it is to do the same work to USDM CT12B's. You actually have more options available for those JDM CT20's at considerably less cost.
Stu Hagen himself (on SupraForums) also continues to offer a service, if asked, to rebuild both JDM and USDM stock sequential twins to his specially designed upgraded hybrid specs although he does not advertise this. Although many usual 2JZ aftermarket companies offer rebuild and upgrade-rebuild services for the JDM twin sequential CT20's. Even Driftmotion does.
Stu also sells a specially designed and flow tested upgrade-replacement higher flowing manifold for the JDM CT20's and USDM CT12B's as well as a 2nd turbo transition upgrade that works for the USDM and JDM. SpeedForSale offered all of this while they were in operation but now that they are a defunct shop these additional 2JZ-GTE sequential system upgrade parts are available through Stu Hagen, since he designed and still makes all of them.
For most it's a lot to invest so much in the sequential twin turbo system but if you look at his two MKIV's which use these heavily upgraded sequential turbos and the builds of others who have done the same, once you have it all sorted out the way they do (and after you have the car set up for more exotic fuel like VP100 or E85) the power figures they get are really impressive!
For my purposes staying on stock cats with 91 octane pump gas (once in CA again) it's a little overkill but the available options are really cool nonetheless!
....
I'll post what the final cost will be to rebuild my spare rear turbo once I know. After that I will move on to sending them the spare front turbo to have the same services done.
.....
Originally Posted by RudysSC
Sometimes I fantasize about a paint job for mine as well! It's not as clean overall as I wish it was, but I'd love to have a nice fresh coat of paint on mine. Your car is going to be damn near new after all of the love its received the last few years.
I hear you! I have done a little preservation and basic repaint touch-up work myself to care care of very minor rust trouble areas when I notice them. It's not wonderful but does take care of any early potential issues due to old paint having chipped away. Later on I'll afford dropping $5k or so on a proper repaint to the factory Onyx Black 202 color.
Yours already is looking really good from what I can see! The key to keeping the paint looking good is regular washing and buffer waxing, I think
Originally Posted by RudysSC
The back up camera idea is awesome. I'd like to have one as well but I am always turned off by aftermarket kits. Your idea sounds ultra clean and would be on par with the rest of the work you've done thus far.
Thanks! It's definitely something I want to install and have thought about for some time. Most aftermarket kits bother me as well and even though in-dash 2-DIN screens are common and popular today and even though JDM Soarers had factory backup camera options of the 1UZ-FE cars with EMV in-dash screens I'd prefer the backup view in the rear view mirror. Early FR-S's, BRZ's and 86's were set up this way and it worked for them.
I'm all about a simple, clean, OEM(ish) and non-distracting driver experience
It's great to know how many options are out there for turbos on these engines. Whether it's rebuilding, upgrading, or going single, it's a great feeling having such a broad and affordable aftermarket. I don't have any huge power aspirations in the near future, but knowing I have options if something were to fail sure is nice. As for paint, mine looks great in pictures, but she's definitely what I like to call "a ten footer" haha.
I enjoy reading your thoughts and always look forward to updates on your build!
Thanks Rudy! I agree, it is nice to have so many options with these cars and the JZ engines.
The “ten footer” comment had me laughing! That’s probably my SC’s category too as far as cars with original paint with little touch up repairs go.
That being said, the paint on yours looks pretty good!
...
I got my SC’s center console and gauge layout updated again.
I’ll have to take far better pictures later but here it is with the AutoExtrude A/C vent gauge and now their triple gauge ashtray panel in place of their offset left dual gauge + 12V DC accessory panel.
I also took inspiration from JimmyMac30’s build, bought another used spare OEM A/C Temp and Volume **** module and very very carefully modified it and the internal circuit board to allow fitment of a standard marine 12V DC accessory port in place of the factory volume ****.
No modifications were done to the center console surround trim, just to the factory volume **** module and to the 12V DC port securing/locking ring.
It was pretty involved and there would be a lot of steps and pictures for a DIY. A lot of very careful Dremel work and continuity testing of the internal **** module’s circuit board was necessary to know exactly how far in on the circuit board I could cut with my Dremel.
A Velleman pump action desoldering gun was also required to remove the volume **** itself. The plastic assembly had to be carefully opened so as not to break the tabs and little screws with very fine philips screwdrivers needed to be removed.
After all of that a lot of work went into designing quick disconnect sub-harnesses for the new 12V accessory port (I fused it with a 10A round in-line fuse since the ashtray’s original 12V Accessory Cigarette Lighter wires go to a 15A fuse under the driver’s side kick panel).
The gauge panel sub-harness wiring also had to connect to the long four wire harness going over to the A/C vent pod. Lots of time into that to get it all re-routed and re-wired before everything saw a full re-wrap in Scotch Super 33+ electrical tape.
I do like my electrical wiring work to be tidy and factory-like for ease of removal and re-installation
The rear locking rings for these gauges were TIGHT on the underside of this panel. With a Dremel and a grinding bit a lot of careful grinding down of the outer diameters of the locking ring barrels was required to just barely get them all to clear each other. In the case of the one Prosport gauge I also had to trim the locking ring height a bit to allow the screw rings to grove into the gauge barrel sooner.
A lot of work but in the end so worth it.
...
The little black switch installed just above the factory cupholder is for manual factory aerial antenna Up/Down function. The main wiring for that was learned from Raine’s SC stereo threads (a little work in the rear package tray area all on its own) while this part just puts the switch into an easy to use location.
I plan to make a DIY thread for that later with pictures I have collected. Here are some pictures of the switch assembly:
This switch is an SPST Snap-in Black AC/250V/6A/125V/10A model by MXRS. Ordered from Amazon in a pack of 12 for $7.00.
The inner diameter of the switch requires a 20mm hole saw (approximately). Note that I made the switch ever so slightly offset and not centered. This was to avoid having had to cut into the trim panel clip extension right next to the switch (see picture above).
The little harness was made with some spare OEM Toyota engine harness wires, heat shrink and small two-pin Molex connectors.
Now I just need to run more signal wires into the engine bay and redesign the accessory harness I made up there to accept new functions.
My only complaint is that the LED backlighting of these Prosport gauges are bright white and do not match the rest of the OEM interior lighting as well as the incandescent bulb backlit VDO gauges do.... which is still a reason I really like the VDO Vision Black gauges.
The Prosport gauges also do not dim with the rest of the gauges and stock interior lighting. I guess that's just why the VDO gauges use the two separate wires for their super-basic classic backlight bulbs because the VDO's *do* adjust their brightness and dimming in accordance with the rest of the stock SC instrument lighting when you turn the adjustment dial to the left of your steering wheel.
Maybe I can add an internal backlight color filter with a neutral density filter to both change the LED backlight color of the Prosport gauges to a warmer yellow-ish glow and dim their brightness a bit.
For now I’m happy to have finished getting these installed and wired up
Last edited by KahnBB6; 03-24-20 at 02:21 AM.
Reason: Grammatical corrections + small addition
Looking good Kahn - nice and tucked in. I had a buddy recommend putting the small bulb cover on my autometer gauge and I'm so glad he did. Those gauges can get so bright that they're overwhelming!
Looking good Kahn - nice and tucked in. I had a buddy recommend putting the small bulb cover on my autometer gauge and I'm so glad he did. Those gauges can get so bright that they're overwhelming!
Thanks Rudy! I'd actually like to use such a cover but nothing like that came with the Prosport boost gauge. I may call their offices and ask them if they can recommend anything like that or perhaps if they can perform custom internal color filter modification and maybe also some internal filter/lensing to dim the brightness a bit.
I'd also like their gauge to dim in accordance with the rest of the stock lighting with the factory dash adjustment dial. The really old school VDO gauges (oil temp and oil pressure in the pictures above) will do this but they use a clip-in traditional bulb holder that gets separate positive and negative wires (which we pull from the SC's ashtray cigarette lighter +/- wires).
How are you liking your new gauge setup so far, brightness aside?
Originally Posted by shajbot
I'd swap the VOLT guage for the PSI gauge...I mean imaging hitting max boost and and looking down away from the road to check it.
You know, I think I may do this soon. I have the VDO volts gauge to throw in where the boost gauge currently sits and that would give a nice matching trio of gauges in that location with a uniform lighting scheme.
And yeah, in practical terms I'm beginning to understand why people mount their boost gauges at near eye level near the rest of the instrumentation.
I haven't yet pulled a new signal wire through the firewall for the boost gauge but I did get it all electrically tested while the car was stationary with wires snaking all over the place. I'll finalize it soon.
But just driving around to see how these gauges feel in regular use.... yeah I agree. After initial startup the volts, oil pressure and oil temp are only going to be glanced at if there is a reason to do so (something feels wrong or if you're running hot laps at a track). The boost on the other hand, you want to monitor much more often.
My reasoning for installing the boost gauge further away is that it concerns me that with the boost gauge right there within view next to the steering wheel it may make the car more interesting to someone I don't want it to be interesting to when I park somewhere for a while.
But yes in totally practical terms yes the boost gauge needs to go in the A/C vent pod. I like minimizing any potential driver distraction points and anything that makes it tempting to look away from the road while driving isn't a good thing.
The extra signal wire is already run in the harness in that location and the voltmeter gauge that's in there now has the same dimensions and spade connector layout to swap the boost gauge in there. I just need to run more extra wires through the firewall soon.


 03-10-20, 01:05 PM