When you click on links to various merchants on this site and make a purchase, this can result in this site earning a commission. Affiliate programs and affiliations include, but are not limited to, the eBay Partner Network.
I've only installed one and did it the way you described... but like you said, being on your back with a car on jackstands can make things tough lol. Maybe someone will chime in with another method.
That diff is such a nice piece - I can't wait to hear about your impressions of it once everything comes together and is broken in.
The shaft looks good to me, I think its actually at a good length. If anything I would just trim the cap 1/4" and beat it on there the next time you remove those parts or the exhaust.
The length adjusted and re-balanced MKIII R154 front driveshaft (and re-balanced rear shaft with it) have been installed for a few weeks now and have been working out very well!
Next week I should have my spare rebuilt front CT12B turbo back next week along with a new OEM turbo gasket kit. This will match the rear CT12B that I already had rebuilt previously by the same shop.
Since I have used CT12B's (160k+) in my SC now with the rear of the two being blown, the freshly rebuilt set cannot come soon enough.
Luckily I've been able to find two other DIY guides for removing and reinstalling them in addition to the procedure laid out in the Supra MKIV Turbo TSRM, including a key helpful trick to removing the dreaded "b*tch bolt" I've read so much about.
...
The Prosport boost gauge has been removed. I still couldn’t figure out why it was reading too much vacuum and too little boost even after moving my sender ground again to a standard engine ground point. Also I can't keep it for smog purposes anyway so it was only a temporary thing to try out. I'm actually not that concerned about having one installed since the engine isn't on an aftermarket ECU with a custom tune or anything like that.
If I were to keep a boost gauge in the car I think a much more expensive ($250+) mechanical or electric type with a “peak” review function switch would be best. I have found it kind of pointless to not be able to review peak boost after making a pull while my eyes were glued to the road *during* that pull.
...
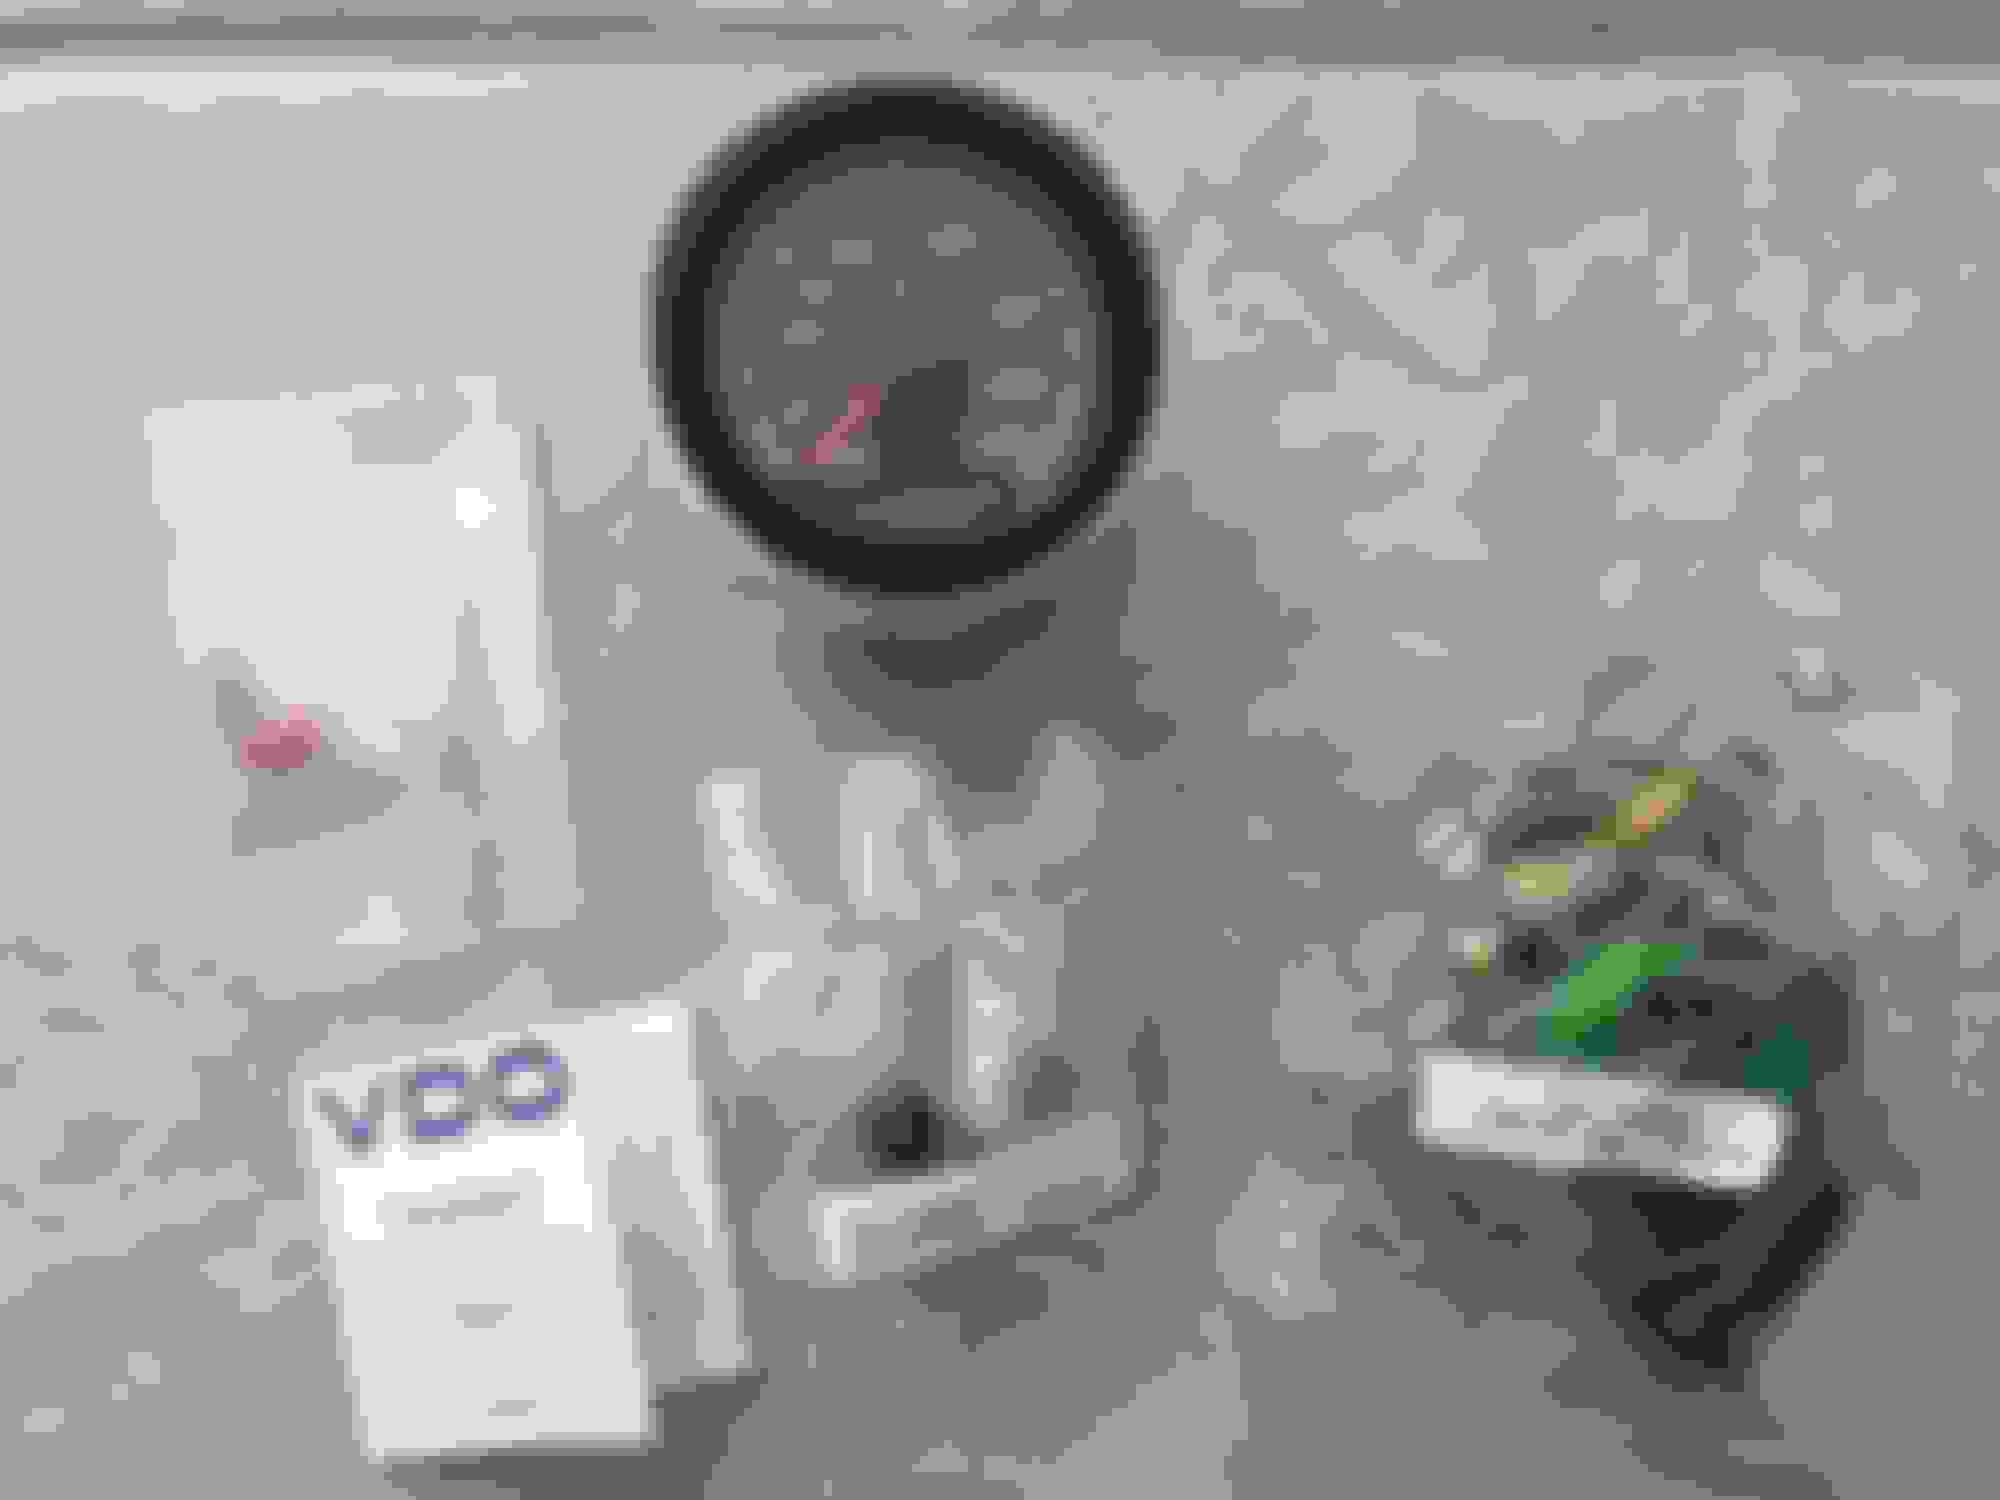
In place of the boost gauge I’ve got a super compact VDO Onyx Voltmeter gauge in black on order. That allows me to fully clear the tight confines behind the Autoextrude side A/C vent pod with a much smaller and simpler harness connection using another nice VDO gauge.
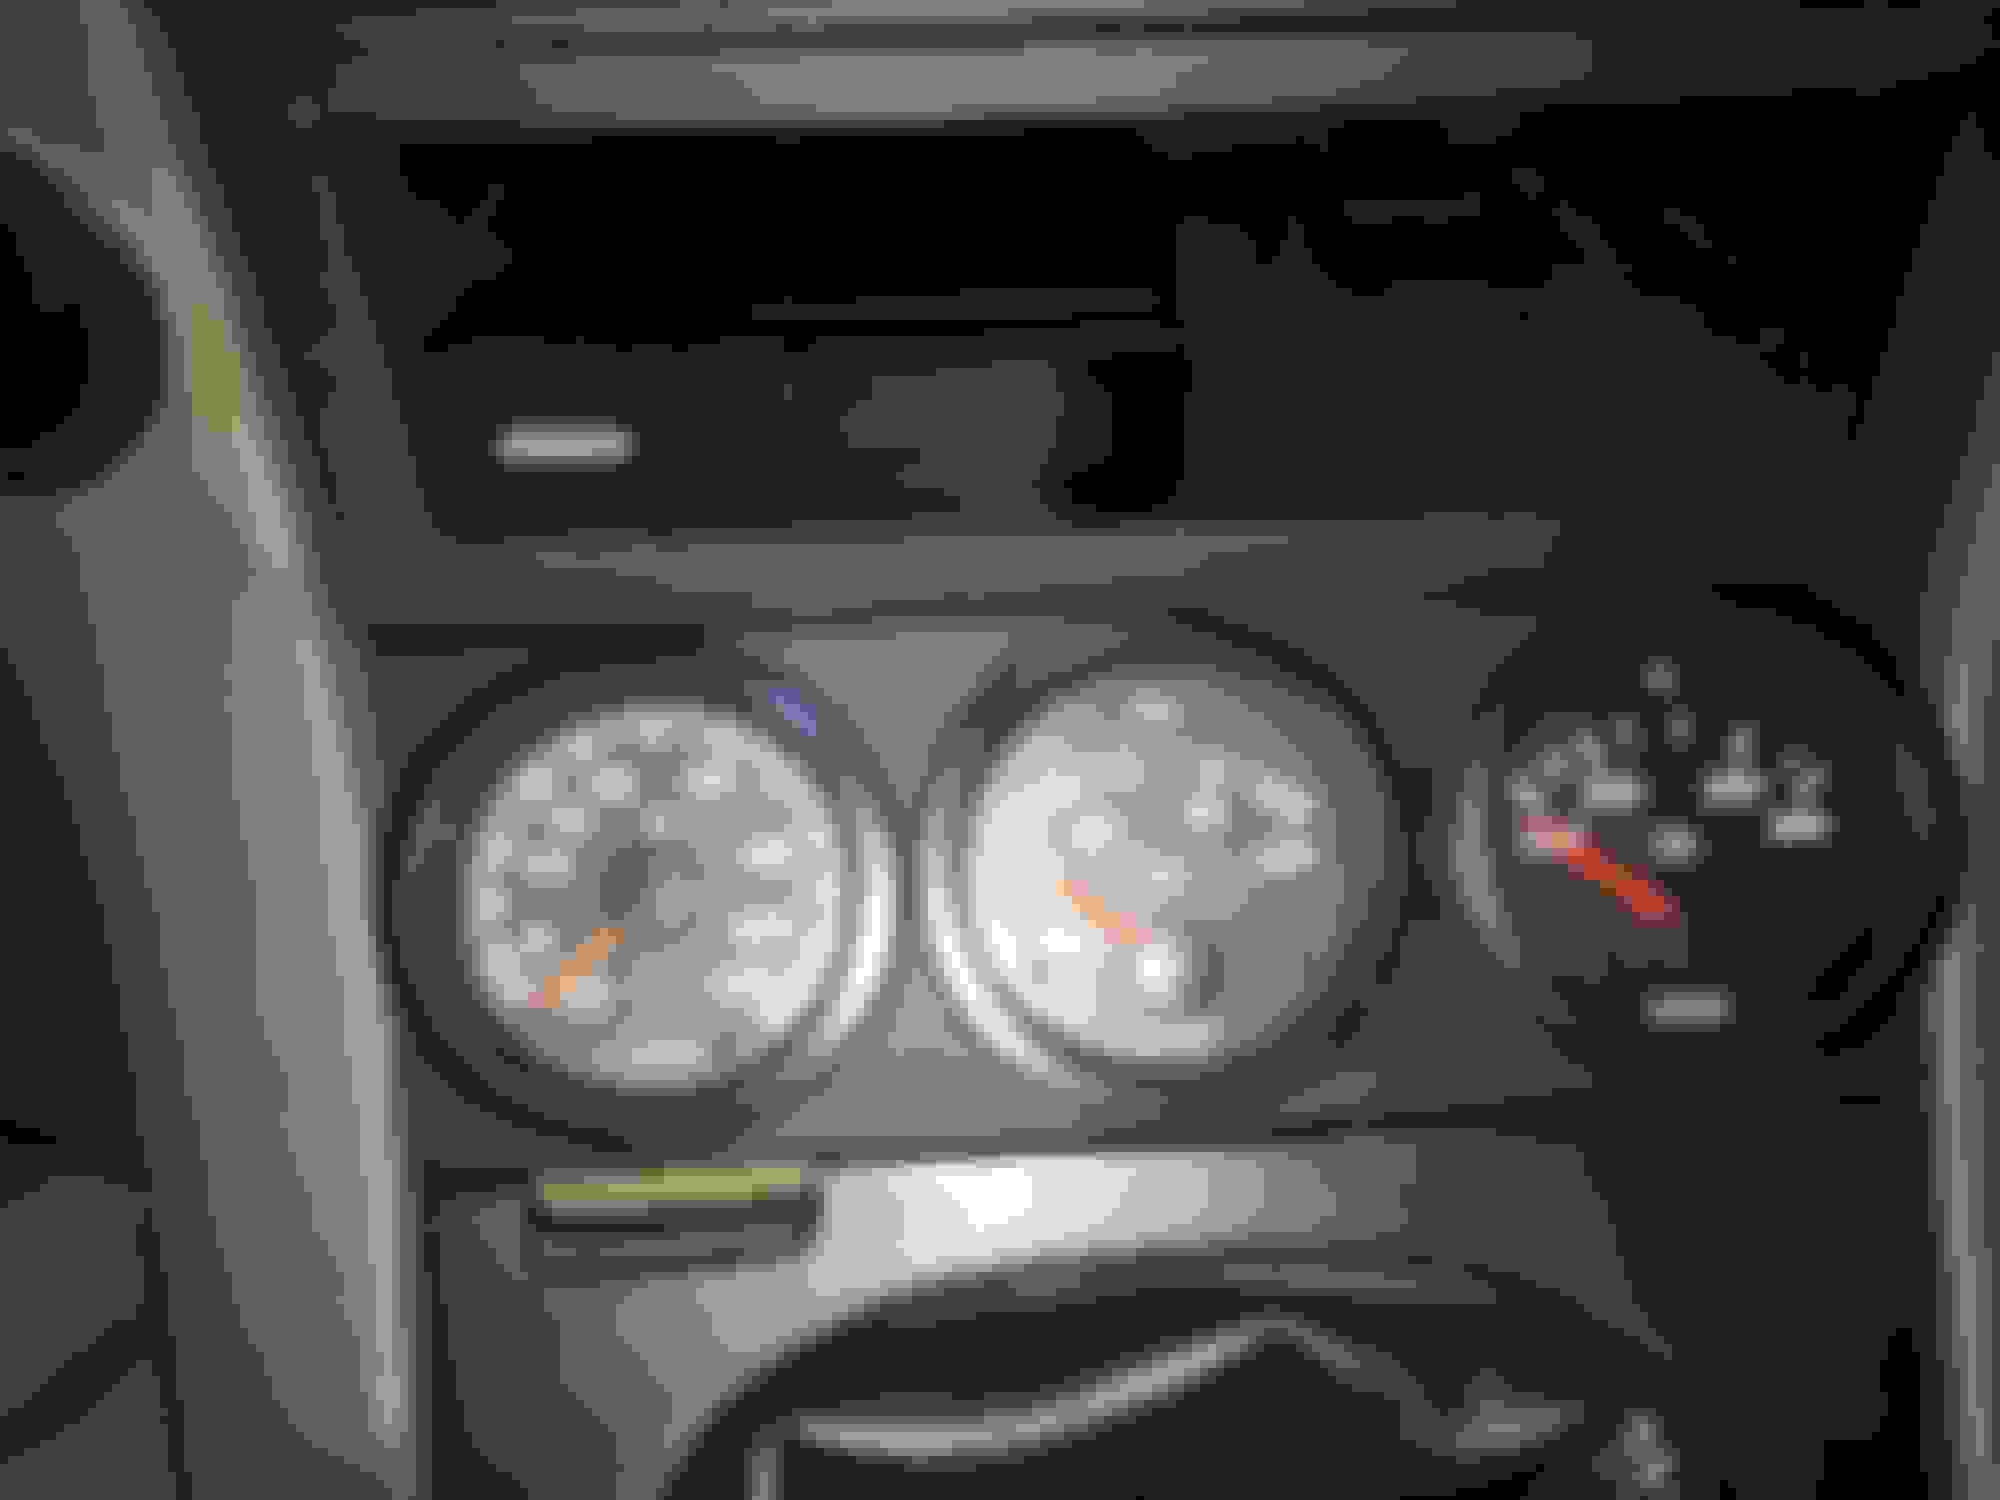
In the center console three-gauge ashtray panel I'm swapping out my existing VDO voltmeter gauge and installing a VDO Outside Temperature gauge. Why? Well, it's nice to have the function to have a mostly accurate reading of outside conditions. At this point I'm only going to add one other interior modification and that is an aftermarket mirror that has a compass function but no outside ambient temperature function, so having a cleanly installed dedicated gauge for this works out very well.
It also matches the Vision Black style of the other two and I like it. 60's and 70's Porsche 912’s, 911’s and 914’s used to get similar outside temperature gauges also made by VDO so there's a little nostalgia with function there
I have the gauge installed already but need to get to building a chassis harness for it with some proper aftermarket automotive connectors with rubber gaskets and some thin plastic ribbed tubing to protect the sender signal and ground wires. I’m going to mount the temp sender right next to the factory SC ambient temperature sensor for the A/C system.
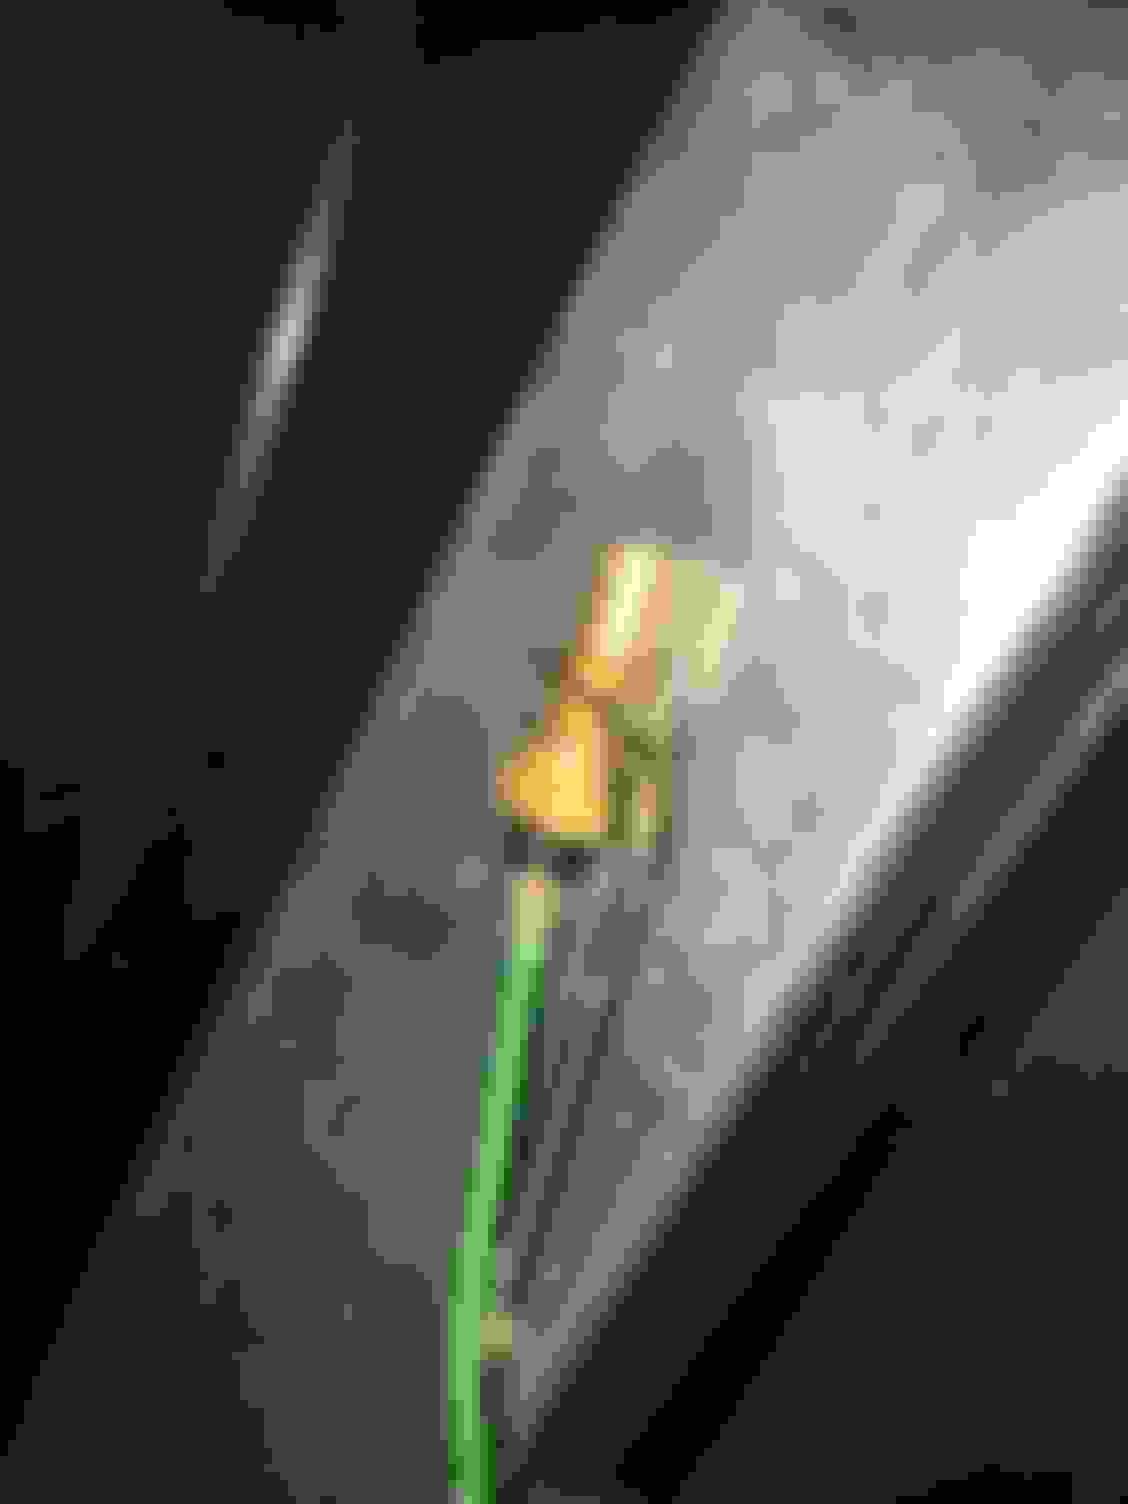
VDO Vision Black Outside Temp Gauge #397-154 � sending unit install
Following my last update, here's where I finally settled on installing the VDO 397-154 outside temperature gauge (Fahrenheit) sending unit.
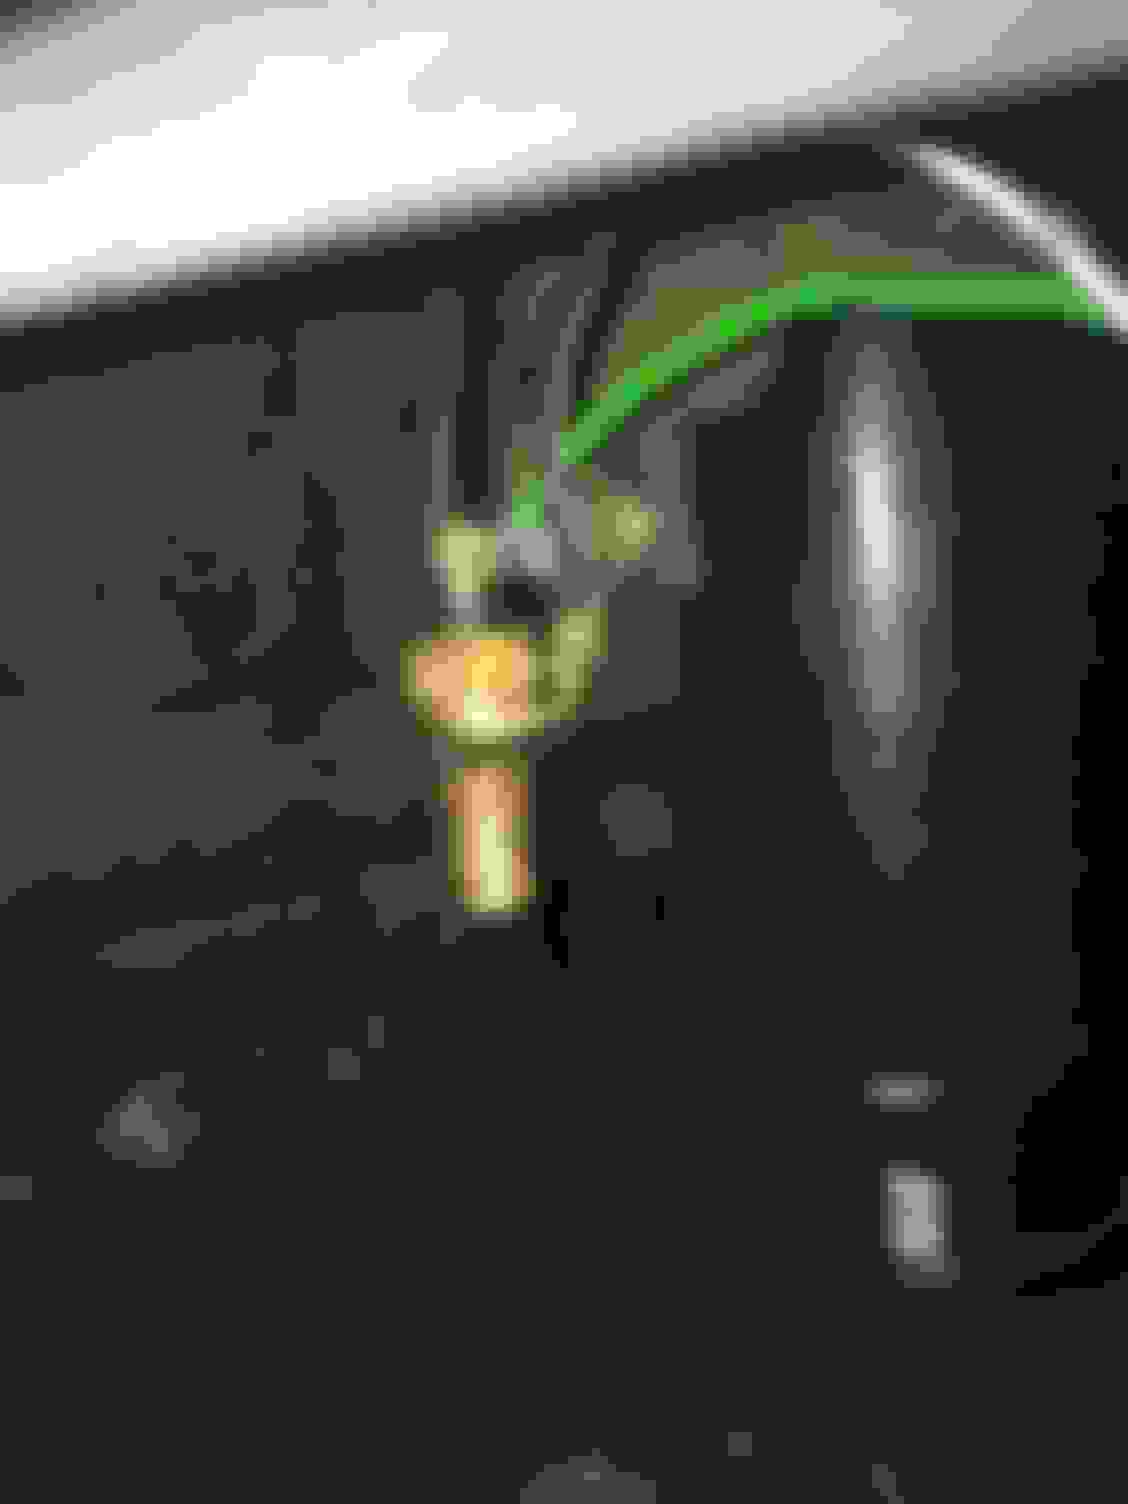
I initially wanted to mount it right next to the factory SC300/400 ambient temperature sensor in the middle of the bumper but I found that mounting the VDO “L”-shaped bracket onto the A/C dryer bracket with a common Toyota 10mm bolt was perfect and required no drilling!
The sender points downward but this should not be an issue with the free airflow path in that location from the side duct.
I used a Weatherpak/Delphi 2-pin weather sealed connector and added a large O-shaped ring terminal right under the sender’s screw-in threads to provide the ground signal.
From there the signal wire will be routed into the custom accessory harness I made that already contains several gauge signal wires going into the cabin. The ground wire will route to one of the main chassis ground points.
Edit/Update:
As it turns out this is a pretty bad location to have mounted an outside ambient temperature sensor. I guess the A/C receiver dryer and its mounting bracket must heat up quite a bit because this gauge would go well close to its 120F maximum temperature reading in that location when I let the car sit idling for long enough. When I was noticing this it was a mere 73 degrees outside! Only when driving at speed did the sensor cool down to a normal temperature again.
So I'll have to drill a center grill mounting location for it after all. No big deal. I'll also create a long extension harness for it to reach the distance and make for easy servicing in the future.
Additionally the sensor ground location that I've got shared with one of my HID ballast ground seems to be less than ideal so I'll change that too.
Last edited by KahnBB6; 06-04-20 at 11:34 PM.
Reason: Update on mounting location.
Hahaha! Good to hear from you buddy! I did consider that but these were already $1,500 to get done, plus a new gasket kit. They�ll do BPU if I want them to.
It�s just my 2nd turbo that needs replacing but since they�re both old and well over 150k miles I�m replacing them both.
I think the going rate for STU USDM twin GT28 upgrades plus Stu Hagen�s THUK upgrade is around $4,500 when all is said and done? I�m probably off a bit give or take. Add another $1,000 if using Stu�s flow improved exhaust manifold.
With those there is supposed to be a +50whp gain even when still at 100% baseline stock boost/fuel.
I�d love to do it for sure and I�ll have a spare set of CT12B�s, new gaskets and the other cast iron hardware should I ever get the bug.
Awesome update - looking forward to seeing how much of a PITA they are to install haha.
I�m not ready to get into this project just at the moment since it�s very rainy and I�ll need a couple of days or three to get through it all but I have been researching recommended ways to do it beyond just the Supra MKIV TT TSRM�s instructions.
Collected Guides and Tips for Removal/Re-Installation of 2JZ-GTE stock twin turbos
Originally Posted by RudysSC
haha! You know me too well. Eventually, I'll be looking for those links and how to get those little guys out of there.
Rudy, for your future reference (and mine and anyone else who is interested), these are the resources I have gathered so far to cross-reference and fully understand how to remove and reinstall the factory 2JZ-GTE twin turbochargers with the engine still in the car.
In order to do it the SC will need to be jacked up (or put up onto a shop lift) to be able to access things above and below from under the chassis at various times. And the coolant and oil needs to be drained beforehand of course. Given how much is involved a garage as the working space is highly recommended as this can take some time to get done.
A VERY invaluable and detailed picture-rich guide showing how to remove the USDM 2JZ-GTE twin turbos including the trick for getting the "b*tch bolt"/nut removed: https://www.diyauto.com/manufacturer...al-by-94canuck
I'm attaching a PDF of the USDM 2JZ-GTE TSRM's turbocharger removal/reassembly section as well.
Hahaha! Good to hear from you buddy! I did consider that but these were already $1,500 to get done, plus a new gasket kit. They�ll do BPU if I want them to.
It�s just my 2nd turbo that needs replacing but since they�re both old and well over 150k miles I�m replacing them both.
I think the going rate for STU USDM twin GT28 upgrades plus Stu Hagen�s THUK upgrade is around $4,500 when all is said and done? I�m probably off a bit give or take. Add another $1,000 if using Stu�s flow improved exhaust manifold.
With those there is supposed to be a +50whp gain even when still at 100% baseline stock boost/fuel.
I�d love to do it for sure and I�ll have a spare set of CT12B�s, new gaskets and the other cast iron hardware should I ever get the bug.
How are your SC�s doing now?
I will call you one of these days. Been doing good except I had to pause for a while on that Ultimate SC Gerrb Project due to some health scare my wife went through. I didn't feel like working on any of my toys for a while.
I know how expensive an upgraded or aftermarket twins can get into aside from the amount of work that is why I can't seem to justify them even if I badly wanted one. It is the setup I wanted for a long time since I don't have that setup . But if I am going into one , I will never be satisfied with twins just making 750rwhp or lower so they have to be bigger twins .
Gerry, I'll call you soon. I certainly understand completely-- hope she is doing all right now
Regarding the STU GT28's, yeah I figured their ceiling for power would probably not work for you but within those factory housings even if all the spinning internals have been improved and all the housings ported for better flow I do believe 750whp is the maximum they are capable of on E85, VP100 or another 100+ octane fuel. Their main selling point anyway is that they can be operated in factory sequential mode.
To go with a set of larger twins you would be doing a parallel setup... kind of as it is on an RB26DETT with upgraded parallel turbos. And for that... I think you'd definitely want a 2JZ-GTE VVT-i cylinder head. But it would be very cool for you to have an aftermarket parallel twin turbo 2JZ-GTE especially if they were capable of providing a strong and linear wide power band from low to high RPMs.

 04-29-20, 06:45 AM


 . But if I am going into one , I will never be satisfied with twins just making 750rwhp or lower so they have to be bigger twins
  .
.
