When you click on links to various merchants on this site and make a purchase, this can result in this site earning a commission. Affiliate programs and affiliations include, but are not limited to, the eBay Partner Network.
Its beautiful, through out. No way would I paint it. It has a great mat black finish look to it
but of course I'm not seeing it in person. You have done it well these years
All the Best___Joe
PS: nice photographing
Thanks Barbary!
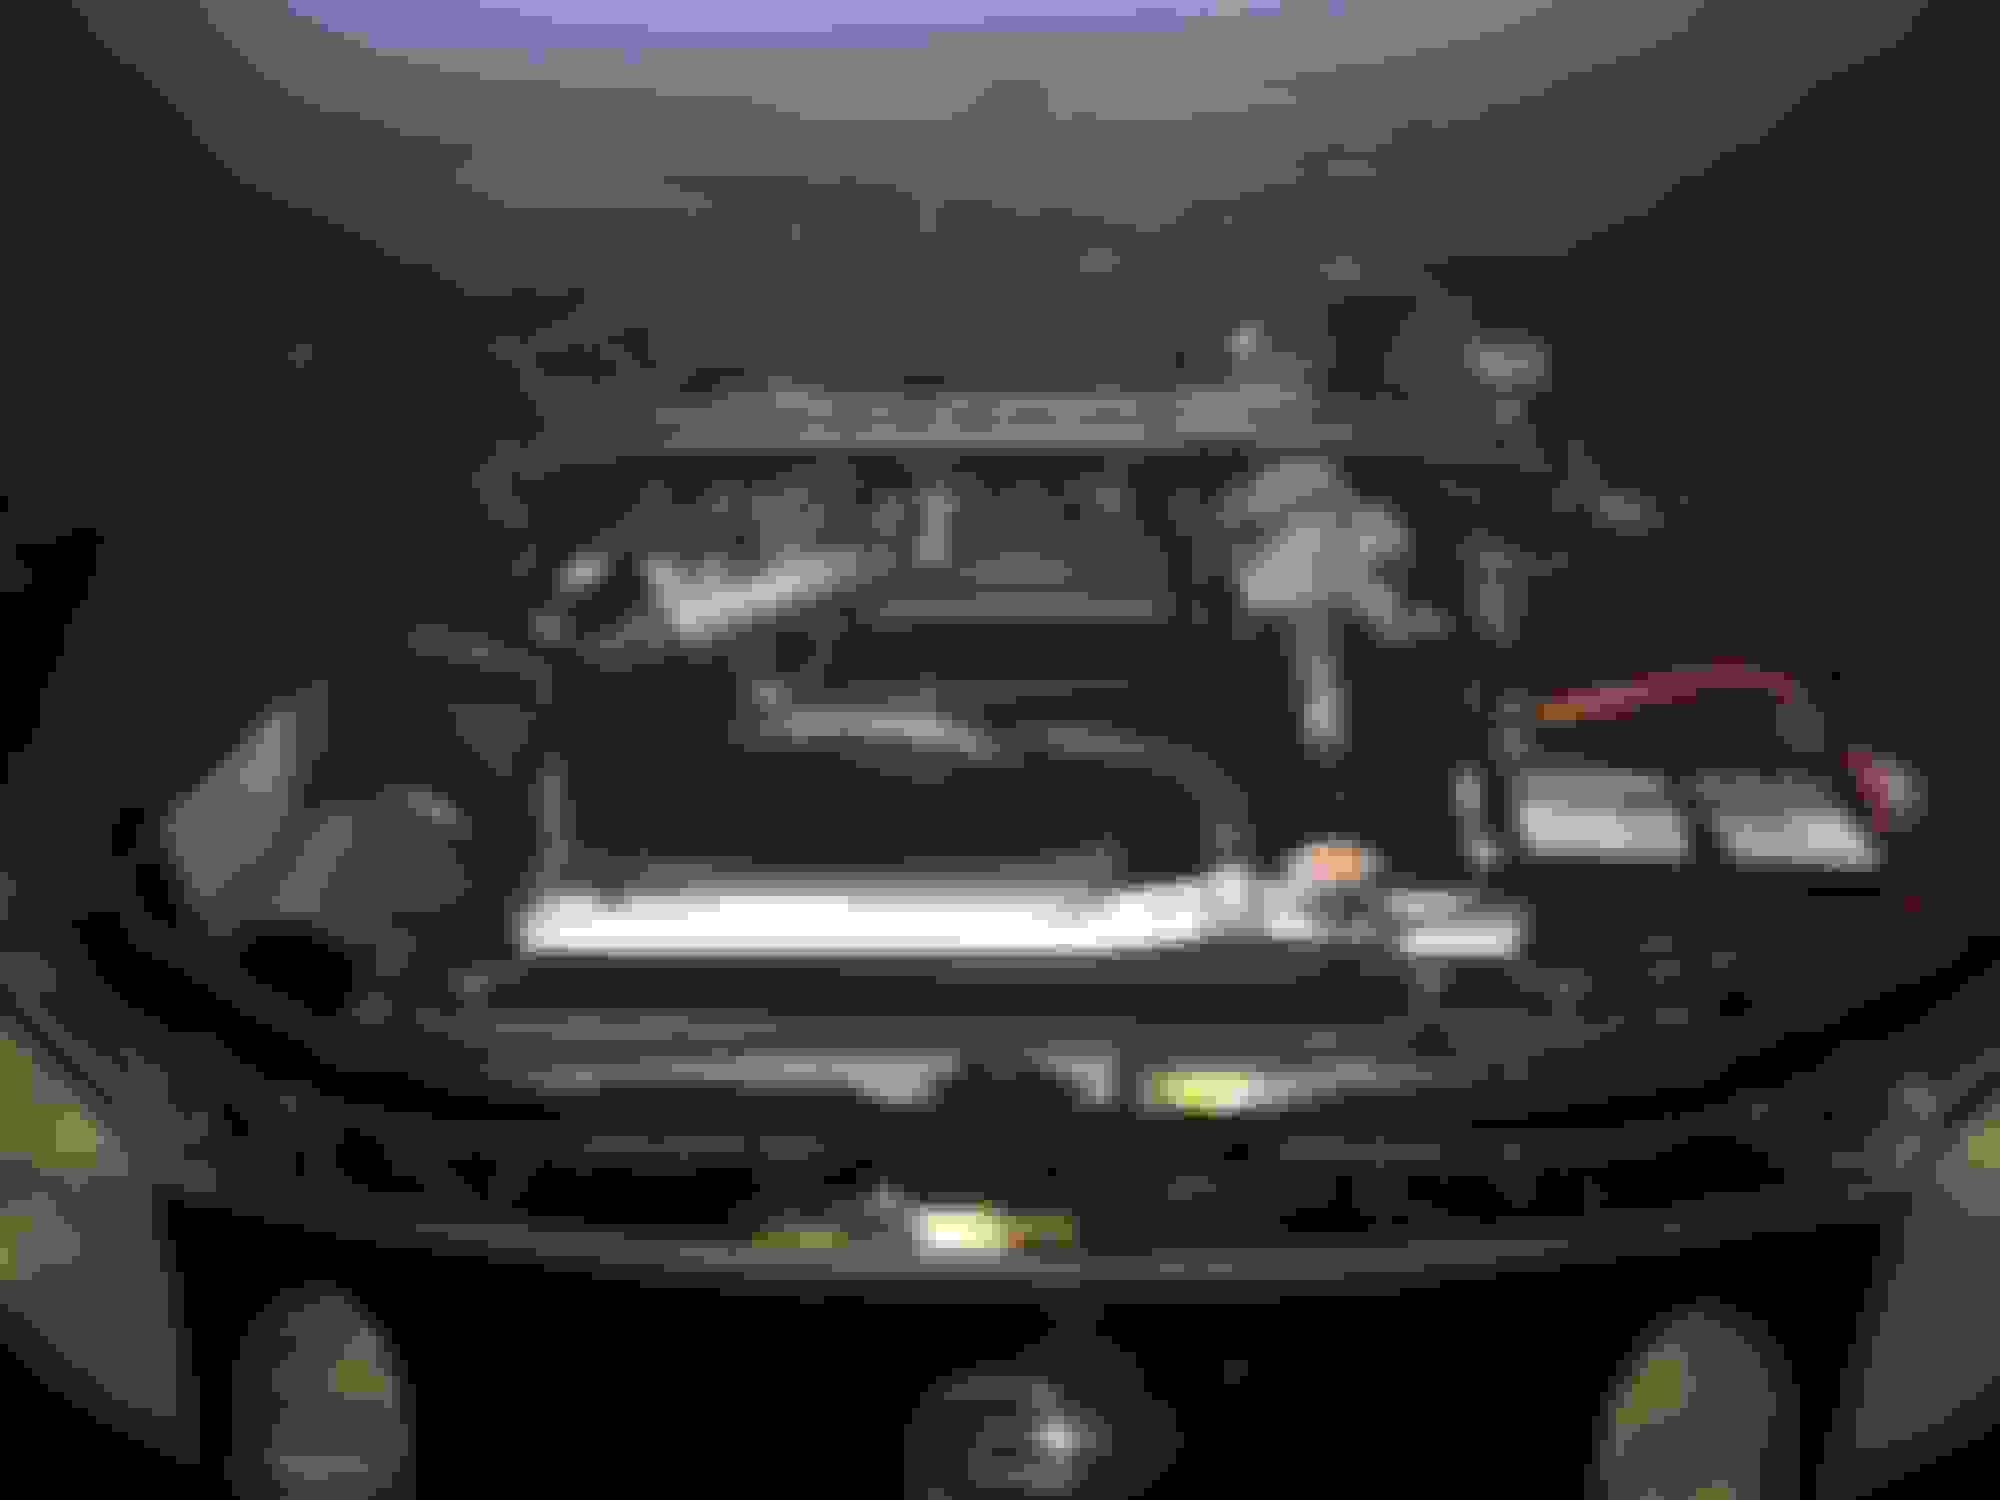
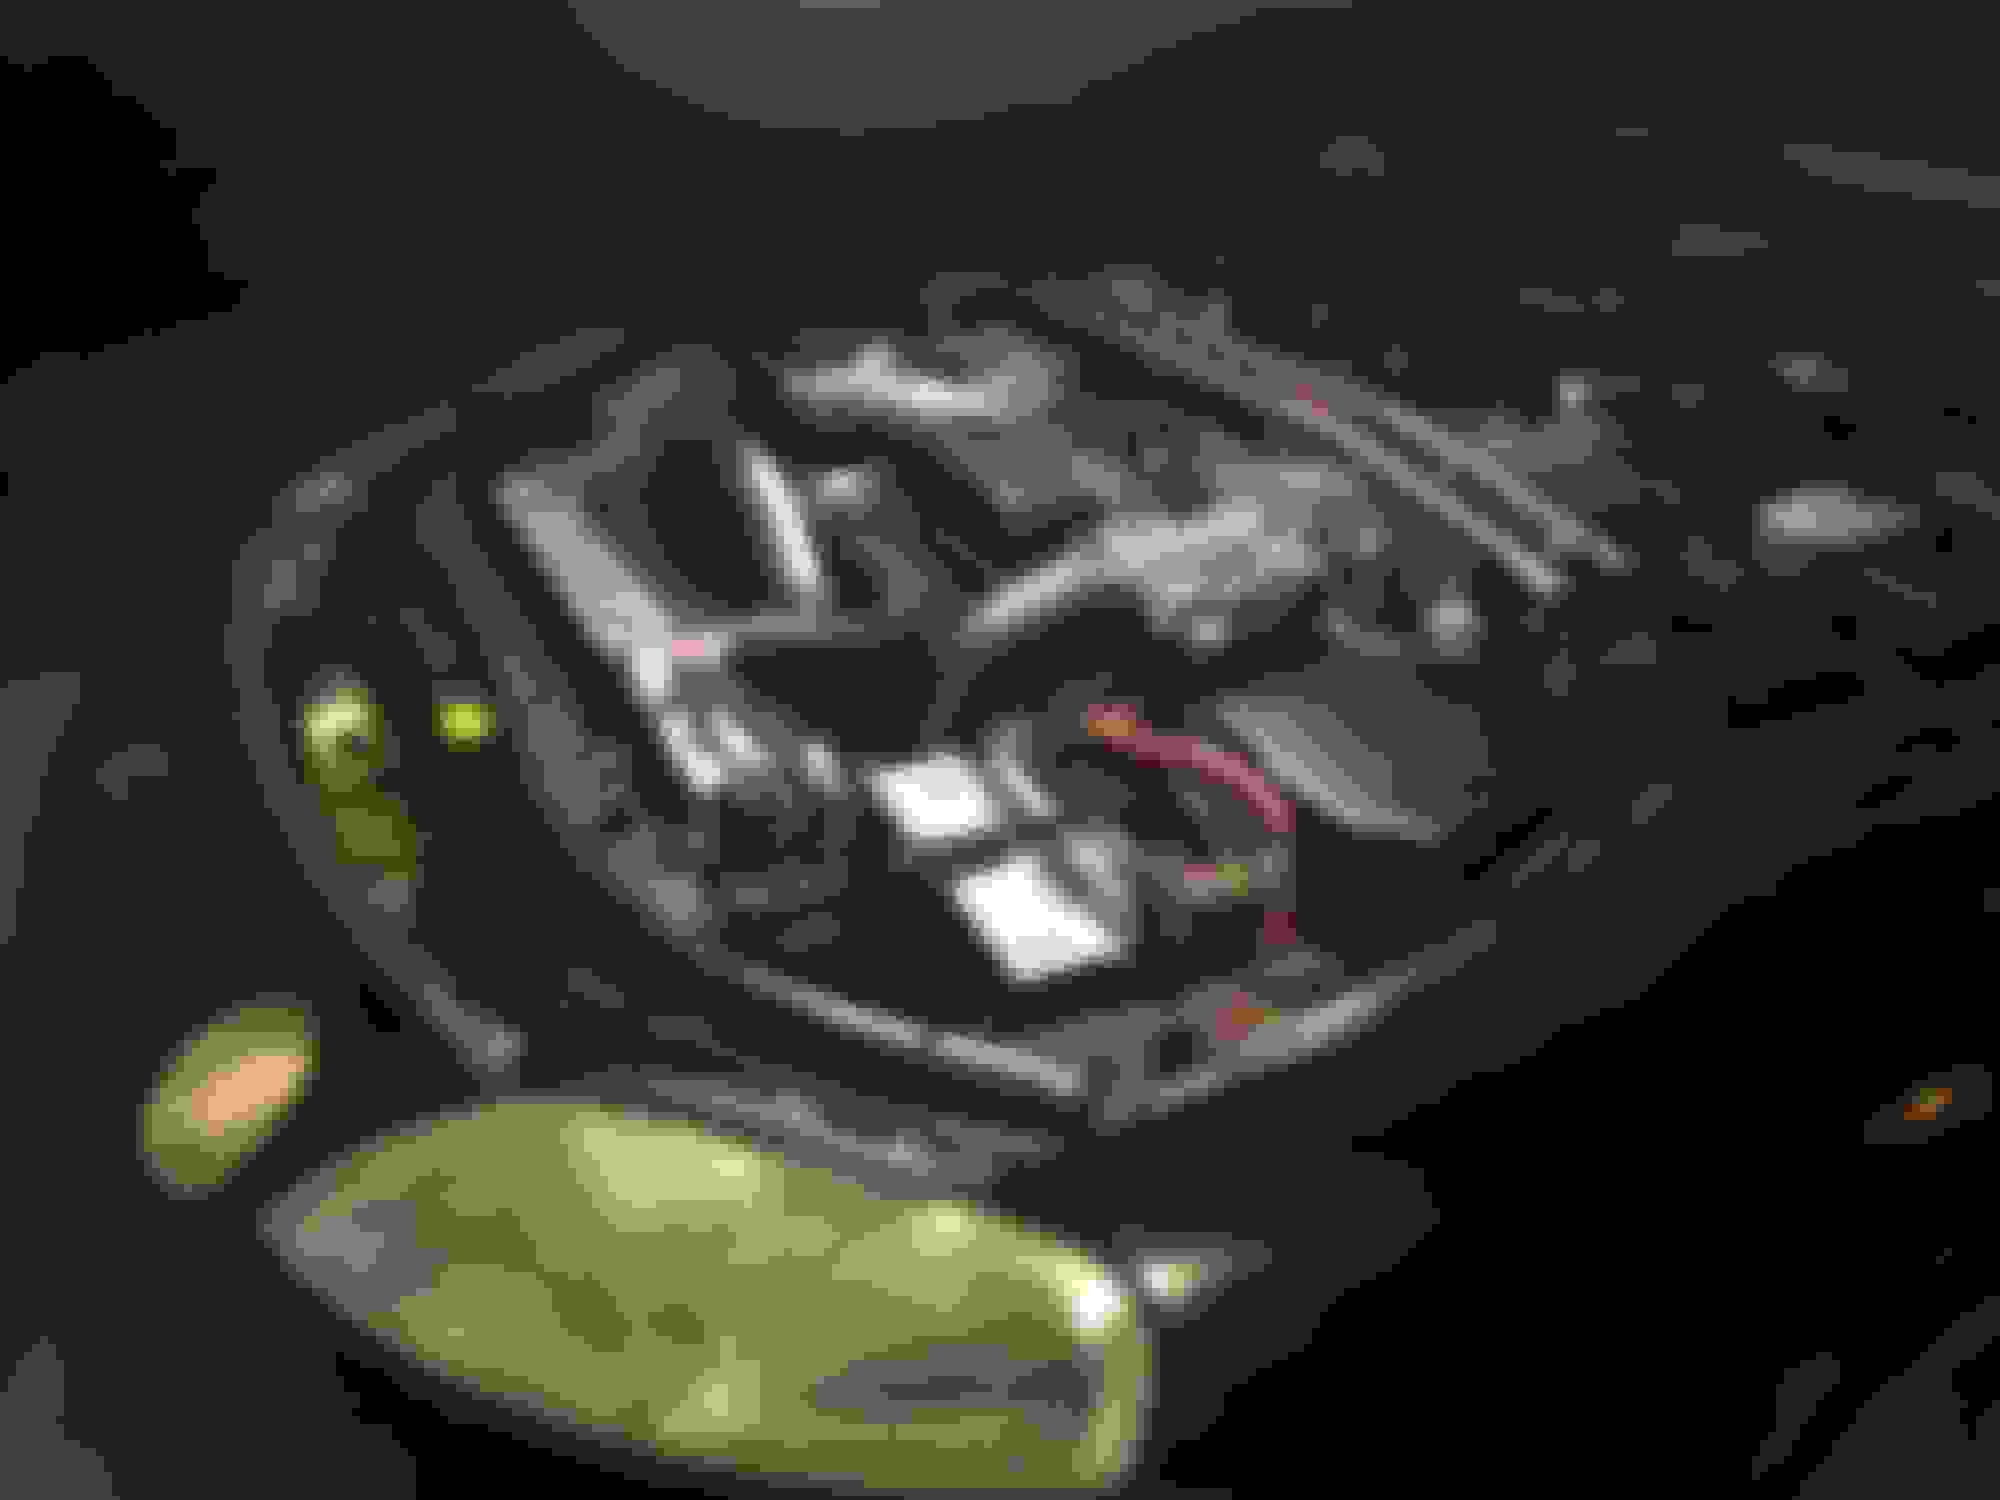
For the most part the paint is still in fairly decent condition but I will definitely be getting this car repainted. I have some clear-coat peeling on the '97+ front bumper and the clear on the rest of the car, while totally intact, isn't in perfect shape. That's the slight "matte" look that you're picking up on. Over time I have done a lot of careful paint chip correction and protection with epoxy black touch up. I have a prepped spare '92-'96 OEM duckbill spoiler that is totally straight that will be going onto the car once the whole thing gets done.
The front bumper aside the paint is in pretty decent condition and it's still a fairly shiny car... but it will absolutely get a high quality repaint job. It's just a question of when.
The headlights... I think this impromptu shoot has alerted me to the need to get another 3M headlight restoring kit to help out my lenses for the interim before I can afford to send them off to OG Status
Hey Craig, see the before and after photos in my build thread. I can help you with breathing some life back into the paint. I�m still learning about our cars, as you well know, but I�m a respectable weekend warrior detailer.
Get yourself a paint gauge and test the thickness of your paint. If you�ve got more than 100 units thickness you should be able to use a machine polisher and fix that haziness and restore luster. I�ll leave you with a before and after photo on my daily; a 2012 Camry. It�s a dark color, similar to your SC:
Before
After
The before photo was taken after washing, decontaminating with iron/fallout remover and clay bar. In other words, the paint surface was very clean, but it was still hazy. The clear becomes contaminated from years of neglect and exposure to the elements without sufficient protection.
You will spend a few hundred bucks in gear, but it�s very satisfying work and the cost is significantly less than a paint job.
The bumper needs to be resprayed, but that�s a separate matter.
Let me know if I can help you, bud. If you�re near to me in Orlando, I�ll even show you how, you can bring the car by.
I've been away from my thread for a while since no new changes to the car had been made recently. I still have the Z30 Soarer / early 92-93 SC manual tilt & telescope steering column project on the back burner which I hope to get to soon after a verifying all the stalk switch pinout connections from a 1995 SC match up for my 1993 SC.
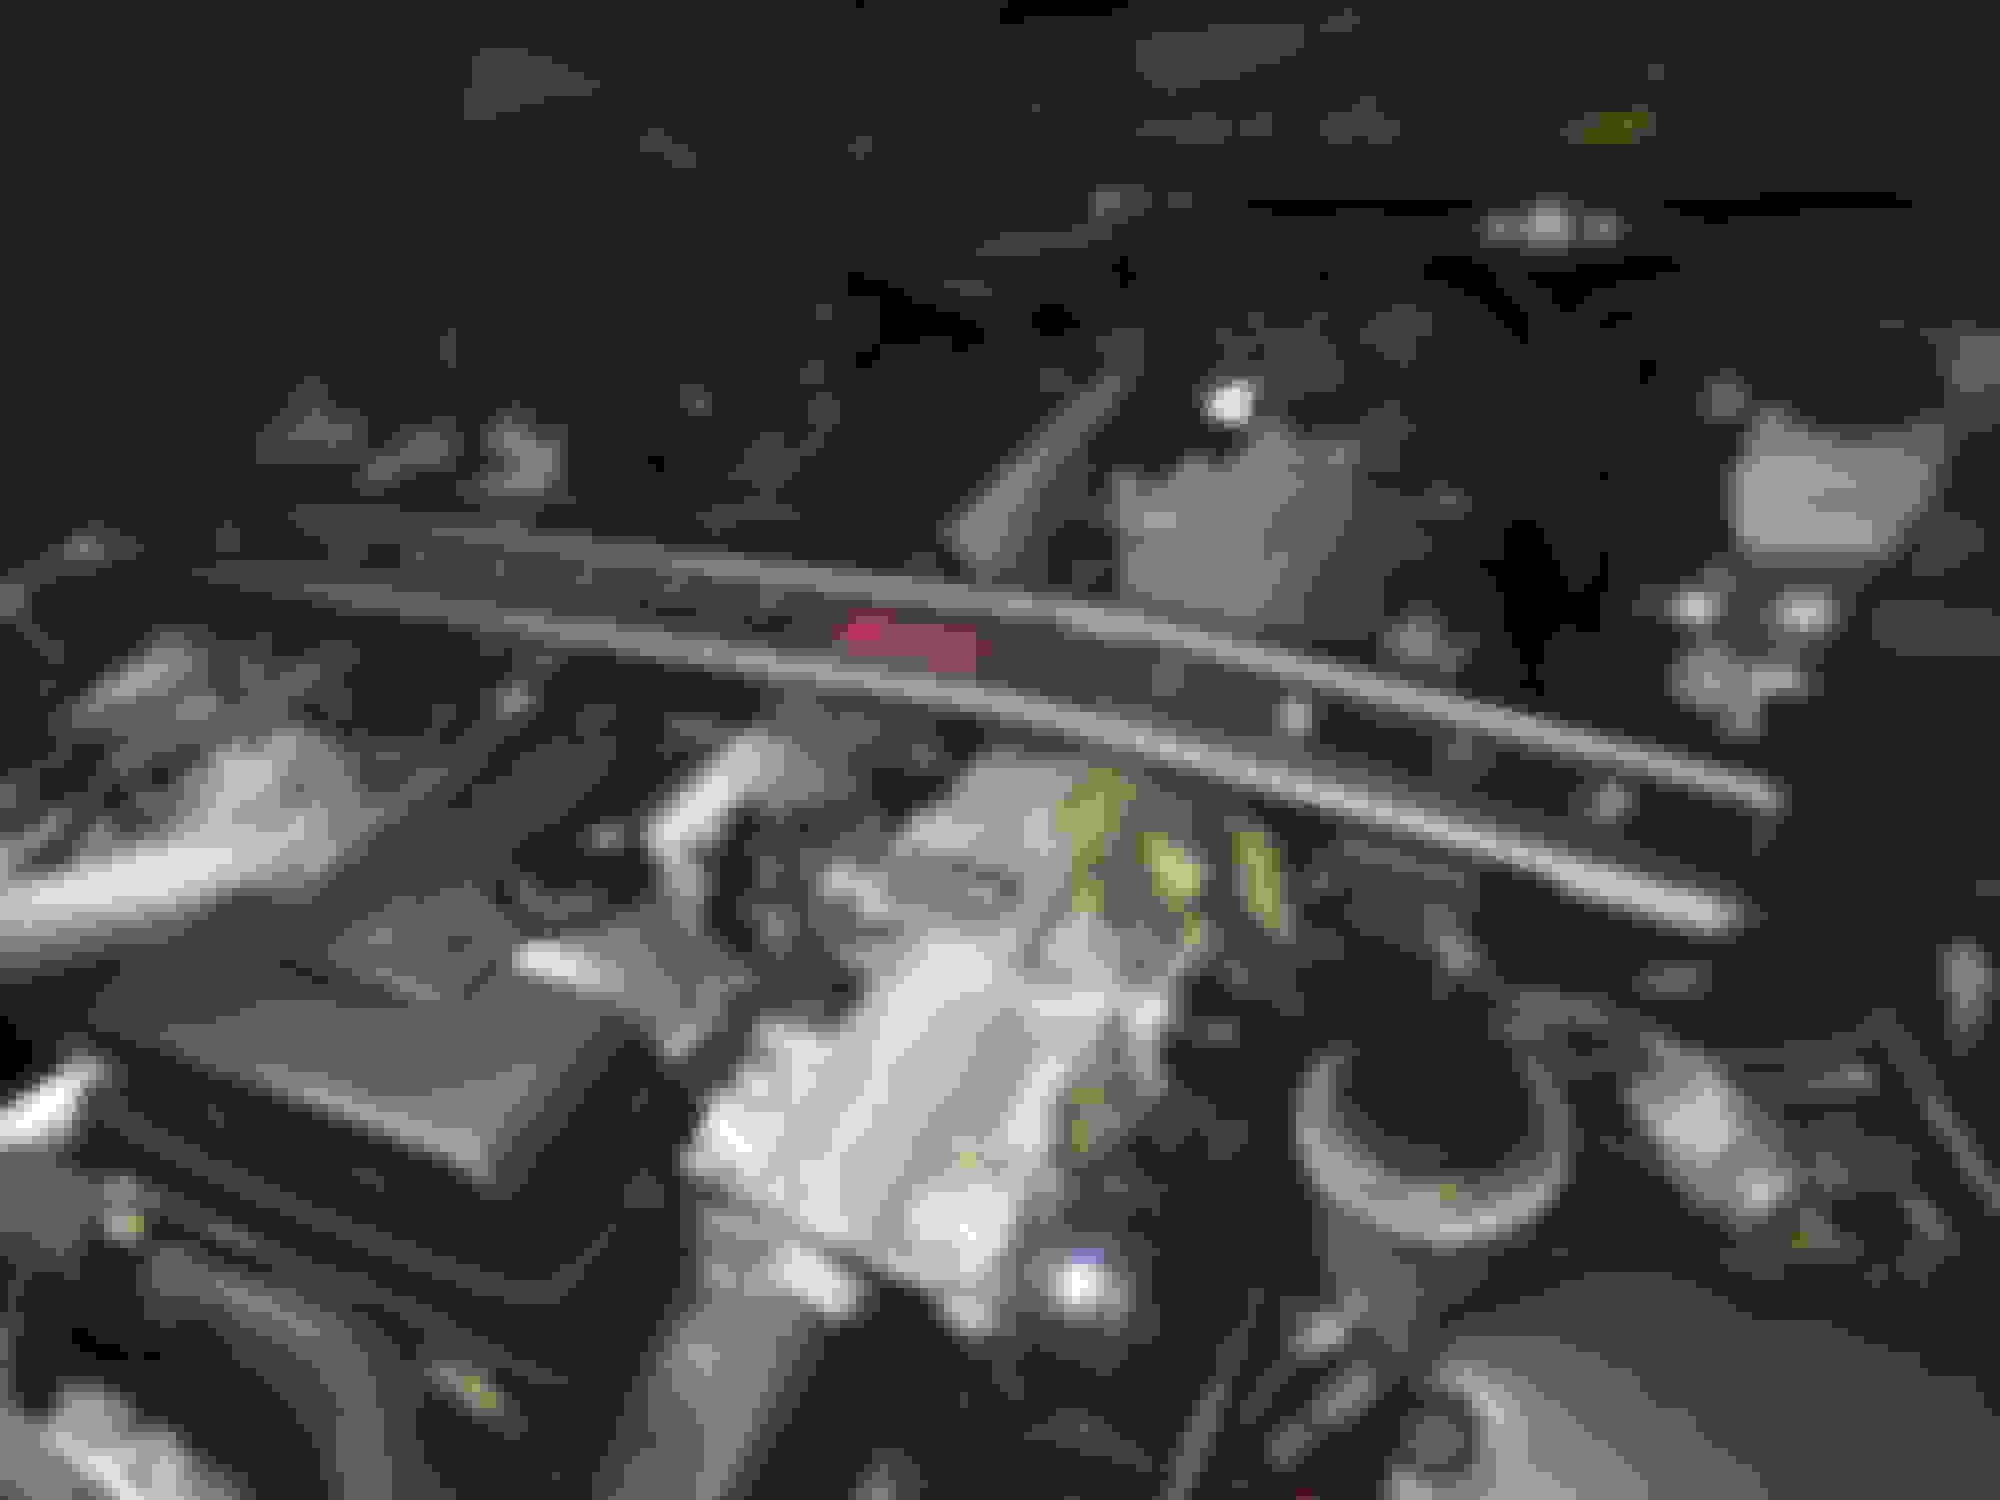
But since I jumped on a new TRD Supra MKIV front strut bar (TRD/Toyota P/N PTR04-14930-07) a few weeks ago I really wanted to get it installed so yesterday here's how that went
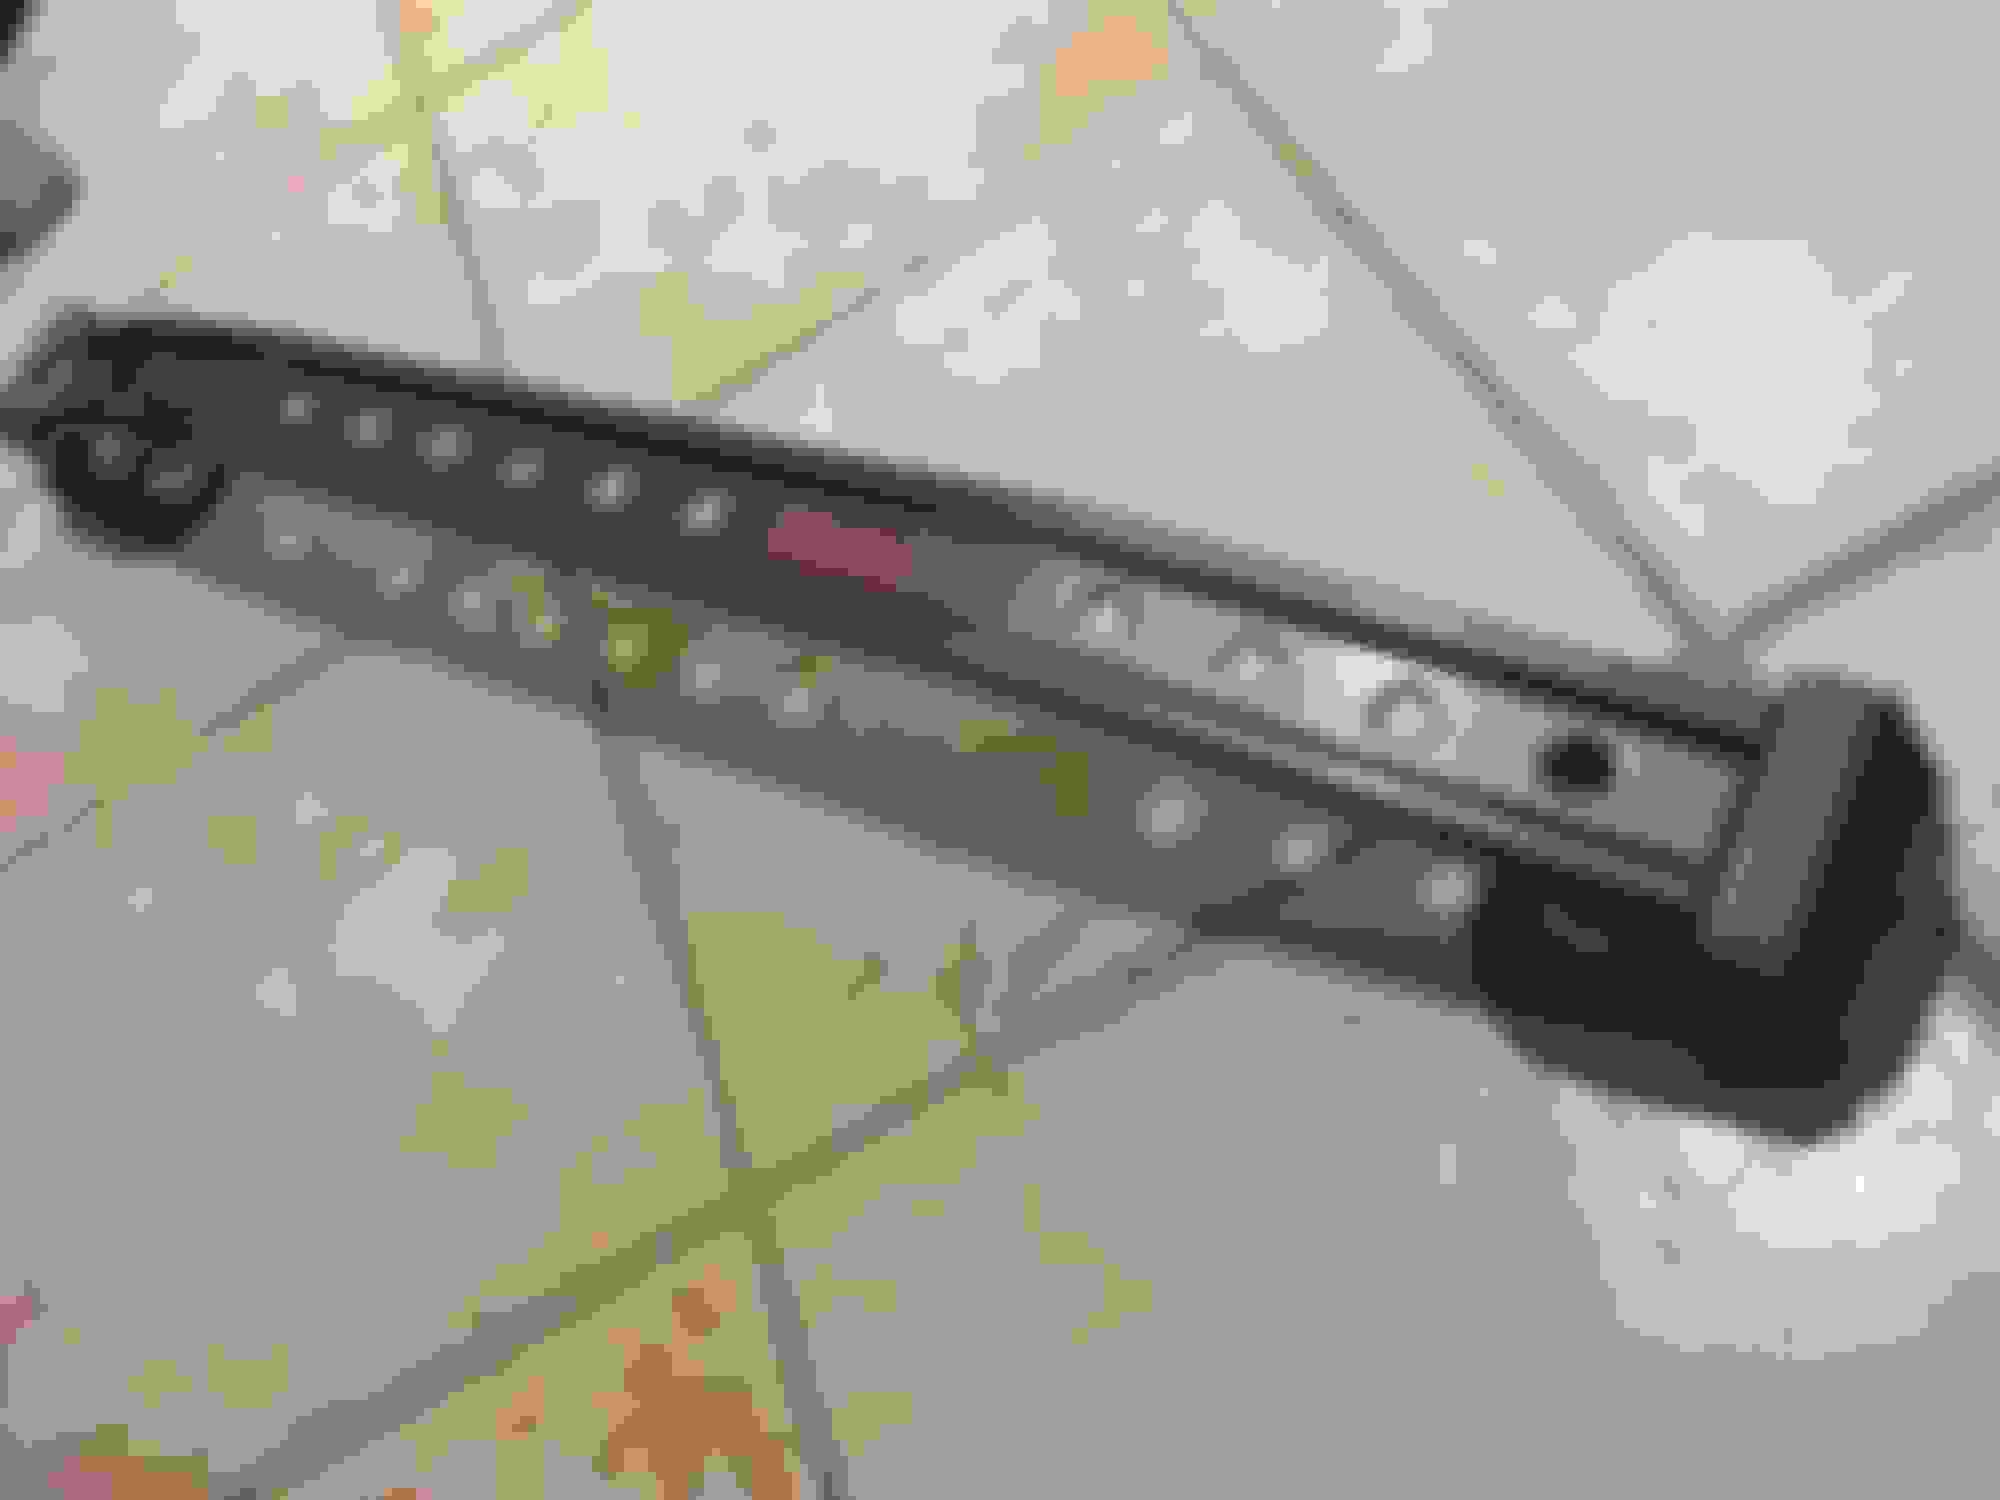
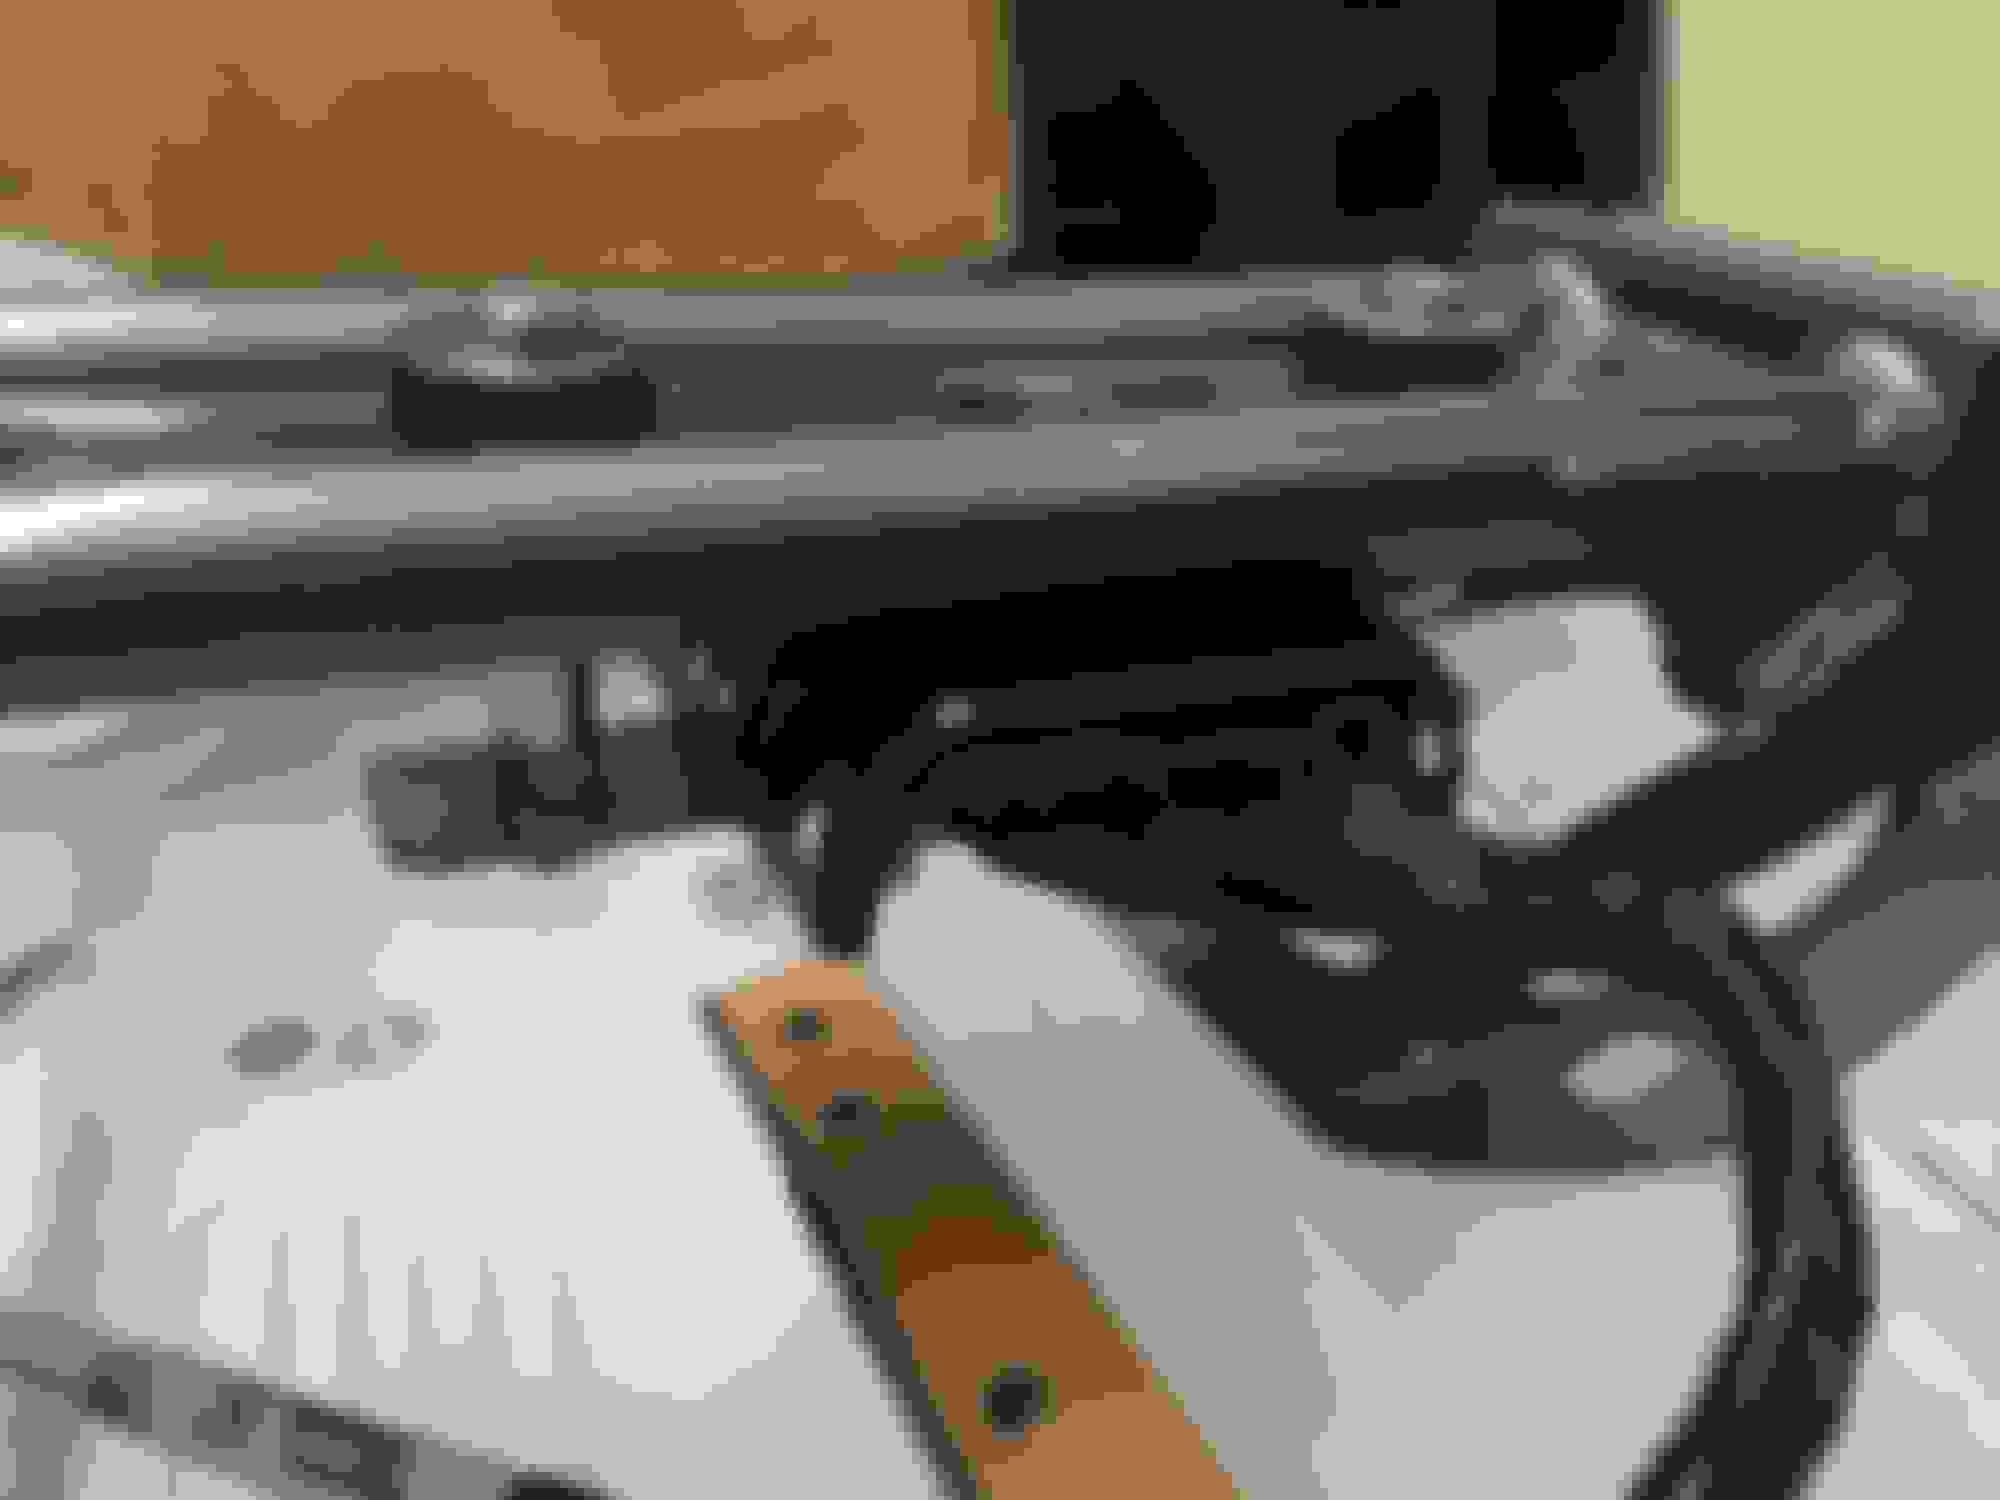
After I received it in fresh out of the box:
This strut bar is made for the Japan domestic market JZA80 Supra RZ (Twin Turbo) but it of course fits any Export MKIV Supra... and by extension any SC300/400 or Soarer *chassis*. It was designed as a bolt-in part over a 2JZ-GTE engine (and by extension the 1JZ-GTE because it has more or less the same overall physical height).
For 2JZ-GE fitment some extra washers to space it up a few millimeters higher will be needed to clear the taller GE intake manifold. For 1UZ-FE engines I am not sure how well it clears over with some additional washers-- I know some have tried this strut bar on SC400's but I don't recall if it works well without any rubbing issues. You do not want this very rigid bar connecting with any part of the engine which has some degree of movement on its rubber engine mounts.
I do know that Cusco makes an SC400 specific strut bar that is designed from the get-go to clear over a 1UZ engine.
Anyway, in my specific application I have a USDM 2JZ-GTE that retains the factory 550cc injector resistor pack. Since the stock mounting location for that is right onto the driver's side shock tower it has to be mounted somewhere else. And for that... a custom bracket (not included in the TRD strut bar kit) is needed.
On Supraforums the awesome member bitshftr has been selling his own very elegantly designed custom made resistor pack relocation brackets which is a great solution:
I have committed to buying one of his bracket kits (I *really* love how compact he makes them) but unfortunately at the time of my writing this post he's still looking for some more interest before making a new batch. So given that wait time and my need to get this part installed sooner rather than later... AND since I have used up the space *behind* my shock tower with some other custom weather sealed electrical boxes... I got to work making my own much more crude bracket design for the time being.
I found some rigid cardboard and cut myself a mockup template to design around first. Brought the strut bar and resistor pack with me to a Lowes store and rummaged through their nuts, bolts, washers and rubber grommet bins until I found what I would need. I tested out the rest o the hardware with my rigid cardboard template first to make sure there was enough clearance.
Then I traced my template and bolt hole drill markings onto some raw plate stainless steel, cut out the form with a high speed cutoff wheel, found my true straight angles with a ruler, a right angle tool and marker, fired up a grinding wheel on the workbench and got the plate steel trued up exactly to my measured straight lines, rounded off the edges, center punched my bolt hole marks and drilled them out on my 70+ year old drill press, ground off any metal strands and sharp areas, scuffed both sides with some 100 grit sandpaper... and treated the plate to some VHT 550F gray primer paint and then some 550F VHT black engine paint.
The result wasn't perfect but it was straight and true and will do the job. I designed the lower section to be easily removable while the top rubber isolated section remains bolted to the TRD strut bar (because it's not very compact the way I did it). It'll do for now until I can get bitshiftr's more compact and cleaner looking bracket design.
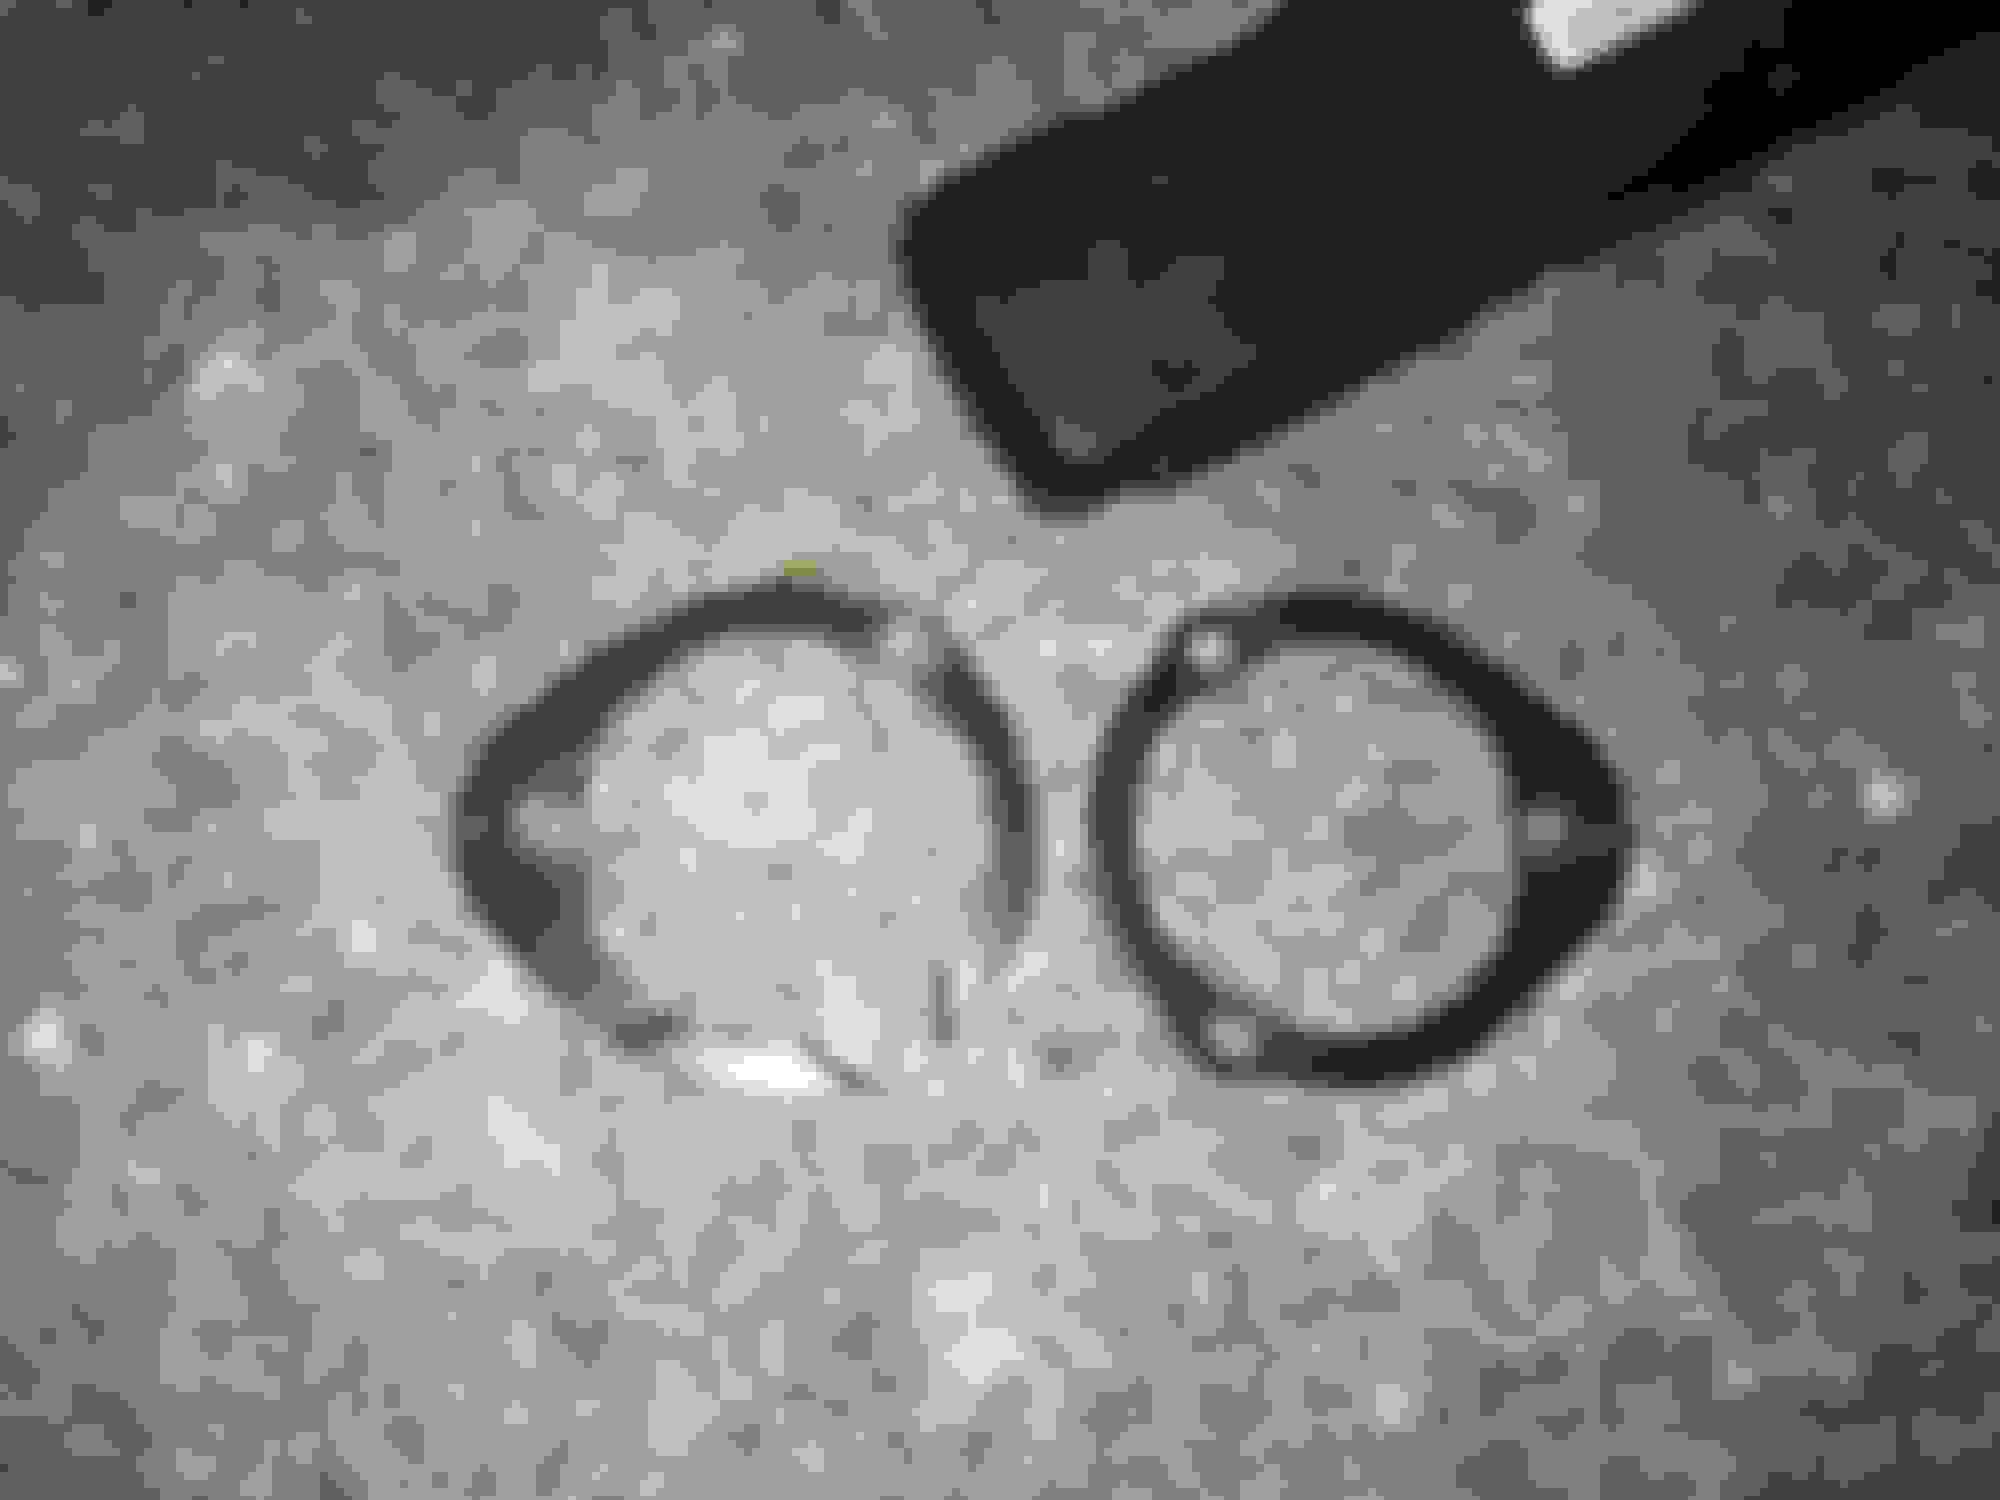
For vibration isolation I found generic rubber grommet bushings at Lowes and bought four of them. These had a fat and wide side and a side with a much smaller diameter shaft and lip. The inner diameter was just the right size for the bolts that I chose. One set was for the top side of the strut bar and one set was for the bottom side. I took a fine metal saw and shaved one flat on one side and for the other I removed just enough material to allow for there to be some contact on the inside rubber shaft of one set of grommets to provide some spacing between each "fat" side. This allowed just enough space equivalent to the thickness of the strut bar and allowed the mounting bolts to be secured through two of its convenient holes.
This was to protect the paint and finish.
Two standoffs and some washers completed the upper section of the bracket design. It's clunky and was put together quickly but it works.
Next... the install! This was actually pretty straightforward.
The instructions are in Japanese but you can find an English translation here:
Originally Posted by RRnold, post: 13319873, member: 118151
Thanks goes to Hirota-san for translating this installation manual. It's not a complete translation, but all the pertinent stuff is here.
NOTE: Any comments I have added are embedded [in brackets] below. Please use this as a helpful guideline - there is no guarantee to the accuracy of this translation, and you must take the full responsibility for your own installation.
Parts
Tower Bar 1 "Made with Steel"
Washer 2 0.9mm thick
Washer 4 1.6mm thick
Instructions 1 It's paper.
[Note, I also received 4 lock washers which I used in conjunction with Item #3]
Description(parts number,applications)
53607-JA810 Supra JZA80 All Turbo ONLY
Cautions when Installing
* "Please make sure the tower bar does not interfere with other parts"
* "Do not tear the parts"
* "Use ONLY with Supra Turbo"
*** PAGE TWO ***
Mounting Instructions
1. Remove the three nuts and plate from each front suspension support. The plates you remove will NOT be used. The nuts will be re-used.
2. Mount the tower bar with the "4 hole" side to the left side of the car. See the diagram. Place the correct washers between the suspension support and the tower bar. [Basically, make sure the TRD logo is on the driver's side of the car (assuming you have a standard US left-hand-drive car of course), and use the thin washers on the outboard positions on each strut. I also installed the four "extra" lock washers above the tower brace and below the nuts.]
3. Install and torque the nuts to 365 kgf x cm. [This translates to roughly 26.4 ft lbs of torque]
[Special note: My 1997 Supra had an ignitor module mounted directly on the driver's side strut tower - this would NOT re-install in it's original location once the brace was installed. I solved this by relocating the ignitor module towards the master brake cylinder side, and attached it to one of the suspension studs with the existing nut]
Cautions when Installing
* "Please make sure the tower bar does not interfere with other parts"
* "Do not tear the parts"
* "Use ONLY with Supra Turbo"
Toyota Techno Craft, Inc TRD Sales Office Telephone & Fax info
Additionally, Gerrb was kind and helpful to tell me the secret to getting this strut bar installed:
The GTE ignitor and its mounting bracket (if applicable to your SC) has to be temporarily removed first to make room to access the outboard-most shock tower bolt on the driver's side. As the TRD instructions state you need to remove (and save for any future re-use) the factory metal plates at the top of each shock tower.
I DO NOT recommend this specific part of the TRD instructions. Leave these factory shock tower metal plates on to allow the 2JZ-GTE throttle cable bracket to have just enough clearance from the strut bar so as to not make any contact with the engine as it vibrates on the engine mounts. The three shock studs and nuts on each side will still have enough thread to tighten down to 26 ft-lbs and fully fill the threads of the nuts.
On each side place the supplied black think washer on the outboard shock stud and the slightly thicker shiny washers on the other two shock bolts on each side.
Then loosely get the TRD strut bar onto the shock studs on the driver's side first. Screw the three driver's side shock nuts on very loosely.
Now... get a hydraulic jack onto the jack point on the passenger side and gradually jack up that side of the car just a bit in increments. Keep trying to get the other end of the TRD strut bar down onto the passenger side shock bolts and alternating between tries and jacking up a little more each time... until you can get the TRD bar fully down onto the bolts. It won't take too much jacking up. The tire won't even need to leave the ground, probably. That's the secret to getting it on (thank you Gerry!!!).
(^^ If you have retained your factory SC cruise control unit in the stock location with a Supra MKIV TT Auto cruise cable or equivalent then you will need to carefully nudge it over the side and to the top of the TRD strut bar when getting it into position over the shock tower studs. An MKIV TT Auto cruise control cable used in this location will JUST clear over to the top of the bar)
With that done you can get the other three nuts onto the passenger side shock tower bolts. If you prefer you can get some stainless steel locking washers from a hardware store and put those on with each shock nut but the TRD strut bar kit doesn't come with any of those.
Get the bolts on completely now but leave them only hand tight.
Jack the car down on the passenger side.
….
Now get your torque wrench, a 14mm socket, a 6-inch or so extension and (highly recommended) a 3/8ths 14mm torque adapter from your tool box (you'll never find these in stores. They have to be ordered online from Snap-On, Mac Tools, Carlyle or any other reputable specialty automotive tool manufacturing company).
(^^ It looks like this thing above only in 14mm with a 3/8th-inch drive)
Torque each nut to 26.4 ft-lbs (26.5 since most wrenches only adjust in .5 ft-lbs increments) on your torque wrench. For the outboard-most shock tower nut you'll have a clearance issue and that is where your 14mm torque adapter comes in handy. You'll need to calculate the amount of compensation needed when using a torque adapter. With my torque wrench which had an effective 13" length and a 2" long torque adapter I needed to adjust down to 22.88 ft-lbs (or right at 23 ft-lbs in real world terms with a non-digital torque wrench) in order to get as close to the Toyota required 26.4 ft-lbs.
Still, I highly recommend that you do your own calculation for your torque wrench adjustment setting whenever using a torque adapter. Such as with a handy online calculator tool such as this one:
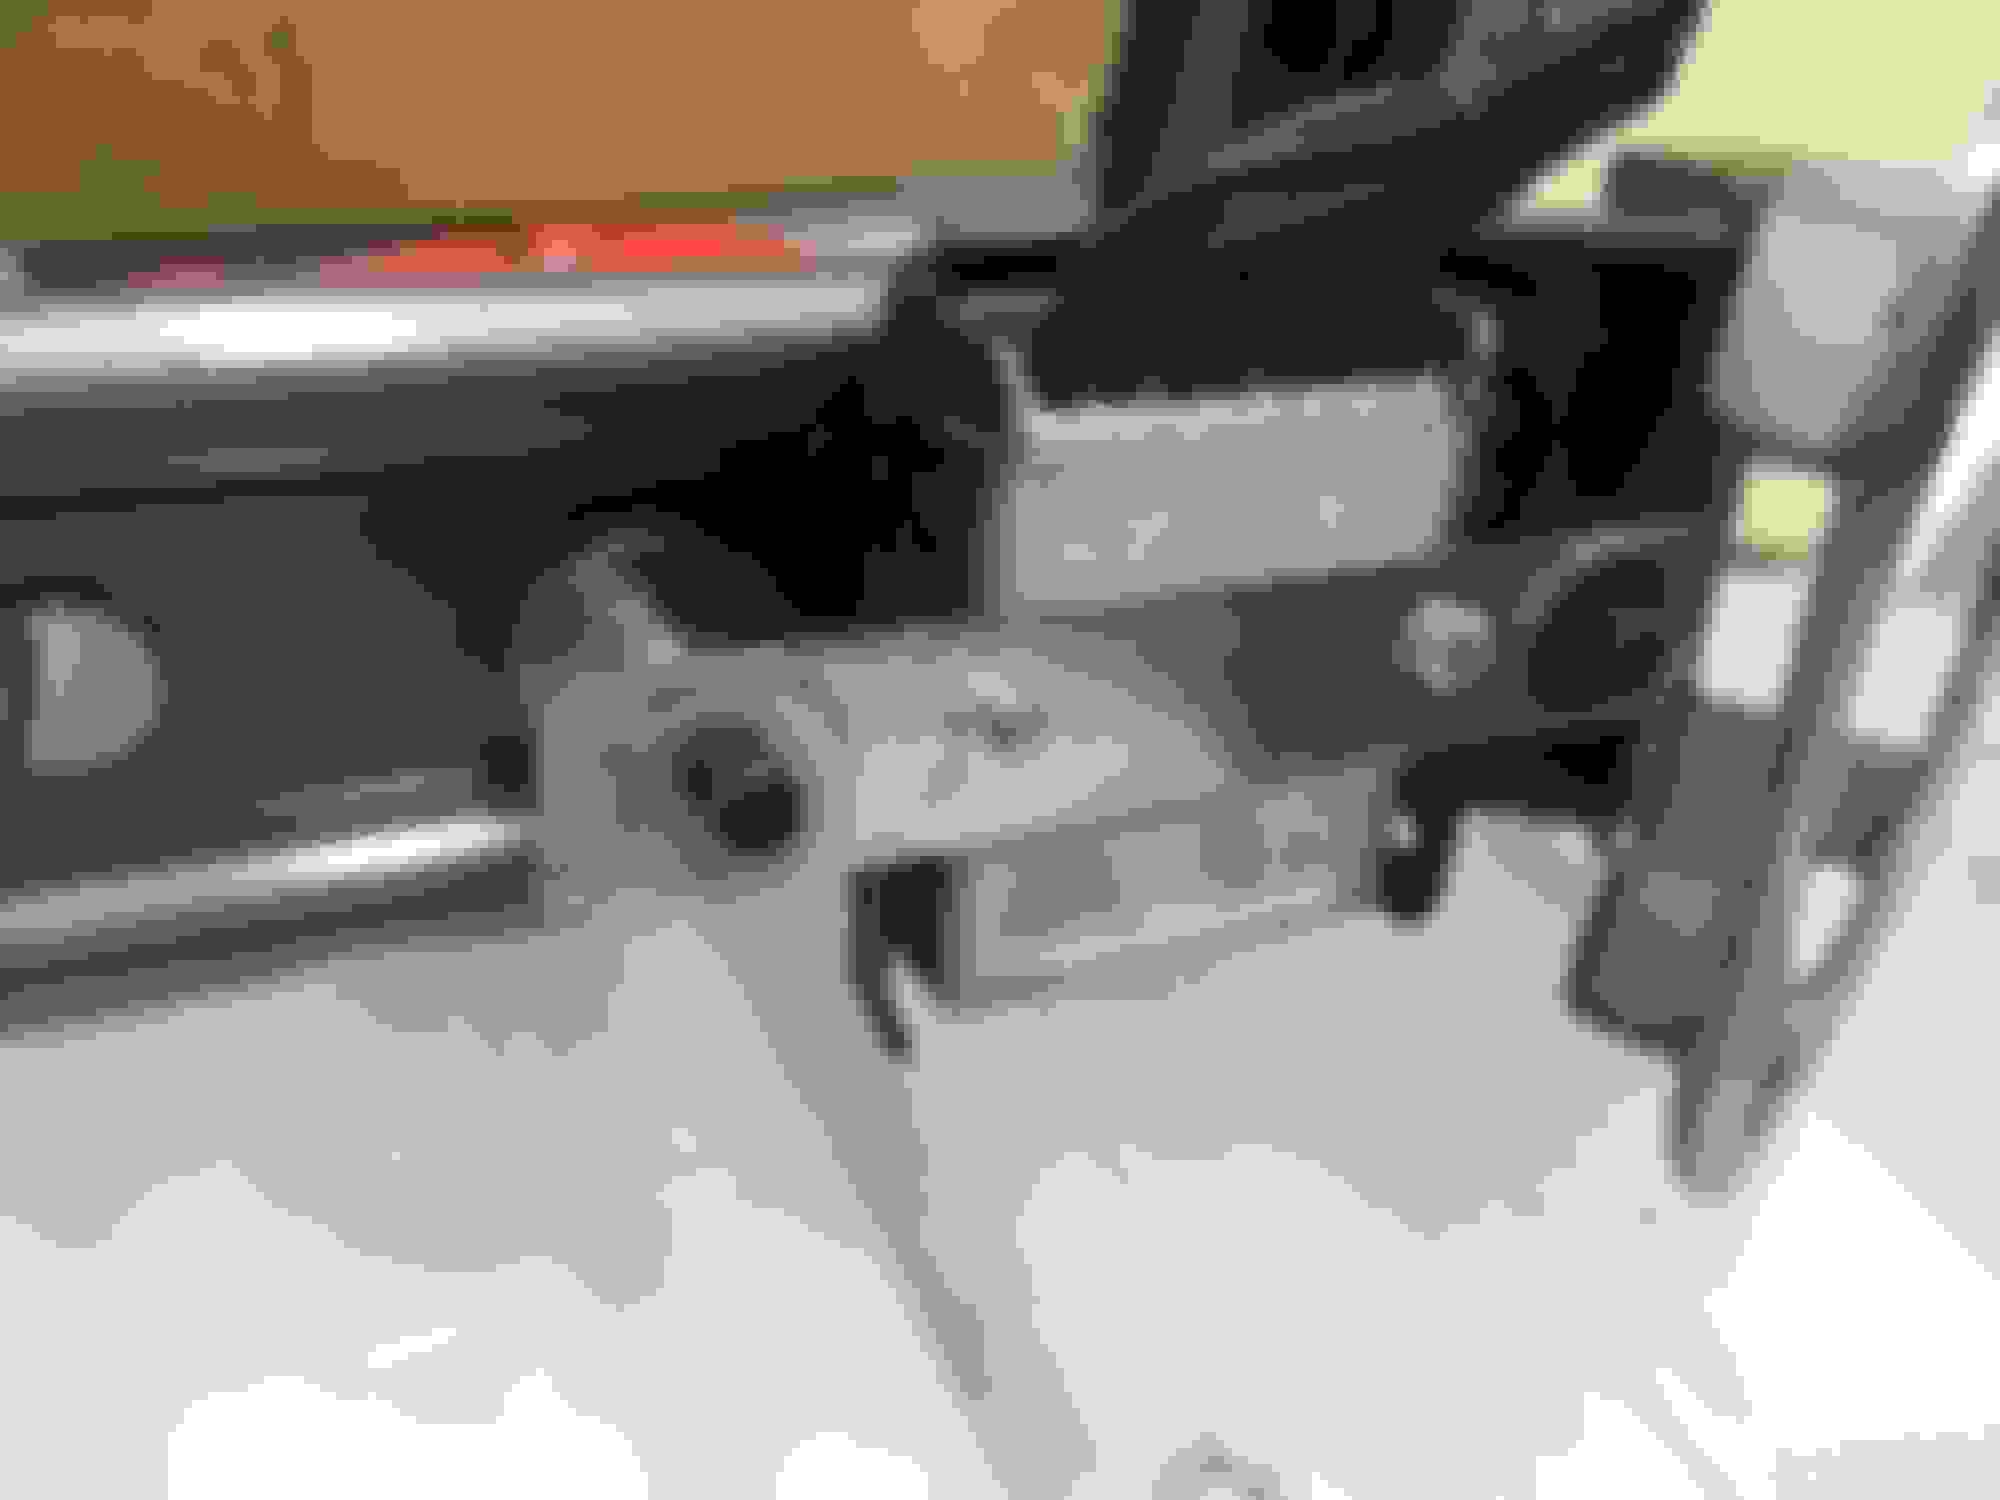
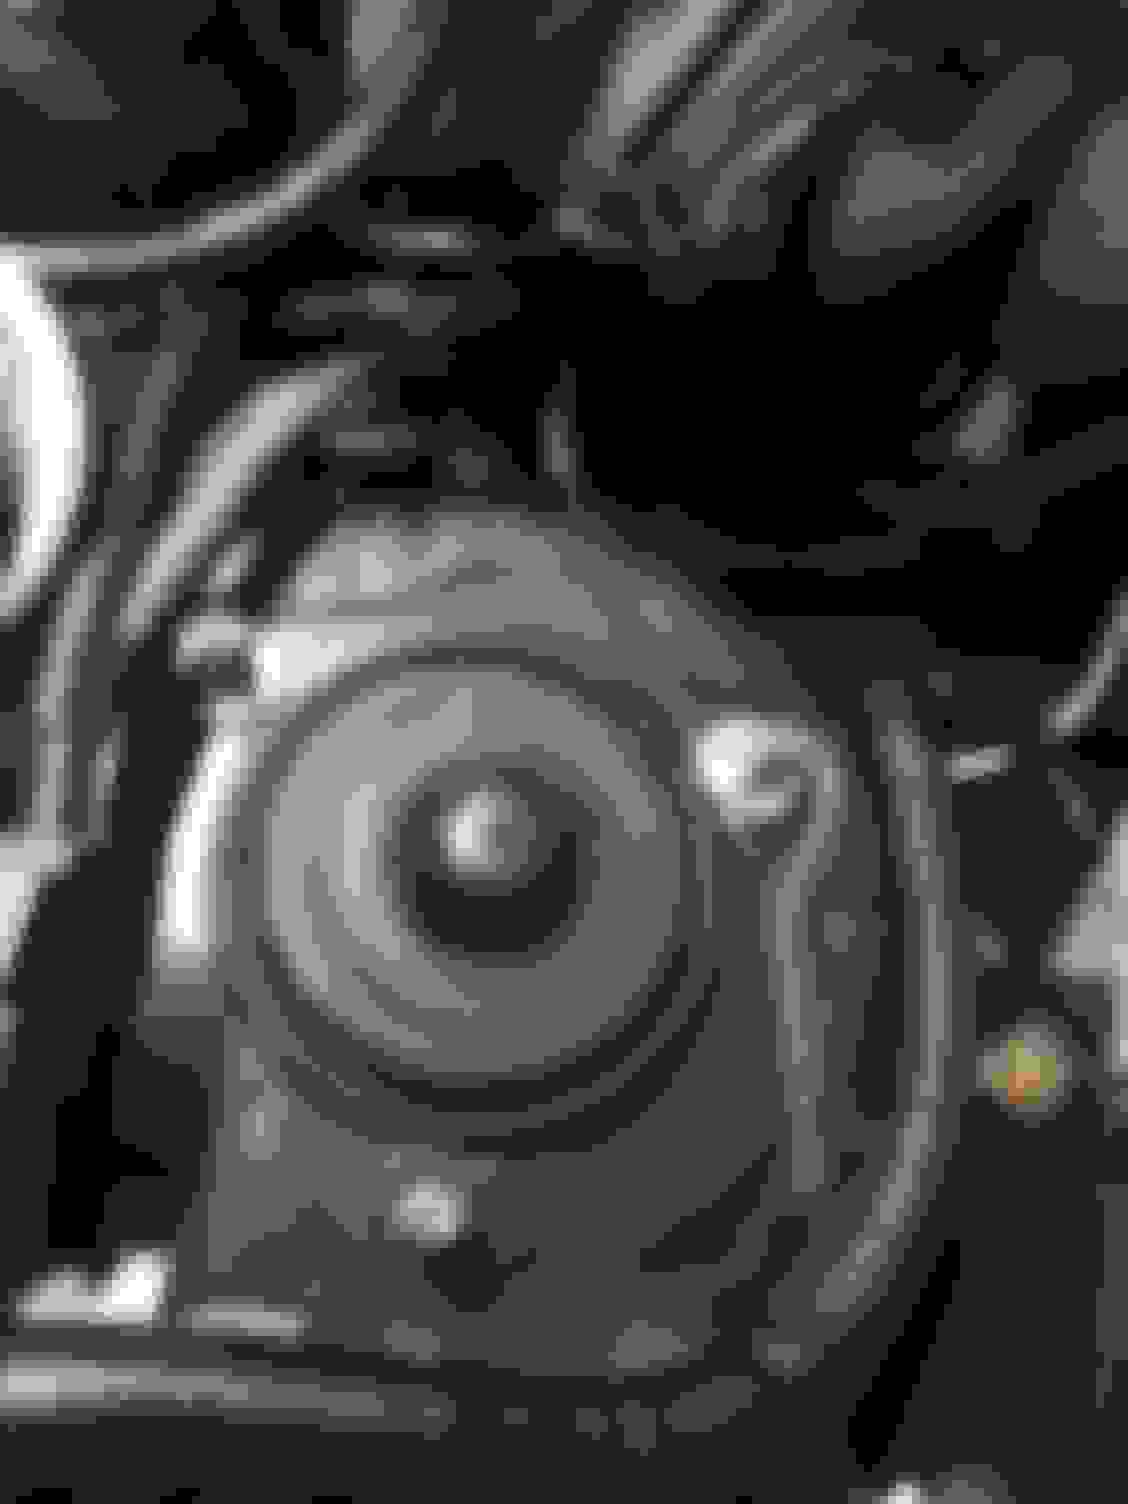
Once I torqued them all down I reinstalled my cruise control unit's plastic cover, reinstalled my GTE igniter unit and then got the 550cc resistor pack mounted onto the lower section of my custom bracket.
It was a VERY close fit getting it in there (another reason why I still want bitshftr's more compact design) but it *just* cleared and tightened up nicely.
I got the resistor pack plugged in again, cleaned everything up and went for a post-install drive.
......
The weather was nice for turbos last night around 50F. Instantly I noticed a few things:
1) The front end actually DOES feel more composed with a little less understeer and an overall more tight feel. After years of believing a strut bar doesn't do much on an MKIV/SC/Soarer I was very wrong. You can feel the improvement on the street.
2) The car seems to put the same power down just a *little* more efficiently in turns and on straights.
3) There is now just a bit of added NVH being transmitted through the TRD strut bar. It is very rigid. Even revving the engine while parked you can feel some mild vibration with your hand right on the bar.
To that end you also feel just a bit of additional NVH just at the front end while driving. NOT anything unpleasant or unruly to deal with-- I don't mean ratting your interior kind of NVH... nothing like that. But you do notice it in a good way that is difficult to describe.
You also HEAR more with this strut bar in place. Again... not in a bad way. Actually it's a bit of additional sound that is in a performance-oriented solid muscle car kind of way.
At idle there is NO additional NVH. Only when you rev the engine especially with the hood popped. Again... and I cannot stress this enough... the kind of mild NVH that I am trying to describe feels rather good. Firm. Sporty. Not obtrusive or annoying AT ALL. A good feeling for a good high performance car.
This turned out to be because without those factory SC300/400 metal shock tower spacer/collars that the instructions said to remove the 2JZ-GTE throttle cable bracket was touching metal to metal with my TRD strut bar! The minute engine vibrations were being channeled right into the bar! I alleviated this by removing the TRD strut bar, reinstalling the factory SC300/400 shock tower metal spacer/collars and then reinstalling the TRD strut bar. Then there was NO ADDITIONAL NVH. The added clearance was only a couple of millimeters but it was totally sufficient for this engine's throttle cable bracket to fully clear and allow the engine mounts to do their job freely.
I still feel that I am driving a Lexus but a very performance oriented Lexus that has the equivalent of some dealer installed factory aftermarket chassis component purchased from the dealer parts counter... which is exactly what this TRD part is.
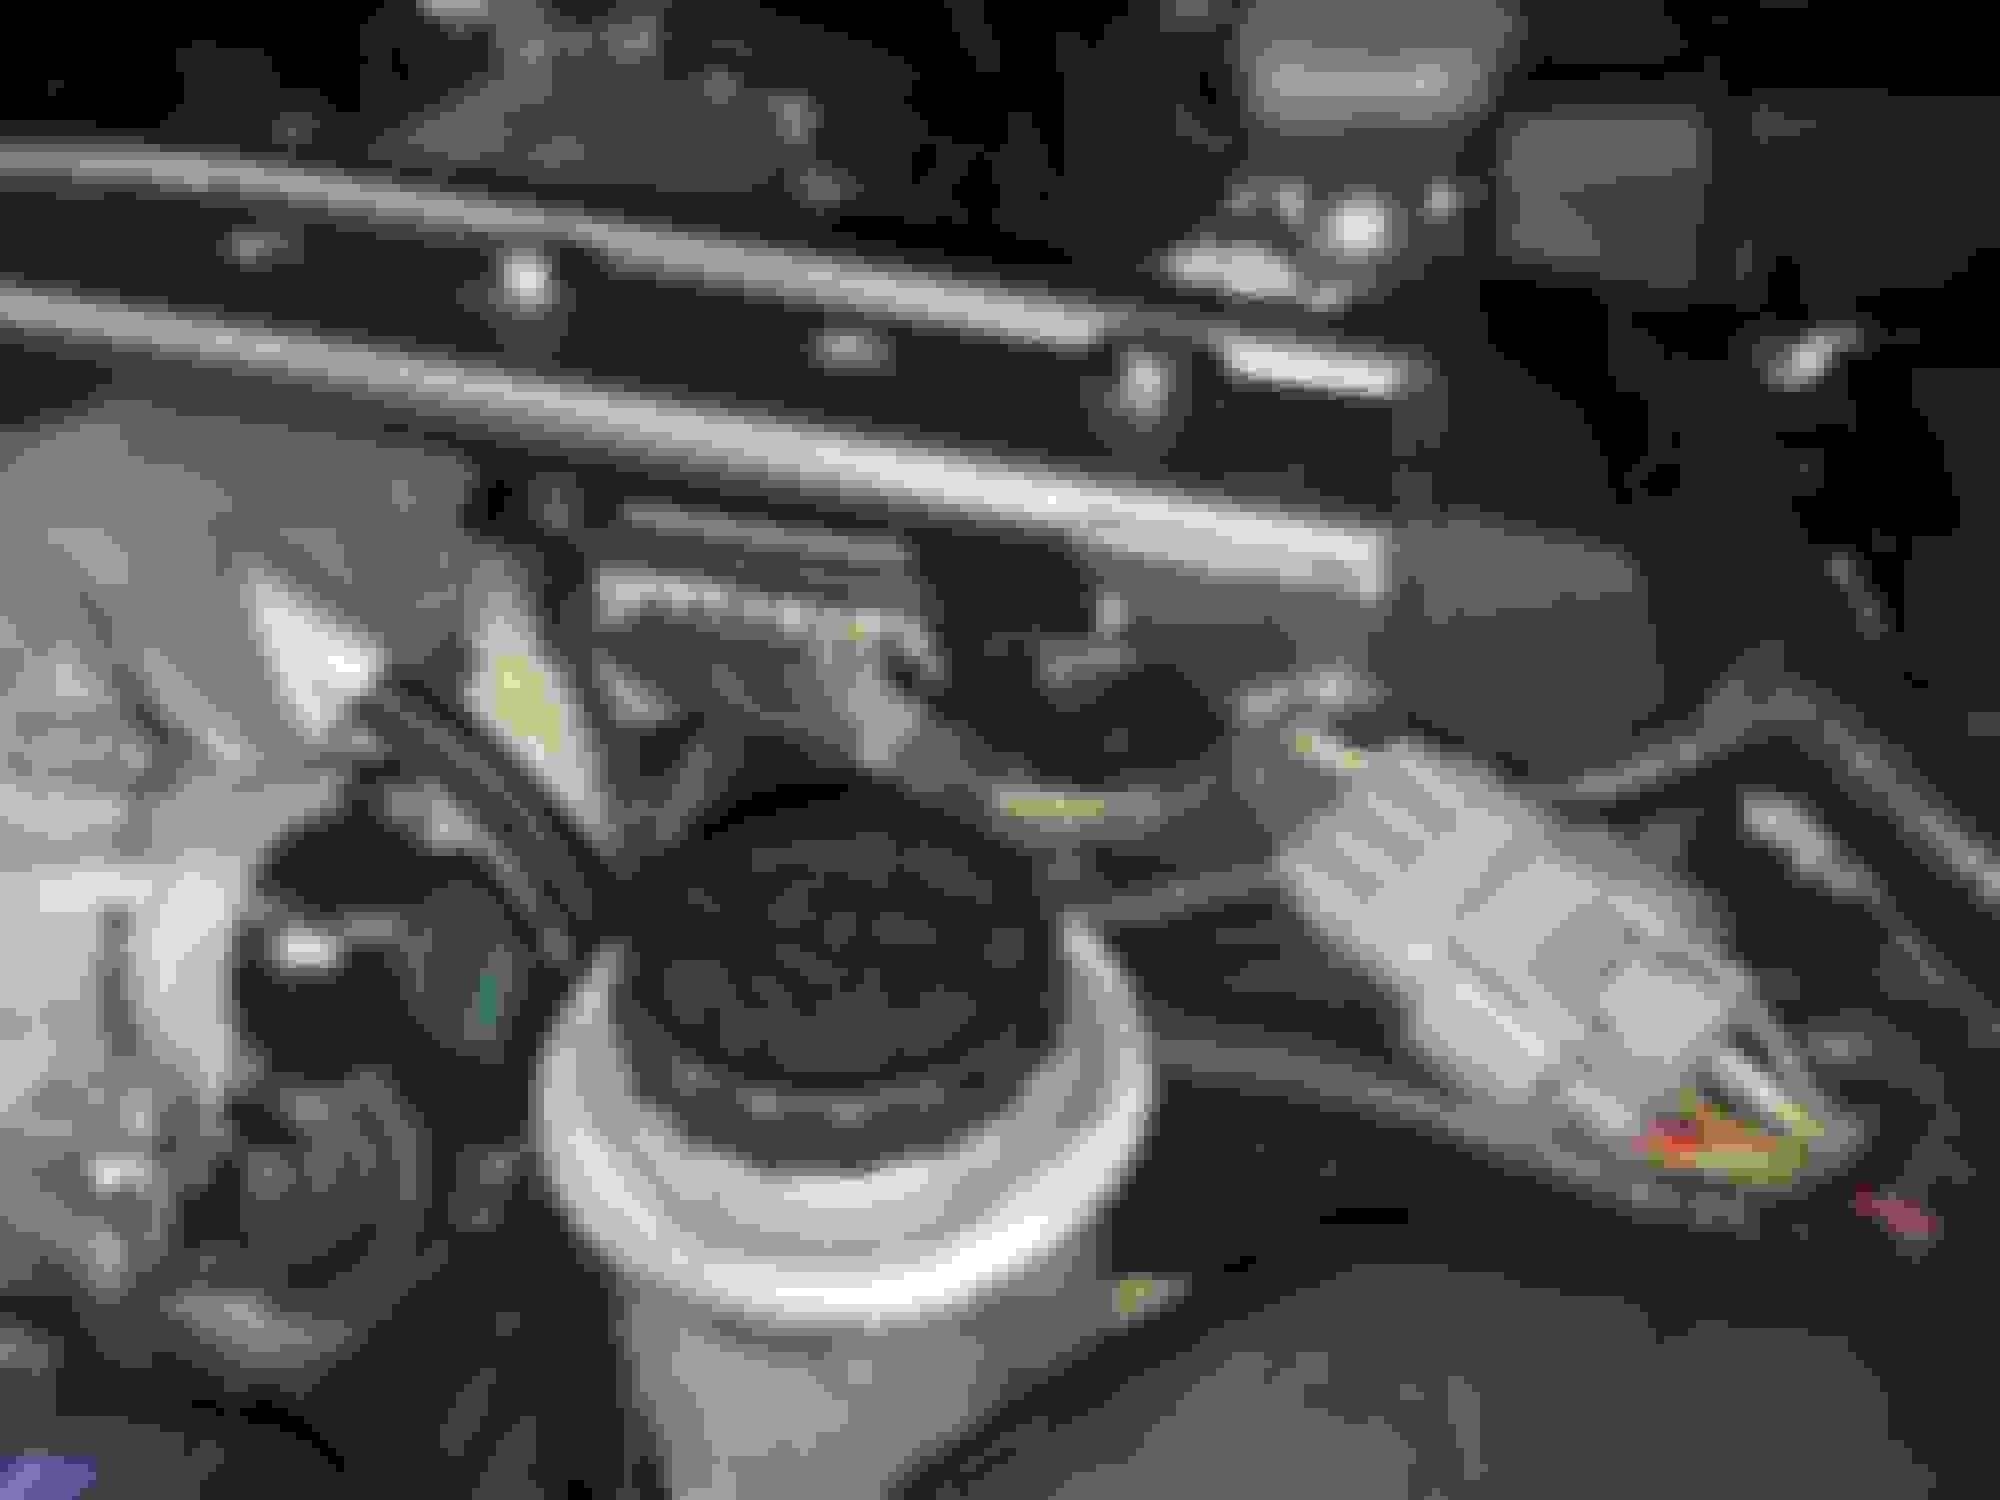
And of course it looks great under the hood. But if it were just a modification for looks alone with no other noticeable benefits I'd have been disappointed. I was pleasantly surprised.
...
Now to be fair, this TRD strut bar is not the only thing contributing to the overall feel of the suspension in my car. To recap my SC's suspension and driveline modifications are:
--TRD MKIV strut bar
--OEM MKIV Supra Turbo front swaybar (same diameter as the stock SC bar but possibly slightly more rigid and with a slight middle bend difference for the stock MKIV IC piping)
--OEM MKIV Supra Turbo 1993-1996 rear swaybar @ 22mm with OEM MKIV rear subframe mounts
--Figs Engineering polyurethane steering rack bushings
--"Gixxer-Drew" DIY coilovers (Bilstein AK1242 & AK1243 shocks like TRD MKIV shocks, 600lb-in FR & 325lb-in RR Hypercoil springs)
--245/45R17 front and 275/40R17 rear BFGoodrich Sport Comp-2 tires on 17x8 & 17x9.5 rims
--OEM Supra TT Auto Torsen T-1 worm gear type LSD (1.5-way, constantly adjusting)
--Modified "Lance" alignment originally intended for MKIV's (settings very, very close to the SC's factory alignment settings but not quite)
--OEM MKIV Supra bucket seats (which sit a bit lower than the SC factory seats and have good side bolstering)
Even so, with all of those other suspension and driveline modifications I do feel that this TRD strut bar has further improved the overall concert of handling changes. I like it myself very much.
...
I would say that with this part and all of the above parts a bone stock SC300 or SC400 in otherwise perfectly maintained stock condition would transform a totally original smooth ride into a much firmer and much more responsive performance oriented ride with overall superior handling and control with a minimum of body roll while still being quite comfortably street-able.
So I guess I'm saying that the preference for installing a part like this or several of the above parts listed above into your SC should depend on what you are looking for in the ride and handling of your SC and the overall experience you want from it. I feel like I am still driving a comfortable Lexus SC300 but one that far closer to how different a BMW M3/M4 is when compared to a basic much milder BMW 3-series or 4-series chassis of the same model generation.
Only... a Lexus SC set up in this way feels closer to being like a very dialed in luxury 2+2 GT muscle car. Personally that's my own preferred style of luxury performance.
...
Anyway the MKIV TRD strut bar is a great part. I'm pleasantly surprised and I like the change. It DOES improve the driving feel of a quality double wishbone front suspension car like this one. I only wish I had decided to get one of these installed much sooner
Last edited by KahnBB6; 07-17-22 at 09:21 PM.
Reason: Additional note about not having to remove shock tower plates.
Great write up, Craig. Glad you�re happy with the results and that bar just looks so damn good in there too. For less than $200 this is one of those must have upgrades. Great work!
Great write up, Craig. Glad you’re happy with the results and that bar just looks so damn good in there too. For less than $200 this is one of those must have upgrades. Great work!
Nick
Thanks Nick! The hope with my writeups, long details and all, is to always help people have an easier time with their cars I am very happy with it and I think it looks good too. The ride quality feels even more serious than it was already but it still feels like a Lexus (albeit a very high performance Lexus). Easy to drive and precise to control. I'm most amazed by the power being a little easier to get down-- I was not expecting that.
I maintain that it is the total sum of *all* the chassis & suspension modifications that I listed in my post working in concert which make a difference together however I have to agree with you that I do consider this a must-have high performance handling mod for the low price, at least with the TRD strut bar design.
There is zero adjustment with this bar. It's just a precisely measured and fully welded fixed design.
Does *every* SC need it? That would be debatable I guess. Maybe not SC's that are set up by their owners as stock-ish cruisers with total comfort and a soft ride being desirable but a build with a lot of horsepower and/or a build with superior handling and control being just as important as horsepower... definitely yes.
Nick, If this design can be confirmed to over your 1UZ-FE engine with the right washers as shims I say go for it. You'll love it when combined with your new Fortune Auto coilovers. Again, as long as it will for sure fit over your 1UZ. Otherwise I think that Cusco SC400 front strut bar should be a good alternative.
If you install this then the very next suspension modification that I would suggest for your SC400 (other than new front lower control arms if needed) is the Supra TT 22mm rear sway bar and a set of MKIV rear subframe mounts. I feel that would make the biggest difference right after one of these front strut bars with the geometry and diameter changes it will provide.
...
Edit:
Nick, according to these threads the TRD MKIV strut bar should fit over your 1UZ engine but only with additional washers/spacers and removing the "L" emblem on top of the engine (see below).
xpsi6's agrees that those additional adjustments are needed for an SC400. The Cusco bar seems to not have any such issue.
Nope won't fit the 400 unless you take the Lexus emblem off the intake Plenum and add washers.
And here is a very interesting thread which discusses the need for well made spacers (not just washers) to use the TRD bar in an SC400 application in order to keep the strut bar fully planted and have all the benefits it can give.
Thanks for the advice, Craig. I think you�re right, sway bars would be the single biggest upgrade I could do. I think the TRD strut bar looks killer, but until I know what I�m gonna do for the rest of the build, I�ll hold off on that. I don�t love the idea of the spacers. I know it will work, but it seems to me that�s a square peg, round hole kind of mod now. We�ll see, never say never but I�m leaning towards a firewall brace or something tied into a bar, perhaps custom welded by my father in-law. But I will again wait cause I don�t know what real estate will be spoken for by any number of other parts, as these kinds of builds tend to require custom mounting all over the place!
Nick, actually I feel that the *single* biggest upgrade you can do to your car (after a front brake caliper upgrade) is to install an LSD.
But doing upgraded swaybars (the rear one especially) next is absolutely easier and more affordable to do as a major bang for the buck modification and upgrade.
I agree with you on holding off on a strut bar for now until you know what your final long term engine bay layout will look like.
I�m not sure if the spacers will truly cause any degradation in the effectiveness of a front strut bar. It is still securing the shock towers and tying them together to channel opposing torsional forces against one another.
Whenever we arrange a meetup you�ll see firsthand how a strut bar and other things feel as might be applied to your SC. Your Fortune Auto coilovers have certainly had my attention.
Each one of these suspension changes naturally should happen one at a time anyway so you can get used to each incremental shift in how the car feels.
I made my suspension changes over a 12 year period technically, though the rear swaybar and coilovers came first.
I�ve got a resistor pack bracket frombitshftr that I won�t be using anytime soon. It is new, never used and still in the box. If you want it I�d sell it for cost or you can have the new one sent to me when he builds another batch.
Hello Kahn, Good looking strut bar you got, probably look even better outside w some sun
Haven't gotten thru all your writings, Looks like much of it is specific to your ride but
I'm probably going to go for the Cusco 1UZ brace from the start. I need to keep things simple, easier for me to understand things
Mighty clean, sharp engine and engine bay you got there. Well photographed too! I would expect nothing less ha ha
Good luck w that, All the best
Barbary___"Joe"
I�ve got a resistor pack bracket frombitshftr that I won�t be using anytime soon. It is new, never used and still in the box. If you want it I�d sell it for cost or you can have the new one sent to me when he builds another batch.
Kiro, thank you for your offer! Let me get back to you about this tomorrow. I have a slot on bitshftr�s order list no matter what so I will be getting one of his brackets whenever he makes a new run. If we can do a straight delayed exchange of your current one with the one I�m committed for going directly to you then I�d be interested.
So long as you�re okay with waiting on his build time. I just don�t know how long it will be until he has enough people lined up.
I needed the part on the car pronto so that�s why I quickly jumped into making my own bracket after putting my name down.
My custom bracket, though less elegant and bulkier, works fine and clears everything so I�m in no hurry myself really.
Hello Kahn, Good looking strut bar you got, probably look even better outside w some sun
Haven't gotten thru all your writings, Looks like much of it is specific to your ride but
I'm probably going to go for the Cusco 1UZ brace from the start. I need to keep things simple, easier for me to understand things
Mighty clean, sharp engine and engine bay you got there. Well photographed too! I would expect nothing less ha ha
Good luck w that, All the best
Barbary___"Joe"
Thank you!! I just hardly ever have any time during the day so often my projects happen at night, ha ha!
If you mean my writings throughout the entire thread then sometimes yes they are pertaining to how I have set up my car. However the engine build sections are all copyable for anyone wanting all the little details of how to assemble a 2JZ engine from a bare block to completion.
And the many sections on electrical systems, when not necessarily about diagnosing an issue my specific car was having, can all be copied as well for good example purposes for other car/engine builds.
The strut bar installation is not specific to my car at all. Any SC can use that bar.
I do need to update that last post on the installation to correct my own error however: the �added NVH� was really due to the bar touching the throttle cable bracket on my engine. This was effectively channeling engine vibrations directly onto the strut bar and preventing any engine movement. The effectiveness of the rubber engine mounts was likely diminished as well. I had no idea until last night.
I corrected this by re-installing the two black metal OEM SC300/400 shock tower plates (pictured in that post). Then I had the extra millimeters of clearance needed to have no contact with the plate any longer.
All the same handling benefits but now the added NVH that I noticed is gone and back to normal.
If you read my reply to CLass of 1 (Nick) then you will see how it is recommended to fit the TRD strut bar onto an SC400 with enough upper clearance.
But that Cusco bar for SC400�s will also do the job nicely.
Some real good useful info in those links you posted. Folks have been eyeing and dealing w those strut bars here for a long time. we aren't the only ones
Have to thank gerrb too.
Craig - awesome write up as always! Tucking the igniter under the strut bar is so stealth and cocky. Your engine bay is looking terrific! Hope life is good my friend!
Some real good useful info in those links you posted. Folks have been eyeing and dealing w those strut bars here for a long time. we aren't the only ones
Have to thank gerrb too.
Thanks Barbary! I'm happy if it helps anyone with their own install And yes, Gerrb has helped a lot of us with his knowledge, tips and advice for many SC projects!
Originally Posted by RudysSC
Craig - awesome write up as always! Tucking the igniter under the strut bar is so stealth and cocky. Your engine bay is looking terrific! Hope life is good my friend!
Thank you Rudy! I can't take credit for that idea though. That goes to bitshftr with his bracket design and I think it's a great idea too with a very clean and convenient relocation.
It's been a very stressful time lately with some moving plans on the horizon with a massive amount of preparation and no slowing down any time soon but I'm doing well and hanging in there, thank you! That's another reason my other remaining SC mini projects have slowed for the moment.
How are you doing? I hope everything is going well with the new business!! I'm rooting for you, man! Also hope things are going a-ok with your SC, Cressida and Tacoma!

 11-06-21, 03:47 AM