When you click on links to various merchants on this site and make a purchase, this can result in this site earning a commission. Affiliate programs and affiliations include, but are not limited to, the eBay Partner Network.
Regardless, good on you for finding such a clean mounting solution! You're always on top of your research before you begin a project.
I know how it goes! My projects are all on the backburner right now, however, still driving and enjoying them! The biz is doing great, life is good, and the cars are running top notch at the moment. I appreciate your well wishes so much and hope you're doing well despite life's stresses!
This is a surprise! While doing some other research yesterday I came to find that contributing automotive journalist to ClubLexus Cameron Aubernon had given my build thread and SC300's journey a nicely penned showcase article back in August of 2021! I had NO IDEA until yesterday, (about eight months later!).
I'm honored and humbled to be given a writeup with such detail and approval! Thank you Cameron wherever you are!
Restored OEM SC mufflers, Soarer JZZ30 Cruise Control Swap, MKIV TT Air Box (Part 1)
It's been a while since I last updated! Any SC related projects slowed down considerably this year between a lot of family related business and Hurricane Ian giving us a lot to deal with at the house... though thankfully nothing truly major that we haven't been able to put back to normal since I'm located on the east coast of Florida.
Anyone on the west coast of the state I truly hope you and yours are all right and that help has been coming your way to set right your homes that may have been affected by the storm.
.....
Anyone who has read this entire thread will know that this SC project has been about a very "OEM+" approach from the start several years ago. These latest changes should comes as no surprise, then
....
Restored OEM Mufflers:
First off, I've had it in mind to get another set of OEM SC300/400 mufflers back onto the car for some time now. Yes, they're a bit more restrictive than the Manzo/M2's that I've had on the car for years but they do look stealth and since the rest of the exhaust system is made up of the restrictive stock TT and SC stuff anyway it won't be that much of a difference. The car still makes far more horsepower and torque than it ever did with the NA engine.
I picked up a good set from a wrecking yard in California, had them shipped in, cleaned them up with a lot of Simple Green and Fast Orange (rubbing off the original flat factory paint in the process) and then sent them to a local powercoating shop where they didn't use powercoat but rather a nice flat black 4000F high temp paint. The results were very clean and a nearly OEM new look! I pulled off and polished the removable exhaust tips and popped them back on once the mufflers were back on the car.
It's still not a truly fast SC but this certainly adds to the "sleeper" quality
�.
Supra MKIV TT factory air intake box & intake scoop (Part 1):
Several years back I managed to buy a used Supra MKIV TT USDM air intake box with the top ram-air scoop and under-headlight duct. Please forgive the poor quality photo that I hadn't realized until now wasn't in perfect focus:
I did want to install this back in late 2018 when I was getting my swap running but there were a couple of issues that I had not foreseen:
1) The SC300/400 style cruise control unit mounted in such a way as to take up one of the mounting points that the Supra MKIV TT air box needs in order to bolt down in the chassis. It WILL fit but not with the SC cruise control unit installed.
2) The other two of the three main bolt down points for the MKIV TT air box don't quite line up with the bolt down points for the SC (or JZZ30 Soarer) factory air intake boxes. These are close those however (and I'll address it later in this post).
3) The lower intake duct for the SC/Soarer that goes under the headlight is very different in shape (and actually larger in volume!) than under-headlight intake duct that fits a Supra MKIV.
4) The SC300/400/Soarer has a radiator tie down bracket on the engine exhaust side with a little tab protrusion meant for part of the 1UZ-FE Hydro-Fan assembly. That has to be shaved off in order to allow the MKIV factory air box's upper scoop to fit better.
So back then I just decided to solve the issue by purchasing the California CARB legal K&N cone filter kit for the 1993-1995 Supra Turbo which I combined with a slightly modified MVP Motorsports "Max Air" isolator box and a little adapter called an "MA70 LIPP" that matches the same diameter as the Supra TT USDM MAF unit. I added a little silicone mat right underneath the K&N cone filter to protect the engine bay paint from its rubbing on it.
And that has worked out very well ever since and even allowed me to keep my stock SC cruise control unit in place with just the swapping over of a Supra MKIV TT cruise control cable and some trimming of the top plastic dust cover in order to clear the rubber intercooler hose between the engine and side mount intercooler.
...
However I wanted to see if I could figure out how to solve the original fitment issue after all, so the first thing I had to do was to try to see if it was possible to get parts and/or brackets from the JZZ30 Soarer 2.5GT cruise assembly to fit... or swap over an entire JZZ30 Soarer cruise control assembly.
Restored OEM SC mufflers, Soarer JZZ30 Cruise Control Swap, MKIV TT Air Box (Part 2)
JZZ30 Soarer 2.5GT Cruise Control Swap (Part 1):
After looking through exploded diagrams for the Soarer it became apparent that the only parts still available to purchase new were some random mounting bolts. Everything else has long since been discontinued. Luckily though these cruise units were built to last so off to eBay I went to find a used module with the brackets, cable and top mounting cover.
I knew I had at least *some* chance of getting this to work because the Supra MKIV NA and TT (USDM and JDM) cruise control unit bolts into almost the exact same place in the engine bay right behind the shock tower and right next to where the USDM SC ABS unit is located.
Only... the Supra MKIV has no hood struts and has one stamped steel mounting bracket for this going right onto the fender.... which conflicts with the travel of the SC/Soarer gas charged hood strut on that side.
I located the entire assembly from an Australian wrecking yard, minus one extra lower bracket that I'd have to fabricate myself.
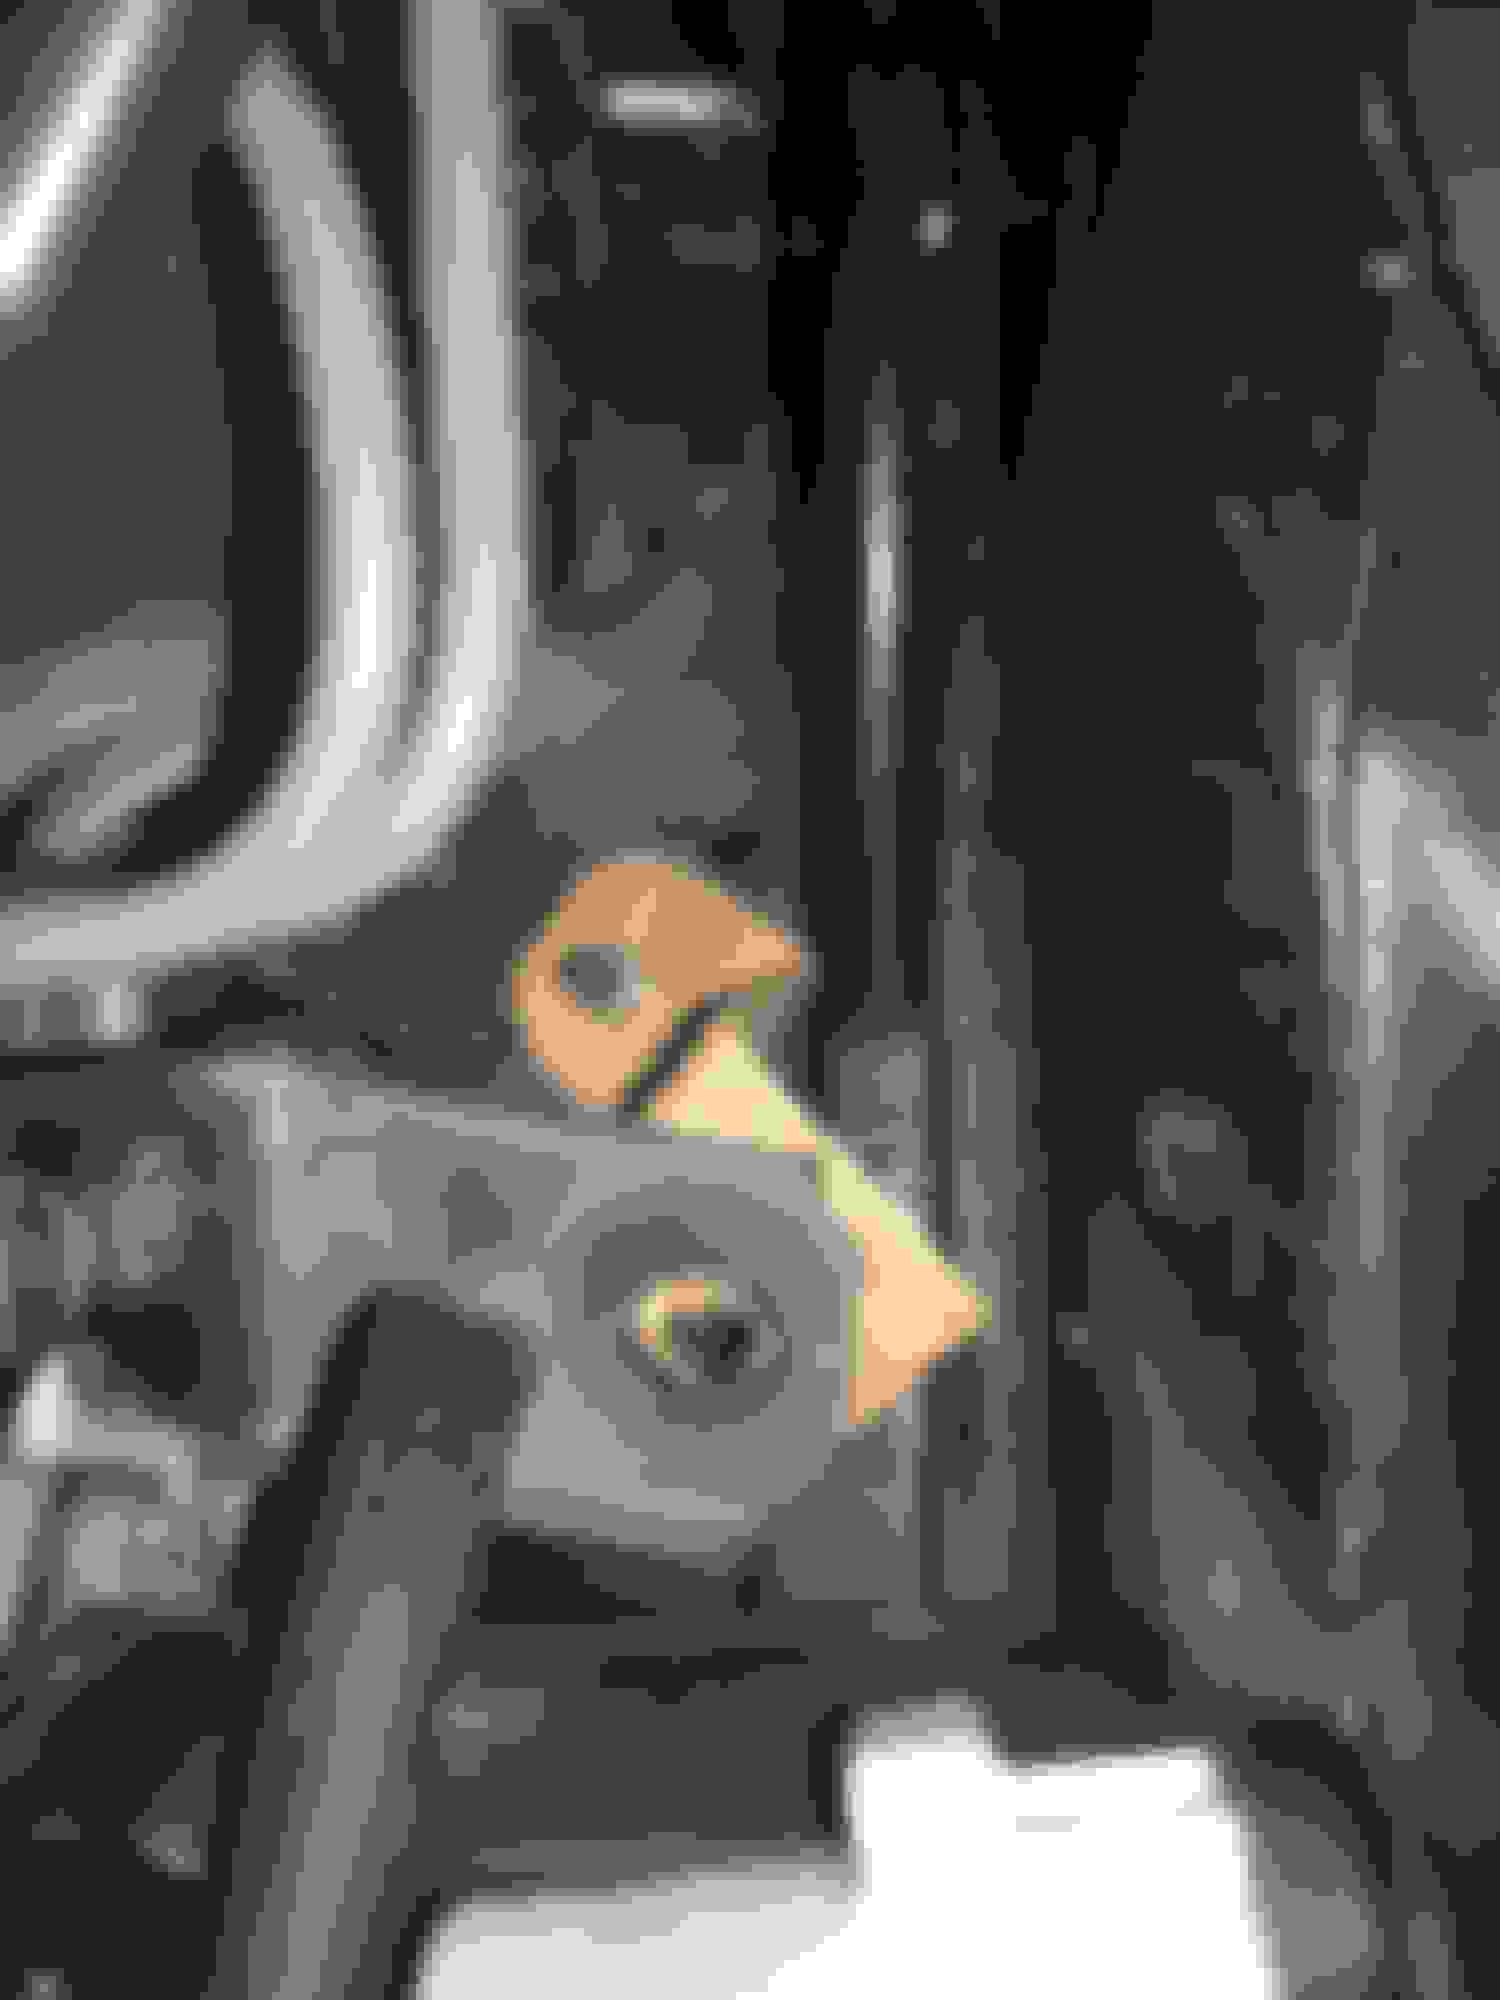
With the help of some super-advanced CAD (Cardboard Aided Design) using some plate stainless steel, a bench vise, hammer, drill and a workbench stone wheel grinder I had fashioned a good bracket to secure two of the three mounting points for the JZZ30 Soarer cruise control unit. This was sufficient and sturdy enough. There were no fitment conflicts even with the matching top dust cover from the Soarer 2.5GT model. You can see how, even in a LHD configuration, Toyota/Lexus *could* have kept this design for the cruise control unit had they wanted to offer the 1JZ-GTE engine in the U.S. and Canada SC's.
Also the cruise unit itself, minus the brackets, is basically the same design as the Supra MKIV TT cruise control core unit. And both are almost the same exact thing as the SC cruise control core unit (minus brackets) except for the SC300/400 cruise unit's cable advancing arm being set up to rotate in about 180 degrees opposite orientation.
I thought about seeing if I could swap the rotating section from one unit to the other but since the pinouts for all were the same... I figured they would all operate in the same way and so this would not be necessary.
Note the shape of the mounting brackets of each cruise control unit and also the orientation of the electrical connector and the orientation of the rotating arm/cam on each.
1993-2002 Supra MKIV Cruise Control unit w/brackets:
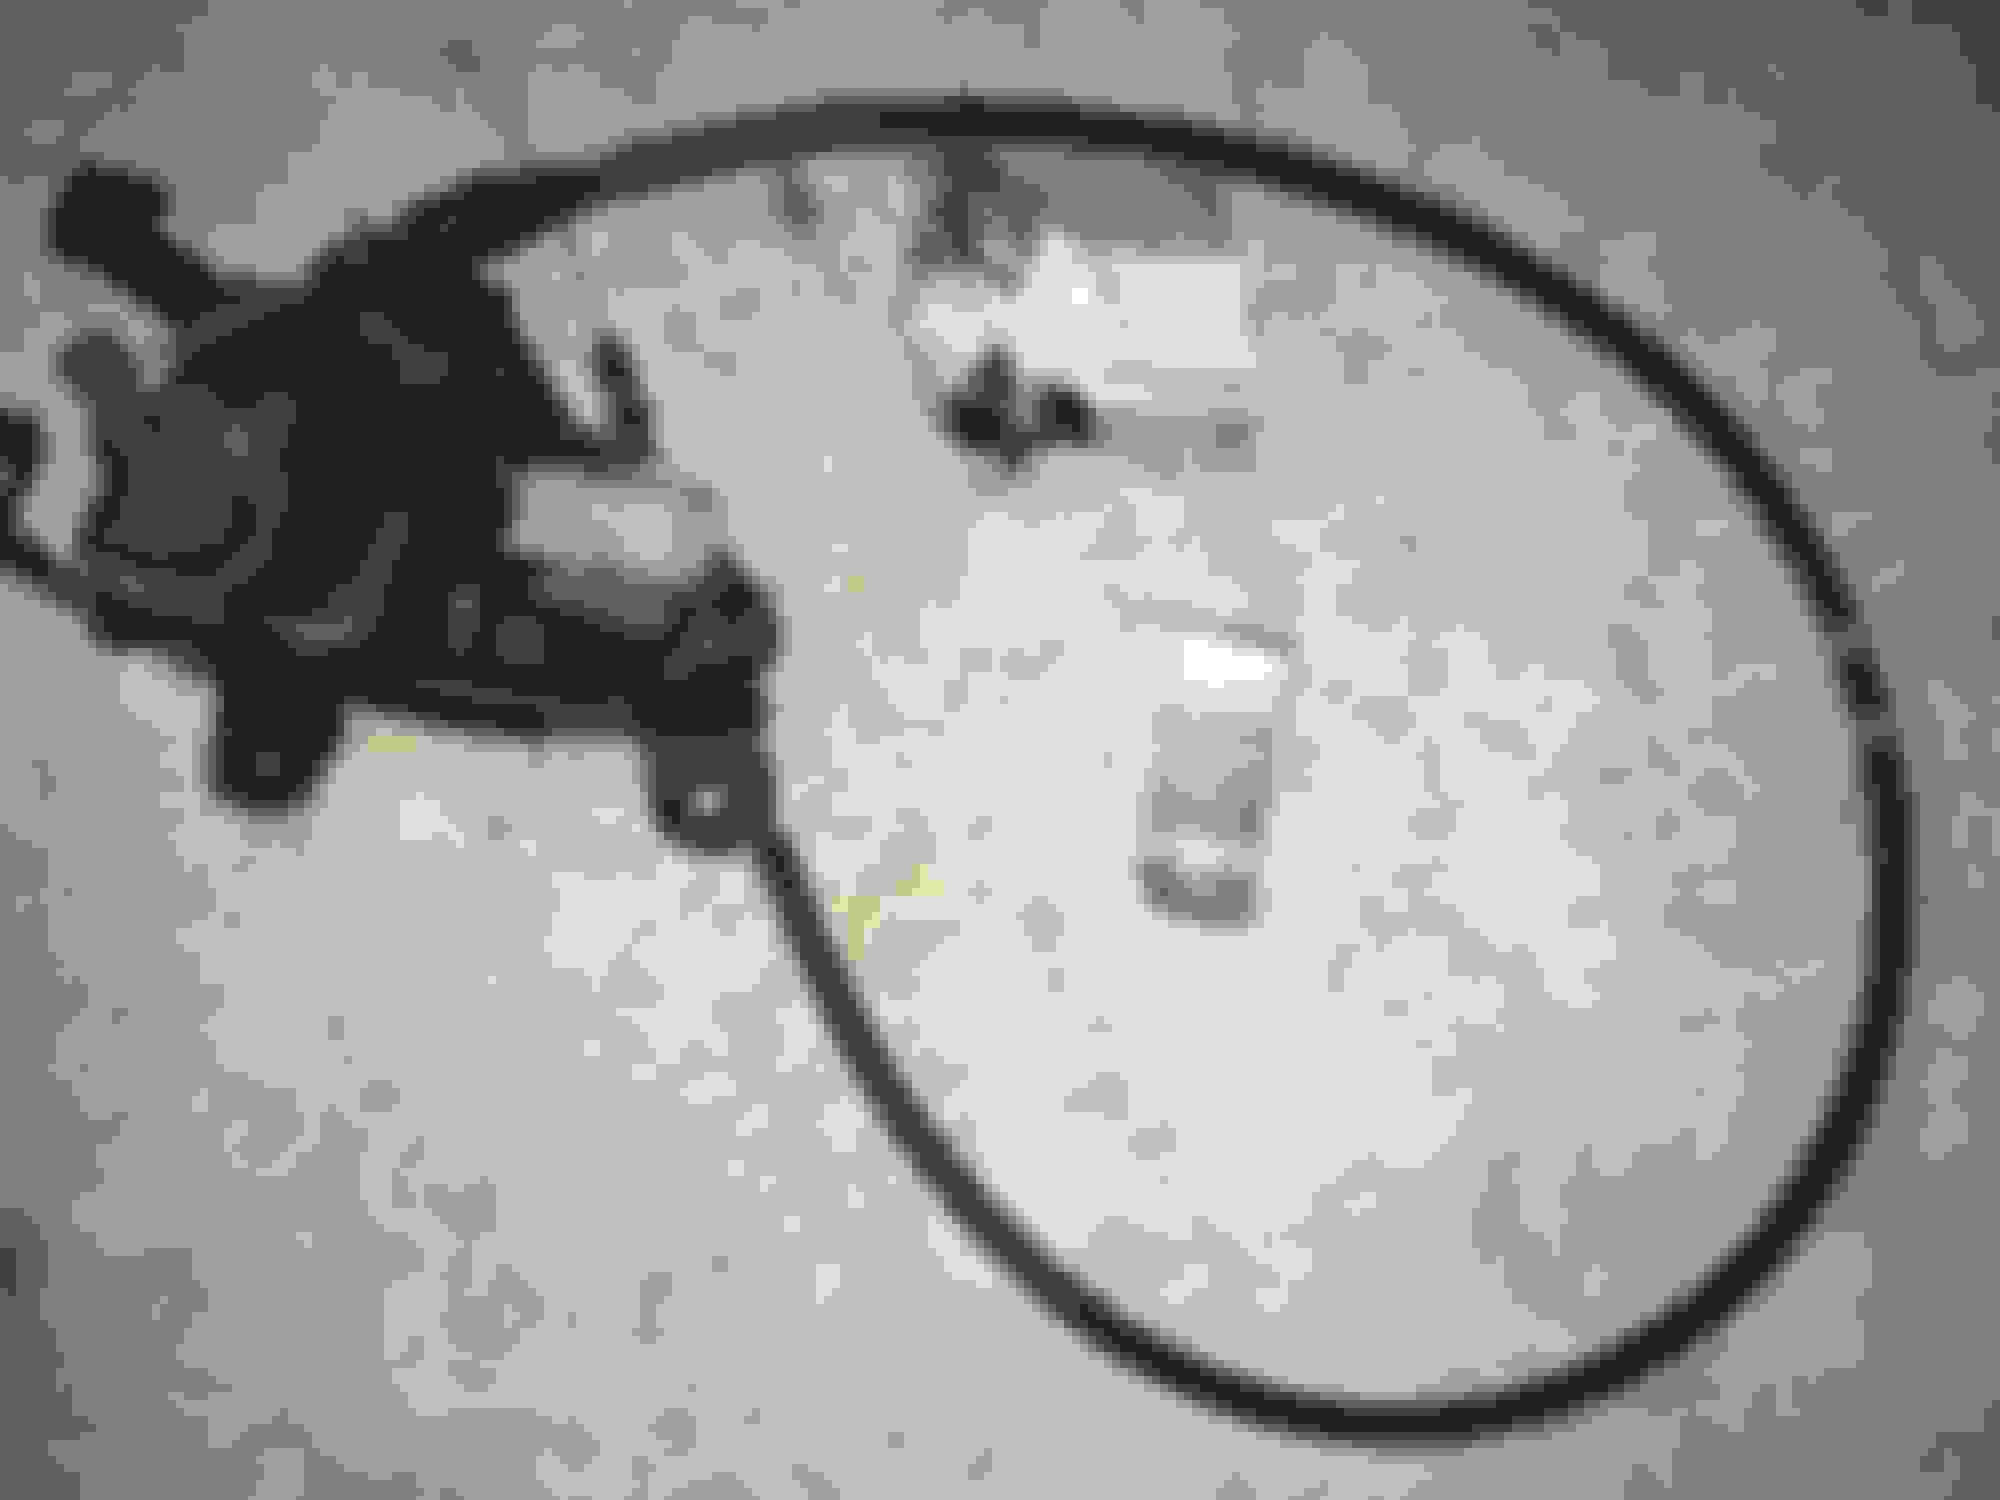
1992-2000 SC300/400 Cruise Control unit w/brackets (unbolted and turned to orient the unit itself in the same direction as the other two regardless of mounting bracket configuration):
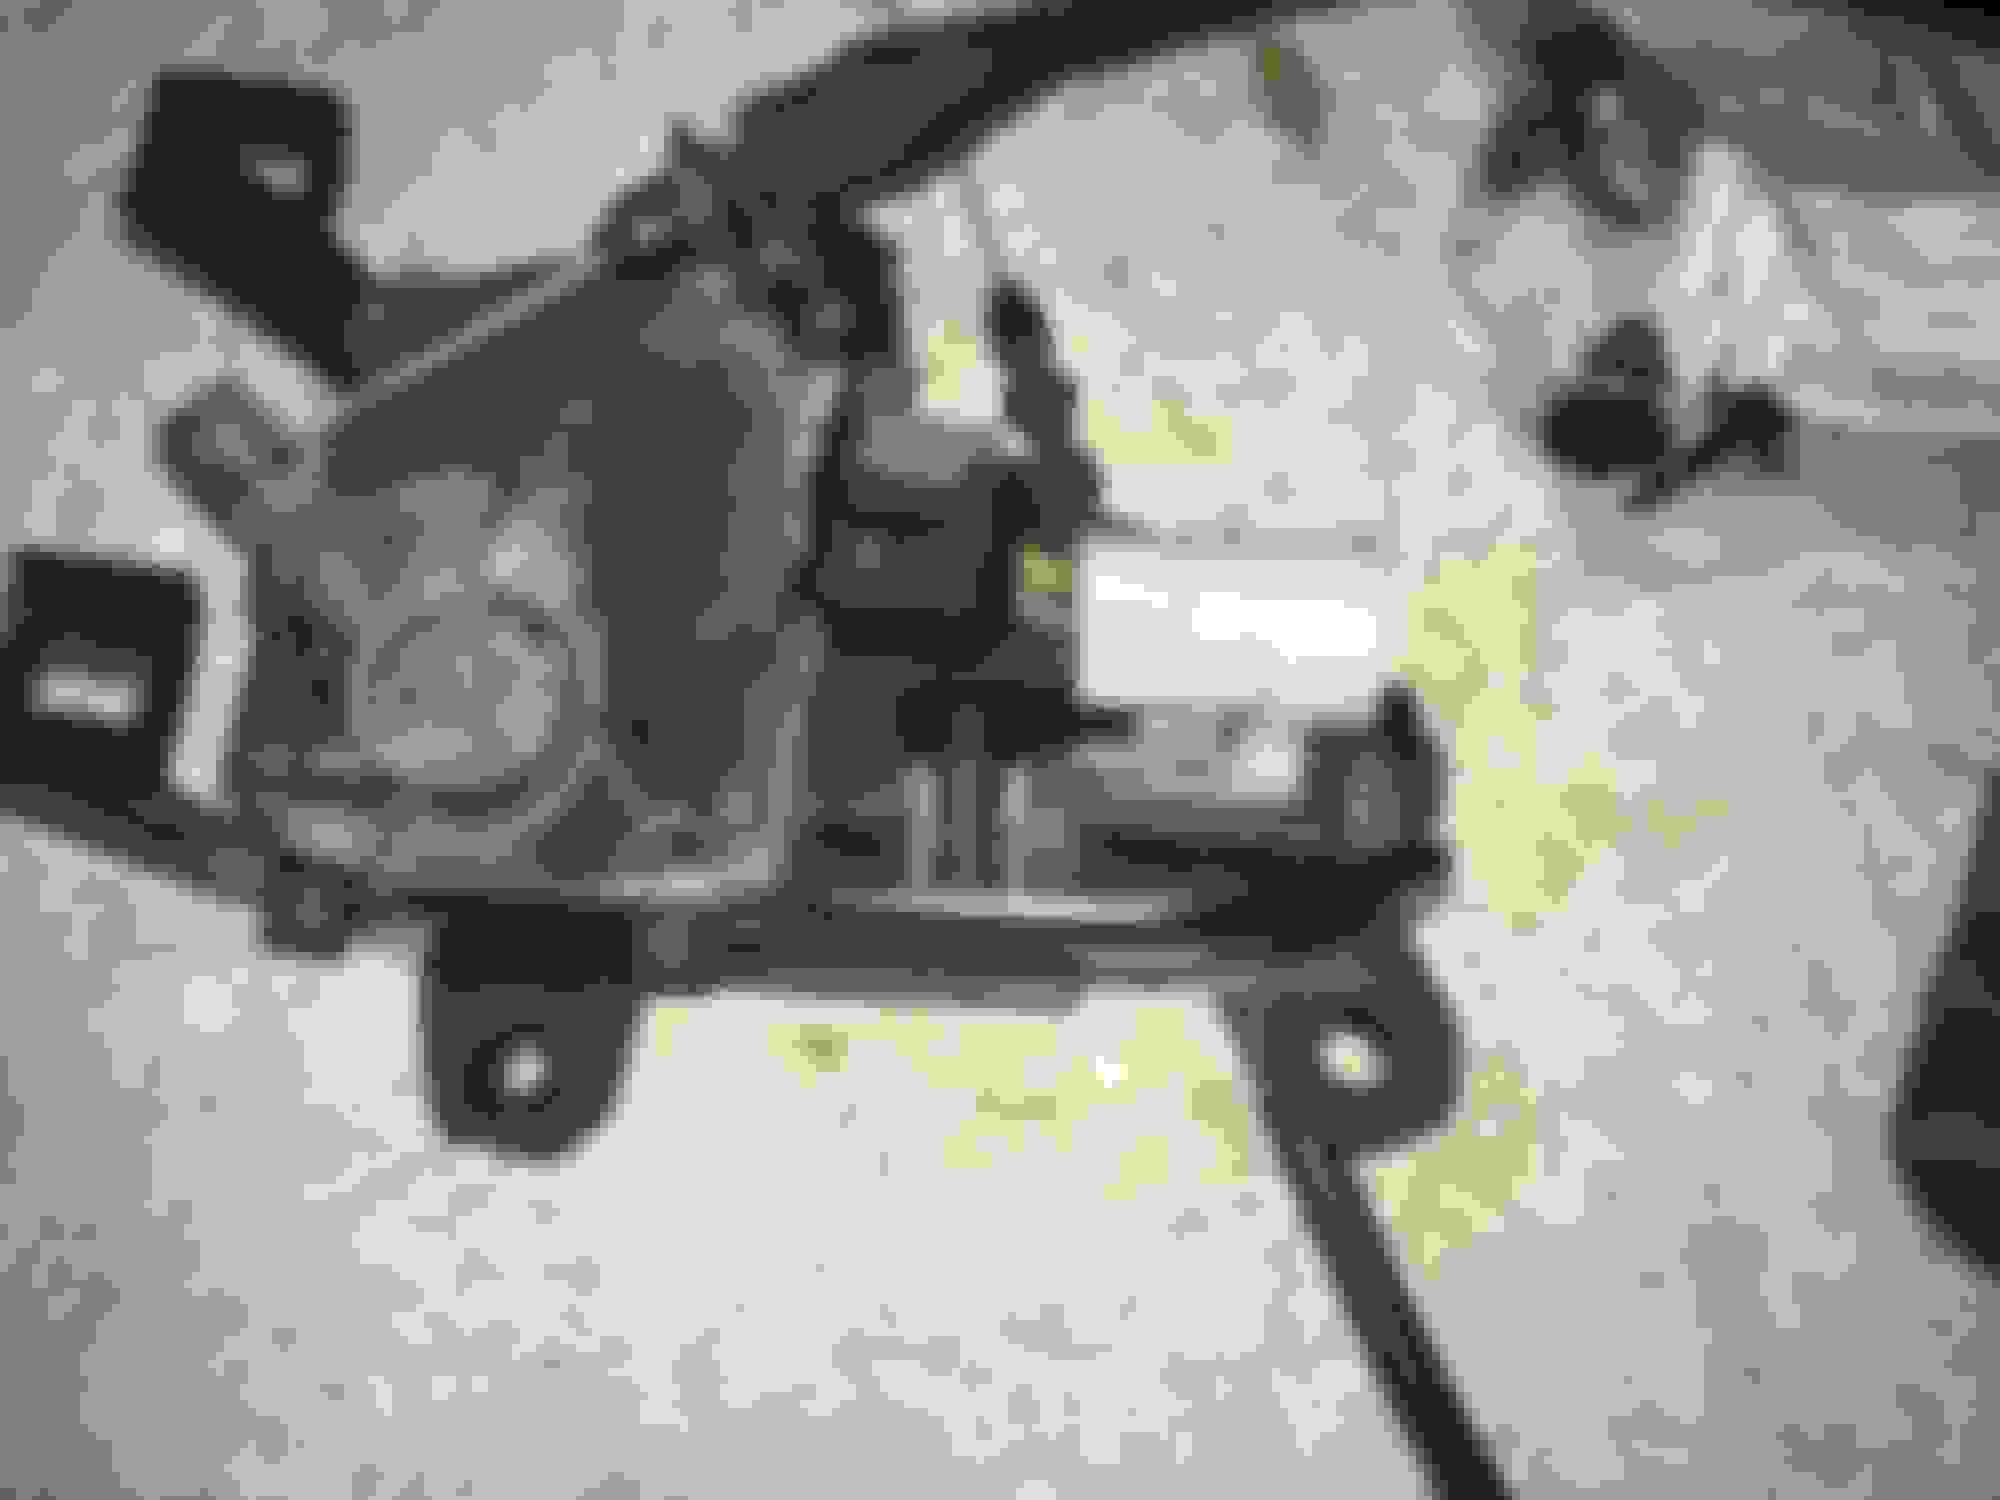
1991-2000 Soarer JZZ30 2.5GT Cruise Control unit w/brackets (test fitted into its natural mounting area with only one of its three bolt down points secured):
…
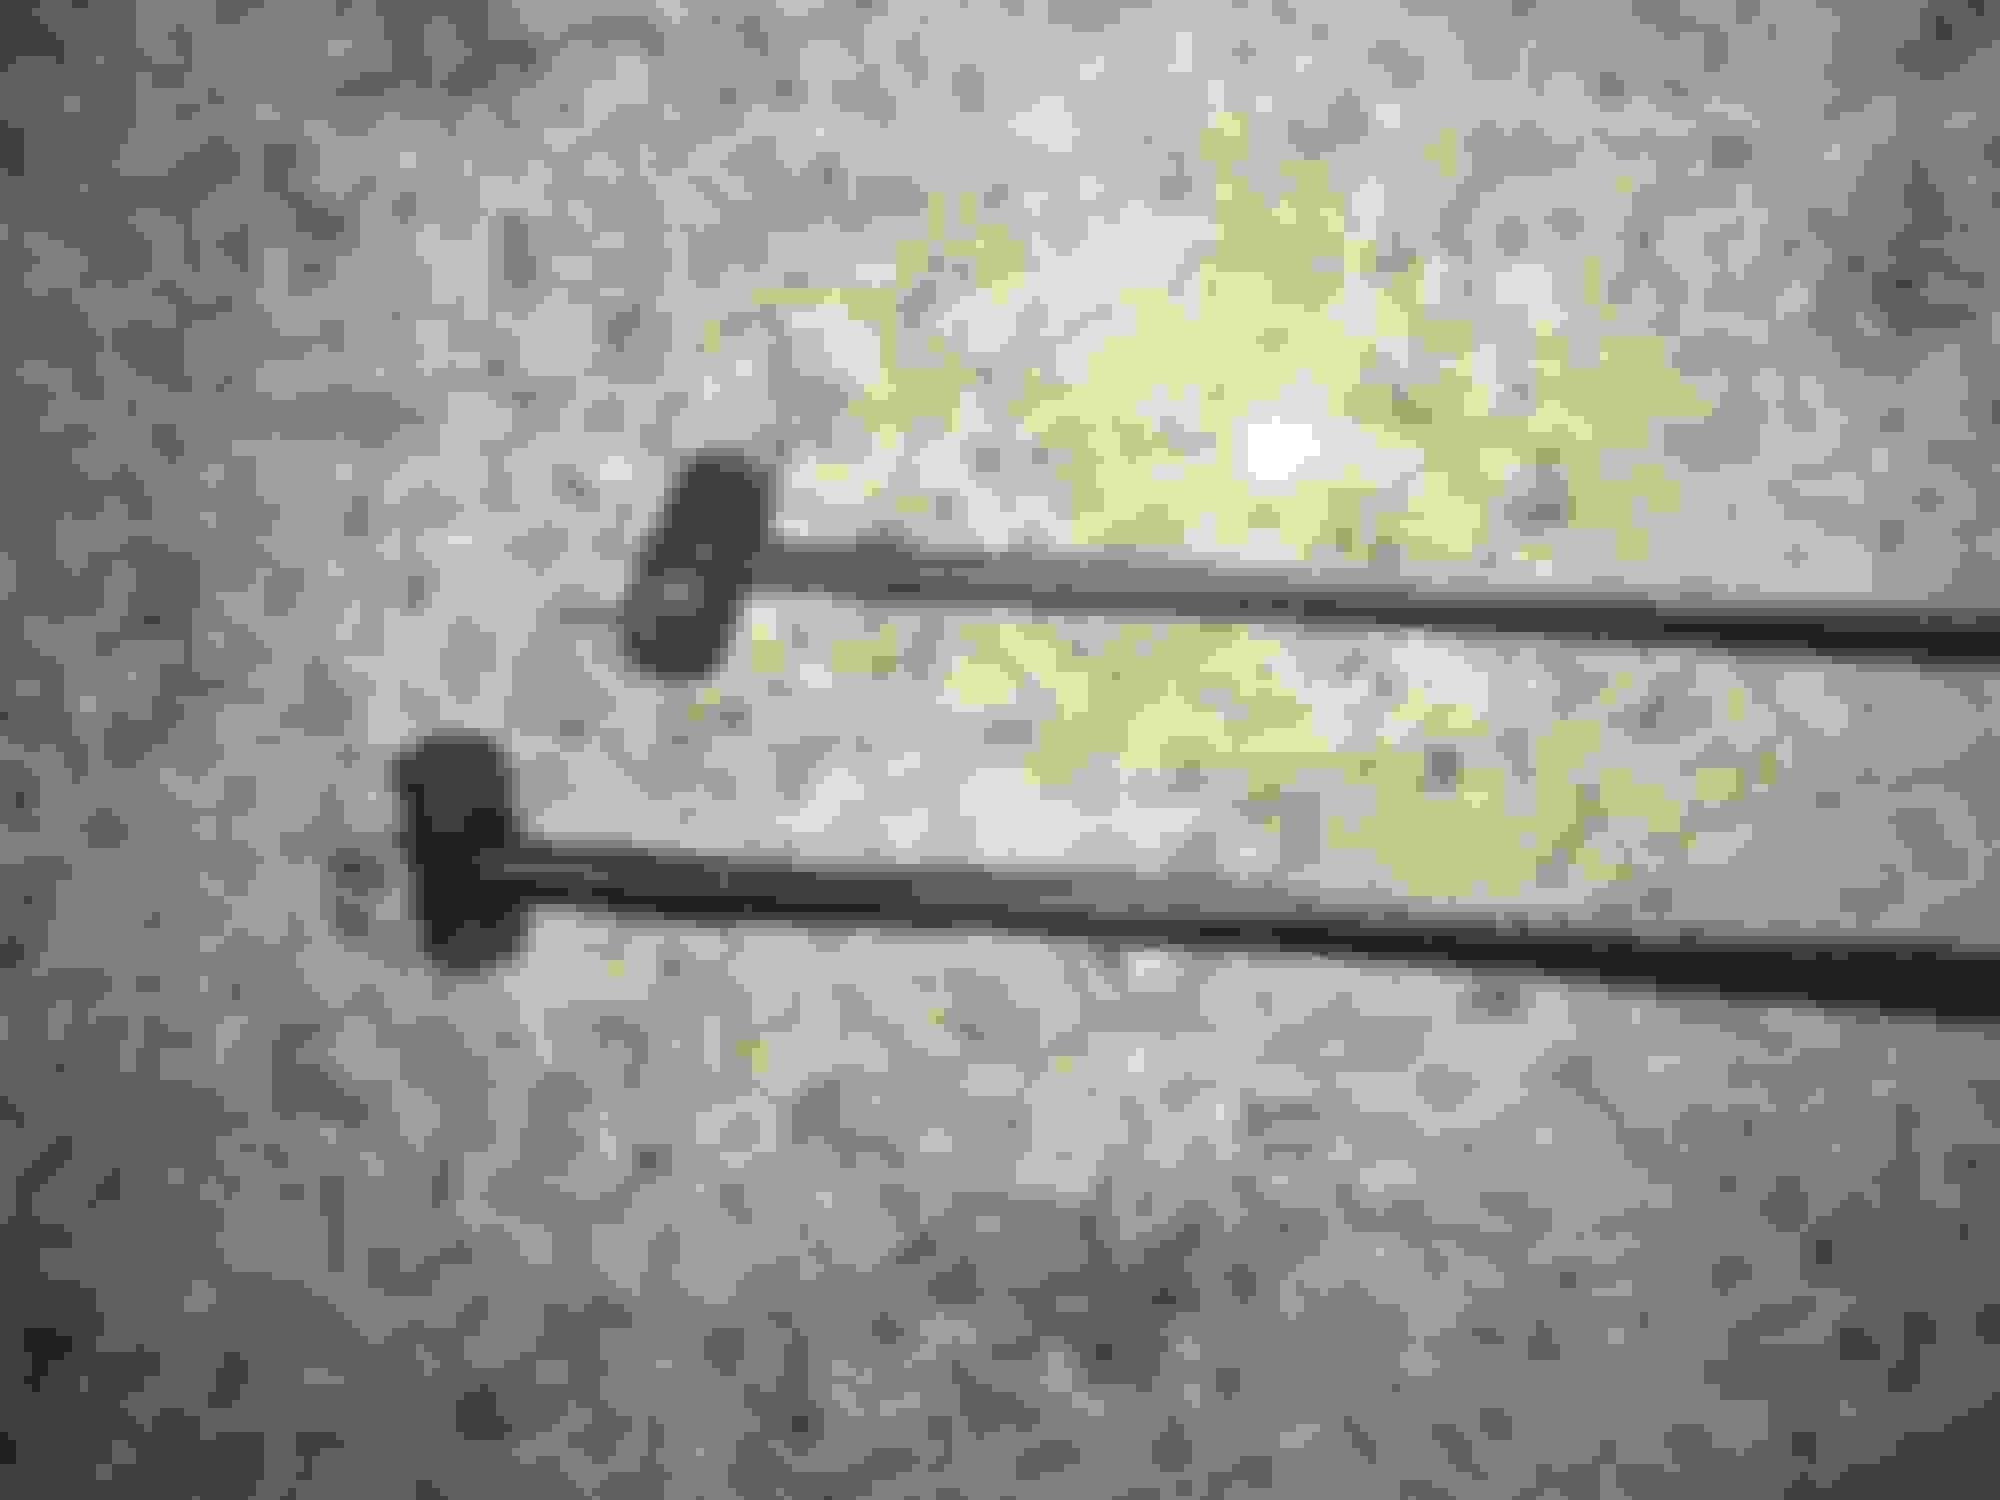
Next there was the issue of the cruise control cable. While the JZZ30 2.5GT Soarer's cruise control cable is much longer than both the SC300/400 and Supra MKIV TT cruise control cables I discovered that the actual travel at the throttle plate mounting end with this cable is actually slightly shorter than the travel provided by the Supra MKIV TT cruise control cable. This was enough to hold the throttle plate slightly open well beyond idle setting even after having let out all of the remaining slack it had to give.
It felt a little counter-intutive since the JZZ30 cruise control cable is so long in comparison!
This tells me that the 2JZ-GTE throttle/cruise cable plate and the 1JZ-GTE throttle/cruise cable plate are of different alignments by several millimeters of difference between each.
I love the OE mufflers on Lexus and Toyota's of this era.
Have to say, thought I was obsessive about details you take it to another level mad respect. I often find good stuff on Ebay Oz but they won't ship here in most cases.
Restored OEM SC mufflers, Soarer JZZ30 Cruise Control Swap, MKIV TT Air Box (Part 3)
JZZ30 Soarer 2.5GT Cruise Control Swap (Part 2):
In practical terms this meant I had to swap the MKIV TT cruise control cable onto the Soarer JZZ30 cruise control unit in order to make everything work normally.
Unfortunately Toyota used some very soft set screws for all their cruise control cables and brackets and they tipped those set screws with Loctite Red from the factory.
That meant I had to use a bolt extractor kit to destroy one of the set screws entirely in order to remove the Soarer 2.5 cruise cable from its bracket. Luckily I had a somewhat OK set screw remaining that still fit and allowed me to get the MKIV TT cruise cable mounted on. Toyota doesn't sell a replacement screw so I plan to figure out what aftermarket replacement screw I can get that will fit the size, thread and pitch.
�..
With that being sorted now I could confirm that the "new" cruise control unit fully clears the hood strut and allows the hood to close normally and I could confirm that the cruise cable fit back onto the 2JZ-GTE throttle plate with normal adjustment.
...
Then that just leaves the extra distance between the JZZ30 cruise control unit and the SC300/400's body harness connector for cruise control. I didn't want to modify and tear into my body harness so I had to build an extension patch cable.
After inspecting the connectors on ALL the cruise units and on the body harness I found that the connectors are 90980-10931 and 90980-10930 (both have to be ordered in the USA). Each connector uses the full seven (7) terminal ports and so I ordered x7 of 82998-12430 and x7 of 82998-12440. In order to save on the ridiculous cost of these ($17+ each for one of the two terminal part numbers from dealers in the United States!!!) I put those on an overseas order from Amayama. This stuff really adds up!
I formed up the wire path and length I'd need to solder at with heat shrink tubing and finished the extension harness off with some Tessa #51036 automotive engine harness tape.
...
When taking the car for a test drive after all of this I am happy to report that the JZZ30 cruise control unit operates electrically EXACTLY the same way the USDM/Canadian SC300/400 cruise control units do! Cruise Set, Cruise Cancel, Cruise Resume, Cruise Speed Increase and Cruise Speed Decrease all work just the way the stock SC unit does.
I couldn't have been happier with the result!
And with that sorted I was then able to focus back on the MKIV TT factory air intake box.
Restored OEM SC mufflers, Soarer JZZ30 Cruise Control Swap, MKIV TT Air Box (Part 4)
Supra MKIV TT factory air intake box & intake scoop (Part 2):
With the JZZ30 Soarer 2.5GT cruise control unit swap now completed and sorted out the space the Supra MKIV TT air box needs in order to mount correctly has now been freed up.
This might also apply even if you were to fit a JZZ30 factory air box for a 1JZ-GTE swap since the same clearance and cruise unit relocation would probably also be necessary.
….
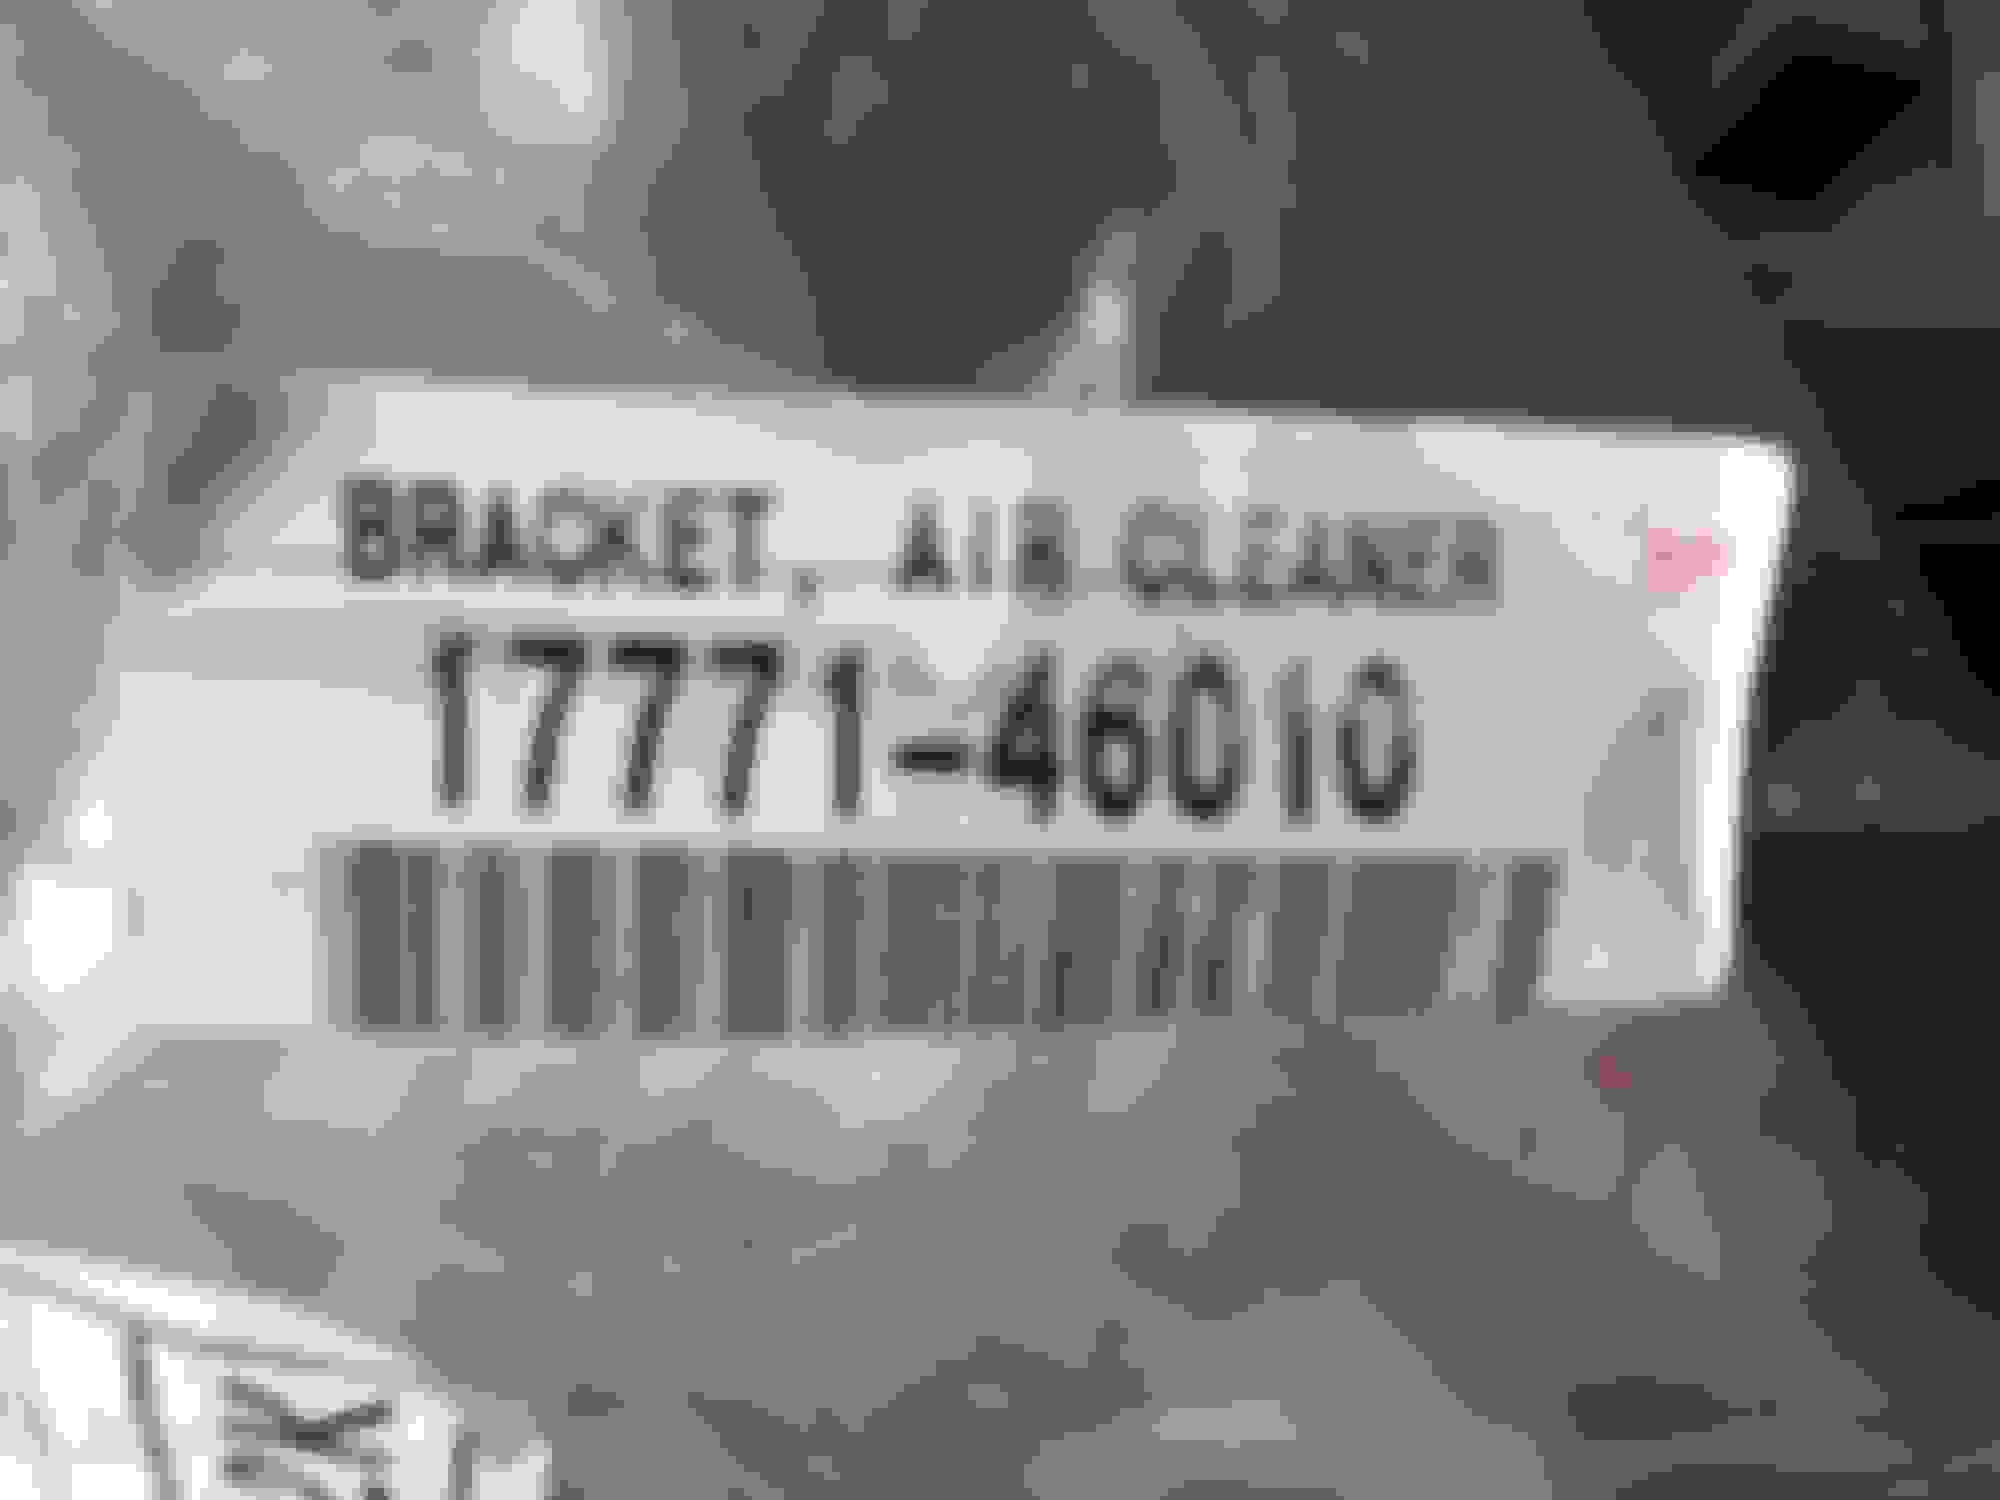
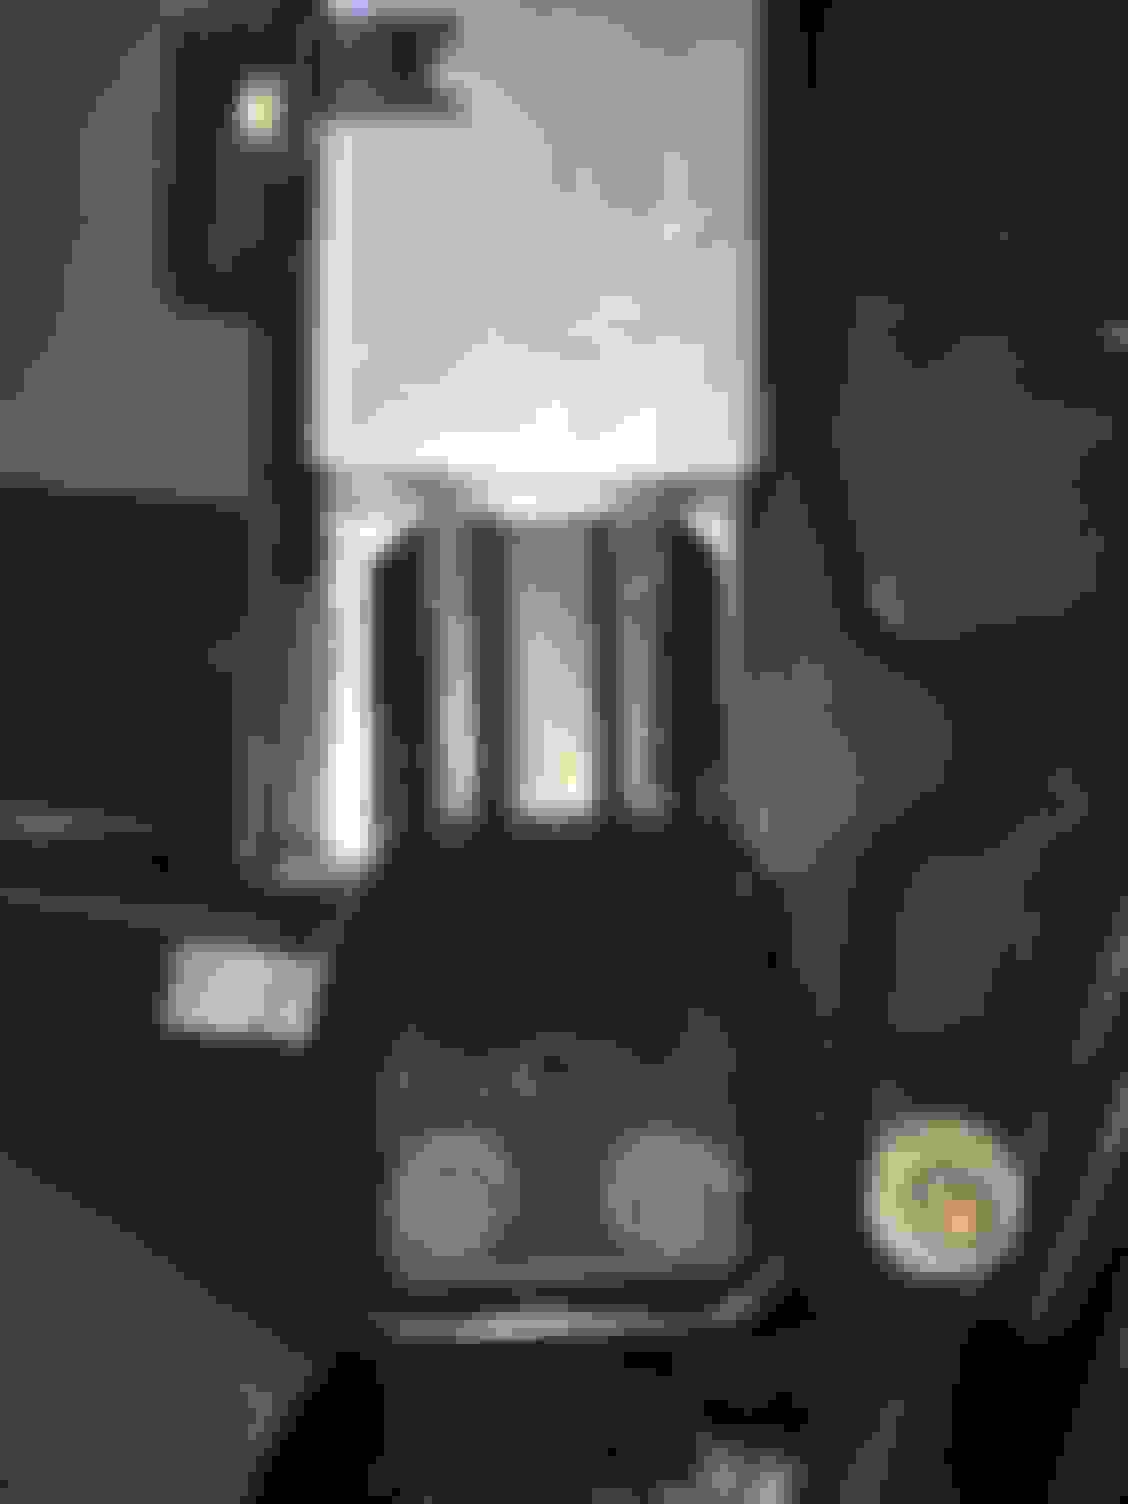
While I did already have the main Supra MKIV TT air box, lower duct and the upper ram air scoop I did need to order a new lid cover since mine was broken and I realized that there is a lower bracket (P/N 17771-46010) that the SC doesn't have which acts as the MKIV intake box's 3rd and lowest mounting point.
However even though this extra bracket will bolt onto the SC's body in the correct location and sit in the correct orientation it does get right up against some of the body harness wiring for the headlights (not much of an issue for clearance though) and it still doesn't align well with the mounting point on the MKIV factory air box. The alignment is very close... but not quite right.
I would need to create a custom bracket for that location to bridge the gap but I reasoned that it wasn't as important as the two upper mounting points for this intake box.
So as a note to anyone also trying this with their USDM GTE swap into an SC300/400... you can skip this little 17771-46010 bracket. It's not really needed in this case.
With two out of three strong points planned to secure the air box I was not concerned about this one difficult to get to (in order to fabricate a bracket) area.
....
Next, the exhaust side upper radiator tie down bracket has a little mounting tab on one side that needs to be shaved off in order to allow the MKIV Supra intake box's upper ram air duct to clear properly. This is present for the 1UZ-FE factory hydro-fan assembly and I couldn't think of any reason why I needed to retain it.... so I took it of the car, put it into a vise with some leather to protect the paint and lopped off that little tab with my cutoff wheel. I cleaned up the shave and made it look clean as if manufactured like that using my bench grinder and some 60 grit sandpaper.
I masked up the entire part and repainted just the modified areas with some VHT 550F gray engine primer followed by some VHT 250F black wheel paint. I didn't do a perfect job with the masking but it's protected metal and it'll do.
....
Now I could fit the MKIV TT air box and its upper scoop.
The rear most MKIV air box mounting point bolts in right were one of the SC cruise control bracket arms used to mount.
I bought new OEM bolts with spacers on their shafts specifically for the MAF mounting into the USDM air box.
…
Then I had a slight gap for the second and middle MKIV air box mounting point. For that, I needed to create a custom bracket to extend and account for the height difference between the air box mounting tab and the SC chassis mounting tab for its original air box.
More work with the cutoff wheel, bench grinder, metal file and drill bits going up in size until I could get this generic rubber grommet from Lowes to fit snugly. I tried to cut in some retaining area to hold the rubber grommet in place. I combined this with a spacer grommet from Lowes to finish it off.
Sadly I had run out of the number of longer length OEM bolts that I needed so I finished up the smoothing, primer and paint (all VHT paints as before) and went to the dealer the next day to get both a factory air filter and a few extra long bolts.
Unsurprisingly everything bolted right into place. The TRD strut bar did make it hard to move the intake tube that connects to the USDM GTE MAF very much but I was able to get everything in there. The upper scoop now fit in very well and only required a longer than usual OEM bolt to affix to the radiator with a generic automotive rubber spacer that I found at Lowes.
...
Some time back I also looked into alternatives to the factory Toyota/Denso paper air filter.
(An old OEM paper air filter I had laying around):
I found that HKS has made one for years for the Supra MKIV so I bought it. It's kind of just.... heavy duty foam that is very porous. I'm not sure I'd trust it as much as I would a paper Toyota/Denso filter, K&N cone filter or K&N drop-in filter (which is also still available) but some SupraForums members seem to have liked it.
Nonetheless I threw the brand new OEM paper air filter in there for the time being.
…
Regarding the MKIV intake box's lower duct, I've left that out. I have also left out the SC300/400 factory lower intake duct since I think it will hit too closely to the MKIV intake box's smaller duct opening. I'd like to come up with a solution for that later but it will probably require custom fabricating a hybrid duct from the two of them... or a new one entirely from a 3D printed design. This might prove difficult since both versions of this power duct have an internal splitter inside meant to create a certain pattern to the air flow going into the intake box as it hits the drop-in air filter.
....
Overall I don't notice all that much of a constriction of power from changing back to the OEM mufflers and an OEM intake box. My engine isn't tuned at all right now after all. It still pulls strong and hard as before. I think I probably do notice.... *some* difference... but nothing significant.
Now with more boost than stock these changes and the whole stock exhaust system probably would be restrictions that I'd need to address to get the most out of a higher state of tune.
But... for my daily driven OEM+ build I'm happy with the results
Maybe I'll even switch back to the K&N cone filter setup later on (once I've recharged it with new oil). I'm liking that its now possible to have more than one option for the intake.
Also... if someone were to do a 1JZ-GTE Non-VVVT-i or 1JZ-GTE VVT-i swap using all JZZ30 Soarer factory intake box parts I am fairly certain that everything will just bolt into place with probably zero modifications being required since the JZZ30 airboxes are the same shape as the SC300/400 factory air boxes... just with some differences at the back where the engine intake tube goes.
Although you probably would have to consider finding JZZ30 cruise control unit brackets or making your own from plate stainless steel in order to clear the same mounting room that I needed for that one mounting arm point that the MKIV TT air box needed. I couldn't say for sure unless I had one to try however!
And I would have tried a JZZ30 1JZ-GTE Soarer style air box *if* it only had the mounting provision for the USDM/Export Supra MKIV's factory MAF sensor.... but it does not.
I love the OE mufflers on Lexus and Toyota's of this era.
Have to say, thought I was obsessive about details you take it to another level mad respect. I often find good stuff on Ebay Oz but they won't ship here in most cases.
Haha, thank you!! As before I just like to document any of the interesting or odd changes in the thread in case any of it is useful to someone with their own build.
I agree that the stock mufflers and many on the Lexus cars from this period do have a certain charm. I never wanted to change the rounded rear factory body kit on my early series SC and the stock mufflers do allow the lines of the car to flow more freely than the longer and more protruding tips of the Manzo/M2 dual mufflers did.
However the Manzo/M2's certainly have a pleasing louder exhaust note at idle and through the rev range wether you have an NA or turbo JZ engine or a 1UZ. I am keeping mine in storage for now since they were still in excellent condition.
And there is something to be said for the much larger diameter and more aggressive rear tips on those.
My goals with this car are more on the stealth side of things so that is why I made my recent change but I appreciate the look and sound of both.
....
I have run into that issue sometimes myself when trying to buy some used parts from Australia, New Zealand or the UK. I have found that usually if the item(s) are small enough it won't be an issue for them so long as you don't mind the generally high shipping cost. When pickings are slim I have just accepted that aspect.
However some months ago I did try to buy a Soarer hardtop headliner from the UK and in the end the seller and I both agreed that we couldn't think of a safe way to ship such a fragile and incredibly rare part that far without risking it being damaged in transit.
Previously I bought my early type JZZ30 Soarer factory side mount intercooler and later model VVT-i intercooler ducting from an Australian wrecking yard. Sometimes it doesn't work out while other times it does.
I think I lucked out with this cruise control unit but it wasn't cheap to procure, lol! Then again, they're built to last forever like the rest of heavy duty modules on these cars
Love the harness. But since you do everything damn near perfect I'll suggest a possible improvement. Pull the factory wires out of each pin (this is not easy!) and crimp/solder the desired length wires to each terminal. This will take awhile but produce a perfect job with no heat shrink.
I've been doing this with door harness repair, instead of having two sections of heat shrink I solder directly to the terminals then solder/heat shrink onto the harness inside the door area. I would love to crimp as well as the factory but there is no such tool that I've found.
Craig - I ALWAYS enjoy your projects and your posts. The level of detail and thought you put into this car is simply awesome. I love the effort you took to maintain such a stealth cruiser with the restored mufflers and OEM air box. That engine by looks great! Hope you're getting to cruise and enjoy it.
Love the harness. But since you do everything damn near perfect I'll suggest a possible improvement. Pull the factory wires out of each pin (this is not easy!) and crimp/solder the desired length wires to each terminal. This will take awhile but produce a perfect job with no heat shrink.
I've been doing this with door harness repair, instead of having two sections of heat shrink I solder directly to the terminals then solder/heat shrink onto the harness inside the door area. I would love to crimp as well as the factory but there is no such tool that I've found.
Thank you for your kind words! Now that WOULD be perfection! Ha ha! Well... in this case I still needed some extra length beyond just what the Toyota repair terminals had out of the box. I snipped a little from one end once I had the general path and shape that I wanted but I did need more than the length of just one wire terminal for each pin, so this wouldn't have been possible.
Even for me there is a limit to how overboard I will go with some things. However in principle I do like your approach if I had longer raw wires and raw terminals to work with.
Originally Posted by RudysSC
Craig - I ALWAYS enjoy your projects and your posts. The level of detail and thought you put into this car is simply awesome. I love the effort you took to maintain such a stealth cruiser with the restored mufflers and OEM air box. That engine by looks great! Hope you're getting to cruise and enjoy it.
Thank you Rudy! I can always reverse these changes later but I kind of like it stealth this way since it's running the OEM turbos. I am enjoying it as my daily driver, thanks! Like yours it always brings on a smile when you get behind the wheel
I do need to fully troubleshoot some inconsistency I'm experiencing with my sequential system though. I have adjusted my driving style to accommodate it but a longer term repair solution is needed. Since I've already diagnosed most of the turbo system already I have a fair hunch as to where to focus.
I also still have that SC/Soarer manual adjust steering column swap project to get finished when I can dig into it again. I think I want to get a couple of plastic trim parts laser 3D scanned and put into 3D printable file form (STL files I think?) as a safety measure before installing them since they're so rare.
Thank you for your kind words! Now that WOULD be perfection! Ha ha! Well... in this case I still needed some extra length beyond just what the Toyota repair terminals had out of the box. I snipped a little from one end once I had the general path and shape that I wanted but I did need more than the length of just one wire terminal for each pin, so this wouldn't have been possible.
I buy harnesses from various Toyota's at my local salvage yards especially from the 80's and 90's the wire is excellent quality. I admit it is difficult to bend open the crimps and yank the wire out of the terminals.
Even for me there is a limit to how overboard I will go with some things. However in principle I do like your approach if I had longer raw wires and raw terminals to work with.
For some jobs like door harness repair it's actually easier plus it avoids one giant lump of solder connections and heat shrink.
I also still have that SC/Soarer manual adjust steering column swap project to get finished when I can dig into it again. I think I want to get a couple of plastic trim parts laser 3D scanned and put into 3D printable file form (STL files I think?) as a safety measure before installing them since they're so rare.
I buy harnesses from various Toyota's at my local salvage yards especially from the 80's and 90's the wire is excellent quality. I admit it is difficult to bend open the crimps and yank the wire out of the terminals.
I actually did this once with Gerrb's help when I began rewiring my GTE harness for the swap. I've still got bits of that harness and spare OEM wires pilfered from it which I have used in part for many of the electrical projects documented in this thread. I may pick up another 90's Toyota harness or ask a technician friend at my local dealer if they have any they might be throwing away that they could give me as junk parts.... but a 90's harness is probably better found at a junkyard as you said. Or eBay.
I don't need more than one more at this point and even that might be overkill for my current needs.
Originally Posted by LeX2K
For some jobs like door harness repair it's actually easier plus it avoids one giant lump of solder connections and heat shrink.
You're probably right. I'm confident in my tight soldering and heat shrink work now after having so much practice but the absolute best will always be clean wires in the right gauge cut to the exact length with new replacement terminals. I know there are sources for replacement raw terminals but I do winder what the quality of their metal is versus OEM dealer bought repair terminals.
It's probably not that much difference since it's the wire quality that makes a lot of difference as well.
Originally Posted by LeX2K
Good 3D printer is something I wish I had.
I wish I did too if I had more space but that's one too many hobby project toys for me at this point. I'm inclined to go to a laser scanning service when needed and then find a well priced 3D printing company to build my parts as needed.

 02-21-22, 09:37 AM