Clint's 1999 GS400 - Lexi
#46
Painted the grill a satin black
<a href="http://s13.photobucket.com/user/clintdaddy/media/Lexi/Grill/2016041107335401.jpg.html" target="_blank"><img src="http://i13.photobucket.com/albums/a281/clintdaddy/Lexi/Grill/2016041107335401.jpg" border="0" alt=" photo 2016041107335401.jpg"/></a>
Tons of chips
<a href="http://s13.photobucket.com/user/clintdaddy/media/Lexi/Grill/2016041107335400.jpg.html" target="_blank"><img src="http://i13.photobucket.com/albums/a281/clintdaddy/Lexi/Grill/2016041107335400.jpg" border="0" alt=" photo 2016041107335400.jpg"/></a>
Cleaned up and drying in the sun
<a href="http://s13.photobucket.com/user/clintdaddy/media/Lexi/Grill/2016041107335300.jpg.html" target="_blank"><img src="http://i13.photobucket.com/albums/a281/clintdaddy/Lexi/Grill/2016041107335300.jpg" border="0" alt=" photo 2016041107335300.jpg"/></a>
After one light coat
<a href="http://s13.photobucket.com/user/clintdaddy/media/Lexi/Grill/2016041107335301.jpg.html" target="_blank"><img src="http://i13.photobucket.com/albums/a281/clintdaddy/Lexi/Grill/2016041107335301.jpg" border="0" alt=" photo 2016041107335301.jpg"/></a>
After 3 coats
<a href="http://s13.photobucket.com/user/clintdaddy/media/Lexi/Grill/2016041107340900.jpg.html" target="_blank"><img src="http://i13.photobucket.com/albums/a281/clintdaddy/Lexi/Grill/2016041107340900.jpg" border="0" alt=" photo 2016041107340900.jpg"/></a>
<a href="http://s13.photobucket.com/user/clintdaddy/media/Lexi/Grill/2016041107340800.jpg.html" target="_blank"><img src="http://i13.photobucket.com/albums/a281/clintdaddy/Lexi/Grill/2016041107340800.jpg" border="0" alt=" photo 2016041107340800.jpg"/></a>
#47
Finally got around to painting the nasty old calipers!
<a href="http://s13.photobucket.com/user/clintdaddy/media/Lexi/Caliper%20Paint/IMG_20160617_145238.jpg.html" target="_blank"><img src="http://i13.photobucket.com/albums/a281/clintdaddy/Lexi/Caliper%20Paint/IMG_20160617_145238.jpg" border="0" alt=" photo IMG_20160617_145238.jpg"/></a>
Wheels off
<a href="http://s13.photobucket.com/user/clintdaddy/media/Lexi/Caliper%20Paint/image-20160617_155021.jpg.html" target="_blank"><img src="http://i13.photobucket.com/albums/a281/clintdaddy/Lexi/Caliper%20Paint/image-20160617_155021.jpg" border="0" alt=" photo image-20160617_155021.jpg"/></a>
Before
<a href="http://s13.photobucket.com/user/clintdaddy/media/Lexi/Caliper%20Paint/IMG_20160617_150653.jpg.html" target="_blank"><img src="http://i13.photobucket.com/albums/a281/clintdaddy/Lexi/Caliper%20Paint/IMG_20160617_150653.jpg" border="0" alt=" photo IMG_20160617_150653.jpg"/></a>
Took off all of the retainers, pads, guide pins, etc
<a href="http://s13.photobucket.com/user/clintdaddy/media/Lexi/Caliper%20Paint/IMG_20160617_145233.jpg.html" target="_blank"><img src="http://i13.photobucket.com/albums/a281/clintdaddy/Lexi/Caliper%20Paint/IMG_20160617_145233.jpg" border="0" alt=" photo IMG_20160617_145233.jpg"/></a>
Didn't want to remove the brake line so I held up the caliper by a bucket and used it as a working bench
<a href="http://s13.photobucket.com/user/clintdaddy/media/Lexi/Caliper%20Paint/image-20160617_154758.jpg.html" target="_blank"><img src="http://i13.photobucket.com/albums/a281/clintdaddy/Lexi/Caliper%20Paint/image-20160617_154758.jpg" border="0" alt=" photo image-20160617_154758.jpg"/></a>
<a href="http://s13.photobucket.com/user/clintdaddy/media/Lexi/Caliper%20Paint/IMG-20160617-WA0023.jpg.html" target="_blank"><img src="http://i13.photobucket.com/albums/a281/clintdaddy/Lexi/Caliper%20Paint/IMG-20160617-WA0023.jpg" border="0" alt=" photo IMG-20160617-WA0023.jpg"/></a>
After 2 coats of color I applied the sticker and then threw on 2 coats of clear
<a href="http://s13.photobucket.com/user/clintdaddy/media/Lexi/Caliper%20Paint/IMG-20160617-WA0028.jpg.html" target="_blank"><img src="http://i13.photobucket.com/albums/a281/clintdaddy/Lexi/Caliper%20Paint/IMG-20160617-WA0028.jpg" border="0" alt=" photo IMG-20160617-WA0028.jpg"/></a>
All mounted. I know the decal is slightly crooked :facepalm:
<a href="http://s13.photobucket.com/user/clintdaddy/media/Lexi/Caliper%20Paint/IMG_20160617_200024.jpg.html" target="_blank"><img src="http://i13.photobucket.com/albums/a281/clintdaddy/Lexi/Caliper%20Paint/IMG_20160617_200024.jpg" border="0" alt=" photo IMG_20160617_200024.jpg"/></a>
All done!
Now to tackle the rear calipers when the weather gets better!
<a href="http://s13.photobucket.com/user/clintdaddy/media/Lexi/Caliper%20Paint/IMG_20160617_145238.jpg.html" target="_blank"><img src="http://i13.photobucket.com/albums/a281/clintdaddy/Lexi/Caliper%20Paint/IMG_20160617_145238.jpg" border="0" alt=" photo IMG_20160617_145238.jpg"/></a>
Wheels off
<a href="http://s13.photobucket.com/user/clintdaddy/media/Lexi/Caliper%20Paint/image-20160617_155021.jpg.html" target="_blank"><img src="http://i13.photobucket.com/albums/a281/clintdaddy/Lexi/Caliper%20Paint/image-20160617_155021.jpg" border="0" alt=" photo image-20160617_155021.jpg"/></a>
Before
<a href="http://s13.photobucket.com/user/clintdaddy/media/Lexi/Caliper%20Paint/IMG_20160617_150653.jpg.html" target="_blank"><img src="http://i13.photobucket.com/albums/a281/clintdaddy/Lexi/Caliper%20Paint/IMG_20160617_150653.jpg" border="0" alt=" photo IMG_20160617_150653.jpg"/></a>
Took off all of the retainers, pads, guide pins, etc
<a href="http://s13.photobucket.com/user/clintdaddy/media/Lexi/Caliper%20Paint/IMG_20160617_145233.jpg.html" target="_blank"><img src="http://i13.photobucket.com/albums/a281/clintdaddy/Lexi/Caliper%20Paint/IMG_20160617_145233.jpg" border="0" alt=" photo IMG_20160617_145233.jpg"/></a>
Didn't want to remove the brake line so I held up the caliper by a bucket and used it as a working bench

<a href="http://s13.photobucket.com/user/clintdaddy/media/Lexi/Caliper%20Paint/image-20160617_154758.jpg.html" target="_blank"><img src="http://i13.photobucket.com/albums/a281/clintdaddy/Lexi/Caliper%20Paint/image-20160617_154758.jpg" border="0" alt=" photo image-20160617_154758.jpg"/></a>
<a href="http://s13.photobucket.com/user/clintdaddy/media/Lexi/Caliper%20Paint/IMG-20160617-WA0023.jpg.html" target="_blank"><img src="http://i13.photobucket.com/albums/a281/clintdaddy/Lexi/Caliper%20Paint/IMG-20160617-WA0023.jpg" border="0" alt=" photo IMG-20160617-WA0023.jpg"/></a>
After 2 coats of color I applied the sticker and then threw on 2 coats of clear
<a href="http://s13.photobucket.com/user/clintdaddy/media/Lexi/Caliper%20Paint/IMG-20160617-WA0028.jpg.html" target="_blank"><img src="http://i13.photobucket.com/albums/a281/clintdaddy/Lexi/Caliper%20Paint/IMG-20160617-WA0028.jpg" border="0" alt=" photo IMG-20160617-WA0028.jpg"/></a>
All mounted. I know the decal is slightly crooked :facepalm:
<a href="http://s13.photobucket.com/user/clintdaddy/media/Lexi/Caliper%20Paint/IMG_20160617_200024.jpg.html" target="_blank"><img src="http://i13.photobucket.com/albums/a281/clintdaddy/Lexi/Caliper%20Paint/IMG_20160617_200024.jpg" border="0" alt=" photo IMG_20160617_200024.jpg"/></a>
All done!
Now to tackle the rear calipers when the weather gets better!
#48
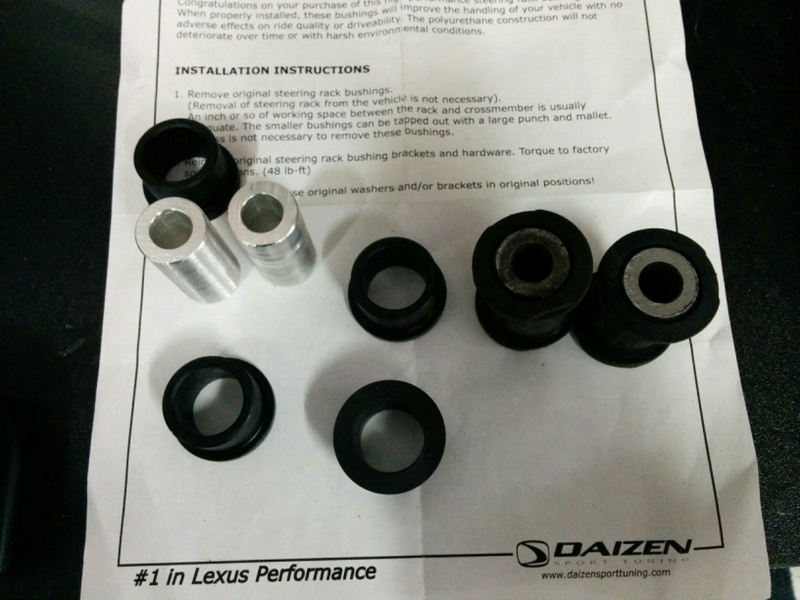
Put in some Daizen polyurethane steering rack bushings
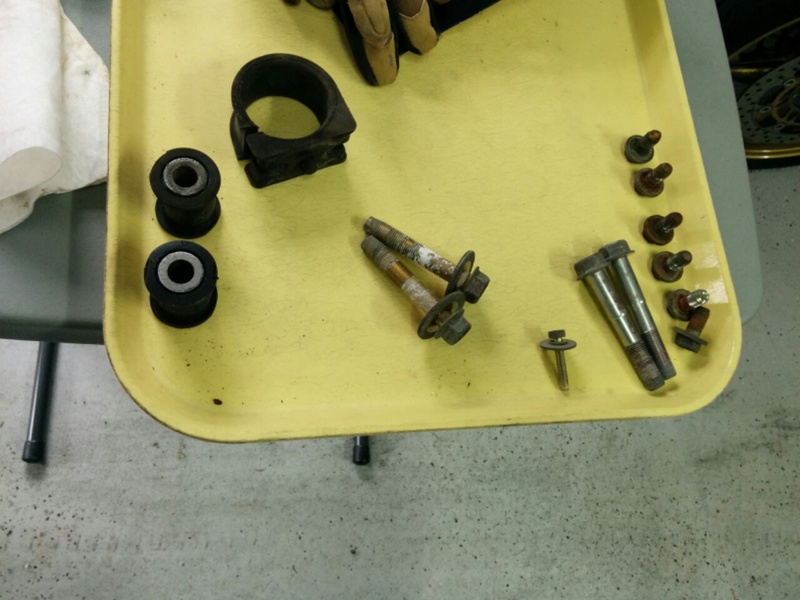
Out with the old stuff
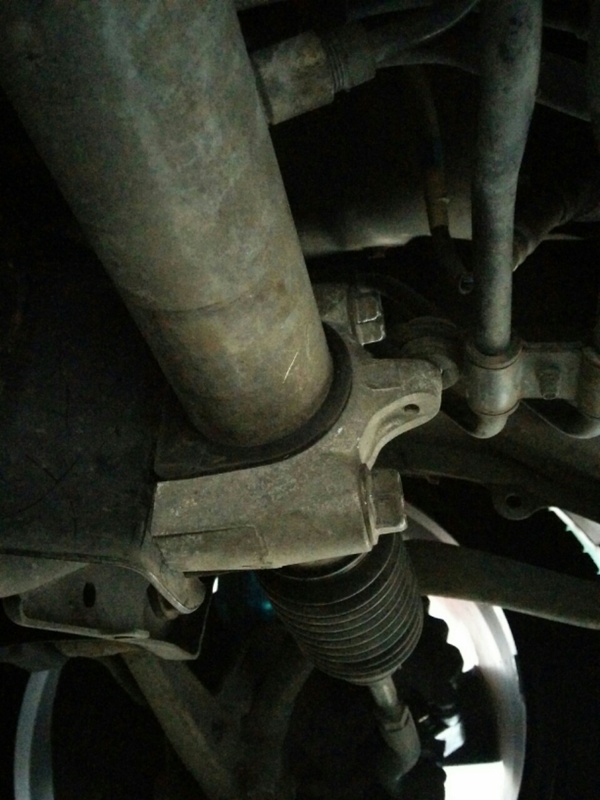
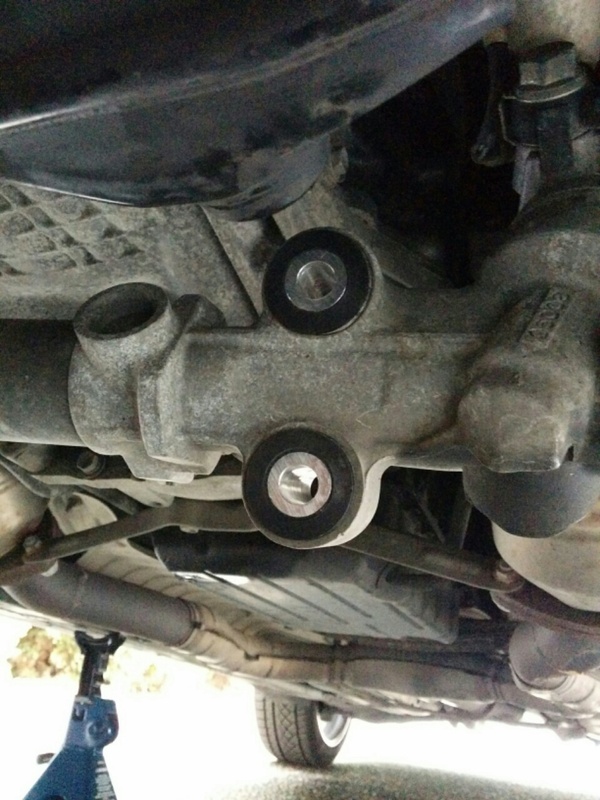
New bushings are in
Impressions:
Much of the dead zone between 11 and 1 o'clock on the steering wheel is gone and the communication between the tires and the steering wheel is much more pronounced. I can feel the small imperfections on the road at my hands now. Very impressed and it was totally worth the money.
#49
What better to compliment the new steering rack bushings than a nice power steering fluid flush? =)
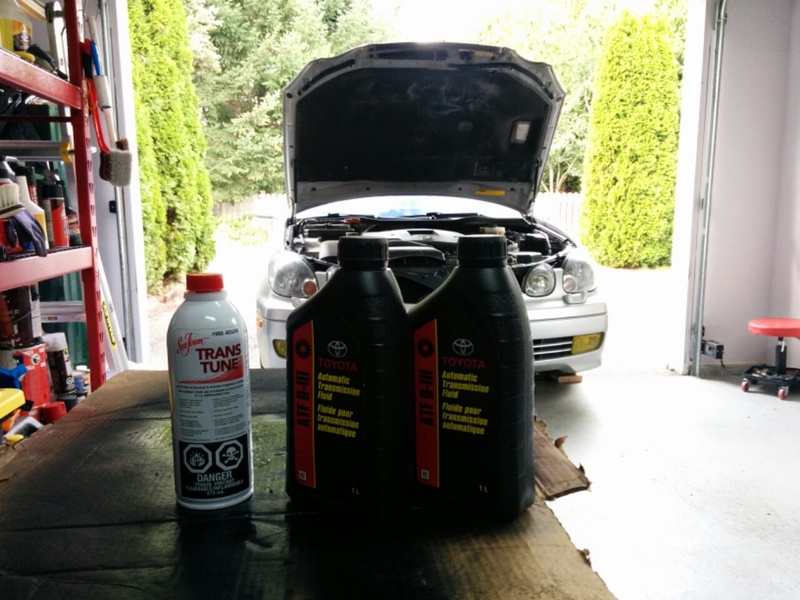
I also put some Seafoam Trans Tune into the system to flush out any varnish and impurities. All you need to do is remove whatever fluid you can from the reservoir, and fill the reservoir up the the max line with the Seafoam. Turn your car on and let it run for 15 minutes, turning the wheel lock to lock 10-15 times every few minutes to ensure the cleaner cycles through the system adequately.
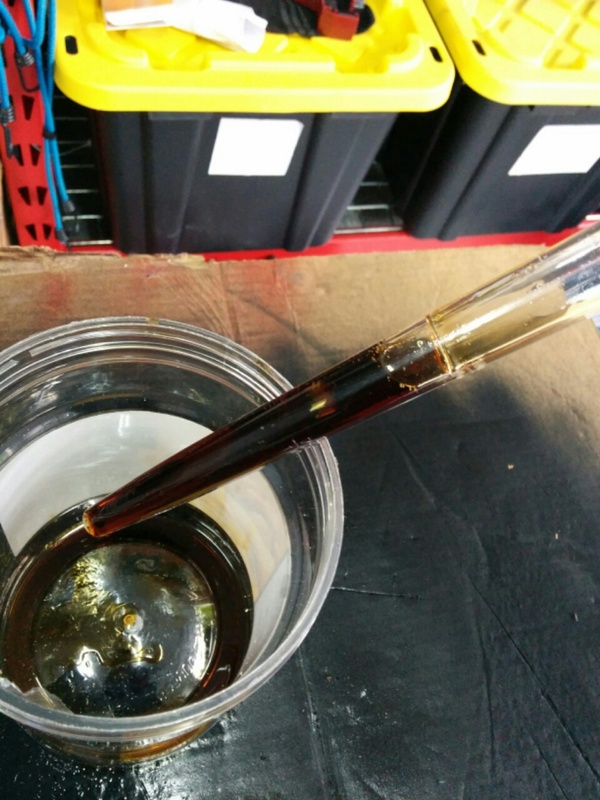
What I extracted from the reservoir
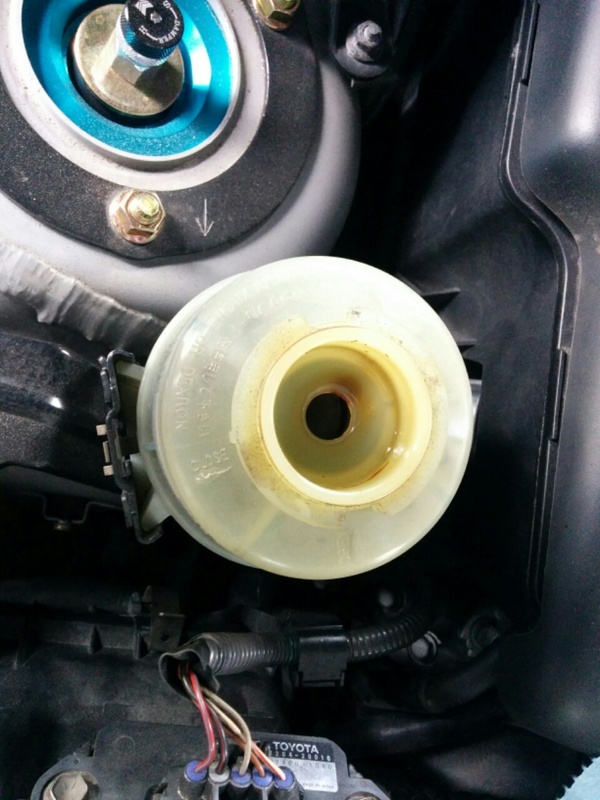
The opening in the reservoir was too small for me to extract everything out with a baster, so...
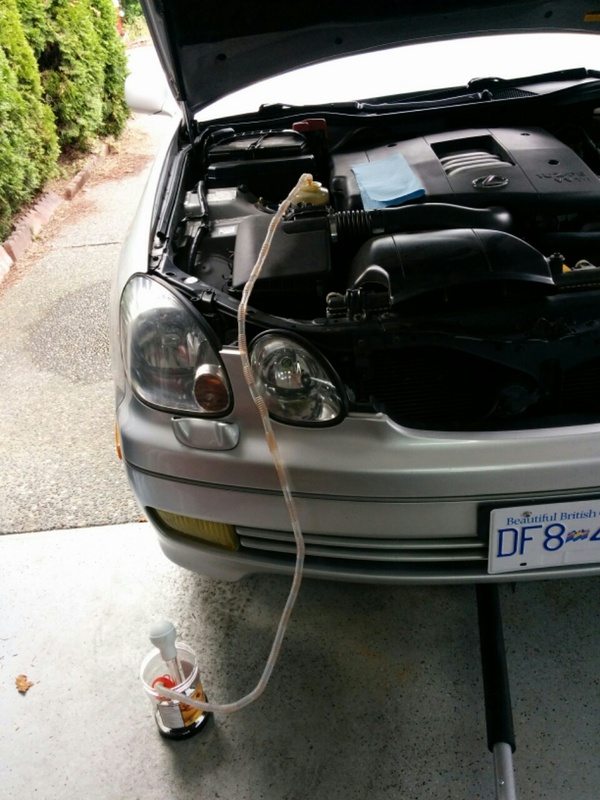
Gravity hand pump time
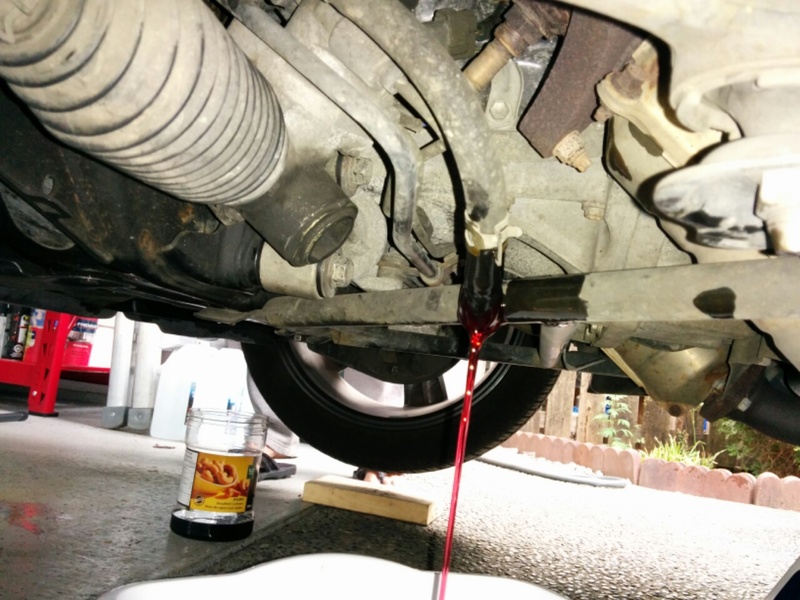
Pulled the return line and kept adding new fluid until she was bleeding bright red
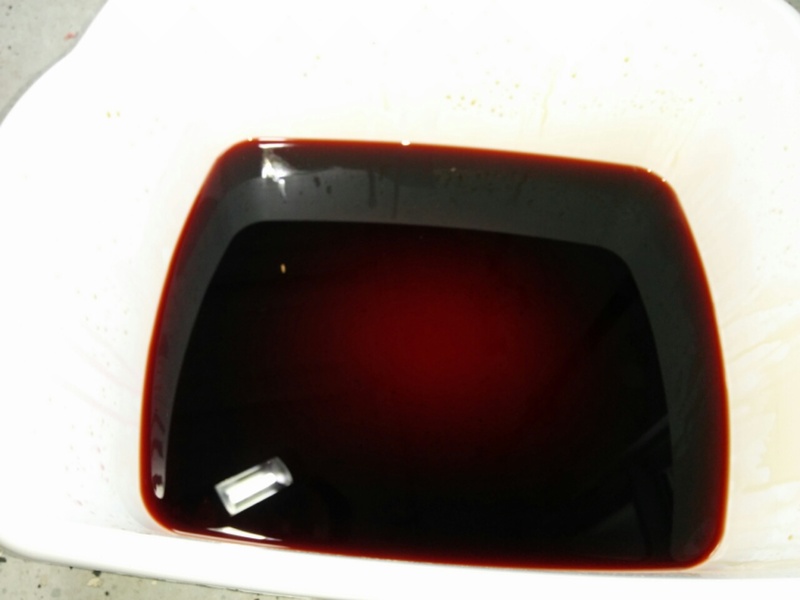
The old stuff to be recycled =)

I also put some Seafoam Trans Tune into the system to flush out any varnish and impurities. All you need to do is remove whatever fluid you can from the reservoir, and fill the reservoir up the the max line with the Seafoam. Turn your car on and let it run for 15 minutes, turning the wheel lock to lock 10-15 times every few minutes to ensure the cleaner cycles through the system adequately.

What I extracted from the reservoir

The opening in the reservoir was too small for me to extract everything out with a baster, so...

Gravity hand pump time

Pulled the return line and kept adding new fluid until she was bleeding bright red

The old stuff to be recycled =)
#50
So one of the calipers in my front calipers started to seize so I decided why not get some rebuilt ones and paint them?
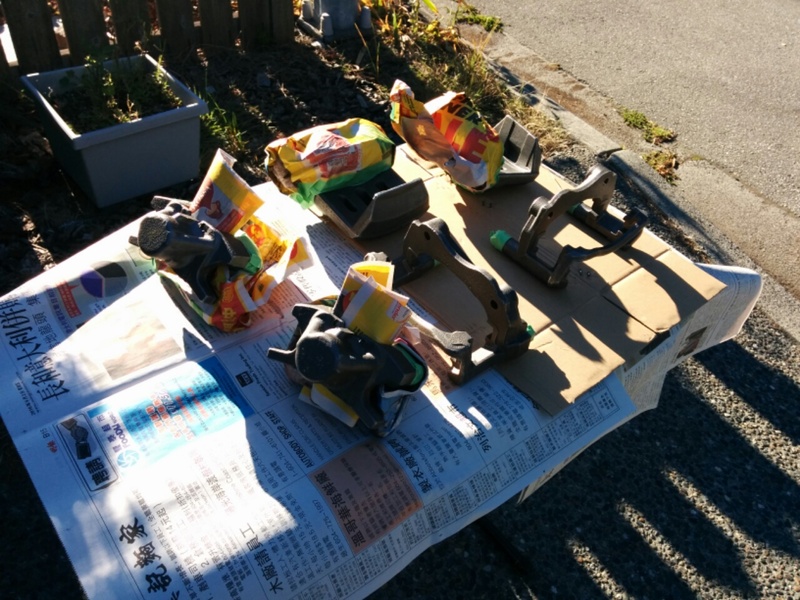
Prepped for paint baby
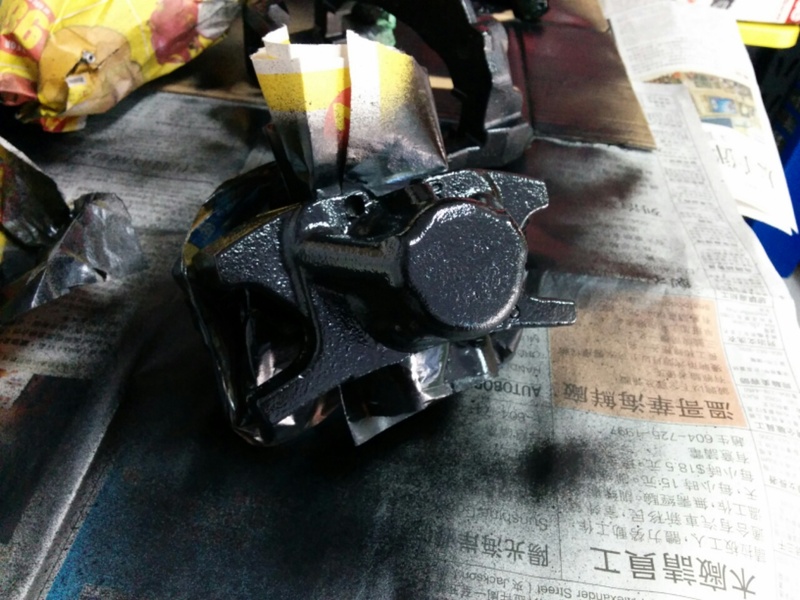
First coat of color on

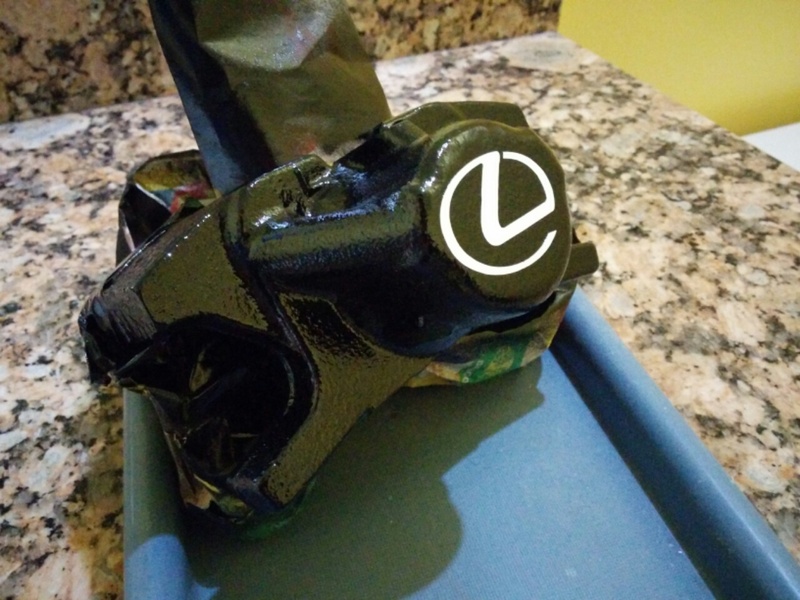
Put some stickers on after the paint completely dried
Stickers from http://www.motogfx.com/lexus/

Prepped for paint baby

First coat of color on


Put some stickers on after the paint completely dried
Stickers from http://www.motogfx.com/lexus/
Thread
Thread Starter
Forum
Replies
Last Post
Lexicious
GS - 2nd Gen (1998-2005)
5
07-16-13 07:59 PM
rottweiler
Lexus Vehicles Classifieds
33
08-16-06 02:19 PM


