When you click on links to various merchants on this site and make a purchase, this can result in this site earning a commission. Affiliate programs and affiliations include, but are not limited to, the eBay Partner Network.
I recently a couple months ago yanked my stock twins out in my garage. I literally went from starting to fully removed in two hours. the only cheating i did was the day before whipped out some pb blaster penetrating oil and sprayed everything in sight. let sit over night. i can assure you, the best tool you could buy is a long double ended flex head ratcheting 12 and 14mm wrench. mountain or ez red makes them. itll allow you to get all the nuts off the manifold with ease and has alot of leverage to break them loose. what i did find was that even with dismantling all the stuff piece by piece, the turbos still would not come off the the turbo manifold. because there are studs the screw into the exhaust manifold on the head. the turbos hang on those studs. so since their so long the turbos have to come wayyyy out to clear the studs. but by the time their way out the rear turbo hits the fire wall right where the battery is. so what i did that saved the day was to remove all the nuts holding the turbos on and as many studs as possible. the last stud on the back turbo was simply cut with a sawzall. which than allowed the turbos to come out forward and right out. than just 10 more minutes of removing all the stock turbo exhaust manifold nuts and they were gone. i promise you its not a big deal at all.
On the topic of the radiator, a few months back, I discovered my temps were spiking under full boost to the point where it would spit out the overflow hose from the overflow tank a little bit. enough to make a coolant splash on fan shroud. so i did the research on discovered theres ebay links that sell all aluminum thick core radiators for the toyota aristo. which means they bolt right in. so i gambled and bought one. it fit in the factory cushion supports on the bottom and the top brackets almost perfectly. you'll see. however, they are made for the aristo cooling fan assembly which is different than our cars here. so I used my gs430 fan assembly and was able to use some of the factory fan mounting holes. than i machined some small brackets for the others. and our stock radiator temp sensor for the fans fit right into the all aluminum radiator in the same place with a little thread sealant. however. my data logs show, even while cruising, my temps hover around 195.
Thanks for the advice! I'm honestly procrastinating more than I should. I will definitely look to soak everything in PB for a day or two in advance.
I have seen those Ebay radiators and have been curious about them. Good to hear a first hand account that they do fit, mostly. Can you give any specifics about it such as incremental capacity, comparison in terms of cooling capacity? I'm assuming the car no longer pukes fluid in boost?
With a little tech support help from Haltech I finally got my speed readout on my Haltech software working/reading properly. It's not been a priority historically because my speedo on the dash works brilliantly. As do most all other speed-sensitive systems. But aside from having it as a reference point in my logs, the speed limiter on the Aristo ECU has been a bit annoying, on rare occasion. My intention is to sample the speed input from the sensor into the Haltech and then run an output from the Haltech based on the sensor frequency reading, to indicate speed to the ECU via the Haltech instead of via the sensor. The theory is that if I limit the frequency to a value equal to or less than the ECU threshold for the speed limiter, I should be able to break the JDM ECU-imposed limit. None of this is necessarily clever or something I came up with. I've seen it recommended elsewhere and even a Haltech rep recommended such a path. I'm contemplating if I can use this same method for increasing my cruise control threshold as well. It's not really a perfect solution because as you do this you are telling the ECU, which also happens to control the transmission - that the speed of the vehicle is, possibly far less than it is. I guess it's the lesser of the evils. Not as exciting and announcing a new turbo, but it's geeky stuff I enjoy.
A quick update here. My above intentions worked out favorably. I was able to confirm the absence of the speed limiter by modifying the output going to the car's ECU.
To address the fact that I have seen my fuel injectors (stock Aristo) reach north of 100% duty cycle, I decided to go ahead and install a Aeromotive FPR on the stock fuel rail. I went with the braided line style for safety and durability. I'd never made my own fuel lines before, but it wasn't too bad after I learned how sharp the ends of the steel webbing can be. The stock placement of the stock FPR and associated connection point is kind of not ideal. Somewhat under the throttle mechanism that the cable pulls. However, with a couple of parts off e-bay and amazon I was able to mate the fuel line from the Aeromotive FPR over to the stock rail connection. Based on a few logs I've done, the car is a bit richer than before and the injector duty cycle is back down well under 100%. As the ECU continues to adjust fuel trims back to maintain my target AFRs, I expect the duty cycle will continue to drop.
Thats too legit to quit. I'm in the process of deciding who and what I'm going to go with to upgrade my fuel system. I know the smartest thing would be to get the radium rail with the newer bosch 650's to do a top feed conversion and a aeromotive regulator. kind of heard some but not too many bad reviews on the aeromotive having weak diaphragms and causing fuel leaks into the vacuum hose. But its been a great company for alot of people. its just everything added up is going to pretty much be a grand. the rail with some odds and ends will be a bit over 200. the injectors from fuel injector clinic will be about 550 and the regulator will be about 200. but it will be right and not ebay'd at all. and thats will give me peace of mind. im not comfortable with those ebay fuel rails you can get for 50. no way.
your new regulator setup is nice though. what do you think your pushing to the wheels?
I happen to be planning my system too. Currently running a modest system with a Walbro 255lph pump, Bosch 550cc injectors, and the Radium rail w/ plumbing kit. I have decided to make a 800whp safe fuel system, though I plan to make 600whp after my rebuild. The point being that I never have to do fuel system upgrades again. The plan is defiantly not cheap, but worth it considering all the work going into the car at this point. Going to get a PHR triple pump hanger (but only run two Walbro 400+lph pumps). -6AN feed line from the hanger to the -8AN rail with an in line -6AN filter. A Fuel-Lab FPR w/gauge after the Radium rail and -6AN return line back to the hanger. Moving up to Bosch 1200cc injectors. These would be around 80% duty cycle at 800whp if I ever go that much according to my calculations. Estimate a $1,500 fuel system.
Thats too legit to quit. I'm in the process of deciding who and what I'm going to go with to upgrade my fuel system. I know the smartest thing would be to get the radium rail with the newer bosch 650's to do a top feed conversion and a aeromotive regulator. kind of heard some but not too many bad reviews on the aeromotive having weak diaphragms and causing fuel leaks into the vacuum hose. But its been a great company for alot of people. its just everything added up is going to pretty much be a grand. the rail with some odds and ends will be a bit over 200. the injectors from fuel injector clinic will be about 550 and the regulator will be about 200. but it will be right and not ebay'd at all. and thats will give me peace of mind. im not comfortable with those ebay fuel rails you can get for 50. no way.
your new regulator setup is nice though. what do you think your pushing to the wheels?
Thank you. The current setup is a stop-gap. I have a 255lph pump pushing the fuel up to the stock injectors/rail, so the FPR was just a little boost to the current fuel system. I needed an FPR anyway, so just went ahead and threw it on the stock rail since I was bumping up against the limit of the injectors even on the stock twins. Not sure on what wheel HP is. An unsubstantiated number on stock boost by a tuning shop that put it on the dyno said 305. I'm on stock downpipe and still have a cataytic converter and they believe this is a significant limiting factor to more power. I'm now running about 16 psi, so maybe in the 330rwhp range... IDK. Maybe I'll take it down to the dyno one of these days just to check before I make some major changes.
I happen to be planning my system too. Currently running a modest system with a Walbro 255lph pump, Bosch 550cc injectors, and the Radium rail w/ plumbing kit. I have decided to make a 800whp safe fuel system, though I plan to make 600whp after my rebuild. The point being that I never have to do fuel system upgrades again. The plan is defiantly not cheap, but worth it considering all the work going into the car at this point. Going to get a PHR triple pump hanger (but only run two Walbro 400+lph pumps). -6AN feed line from the hanger to the -8AN rail with an in line -6AN filter. A Fuel-Lab FPR w/gauge after the Radium rail and -6AN return line back to the hanger. Moving up to Bosch 1200cc injectors. These would be around 80% duty cycle at 800whp if I ever go that much according to my calculations. Estimate a $1,500 fuel system.
Sounds like a pretty good plan! Many of us have similar ideas on these fuel systems... someone should start a group buy.
Progress update. I'd been busy donating money for parts last year to go with a single turbo setup. The twins weren't bad but at 16-17 psi, I knew they were at their limit but this engine can take a lot more.
So to start off this journey I thought it best to jack the car up in a somewhat careless manner so that I could add a new oil pan to the shopping list. In best John Oliver voice "cool." Oops.
I pulled the pan and no visible damage was done to the pickup, which is nice. Maybe a slight ding to the flange that goes under the screen, but not enough to be worrisome. I didn't think it was that bad, but it wasn't "not bad enough" to not remove the pan, inspect things above, and replace it.
I fully expected the pan (based on reading some other threads of GS owners replacing pans) to be completely foul with build-up and gunk caked at the bottom. To my happy surprise, it was very clean with minimal build up. Even still, I don't recommend dropping your car on your oil pan just to find that out.
Getting started:
Since only a picture means it's true, another set of twin turbo's ready for removal:
From there it was some work pulling the twins. I went in knowing I'd have a fight on my hands, so I feel like I was prepared as I could be. A very good write-up was done by this fellow for a Supra: https://www.diyauto.com/manufacturer...al-by-94canuck and it worked well for me to align mostly to what he did. Some things slightly different. The ***** bolt for example I couldn't get his solution to line up - perhaps the Supra has slightly different placement of the shock tower area relative to the bolt. But I did find a leverage point for this bolt that helped me break it loose. A he recommended, I liberally coated all parts with PJ Blaster, which may or may not have contributed to my jack slipping off the front crossmember. I worked on the project usually only for a couple of hours at a time. Probably tore them down over the course of a week or two.
Looking dirty but roomier:
Most of the aftermath: I will say I was impressed by how tight the twin turbos were. I think they had a reasonably good life, as I found no shaft play or other indications of significant wear.
Installed the exhaust manifold. It's a Sound Performance F1 manifold. Overkill for what I need and I wouldn't have bought it but it was so pretty and unused and I got it and the turbo for a good deal. I was pleased with the quality and fit of the manifold. I've read plenty of Ebay manifold stories - and I'm not knocking them - for $150-$200 it's incredible what you can get - but the drilling out of bolt holes to make them fit, and other quality issues did not plague me. My only "gripe" if you will is that some of the welds were so close to the studs that the rather wide-flared manifold nuts shoulders would hit these welds, preventing a good seat on the entire surface of the exhaust manifold. So I improvised and used different nuts on a couple of studs and put some slimmer washers behind a couple of others that would seat against the manifold and not hit the welds.
The turbo I'm going with is a Precision twin scroll 6765 ball bearing unit. Definitely overkill for my needs, especially now, but again I got a good deal on it and it's basically new. I even got a chance to mail it in and have it completely disassembled and quality checked by my friends at Precision fora nominal fee after I foolishly loosened a bolt I shouldn't have on the cartridge. Oops. This turbo has a 1.00 A/R exhaust housing. Since I wanted it to spool, I opted for a QSV to go with it, since they work great with the SP F1 manifold. I picked up a mac valve to control it via my Haltech.
Still remaining on my list of to-do's is get the turbo elbow pointed more forward. This turbo was set up for a Supra. I've got a 3" 90 degree outlet coming to me that I'll have a fabricator weld on so that the boost can head in a more appropriate direction for my intercooler needs.
Water lines - I didn't have a good appreciation for the waterline setup of the stock twins before I started the disassembly. I knew they existed and knew I'd need to have a solution for them, but I didn't know exactly how. Well for the top feed lines I knew - I purchased a replacement for the upper neck that connects to the top main radiator pipe. It was nicely polished and the ports were welded up and smoothed over for a nice look. I went to Toyota and purchased a new gasket and O-ring to fit this new component to the head and thermostat housing. I debated internally for an unreasonable about of time about what to do with the other two water lines down low that fed the twins. I ended up going the tried and true "bolt in a hose" route. I wanted to cap them, but I couldn't get comfortable locating a cap that would stand up to the time and temperature of the environment. So I went ahead and followed the advice of many who came before me. I purchased 3/8" fuel line (because parts guy said no such thing as 3/8" heater hose) and a 3/8" bolt (2-inch, to ensure a smooth section of the bolt above the threads) from the hardware store. I used a dremel and cut off the bolt right at the top of the threads. I used a file and shaved down any sharp edges. I re-used the clamps from the factory twins to secure the bolts in the end of the hose and to secure the hose to their respective locations on the stock water pipe - front and rear.
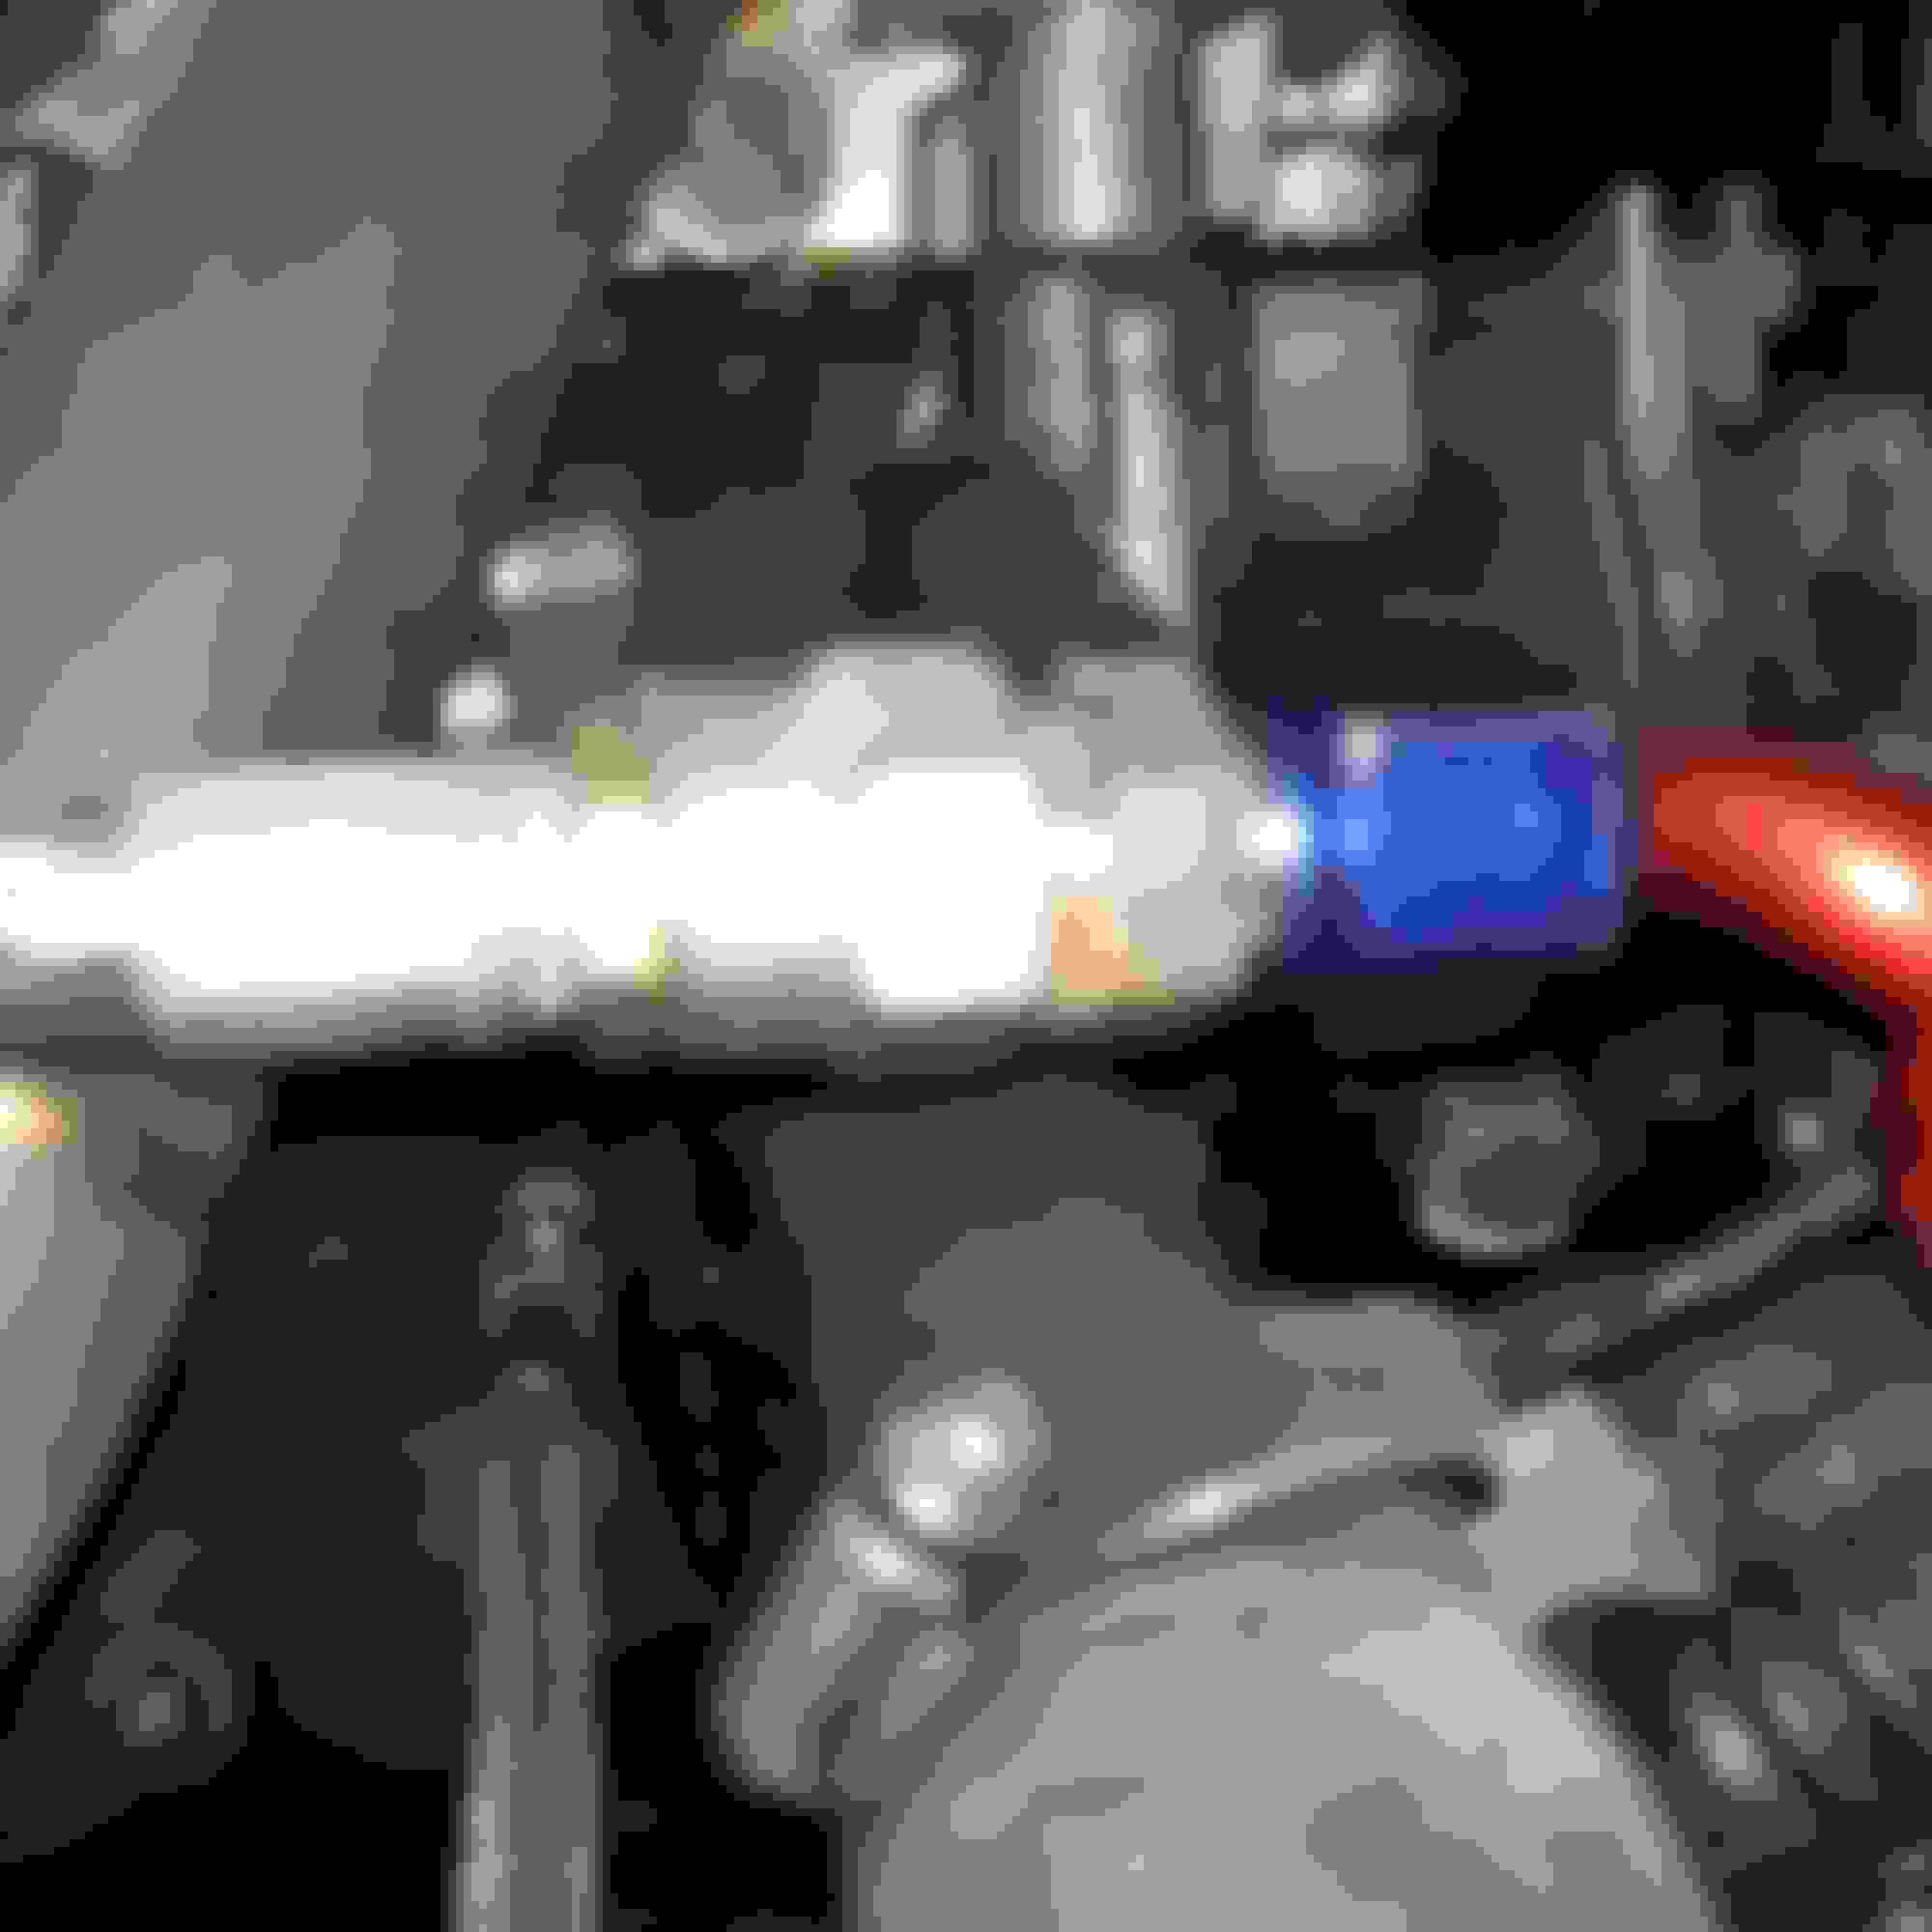
The oil return line was mostly uneventful. I did realize I would need to clock the turbo on the turbine side in order to get the hardline installed on the bottom of the turbo for the drain. It was hitting one of the manifold runners otherwise. I used a kit form Sound Performance for both the feed and the drain. They were very helpful in working with me whenever I ran into concerns or trouble. Tolerances were tight. I loosened the turbo more than once in order to get the line installed as I had to clock the turbo, etc. There is a nice braided an hose that connects between the hardpipe that mounts on the turbo and the flange that mounts on the block for the return.
The feed line was a little more quirky than the return. I utilized the "standard" 24" feed line, but unfortunately I couldn't route the line toward the passenger side of the car and have it reach the block. I was about 2" - 3" short. Instead I'm routing it directly toward the engine from the top of the turbo and then down between the lower waterneck and front manifold runner. I have it mocked up now, but I'm going to need to devise something attached to the waterneck to keep the line tethered so that it doesn't stray toward the front exhaust runner. I've also ordered a high-temp sheath that I'll run the line through to prevent baking it with it being so relatively close (about 1/2 ") to the exhaust runner. I really wish I could have routed it the other way, but this should work.
For exhaust piping I bought a cheap 3" downpipe, and mid-pipe that will plumb into my existing Tanabe cat-back. I had wanted to go 4" because I've done enough research to realize that makes a good difference in power. However the challenge for this car is nobody that I can find makes a 4" specifically for the GS300. I couldn't even find a good manufacturer for the 3" that was tailored for our platform. I ended up buying a downpipe and midpipe for a Supra and I'll have an exhaust shop make it work. I was actually pleasantly surprised to find the Supra Downpipe seems to route very nicely for this car. Midpipe not too bad either - but it'll be too short and so exhaust work is definitely required. I put 7.25lb springs in the wastegates as I don't expect with my limited (stock injectors) fuel I will be able to take much more boost than that. I'll pay close attention to the wideband readings to be sure and know more later. Fuel is the next big upgrade after she's back on her feet.
Curious for those that have gone single. I assume I need to connect the lower coolant pipe that's at the back of the engine (the larger outlet) to the heater core outlet that's left exposed after removing the twins. Seem right? Any guidance as to what pipe fits best? You can see in the pictures below I tried to hack it with the existing hose, with it running straight down basically, it is either directly in contact with or near contact of the downpipe. It looks like the best solution is a pipe that will run from the heater core outlet toward the driver's side for a stint before heading down toward the coolant pipe to avoid being close to the downpipe. But I imagine finding a hose that is just the right size / shape will be a bit of a guess and check with less than a perfect fitment.
I don't think I'm going to plumb in or use the MAF. I have a separate IAT sensor installed on the cold side of the intercooler for taking temperature measurements. And I have a Haltech driving the engine itself. So my hope is that aside from a check engine light, no other harm will befall me in taking this direction. I'm also thinking other than for having a plug present, there's no reason to utilize the stock O2 sensor. It being an Aristo, it didn't have but one O2 sensor anyway. Again, with the Haltech managing the fuel in a closed loop system at all times, I'm not seeing why the stock O2 sensor would be necessary, but to keep the check engine light off... which will likely now be on because of the MAF and all the other twin turbo-related electronic doohickeys that I've now removed.
About the sensors. No factory o2's will be needed. The Haltech will handle everything. Just a bung in the downpipe for the wideband that the Haltech will use. The MAF is kinda a gray area. It is said it needs to be there for the transmission to shift properly. I still have it installed in my system. Not to say it has to be there for sure, but I don't feel like it's hindering me either. Might be better safe than sorry is all.
About your oil feed line. It might be better to run it from the oil pressure sensor port on the drivers side. Some people might not like the look of the line going over the engine, but it would keep the line away from a red hot turbo manifold too. I also don't know if the GTE even has a similar setup to the GE, but that's how I ran mine. Just something to consider.
For the exhaust. I don't think you'll have trouble getting the rest of the exhaust worked out. Just go custom. All you need is your downpipe and have a muffler shop make you a mandrel bent system with your choice of diameter off of that. What's the diameter of the Tanabe system's pipes? You really don't need any larger than your downpipe, but you don't want any smaller for sure. For reference, I have a 3" downpipe and a full 3" mandrel bent single-out system off from that. If the downpipe was 3.5" Id have gone with 3.5".
I can't help you on the GTE's coolant pipes. Never seen the setup in person.
That's all just my thoughts and inputs on the various areas to help you in your decision making. I'm no expert, just sharing what I did. Hope it helps.
I appreciate the input. Very few have all the answers, but any insight helps. As far as the feed line - I don't have near enough line to run from the driver side of the block to reach the turbo. There is a longer line length - 36" - which you may have used. That could work. However, I think I can safely run it inside a sheath and even within an inch away, it appears it will handle the heat. It's definitely an area I'll be paying particularly close attention to for the first few hundred miles and beyond.
Thanks for the feedback on the stock O2. I've received similar sentiments for others, so sounds like it's a done deal that it's not necessary. But surprisingly, I'm not finding any block-off plates online for this specific application. So not sure what I'll do yet to block the port.
As for the MAF - I'm a gambling man. Making no provision to keep it plumbed. I might keep it hooked up if the car rebels with it completely disconnected.
As far as the exhaust - Everything is 3" from DP to the cat-back. I *think* the cat-back is 3" at the collector which then runs back before splitting in 2. I know it would be possible, but for my power goals at the moment, and my non-fabricating abilities, fitting 3" is going to be tight as it is. Couldn't imagine 3.5, much less 4". Downpipe is competing for space with a dump tube from the upper wastegate as well as the heater hose that runs vertically down out of the heater core. I spoke to the folks at Sound Performance who are sending me some in-house dump tubes they make - again for a Supra, but hopefully the'll be close enough for the GS. I'll report back with an update and pictures once I receive and validate. My hope is that since they built the manifold and QSV, their pipes would contour well enough to exit the area.
I think I've gotten the heater hose question solved. This is the hose that goes from the heater core down to the connection down low down toward the firewall on the hard-pipe that runs along horizontally on the engine. The Autozone part number is c87725. This is the ticket based on what the supra guys are using. Hopefully the dimensions are close enough on the GS. A quick eyeball makes me think it's possible - but it'll be very close to the downpipe so some provisioning / anchoring / heat shielding may be needed.
A new radiator. Seems straightforward, but if this project has taught anything, it's that very little is straightforward with this car. Now I'm extremely appreciative of the aftermarket support, as well as the community here at CL and beyond, as there's no way I would be able to pull this off otherwise. But the simpler off-the-shelf bolt-on options that are commonplace for other platforms of the 2JZGTE, are not quite as straightforward in our chassis.
Now before we dive off the radiator cliff, here's my solution for now for the oil feed line. I picked up a T-bolt clamp to utilize as an anchor on the water neck housing that comes off the side of the engine. To this I attached a hose securing clamp and ran the feed line through there. This is all to keep the hose both stable and more importantly, away from the hot runner of the exhaust manifold:
Now - On the front of cooling, you will find that during an earlier post of this build, I replaced the stock radiator with a new Denso unit. It has historically worked "okay." Keep in mind I have an intercooler, transmission cooler, and A/C condenser all ahead of the stock radiator. I noticed after the installation of my standalone ECU that the car's cooling capacity just wasn't where I wanted it to be. The car never got "hot" - I never did find an occasion where the temperature was high enough to raise the factory temp gauge, but I did see evidence that the cooling system just wasn't keeping pace with the needs of the engine. I suspected that putting a cooler-running thermostat in would help give me additional headroom and cooling capacity with the current hardware setup. But even after this, with a steady 80mph cruise in humid 85 degree weather the temperature in the radiator would run no cooler than about 190 degrees and up to around 205. Around town temps were at least this high - the fans kicking on never failed to cool it down, but I just don't like having to worry about temperature when something could easily (ha) be done to address it.
So I decided to take a gamble and get one of those e-bay radiators. So I picked one up. It arrived and it looked glorious! A big beautiful cooling device. Just what the front of this car deserves!
The capacity of this radiator is magnitudes more than the stock unit:
Immediately comparing them, other than the obvious thickness, I could tell the outlets weren't exactly in the same spot - not really a concern, because it's just a shorter run - about 2-1/4" -for the upper radiator hose.
No need to delay, let's mount the fans and drop it in the car!
Except, the stock fans don't bolt up to this radiator. They do on the bottom, which is nice. But the top holes are aligned for an Aristo fan shroud. Hmmmfff.... So I thought about having someone move the mounting points on the radiator, but based on the limited input I received, I found that the safer bet would be to go for an Aristo fan shroud. So I worked with the good guys over at Japanese Classics and they found me a fan shroud with fans from an Aristo in good shape. A few bucks and a week later it was at my door. Fantastic! Life is good, let's drop this puppy in - well, kinda. I knew going into this - that is - utilizing the Aristo fans - that they are slightly different than the GS300, and use PWM controller instead of a more on/off (although I think maybe the GS300 does have a 1/2 power setting) configuration like the GS300. I'd also read that another member in CL chimed in that he had installed these on his GS and had no issues.
So here are the fans for the Aristo. There's a lot more to the wiring on these fans, having to do with the PWM controller, than the GS300.
And the plugs are not the same as the GS fans:
Again I knew this going in, but didn't know exactly what the plan would be until I had the material with which to experiment. There are a few options at my disposal.
Option 1: I could hack the wires and put my old GS300 plugs on these fans, and get rid of the PWM controller and wiring altogether and run these Aristo fans just like the GS fans.
Option 2: I could wire a new circuit for these fans and utilize the Haltech controller to manage the PWM function of these Aristo fans.
Option 3: Utilize this fan shroud, and put GS300 fans into this shroud, keeping all fans and wiring as-is.
I really didn't want to do option 2 at this point. Option 1 or Option 3 are much easier. My biggest concern is that of the amperage draw and what the difference would be between these fans. The side difference of these fans - not so much the blades, but the motors - is significant.
So I wired me up a basic circuit, running it off the car battery. I used a standard fuse for this circuit with the purpose being finding where the fuse blows for the Aristo fans - and comparing this to the stock fans and the stock fuse amperage. The best I can tell, the stock GS fan circuit utilizes a 30 amp fuse. I do not know the engineering and math behind how Toyota or any other manufacturer of electronic goods sizes fuses, but my guess is they leave a good bit of headroom between the expected peak load and the fuse.
The Aristo fans would blow a 15 amp fuse every time upon connecting the circuit and SOMETIMES they would blow the 20 amp as well. I think it's safe to say they each draw about 20 amps. So that's good, and well below the 30 that is in the car's circuit. But then I tested the stock GS fans. They wouldn't even blow a 10 amp fuse. So this had / has me concerned for Option 1. The last thing I want is to have the car under stress - super hot day, A/C cranked, sitting in traffic, and for whatever reason, one or both fans blow their circuit and I'm completely hosed. So I went with Option 3 - stock GS fans in Aristo housing. I will not argue that the Aristo fans are more powerful. However, the fans on the GS300 are no slouches and I'm reasonably confident they will keep up with my needs. The thing that's more important though, is I am VERY confident the existing harness for the GS300 can supply the amount of power they will draw. I don't think I could go with Option 1, in good conscience, knowing the power draw of the Aristo fans is right around double that of the GS.
So here are the GS fans mounted in the Aristo shroud:
They fit fairly well, but they don't hug the circumference of the opening as well as they did the stock shroud or as tightly as the Aristo fans hugged this shroud. I'm sure there's some loss here, but my hope is it's relatively minor, if even measurable. They bolted up perfectly to the Aristo shroud.
The fan bolted up pretty well to the radiator. The bolt hole alignment isn't perfect, but it's close enough to get the bolts threaded in. The bigger issue is the clearance between the lower outlet and the shroud. There's not enough room as-is to fit a hose and hose clamp over the outlet without trimming the shroud. Not super happy about that.
I took the radiator to a local radiator shop to see if they could chop off the outlet and re-weld at a different angle and or lengthen it so that I can get the hole attached without interference. They said they could, but it would run a buck fifty. I just feel the cost of that would put the entire radiator now closer to $400. Well a custom unit would probably run around $500, so economically that just wouldn't make sense.
Another thing I noticed, was that the lower outlet of this radiator is spec'd for a smaller hose. I understand that the supra hose has a smaller connection on the radiator side so I ordered one of those hoses and I am VERY hopeful that it fits. This is the final piece of the puzzle after which I will have confidence in this solution.
A couple of honorable mentions:
This radiator seems to sit maybe a bit higher and further away (the top mounts) than the stock radiator. As such, the stock upper radiator mounts didn't fit without me stretching and hammering them to a lesser radius to enable them to reach and secure the top of this radiator.
Also, the shroud from the Aristo does not have a built in coolant overflow, unlike the GS shroud. I probably could have come up with another solution, but I figured I'd try to stay as close to original as I can for the Aristo and so I picked up the stock overflow bottle as well. Unfortunately for me, when I installed my Greddy FMIC some years back, I tossed the extra parts that I didn't need, which incidentally was the hardware to attach your stock Aristo coolant overflow bottle to the intercooler. I just needed to fab me a little bracket and make some minor modifications to the Aristo coolant overflow mounting bracket to get it to fit. It's tight between the condenser and the radiator, but I think it's going to work out alright.
In the same vein of "since I was there" I couldn't stomach keeping the stock crank pulley / harmonic balancer. These are known to fail after 10 or 15 years, and I can only assume mine is going on 20. So, knowing the car will hopefully someday in the not to distant future be putting out a good extra dose of horsepower, and the pre-req for doing this work is the draining and removal of everything I will hopefully soon be re-assembling, I took the opportunity to replace it. I thought about going with some popular aftermarket options, but after weighing them out, and knowing that the stock one should be good for another 10+ years, I felt that going stock would be a fine idea.
Its 4am and im still up. Gobbling up the conversation but stopping short to say but subject to confirmation later today.
1 I run orig gte vvti 99 aristo. The oil line fof thd turbo was tapped on the right side nearer the alternator at the front of thd block.
2. The fan motor part numbers will tell a story. I believe same but will check.
They not
1636346070 Aristo
1636346050 GS300.
I suspect more than the plug difference for PN difference. Ck resistance on motors. could bd you have s motor drawing excess amperage.
Going back to continue reading.😁 Front oil port to turbo. Just aft of rad hose lower rad hose input. Below #1 exhaust tube
Last edited by Arussto; 04-08-20 at 08:42 AM.
Reason: New info re fan pns
So I finally received a lower radiator hose for a Supra - which I understood would fit this smaller diameter lower radiator connector on an Aristo / Supra radiator.
In advance of putting it on, I went ahead and begrudgingly dremeled away some of the plastic support material on the "new" Aristo fan shroud in order to fit the coolant hose and pipe over it.
Once that was done, I went ahead and broke out some aluminum polish, because the radiator was already asking for a final level of shine, and the intercooler tanks and pipes were now exposed, and also could use a freshening up after 3 years:
Now as the front of the car has been in an elevated position for an extended period of time, I've noticed that A/T fluid has been slowly collecting behind and under the transmission. It had grown to a size that I couldn't play off as caused by my degreasing efforts, and it continued to grow. So a new pan seal was needed. I found one at the local auto parts store (felpro) and went to pick it up. I then did some reading up on what to expect as far as draining and pulling the pan. I read a few threads and it appeared I could expect about 2 quarts of fluid would come out of the pan when I pulled the plug, with some additional still in the pan during removal.
First off, I must say that the 2 quart estimate was well below what I removed. I would attribute this to the fact that the car has sat so long, (2+ mos) in an elevated position that a healthy amount of transmission fluid has drained from the front of the car into the pan. After it was all said and done, I emptied over 5 quarts out of the transmission. I don't believe there was a chance of overfill, as I filled it myself and checked it when I installed it into the car, back in 4+ years prior and a few times since.
After letting the fluid drain, I worked on removing the pan. I was careful to leave a few bolts still in to keep the pan from falling off when I wasn't preferred. Yeah right. After removing all bolts there was nothing getting that pan out without some way to break the factory seal. I started with a razor blade (and clearances were tight, so many passes). After 15 or 20 minutes with a razor, I jumped up to get my little stainless tool that came with one of my Iphone battery / screen replacement kits. It seemed to be the perfect tool for this application. It's thin enough to slide between the pan and the transmission housing while being sturdy enough to hold its shape and penetrate the RTV/FIPG. Within about 5 minutes the bond was broken enough for me to pull the pan down. There was still a pretty good amount of fluid inside the pan that I poured in with the rest of the removed A/T fluid. There are perhaps more proper tools for this application, but I was super pleased that I stashed these away in my toolbox for a future application - although I didn't expect it would be this one. Sidenote: The black plastic tool was fantastic for helping to scrape gasket/RTV off the sealing surface of the pan.
I didn't mark above 4 quarts, as my expectation was far less. However, I'm glad I measured the drained amount, as 2 quarts would have been a vast underestimation of the removed fluid and I would have spent a lot of time refilling trying to figure out why I was putting in more than 2x the expected need for this job.
On the bright side, getting 5+ quarts out of the transmission means I was able to replace a significant amount of the total fluid within it, which should make for a happy transmission. This is the fluid I've been using since I swapped in this motor/transmission combination, and based on removing the pan, there was no evidence that it wasn't doing a good job. So a top off and onward we go.
So here I am. This hose that has been holding me up for a couple of weeks to get the radiator sorted has finally arrived. I've gotten the pesky trans leak hopefully plugged, and a fresh oil pan and seal on the engine. Time to fill this baby back up with fluids so I can get it started up to get on a trailer and get the final steps here completed - fabbing up some intercooler piping and exhaust for this single turbo.
I went ahead and put some high temp thread sealant on the turbo oil feed line and snugged those connection down. I chopped a couple of inches off my upper radiator pipe to connect to the upper outlet of the new radiator and installed it. The lower pipe was already on and ready.
Picked up some Long Life Red Toyota coolant - the old stuff wasn't too old, but I figured it was probably wise to go ahead and change it while I was there.
So I mixed up a 50/50 batch for a 2-gallon total and started pouring it in. This new radiator has quite a higher capacity than the original. It took all 2 gallons. So I mixed up another gallon to go ahead and top it off. As coolant rose to the top of the radiator, I placed my palm over the opening and gave the top pipe a squeeze to draw the coolant into the engine. Upon doing this, I started hearing drips. Ugh!! Some number of months back I had purchased a waterneck that had the turbo water lines shopped off and welded shut (and polished) from a guy on Supraforums. Well it turns out it was defective and coolant was not pouring, but dripping/running at a steady pace right out of one of the welded up outlets.
Crap! So after managing to get a mess all over everything under the waterneck and the floor, I got the waterneck off. I took it inside and put it under running water and the leak was completely evident. I'm not sure why or how it started leaking.
I'm guessing some kind of corrosion has set in, or it just wasn't done right in the first place. I'm working with the seller of the item now to try and resolve it. Times like these I wish I were handy with an aluminum welder and or had any buddies or trust-worthy shops in the area that I could turn to. These ankle biters are the long tail in these builds.

 10-27-19, 05:48 PM