My indecisive 98 SC300 build
 07-23-18, 11:26 AM
#301
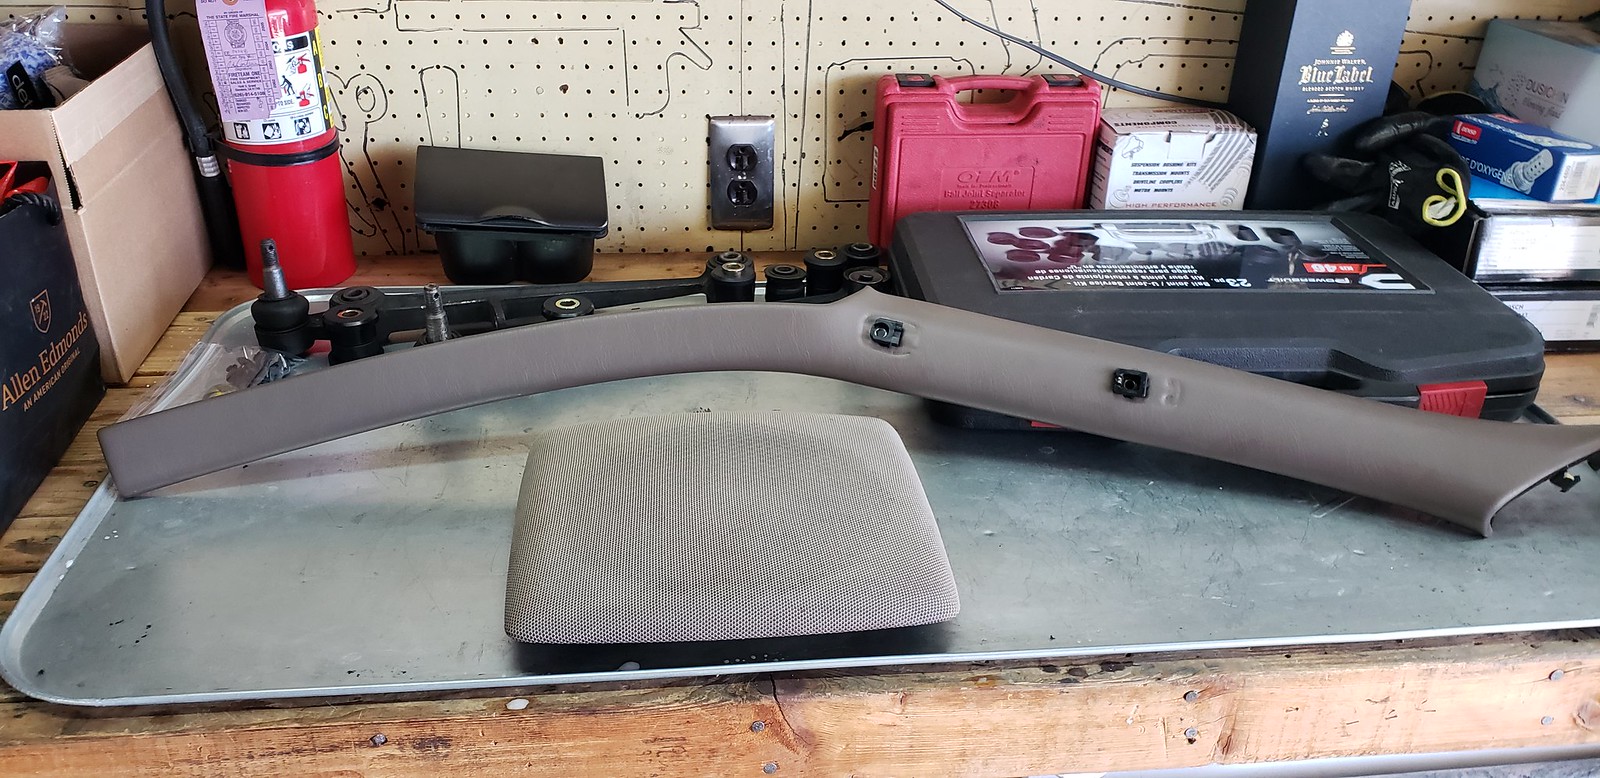
I decided to go with a prothane bushing set for the rear. The entire prothane rear end kit is cheaper than buying the 2 bushings I needed from super pro. Something to note for anyone that is planning on doing this - A hydraulic press will make it easier, but most of the rear end bushings can be done with a ball joint press. The rear UCA is the only one that having a press would work the best. Otherwise, you would have to burn out the bushing and use a hack saw to cut the sleeves and slowly chisel them out.
The prothane kit replaces - UCA, LCA inner and shock mount, Traction rod, toe rod, and knuckle. The toe rod bushing will also fit as the shock mount bushing just in case you guys ever needed to make it work.

Comparison of my prothane and old daizen bushings (from 10 years ago). The part numbers are identical.

Pressed out my old bushings

Mocked up the old bushings before applying grease (if you guys were wondering how it's installed)

After thinking about it, if my LCA was bent, then it's more likely I would have less camber. This swap may end up being a waste of time.
My friend suggested changing the eccentric bolts instead because when they wear down they don't operate as smoothly and can throw off the adjustments.
The prothane kit replaces - UCA, LCA inner and shock mount, Traction rod, toe rod, and knuckle. The toe rod bushing will also fit as the shock mount bushing just in case you guys ever needed to make it work.
Comparison of my prothane and old daizen bushings (from 10 years ago). The part numbers are identical.
Pressed out my old bushings
Mocked up the old bushings before applying grease (if you guys were wondering how it's installed)
After thinking about it, if my LCA was bent, then it's more likely I would have less camber. This swap may end up being a waste of time.
My friend suggested changing the eccentric bolts instead because when they wear down they don't operate as smoothly and can throw off the adjustments.
Last edited by Blkexcoupe; 07-23-18 at 11:34 AM.
 07-23-18, 03:39 PM
#303
It's gonna be squeaking like rats in New York sewers on cold winter nights.
https://www.organizedgaragestatus.co...xus-SC300SC400
https://www.organizedgaragestatus.co...xus-SC300SC400
Your diy was really helpful the 1st time I did the SC RUCA bushings. This is my 4th set now, so I already got it memorized.
*Edit* I wrote all this up for a fb post for Anthony, so I'm going to add it in here too.
There aren't that many bushings in the rear for the SC.
-The subframe has 4 that come out fairly easily once the subframe is dropped.
-The diff has 4 bushings (2 on the ears of the diff and 2 on the subframe).
-rear UCA has 4 bushings (2 per side) that require a hydraulic press to be removed.
-rear LCA has 4 bushings (1 camber adjustment and 1 shock mount per side) can be removed with a ball joint press
-rear traction rod has 2 bushings (1 per side) can be removed with a ball joint press
-rear toe rod has 2 bushings (1 per side) can be removed with a ball joint press
-rear knuckle has 2 bushings (1 per side) can be removed with a ball joint press
Bushing installs for all the arms:
https://www.organizedgaragestatus.co...xus-SC300SC400
Front subframe bushing removal:
https://www.youtube.com/watch?v=Xize8qbeunY
Rear subframe bushing removal:
https://www.youtube.com/watch?v=DGsnWSVdLgQ
Rear diff bushings (in subframe) removal:
https://www.youtube.com/watch?v=i0_zldz7DZA
Rear diff bushings install (video is kind of long, but he does cover the info):
https://www.youtube.com/watch?v=KxuDjc3lZyY
That should cover all your questions.
Last edited by Blkexcoupe; 07-23-18 at 10:33 PM.
07-31-18, 01:53 PM
#304
I had my 1st successful trip to the junkyard to get SC parts.  Every time I've been before, someone else already trashed the interior.
I found the A pillar trim and an undamaged rear speaker cover. The trim isn't perfect, but it's in better condition than my current trim.
I also been looking into finishing a project from earlier this year (refinishing the brakes and possibly the wheels). I received my sample colors for powder coating.
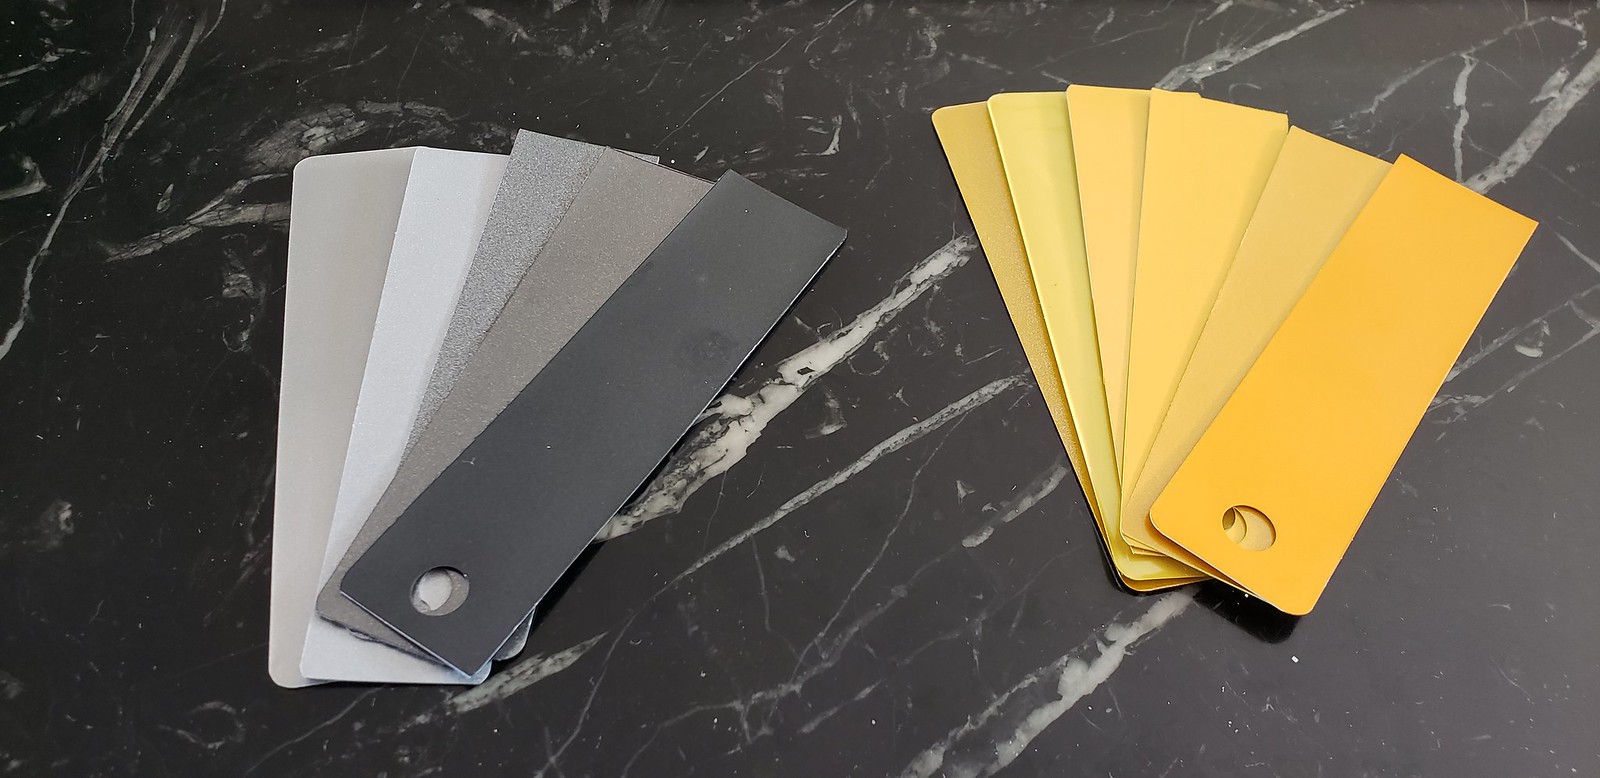
The grays aren't quite what I was hoping for. The yellows, the one on the far right is definitely the color I want for my brakes.
Every time I've been before, someone else already trashed the interior.I found the A pillar trim and an undamaged rear speaker cover. The trim isn't perfect, but it's in better condition than my current trim.
I also been looking into finishing a project from earlier this year (refinishing the brakes and possibly the wheels). I received my sample colors for powder coating.
The grays aren't quite what I was hoping for. The yellows, the one on the far right is definitely the color I want for my brakes.
Last edited by Blkexcoupe; 11-23-18 at 06:56 PM.
08-25-18, 09:27 AM
#305
After letting some friends test drive my car, they pointed out my car has a lot of wind noise. I tried a ghetto fix I found in the GS forums before ordering new door seals.
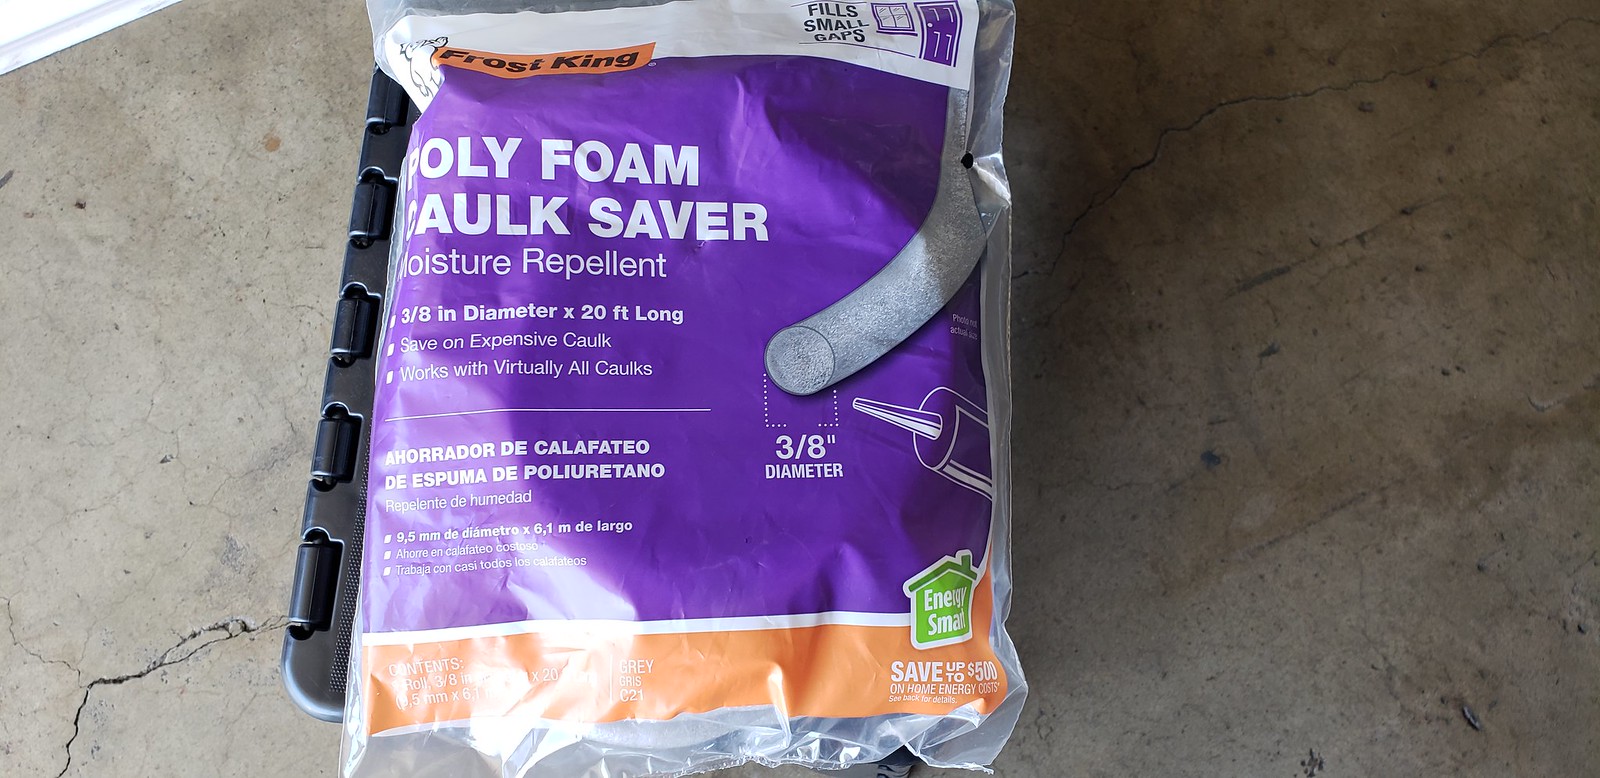
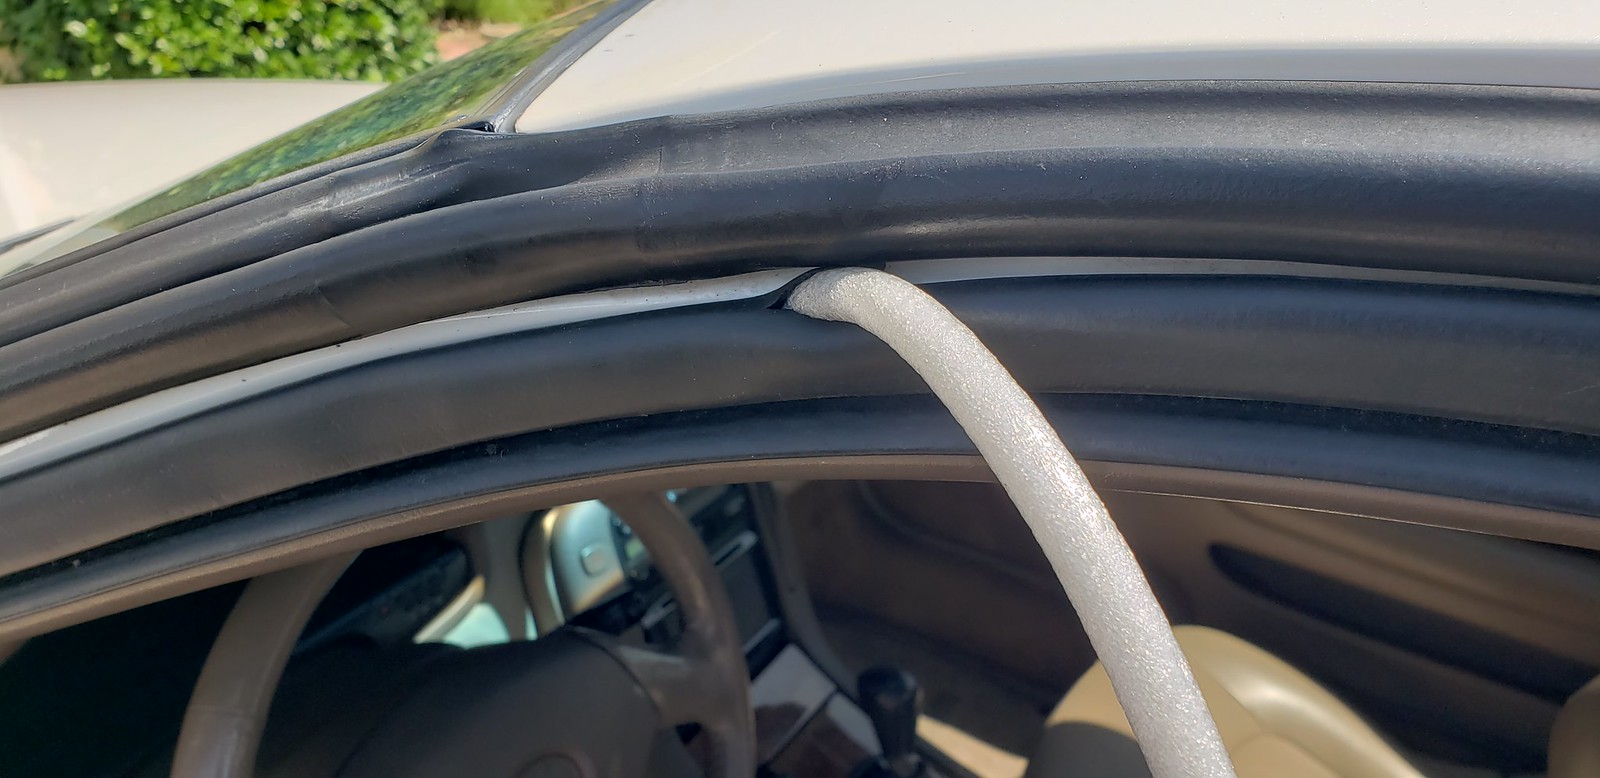
It worked great the first day, then the strip went flat and it stopped working. lol
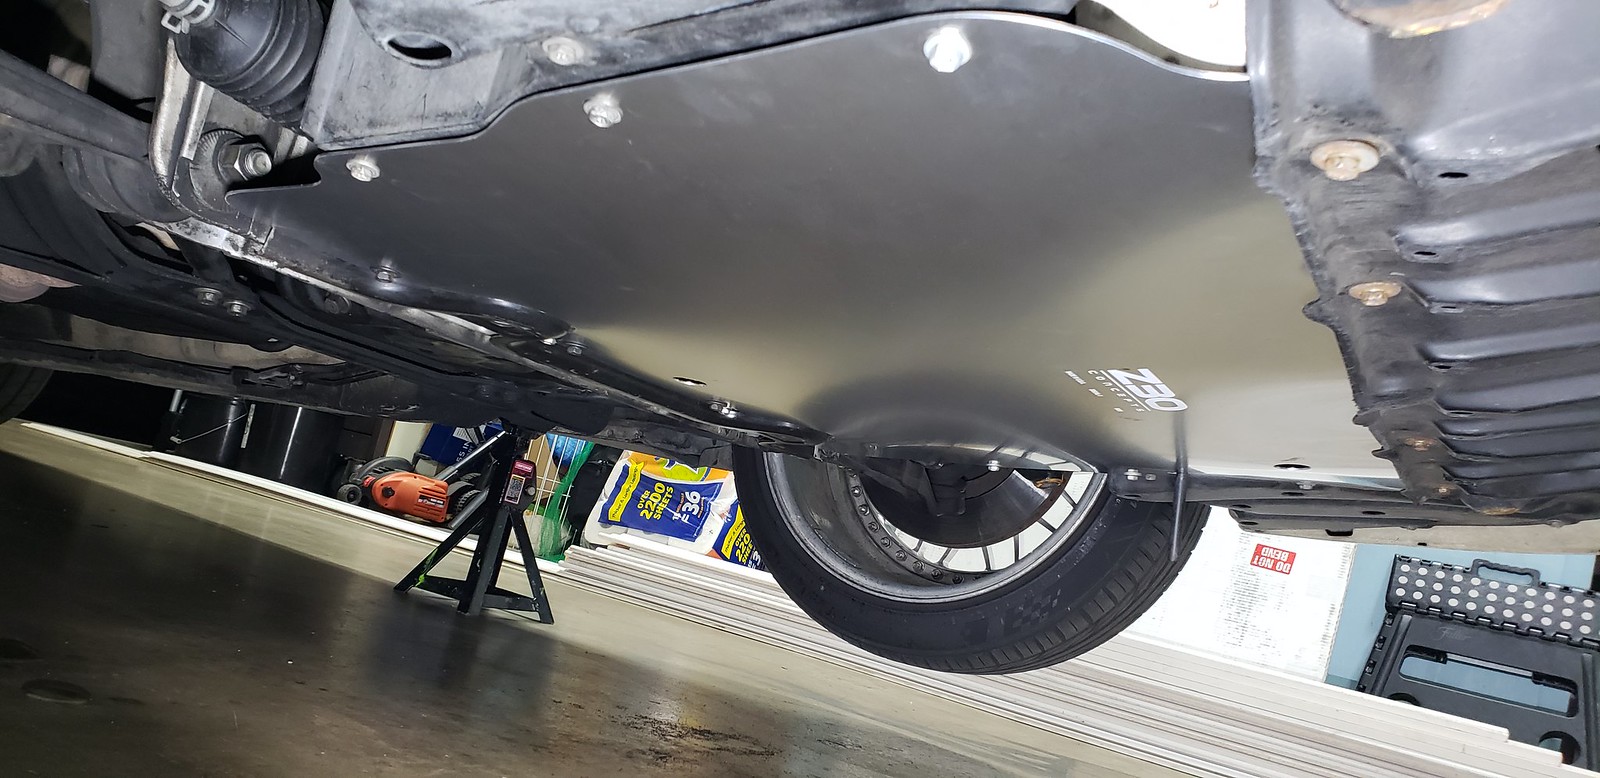
Ordered a HD under tray from https://jzz30.com/
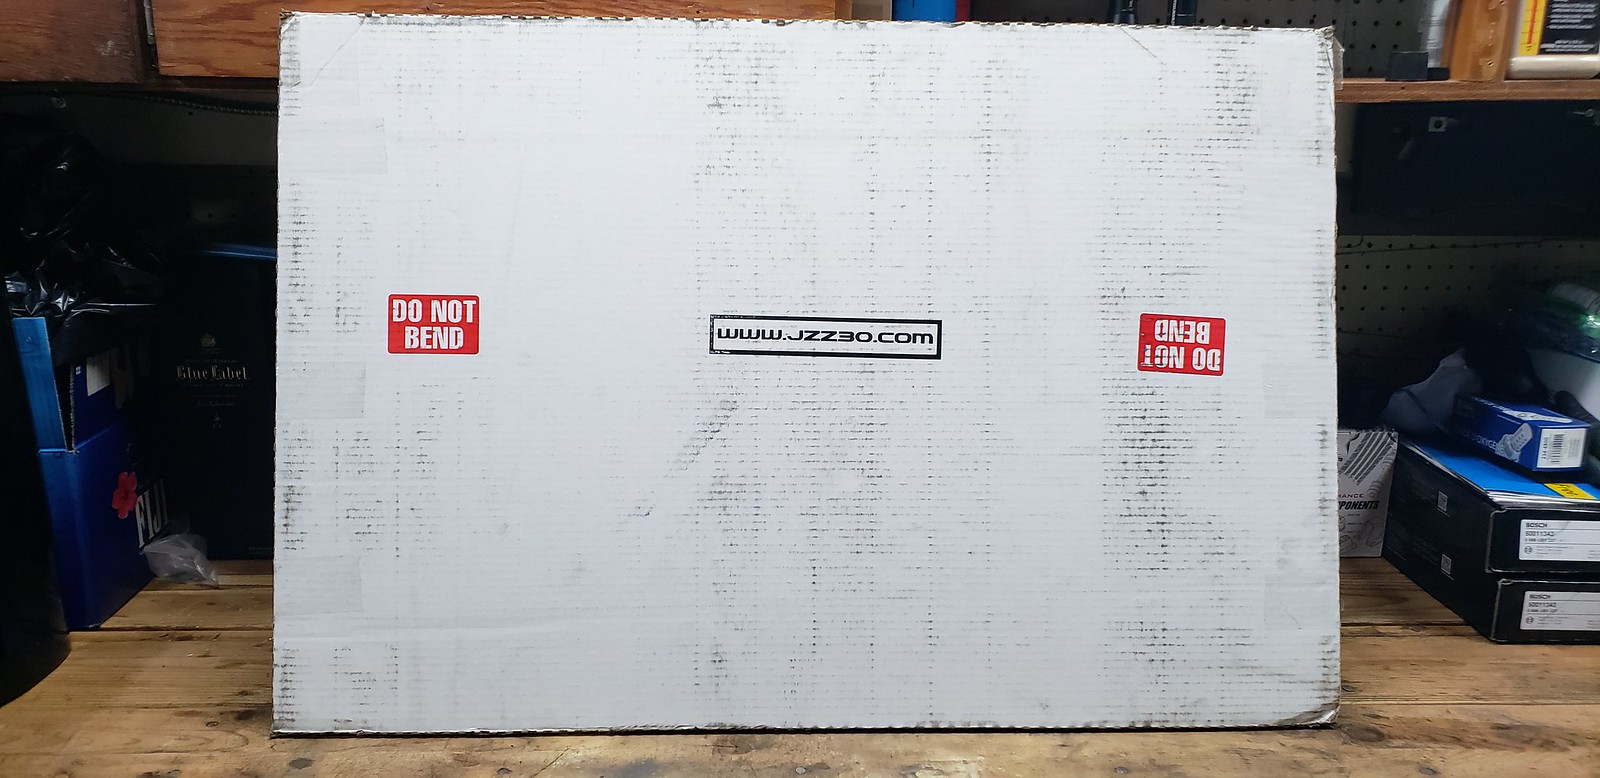
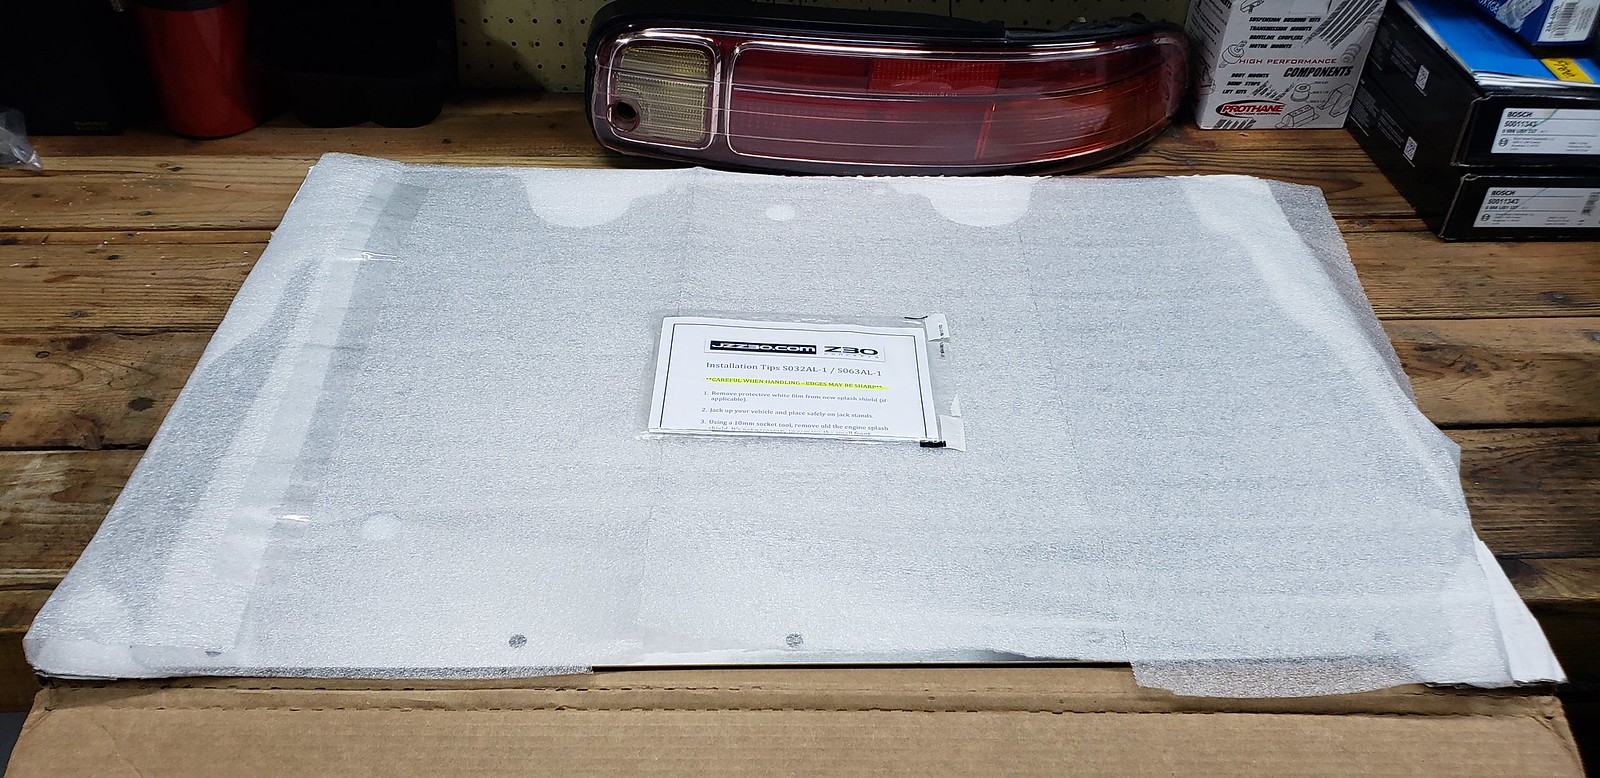
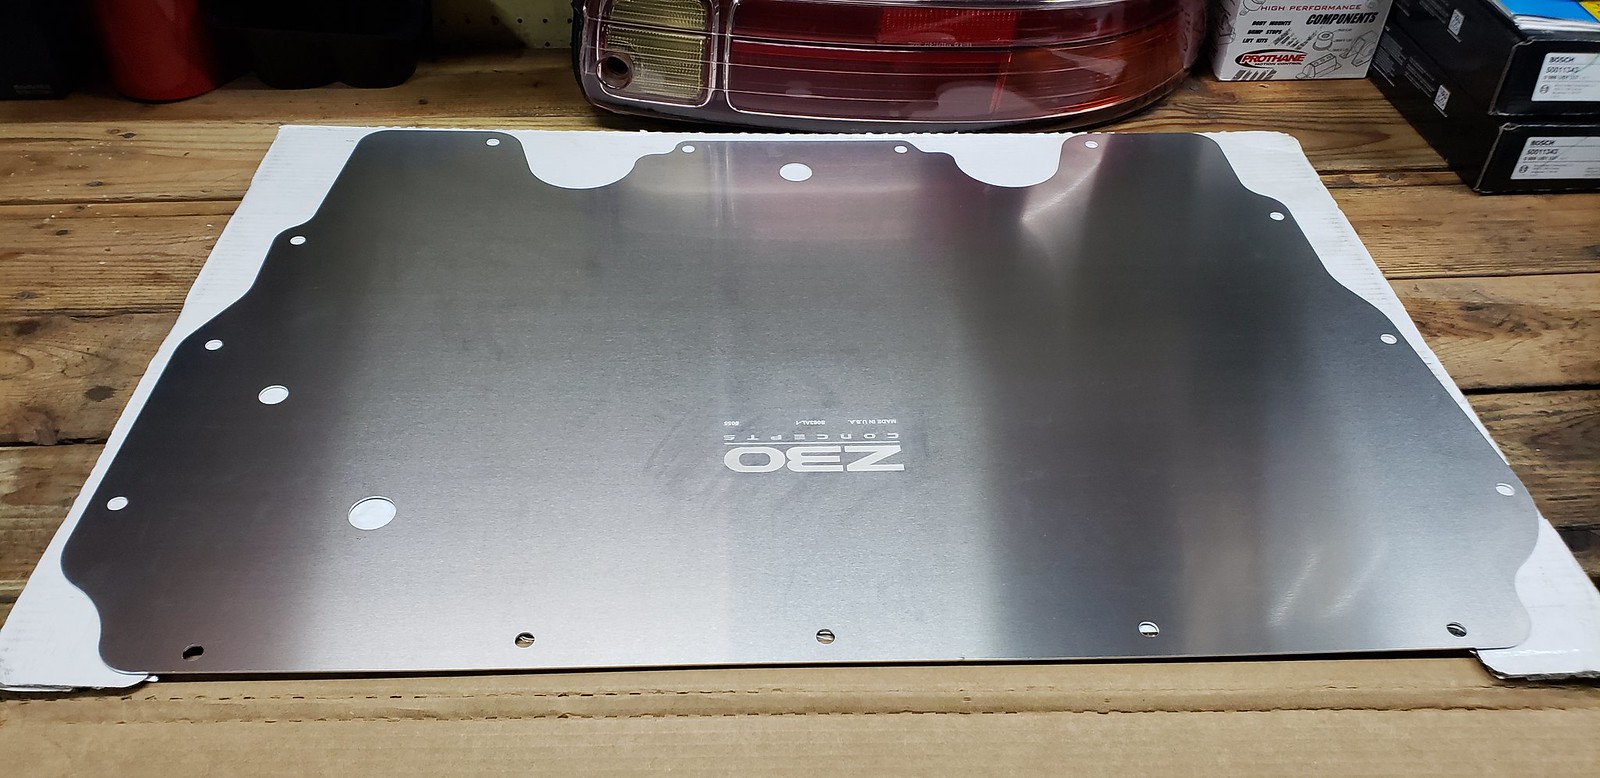
Came with some finger prints, but overall it's a really nice piece. The HD model is twice as thick as the standard version. I'm not sure if it's necessary, but I don't regret buying it. I need to find the black bar that attached to the sub frame before I can install it. I removed the factory bar when my stock plastic under tray got torn.
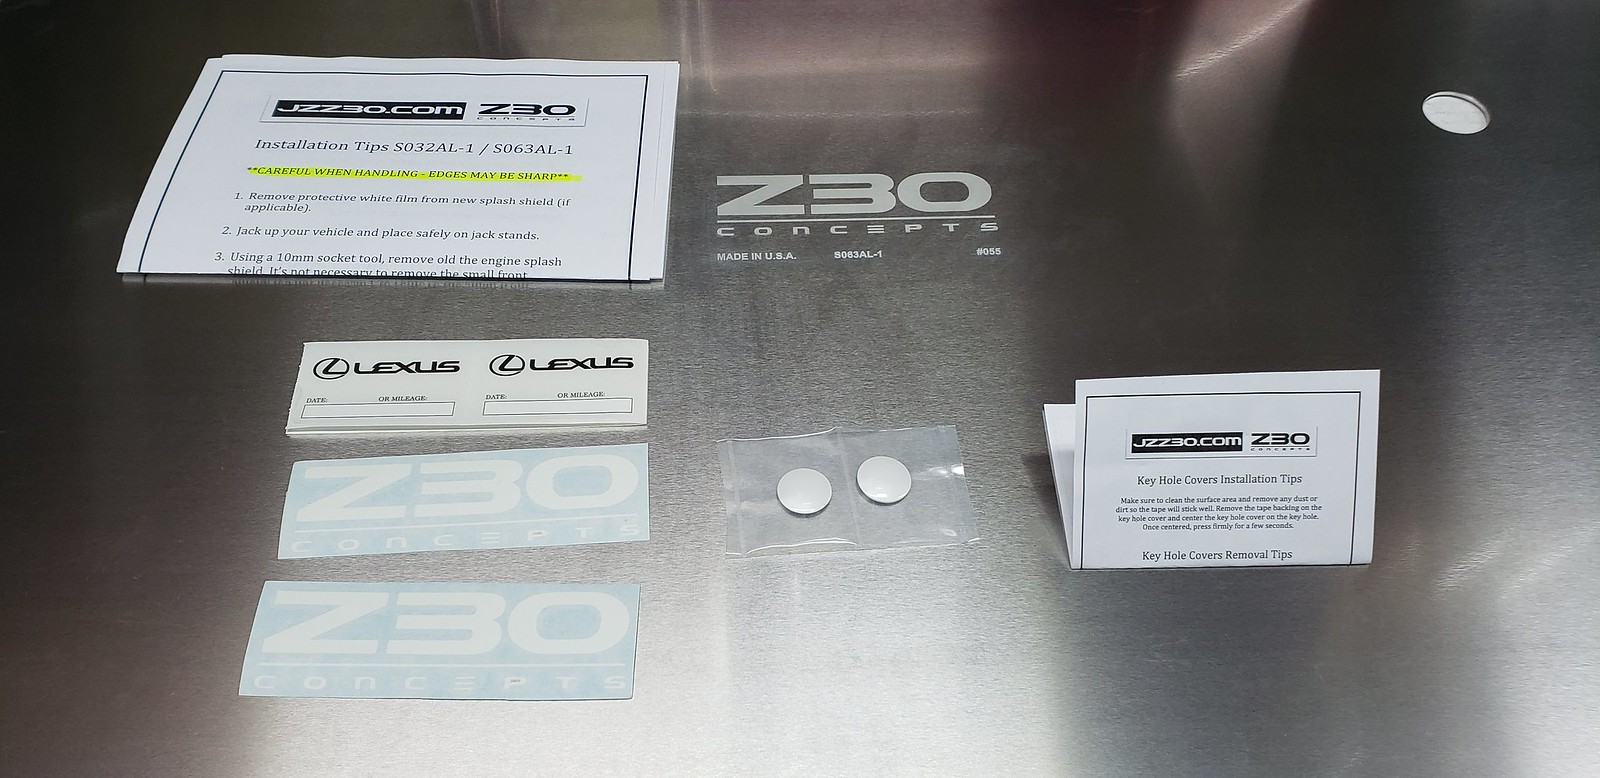
I also ordered their painted keyhole covers. I've been wanting these for a while, but was hesitant to buy them because of dwp paint match issues.
I had the tires dismounted from the volks since I'm unexpectedly selling them to my friend this weekend. He's going to be in town for a wedding and told me at the last minute he was driving instead of flying here. They'll be going on a black SC (which will probably look better). I told my friend that if he ever buys new wheels, I'll buy the volks back.

The wheels weigh 17.8lbs for a 18x10 +40 if anyone was curious.
It worked great the first day, then the strip went flat and it stopped working. lol
Ordered a HD under tray from https://jzz30.com/
Came with some finger prints, but overall it's a really nice piece. The HD model is twice as thick as the standard version. I'm not sure if it's necessary, but I don't regret buying it. I need to find the black bar that attached to the sub frame before I can install it. I removed the factory bar when my stock plastic under tray got torn.
I also ordered their painted keyhole covers. I've been wanting these for a while, but was hesitant to buy them because of dwp paint match issues.
I had the tires dismounted from the volks since I'm unexpectedly selling them to my friend this weekend. He's going to be in town for a wedding and told me at the last minute he was driving instead of flying here. They'll be going on a black SC (which will probably look better). I told my friend that if he ever buys new wheels, I'll buy the volks back.
The wheels weigh 17.8lbs for a 18x10 +40 if anyone was curious.
Last edited by Blkexcoupe; 12-06-19 at 06:27 PM.
08-28-18, 11:35 PM
#306
I'm having more PS issues with the car.  Over the weekends I noticed that there was a vibration when I turned the steering wheel full lock and backing out of parking spots. It happened a couple of times throughout the day. I'm guessing there is a small leak that allows air to get sucked into the rack when I turn the wheel full lock.
I found the bracket needed to mount the undertray, so it'll be getting installed some time this week.
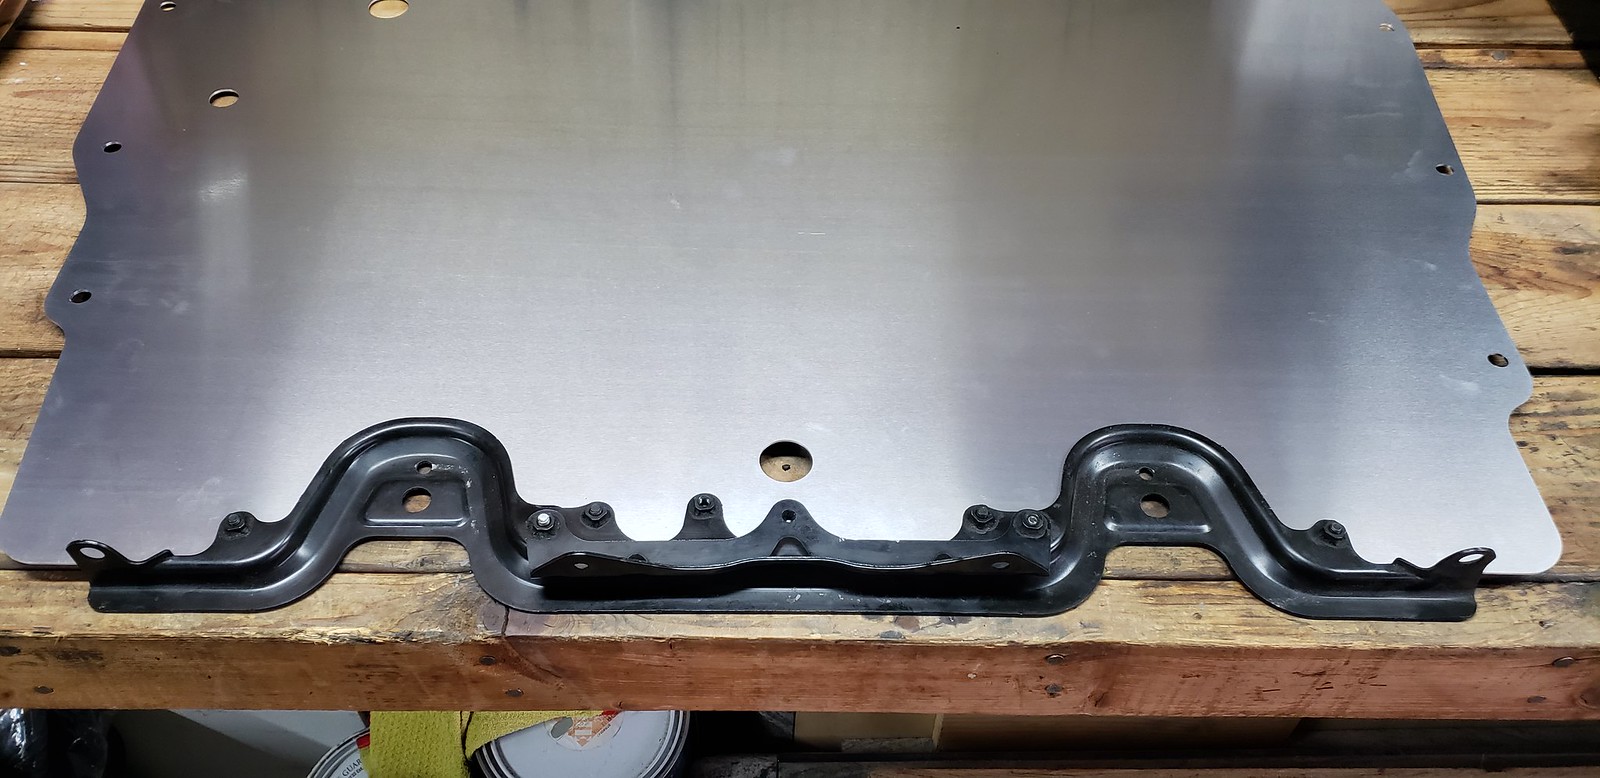
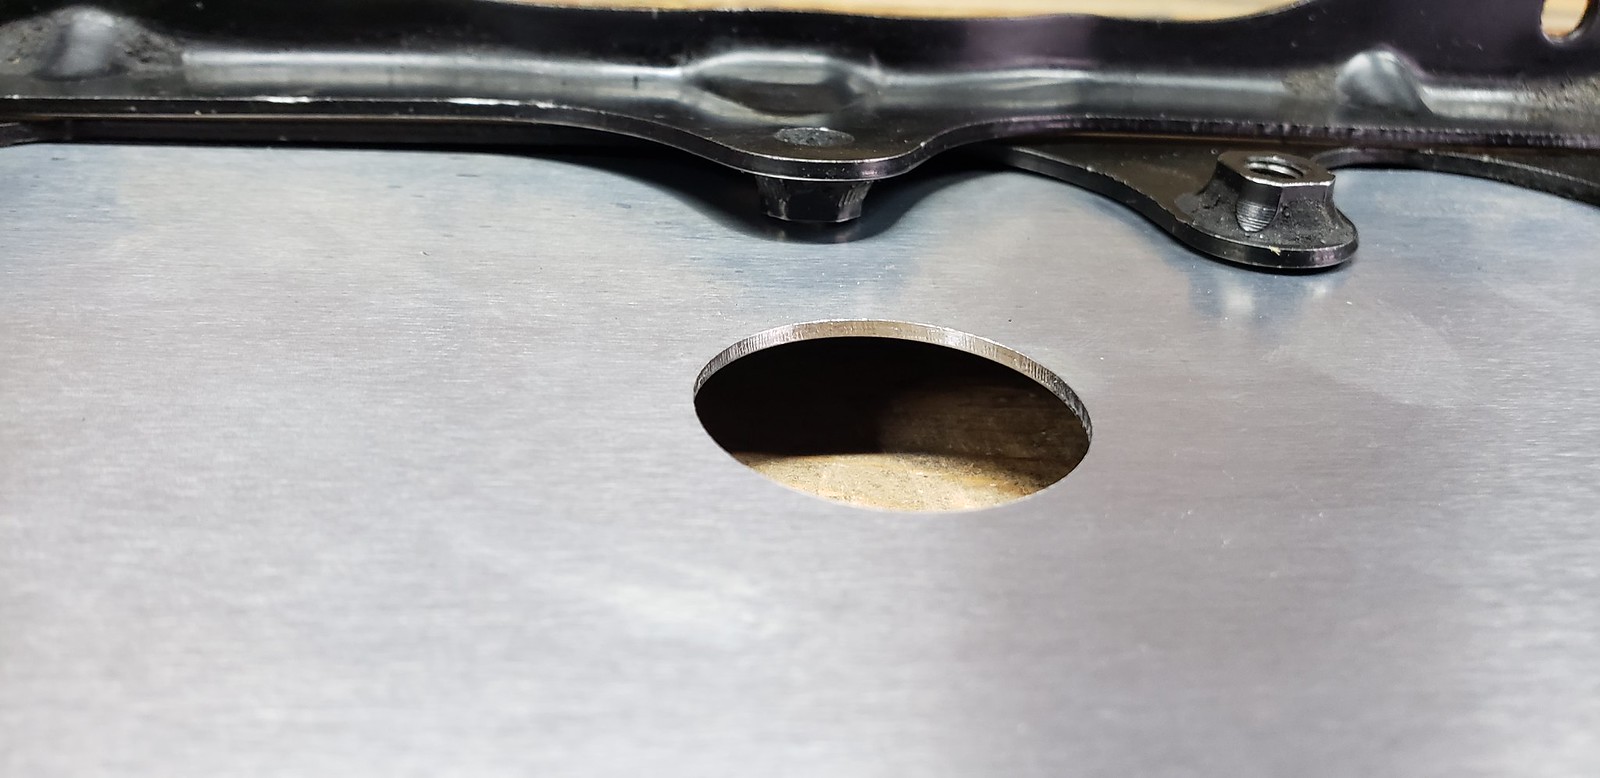
I thought it was kind of weird that there wasn't a hole drilled to clear this nut, but it's not a big deal. The factory tray has nothing here either.
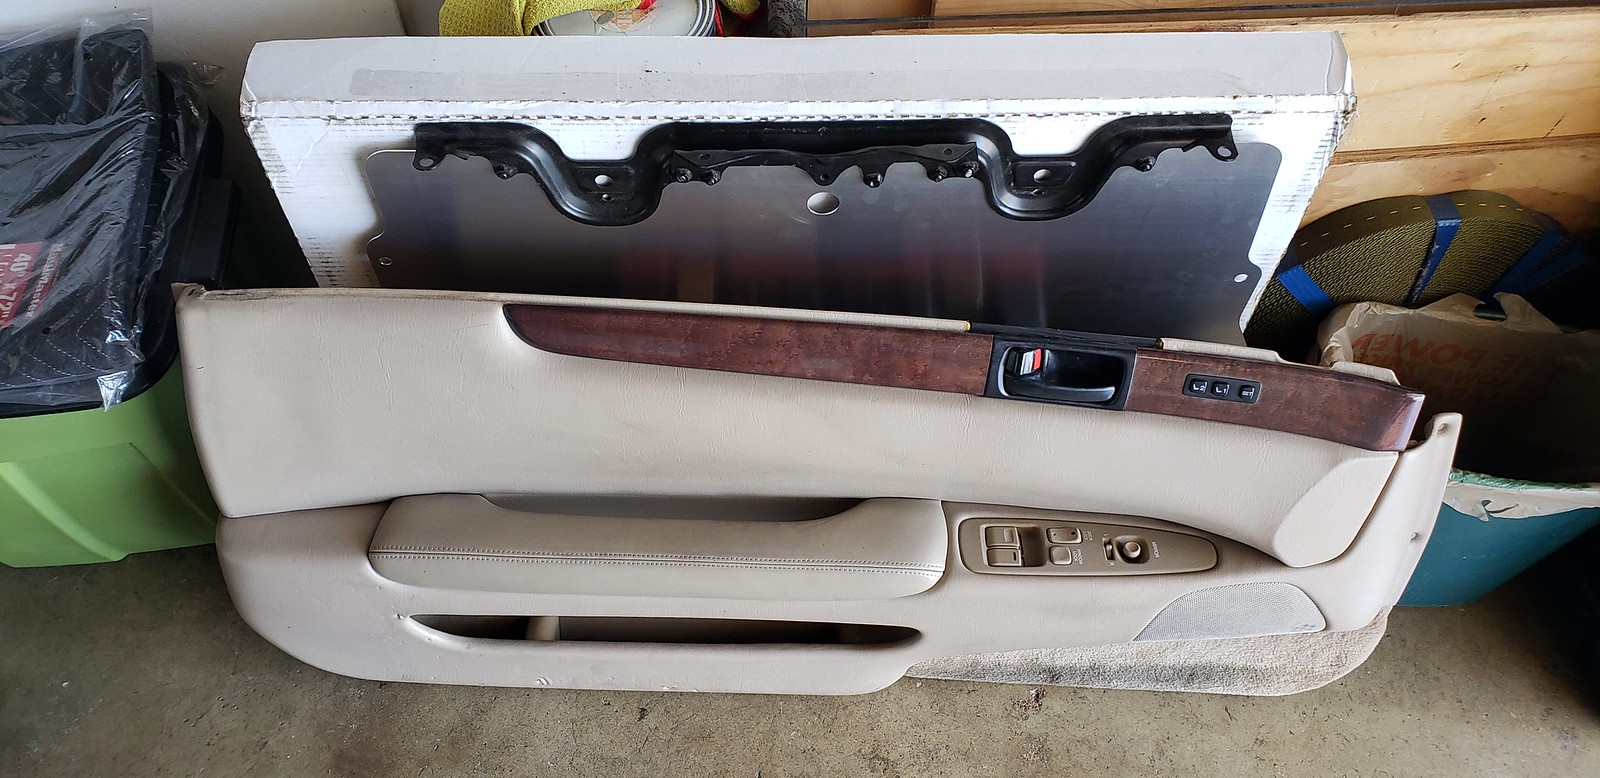
Also, went to the junkyard today to pull parts off a wrecked 98 DWP SC300. I got some nice good condition trims that weren't cracked. The scew holes broke when I removed the screws. I'm going to look for a solution to fix them.

I got the driver side door panel too. The passenger side had a cut, so I left it behind.
After the first round of cleaning.

I have about 2.5 weeks left to detail the car and install all the new interior bits before the Japanese Classic Car Show.
Over the weekends I noticed that there was a vibration when I turned the steering wheel full lock and backing out of parking spots. It happened a couple of times throughout the day. I'm guessing there is a small leak that allows air to get sucked into the rack when I turn the wheel full lock.I found the bracket needed to mount the undertray, so it'll be getting installed some time this week.
I thought it was kind of weird that there wasn't a hole drilled to clear this nut, but it's not a big deal. The factory tray has nothing here either.
Also, went to the junkyard today to pull parts off a wrecked 98 DWP SC300. I got some nice good condition trims that weren't cracked. The scew holes broke when I removed the screws. I'm going to look for a solution to fix them.
I got the driver side door panel too. The passenger side had a cut, so I left it behind.
After the first round of cleaning.
I have about 2.5 weeks left to detail the car and install all the new interior bits before the Japanese Classic Car Show.
Last edited by Blkexcoupe; 11-23-18 at 07:04 PM.
09-01-18, 09:35 AM
#307
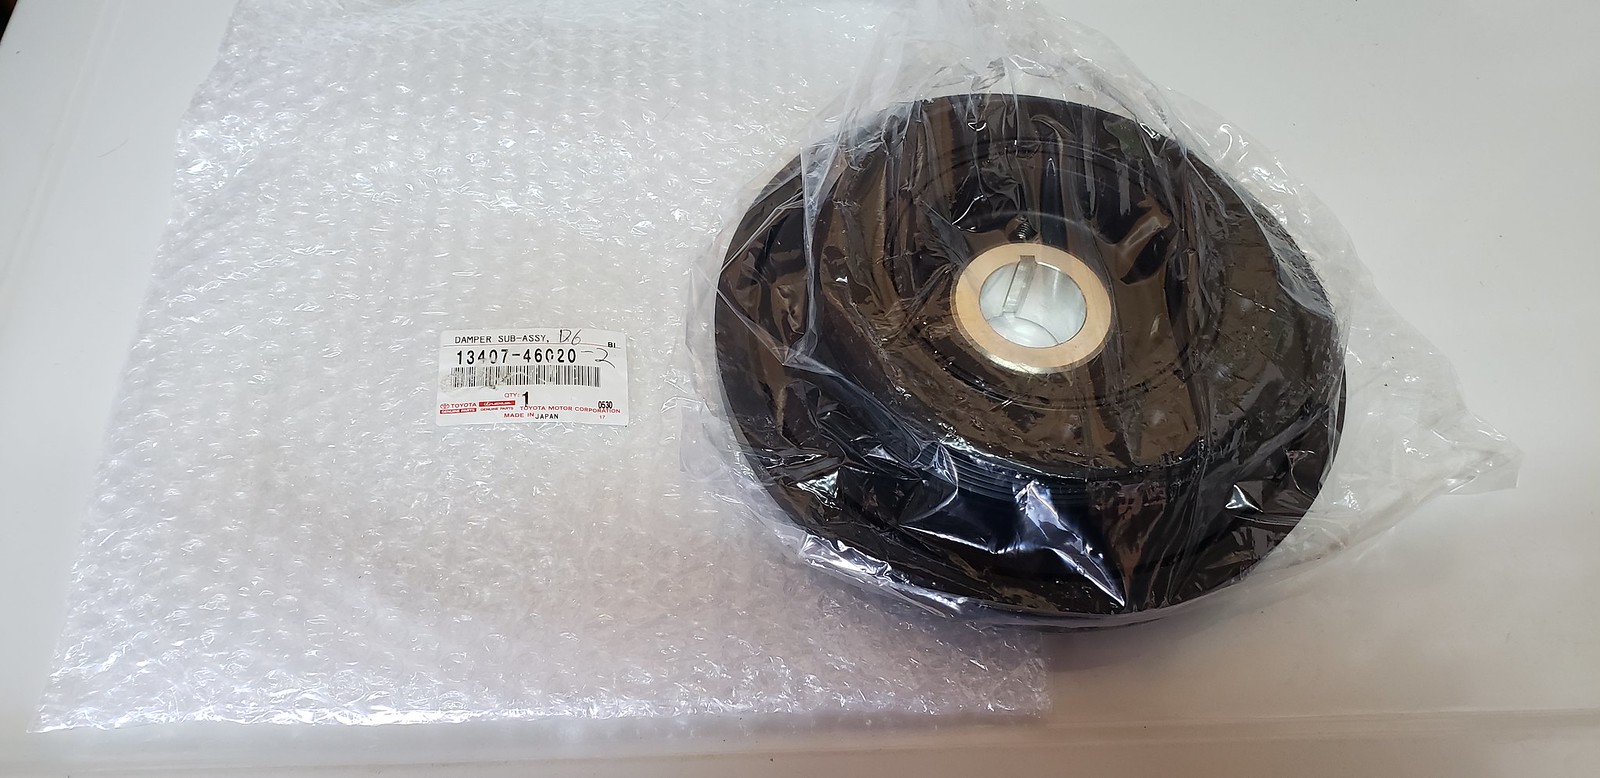
Ordered a harmonic balancer to replace mine when I change the radiator.
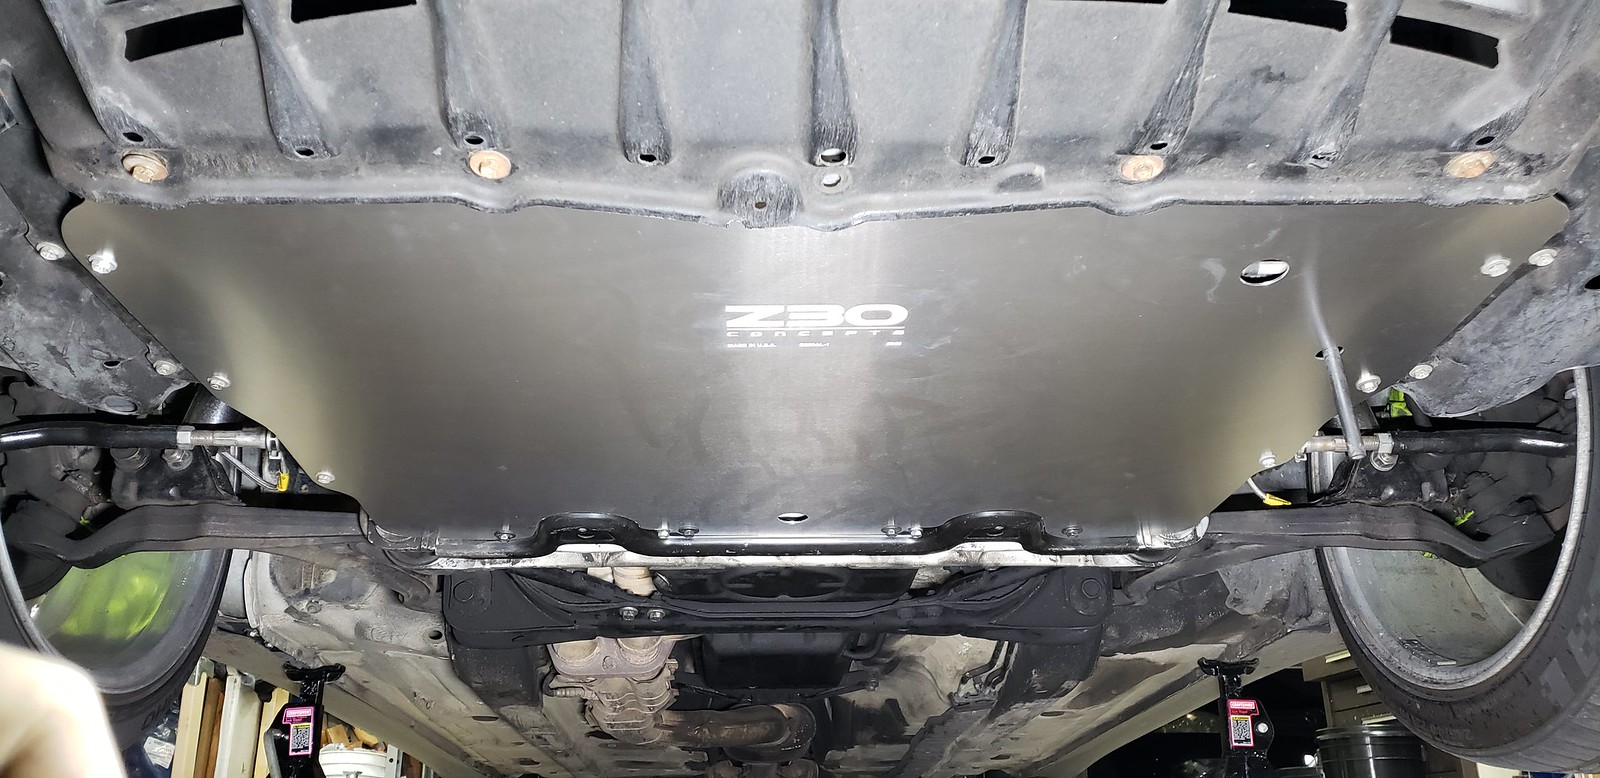
Finally got to install my JZZ30 under tray. Kind of regretting not buying the brand new hardware.
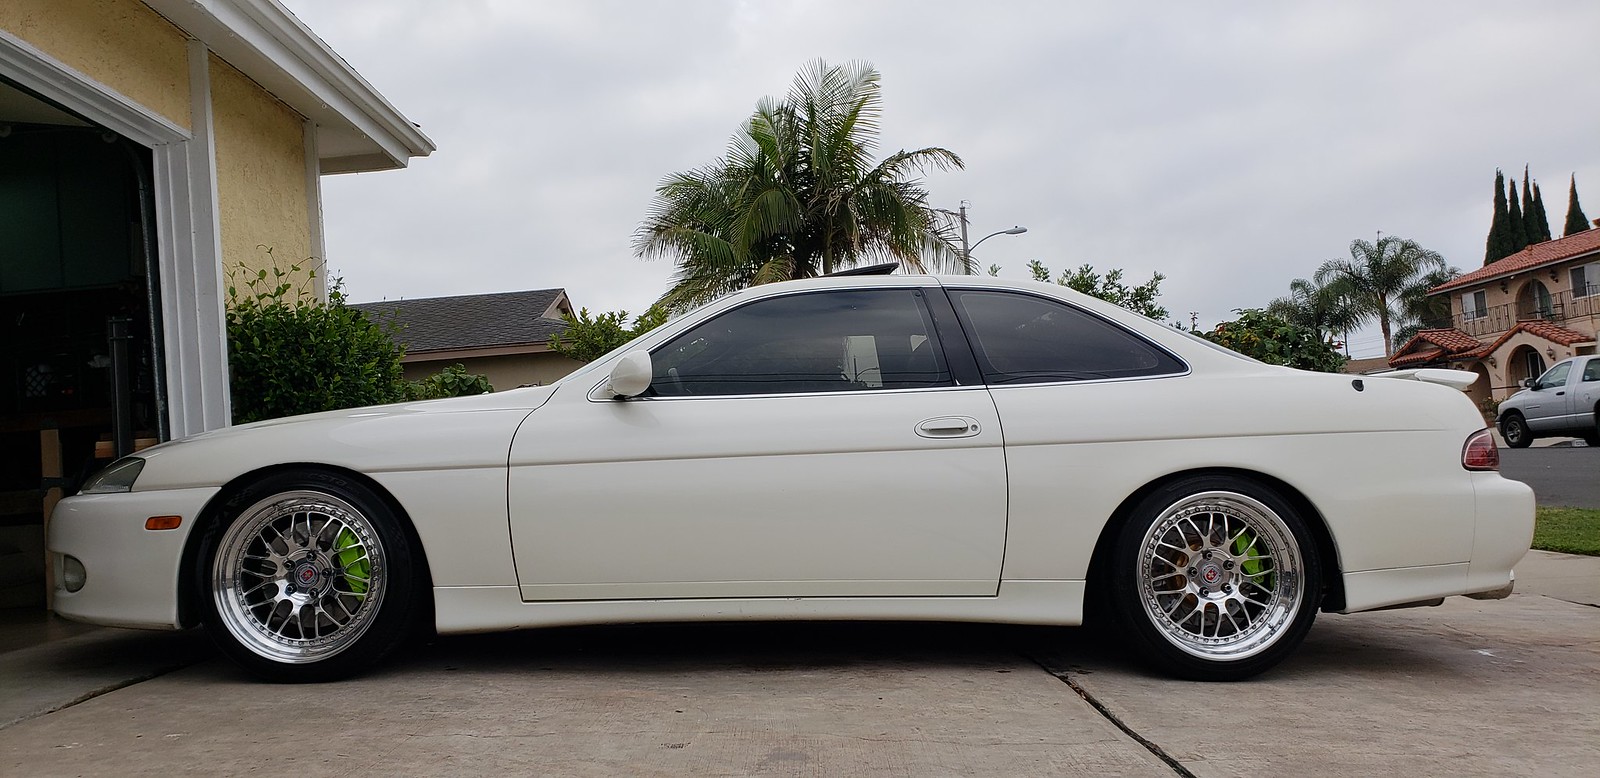
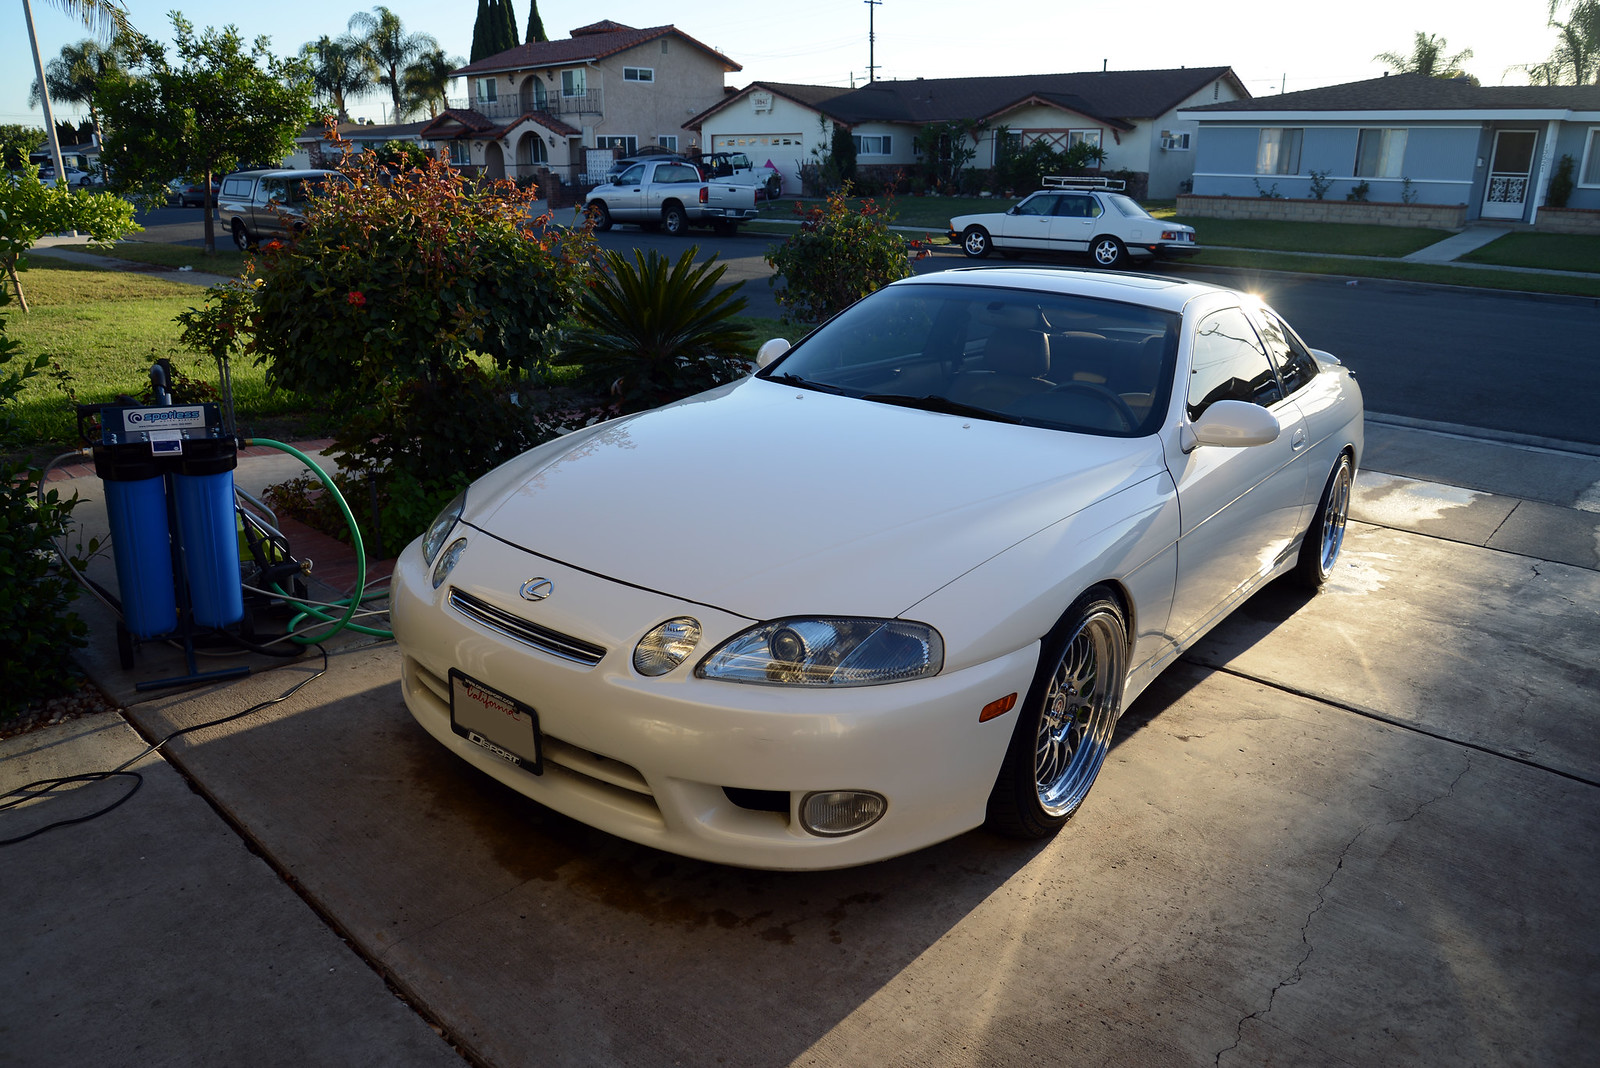
All washed up to cruise around for labor day weekend
Finally got to install my JZZ30 under tray. Kind of regretting not buying the brand new hardware.
All washed up to cruise around for labor day weekend
Last edited by Blkexcoupe; 11-23-18 at 07:07 PM.
The following users liked this post:
shajbot (09-02-18)
09-09-18, 04:51 PM
#308
Installed my JZZ30 keyhole covers

Ordered spare clutch pedals (since they're prone to breaking) and manual brake pedal, so I'll have them before they get discontinued
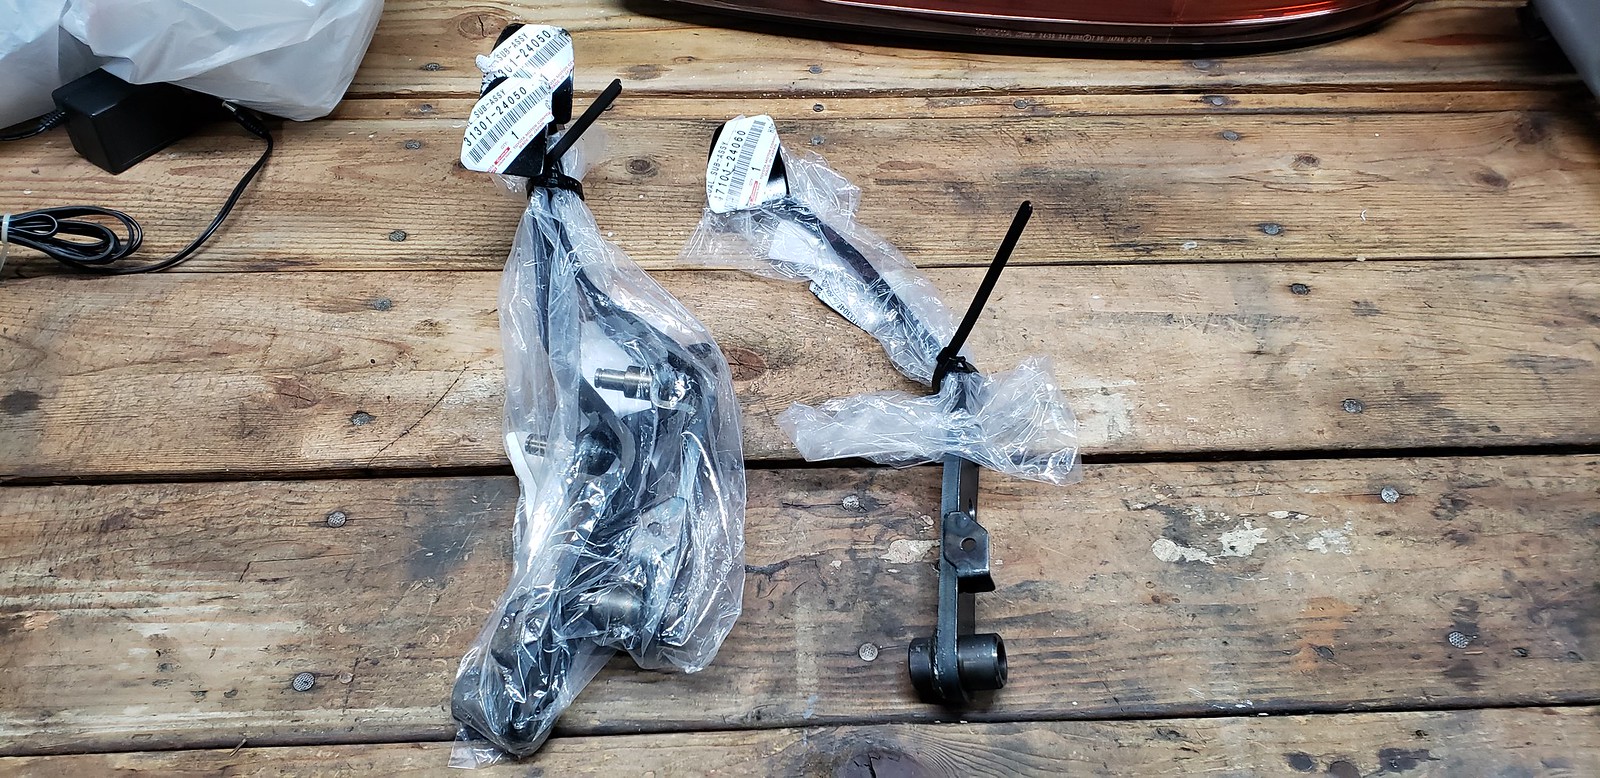
Part numbers for anyone that is interested (clutch on the left, brake pedal on the right)
Ordered spare clutch pedals (since they're prone to breaking) and manual brake pedal, so I'll have them before they get discontinued
Part numbers for anyone that is interested (clutch on the left, brake pedal on the right)
Last edited by Blkexcoupe; 11-23-18 at 07:08 PM.
09-14-18, 09:53 AM
#309
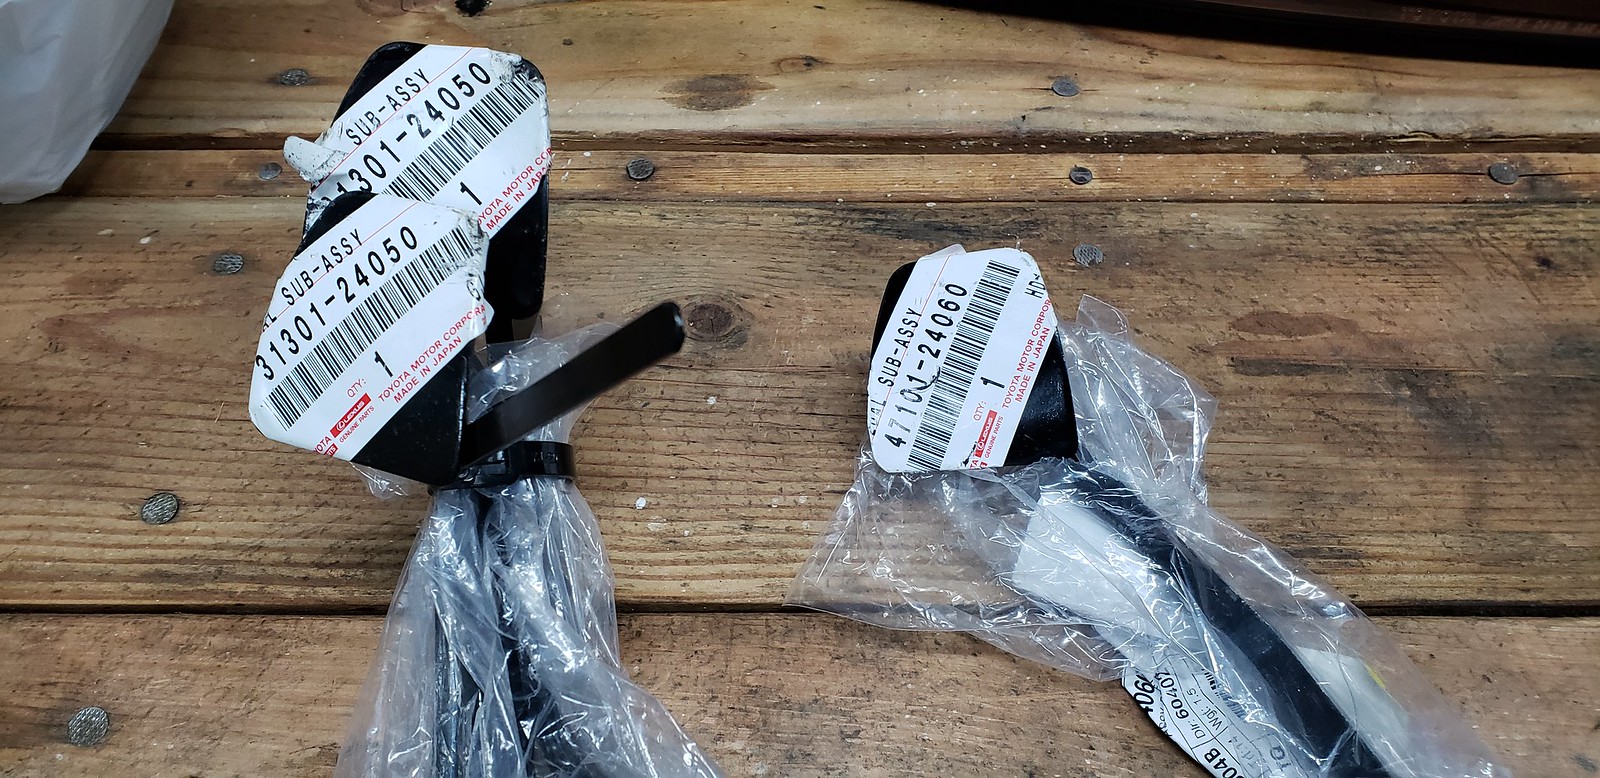
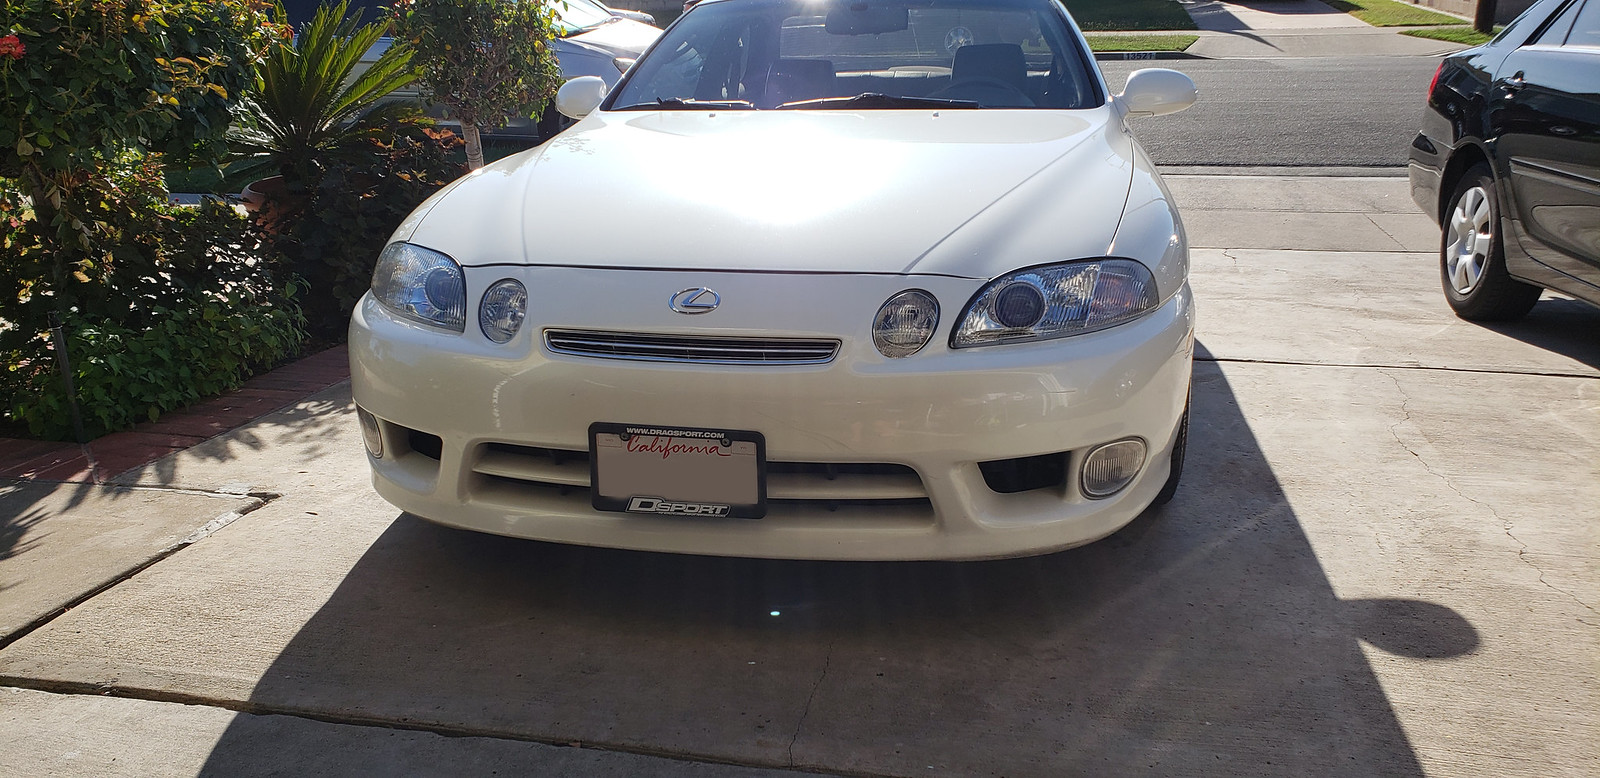
Picked up my brand new lights from the dealer last weekend. I scheduled an appointment with Wrap Armor to install Suntek Ultra over the lights. Luckily, they were able to fit me into their schedule yesterday.
The film is amazingly clear. I couldn't tell that they installed the film even though I was watching them do it. lol


Tried out my new CR Spotless and washed the car last night. The CR filters the water for a spot free rinse which means I won't have to dry the car. I chickened out and didn't leave the car to dry. I only left the water on the wheels since any water spots could be polished off. I'm glad to say that there were no spots once it dried.
Lights will be going on later tonight since I need to buy new bolts to install the fogs. My old ones must have came loose from vibrations. Amazingly, the lights were still in my bumper.
The film is amazingly clear. I couldn't tell that they installed the film even though I was watching them do it. lol
Tried out my new CR Spotless and washed the car last night. The CR filters the water for a spot free rinse which means I won't have to dry the car. I chickened out and didn't leave the car to dry. I only left the water on the wheels since any water spots could be polished off. I'm glad to say that there were no spots once it dried.
Lights will be going on later tonight since I need to buy new bolts to install the fogs. My old ones must have came loose from vibrations. Amazingly, the lights were still in my bumper.
Last edited by Blkexcoupe; 11-23-18 at 07:09 PM.
09-16-18, 06:24 PM
#310
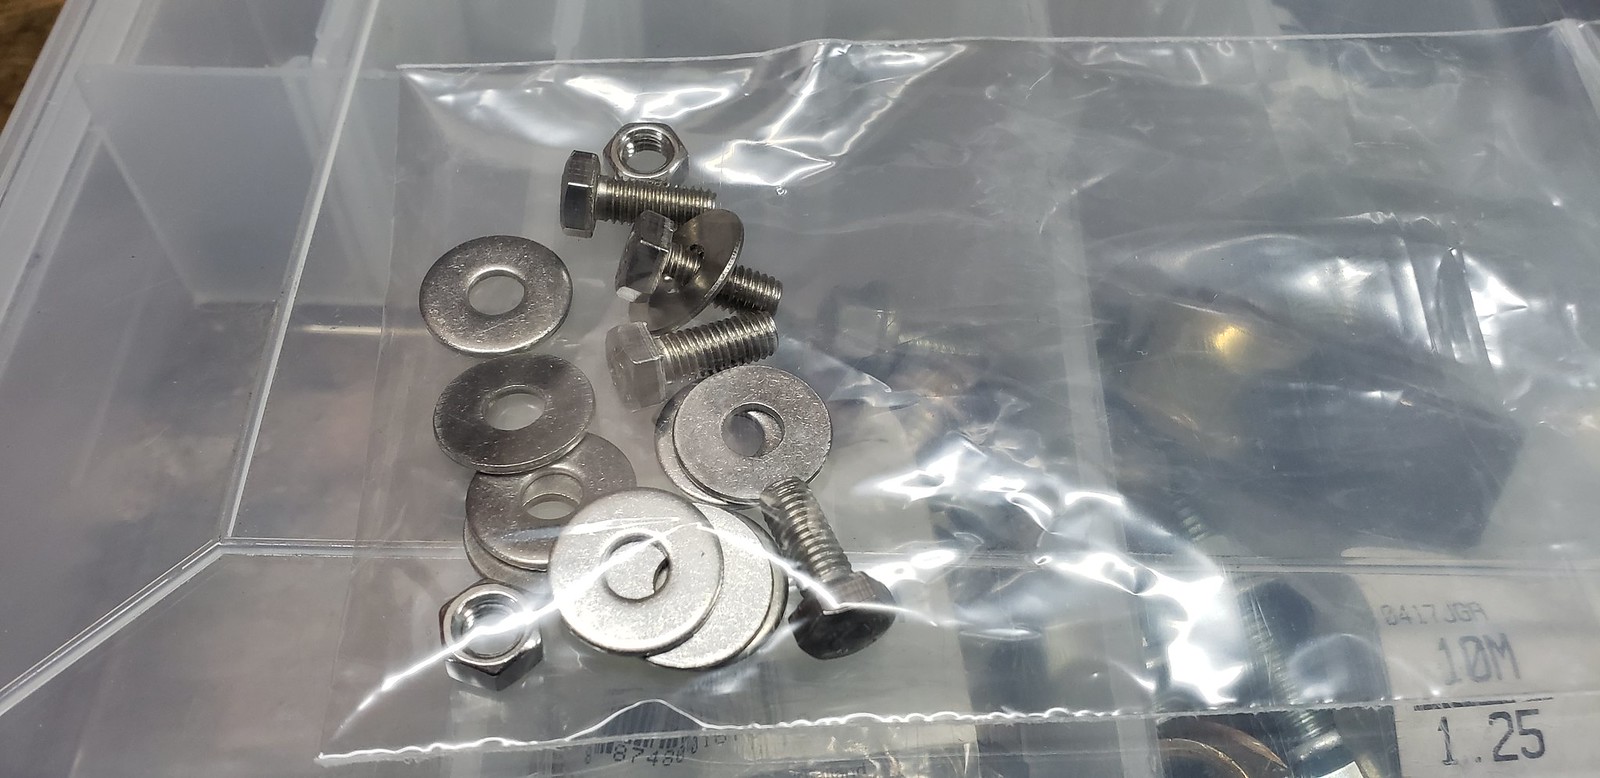
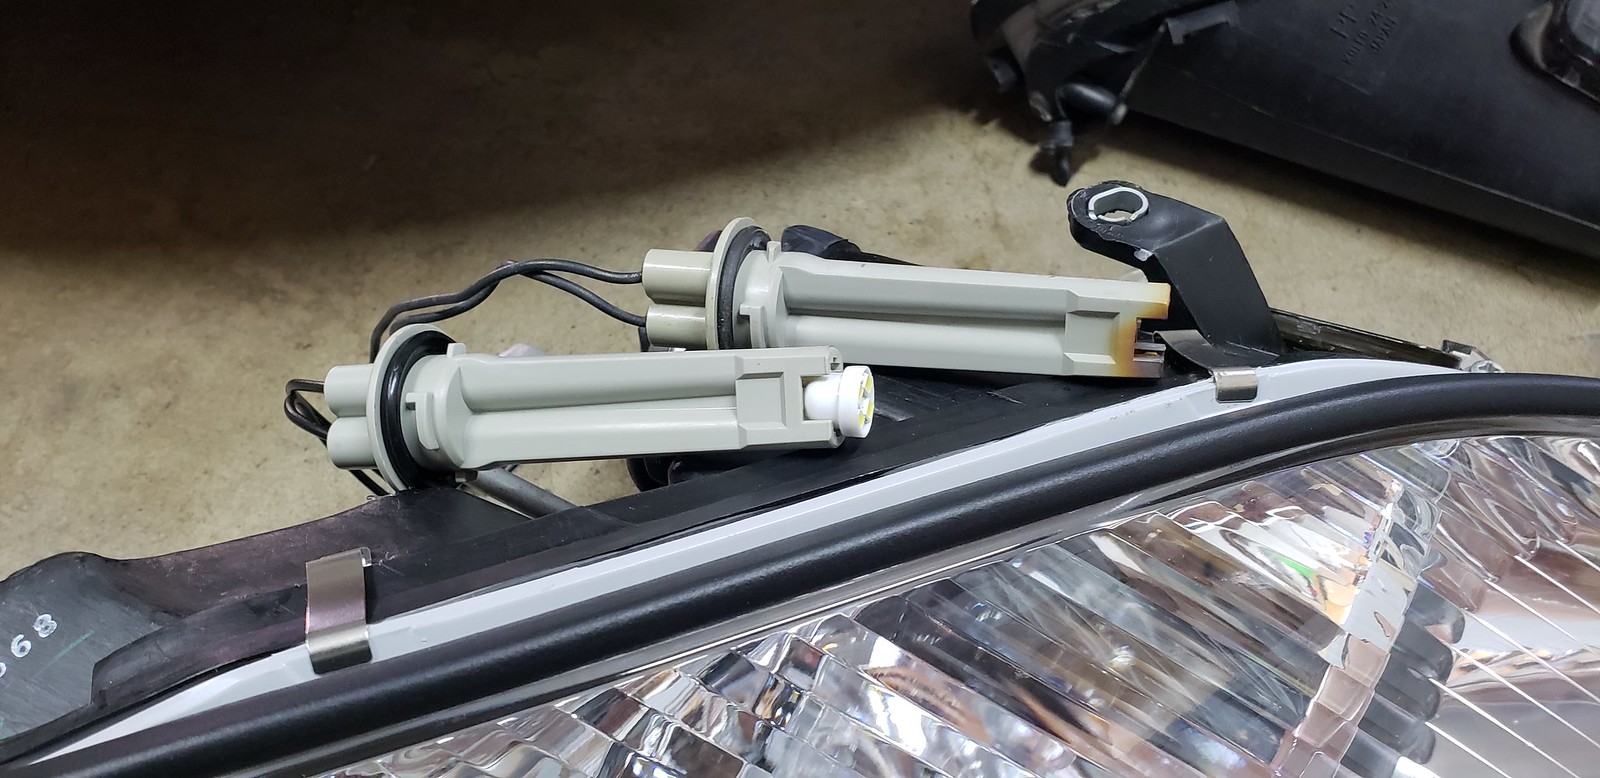
I picked up some stainless steel hardware for my fogs. The fogs have 3 mounting points requiring 2 bolts + fender washers and 1 nut + fender washer. The bolts are M5x.8x12mm. I assumed the rear nut and washer would be M5 too, but it was smaller (I'm guessing a M4).
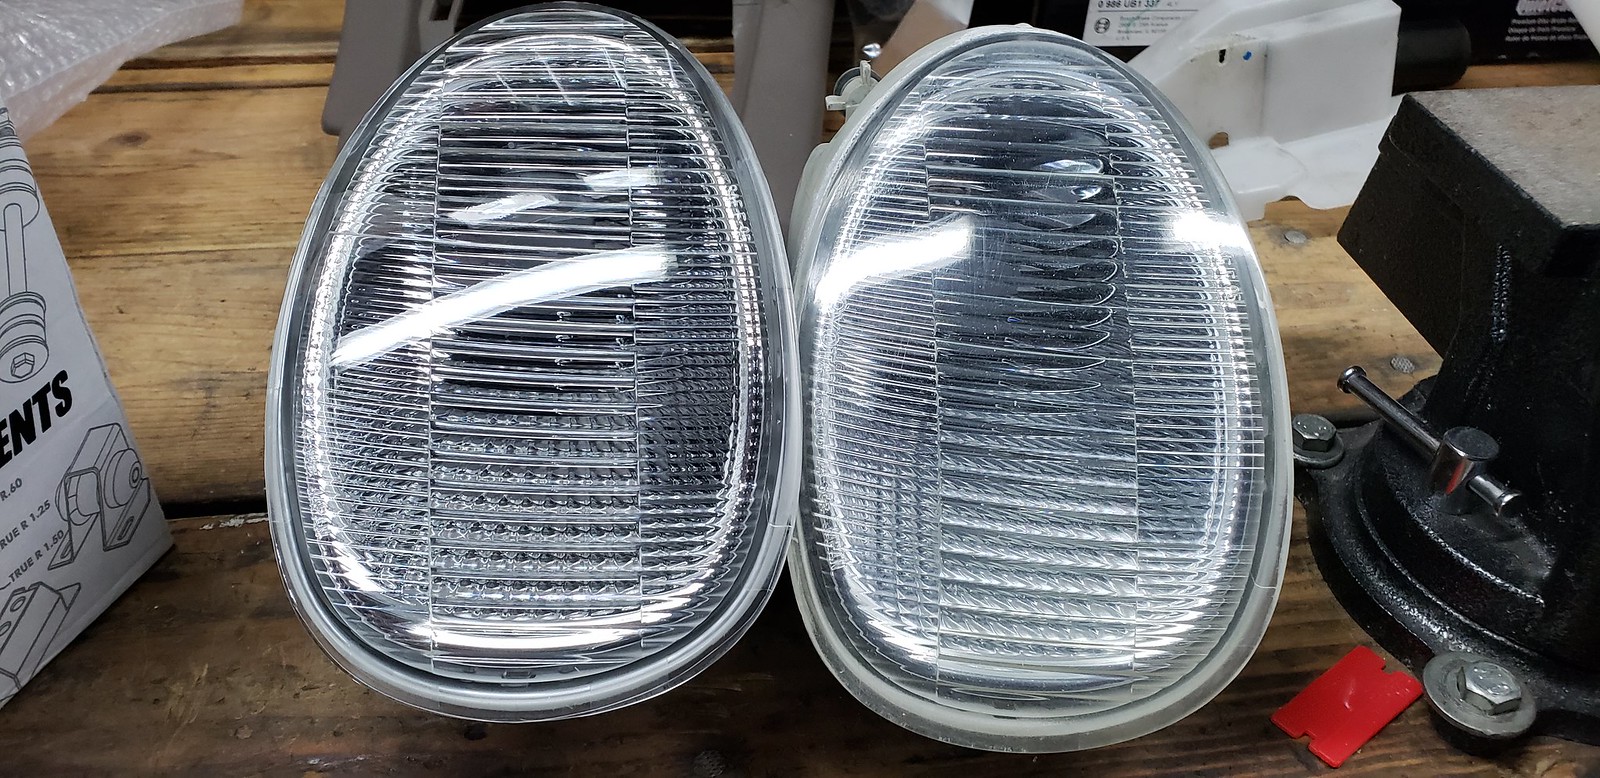
New on the left and old on the right. The new fogs, aren't much of a difference.
Swapping the bulbs on to the new bulb connectors
New fogs installed with headlight mocked up.
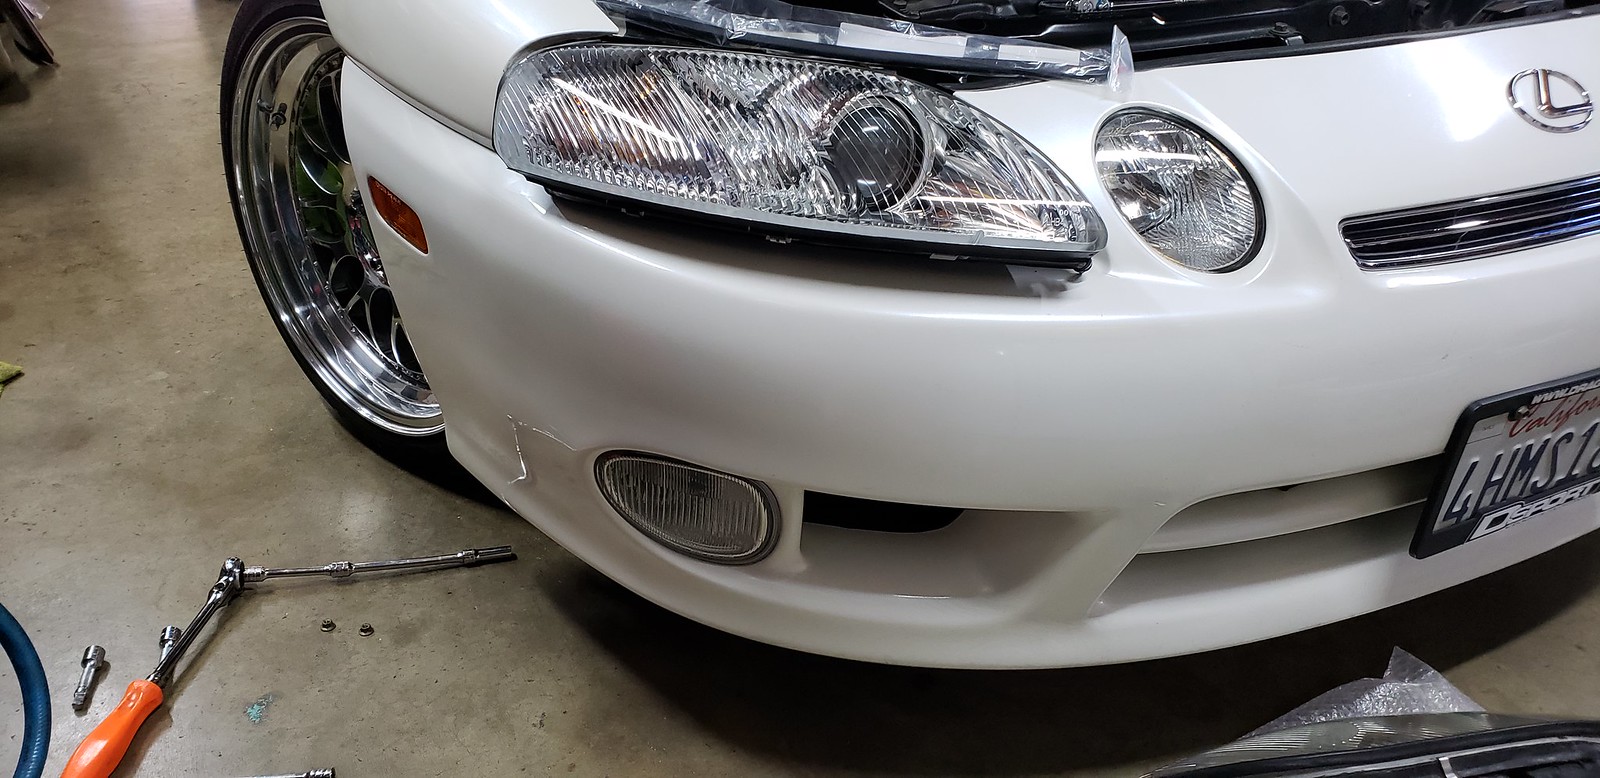
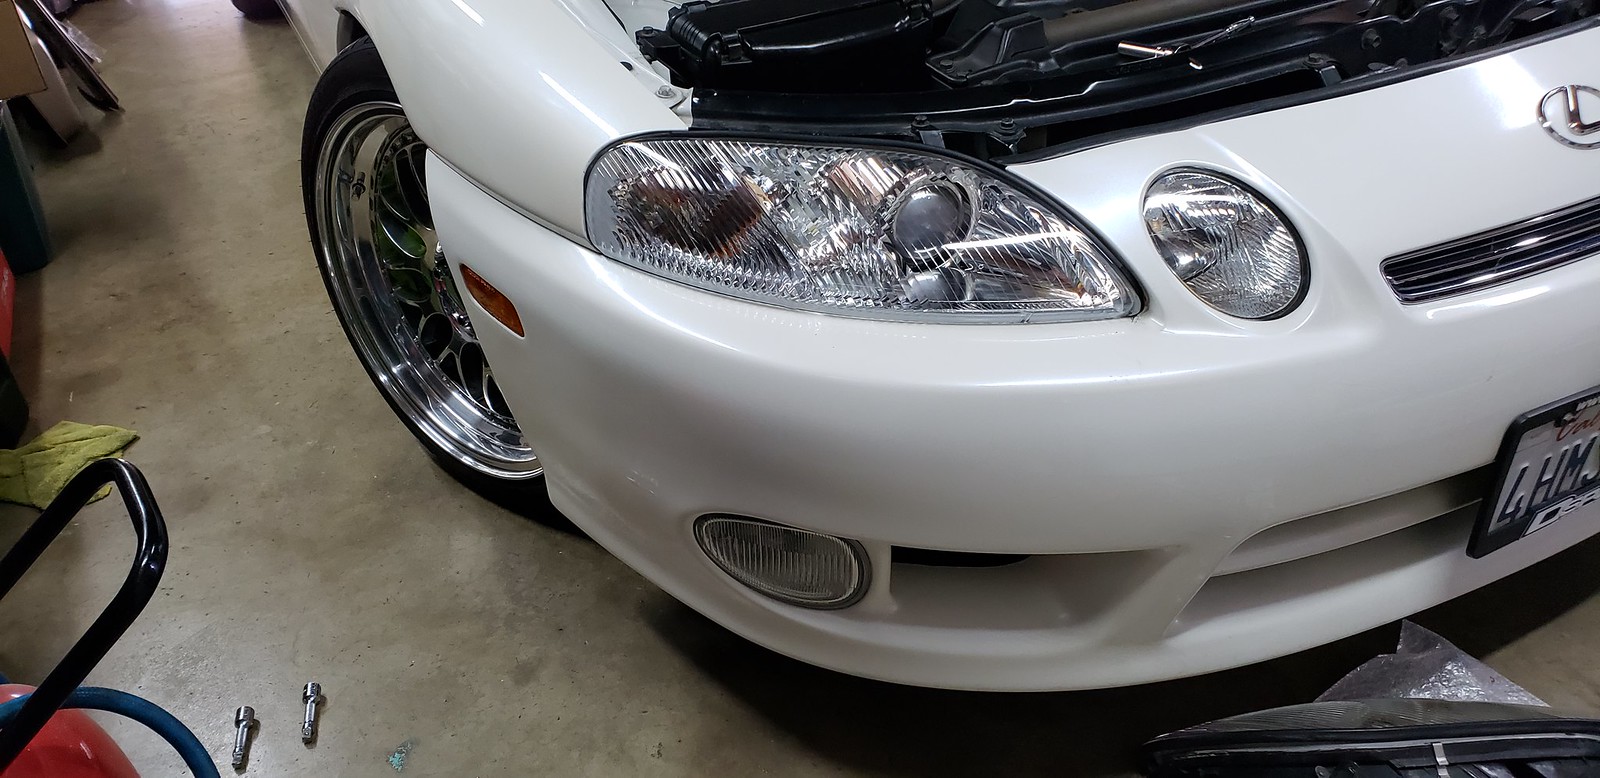
The lights and seals are sold separately and it took a few tries to get the seal installed correctly. At first, I installed them too far forward and it bulged out when I closed the hood (as seen in the picture).
At JCCS
The new headlight club:
The rest of my JCCS photos can be found in this thread: https://www.clublexus.com/forums/sc-...jccs-pics.html
New on the left and old on the right. The new fogs, aren't much of a difference.
Swapping the bulbs on to the new bulb connectors
New fogs installed with headlight mocked up.
The lights and seals are sold separately and it took a few tries to get the seal installed correctly. At first, I installed them too far forward and it bulged out when I closed the hood (as seen in the picture).
At JCCS
The new headlight club:
The rest of my JCCS photos can be found in this thread: https://www.clublexus.com/forums/sc-...jccs-pics.html
Last edited by Blkexcoupe; 11-23-18 at 07:13 PM.
09-17-18, 08:22 AM
#311
Pole Position
Those brand new lights are drool worthy! I hand polish mine every month or so to keep them clear currently.
09-17-18, 12:41 PM
#312
You should try sanding the lights down and spraying a good quality clear coat over them or installing a clear film with UV protection. Spraymax 2k clear is around $20 a can or a LaminX film kit is $60.
The lenses on my old lights weren't bad, but the issue I had was the chrome inside was damaged. I think this was because of me baking the lights to take them a part while doing the TSX retrofit. You can see the damaged chrome in this photo. It makes my lights look gunmetal instead of reflective like Nick's lights

I had PPF film installed on the new lights and used LED bulbs instead of a retrofit, but the light output sucks in comparison.
09-17-18, 12:58 PM
#313
Pole Position
Ah I see what you're saying. I wouldn't have noticed unless you pointed it out to me.
I've definitely considered it and need to do something about it. A clear headlight on these cars goes such a long ways in maintaining their classic look.
I've definitely considered it and need to do something about it. A clear headlight on these cars goes such a long ways in maintaining their classic look.
 .
09-17-18, 07:34 PM
.
09-17-18, 07:34 PM
#315
Headlight housing - still available, but I didn't ask quantity
High beam assembly - discontinued
High beam housing - I didn't ask
97+ Foglight Assembly - Discontinued
97+ Foglight Housings - 8 Pairs available
97+ Tail light assembly - Discontinued
97+ Tail light housing - 7 Pairs available
Last edited by Blkexcoupe; 11-05-18 at 10:20 PM.