When you click on links to various merchants on this site and make a purchase, this can result in this site earning a commission. Affiliate programs and affiliations include, but are not limited to, the eBay Partner Network.
Your list is damn near identical to mine....Why are you changing to the non VVTI coil plugs? And I would have stayed with an OEM intake manifold given your power goals. Why use the Greddy?
Lol what Gerrb said. Yea I'm going is300 fans so I'm going with the greddy intake with the q45 throttle body..Got a killer deal on it.
Plus as Gerrb was saying I feel you get a stronger spark with the non vvti can coils which also allows for the DLI box install..
Finally got the engine on the stand and started taking some of the pumps and pulleys off. I took the tranny off as well so I could mount it on the stand.
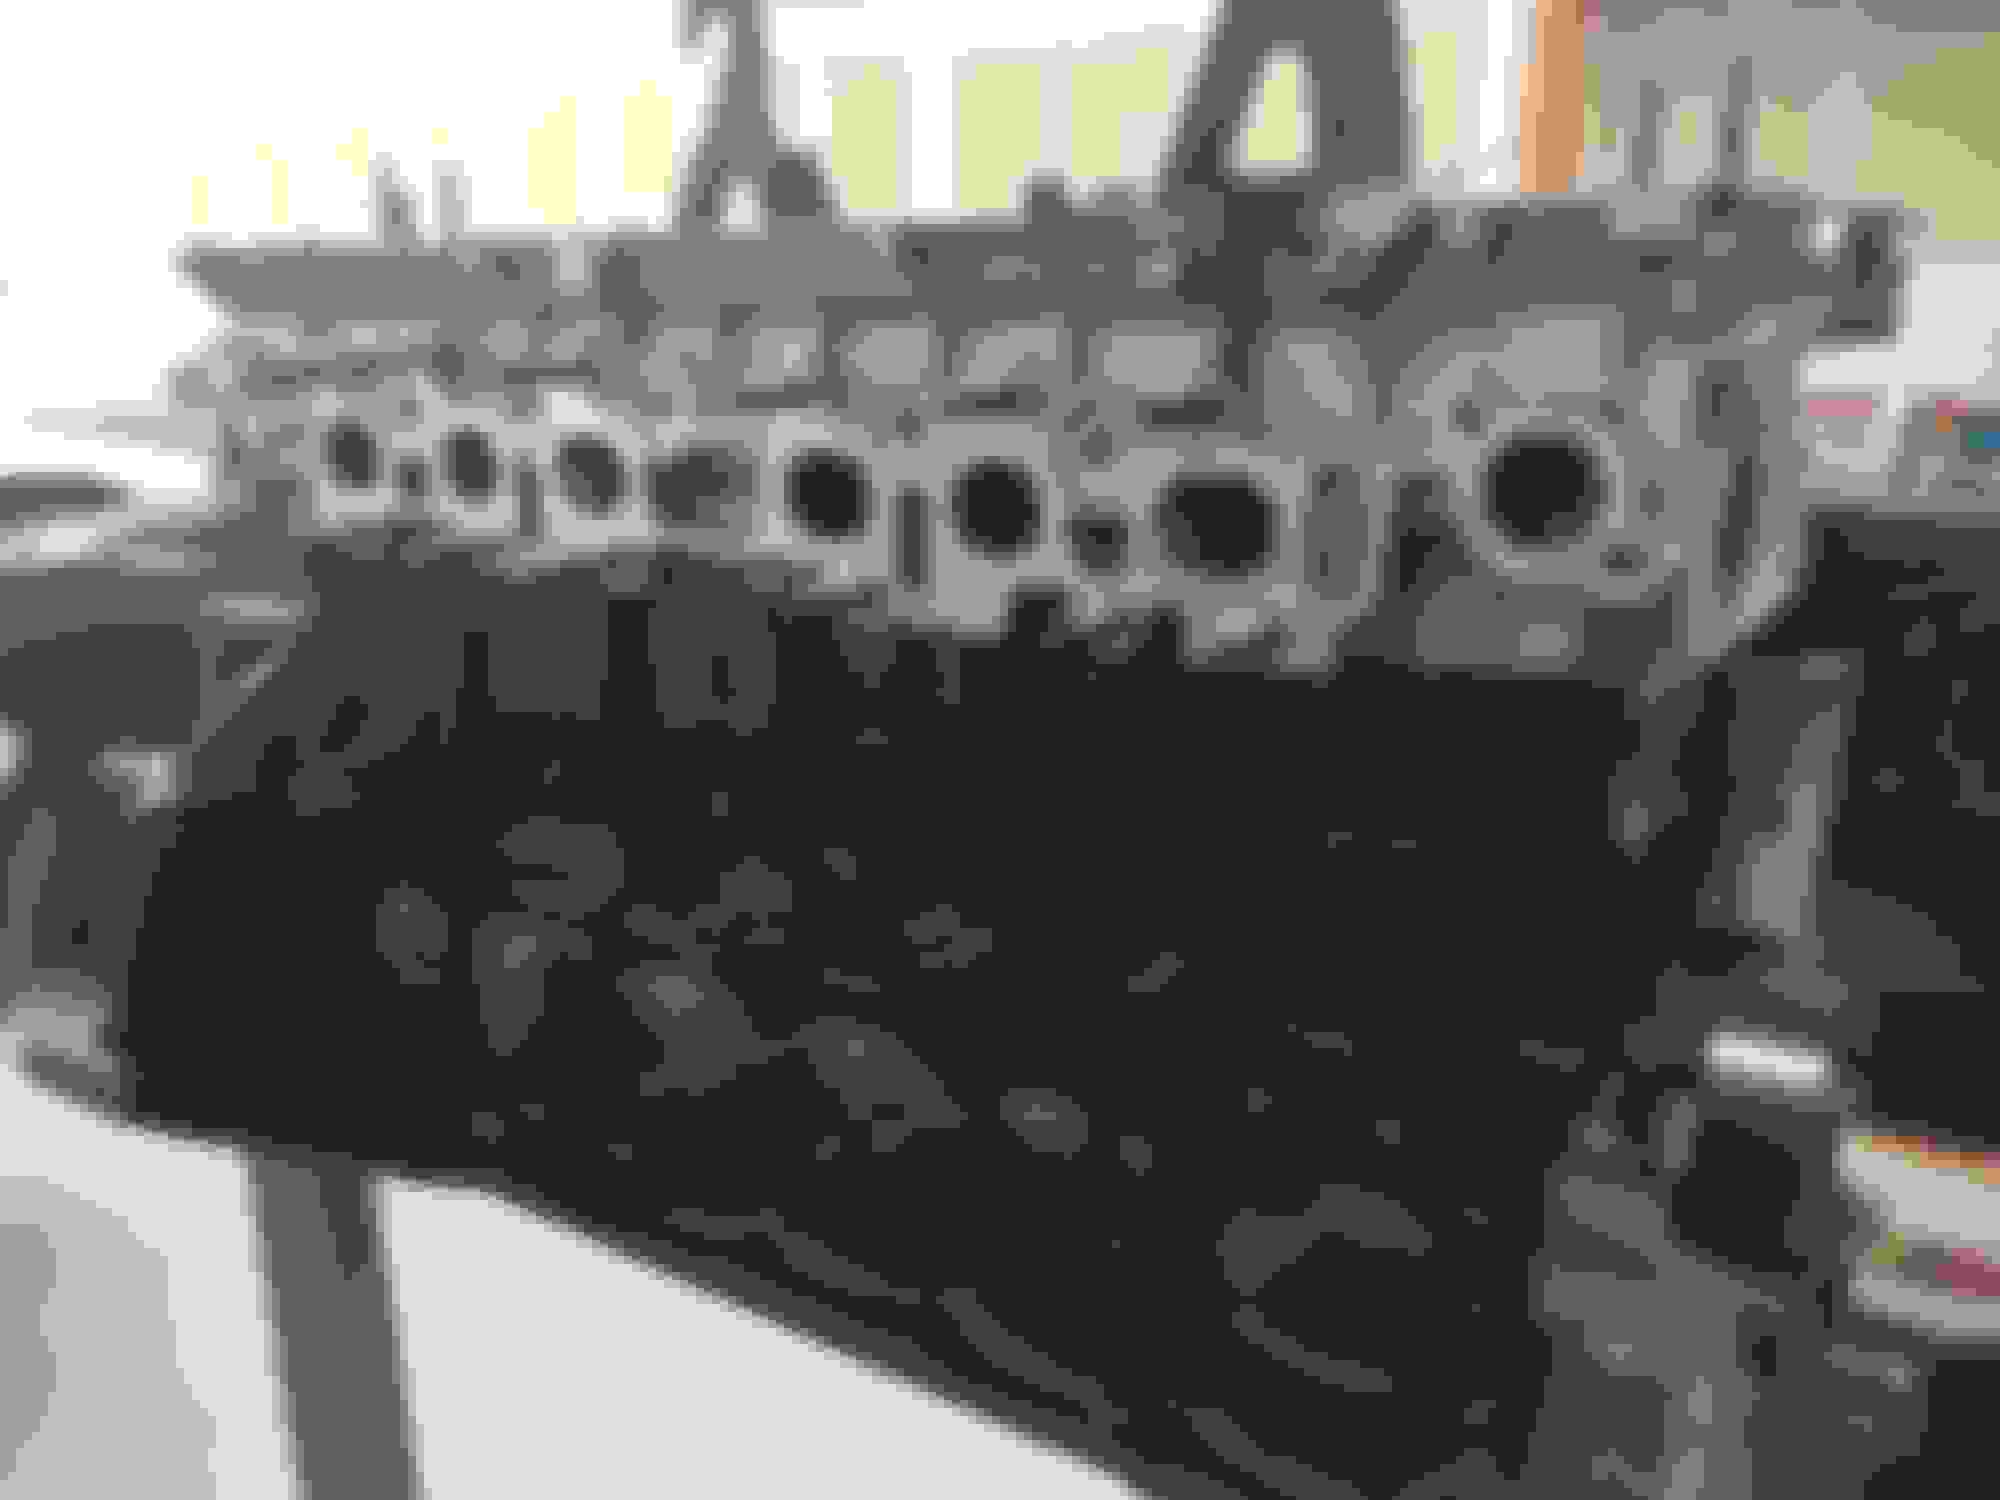
Today I went ahead and took off the cam gears, took the head off and dissembled it. I will bring it to a machine shop to have this nasty thing hot bathed..
The good thing is the valves looked OK and the cylinder bores were really clean and in great shape. That was a huge relief since I wasn't sure if any of the turbo blade pieces had made their way to the engine..
When I get back on it in a few days I will get some bolts and my pulley tool so I can pull that dang timing belt gear off... definitely isn't wanting to come off by hand. Once that's done I'll finish taking off the oil pump and start degreasing that block so I can slap some paint on her..
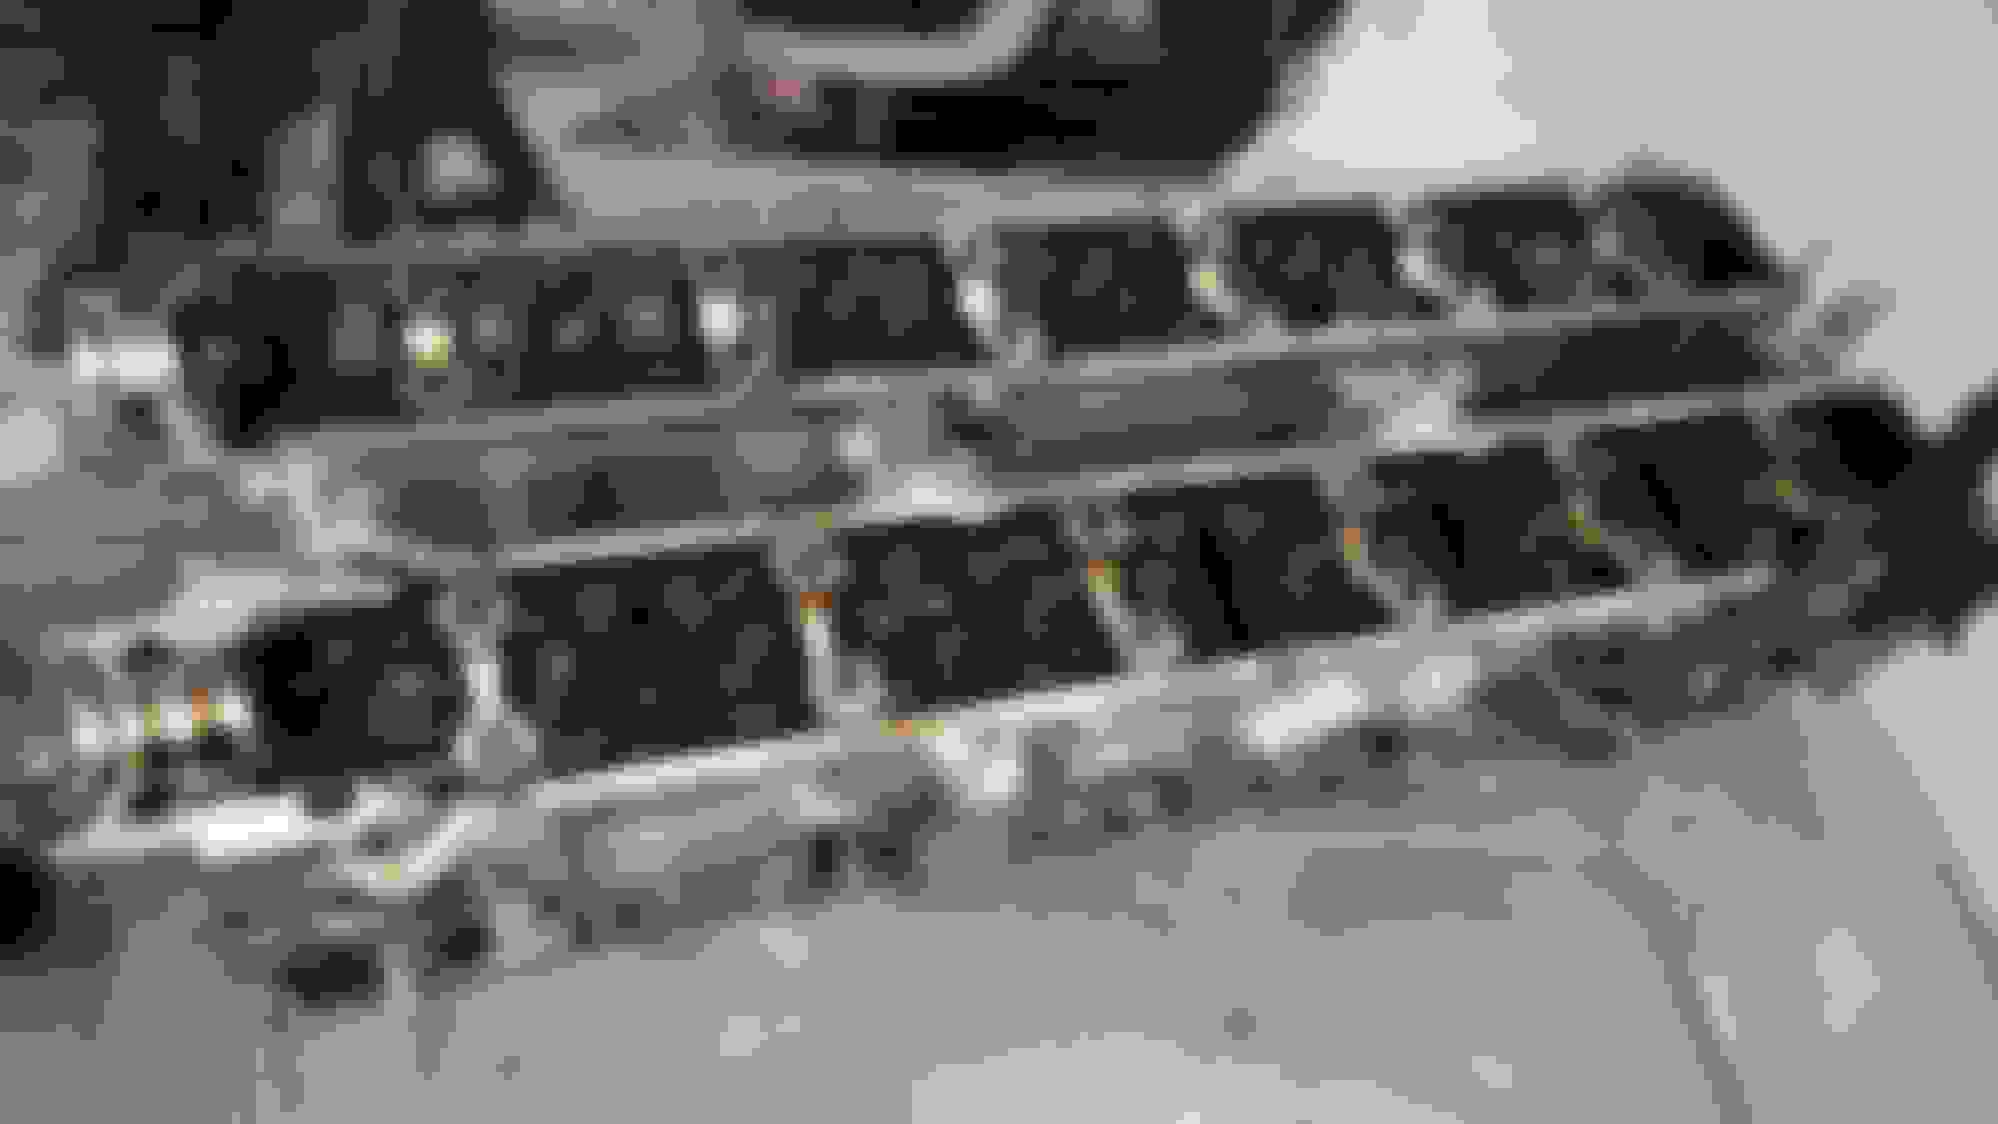
Was able to get in the shop and remove the oil pan, let her drain and start cleaning her up. Kinda pissed because the machine shop said they don't clean any engine parts in their vat unless they assemble the part. So basically I would've had to pay them $375 to clean the head..not happening. So I have a BUTTLOAD of work to do on that head.
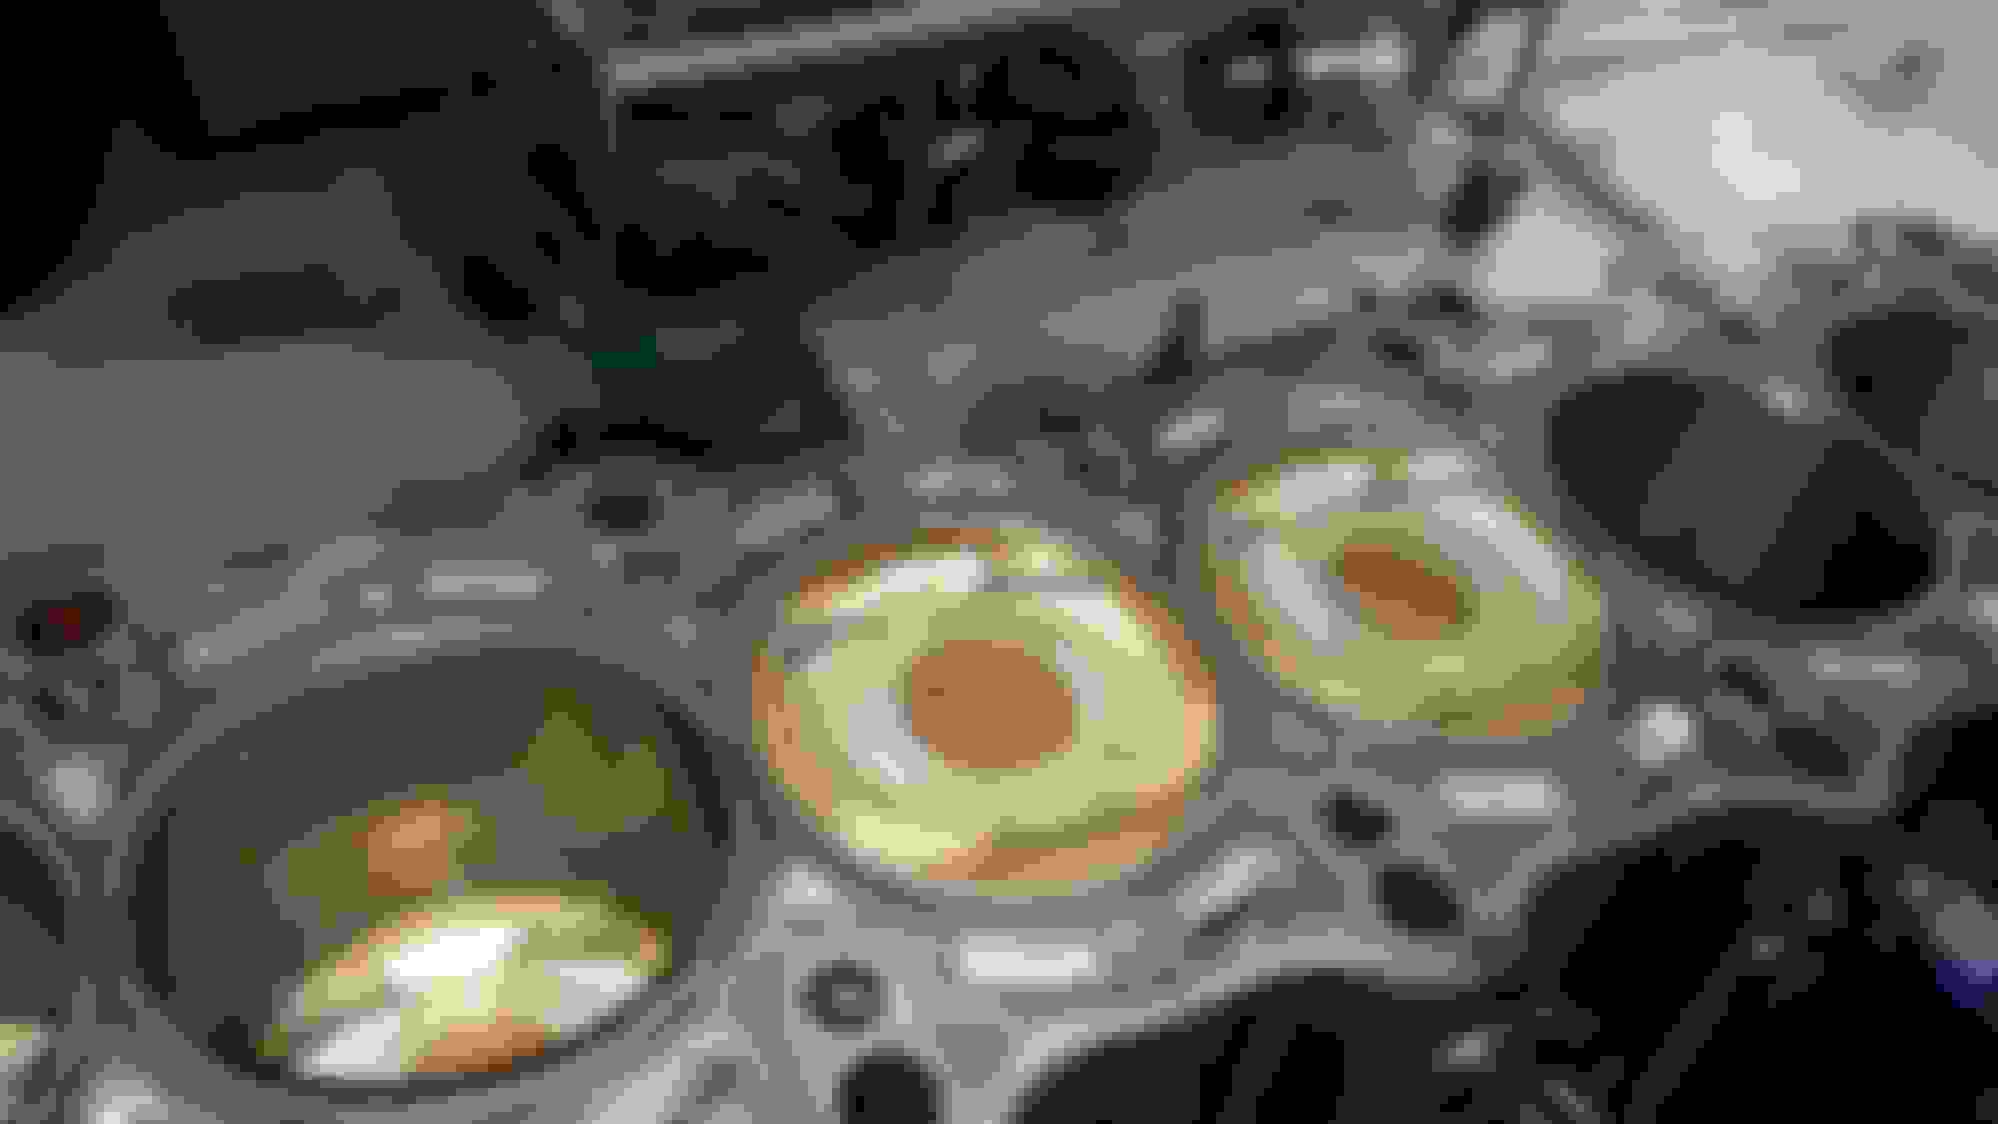
anyway got a lot of cleaning done yesterday!!! 1st round of cleaning the pistons...looking good.
B12 will be your secret sauce to clean that head and those valves....
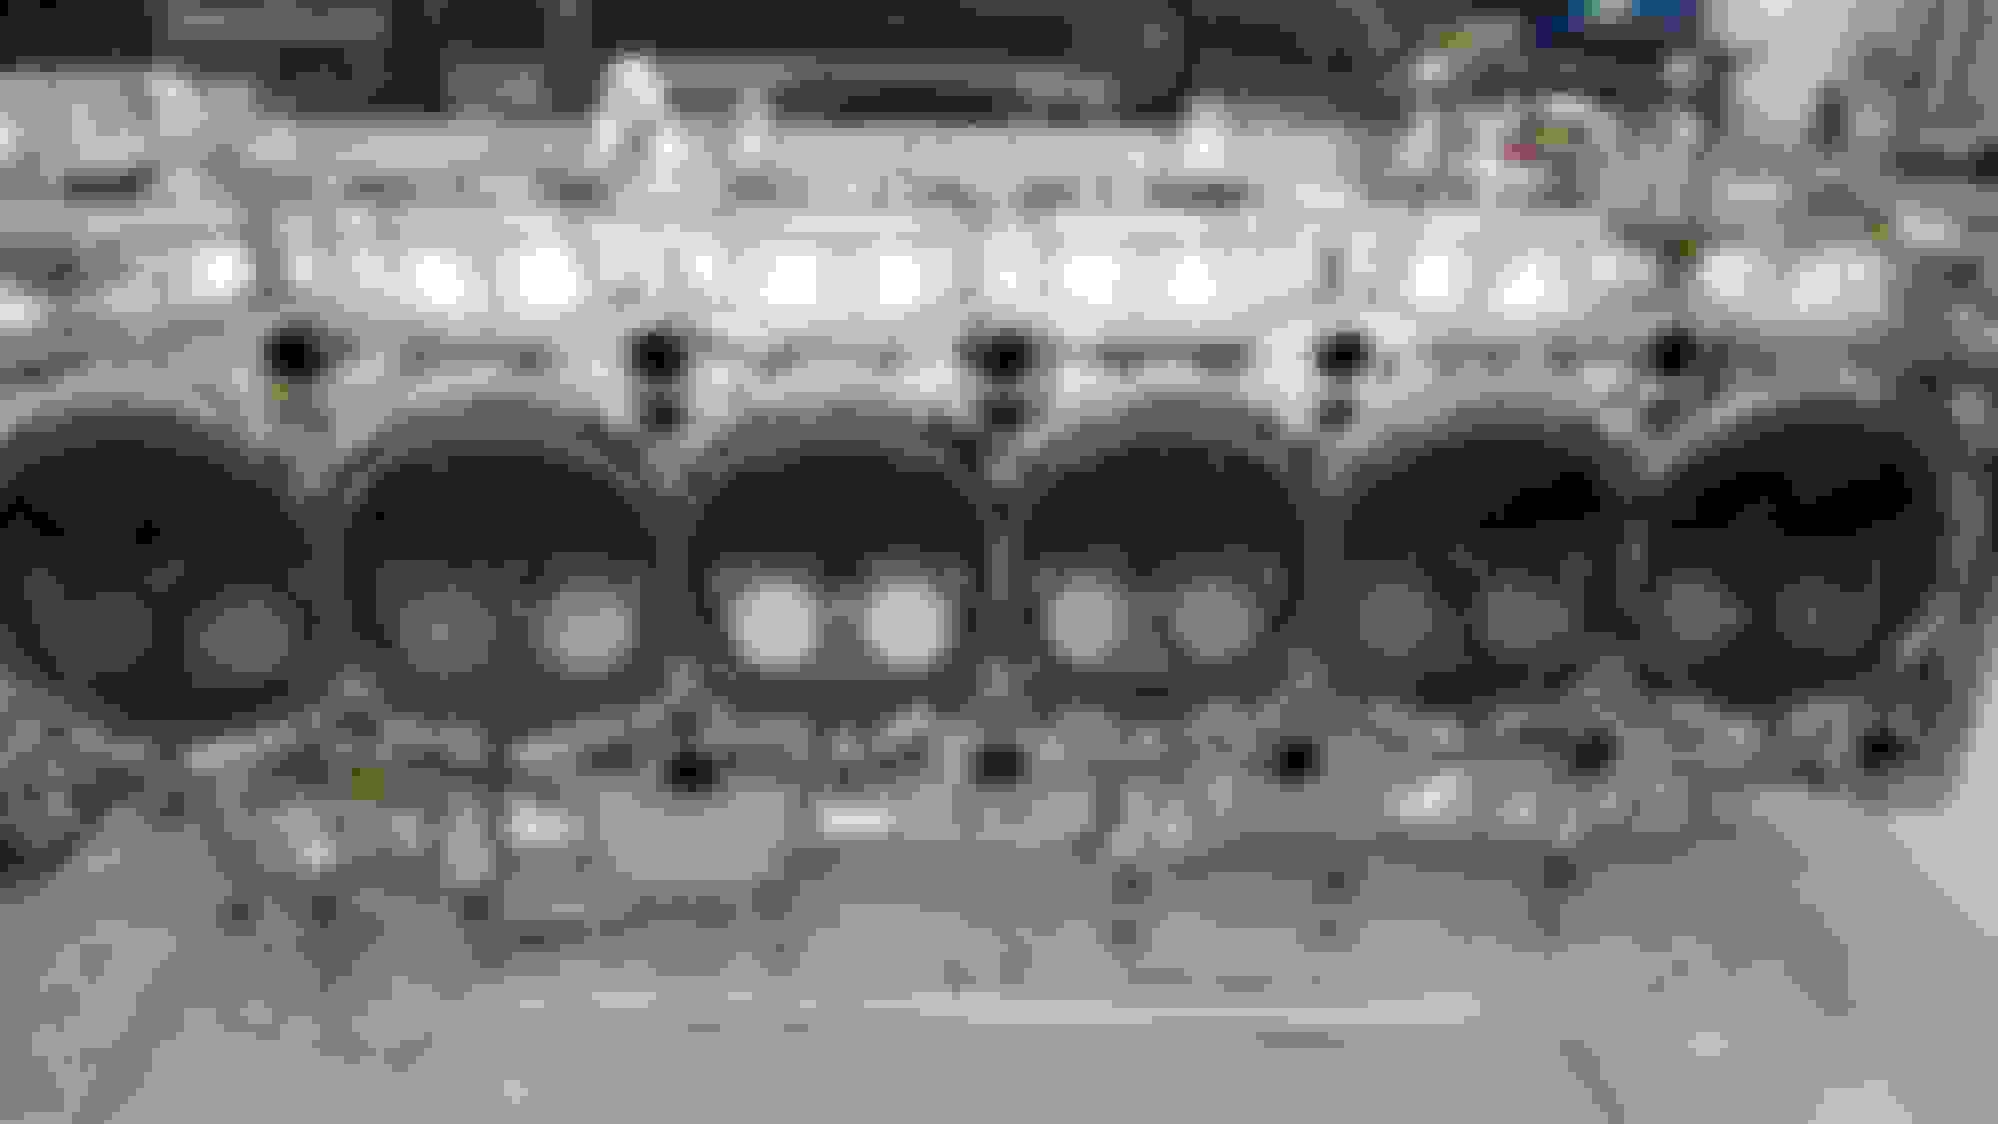
But first take out every part of the head. Make sure they are all placed in an egg crate so you know which goes where.. I am sure Nick has a pressure washer. Use it to take out all that dirt , grime and cocked oil. Then use the secret sauce ! Then use compressed air to dry it out and I will guarantee you it will be clean. That is all I do .
I see your pistons looking like new now.... . I thought for a second it was the picture I sent you of my block.. hahaha.
Finally got a chance to work on the motor. Went and bought a little digital torque wrench adapter for $25 from harbor freight since I planned on putting the head, oil pump, billet tensioner pulley, and water pump back on. I got all on except the water pump due to me missing the oring on the block for the water pump. If I had the oring I would've made good progress... waiting for the oring I ordered to come in now. Looking good so far though
Got to the shop by 8am today and left at 5pm. Got the camshaft installed and toqued down. Got the timing belt put on...with a little help from Gerry...but it was tedious as one time the belt had too much slack then I was a tooth off before I finally got it right. I then installed the Fluidamper pulley. I cleaned up and painted the belt covers as well. Painted the cam covers, put new gaskets in, and torqued those two down. I'm happy with how they turned out.
At about 3:30 I decided to start putting the intake runners, greddy plenum, and new fuel rail and injectors together. It's a pain in the but due to the way the plenum mounts to the runners. There are not enough bolt holes that match up to get a good enough seal, so I'm going to have to weld it. Another problem is the fuel rail mounts via 2 Allen bolts. However, the plenum does not allow enough clearance to get to one bolt. I'll have to drill/grind out a section of the plenum so I can install the fuel rail after plenum and runners are welded together. You can see in the picture below on the right side of the plenum where I started grinding the spot out.
I learned something about welding on this manifold today. Aluminum requires a lot of heat to weld. Well this manifold is super thick so it requires a hell of a lot of amperage to heat the aluminum. The tig machine we had was underpowered for this task so the welds didnt come out as pretty as usual. We got it done though and it doesn't leak, so I'm good with it. Now I have get her painted and she'll look good as new.
It looks nasty here but when it gets repainted it'll good as new!!
yep... they'll be painted and the fuel rail will cover it up as well. How's the painting work coming?
Right now what I am doing is all body work. In summer when the temperature is above 80F , hopefully I get to paint Old Man Tan and Red Mamba Two. For now , that red car is getting a good fender flare to be able to accomodate 18x12" deep dish wheels with 345/35R18 wheels. Definitely doable with an offset of +25 . So I really doubt I still need any wide body quarter panel.
Got the exhaust manifold mounted two days ago and just had to temporary mount the turbo. Looks sick...
I will have my buddy at the shop Rick get his neighbor to hydro dip and powder coat a few parts next especially the valve cover and coil covers. I also ordered a new intake manifold. I didn't like the way it was oriented on the runners. It was very difficult to get to the injectors when you needed to Remove or install them. I will post pics of the new one when it comes in.
 03-12-17, 12:22 PM


 ! Then use compressed air to dry it out and I will guarantee you it will be clean. That is all I do .
 . I thought for a second it was the picture I sent you