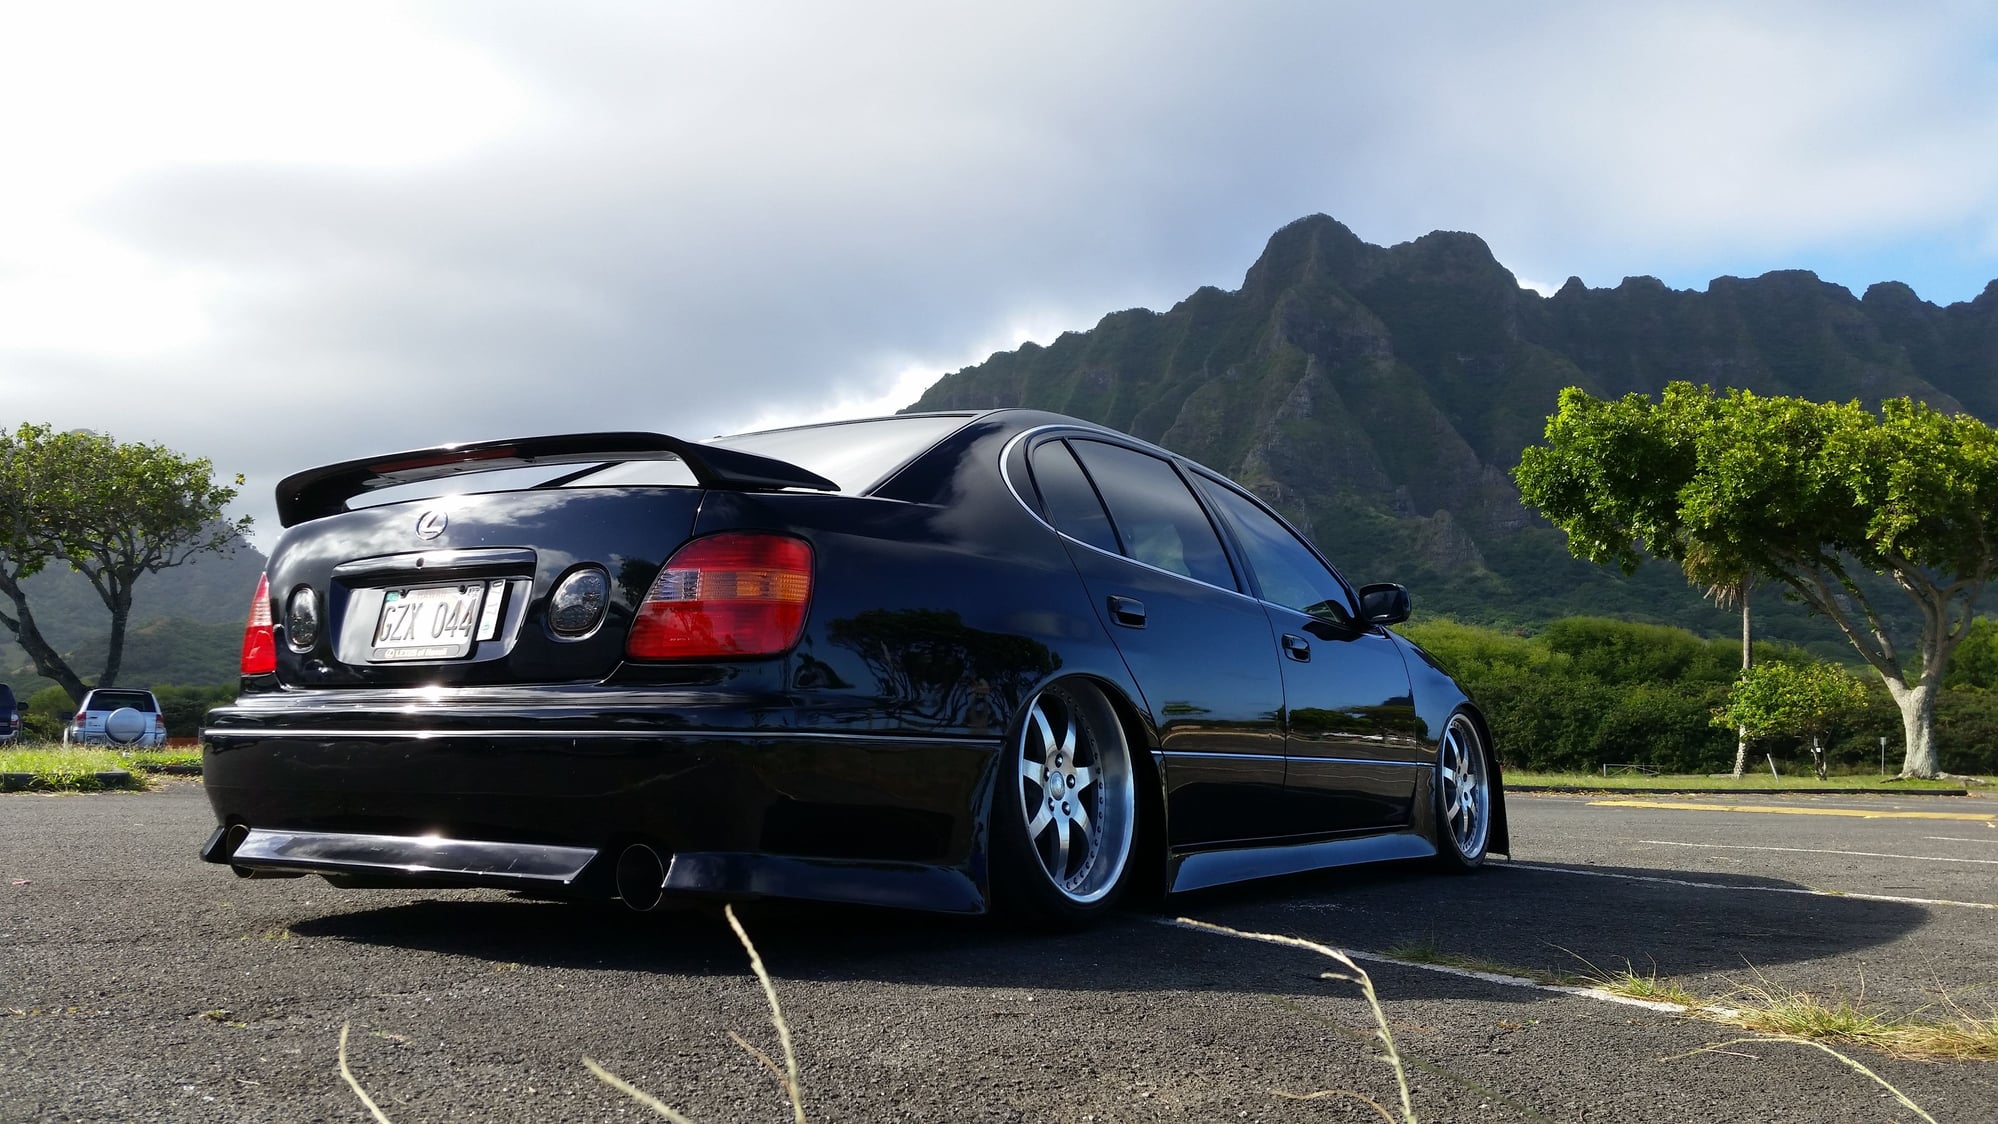
Black GS400 DIY VIP build
#1
Alright so I have been extremely lazy telling myself to finally start a build thread. I just kept saying later and we all know how that goes haha. I finally found some time and sat down to start this.
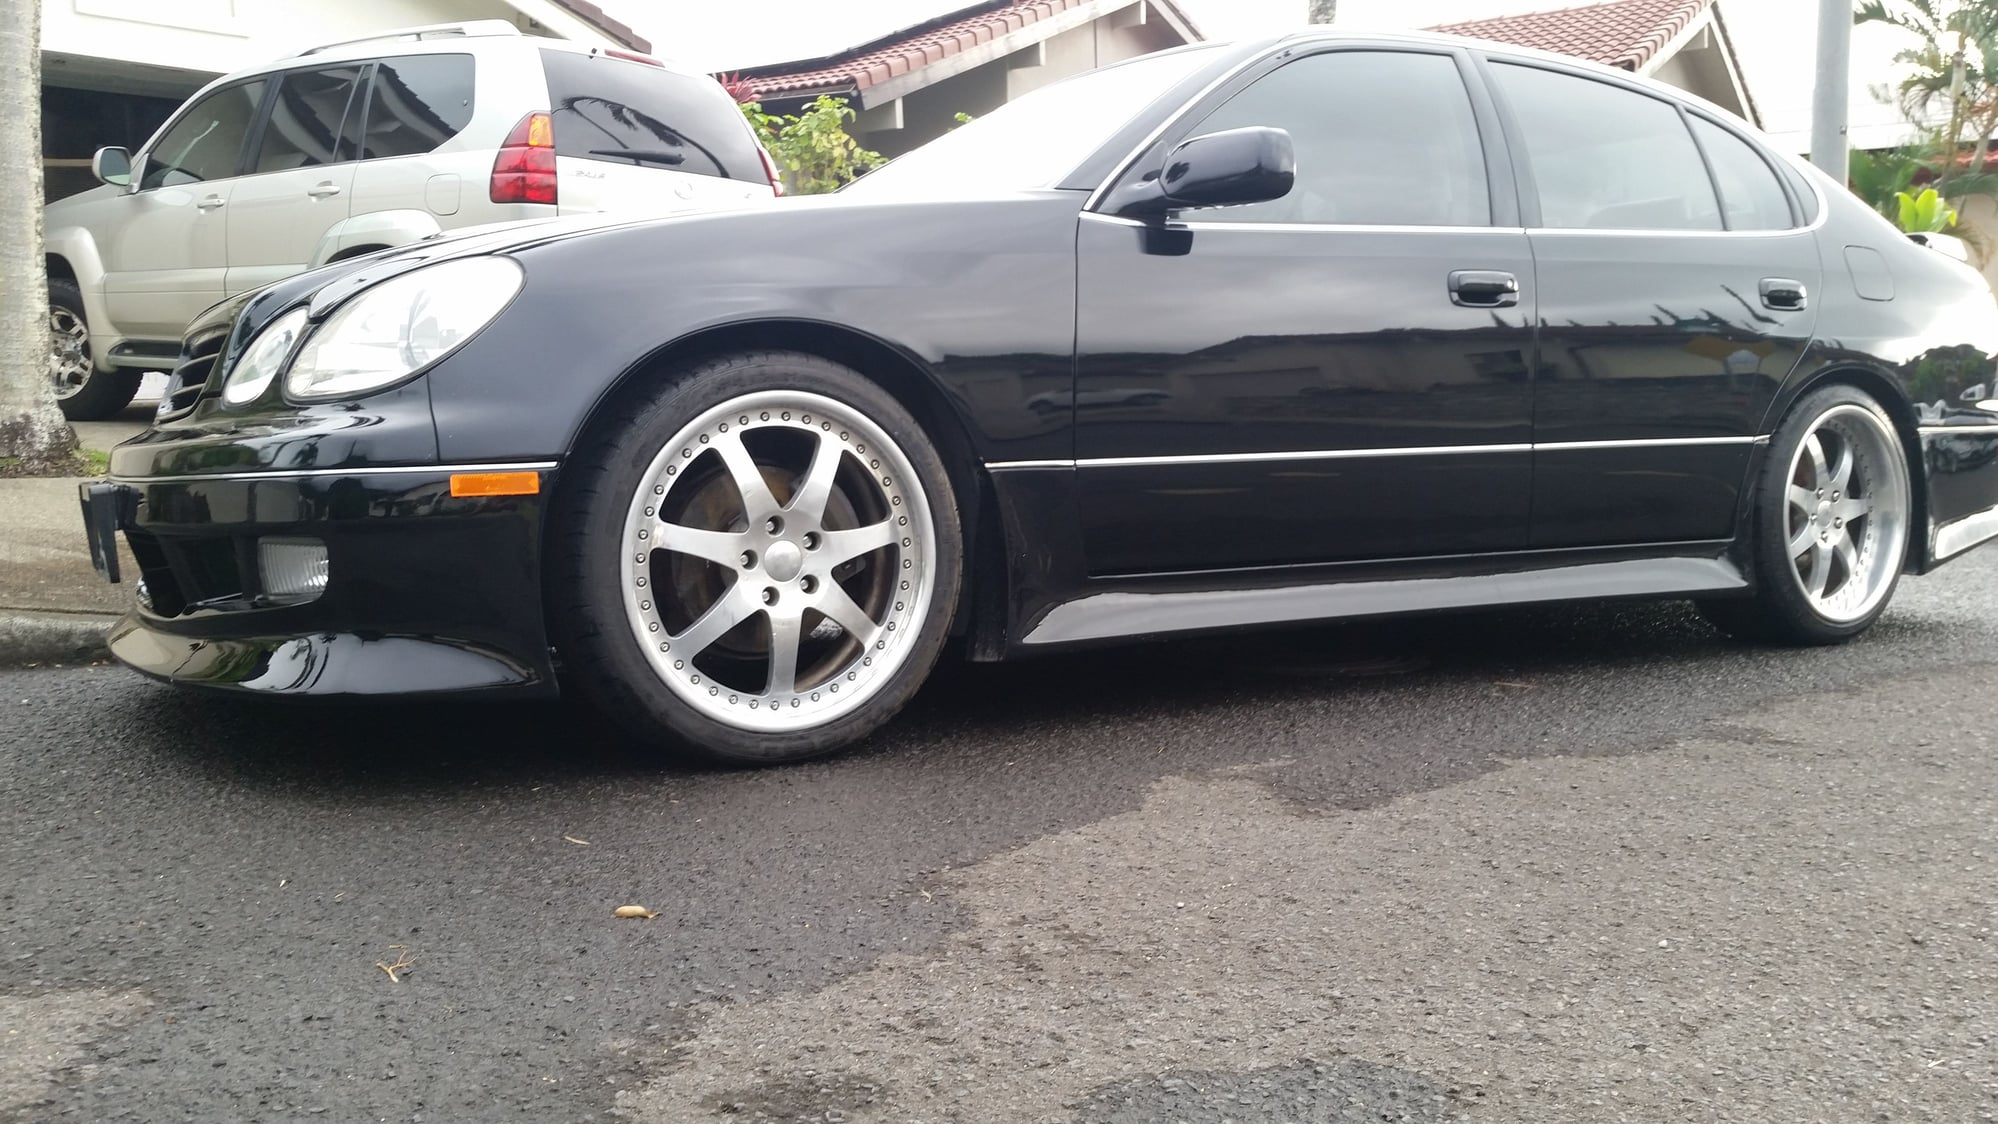
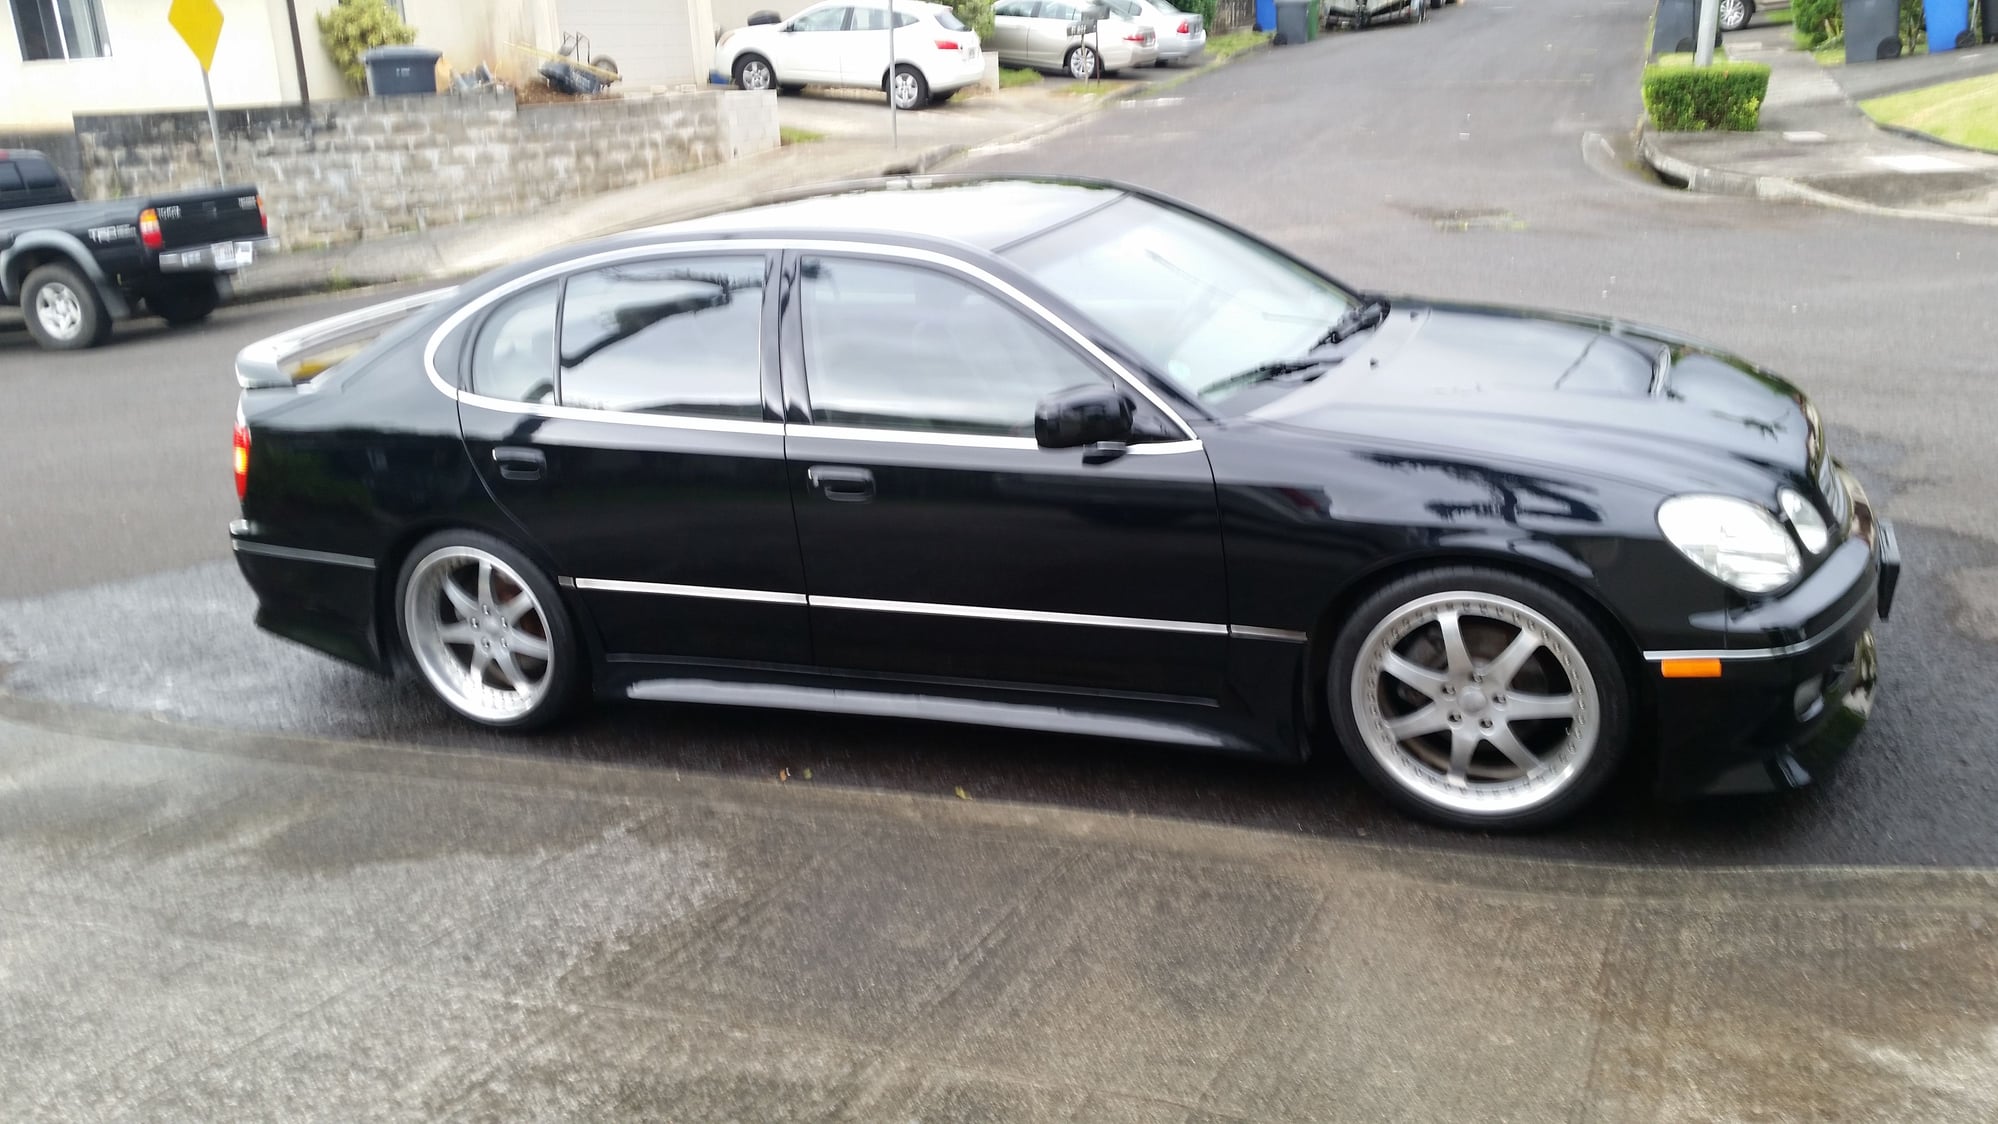
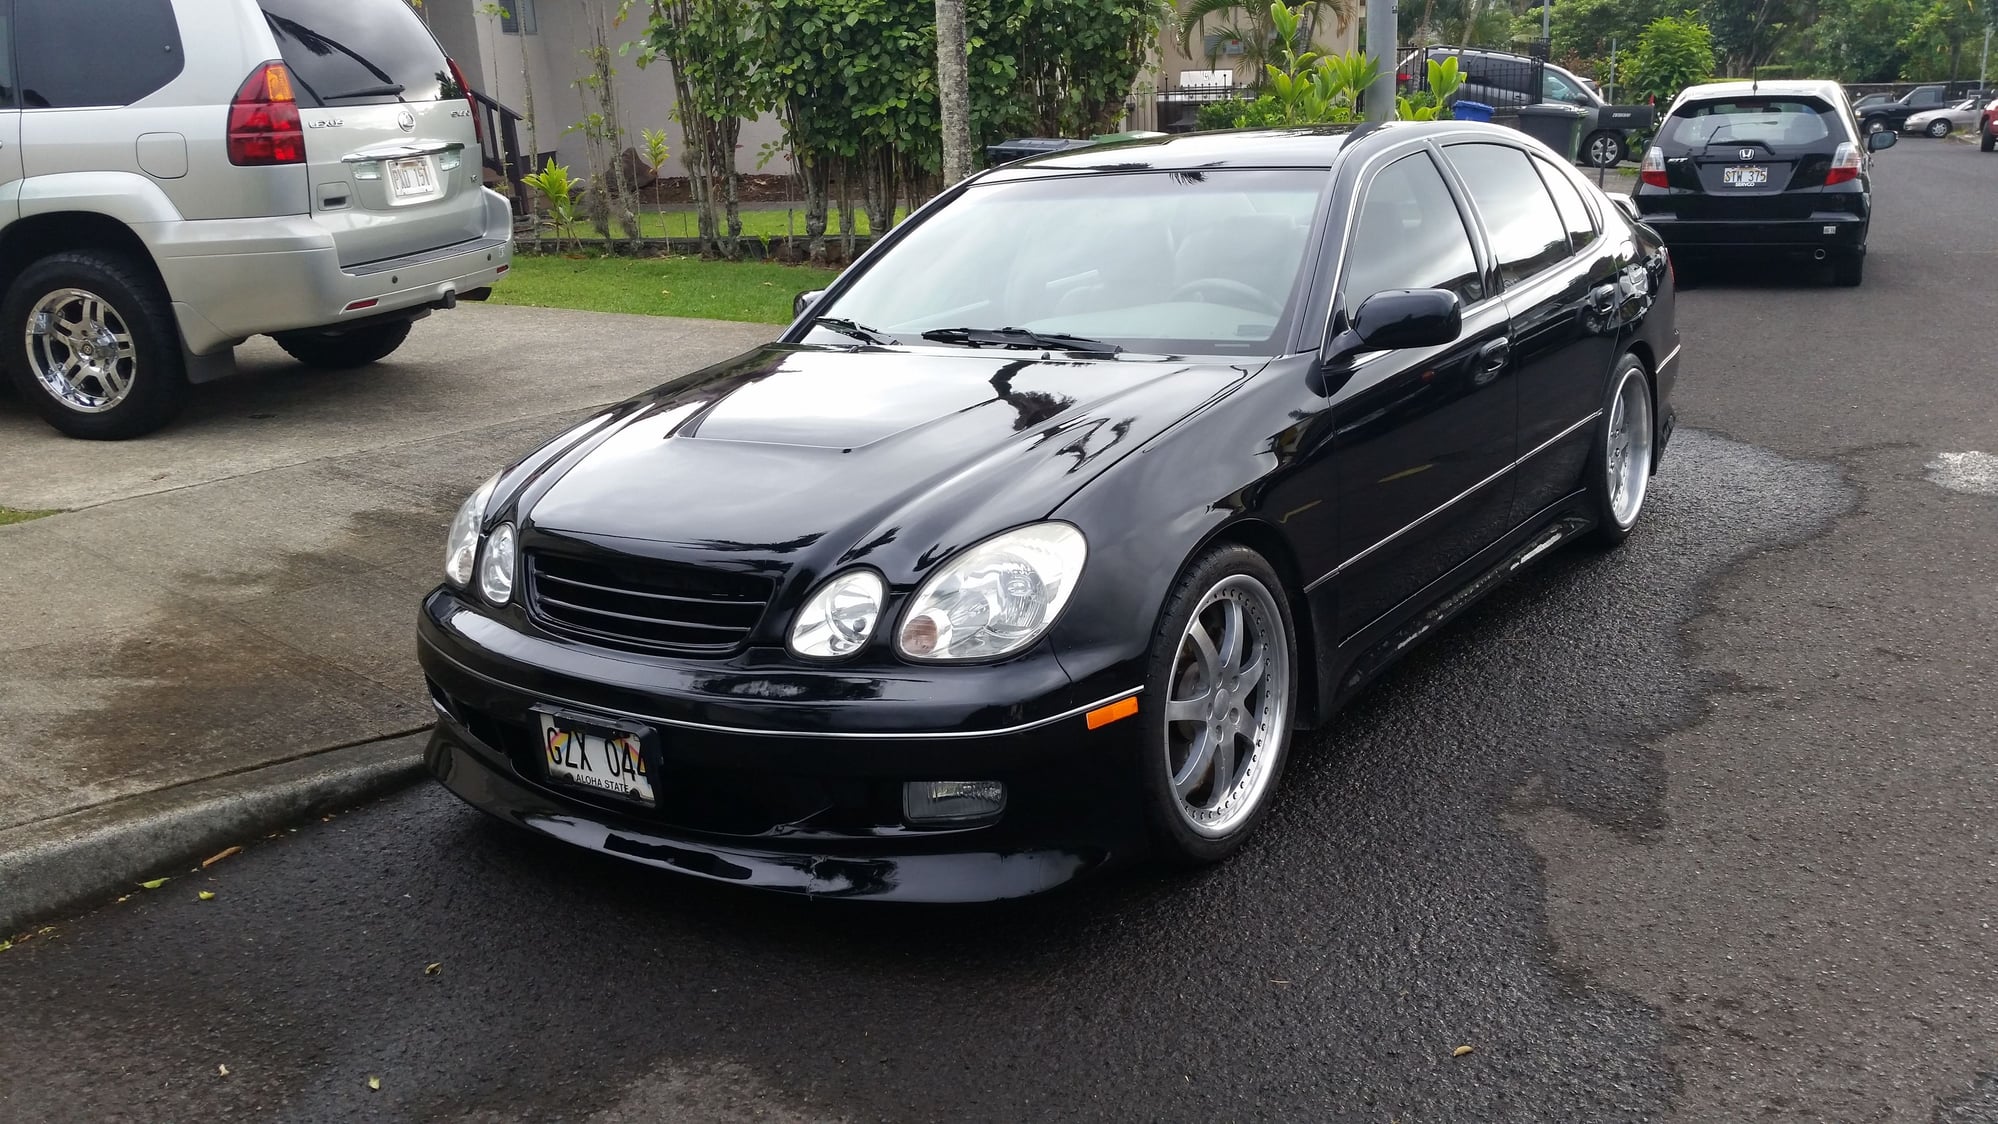
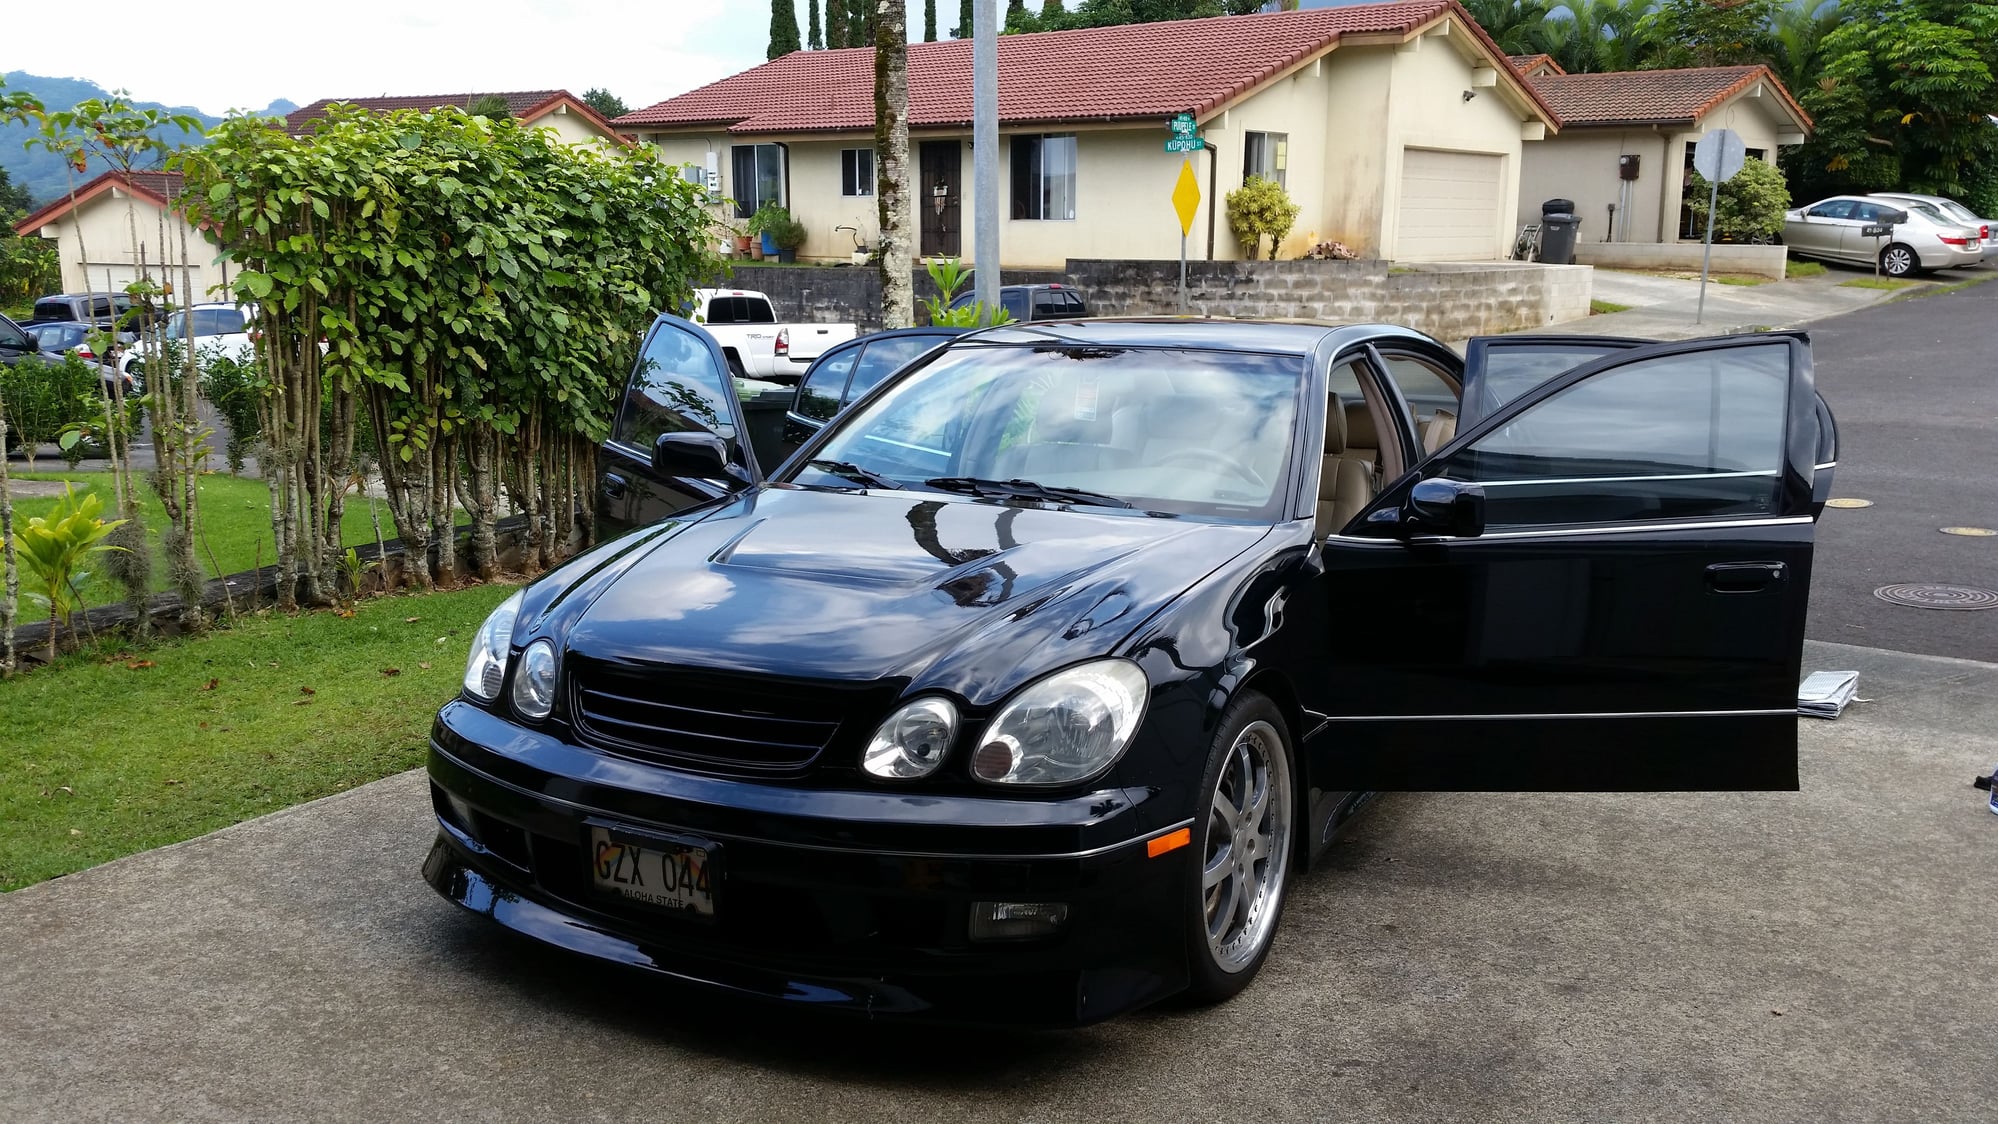
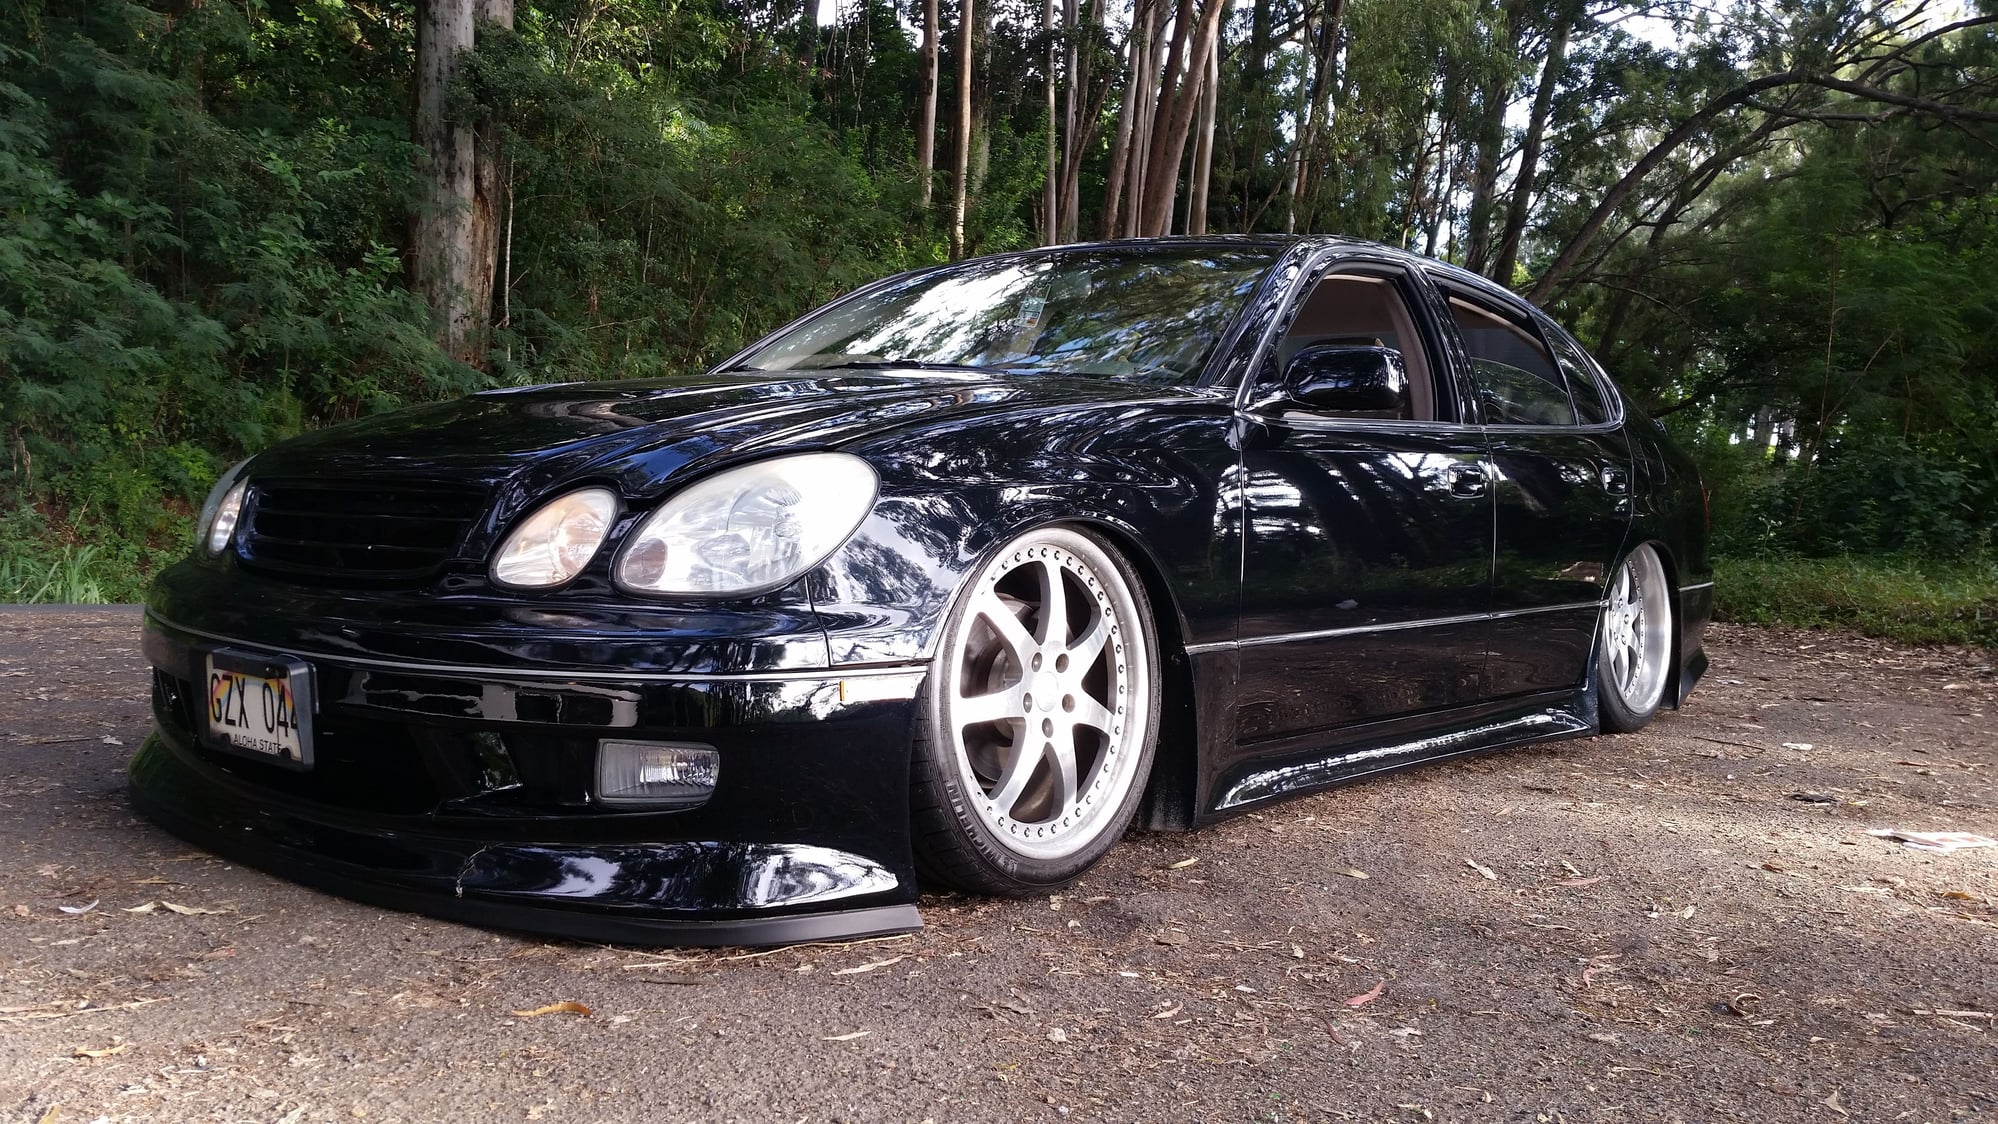
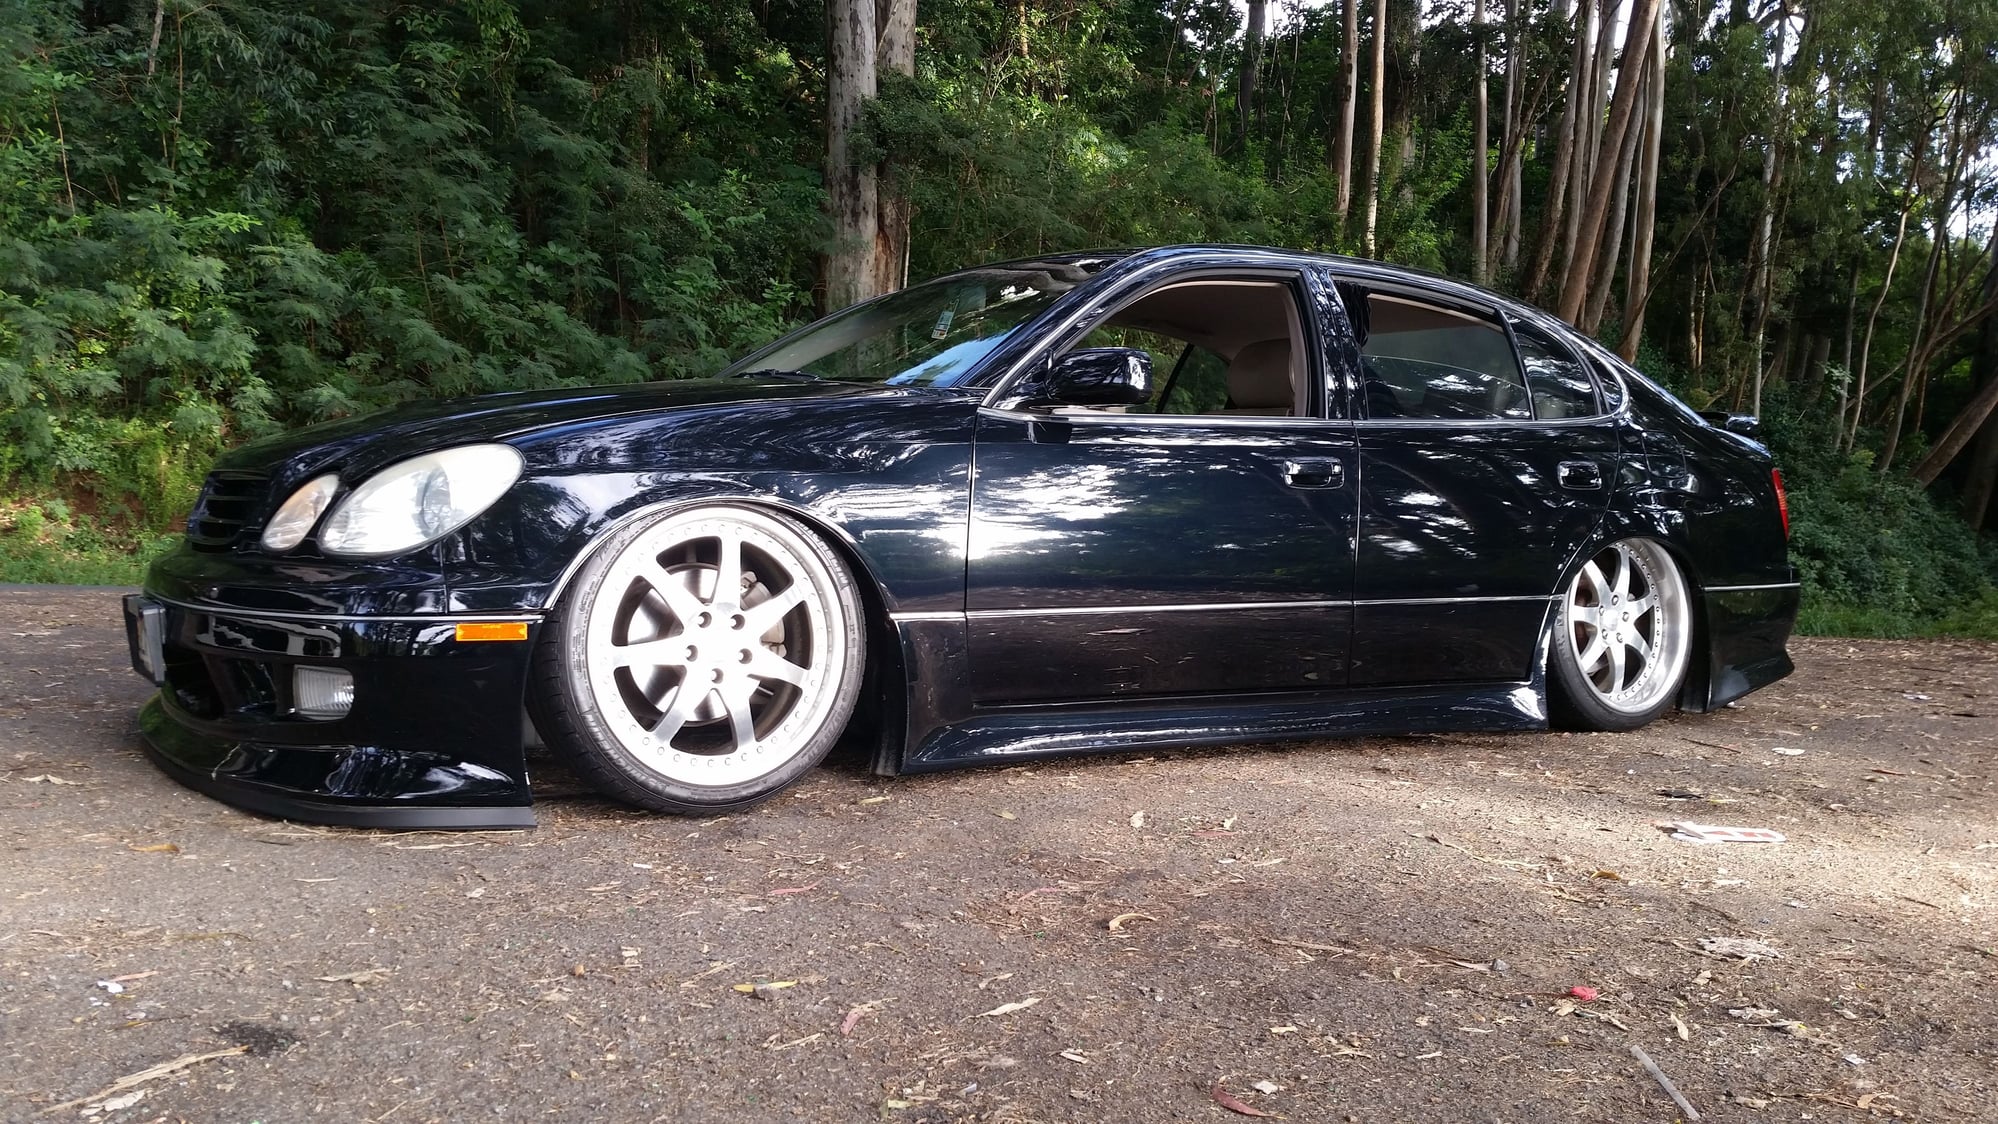
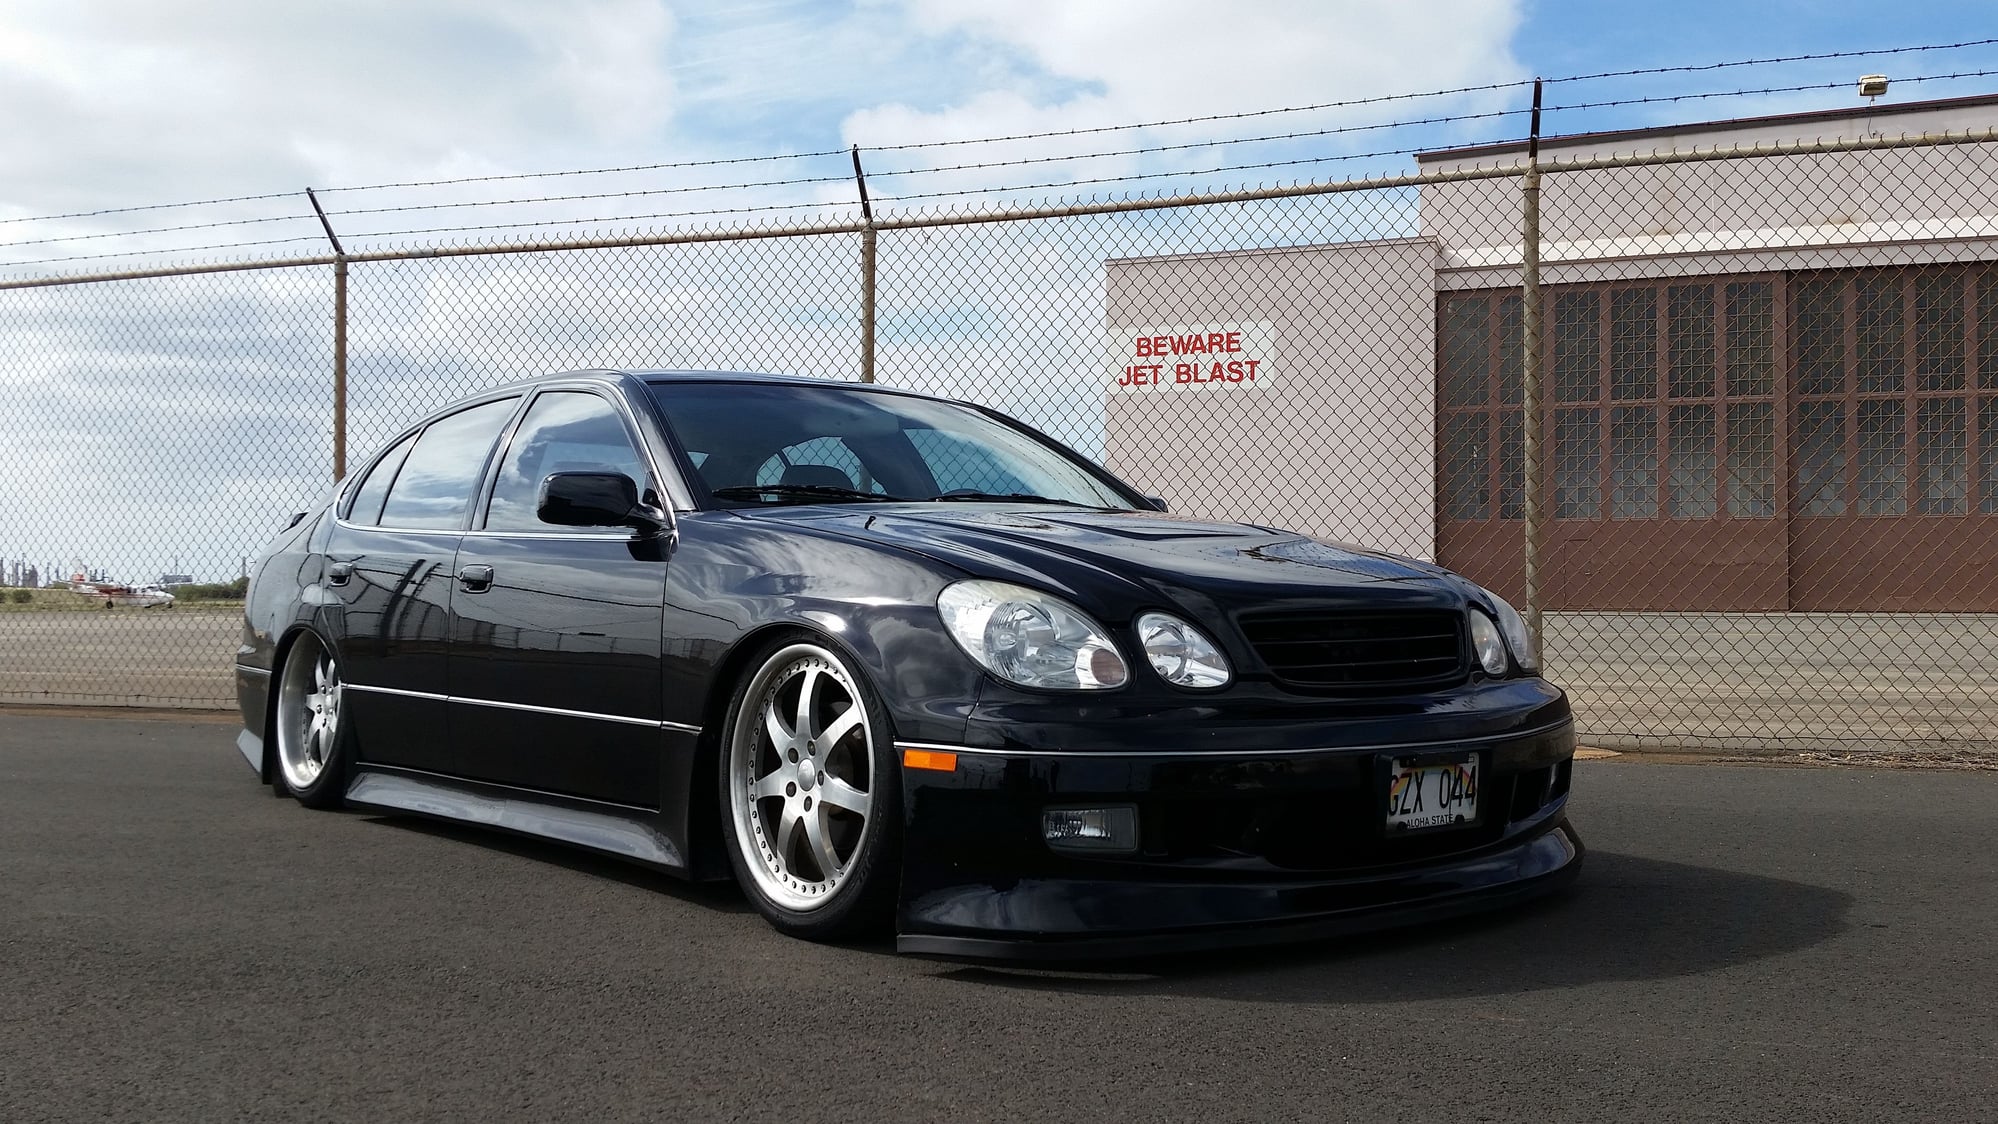
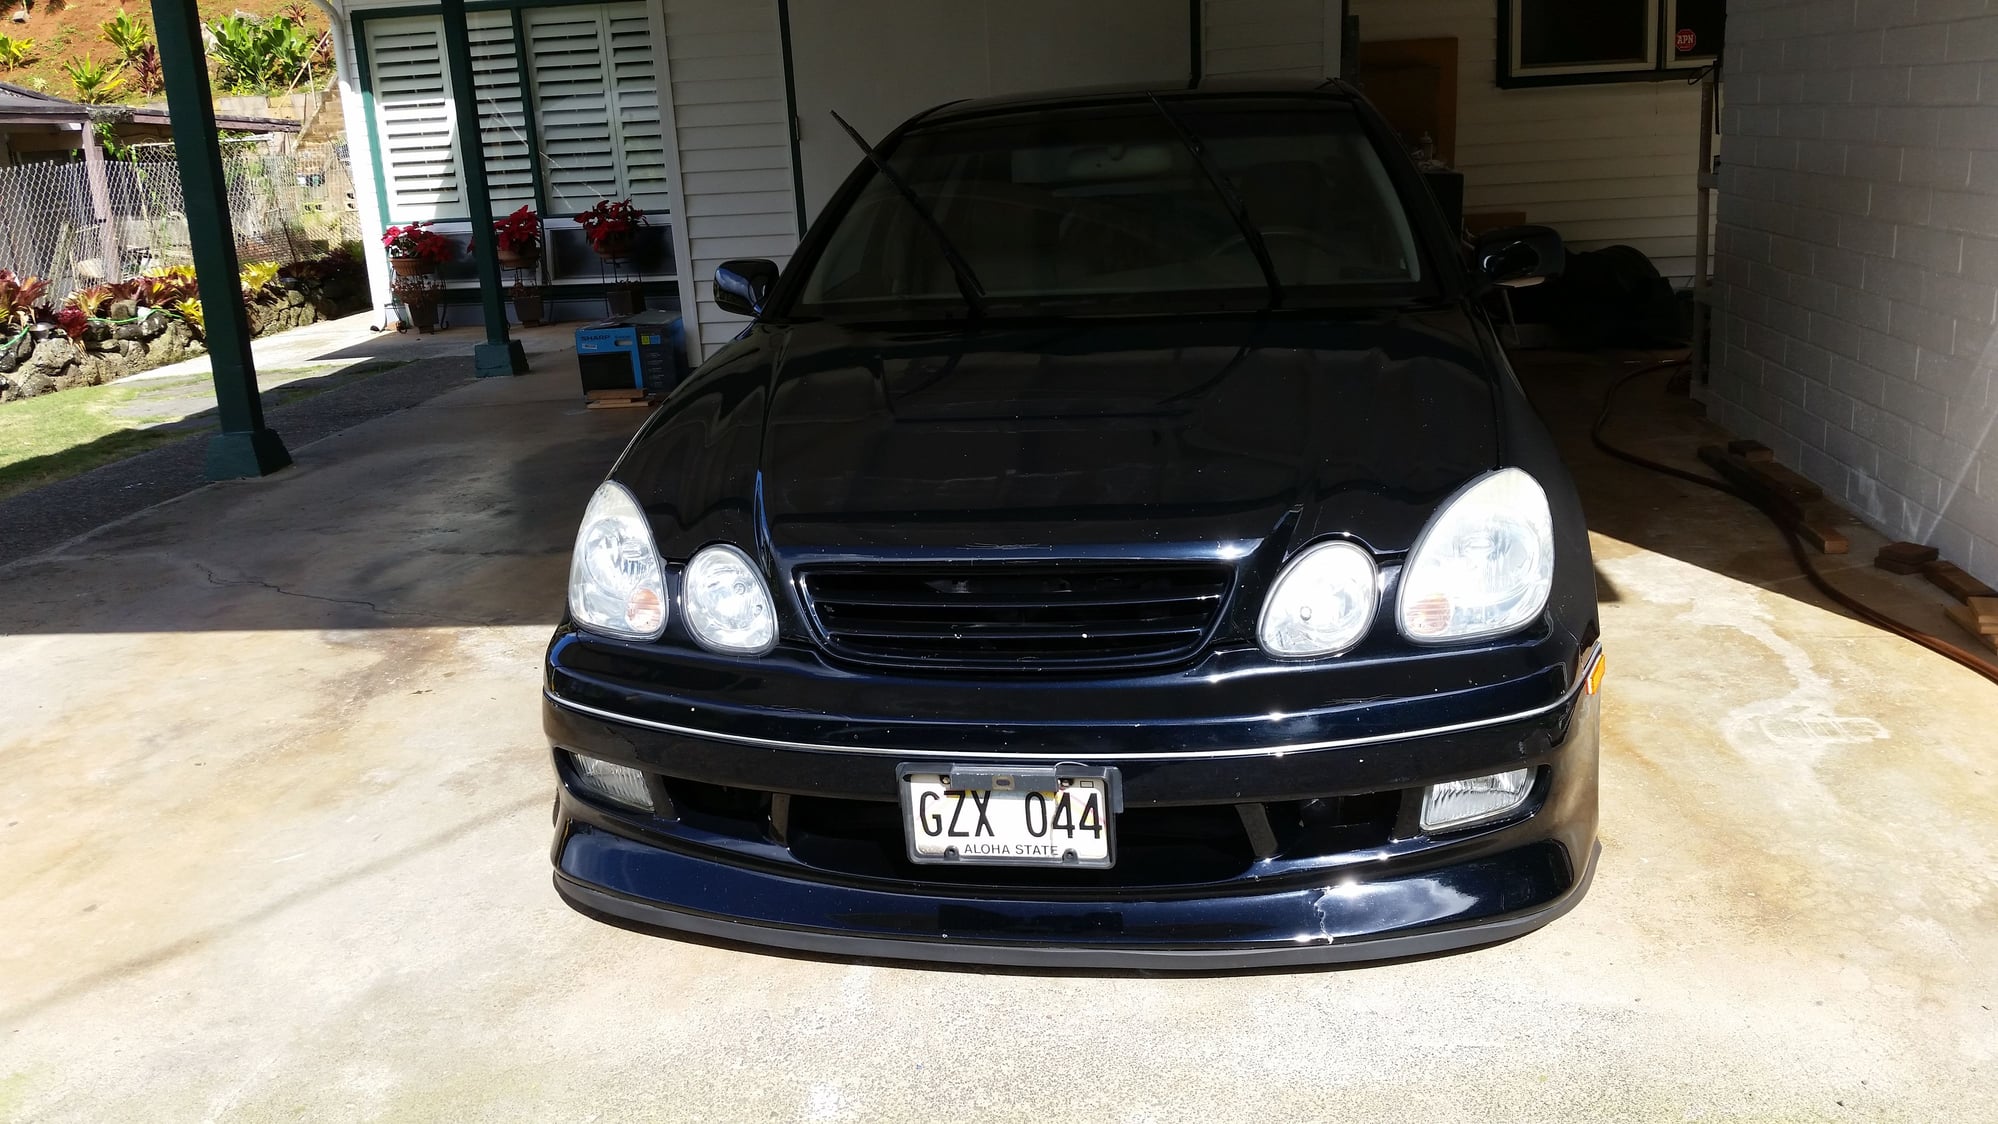
1999 Lexus GS400
Custom black with some blue/green flakes
Tan interior
Background on the car: I was fortunate enough to receive this car from my aunt. She didn't want to sell it because it was a little sentimental. She just said I have to detail her cars every so often and "uber" her and her husband to parties so they can drink haha. Totally worth it to me
When I got the car it was honestly in pretty rough shape and had been neglected for quite a while. Rims were heavily oxidized, paint was swirled and marred, just a lot of little things here and there which I wont name all of. But one thing that I cannot believe was one of those battery tender things that your can bolt onto the battery permanently was on the terminals and just laying on the side of the battery on top of an old microfiber towel with a whole corner frayed a couple inches down! fire hazard! Anyways, I had cleaned it up a ton and restored it to it's former beauty because I was interested to see how it would turn out.
As the title says this is my DIY VIP build. I will be doing as much to this car as I can by myself or with some help from others. Having another shop do work on this car is the last resort haha. I want to be able to at least help with everything that happens to this car. My goal is to have an older style VIP build, more clean and not super aggressive GT VIP style or all the pillows, headrests, tables, and such. This is simply because I like that style and it's also a more obtainable goal for me with the resources that I have available.
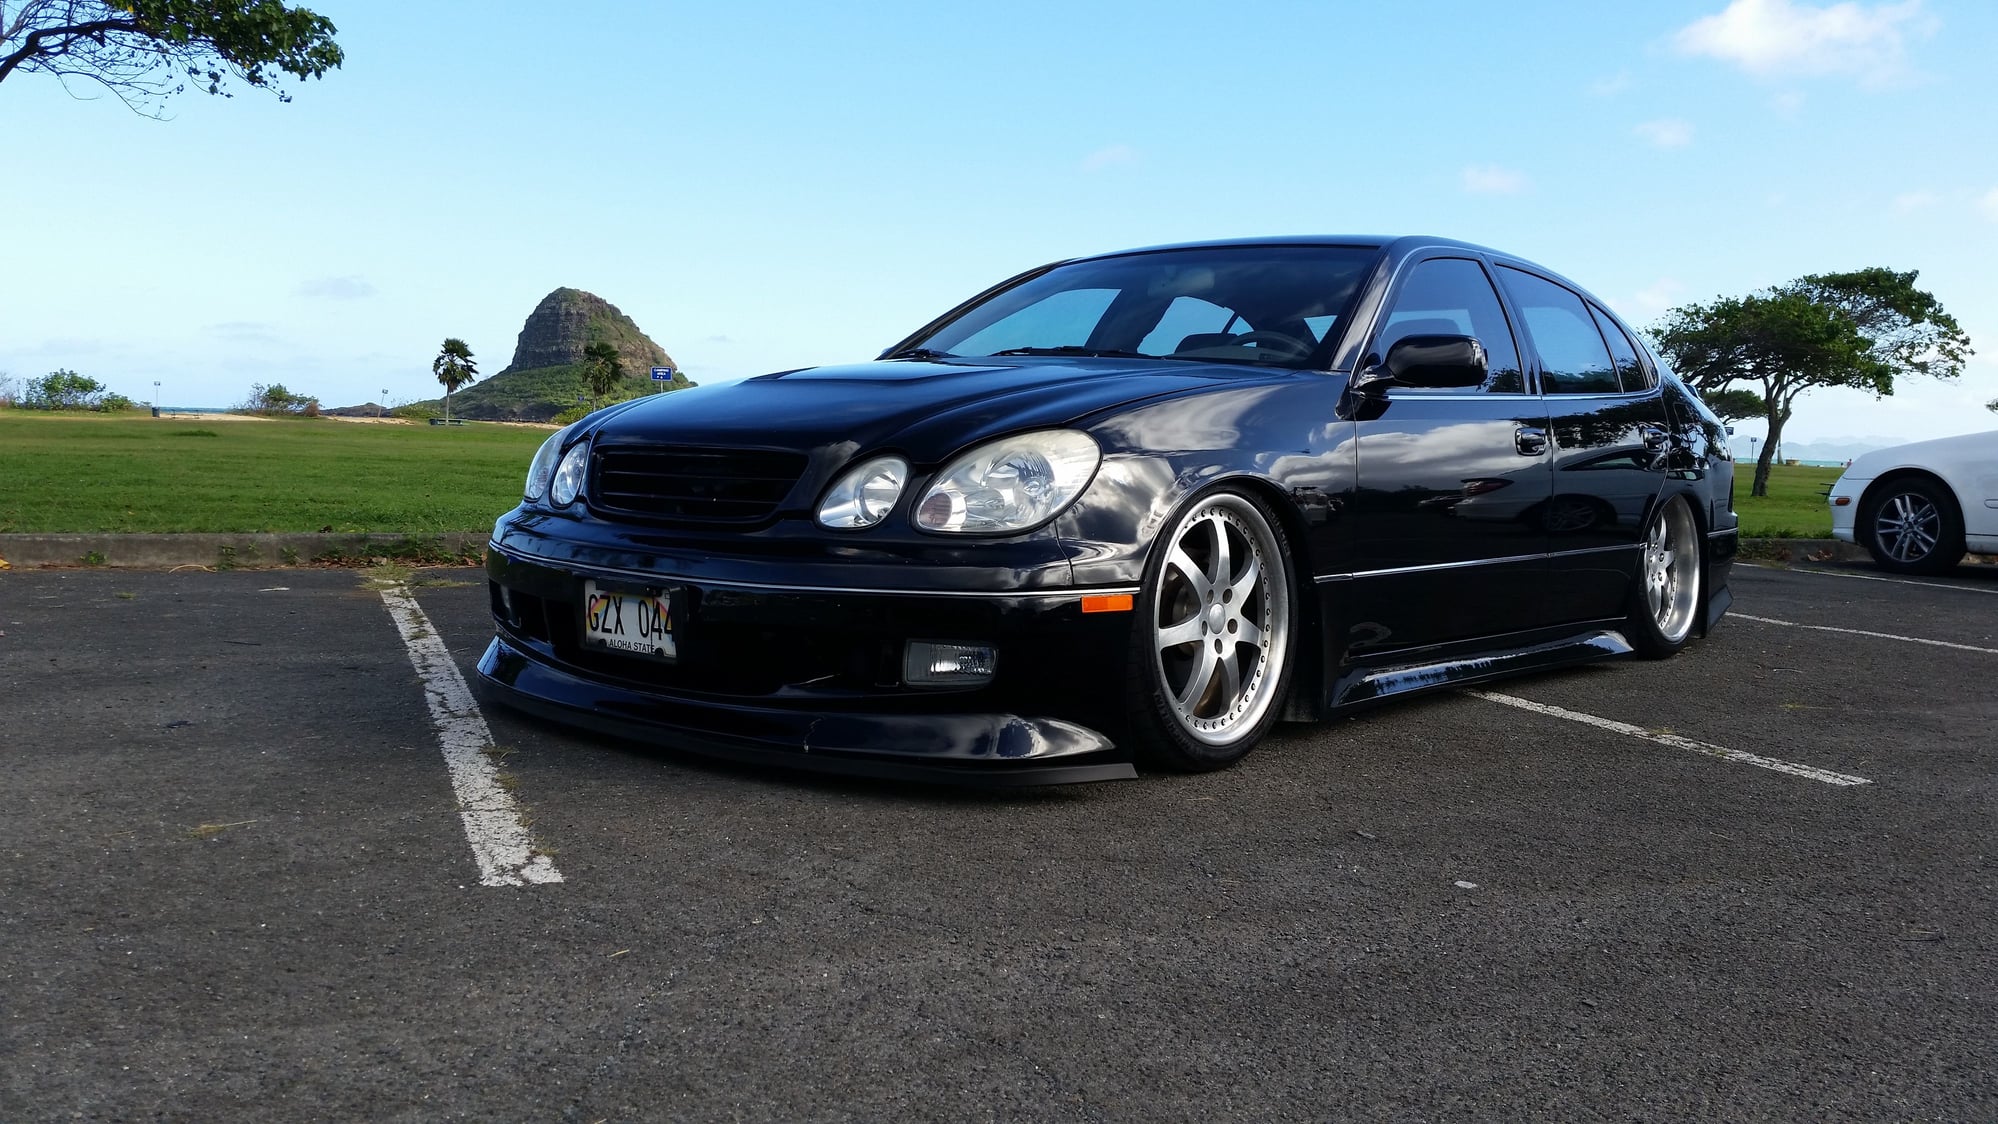
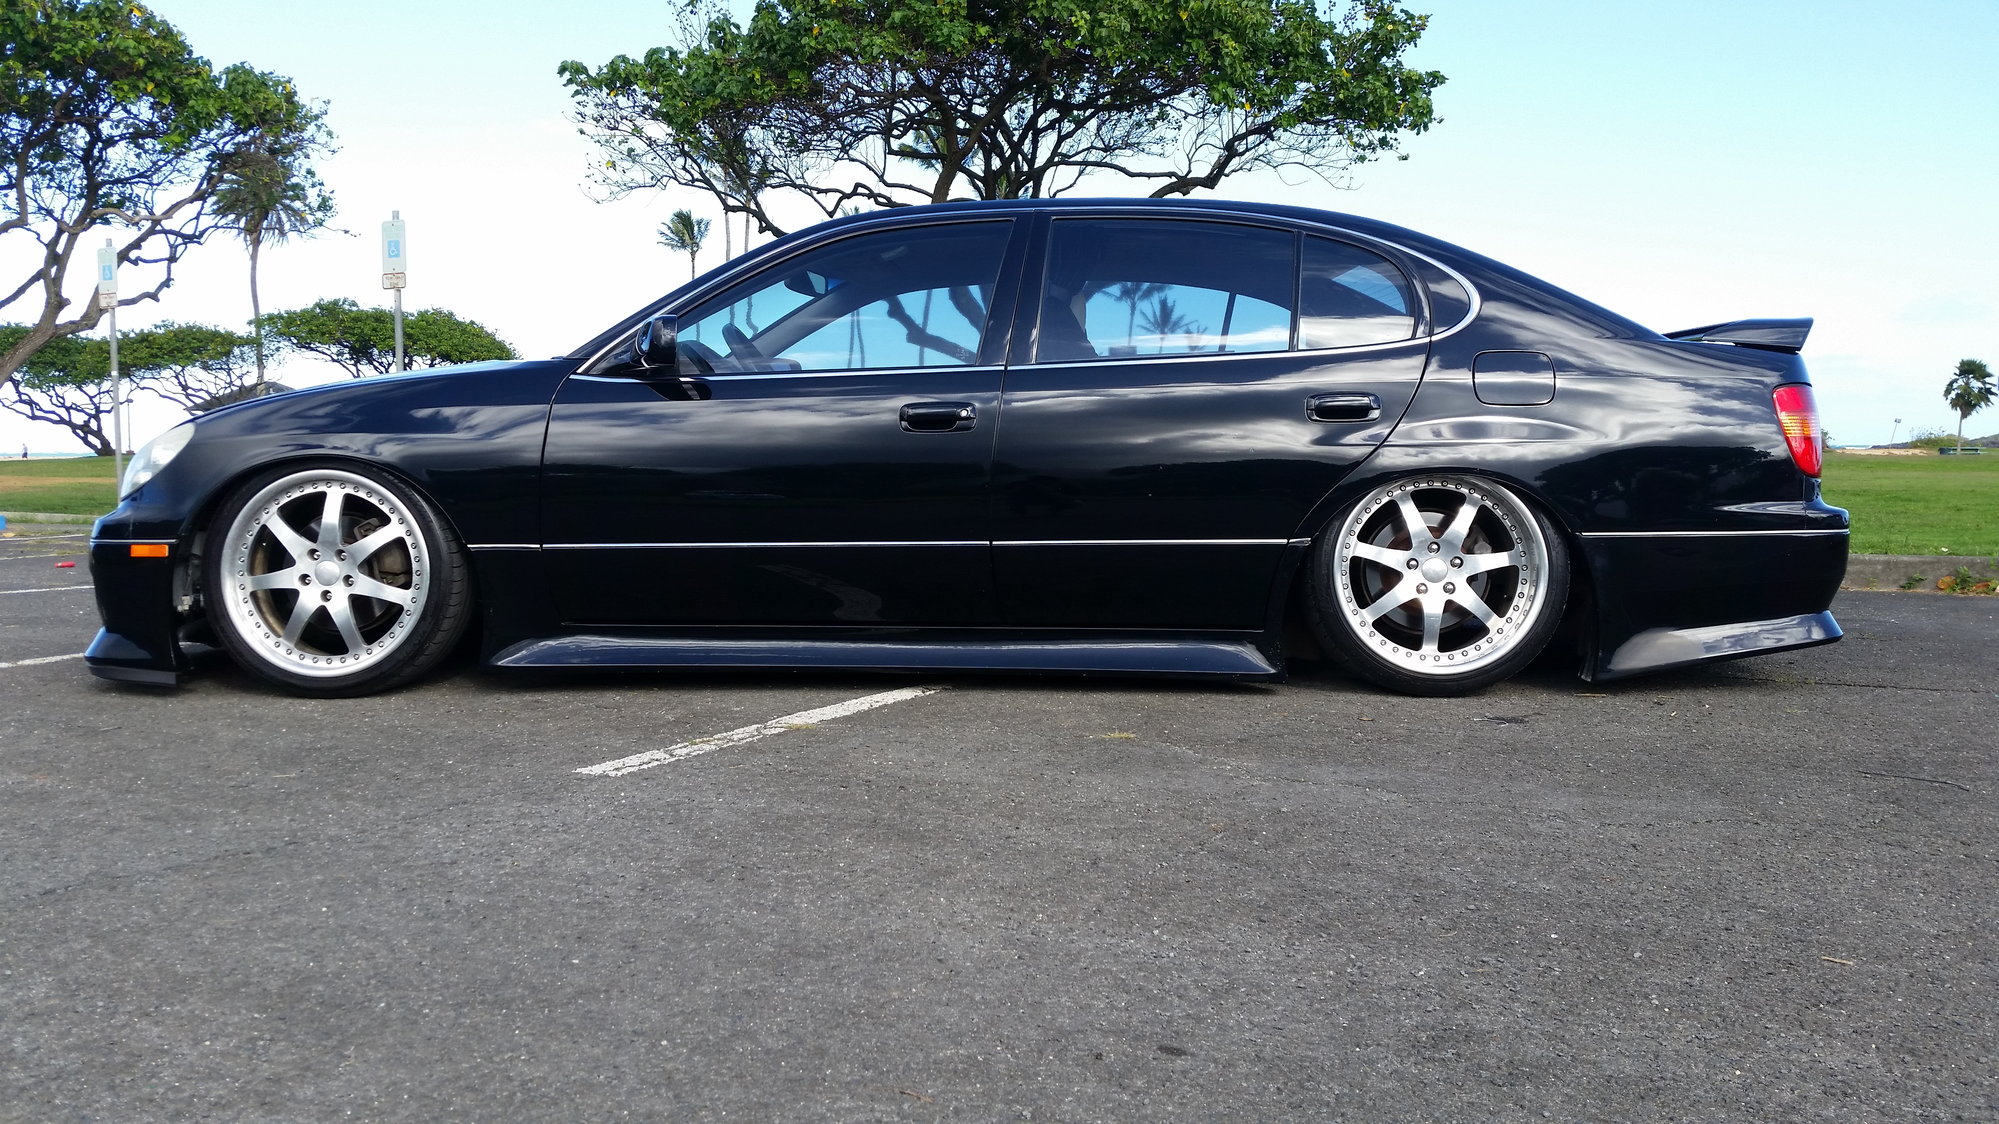
iForge sprint series 7 spoke wheels 19x8.5 19x10.5
Michelin pilot super sports 245/30/19 275/35/19
Veilside hood
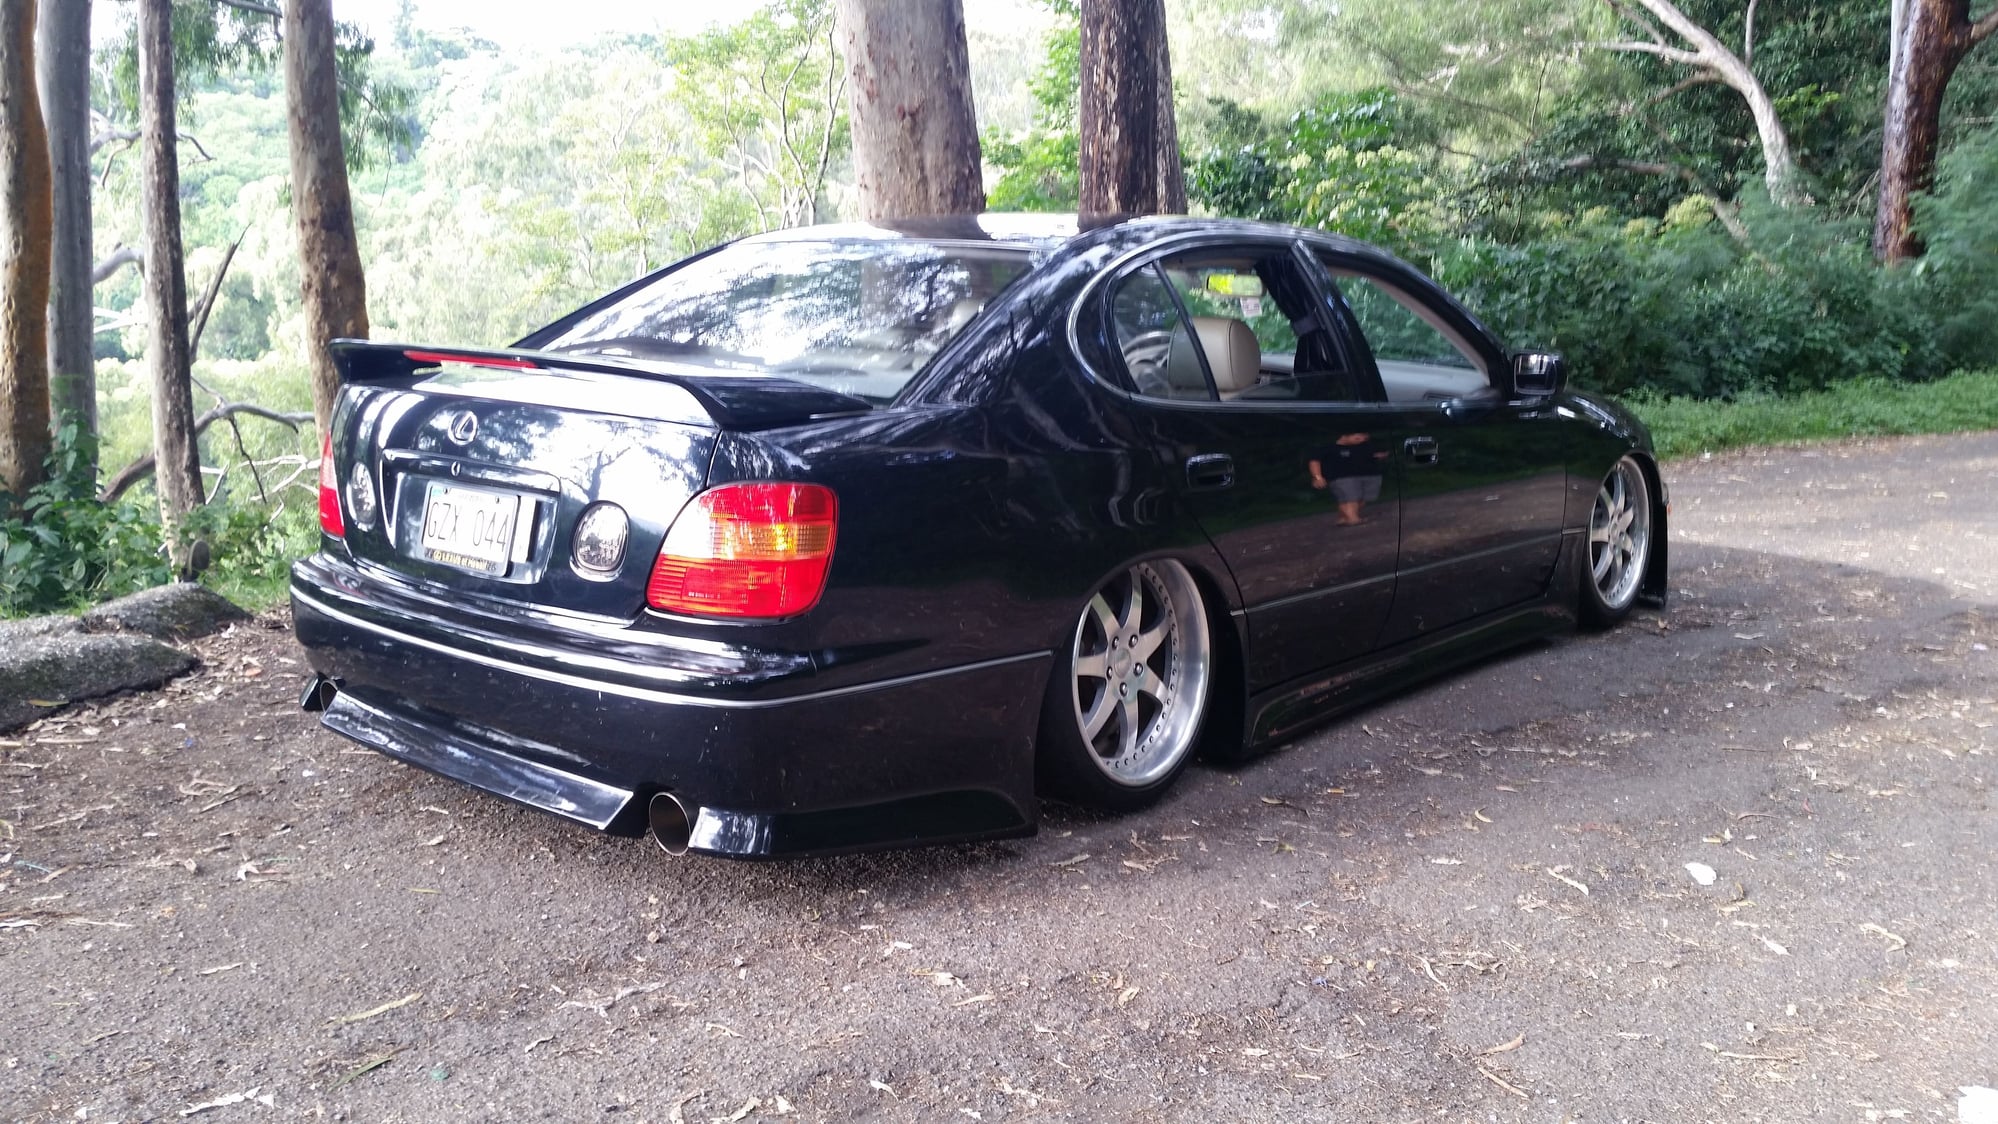
Vertex body kit
K&N cold air intake
Greddy exaughst
AirLift 3P air suspension
Custom black stretch velvet rear curtains
White led interior lights(of course lol)
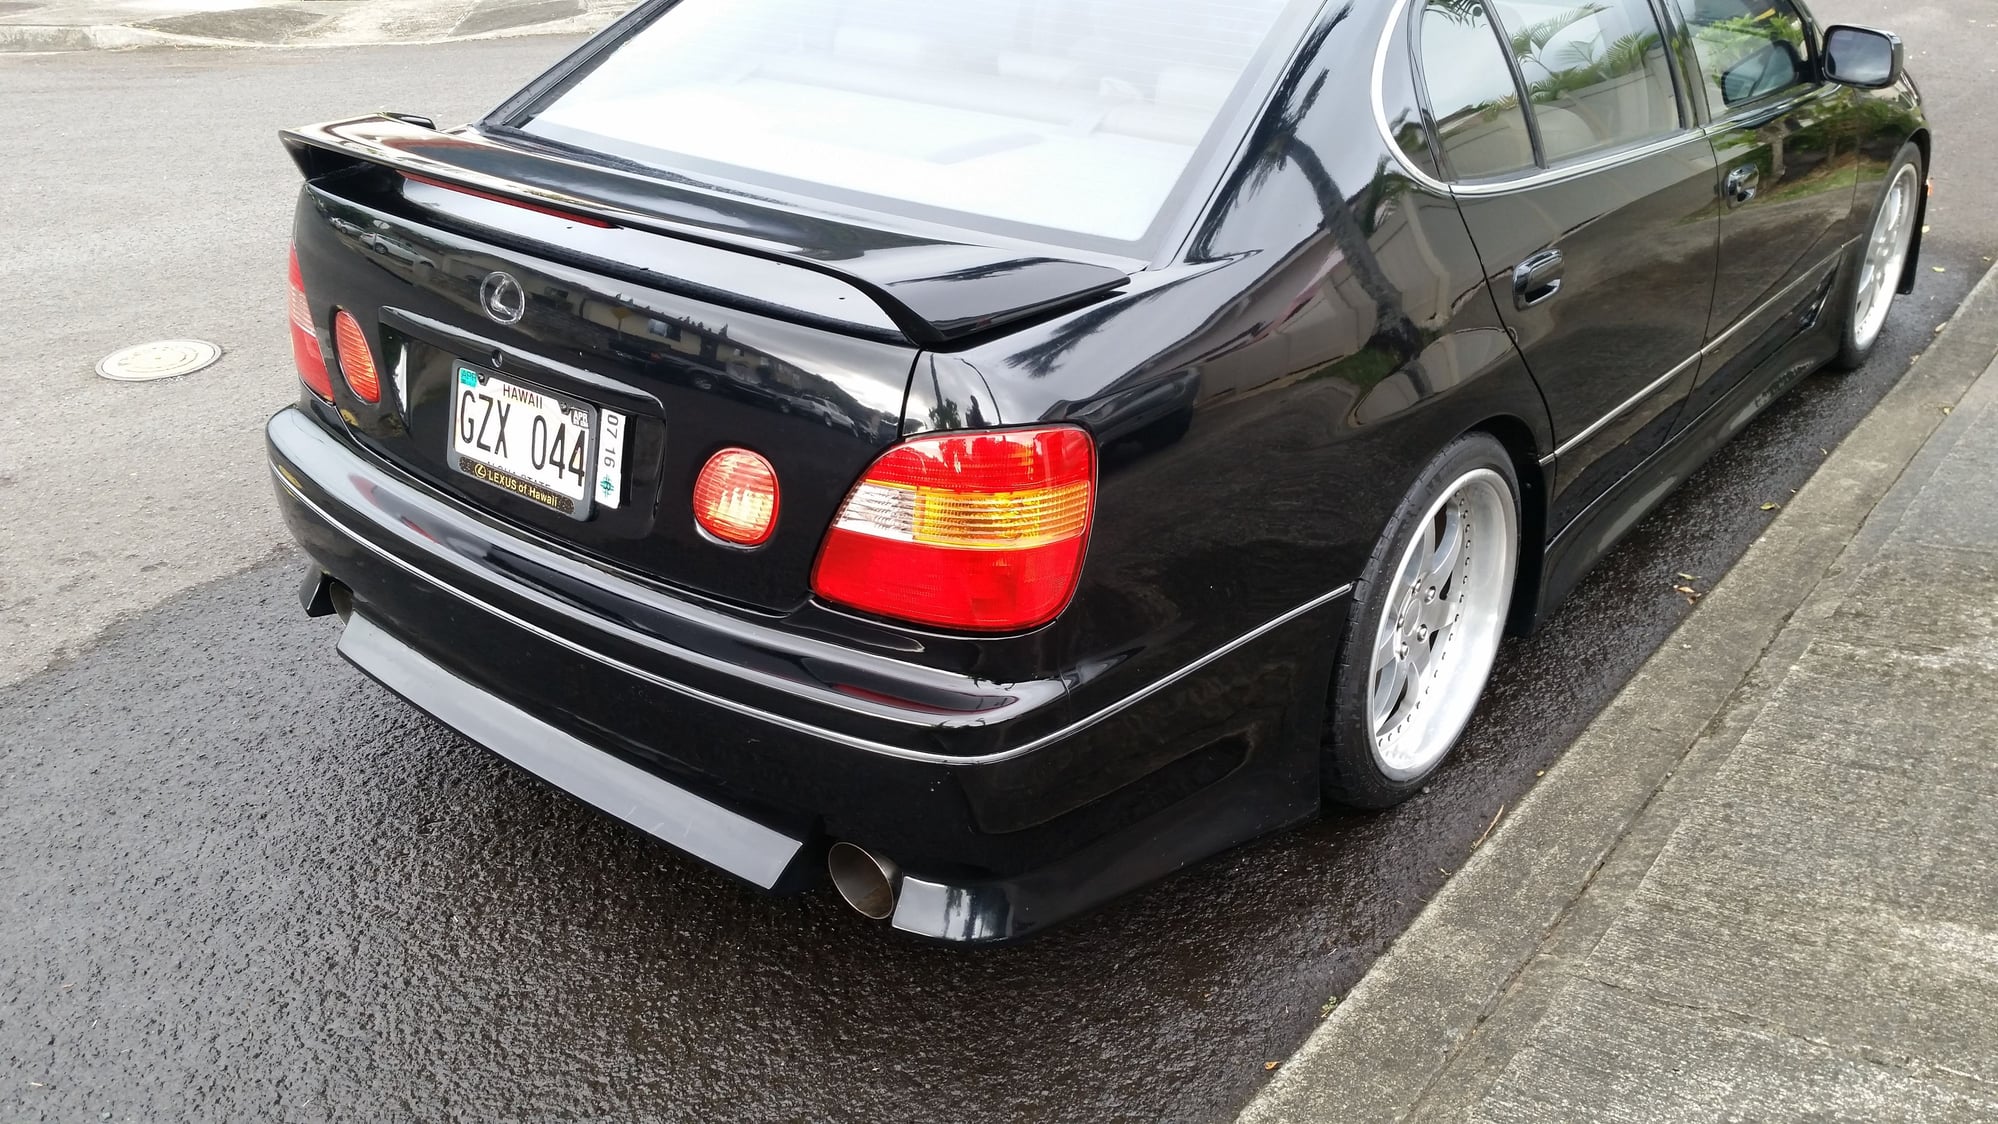
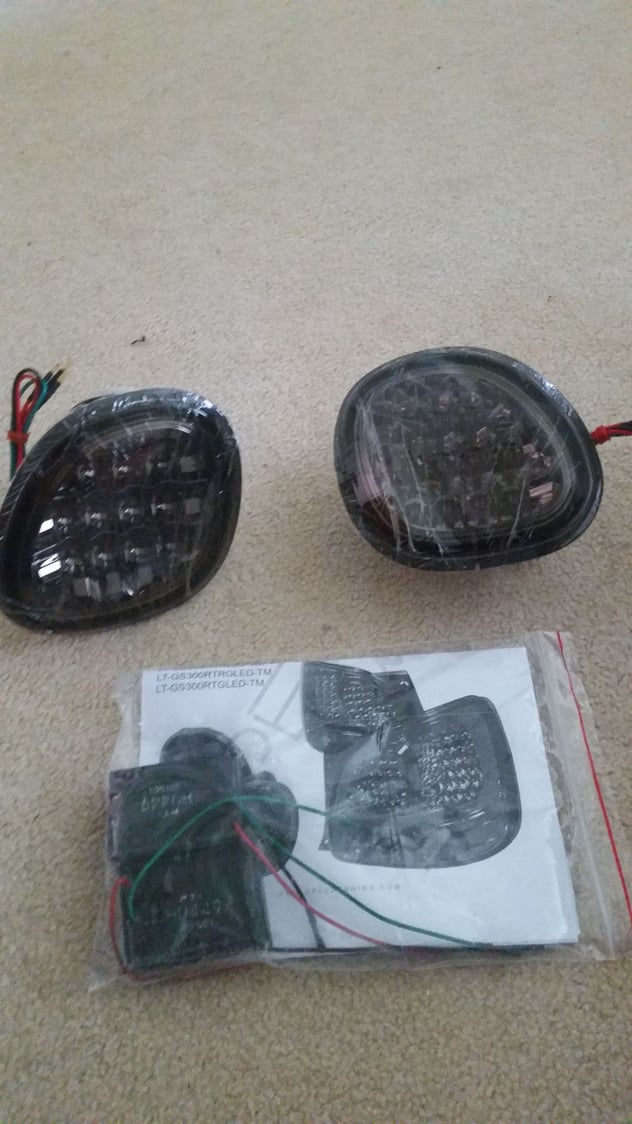
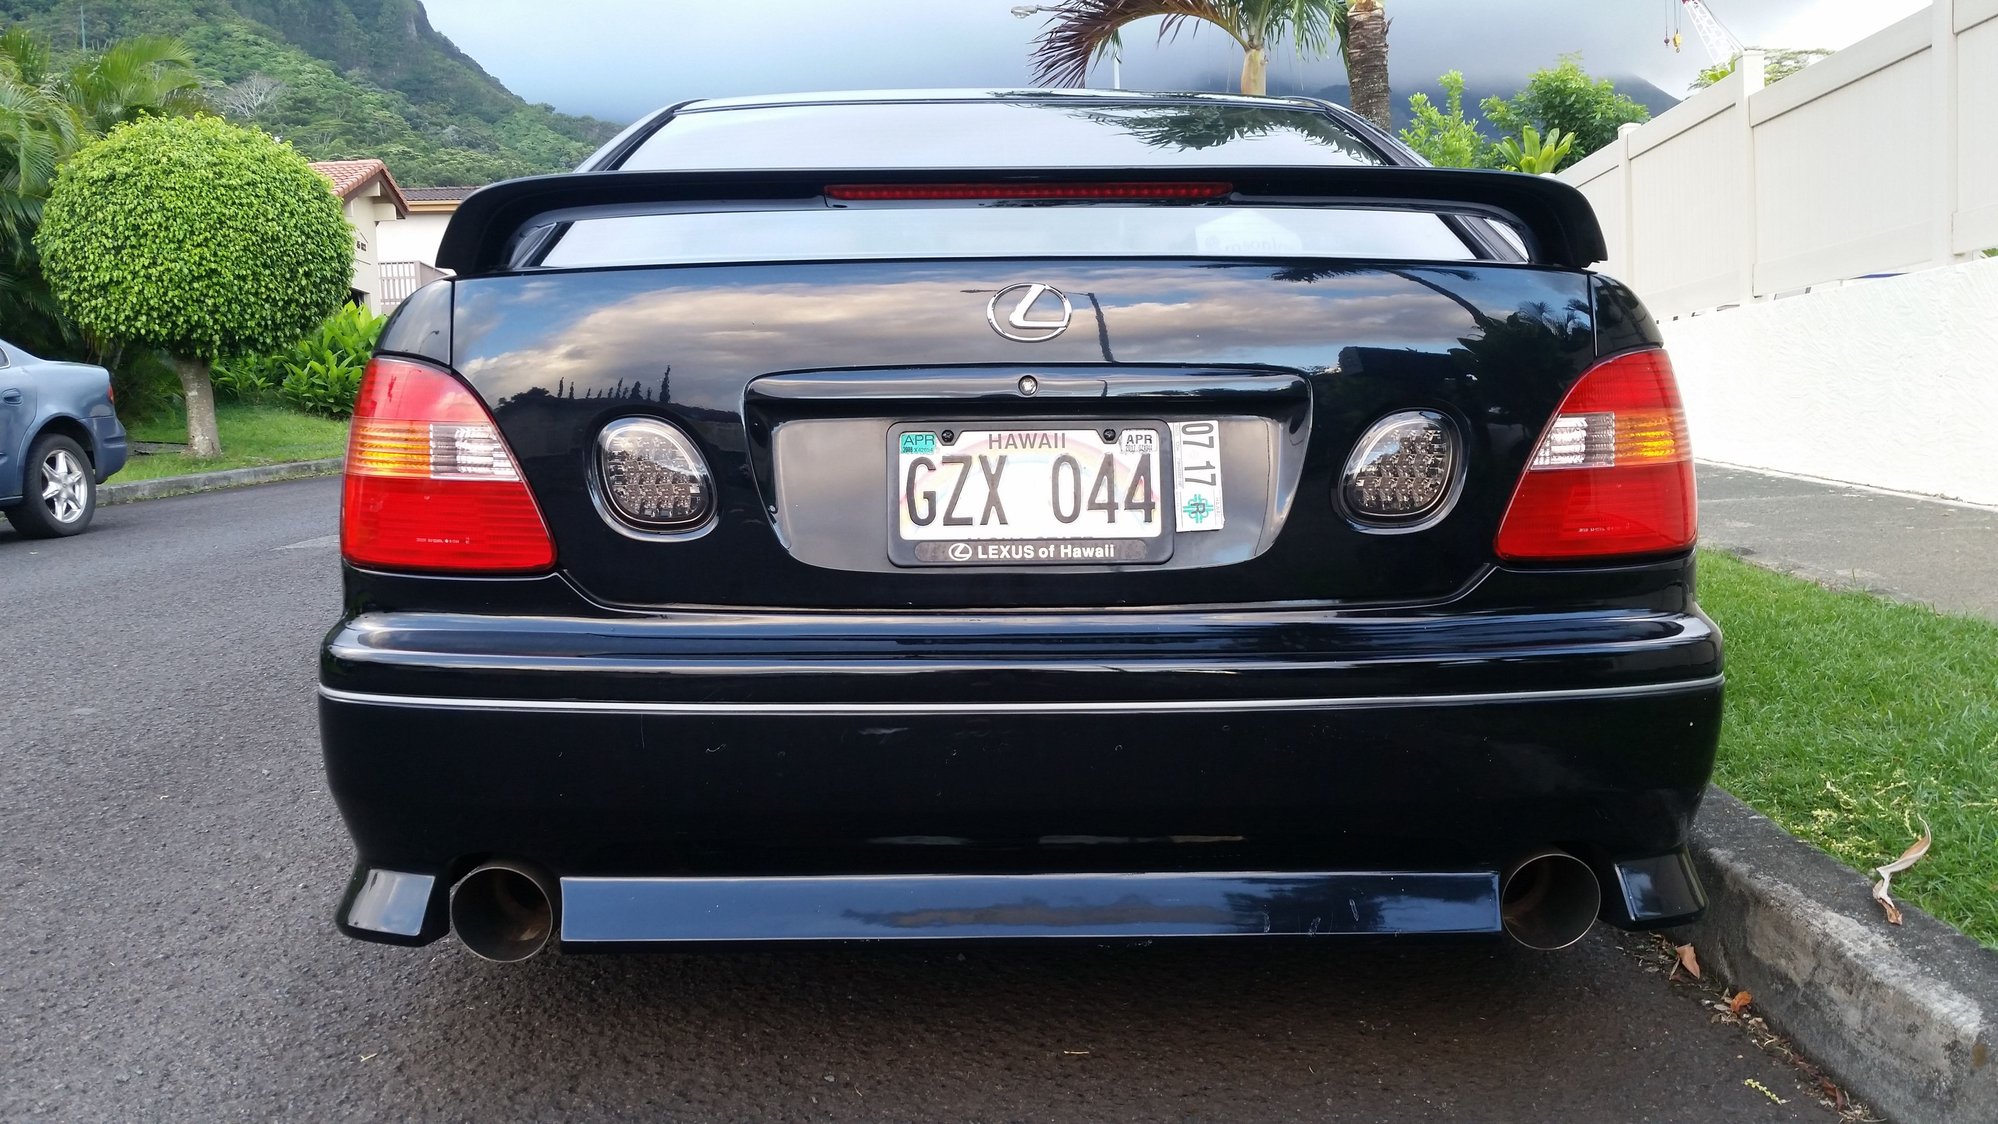
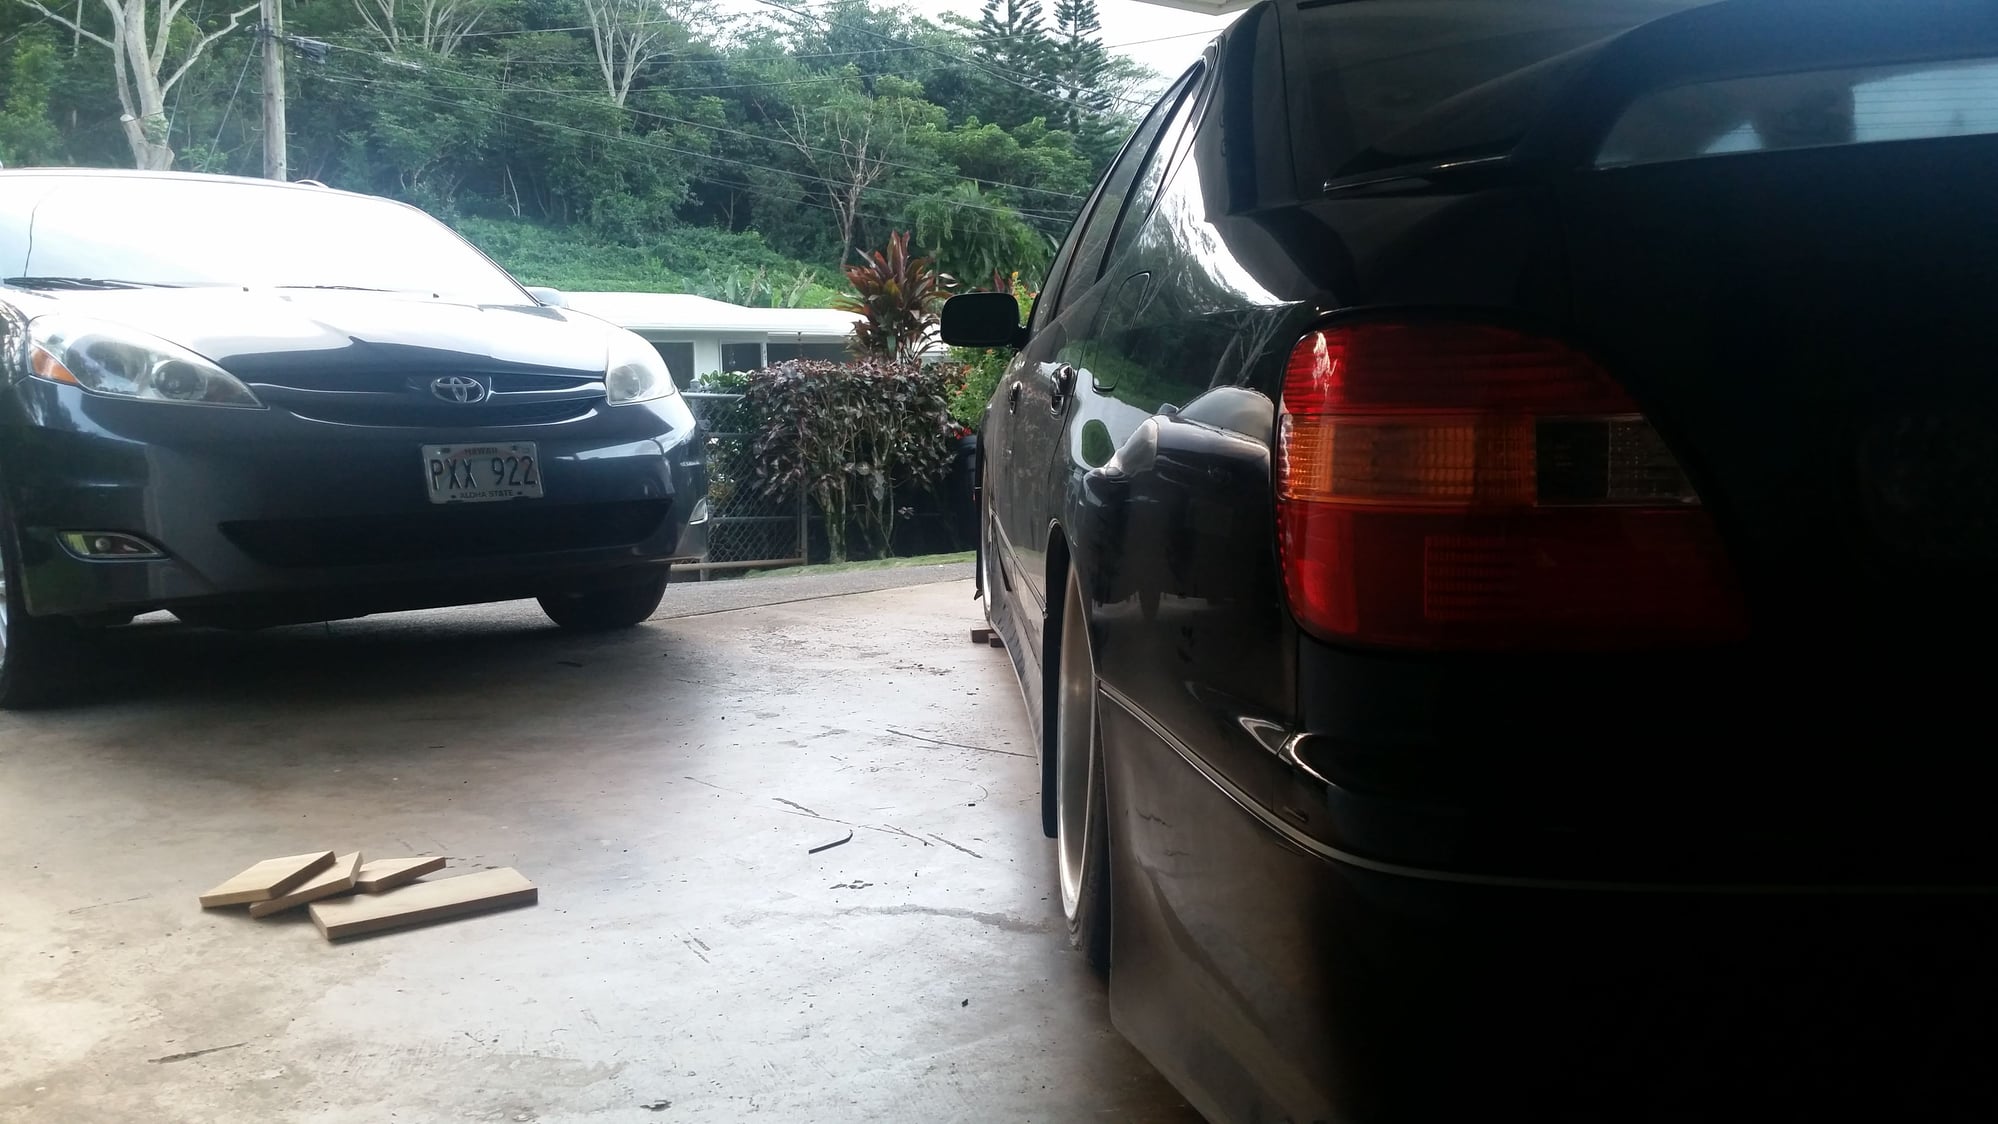
Braga Type 2 led tail lights
Got a lot to come soon. A change to my air tank, full sound system, full black interior, retro fit headlights, new tail lights
1999 Lexus GS400
Custom black with some blue/green flakes
Tan interior
Background on the car: I was fortunate enough to receive this car from my aunt. She didn't want to sell it because it was a little sentimental. She just said I have to detail her cars every so often and "uber" her and her husband to parties so they can drink haha. Totally worth it to me

When I got the car it was honestly in pretty rough shape and had been neglected for quite a while. Rims were heavily oxidized, paint was swirled and marred, just a lot of little things here and there which I wont name all of. But one thing that I cannot believe was one of those battery tender things that your can bolt onto the battery permanently was on the terminals and just laying on the side of the battery on top of an old microfiber towel with a whole corner frayed a couple inches down!
 fire hazard! Anyways, I had cleaned it up a ton and restored it to it's former beauty because I was interested to see how it would turn out.
As the title says this is my DIY VIP build. I will be doing as much to this car as I can by myself or with some help from others. Having another shop do work on this car is the last resort haha. I want to be able to at least help with everything that happens to this car. My goal is to have an older style VIP build, more clean and not super aggressive GT VIP style or all the pillows, headrests, tables, and such. This is simply because I like that style and it's also a more obtainable goal for me with the resources that I have available.
iForge sprint series 7 spoke wheels 19x8.5 19x10.5
Michelin pilot super sports 245/30/19 275/35/19
Veilside hood
Vertex body kit
K&N cold air intake
Greddy exaughst
AirLift 3P air suspension
Custom black stretch velvet rear curtains
White led interior lights(of course lol)
Braga Type 2 led tail lights
Got a lot to come soon. A change to my air tank, full sound system, full black interior, retro fit headlights, new tail lights

Last edited by SamsonLow; 09-12-17 at 12:07 AM.
#3
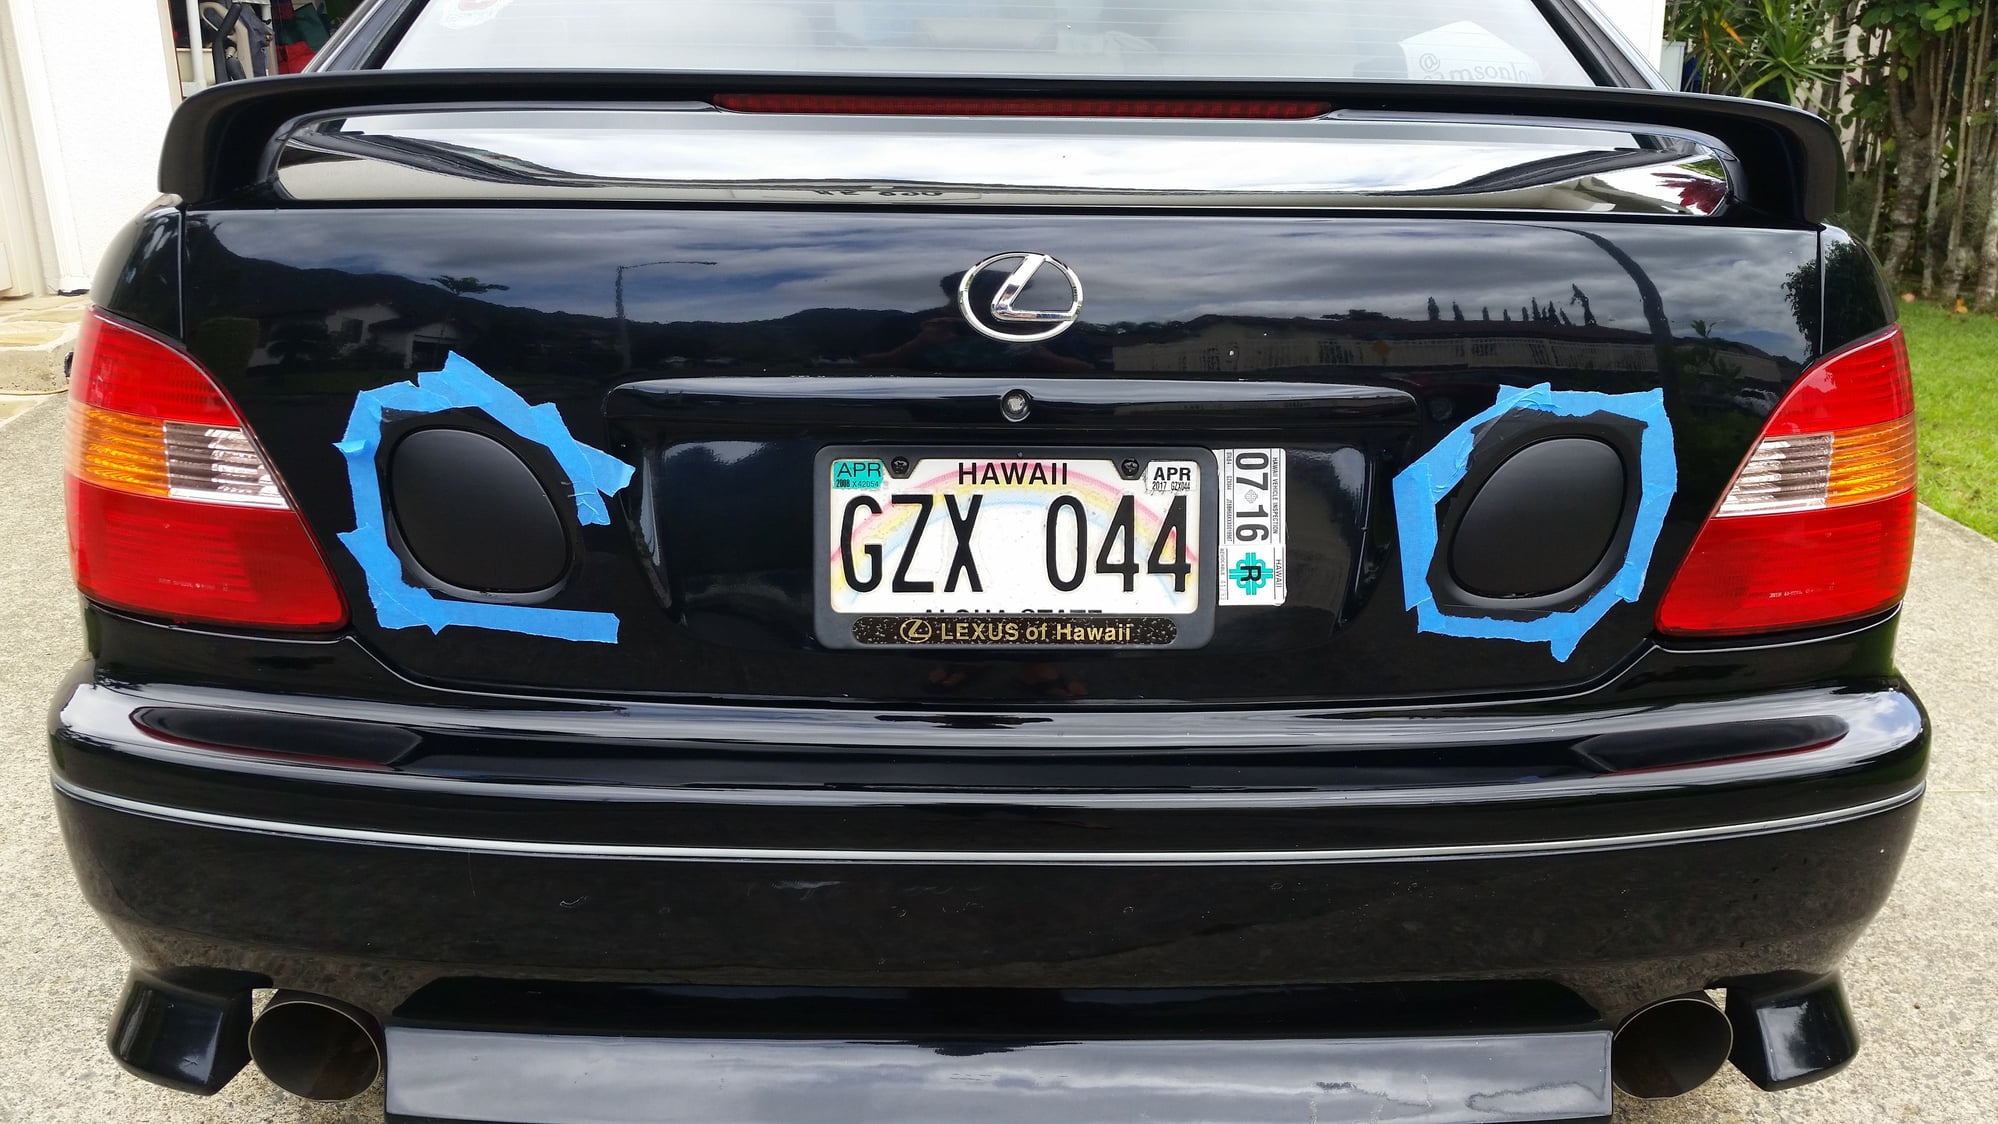
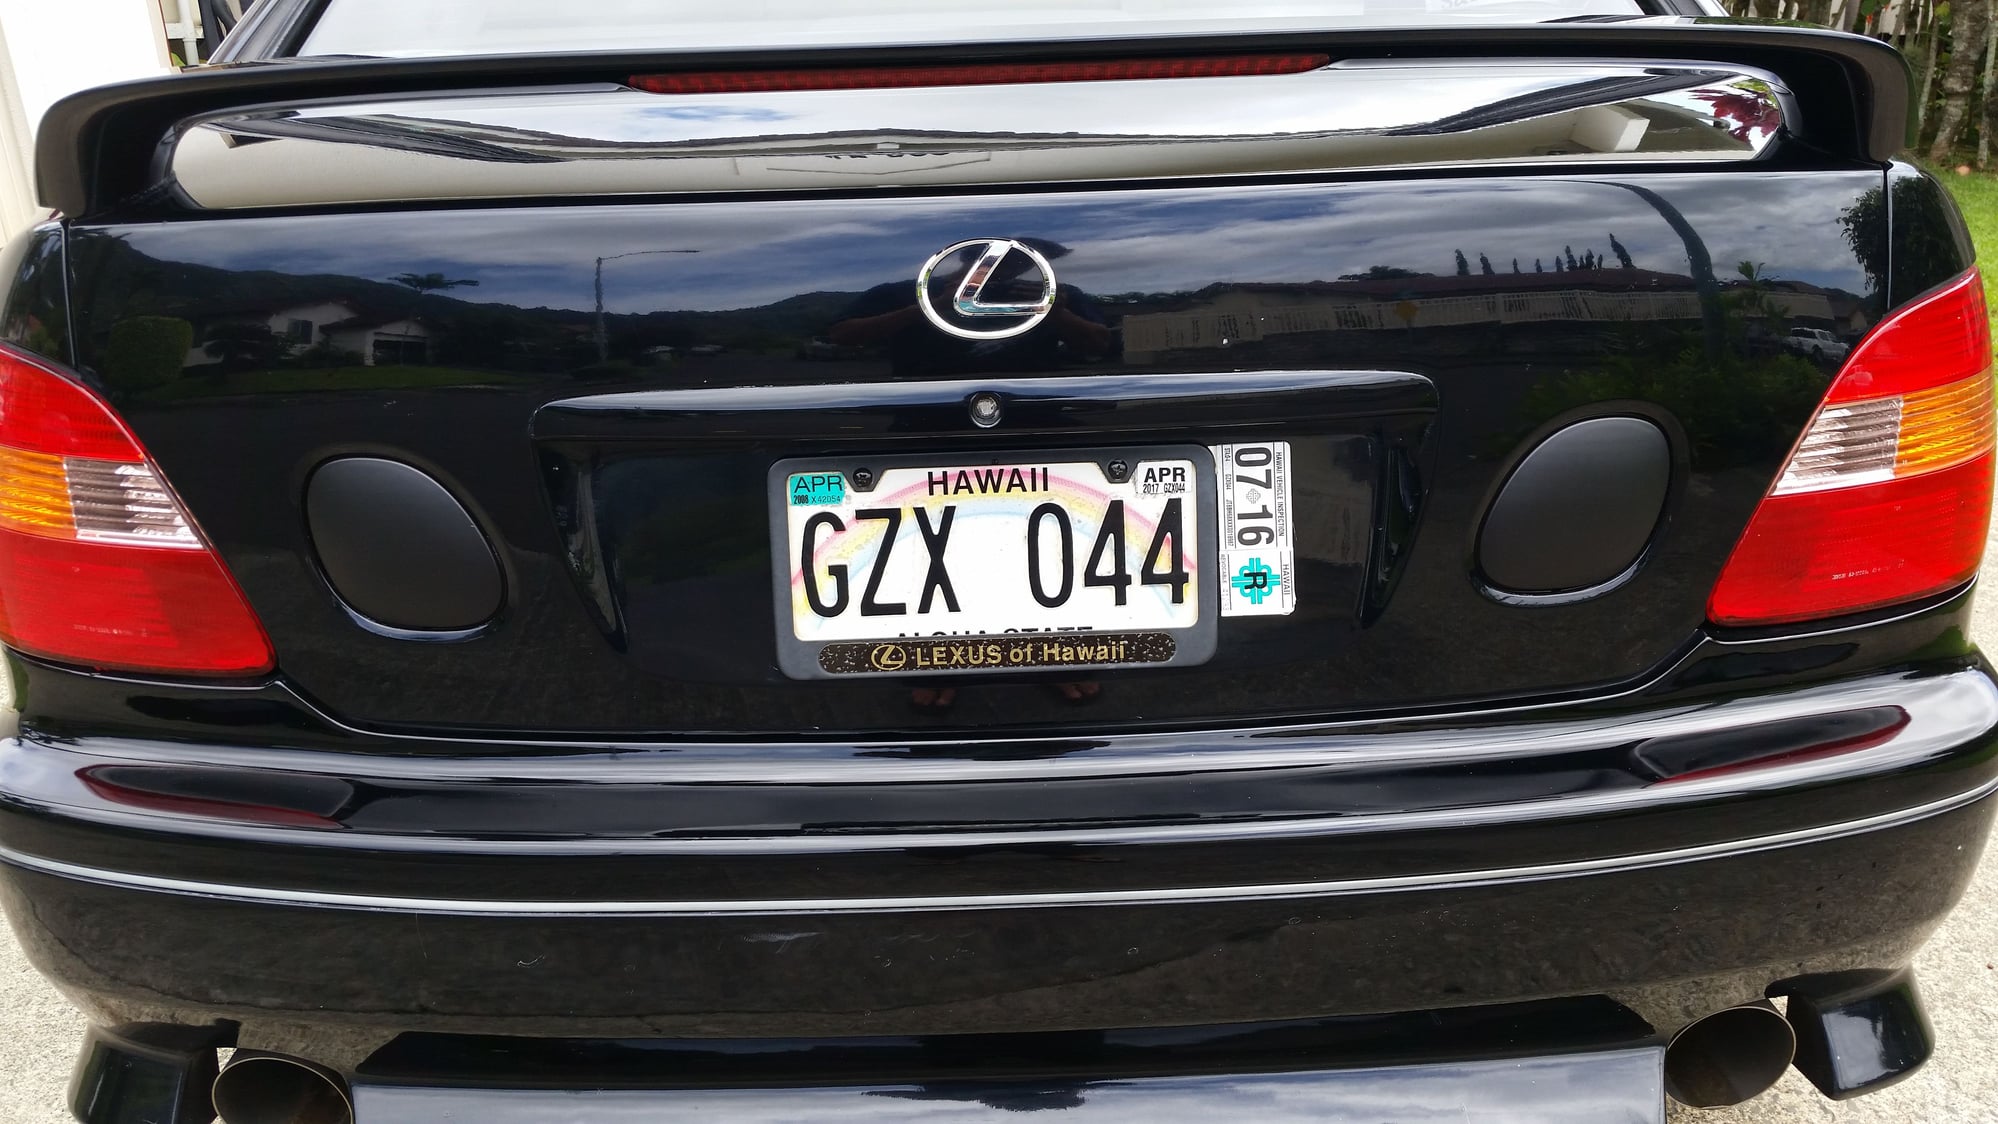
Couldn't stand the ugly faded pink inner tails which is a common problem with these cars. Plasti dipped black so they would still light up at night. Not a fan of the shaved trunk lights it's the iconic gs tail lights so I wouldn't want to completely get rid of them.
#5
I was just going off what my uncle told me the kit was but whenever I searched for veilside it was a different kit. Thank you for telling me it was a vertex! I'll edit the post. Thats it a veilside hood though, pretty sure at least. And I didn't want to put gloss on the plasti dip as it makes it harder to peel off. I'll update the thread with my new inner tails.
Trending Topics
#8
#9
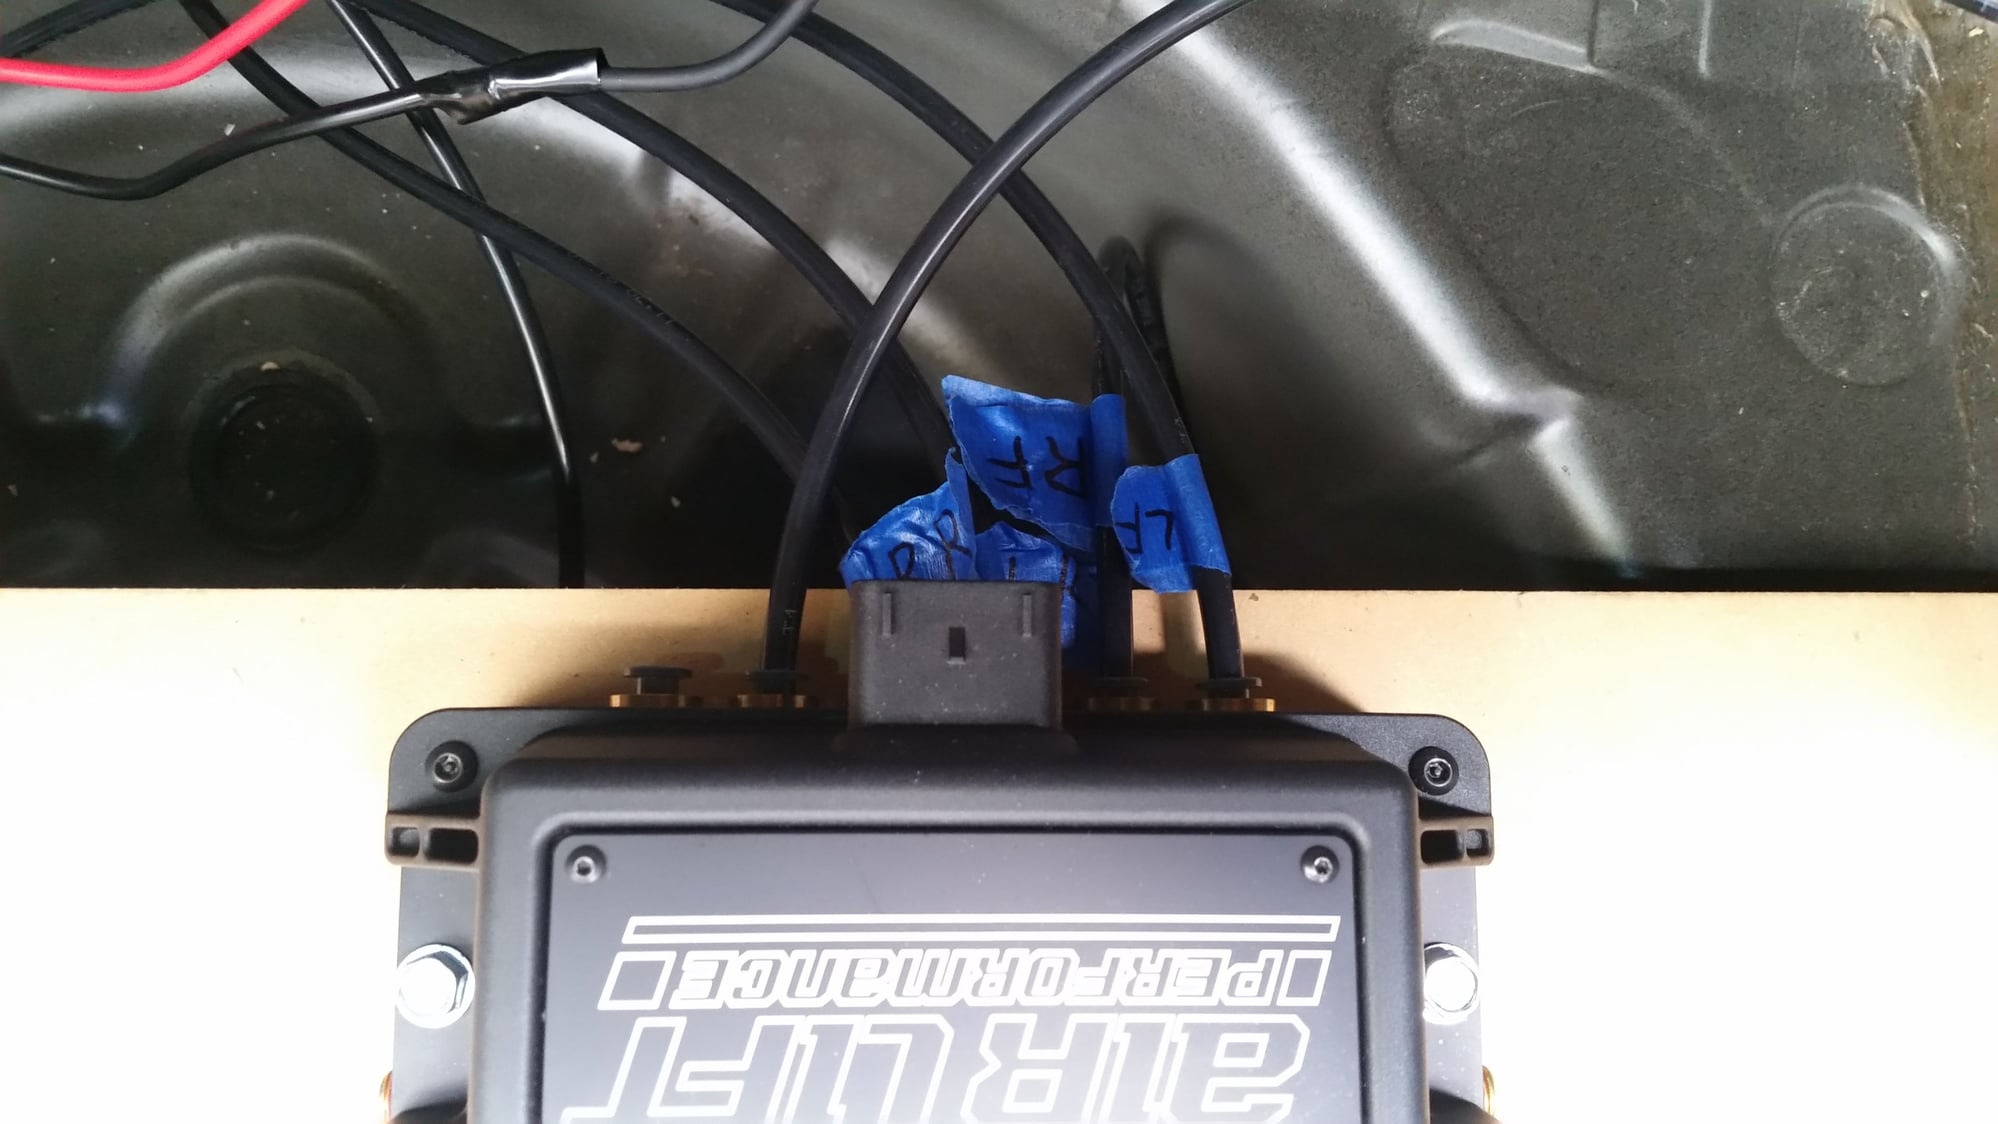
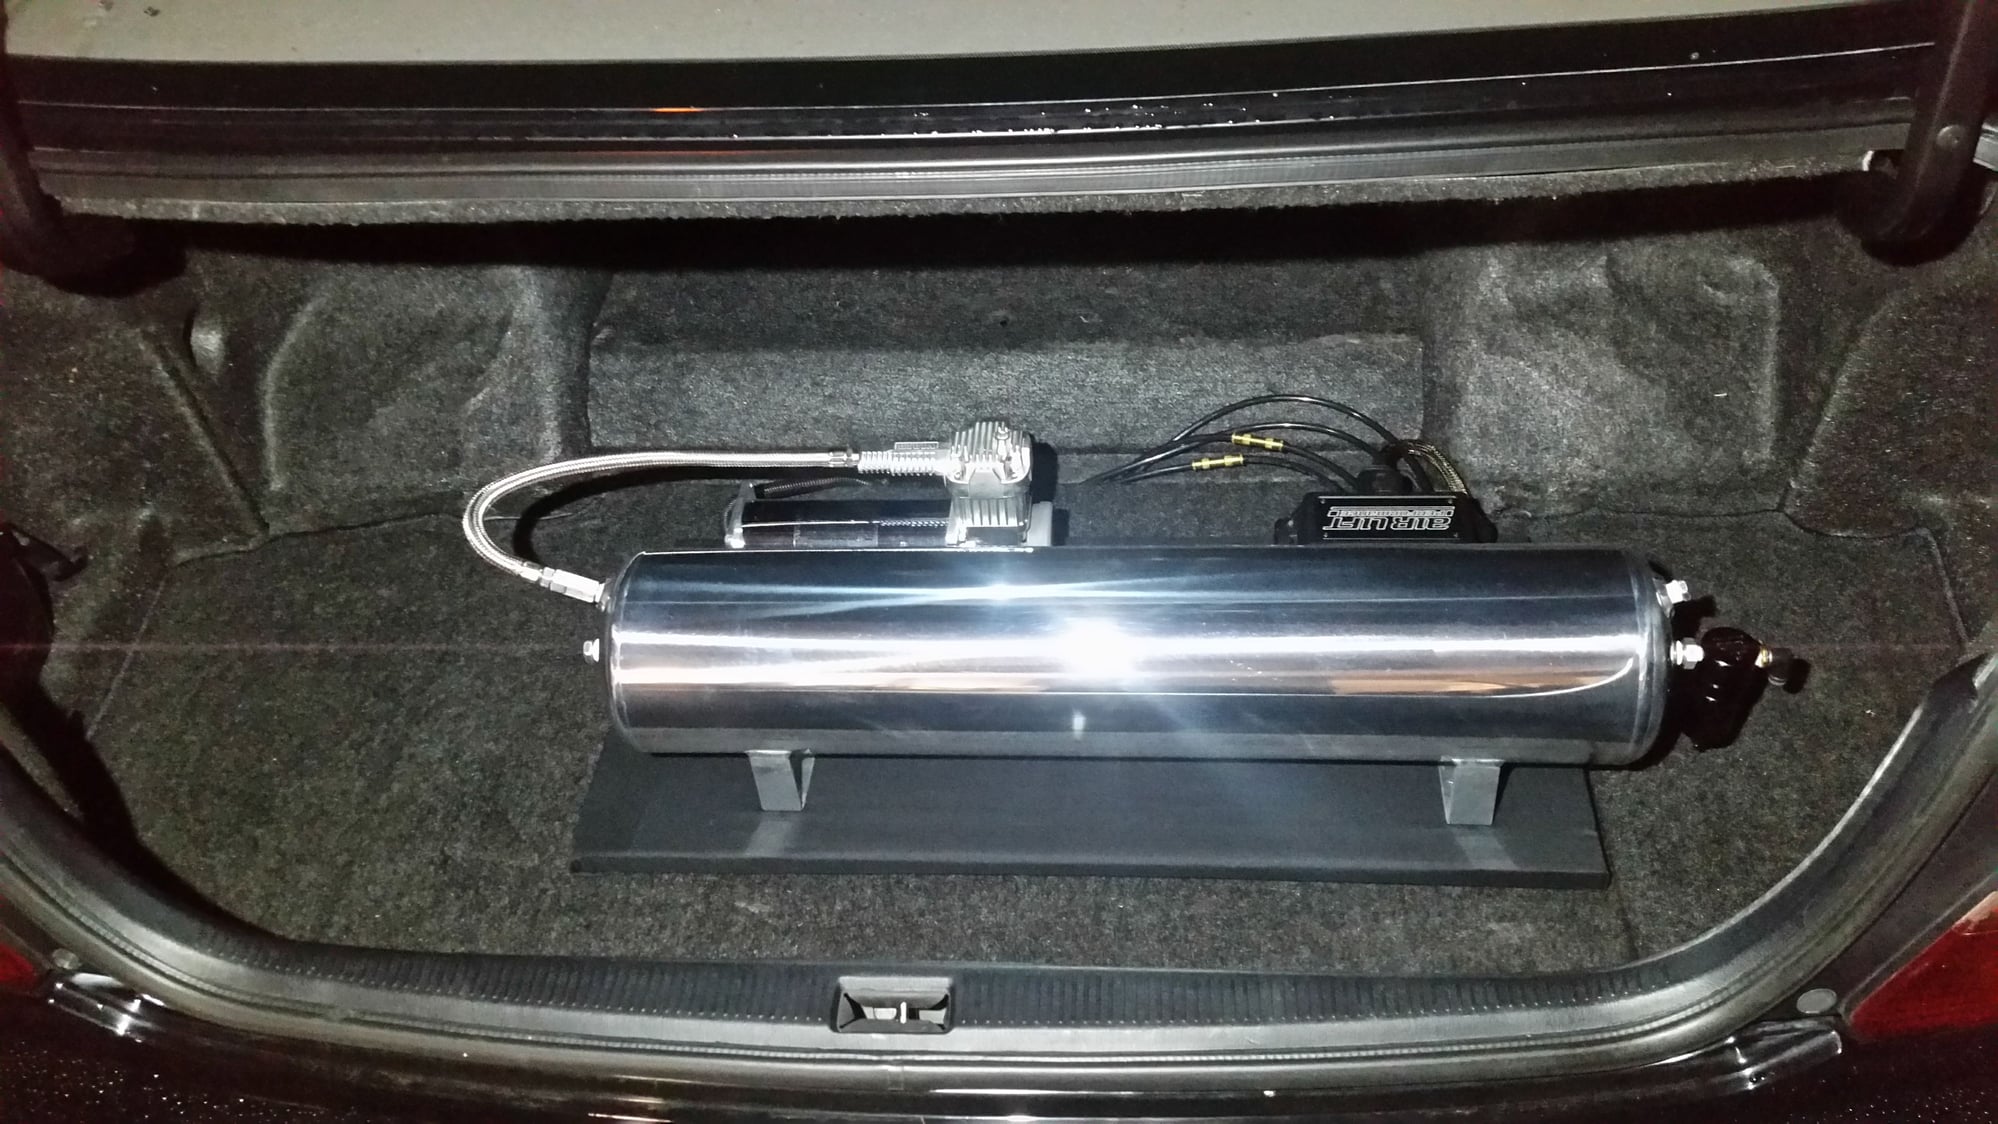
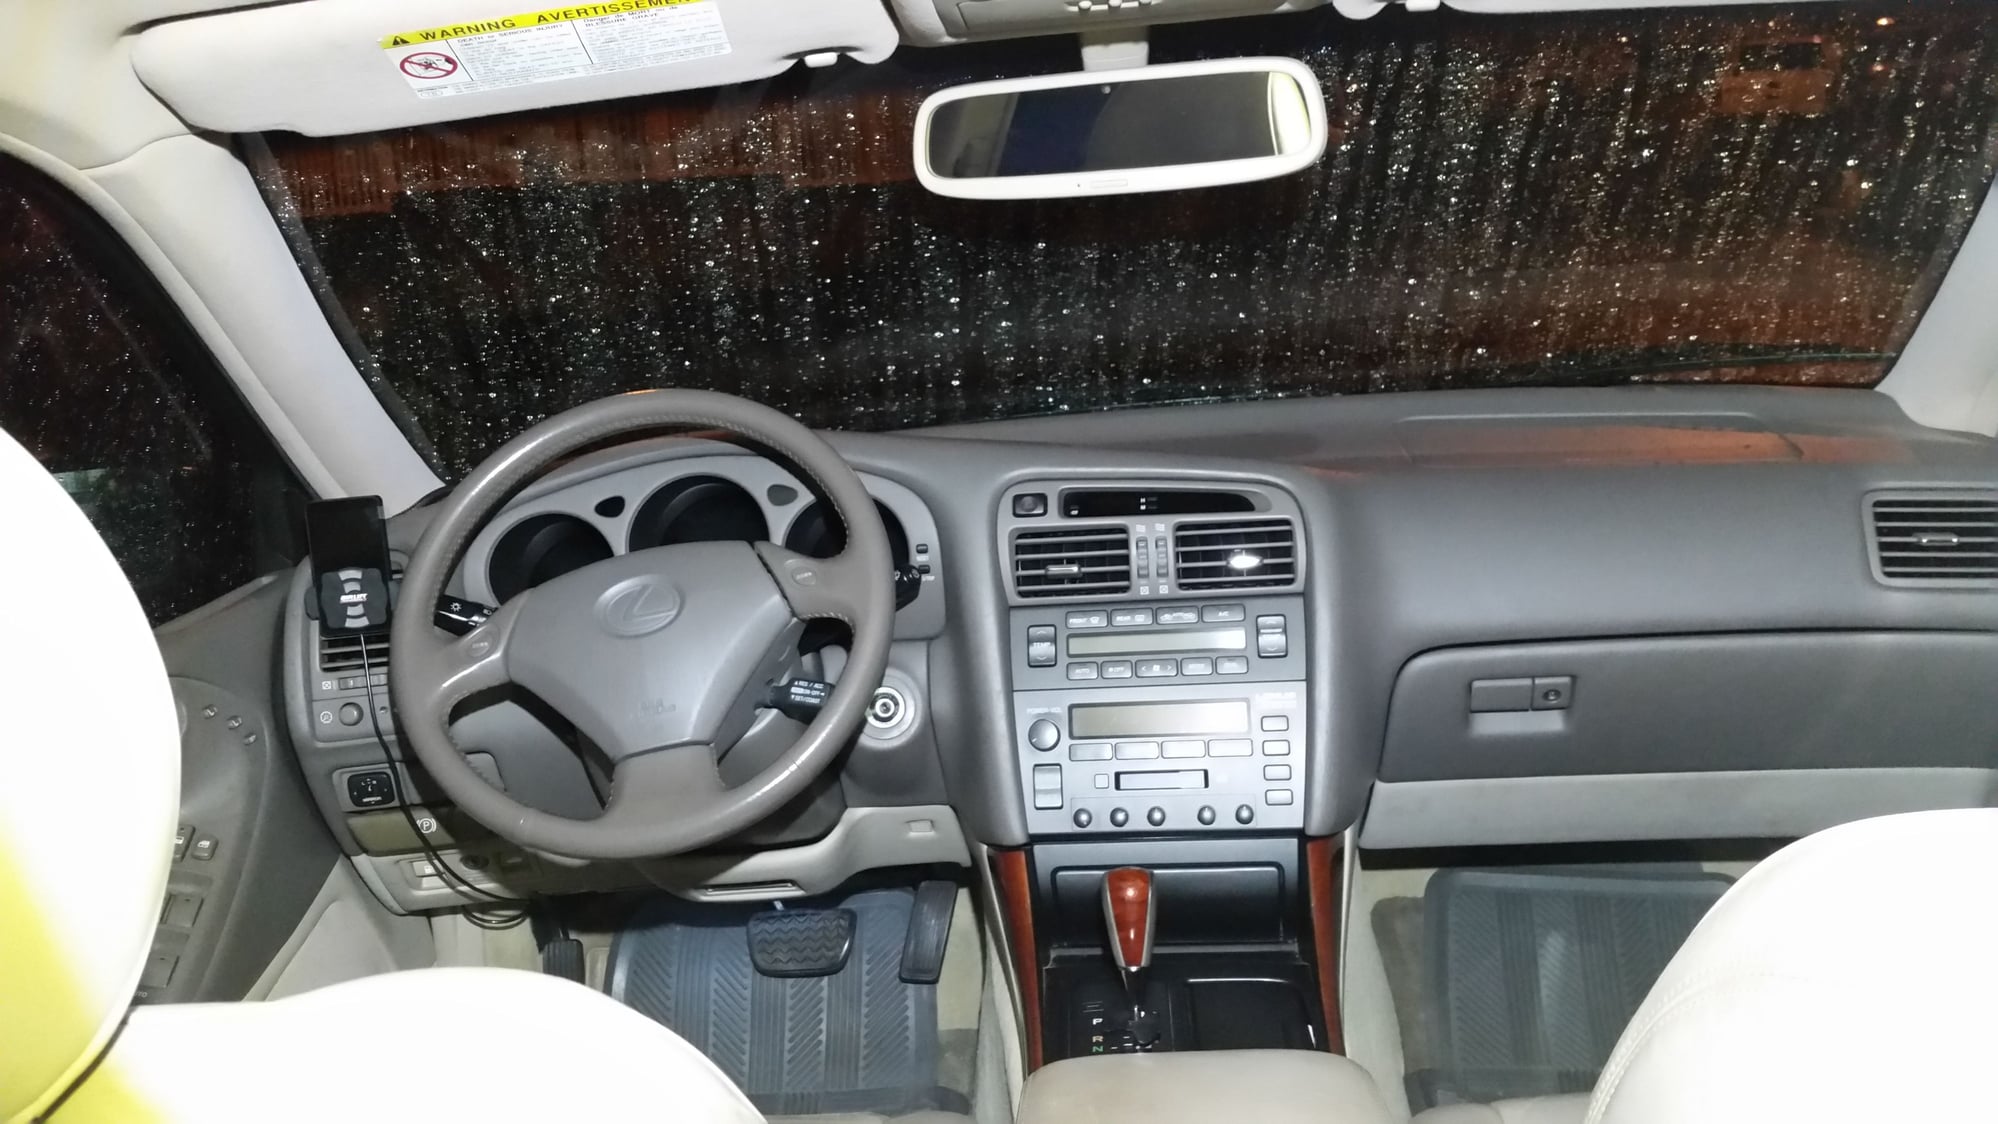
Recently installed the AirLift 3P system. Temporary set up but it'll work for now. I have surprisingly little pretty much no pictures of the process but I do have some videos as I was trying to make a tutorial but ran out of large time blocks to intall and film so I just worked on it a few hours here and there till I finished so I didn't have time to record video and I forget to take pictures when I'm working on my car. Anyways, nice aired out pictures to come!
The following users liked this post:
ryystrr (12-20-23)
#12
#13
Ok I've been super busy with life lol. I have been collecting parts for a while now and am currently installing everything. I will post pictures when I have WiFi lol. But for now I will list what's going in.
Car Audio:
Alpine type R 6.5 component speakers (speakers & tweeters) in the front
Alpine type R 6x9s in the rear doors
12 gauge ofc for each door speaker
Kicker 400.4 to power all door speakers
XS power 3400D battery
Stinger battery terminals
stinger distribution blocks
Full 1/0 awg ofc wire for both amps and to ground
2x sundown SAE dvc at 4 ohms each coil 8" subs (finial impedance will be wired to 1 ohm)
Kicker DX 1000.1 to power the subs
Alpine 6.5" deck with video bypass. Don't know the model number but it's fully loaded with Bluetooth and back up camera and video outputs and so on.
Air Suspension:
2x AirLift 2.5 polished aluminum tanks
2x Viair 444c compressors
AirLift Manifold
Viair solinoid (runs both compressors. $30 part vs $125 harness)
4 gauge wire to power the compressors
SMC AMG150C-N02D Water Separator (Original AirLift one broke so I'm upgrading)
I think that's it lol, pictures probably won't be the best since I usually don't have much tI me so I just dive in and start working and forget to take pictures. STAY TUNED!
#15
Thanks! The AirLift kit was super easy to install actually! It's pretty much like wiring car audio and installing coilovers put together. You have to run you power, ground, turn on, and controller which all connects to the harness. Then just install the struts and run the air lines (I ran mine near the brake lines to the trunk), connect the compressor to the harness and to the tank then the tank to manifold and plug in the air lines to the right spot, leave the exhaust hole open and that's it!


