When you click on links to various merchants on this site and make a purchase, this can result in this site earning a commission. Affiliate programs and affiliations include, but are not limited to, the eBay Partner Network.
I can't leave well enough alone, hence tinkering with my latest IS. Was happy with my previous Blue Lightning IS here and want to perform similar mods this time too.
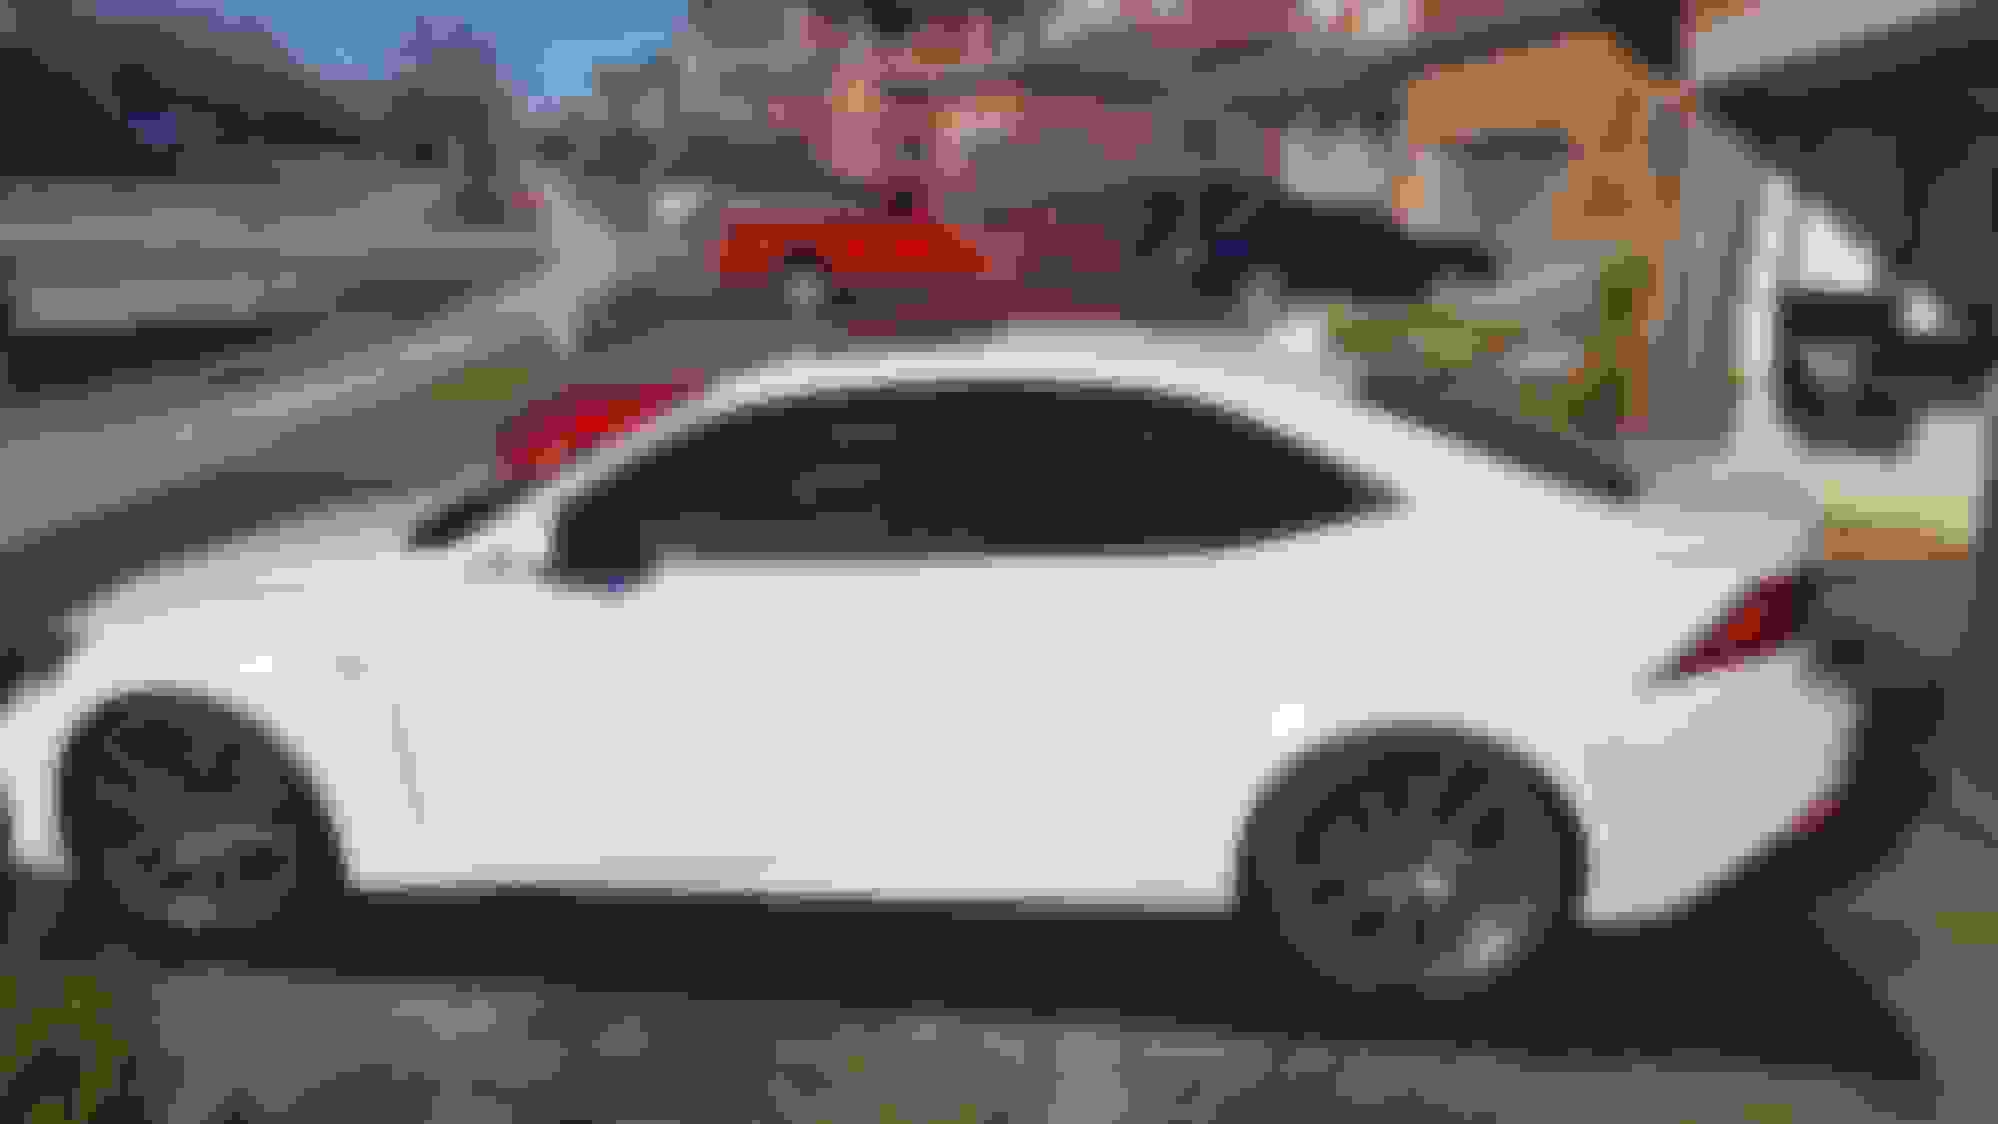
Here we go with "Wave 1"
- 35% all around Tints
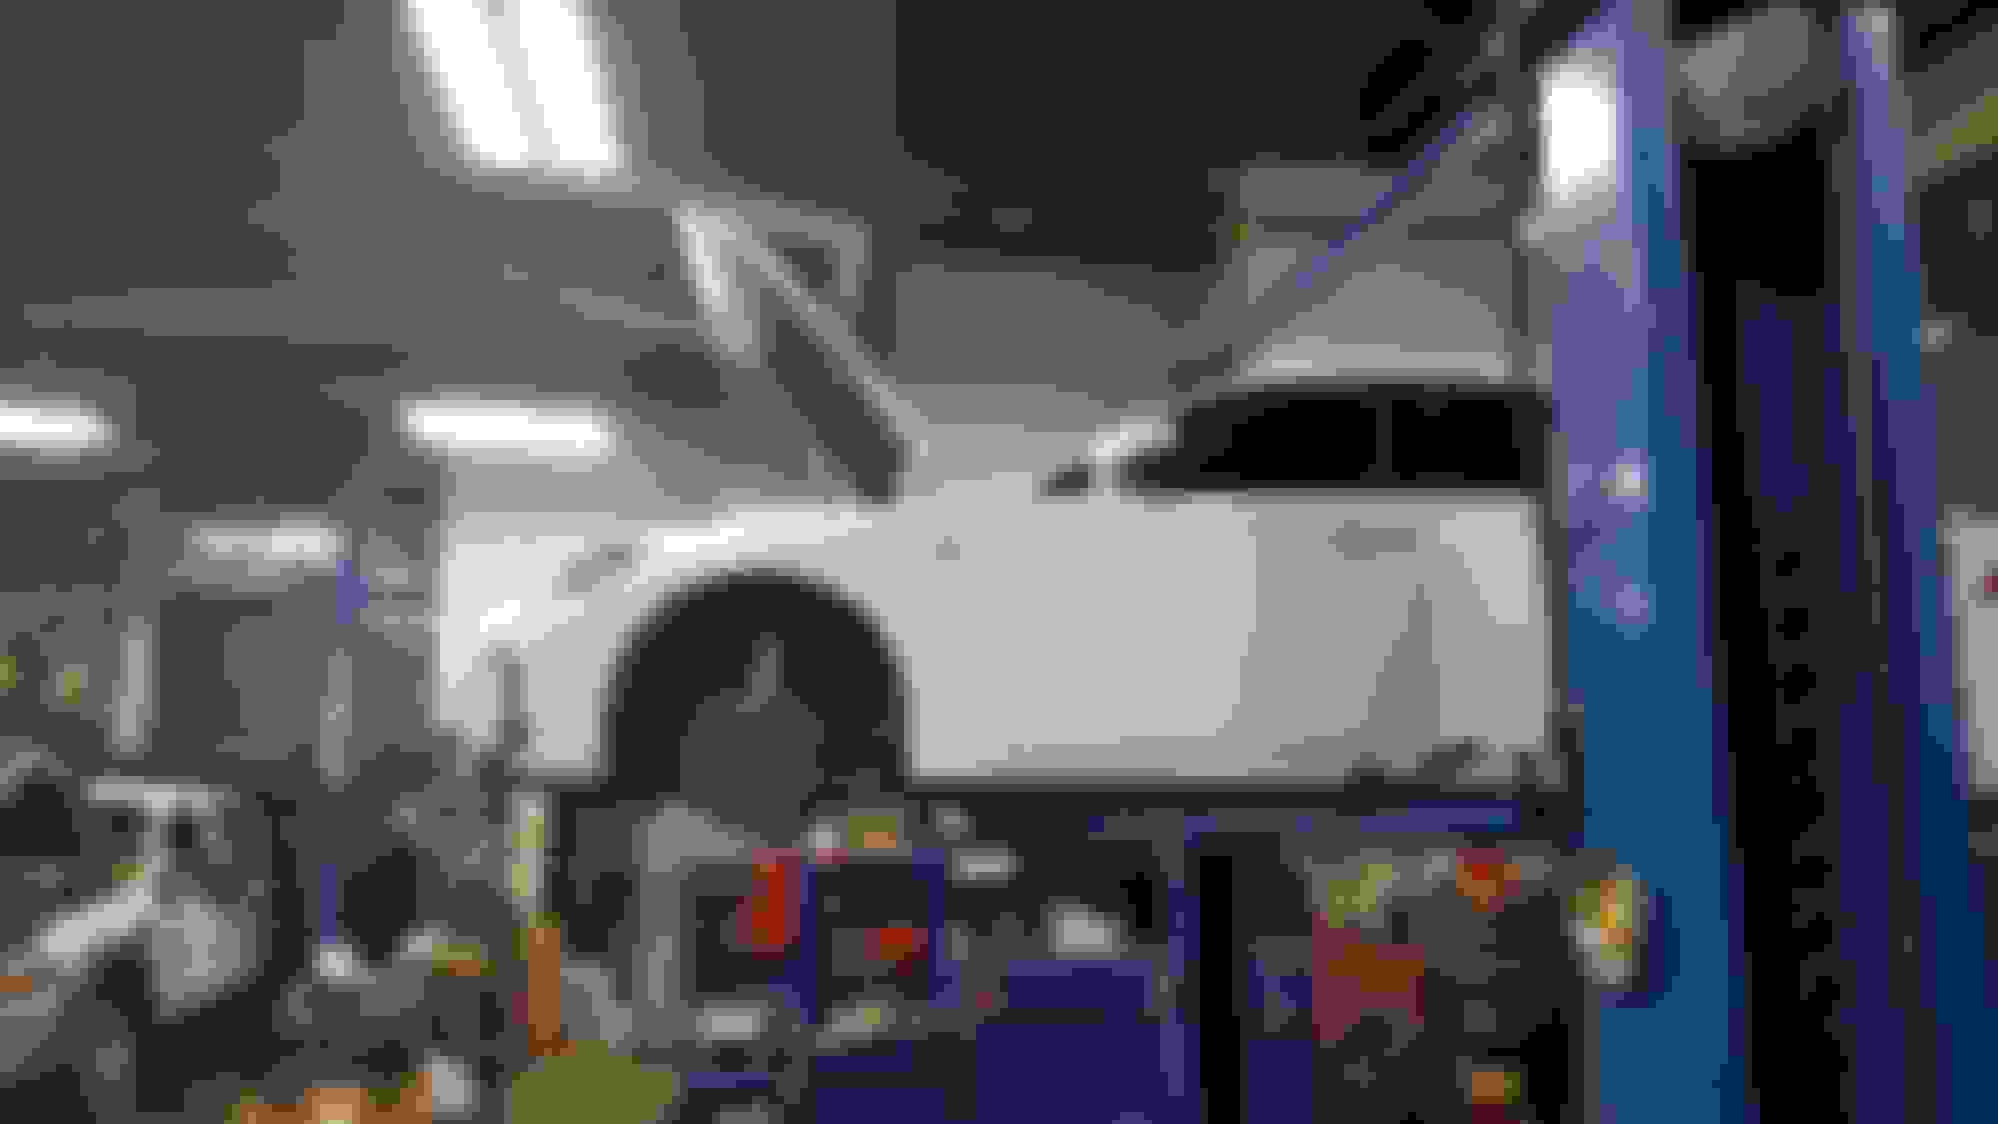
- Neo Motorsports Blue Coilovers
Thanks! So what I gather between this pic and the last one is that the Strut body also has a height adjustment as well as the adjustable spring perch for the vehicle. Mind Blown!
Thanks! So what I gather between this pic and the last one is that the Strut body also has a height adjustment as well as the adjustable spring perch for the vehicle. Mind Blown!
LOL, to be honest it's my first experience with coilovers so I guess I'm not appreciating this. I wanted to try a local company and coilover that was affordable.
LOL...i recognize that tube...here is mine...
I plan to DIY it also, just waiting for a little warmer weather when I have the time...more so the time. My tube actually has 3M 1080 gloss black in it...I guess the eBayer didn't have a 3M tube.
Looks great from here man!
I have like a million questions, but will limit it to 4:
1. How did you cut along the drip rail area? Cut line tape or just mad freehand skills?
2. Antenna removal...did you do it through the map light or drop the rear of the headliner?
3. Sunroof opening...did you wrap it all the way inside and around the sheet metal edge? Can you post a pic of the sunroof opening.
4. Did the squeegee swirl marks come out after heating it up? As per your third to last pic above
Thanks in advance for any info you can provide...it will make my install go that much smoother.
FYI...an Obsidian black shark fin antenna cover is about $30 from the dealer. I may go this route instead of trying to wrap the shark fin in one piece.
From close, it's not perfect and a few lessons learned. For starters, two people will make the job easier when initially placing the piece since two people can both pull in opposite directions creating the tension you need to limit folds and creases. Once you have creases, it's tough to "iron them out".
Another thing I'd do differently is after sliding the moonroof inwards (before putting the vinyl on the roof), don't cut the vinyl opening yet (like I did prematurely) until the whole vinyl is stretched and squeegeed everywhere else on the roof. With the hole I cut out, I lacked the pull strength I needed to pull the vinyl up and towards you (which you'll do several times) to smooth out the folds.
1. Freehand exacto knife.The channel is fairly narrow such that it helps guide the blade somewhat as opposed to on a flat surface (there I'd have a tape guide).
2. Wrapped it on top. It's in two pieces per the prior pic so a line shows up close. If you want to save the headache of removing the headliner, C-Pillar, etc, I'd pay the $30. I may just do that myself.
3. Yes, but it's sloppy as I didn't care much for the finish there. A few folds and creases exist around the bend. Sorry pics missed the bends.
4. I didn't heat it up. I remember when I got it professionally done on my last IS the same marks showed. They mostly come off with a good polish glaze.
Originally Posted by LexEnth
Wow, great job on the wrapping. I'm contemplating having the roof wrapped myself but I don't trust myself enough to do it myself. :-S
I wrapped small areas like mirrors bumpers, etc, but this was a far more challenging endeavor. I'm satisfied having tried it myself, but I'll likely just get it done professionally next time with no blemishes or have a second person with me for the initial placement and pulls.
Thanks for all the info...it was all great!
I'm going to get a second pair of hands and cut the sunroof opening last. I'm also going to wrap it around the inside edge of the sunroof opening...I want to be sure the roof is sealed when closed.
 04-13-17, 06:22 PM