When you click on links to various merchants on this site and make a purchase, this can result in this site earning a commission. Affiliate programs and affiliations include, but are not limited to, the eBay Partner Network.
FWIW: the 9 year old 2013 F-Sport measures as follows from the center of the wheel to the respective fender lip.
Front: 13-5/8" 13.625" (346mm)
Rear: 14.0" even (355.6 mm)
This was on the flatest most level ground I could find.
Now if others from other years would chime in, that'd be useful. Maybe throw in some AWD cars too.
I measured last night, and it was 12.5" from the top of the of the center cap to the fender lip, or 13" from the center of the center cap to the fender lip. All 4 were pretty much the same
I measured last night, and it was 12.5" from the top of the of the center cap to the fender lip, or 13" from the center of the center cap to the fender lip. All 4 were pretty much the same
You Rock. Thanks man! I really just wanted to know where the springs land you. I really wish those were linear vs progressive springs. Linear has a better range of damping options than progressive. Not all shocks pair well with them.
I need to go back and see what you ended up with as I plan to keep this and was thinking about buying parts before they are forever discontinued. Well, the good stuff that is. Me personally i have little faith in coilovers. Few say what the actual facts are.
Are you happy with the ride quality, ever drag bits or bottom out? Some roads here suck, and it hits the bumpers bottoming but no road contact. Just saying it uses the whole range of travel. Not often but it can.
Looking back; the F-Sport claim is a 1" drop w the F-Sport springs. That appears to be the case on a sample of 1:1.
What I've never known is the 2011 plus ride height of F-Sport vs non f-sport.
You Rock. Thanks man! I really just wanted to know where the springs land you. I really wish those were linear vs progressive springs. Linear has a better range of damping options than progressive. Not all shocks pair well with them.
I need to go back and see what you ended up with as I plan to keep this and was thinking about buying parts before they are forever discontinued. Well, the good stuff that is. Me personally i have little faith in coilovers. Few say what the actual facts are.
Are you happy with the ride quality, ever drag bits or bottom out? Some roads here suck, and it hits the bumpers bottoming but no road contact. Just saying it uses the whole range of travel. Not often but it can.
If you remember, I couldn't get my hands on the F-Sport shocks, only springs. I ended up going with KYB performance shocks. Generally the ride is pretty good, I haven't had any bottoming out. The spring are a little noisy on bumpy roads but tolerable. Unfortunately I didn't do a before and after measurement, but the car is definitely lower because I have to bend lower to get in
As some of you know, I've been sitting on a new OS-Giken LSD. After COVID hit, shop options for install went away, then I moved, then there were other projects, yada yada yada....
The rear diff is out on the bench but I need some tools I don't have so the tear down will be waiting for those. That said, pulling the diff is a 2 hour job if those damned axles will come out. I've written it before about applying equal pressure 180 degrees apart and they will pop free. What I didn't count on is there is little to pry on without destroying the the dust shield. Here is my solution which took me the hardware store for some all-thread.
With the limited jack points, I drove it up on blocks to get to the rear control arms and leave the nose on the blocks so the body angle isn't total nose down.
Jack the rear up. I patiently jacked on each rear lower control arm raising the car enough to get stands under the rear frame rails. Be careful as the car can roll if both wheels loose contact.
Toss a dab of dish soap on the rubber exhaust hangers pins, then place a 14mm open end wrench between the pipe and the hanger peg, apply pressure to the wrench with prybar. Exhaust hanger is off the pipe in 30 seconds. Remove the exhaust. This has F-sport so the mufflers can stay. They are zip tied in place.
Remove the heat shield by the gas tank drive line area. 4X 10mm nuts.
Remove the two braces under the axles.
Drain the fluid. 10mm Allen IIRC.
Place your jack under the diff with 2"x4" under the snout.
Remove the three rear most bolts into the diff. For the rear diff bolts, break them free, then use a stubby ratchet and extension to remove the three bolts. Size is 12mm. These have thread lock on them, hence use of ratchet the whole way out.
Remove the remaining two bolts holding the diff. Make sure you have the balance right so it doesn't jump off the jack.
Lower the diff keeping the nose up and remove the drive shaft. A large prybar does wonders here.
Notice my 105,000 mi coupler is giving it up. No idea how much life it has left but I'll install a new one before it goes back together.
With the diff lowered for access remove an axle. For me, I used small puller on the yoke for grip to give me something to pry on. The mighty HF puller set paid for itself today. Slide some long 1/2" All-thread through the puller as those in the kit are too short to span the yoke. The threads rested in the groove of the axle` vs the puller fitting the groove as it's too small of a puller, but we don't need much grip, just something to pry on, so this did the trick. Now with two large prybars, apply pressure top and bottom to the puller halves to remove the axle. Once free of the clips retention, continue prying and wiggling the axle out. It's a tight fit side to side clearance wise but it does come out once the diff is turned a small amount.
Tie the axle up to keep it out of the way. And yes, I had a rope over the crossmember as a safety precaution as it wouldn't be pleasant if it fell on me. However, even doing this solo, I didn't need it. The job would be a lot easier with four hands going back in. Although I may grab a transmission jack for the install as driveshaft into the pinion yoke will be a lot easier if the angle can be adjusted easily.
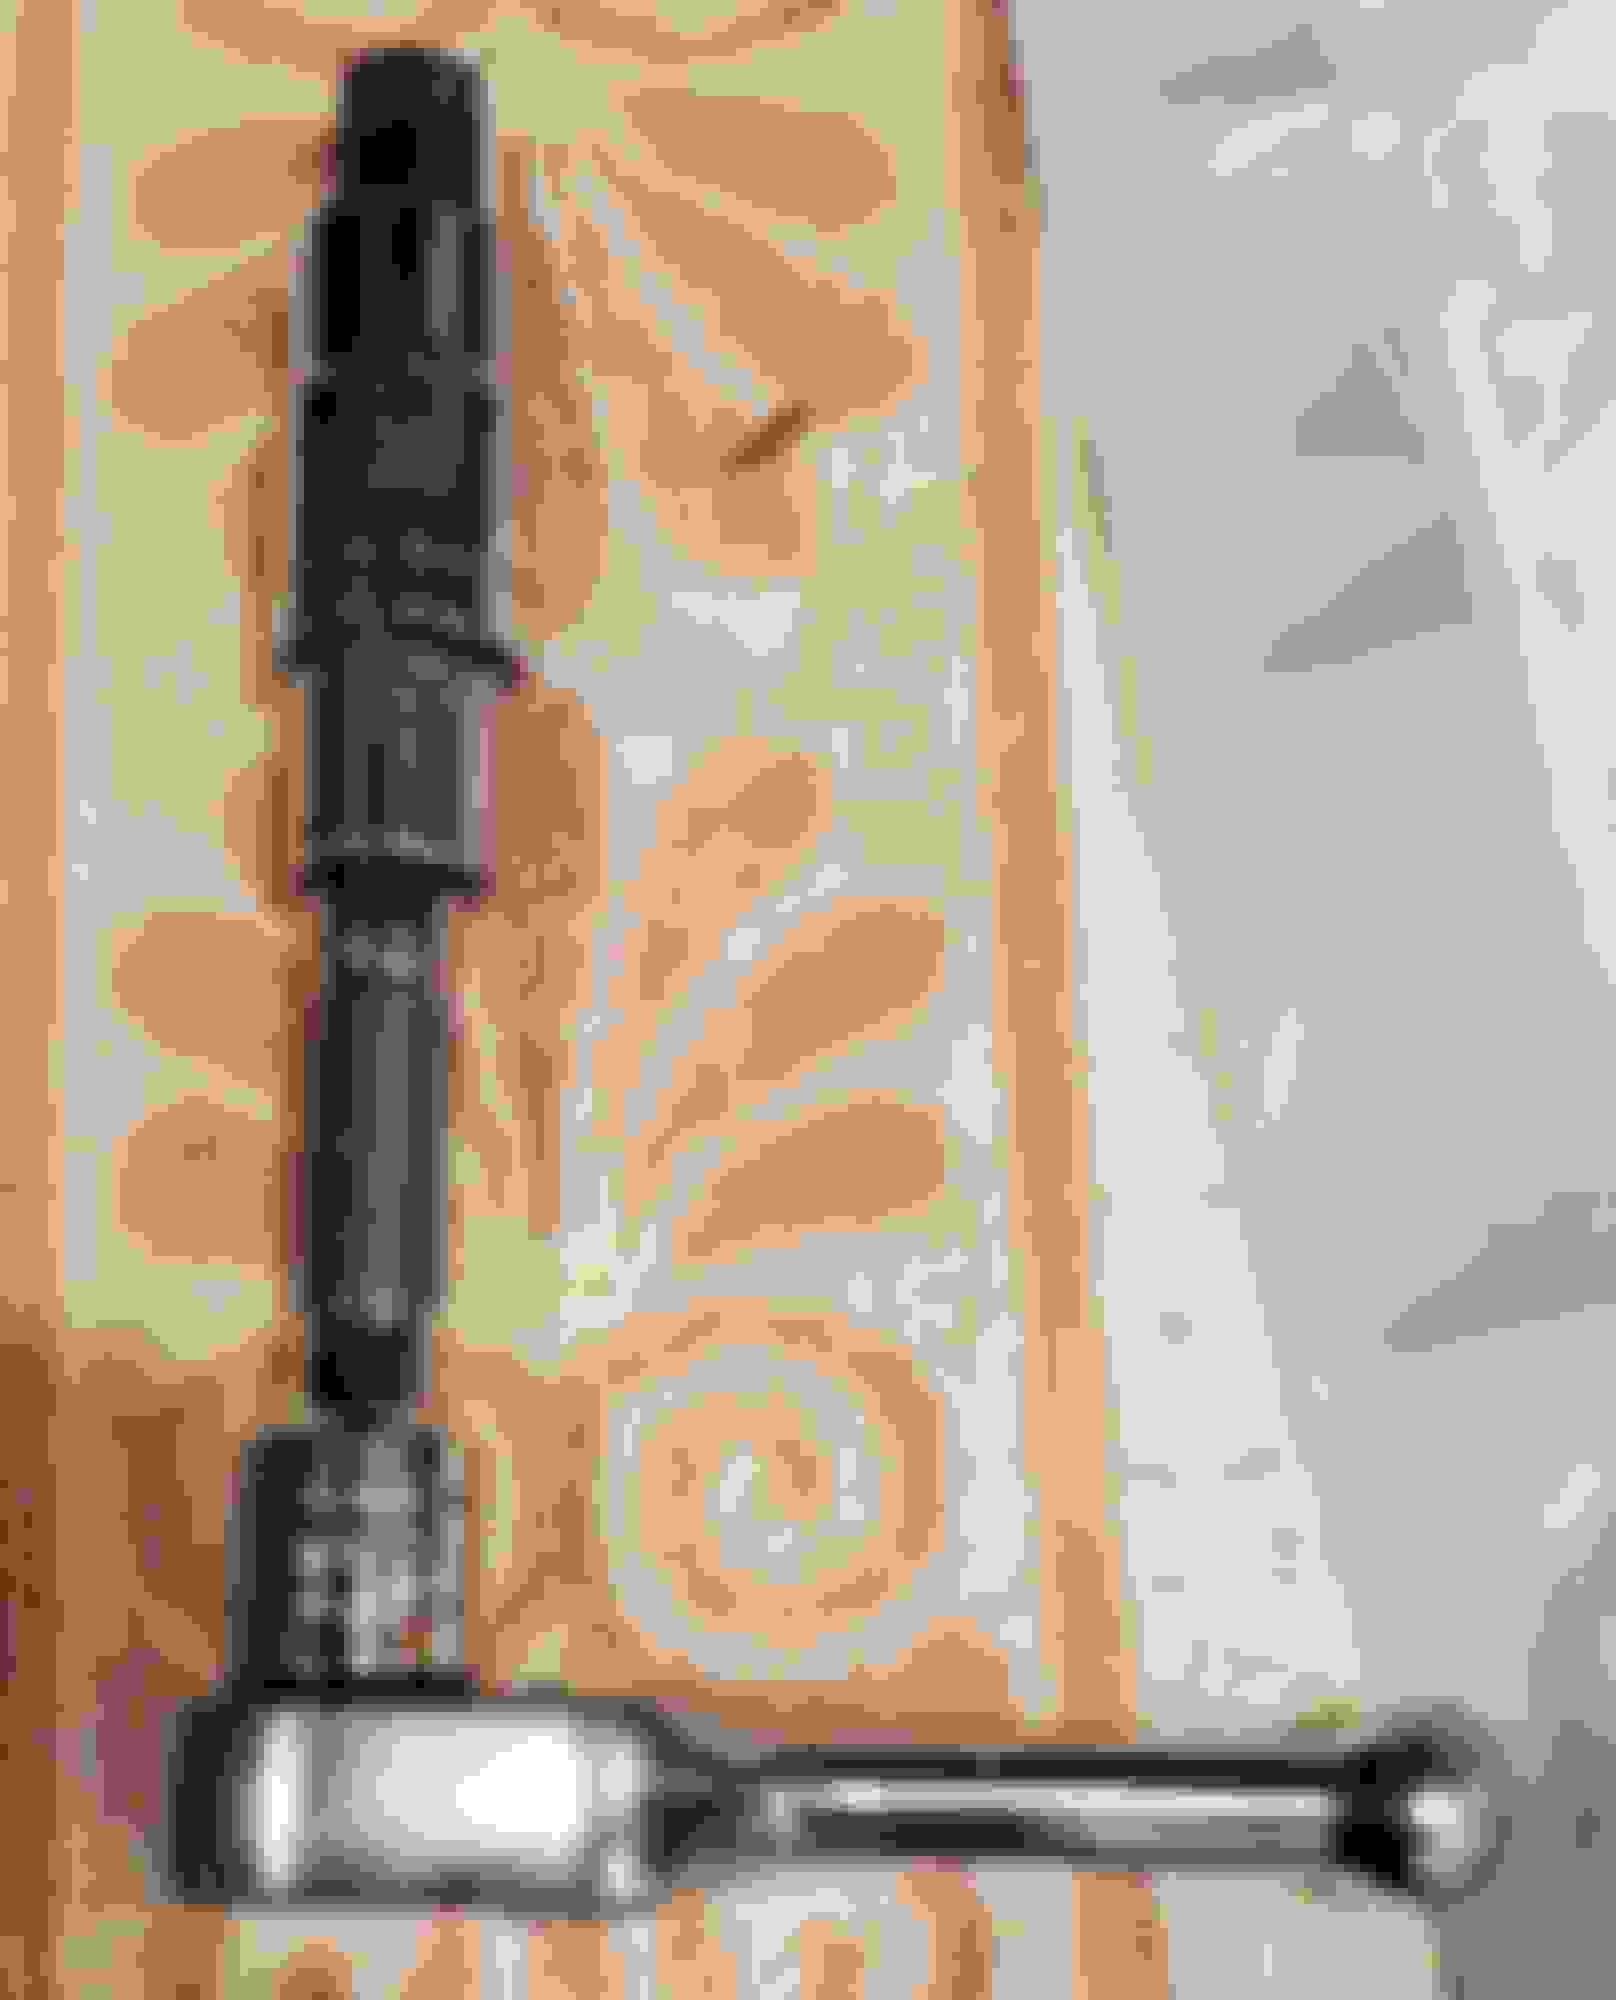
If you successfully removed one axle, you're on easy street for the second axle if you have this punch. The tip is small and fits past the spider gear cross shaft inside the diff connecting directly to the other axle. Now grab the BFH and give it a good slug. The axle popped on first try being driven straight out without any angles involved.
Lower the diff to ground.
Tools for axle removal.
That's about it for getting the diff out.
Now for the fun part... OS-Giken Install.
Very nice I still haven't tried again for my FRS diff. Though last night I was actually contemplating how to make those style ramps myself LOL. Since it would be easier clearnce to get underneath for transmission check. I was going to go grab some 2x6 to cut and stack today maybe. A 7.00" lift would be good for me to slip by pretty good.
With the diff out, I knew I needed some big snap ring pliers but didn't know what size to order. Hopefully this helps someone else out there. Answer is below.
First off, wipe it down to reduce contamination getting inside. Shown is 2012-12 build date of the 327 2-pinion open diff with ratio 4.083:1 from a 2013 IS-350.
With it nose up. Check the bearing preload to compare to new install. Here we have 6-in/lbs of rotational load. Hence the unit never making any heat when checked with an IR temperature sensor.
Inspection finds nothing broken but shows wear. I loaned out my mag base dial indicator so backlash and side play measurements have to wait. PS - those are 17mm 12 point on bolts on the ring gear. I don't have a1/2' drive impact 12 point socket, we'll see what the 3/8" stuff thinks about that. Torque specs are in this thread with the other OS-Giken posts.
It's hard to see in this picture but this gear set has seen better days. Notice the contact patch on the drive side extends to the gears edge. This could be from deflection, normal wear, or the side bearing spacing is off a little. I'll get some gear marking compound on it before any final decisions are made. It will be going back together with new side bearings.
For seal removal, use a seal cutter to weaken the seal and deflect its 360 degree bond with the case. Cut the seal inward towards the axle, then strike the edge to cave the perimeter in. Once the perimeter has a gap, it will pry out with limited effort. Let's just say this is case for the BFH getting the job done swiftly.
This snap-ring has a 6mm hole with 32 mm spacing. Now to find a tool for the job.
That's all for now. Time to enjoy the Holiday. Happy 4th of July 2022 CL!
Very nice I still haven't tried again for my FRS diff. Though last night I was actually contemplating how to make those style ramps myself LOL. Since it would be easier clearance to get underneath for transmission check. I was going to go grab some 2x6 to cut and stack today maybe. A 7.00" lift would be good for me to slip by pretty good.
Was that a case of the axle being stuck? FRS install delayed? With the pullers for axle grip, this could have been a 2 hour job but at home getting the car in the air with its limited jack points is an issue. If I had the All-thread on hand, it would have sped this up substantially.
As for the 2"x6", if the leading edge of those had a 45 degree cut, there is no problem driving up on them on a slick floor. Note they can and have pushed out if going too slow, especially doing all 4 at once, so cut your lengths such that all 4 tires are not hitting the edge at once.
Note the previous home owner left some skateboard deck tape here, I placed it sticky side down on the concrete texture side bit into the boards and none slide. Worked great. Next time I'll cut them. Just too lazy.
For anyone wondering, why the blocks under the tires, the wheels move outward slightly under load taking the axles with them. This gives you more space to work getting the axles out/in than if the suspension were hanging down. Wheel ramps would do the trick also. This method gives you options when jacking, so both rear tires are not in the air at once if you don't have perfect means of keeping the front from rolling which I didn't in this case.
There isn't much load on these blocks at this point.
While waiting tools, I need to get these bushings out so the Figs poly can go in.
I'm interested in how you get the diff bushings out. I have Whitelines on standby...was thinking of filling all the air tanks up and going HAM on them with a 4x riveter...
Was that a case of the axle being stuck? FRS install delayed? With the pullers for axle grip, this could have been a 2 hour job but at home getting the car in the air with its limited jack points is an issue. If I had the All-thread on hand, it would have sped this up substantially.
As for the 2"x6", if the leading edge of those had a 45 degree cut, there is no problem driving up on them on a slick floor. Note they can and have pushed out if going too slow, especially doing all 4 at once, so cut your lengths such that all 4 tires are not hitting the edge at once.
Note the previous home owner left some skateboard deck tape here, I placed it sticky side down on the concrete texture side bit into the boards and none slide. Worked great. Next time I'll cut them. Just too lazy.
Yeah I couldn't get them to budge. Trying to hold the diff and pull. Though at this time since i drained the diff. Almost 2 years in the garage. I cant turn the snout I may try to stand it up. Then add sone diff lube to lubricate again. I hope the seals aren't dry rotted by now.
Yeah I couldn't get them to budge. Trying to hold the diff and pull. Though at this time since i drained the diff. Almost 2 years in the garage. I cant turn the snout I may try to stand it up. Then add sone diff lube to lubricate again. I hope the seals aren't dry rotted by now.
2"x6" will be a lot cheaper. It's not like it needs to span the whole tire. This was free from a deck project. I may grab some more as I ran out!
JM2C - don't count on that end stop to hold unless it has a metal band around it or some other secure means like a triangle brace. Just saying if something shifts, you don't want the stopper giving way. It's false hope. Just trying to keep everyone safe.
For anyone wondering, why the blocks under the tires, the wheels move outward slightly under load taking the axles with them. This gives you more space to work getting the axles out/in than if the suspension were hanging down. Wheel ramps would do the trick also. This method gives you options when jacking, so both rear tires are not in the air at once if you don't have perfect means of keeping the front from rolling which I didn't in this case.
There isn't much load on these blocks at this point.
While waiting tools, I need to get these bushings out so the Figs poly can go in.
Originally Posted by Ultra4
I'm interested in how you get the diff bushings out. I have Whitelines on standby...was thinking of filling all the air tanks up and going HAM on them with a 4x riveter...
Fortunately they came in from the opposite side. My plan is to mill through the rubber leaving room for a bushing cutter and insert bushing cutter into Air-hammer and knock crap in my eyes as the metal rattles back and forth. Backup plan is drilling through the bushings shell at the edge. Same basic method as above but metal in my face instead of dirt and rocks.
 05-17-22, 09:57 AM
")