When you click on links to various merchants on this site and make a purchase, this can result in this site earning a commission. Affiliate programs and affiliations include, but are not limited to, the eBay Partner Network.
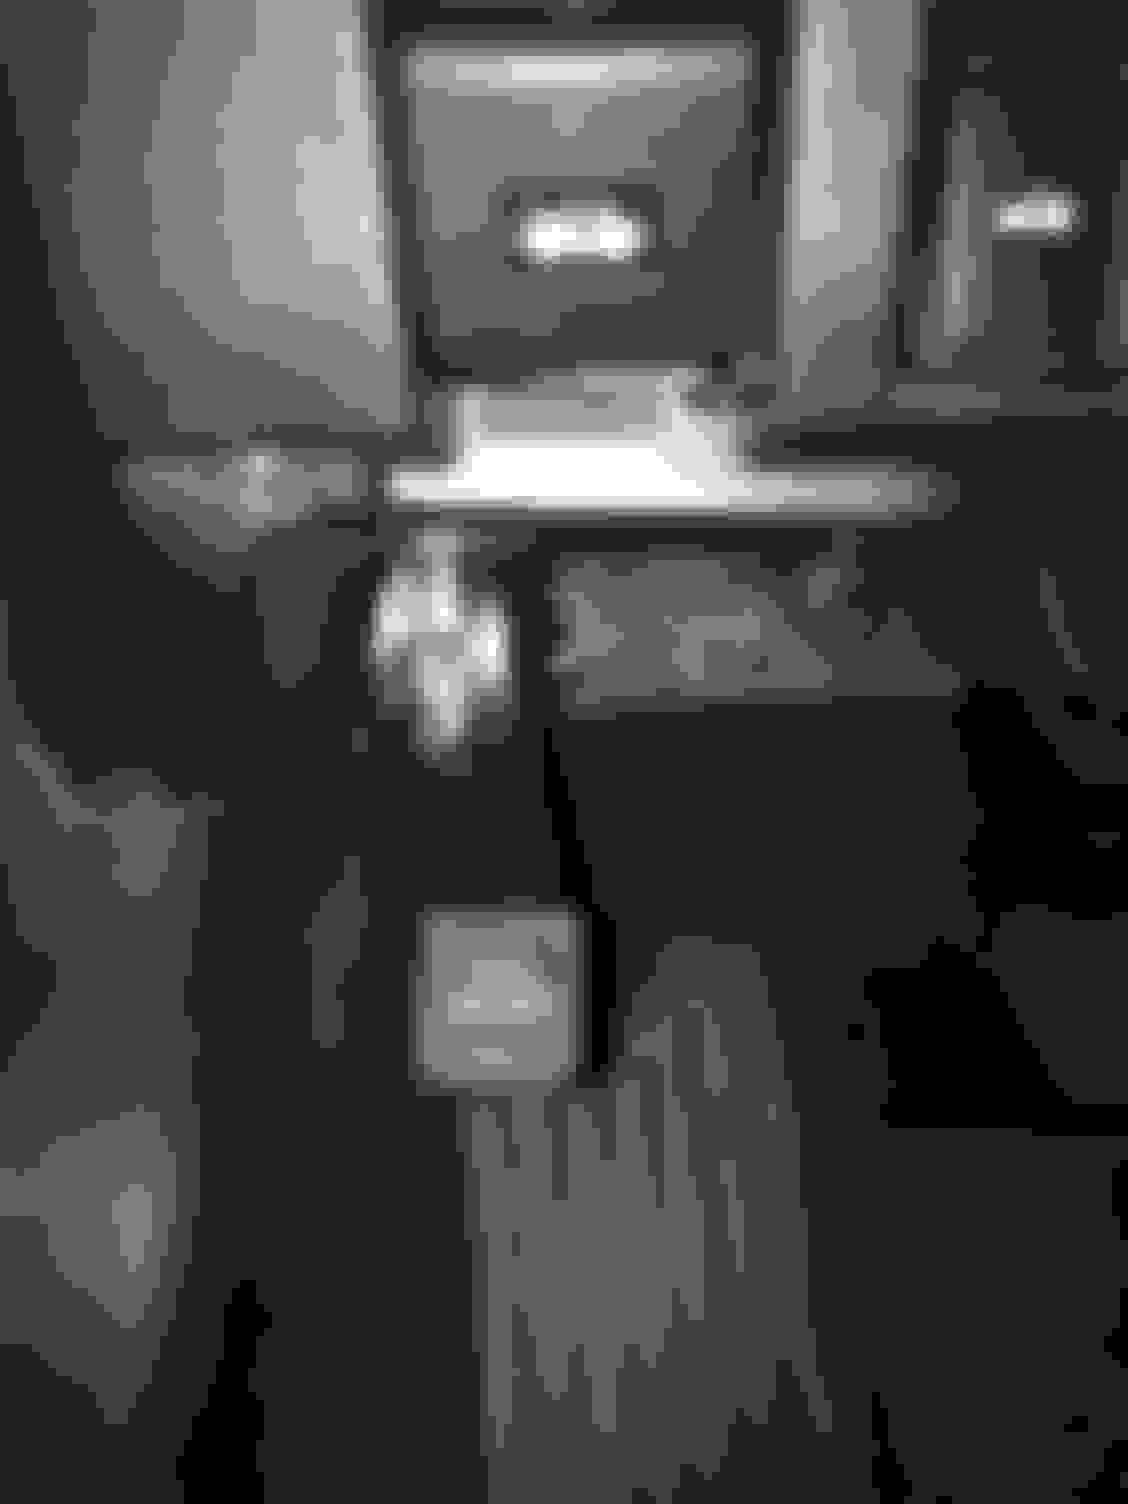
Here are some pictures of me removing the trim piece on the dash. Before you start there is a little panel that is easy to see just below the screen, pry that up and it will show two bolts to remove. Then disconnect the wires that are connected to the screen. In order to get this piece out you will have to remove the trim piece around the cluster. Just carefully pull on each side to release the tabs behind it. If you did it correctly it will look like this. Once this is pulled out then the trim piece should easily pull out. To put back together just do the same things in reverse.
[QUOTE=Lwing1;9997994]Quick pic of her washing from Sunday xD
[/QUOTE
Looking good there....wish there were some Lexus enthusiasts in my area of Michigan (SW corner)
So today I got to install my favorite mod xD It�s a license plate frame I constructed. It�s has a remote box under the seat and a key chain with a button. I also ran a wire up to the steering wheel area so that if the light is blue it means the cover is down, and if the light is off then it is up. Post any questions you guys have.
The power comes from the cigarette lighter in the armrest. It�s runs down the armrest, under the seat where there is a remote box. (There is also a remote switch that I connected to my keys) Then runs under the paneling on the driver side door. I used the coat hanger trick to run it back through the paneling and under the rear door, and into the trunk. Wire runs up the plastic arm in the trunk Had to remove all of the trunk liner in order to cleanly run the wire This part was a little tricky, I had to take apart the trunk top and remove the lights and slip the wire through the little gap that�s back there. I did make sure to water proof the entire thing. Also used stainless steel screws so they don�t rust. Here is a pic of the plate closed.
Here is a quick vid of it working. I took the plate off for privacy purposes. The license plate cover is legal because I only use it on privately owned roads it also works great for car pics so you don�t have to blurr out the plate number.
So I decided to replace my cabin air filter and I figured I might as well do a right up for anyone who may not know how.
I went with just a basic auto zone filter Step 1: open glove compartment, and remove the shelving. Step 2: Pull up and out on the two tabs below. Step 3: You will then see the filter, once again push in and pull out on the two white side tabs. Step 4: Proceed to pull filter out and either clean or replace. Step 5: Reverse everything in order to put back.
So today I finally received my F sport cluster. I picked it up on eBay for 400$. Wanted to confirm it fits in non f sport models and no other items or wires are needed. It is plug and play. If anyone wants a more detailed right up please let me know.
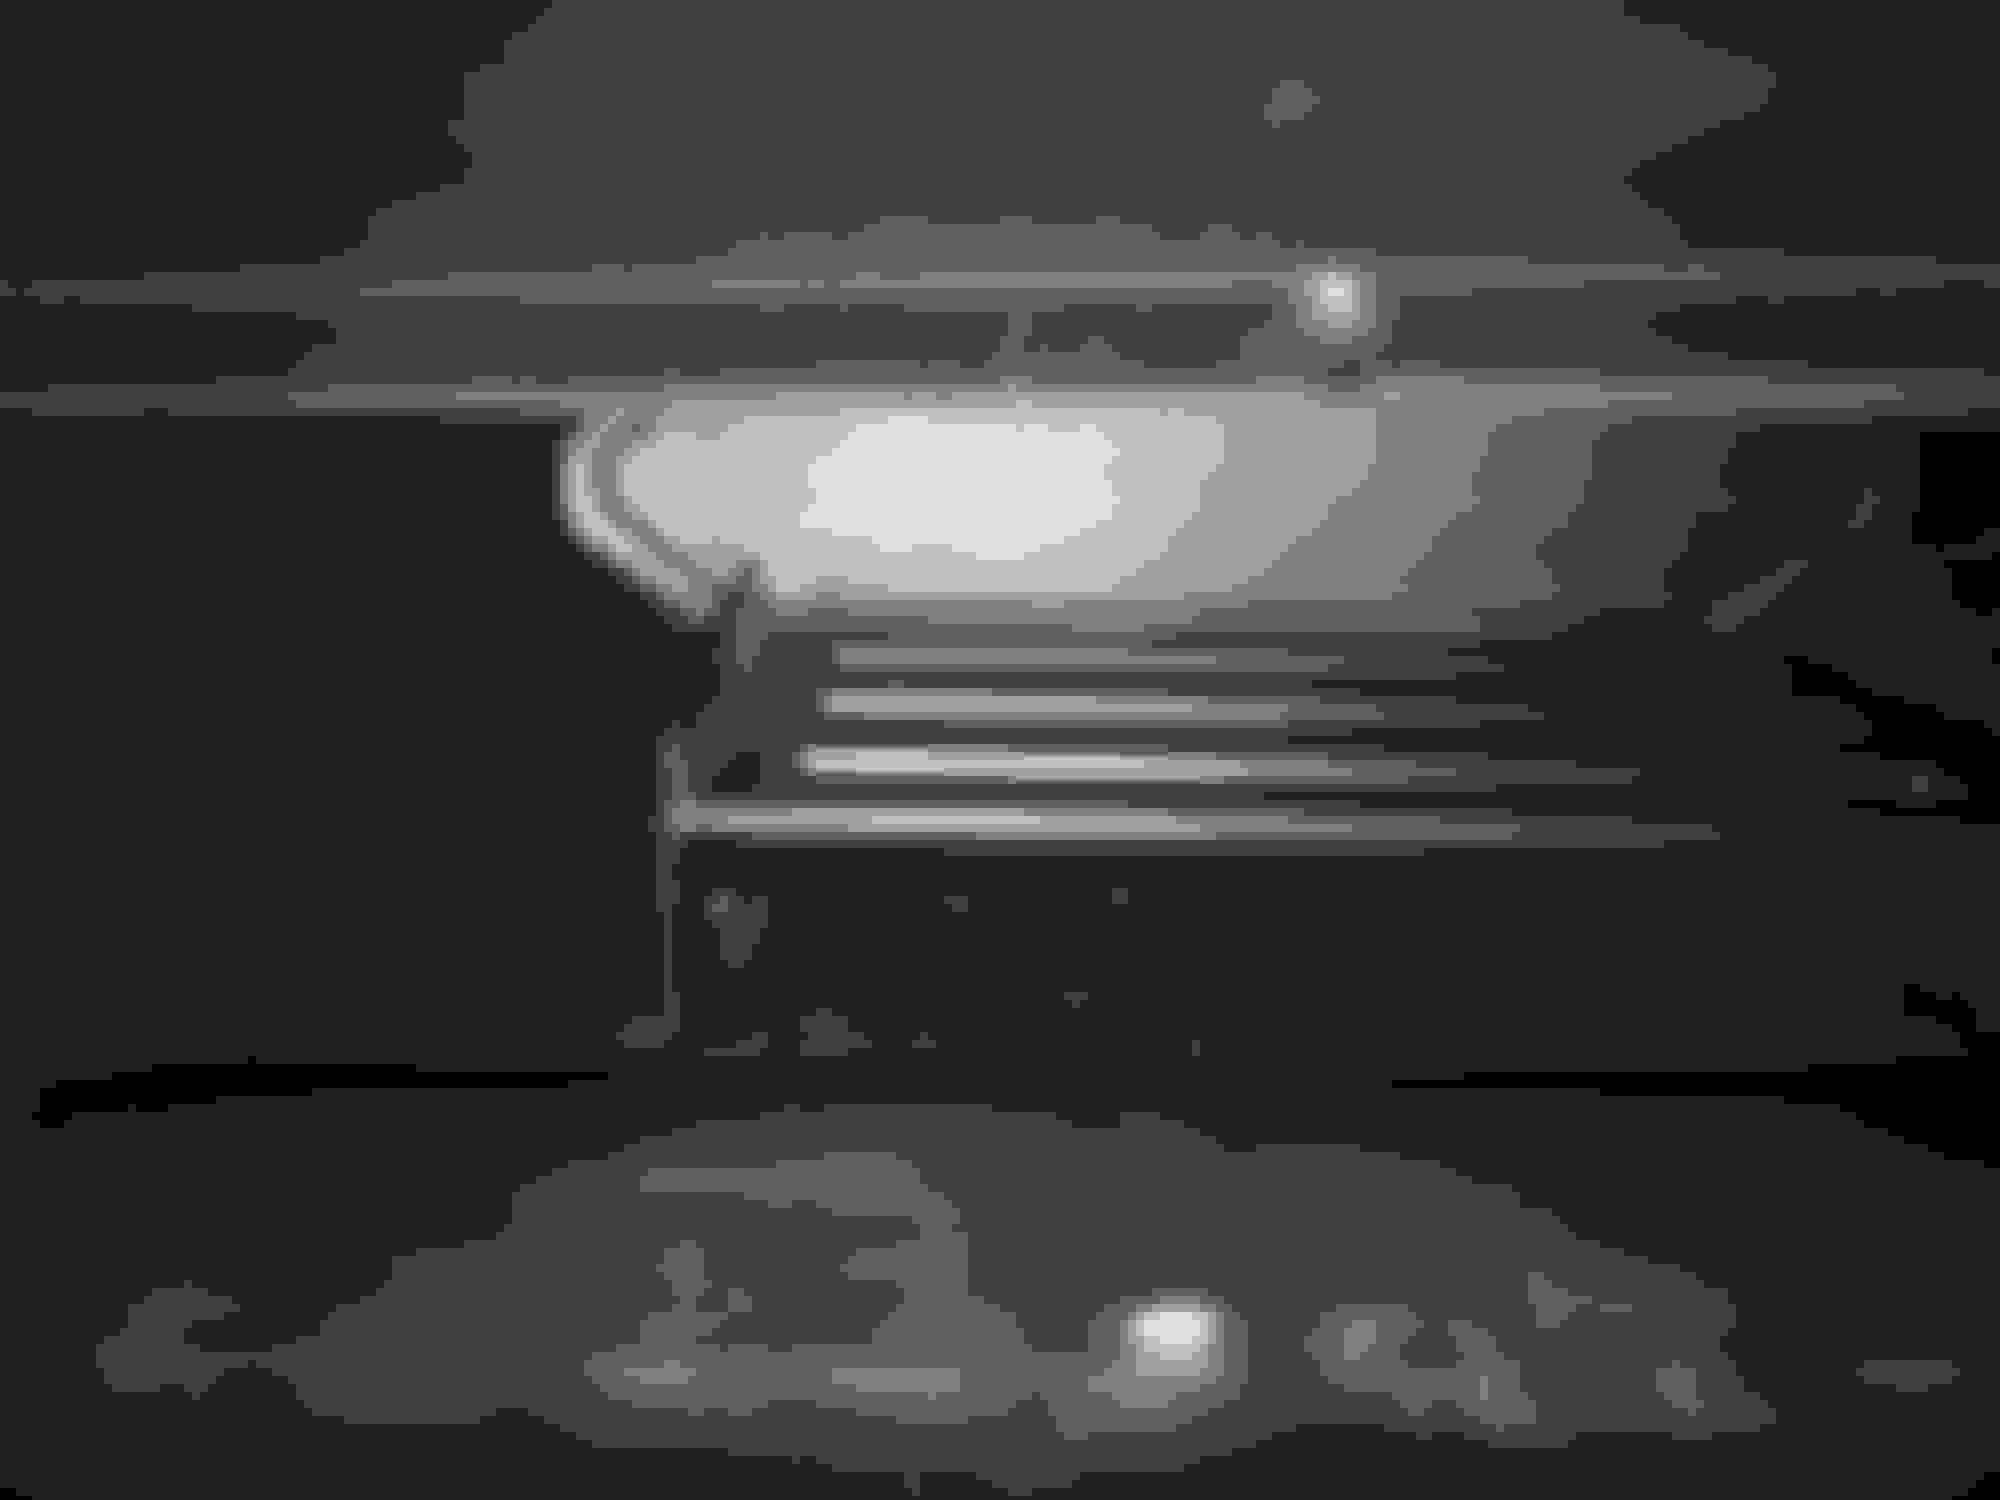
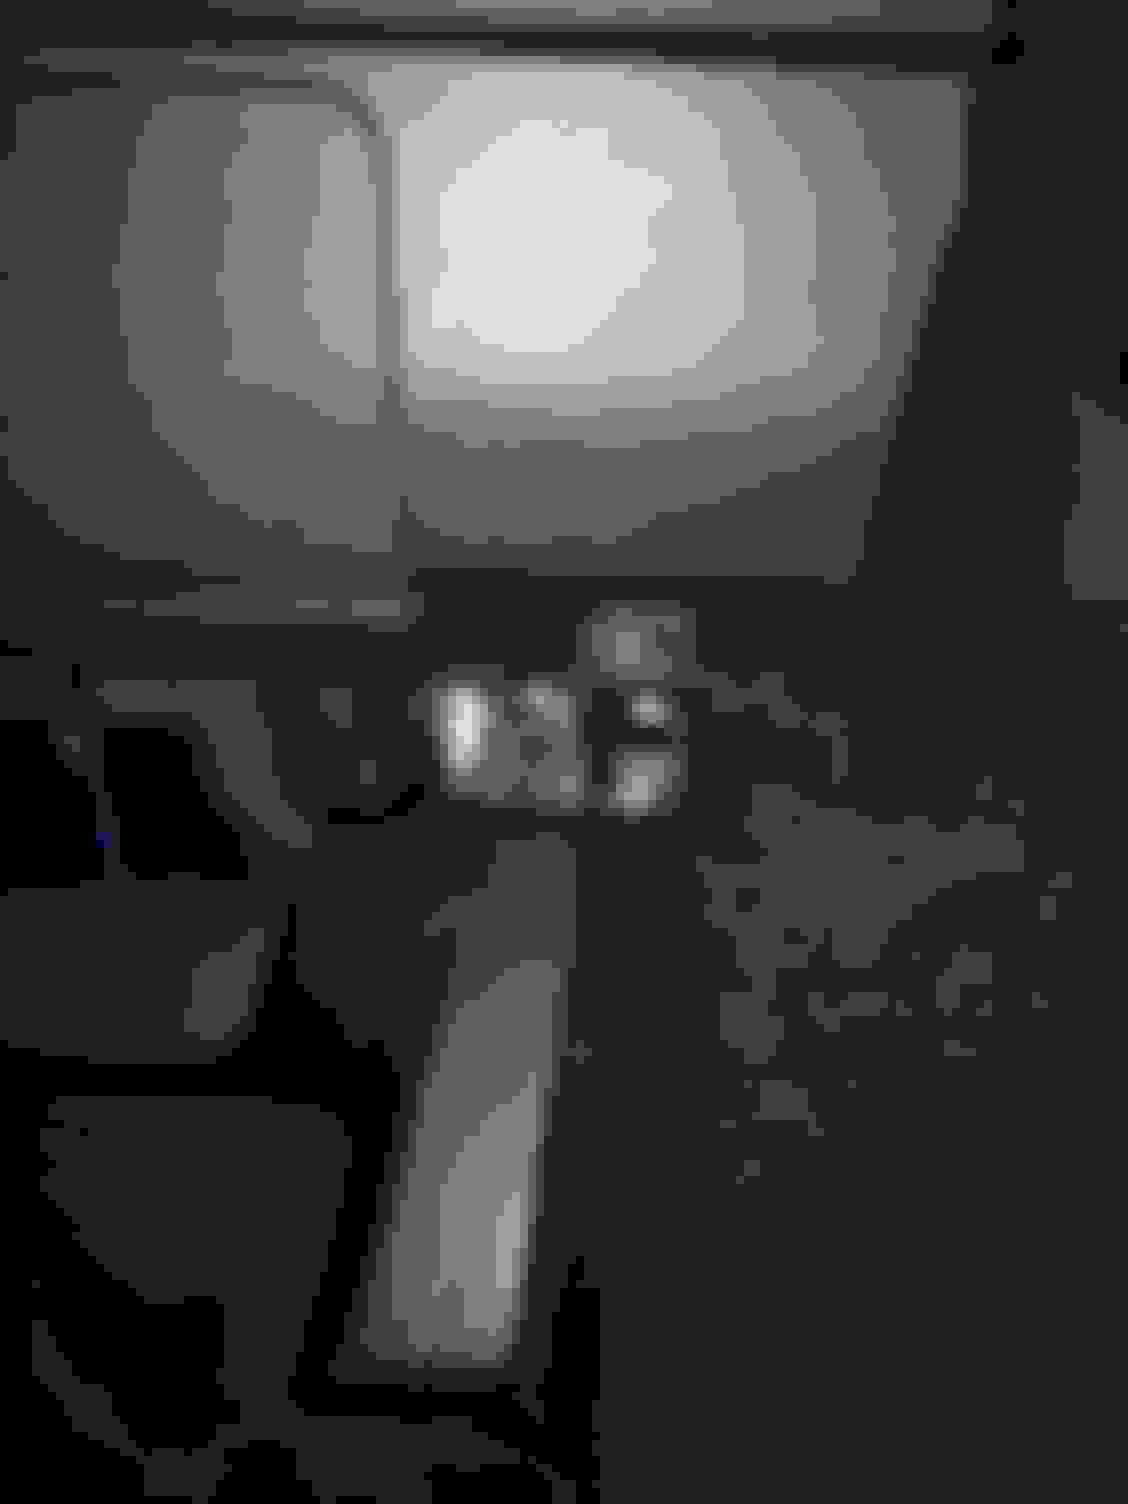
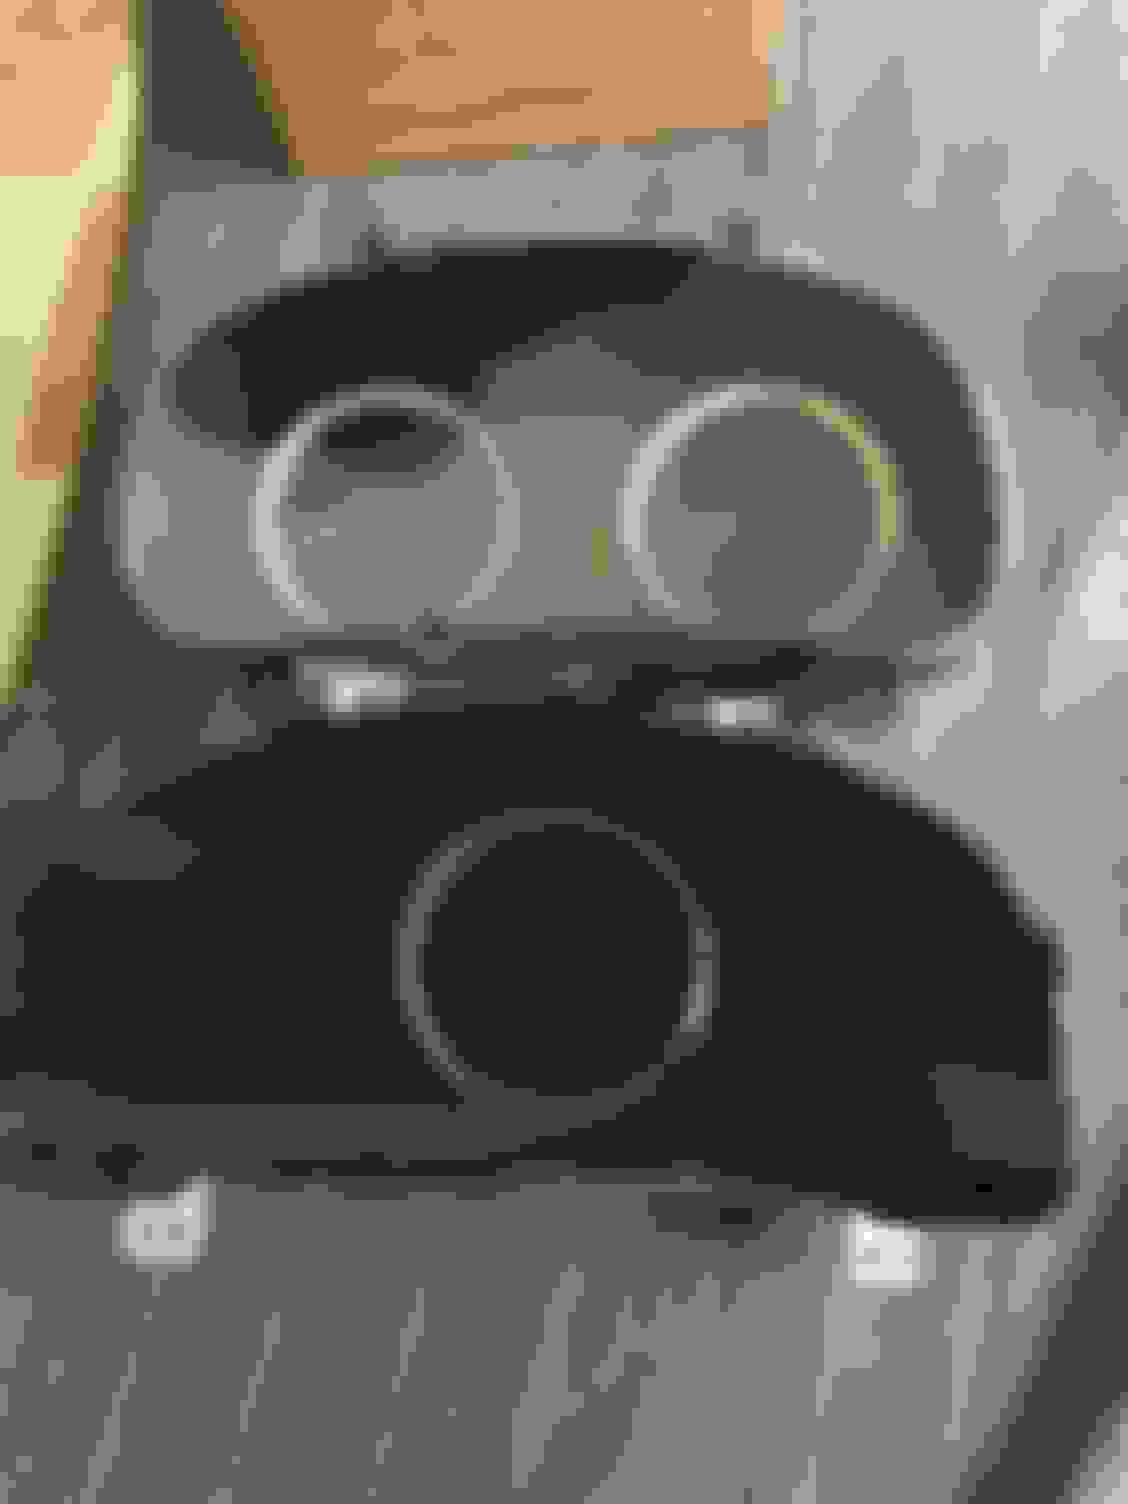
Start by remove screws at the bottom left and right as shown in pics. Right side screw Then pull on the cover under steering wheel to relieve tabs. Then gently pull on surrounding cluster cover once again attached by tabs.after this is removed simply unscrew 4 screws holding the cluster in place. Disconnect wires, then attach new cluster and put everything back together. Here is the difference in clusters Final pic.
Does the non-FSport cars have the same steering wheel as the FSport models? On the FSport model steering there is a button that allows the instrument cluster to move to the right. Are you able to do this on you car after swapping the cluster?
Does the non-FSport cars have the same steering wheel as the FSport models? On the FSport model steering there is a button that allows the instrument cluster to move to the right. Are you able to do this on you car after swapping the cluster?
yes. i made the switch not too long ago and all functions as it was designed to do.
So today I finally received my F sport cluster. I picked it up on eBay for 400$. Wanted to confirm it fits in non f sport models and no other items or wires are needed. It is plug and play. If anyone wants a more detailed right up please let me know.
Start by remove screws at the bottom left and right as shown in pics. Right side screw Then pull on the cover under steering wheel to relieve tabs. Then gently pull on surrounding cluster cover once again attached by tabs.after this is removed simply unscrew 4 screws holding the cluster in place. Disconnect wires, then attach new cluster and put everything back together. Here is the difference in clusters Final pic.
Since you installed this, Have you had any problems?
So today I finally received my F sport cluster. I picked it up on eBay for 400$. Wanted to confirm it fits in non f sport models and no other items or wires are needed. It is plug and play. If anyone wants a more detailed right up please let me know.
Start by remove screws at the bottom left and right as shown in pics. Right side screw Then pull on the cover under steering wheel to relieve tabs. Then gently pull on surrounding cluster cover once again attached by tabs.after this is removed simply unscrew 4 screws holding the cluster in place. Disconnect wires, then attach new cluster and put everything back together. Here is the difference in clusters Final pic.
Damn I didn't know this was a simple swap? I thought the f sport cluster had an extra plug/wire that base models did not have. Any pictures of the rear of the cluster?
Damn I didn't know this was a simple swap? I thought the f sport cluster had an extra plug/wire that base models did not have. Any pictures of the rear of the cluster?
The clusters all have the same connector ports at the rear...you can literally plug any cluster into and 3IS.
The question is, will it work 100%...no.
If you are doing a cluster swap, look up the part number for the F Sport cluster for your year IS in the engine configuration you have.
While all the connectors are the same, the wire harness pin locations are not all the same.
There is a wide variety of part numbers for clusters out there, and they all look the same (F Sport and non-F Sport), but they will not all work the same.

 10-01-17, 02:19 PM


 it also works great for car pics so you don�t have to blurr out the plate number.