When you click on links to various merchants on this site and make a purchase, this can result in this site earning a commission. Affiliate programs and affiliations include, but are not limited to, the eBay Partner Network.
I've been around the forum for a little over a year now but never posted a build thread. So far I've had a pretty good build. It's been a bit frustrating at times but i've learned a lot!
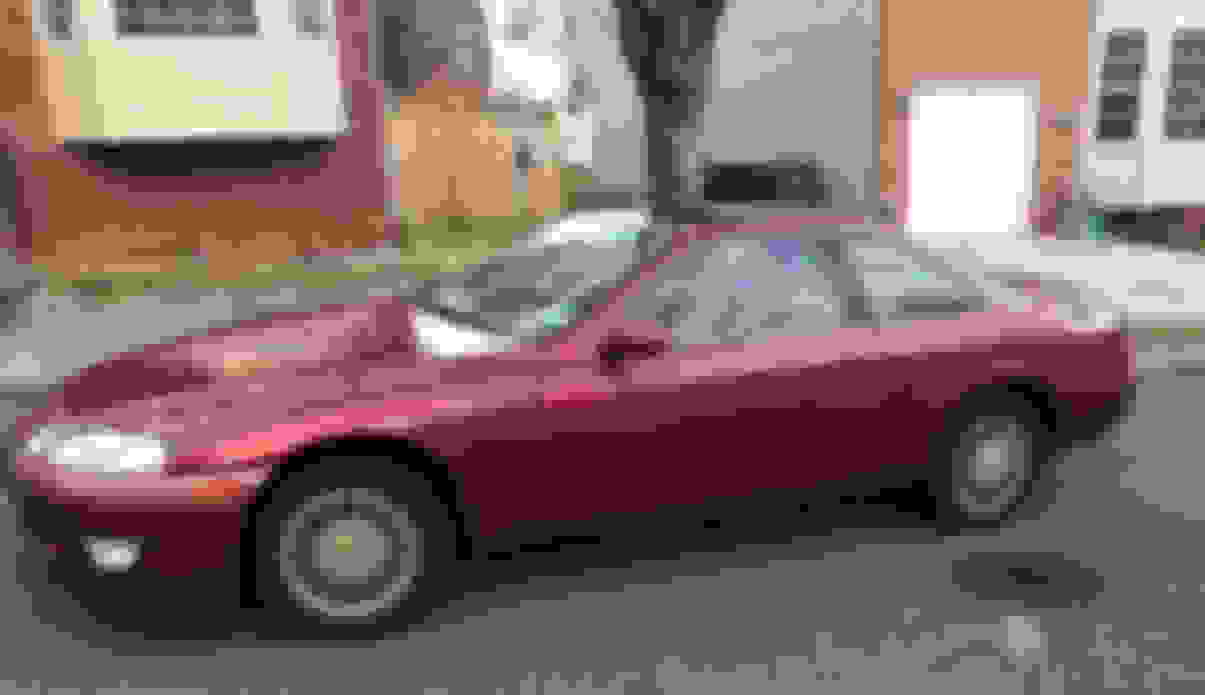
So I bought the car in April of last year for $1800 from a young guy who had dreams of making it a 'race car,' but didn't have the cash to make it happen. So he did what all young guys do with no money, riced it out:
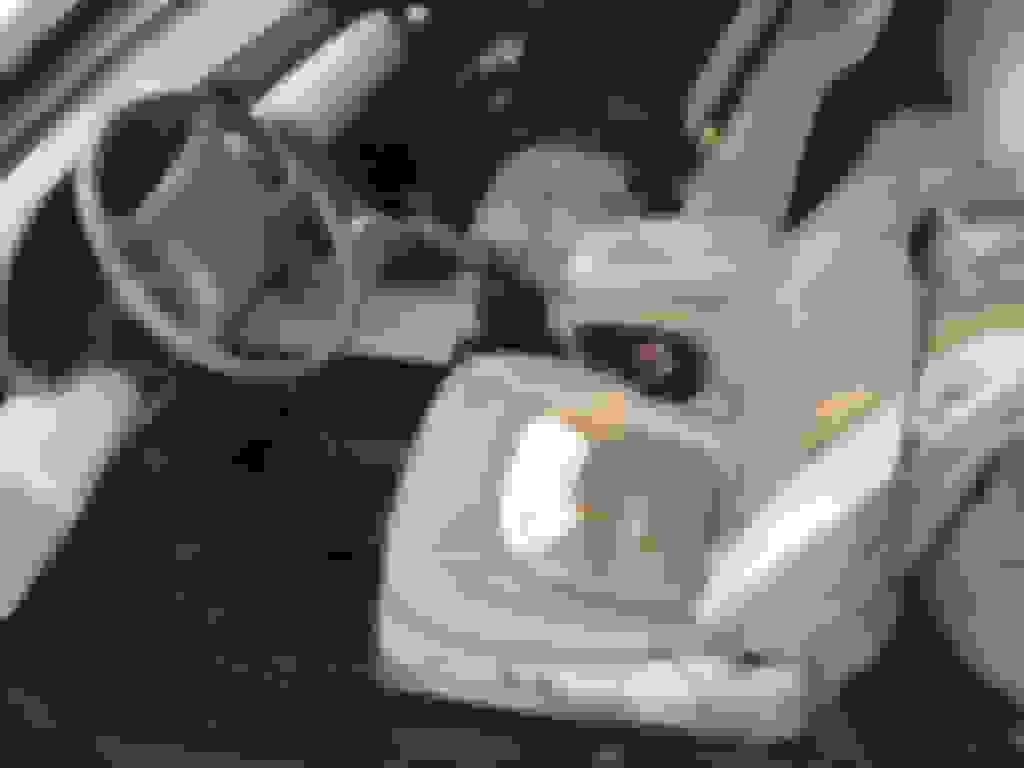
- Tore out the interior for 'weight savings'
- Added race harnesses... Fastened to the floor
- Painted the interior of the car, including the door jambs using black spray paint. This one irks me because now I have to take hours to strip that crap off the doors and jambs before I get a paint job so that I don't damage the new paint stripping the spray paint.
- Installed (and subsequently burned out) an OE spec clutch
- Removed the mufflers and welded mild steel straight pipes on, which were rusted horribly
- And much, much more
My goals are NA-t to ~450HP
BUT my first order of business was to fix the interior. I also purchased Tein Coilovers and Competition Clutch stage 4 sprung clutch and flywheel
The interior took me about 2 months to gather parts and get it all installed. I later purchased and installed Clazzio seat covers to complete the look.
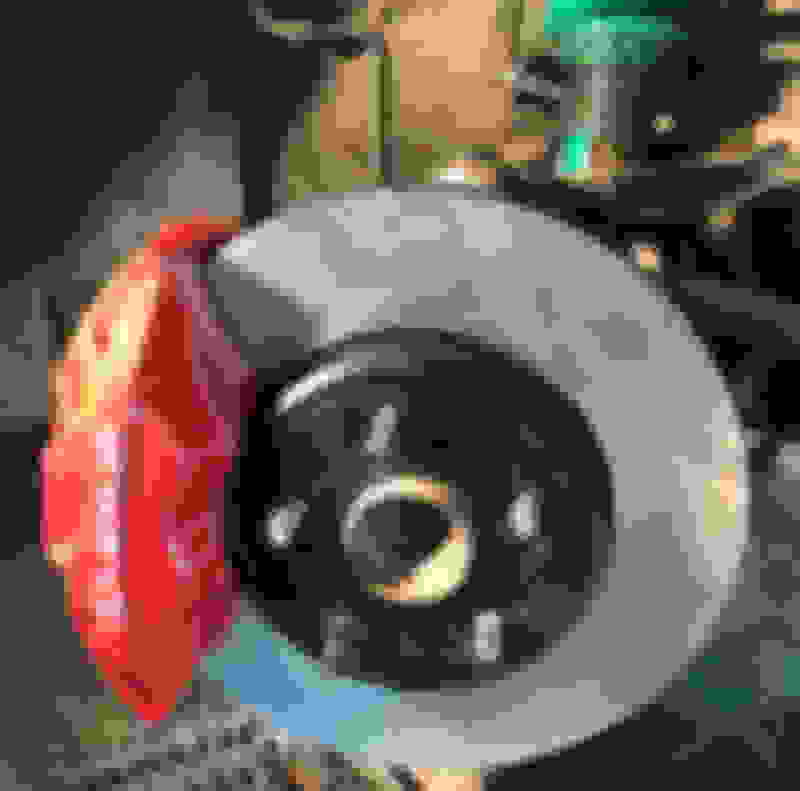
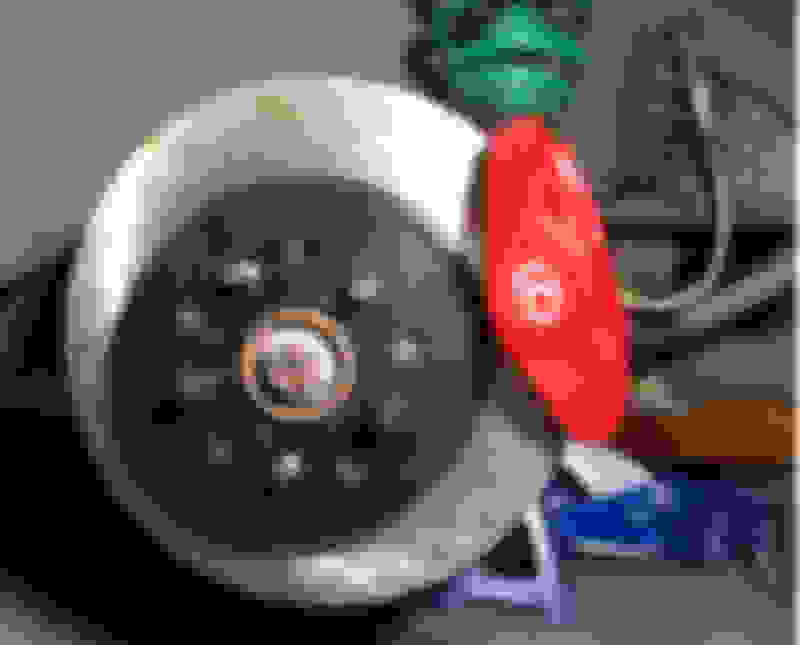
I almost immediately started on brake upgrades. I got the LS400 brakes done first, since sourcing the parts was much easier. The TT Supra brakes took me longer to source at a reasonable price, so they weren't installed until September.
I also added SS lines.
I'd found a set of staggered 18" Rota Torque wheels 8" front 9.5" rear on craigslist for $400 (rash included) then found a set of brand new Pirelli P Zero Nero 245/35 265/30 tires on craigslist for them for another $400.
Next I moved on to the Antenna... When I purchased the car, it was broken. I don't listen to the radio and wanted a clean look, so I removed the antenna, and started the shaving process. I will complete it just before it goes for paint. I need to bondo it once more and block sand it all nice and smooth.
Fiberglass cloth inside and outside, then bondo and primer.
The next eye sore I removed was the rusted exhaust pipes. My wife gifted me a set of Manzo Axle back's.
Next I replaced the tail lights with some from a 1995 that had been tinted. I put LED's in and therefore needed to modify the relay to avoid hyperblink.
Added a set of gauges to the car. I'm going to switch out the location of the boost and oil pressure gauges to make them easier to read while driving. They will be on the steering column when I'm done with them. I love the location of the wide band though.
Sound system upgrades. In the previous post, you will notice that I replaced the stereo. I also added a reverse camera, and just this past January completed the installation of all new speakers including subwoofer and new amplifiers.
I used:
- Pioneer AVH-X490BS
- Orion Cobalt series 6.5" Rear and 4" Front
- Earthquake SWS10X Shallow Sub
- Kicker DXA2504 4 channel amp for interior speakers
- Kicker DXA1252 2 channel amp for subwoofer
The sound from this setup is awesome. I also dynamat'd the rear deck top and also inside the 3rd brake light (had to take it apart to place dynamat in a a few strategic places)... I need to do the bottom of the rear deck lid (In the trunk) to stop a few more rattles.
This doesn't include a few of the other mods that I completed on this car:
- Front LCA's and sway bar end links
- Battle Version solid rack & pinion bushings
- Hood and trunk lift supports
- GTE ECU mod w/ 500cc injectors (Soon to be AEM v1 controlled)
- 150amp Alternator
Also, I'm ready to complete the NA-t conversion
I've got the following components:
- CXracing 11ga stainless turbo manifold
- CXracing 2JZGE Intercooler kit
- Wyntonmspeed Blow Off Valve
- Precision 6176
- Turbo Blanket
- 44mm Tial MV-R Wastegate
- Stainless vband dump tube
- Boost Labs oil line kit
- Cometic GTE head gasket
- ARP stud kit
- Downpipe and Manzo Mid-pipe
- Turbosmart MBC
- Valve cover, exhaust manifold, and turbo gaskets
I'm hoping to install it all this April when my schedule frees up a bit.
One question: What is the opinion on installing header wrap on the 11ga stainless used on the cx manifold that I'm running? It has a wall thickness of 3mm, but there is no information on the type of stainless that is used on this manifold.
Excellent build so far! Looking forward to seeing more. As for the SS manifold, be careful wrapping it as SS can be more prone to cracking when it has heat wrap covering it. Perhaps consider having someone ceramic coat it instead (may not be worth the $$ on the CX racing manifold but a nice option to have over wrapping it).
Excellent build so far! Looking forward to seeing more. As for the SS manifold, be careful wrapping it as SS can be more prone to cracking when it has heat wrap covering it. Perhaps consider having someone ceramic coat it instead (may not be worth the $$ on the CX racing manifold but a nice option to have over wrapping it).
Thanks for the suggestion... Maybe I’ll use some header paint on it.
Originally Posted by RXRodger
Good job so far Marcus, will follow your build.
Thanks Rodger!
Originally Posted by Jok3r
Nice car man. I like the color. I'm probably gonna get the itch to do an na-t build on mine aswell. what did it cost in collected parts to go turbo?
Thanks for sharing with us. You�ve certainly made some great progress with your restoration and build so far.
Those Clazzio seat covers are pretty nice! Nice touches all around. I especially like the brakes, and the stereo. I may follow something along the lines of your components whenever I do start focusing on that part.
I�m subscribed, and looking forward to your na-t build!

 03-30-18, 10:53 AM