When you click on links to various merchants on this site and make a purchase, this can result in this site earning a commission. Affiliate programs and affiliations include, but are not limited to, the eBay Partner Network.
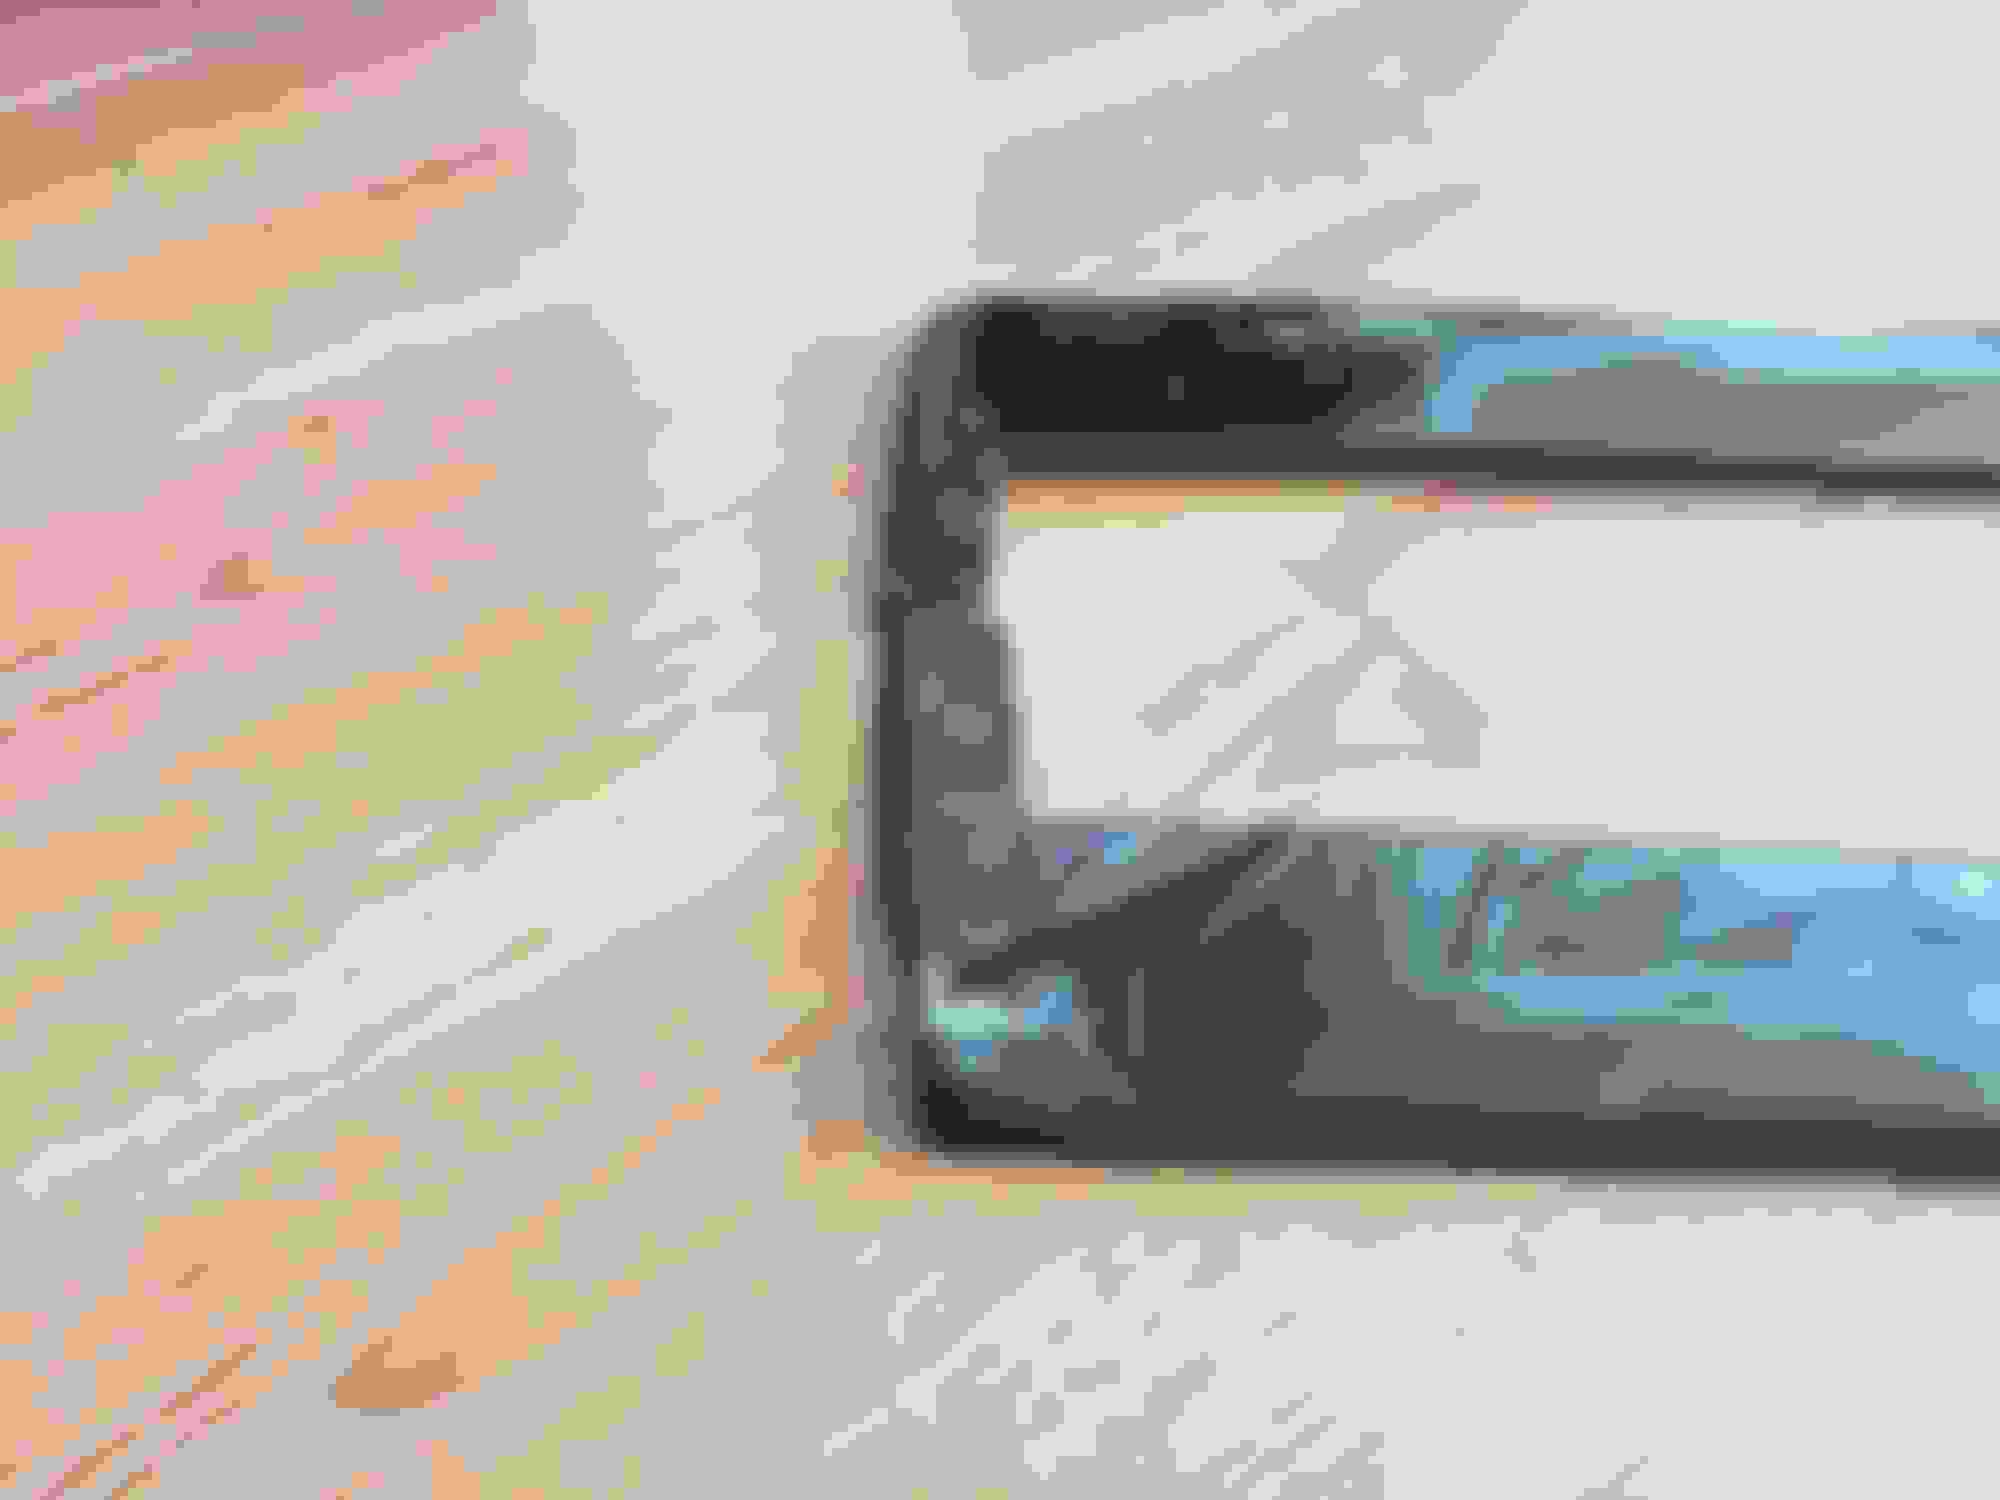
No major updates to the car, except a dash cam. Just opted for a cheap one, Halocam C1, as i'm not too worried about the bells and whistles on those and it's great in terms of picture quality, etc. but the thing makes a LOUD camera shutter sound everytime it's shock sensor feels something....which ends up being any time I give the car some gas. That's the only sound i can't seem to turn off so will probably get a different one if anyone has any suggestions for a cheap SILENT one.
I did get my Blackstone Labratories analysis back too. This was taken from the oil that the car came with last year so no idea on type of oil or mileage on it and i gave Blackstone a heads up on that, hence the comments.
Got my spark plugs swapped a couple of days ago, received an original quote of ~$1500 (cdn) as per the service manuals 8 hours needed which involved removing the intake manifold. Luckily the guys at my shop were able to get it done without doing so. I knew there was a couple of threads on how to get at the back plugs but i didn't want to give them a forum thread to do their work off so was glad they were able to figure it out anyway. Turned it into a third of the cost. I also got them to pressure check the cooling system in fear of any valley plate issues (which i was planning to address while the intake manifold was off) and zero pressure loss over an hour so that was some more good news!
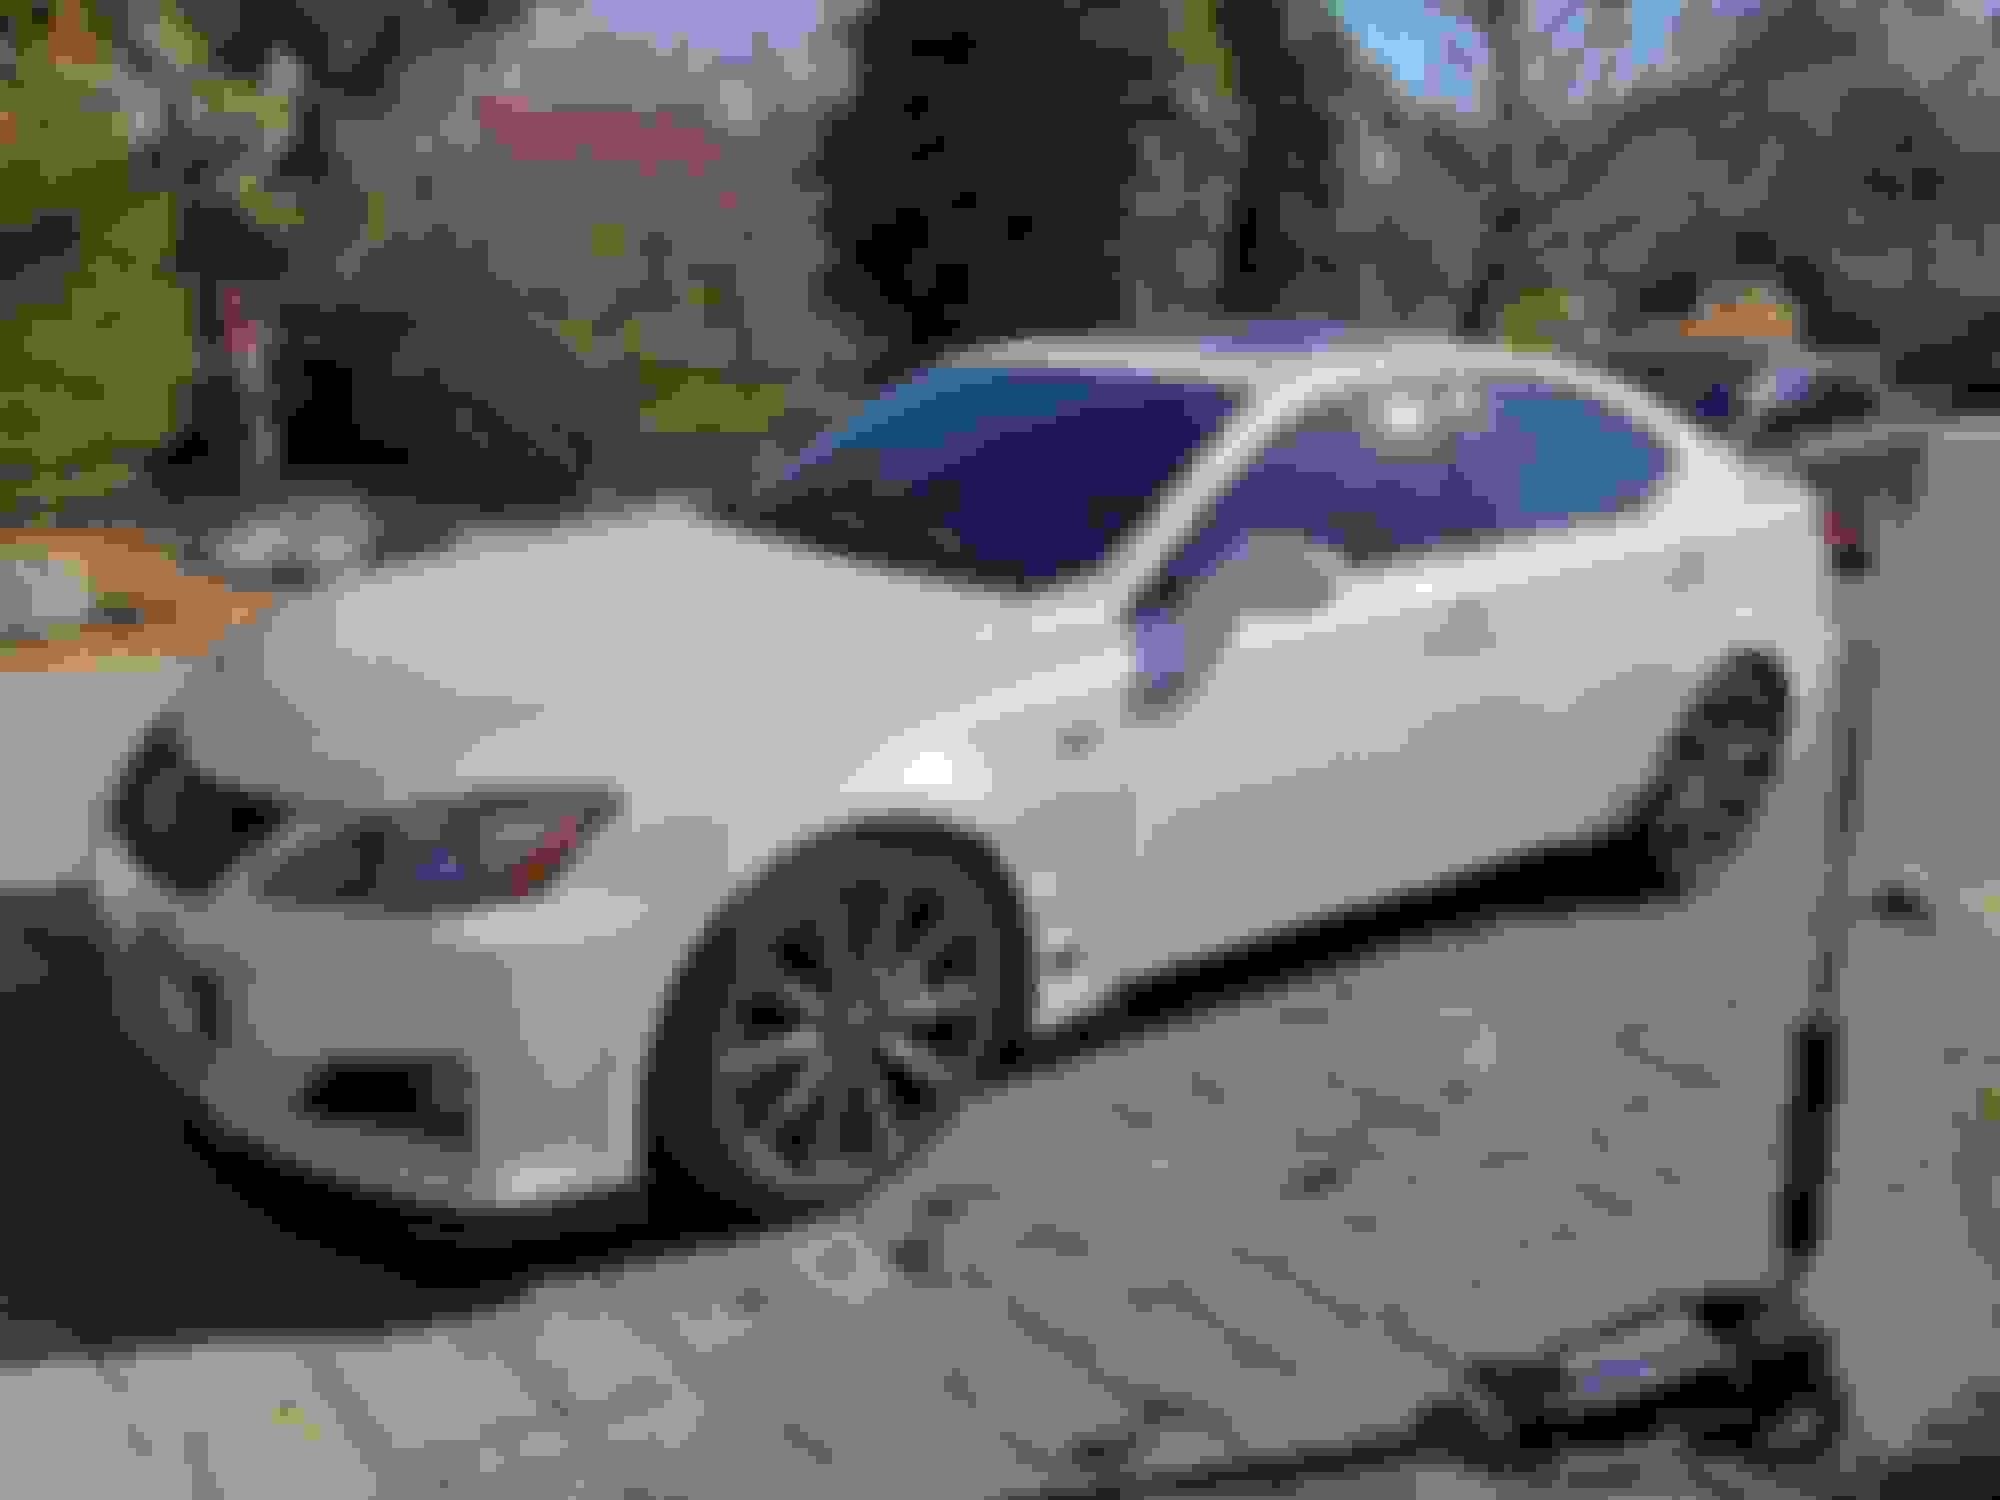
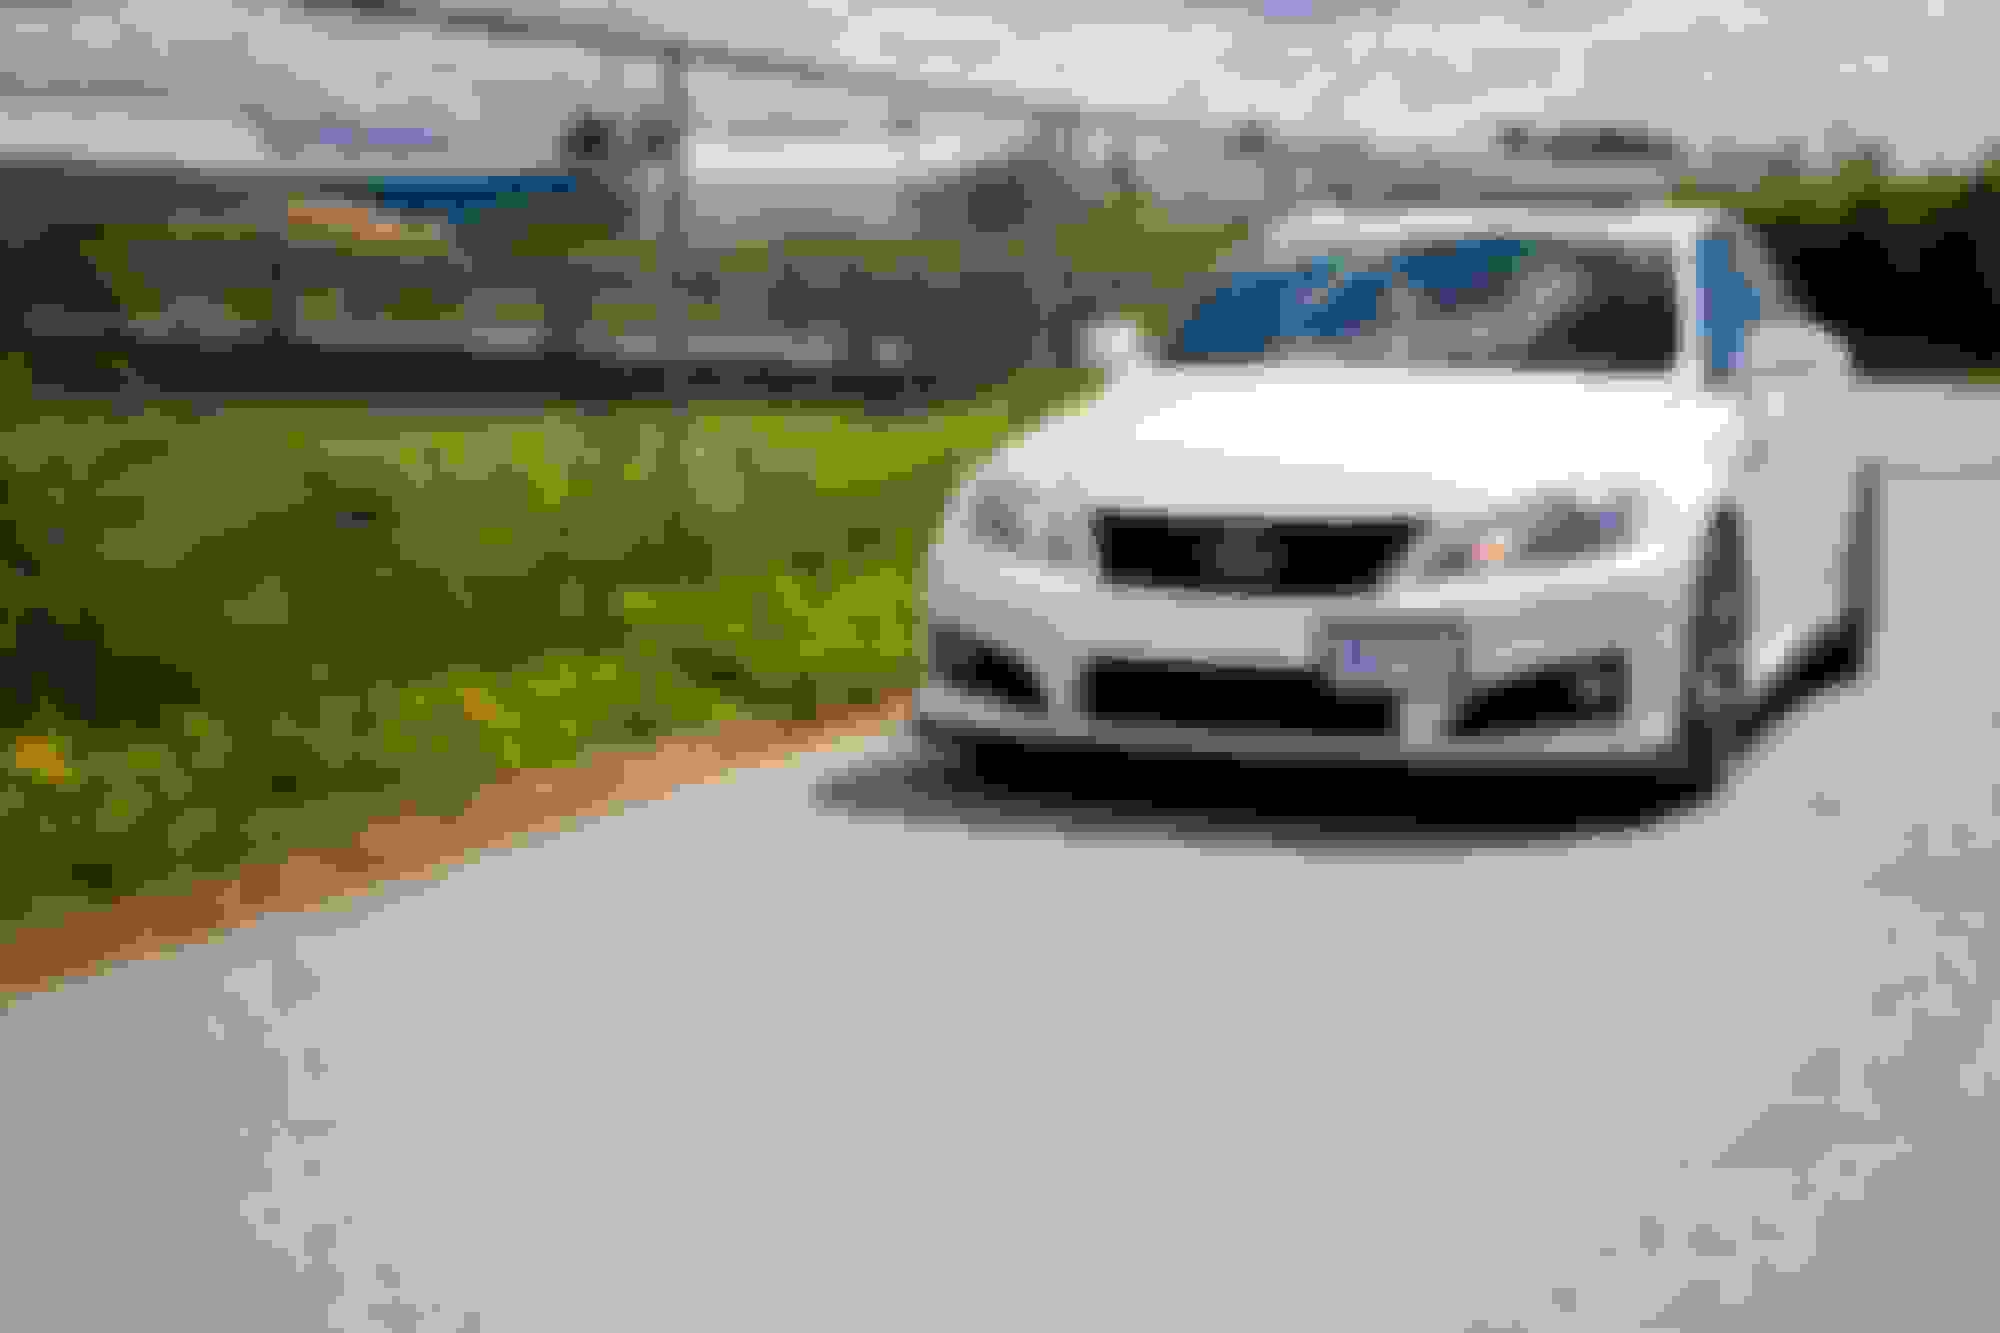
Finished off the day picking up some more pieces for the exterior....some side skirts and a toms rep diffuser. I managed to test fit the diffuser and fitment is pretty good, however will have to wait for it to warm up a bit to stick it on as it's too cold out for tape to adhere right now and finally getting our bit of the snow next week.
Where did you order the TOMs rep from? could you possibly PM me a link.
I picked it up off a local F owner but he said he got it off ebay from Lexuryparts. Let me post some more pics of the fitment when i actually get it on though...it fit a bit funky around the exhaust tips but it was to cold out for me to dedicate much time to it or get a good look.
I've been playing with the side skirts that i picked up used over the past few days as they had some damage that needed to be fixed. We got a heavy load of snow over the weekend so i was stuck inside doing some experimenting.
I manged to find and cook up a home-made clay mixture with cornstarch, salt, and water with no idea how it would turn out but used it to create a bit of a mold on the broken part and overnight it hardened decently. Then i applied some Sugru over it that adhered to the polyurethane and again...no idea how it would turn out. I'd had some Sugru laying around for a while but had never used it so wasn't sure what the finished product would be like and if it would hold it's form. If you're not aware of what it is, it's a moldable glue that hardens like rubber after 24 hours.
It ended up being sandable when it hardened so i sanded it down a bit and then washed away my makeshift clay, however the Sugru is quite flimsy and pliable now that the mold is gone. It holds the form but I will need to do something else on the backside to make sure it holds it form....another project for another weekend. And as far as 'paint' i will just be vinyl wrapping them so i'm not too worried on if paint would stick to the product.
Left one still has old vinyl wrap and double sided tape on it...right one is stripped of all that.
You can see the damage on the bottom one that i needed to fix
This is with my makeshift clay mold
This was how it looked once the Sugru was put on it to dry
Finished product dried and sanded down a bit. It's not perfect but it will do. I will sand it down a bit more once i've got something on the other side of the sugru reinforcing it's shape.
For the sideskirts, i ended up slapping some JB weld on the back to strengthen the Sugru and let me sand it down some more. I've since wrapped the skirts and a front lip to go on some time in the coming weeks.
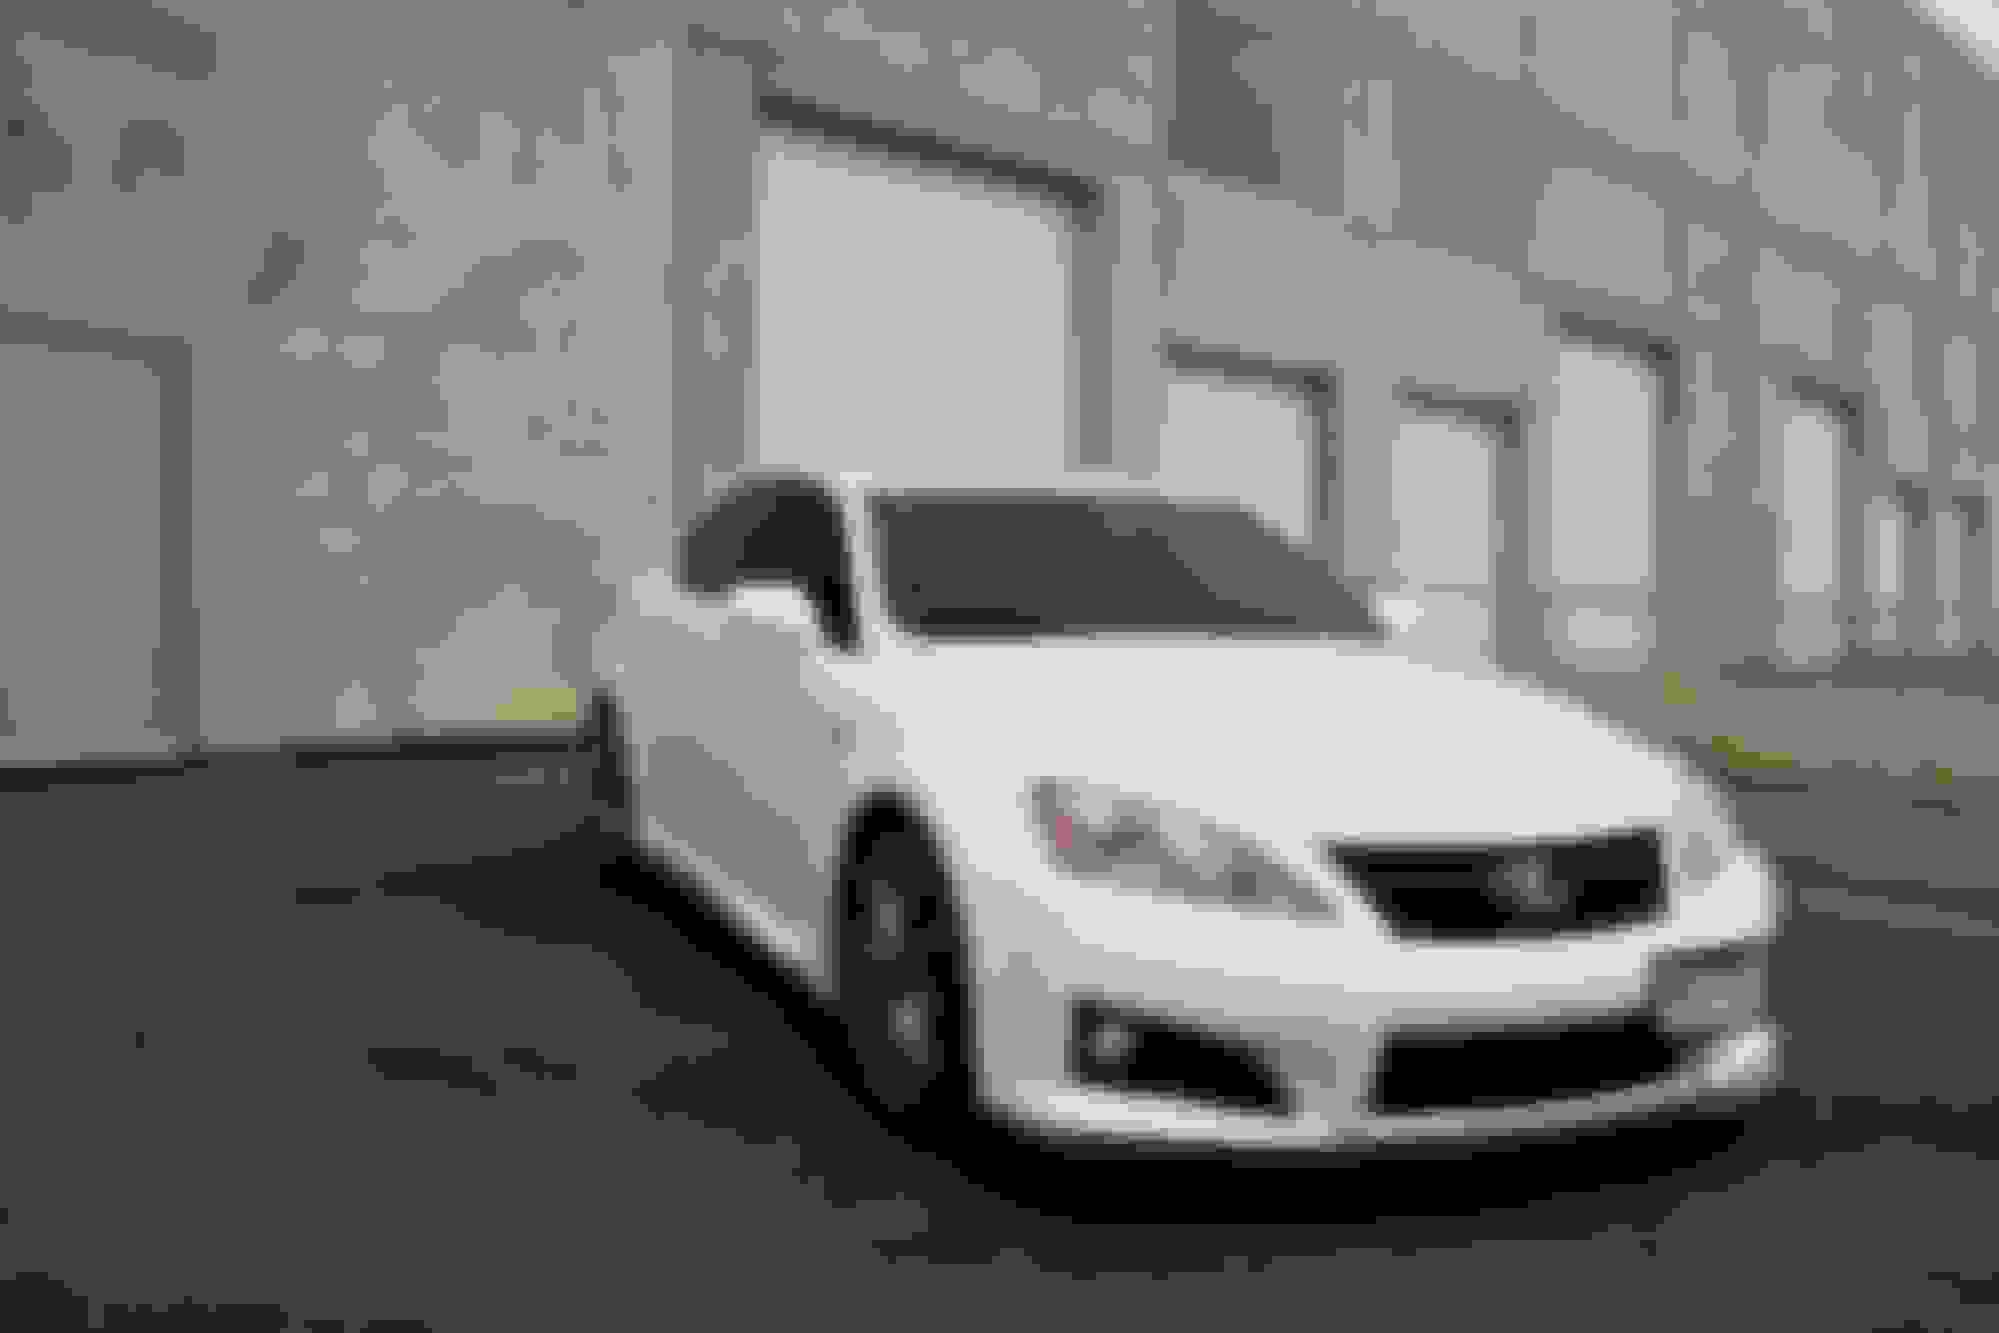
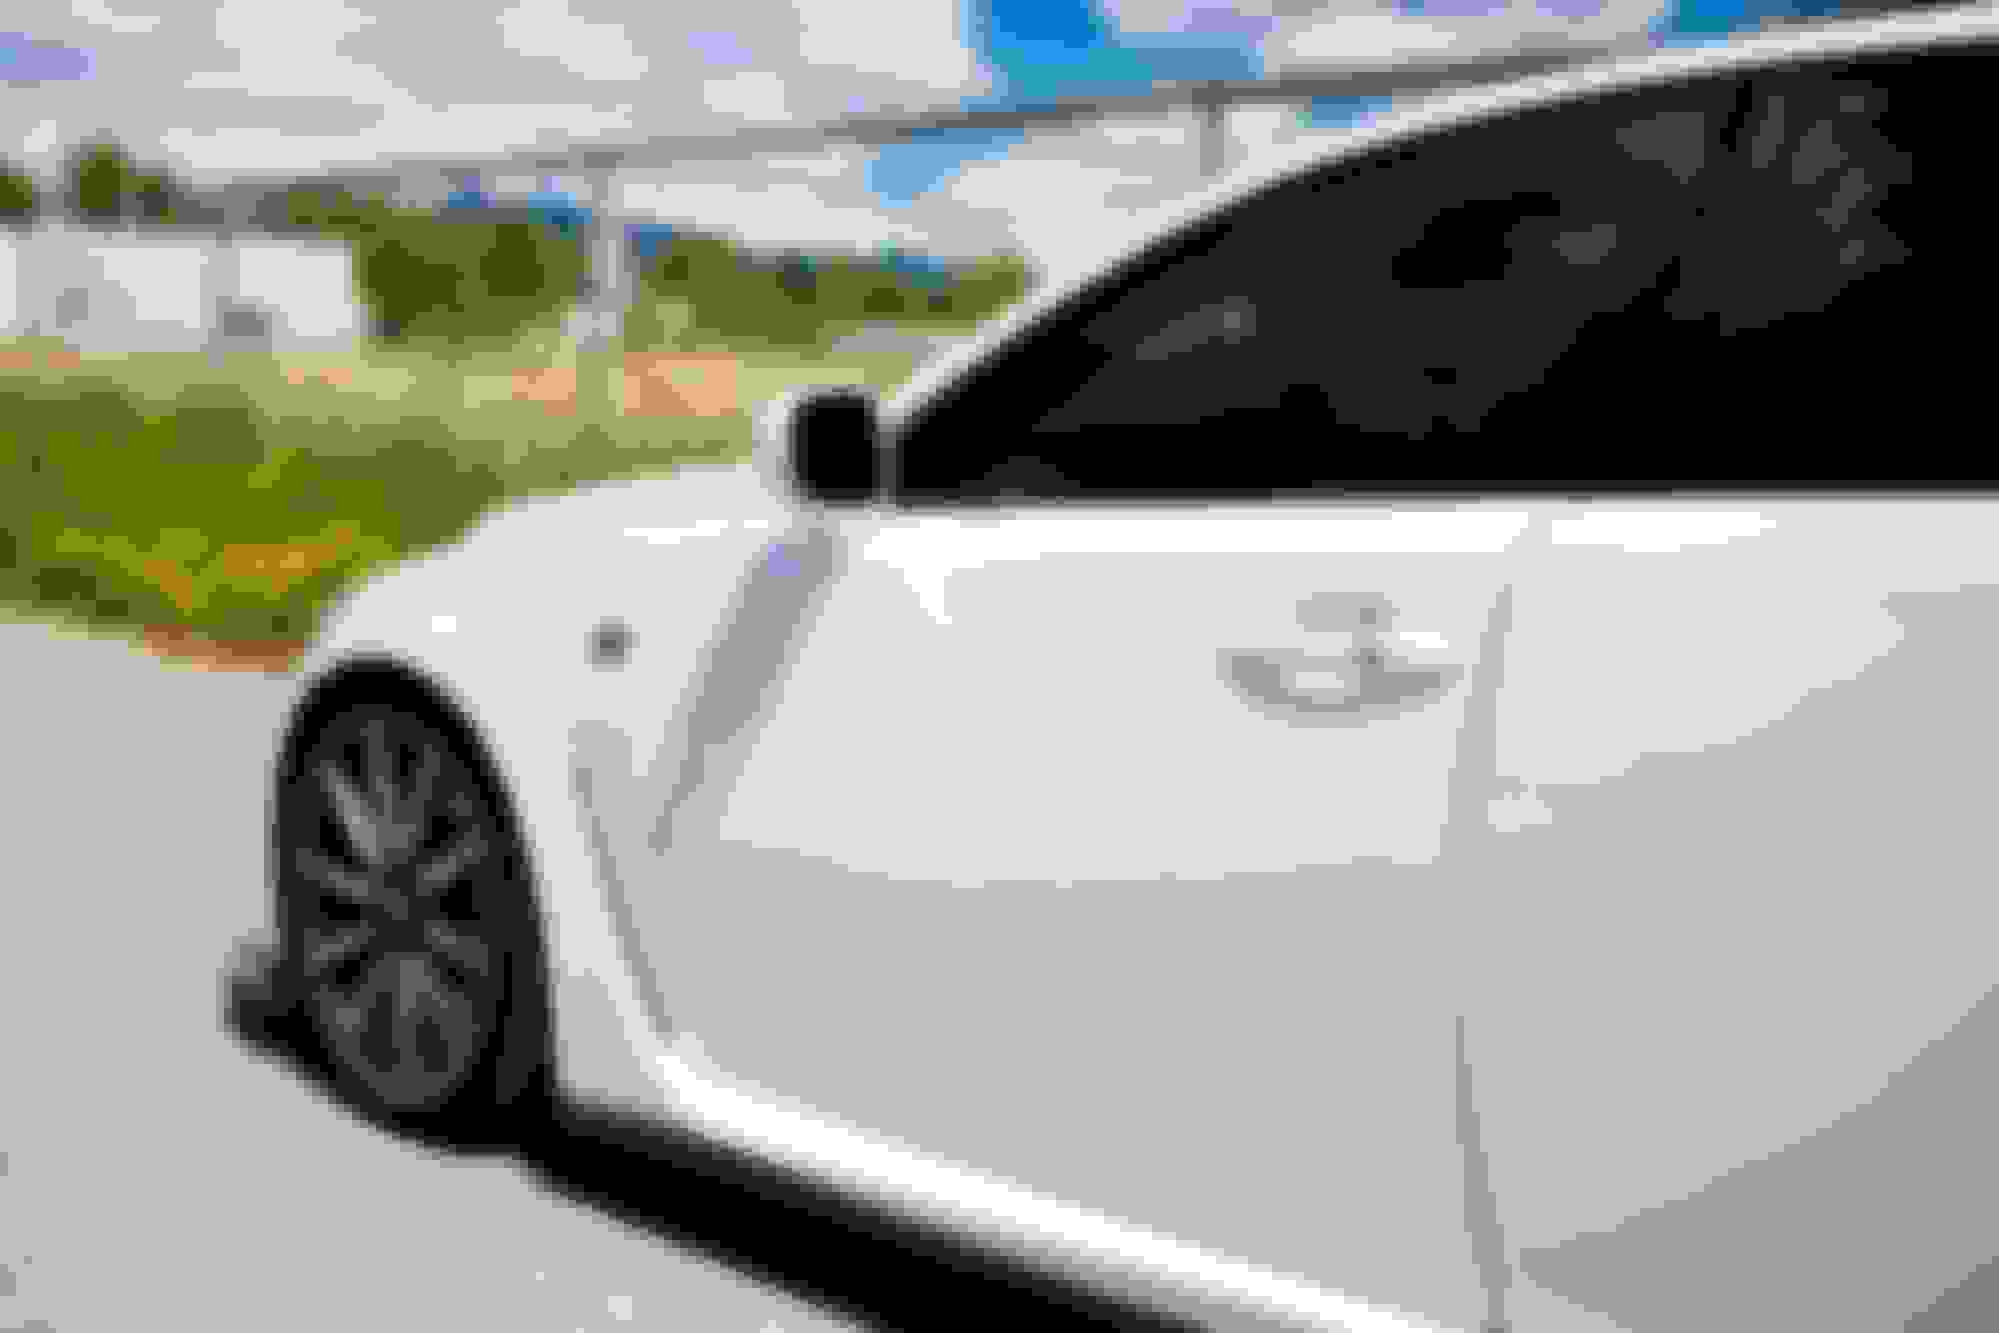
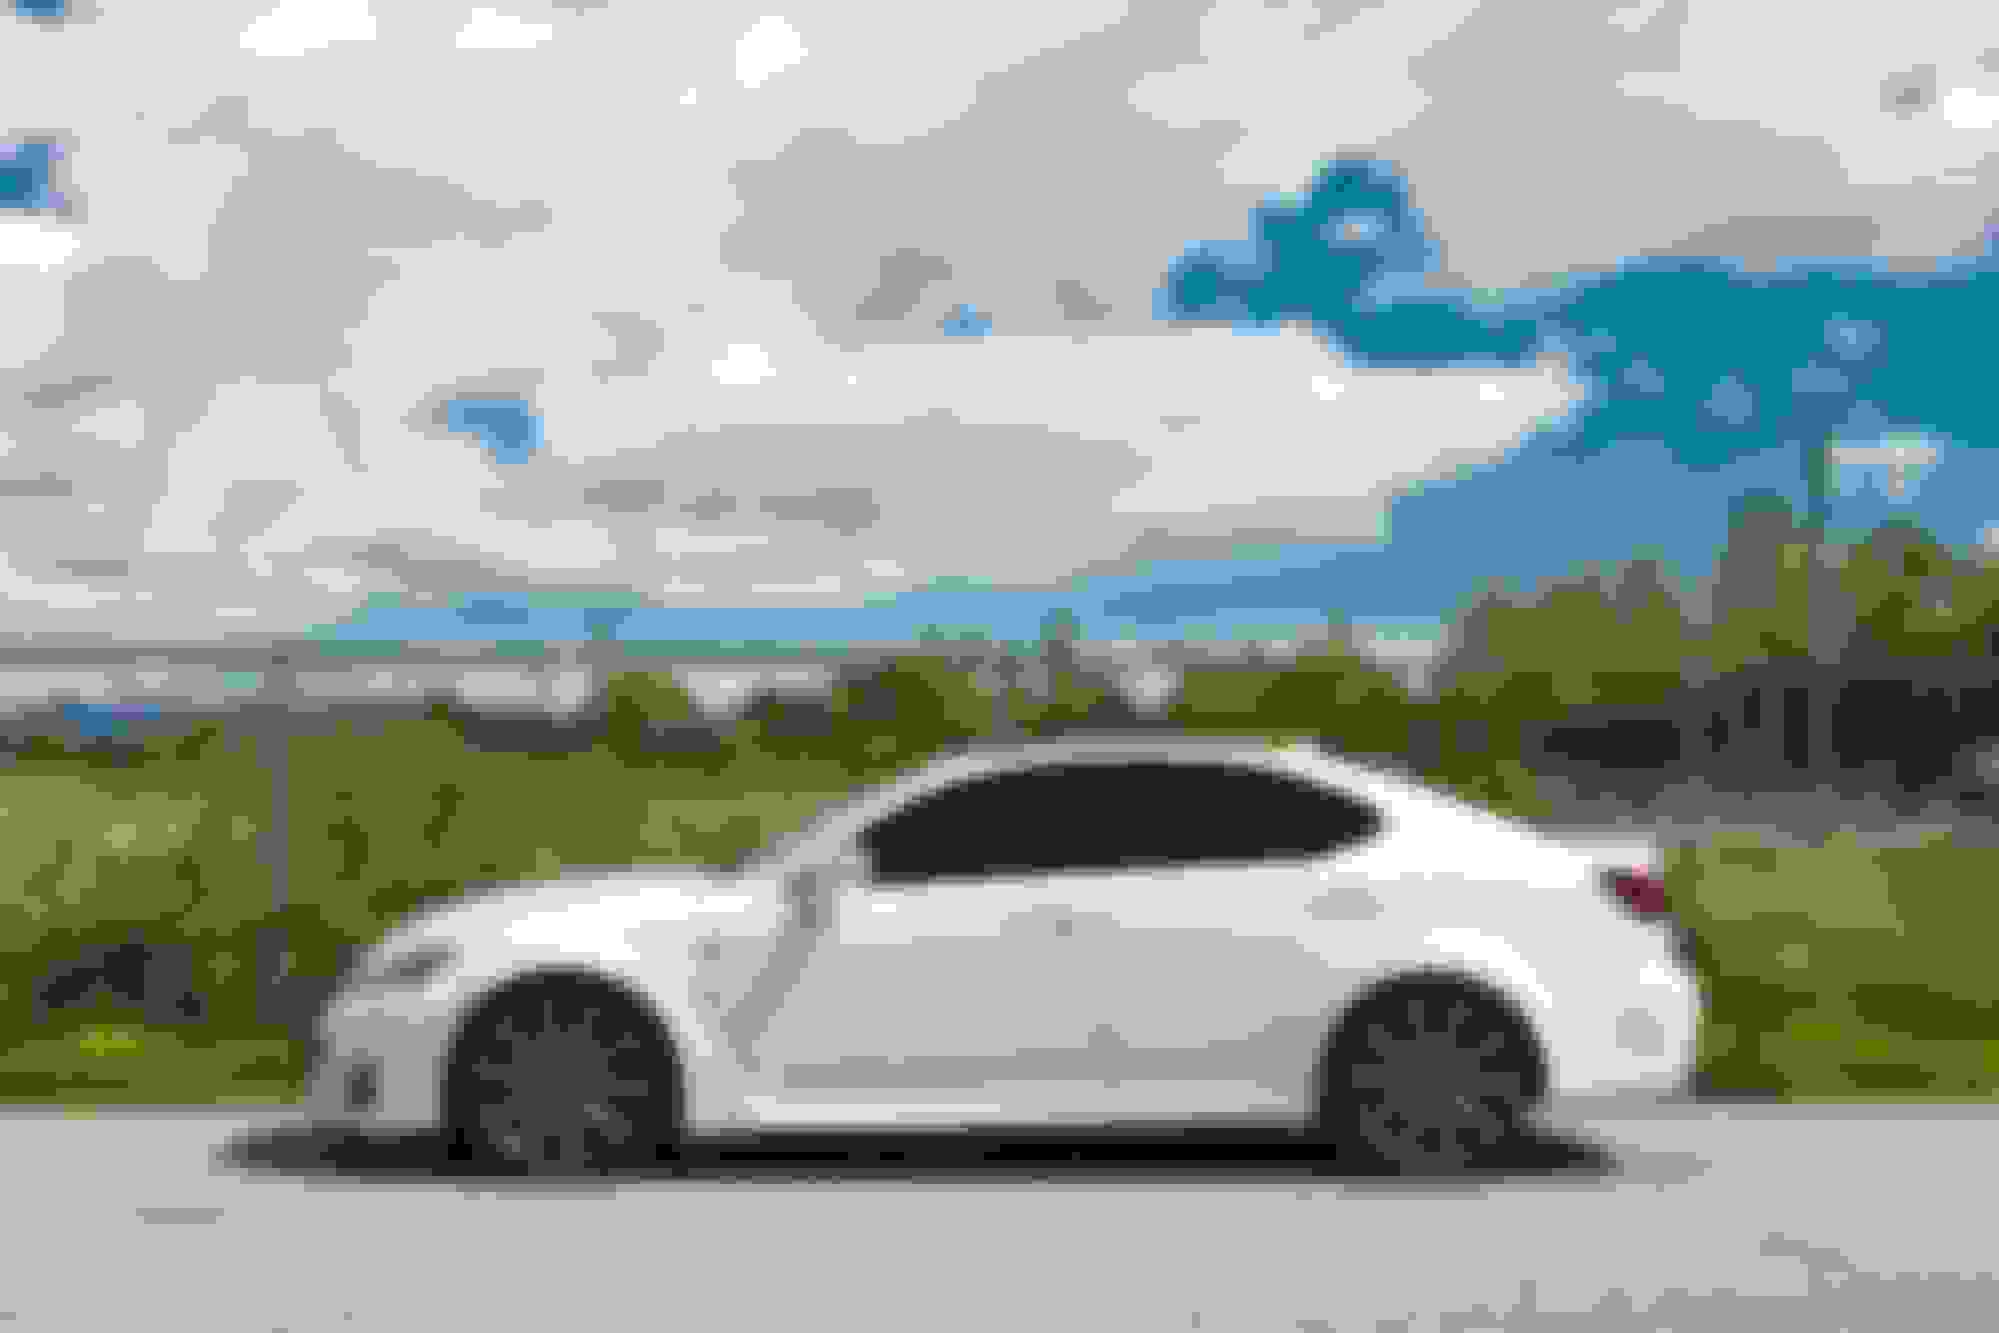
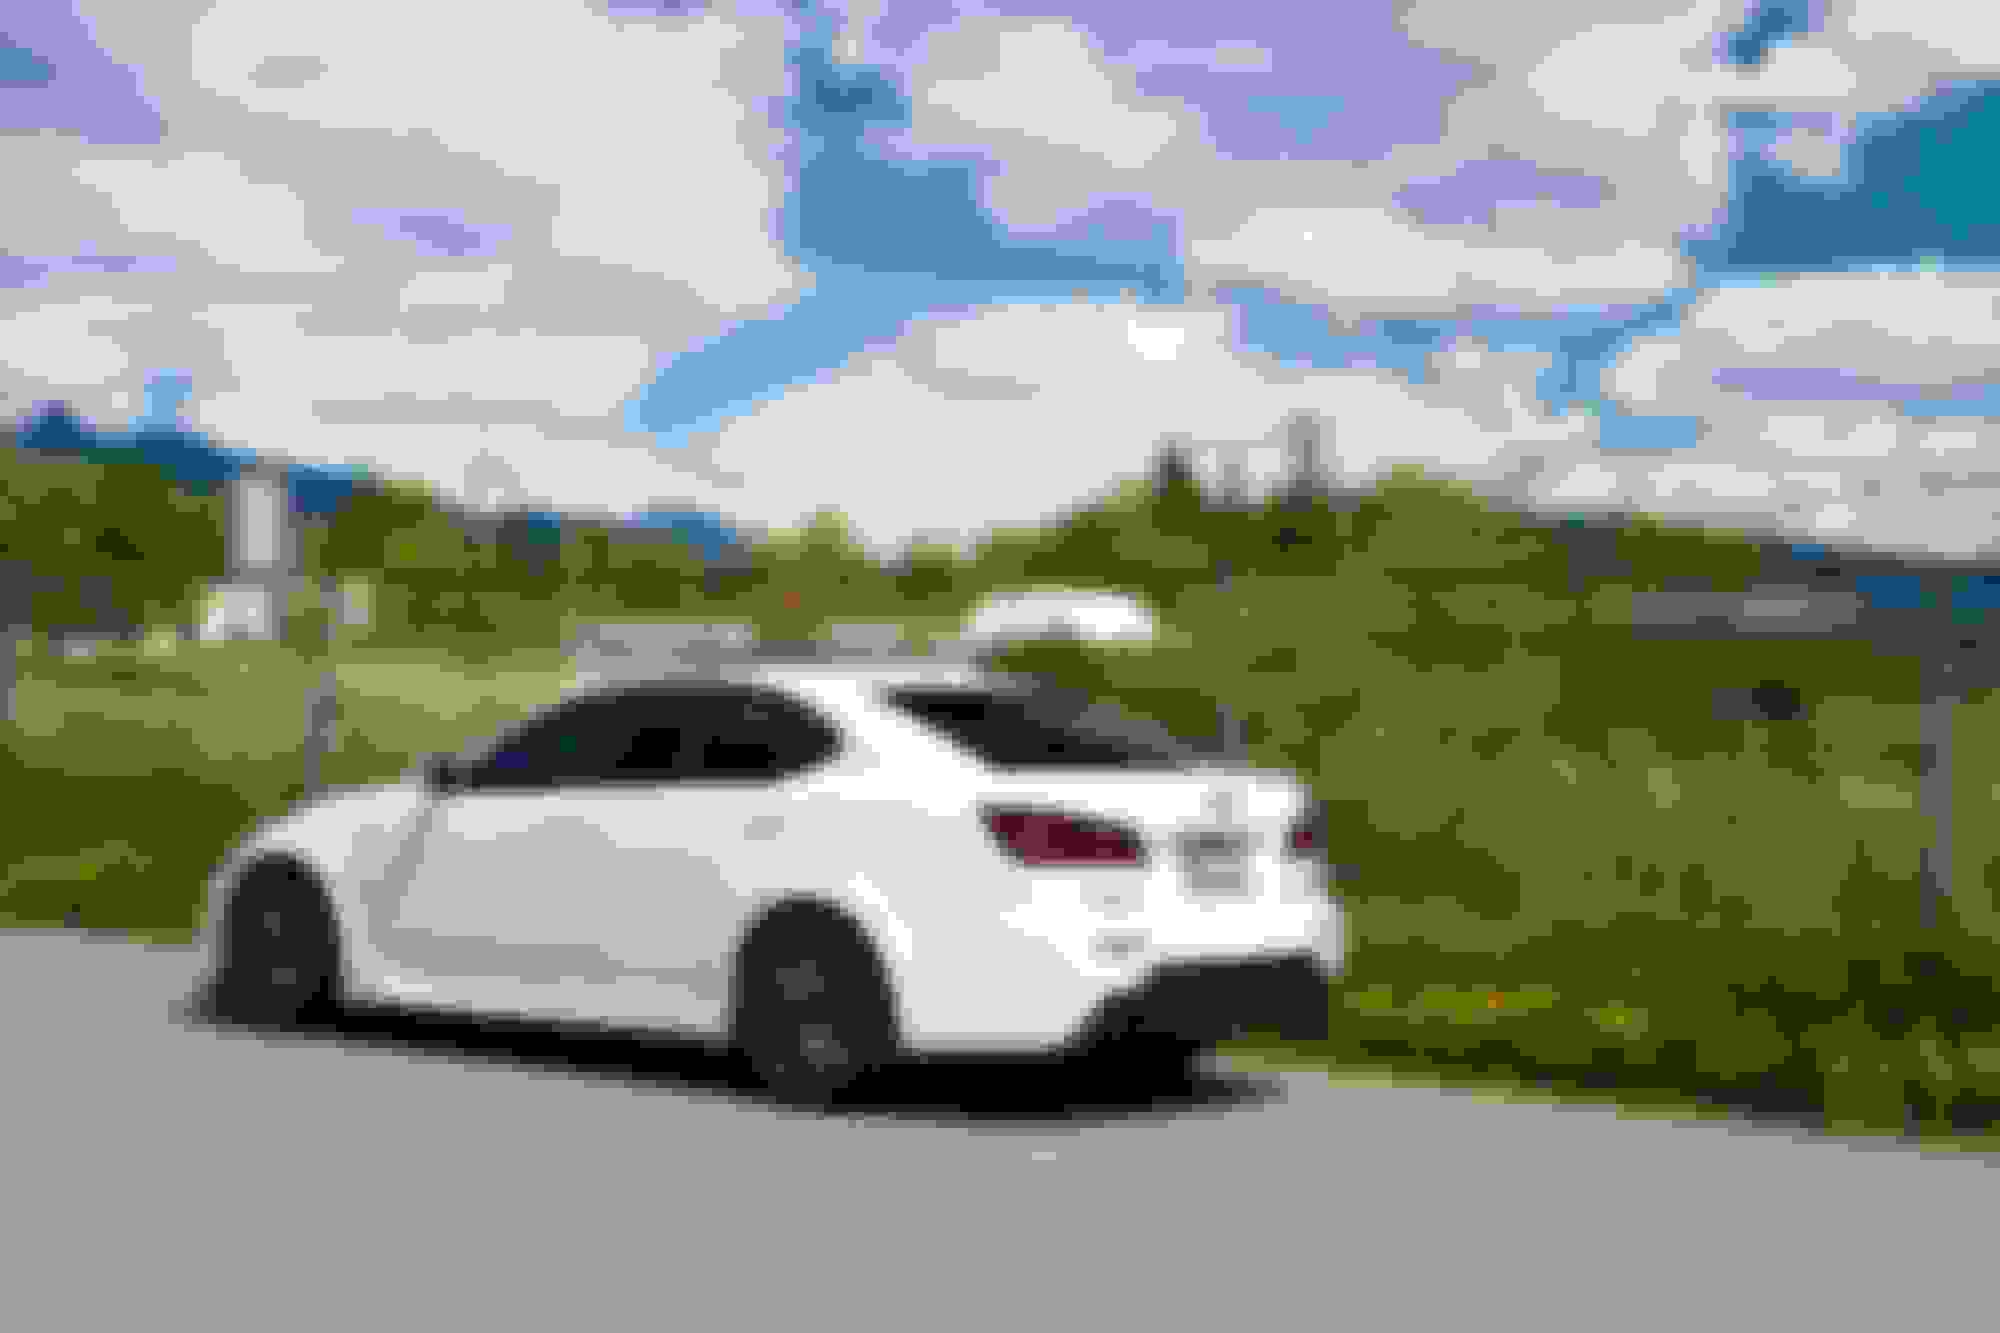
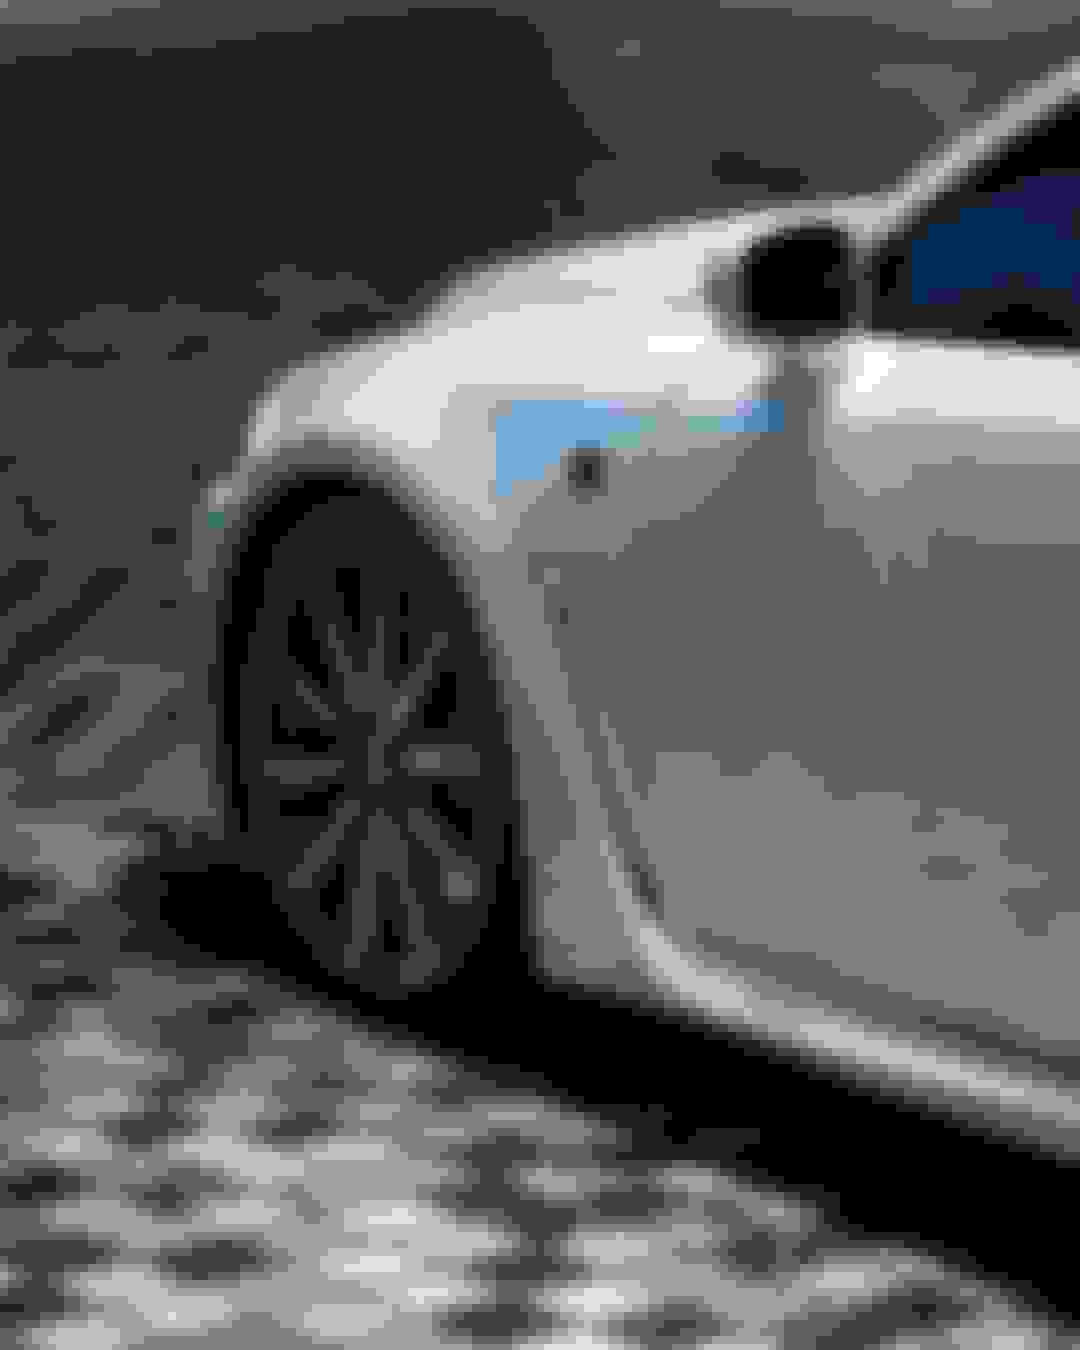
Last weekend I properly put on the Toms rep diffuser i had. Fitment now that it's stuck on properly still remains the same as my previous post...not great around the exhaust tips, some white is peeking through, but only visible if you're looking for it and something i can cover up at some point. I had a friend help me put it on and he snapped some awesome photos after:
I also managed to get a friend to record an exhaust clip which i've been wanting for a while. This is my first upload to youtube so hopefully you can see it:
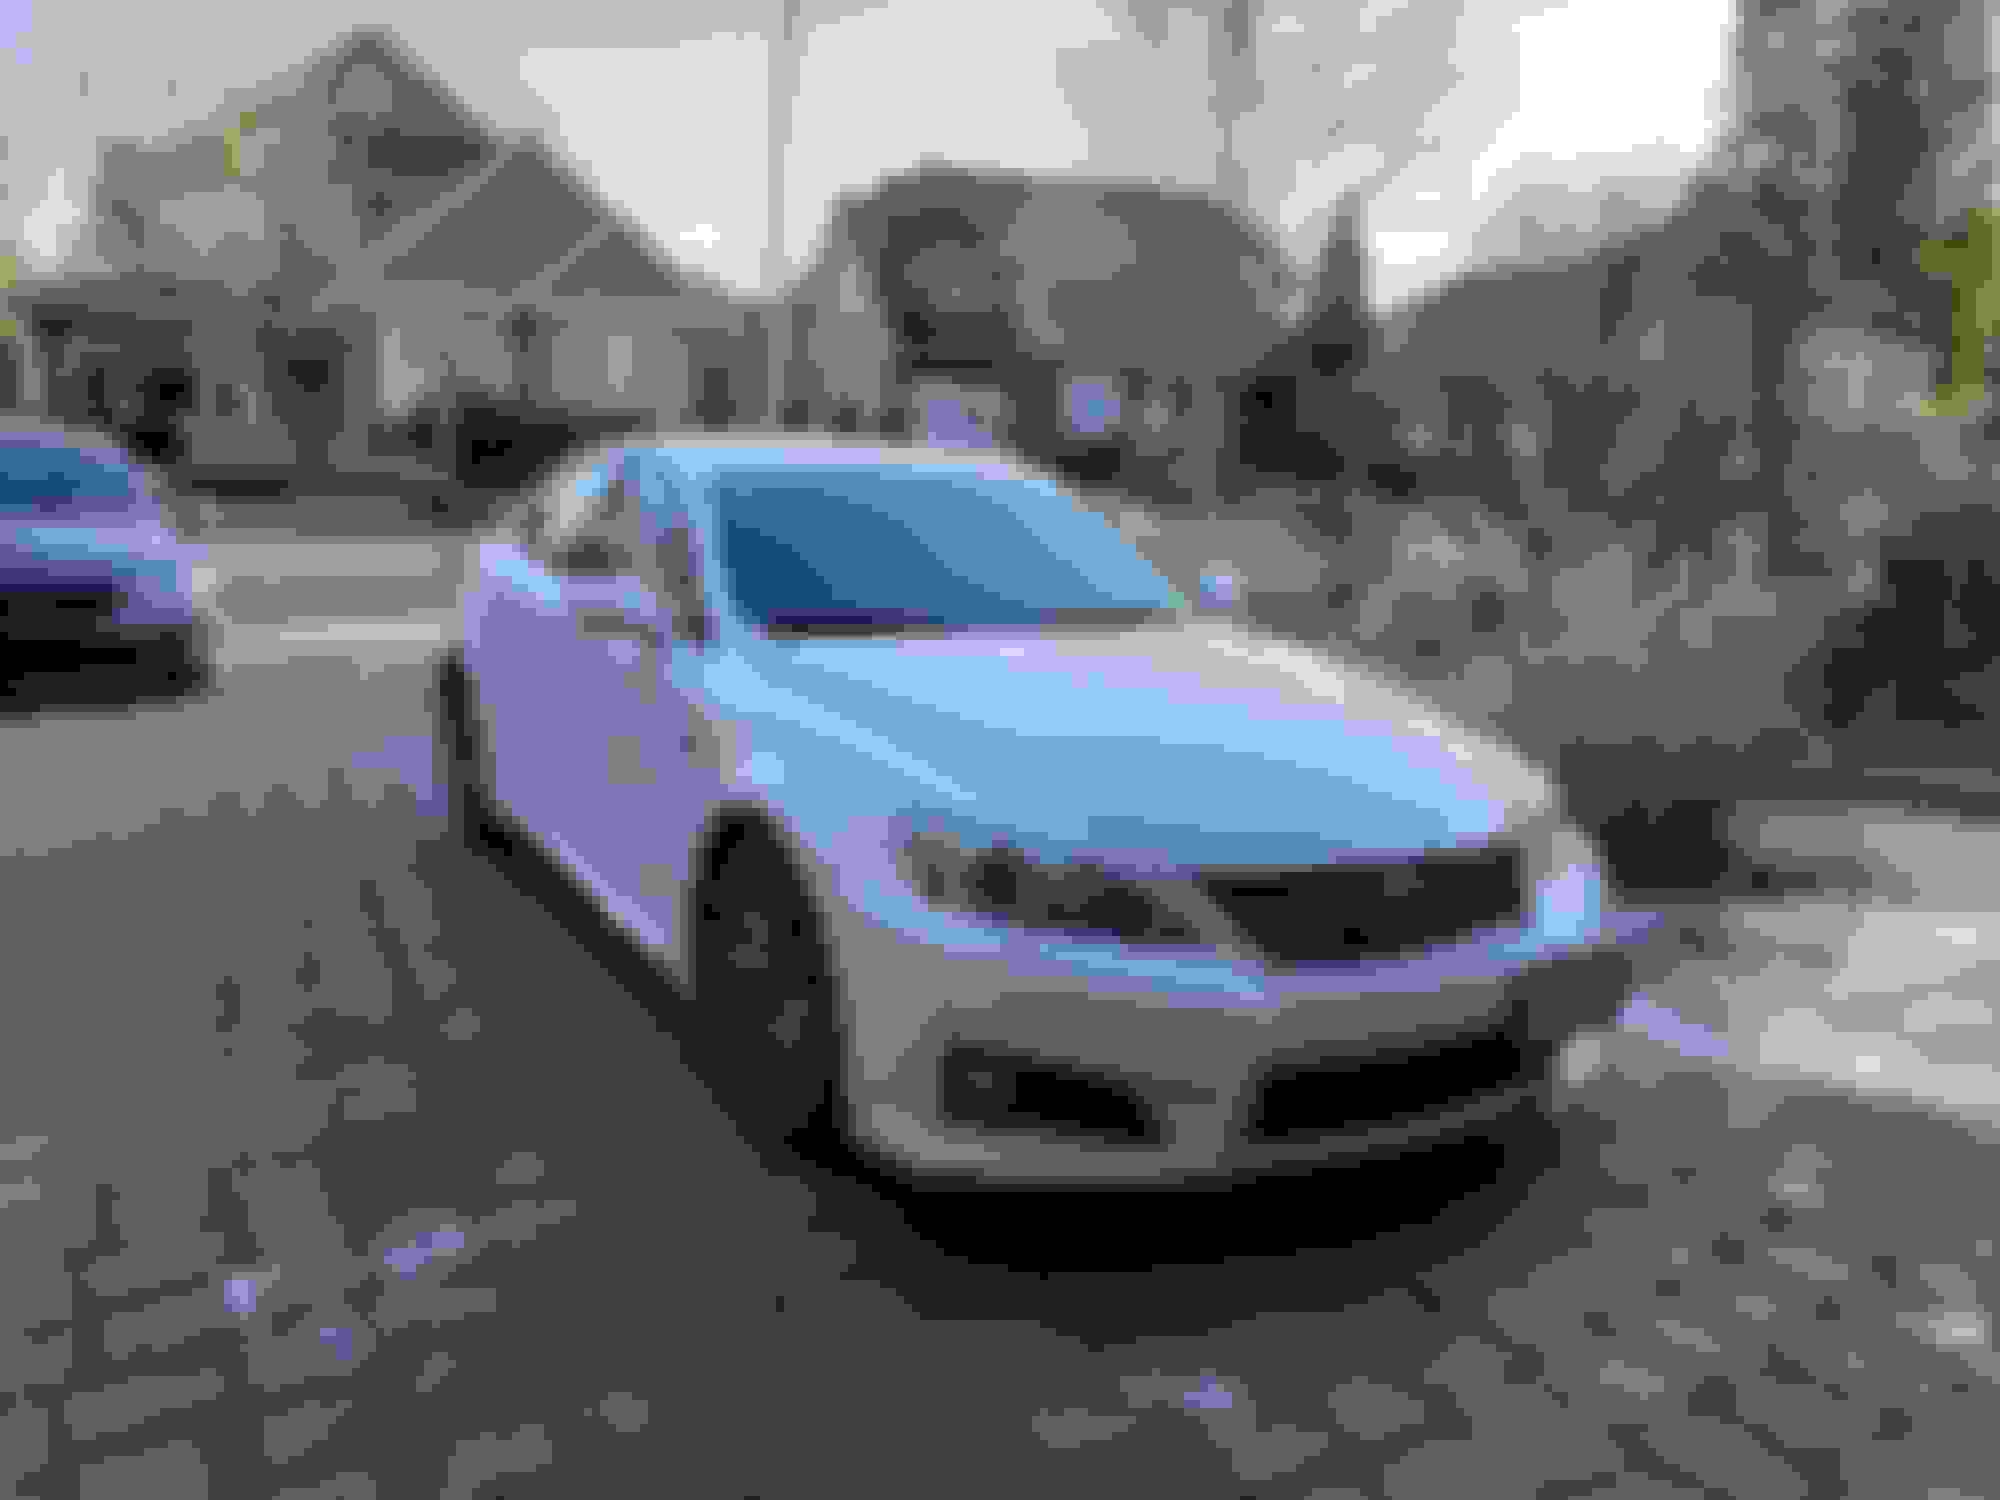
Managed to put the side splitters and front splitter on yesterday. Fitment is fine as they're splitters so not much to fit other than being the right lengths. I decided to take off the side skirts completely to install the side splitters, as per some other posts suggestions and now that i did it, i dont even know if someone could do it without doing so unless they used self tapping screws or something which i'm not sure i'd trust completely.
Next up will be some spacers and that's about it for cosmetic mods for now. Will be focusing on some suspension pieces here and there next in preparation for a road course day later in the year, hoping to make it to an October track day at Area 27 out here in BC with one of my mates car clubs.
I installed some spacers on the front/back with the stock wheels for now. I went with the Ichiba V2 bolt-on style spacers. I've had these on previous cars and never ran into any issues so confident in their abilities however aiming for a road course event later this year so am inclined to take them off for that just to be safe, but will see. I know it's not preferred but i would rather track the car as it rolls around the the street. I put 15mm up front and 20mm in the back. I could probably fit 20mm up front but didn't want to chance any rubbing issues.
I ordered the Figs rear sway bar and end links combo last month and finally put those in. One of the OEM end links had bent (pic below) due to just being lowered so took the opportunity to upgrade to something adjustable as well as the stiffer sway bar. The car feels a lot more planted up front going into a corner already with some back road driving but should give it a good test this summer with a road course day. Some pics of the Figs gear going in below:
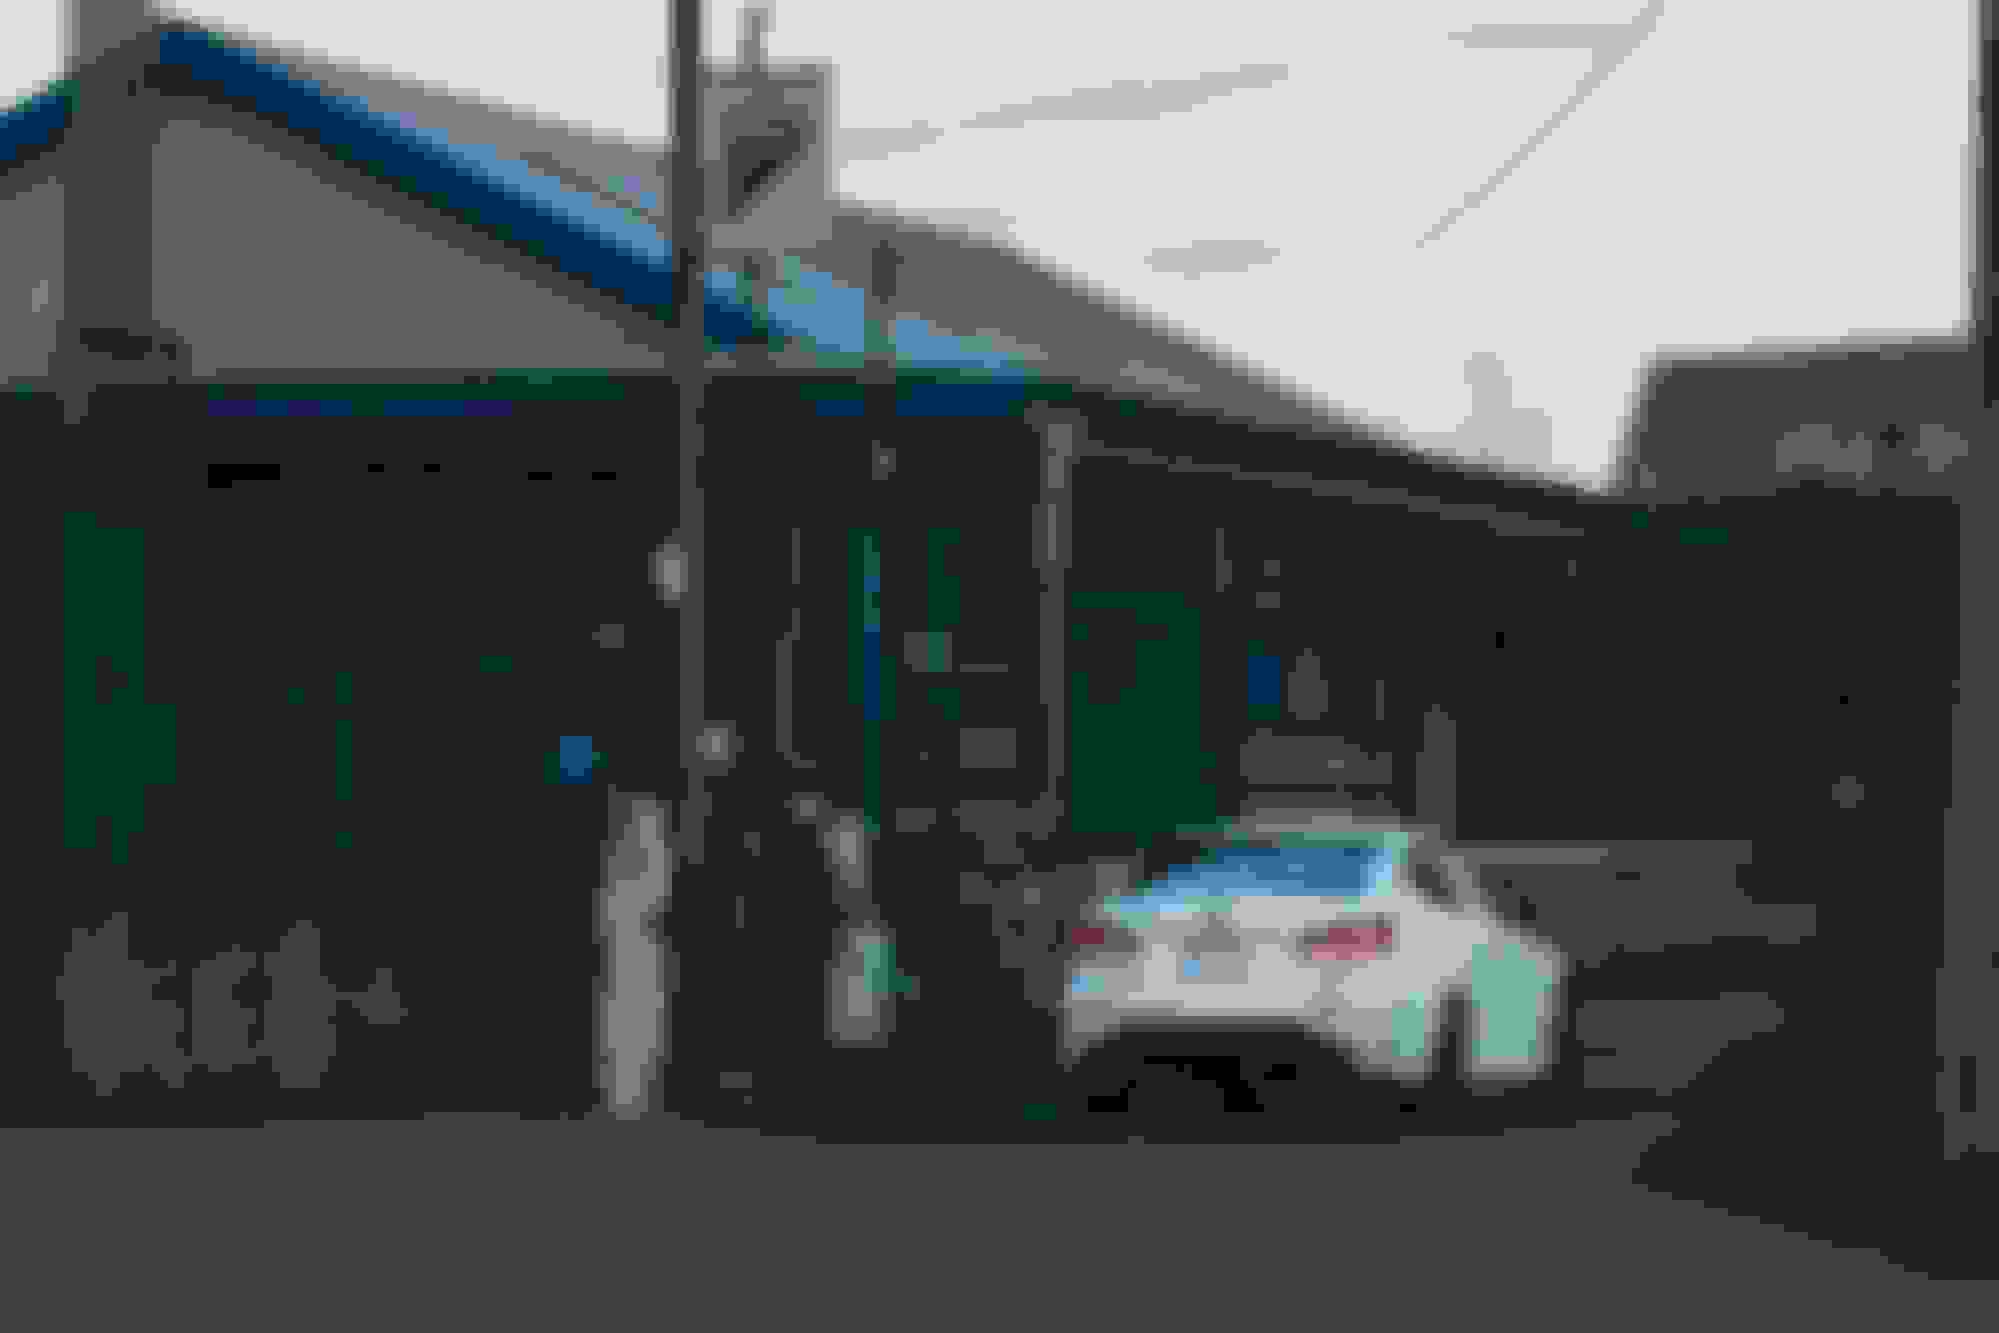
We had a huge car show in Vancouver last weekend that rounded up the entire car scene from imports to american muscle to trucks to exotics. Some of the local F guys got together which was good, then took the long way home and snapped some photos.
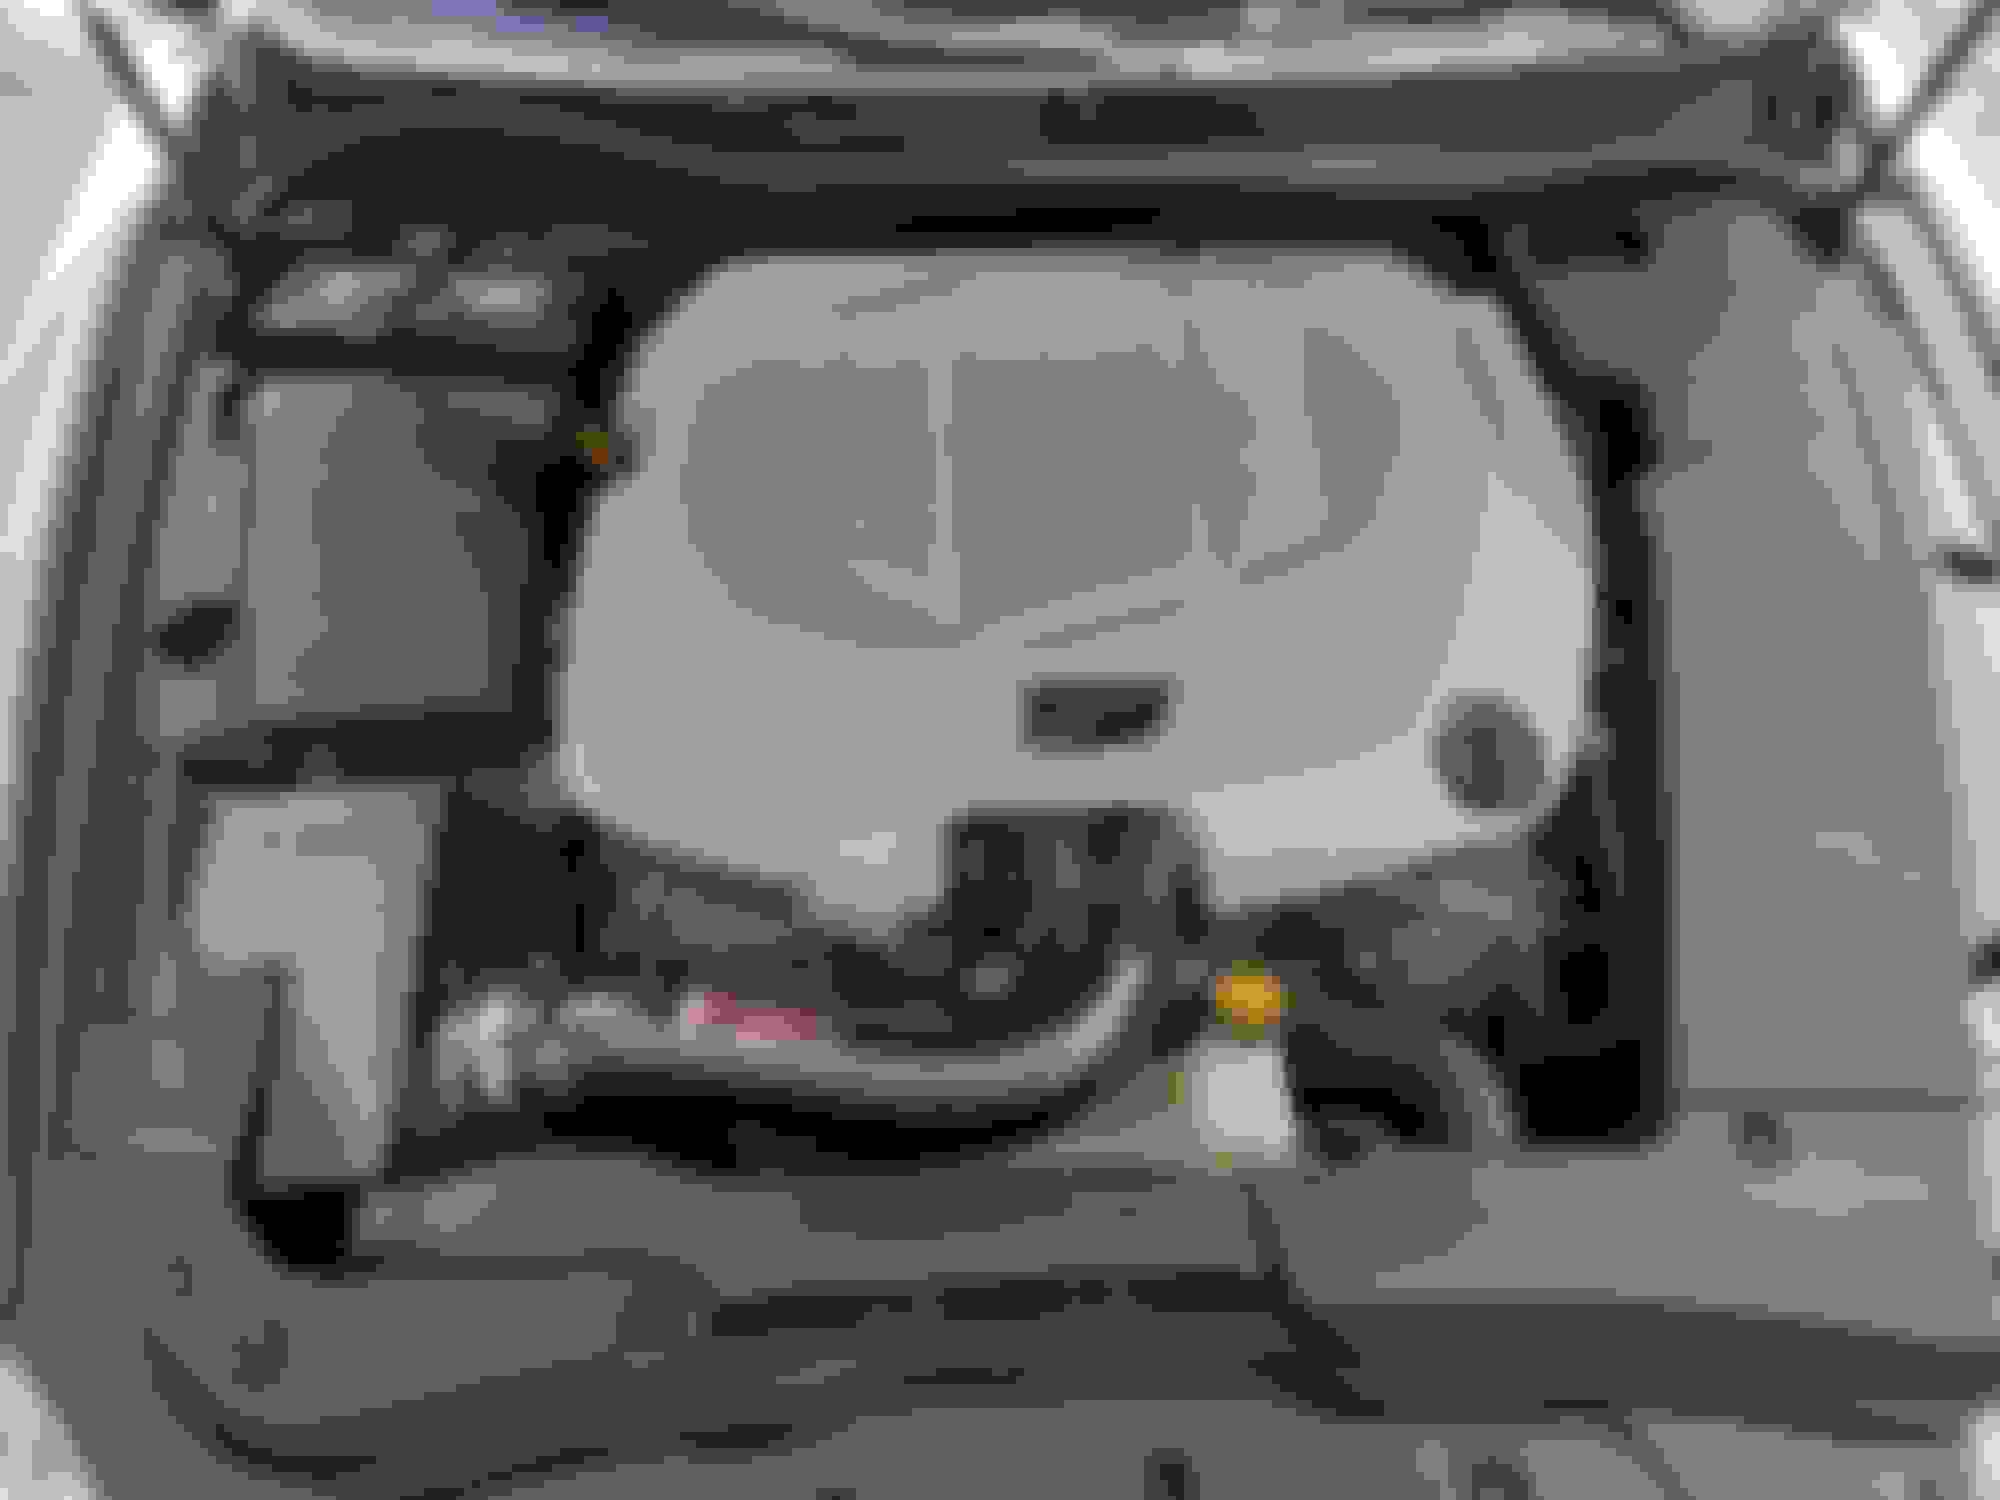
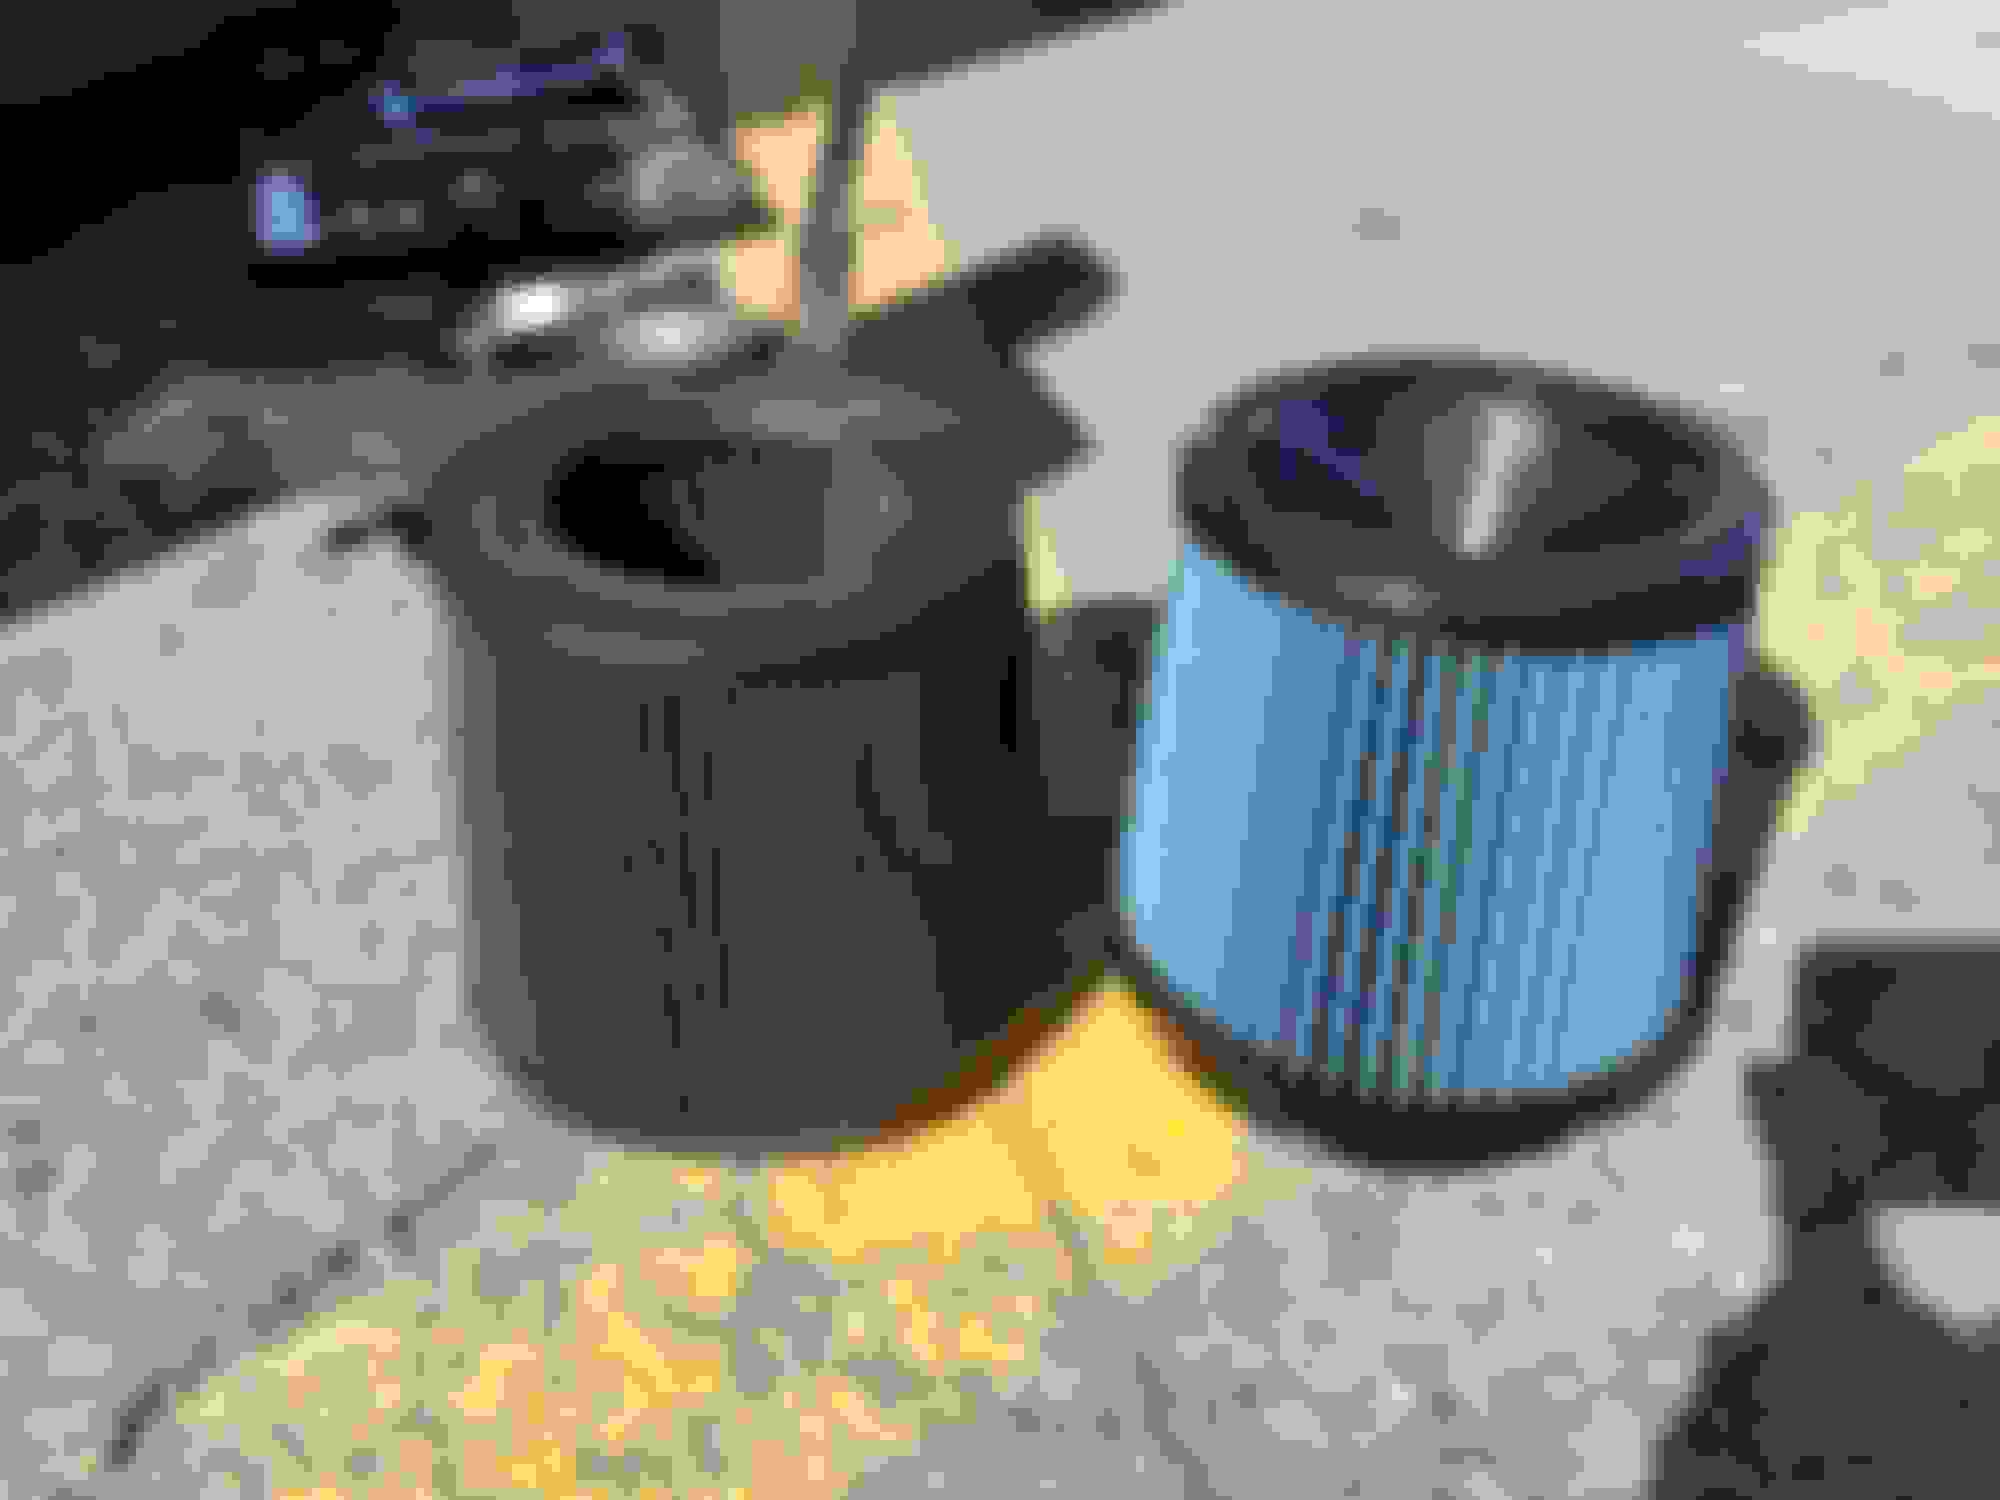
It's been a while since i've updated this due to no major updates and being out of town quite a bit lately. I attempted to clean the Injen intake filter a bit ago but the oils on it had gotten too dirty i think so i replaced it for good measure. The color difference should say it all:
I also so a DIY on one of the Facebook groups of someone that wrapped the interior 'white' carbon fiber in some window tint to give it more of a traditional carbon fiber look. Gave it a go and it looked alright but I'm not super patient so some of the pieces could have been done better and it scratched quite easily so it only lasted on there until i got a chance to take it off a few weeks later. Not a bad DIY for someone that has the patience for it though:

 12-04-18, 08:30 AM


 in time. Had a good opportunity locally so snagged these up for the time being.