YannG's 05 Lexus LS430 Build thread
#78
Intermediate
Thread Starter
Thanks, appreciate it !
Thanks Chrispy, you car has been an inspiration to me... 
Where do the camber adapters go exactly? I would think the front but not sure... I saw on your build thread you purchased some Nagisa auto camber multi adapter, but didnt see any pics of them fitted!
Thanks,
Yann

Where do the camber adapters go exactly? I would think the front but not sure... I saw on your build thread you purchased some Nagisa auto camber multi adapter, but didnt see any pics of them fitted!
Thanks,
Yann
#80
Intermediate
Thread Starter
Hello all,
Quick update - Bought some brand new OEM Celsior visors for a great price as I had been wanting a set for a while now.
Here are a few pictures of the fitting process. The instructions were in japanese, however its pretty straight forward to fit them
Brand new OEM visors:


JDM/OEM japanese instructions!

The 1st step is to insert 2 tabs per window between the inner seal.

Line up the visors with the chrome surround, peel back the double-sided tape and stick the visors on whilst aligning the holes in the visors with the tabs. Insert the securing plastic nuts in the visors and through the tabs,

I used some tape to make sure they would stick correctly.


IMO they look really good and the quality/fit was perfect.


(ps: Whilst I was at Advanced Auto parts, this gorgeous "low-rider" 1977 monte carlo parked next to the LS....his trunk/hydraulic pump setup was very impressive, he even made the car bounce a couple of times!)


As always all comments welcomed
Thanks,
Yann
Quick update - Bought some brand new OEM Celsior visors for a great price as I had been wanting a set for a while now.
Here are a few pictures of the fitting process. The instructions were in japanese, however its pretty straight forward to fit them

Brand new OEM visors:


JDM/OEM japanese instructions!

The 1st step is to insert 2 tabs per window between the inner seal.

Line up the visors with the chrome surround, peel back the double-sided tape and stick the visors on whilst aligning the holes in the visors with the tabs. Insert the securing plastic nuts in the visors and through the tabs,

I used some tape to make sure they would stick correctly.


IMO they look really good and the quality/fit was perfect.


(ps: Whilst I was at Advanced Auto parts, this gorgeous "low-rider" 1977 monte carlo parked next to the LS....his trunk/hydraulic pump setup was very impressive, he even made the car bounce a couple of times!)


As always all comments welcomed

Thanks,
Yann
The following users liked this post:
Z7USUDRV (04-02-23)
#83
@woaitaimei we sure are twinning! cant wait to see yours lowered! keep up the good work 

I wish I didnt have coils ....the cush ride has been lost and its not even firm...just bouncy!
#84
Pit Crew
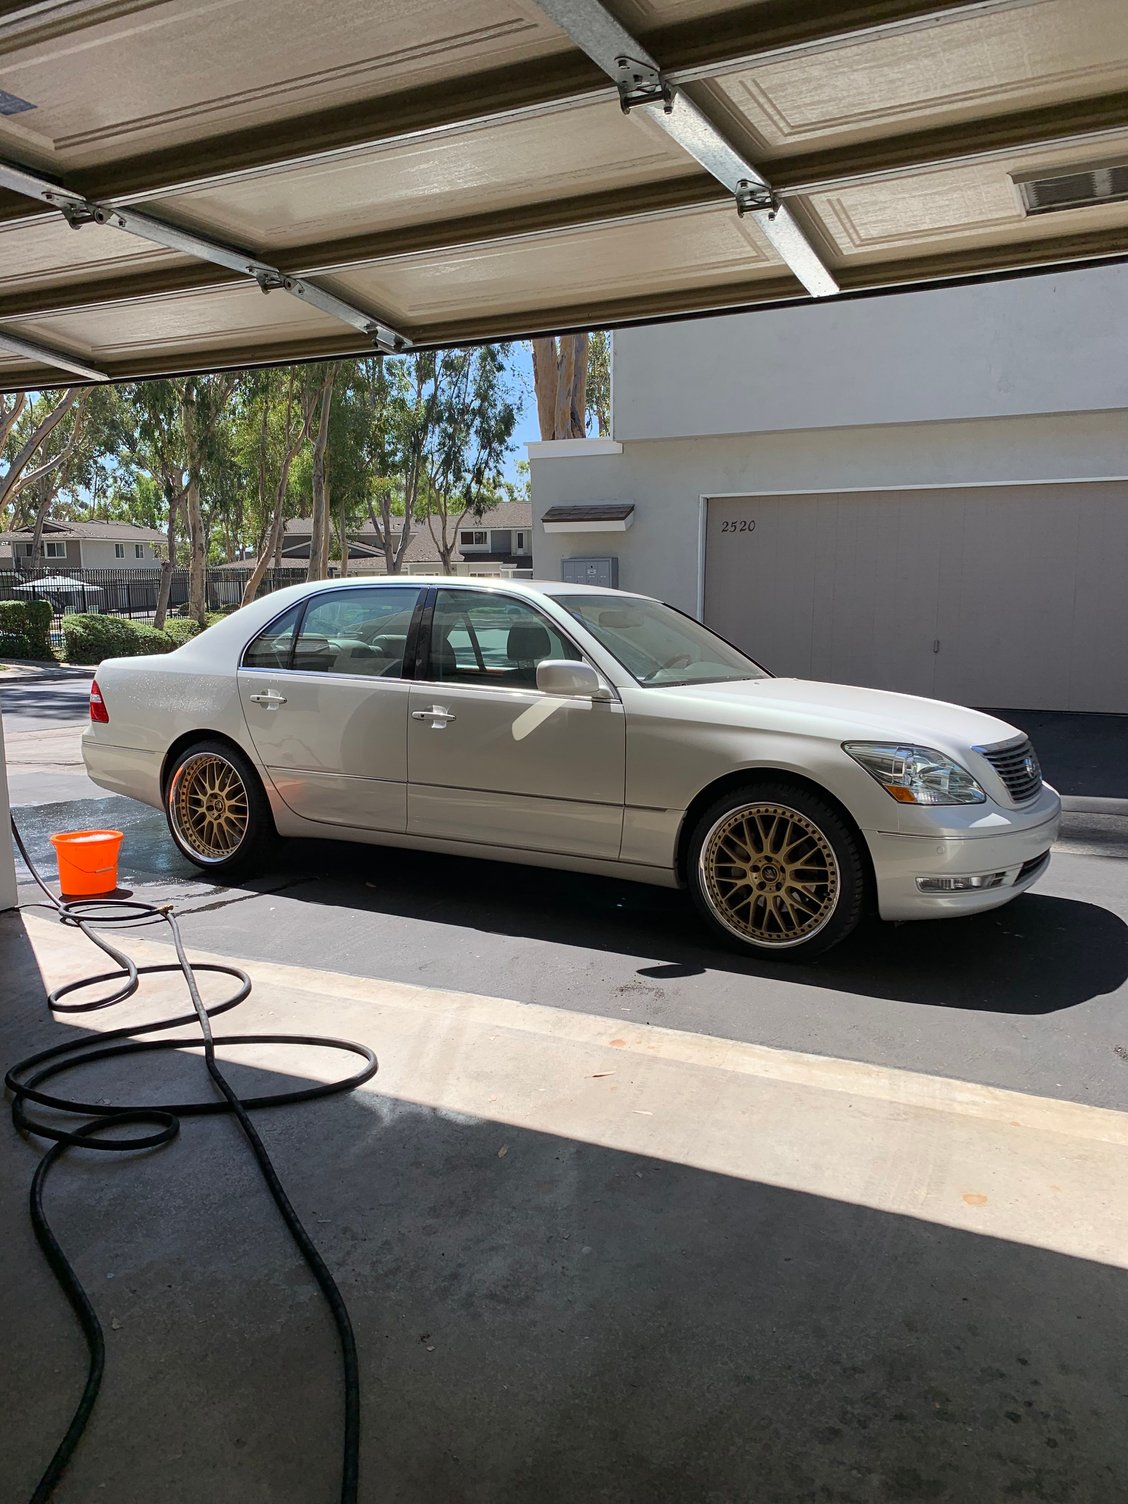
how has the gold rims look gone with time? still thinking of repainting them? the pics of your car inspired me to look for gold rims with a chrome lip! i think its looks great.
#85
#86
Intermediate
Thread Starter
Thank you! Initially gold was not the color I wanted but they are really growing on me and love how they look!
#88
Intermediate
Thread Starter
CelsiorFIN, please find the pictures below showing where I ran the air lines:
First off I wanted to protect the airlines as much as I could and wrapped them with plastic tubing:

I then routed them above the plastic covers:


Zip tied them where I could to avoid them getting pinched.


Hope those help!
Let me know if you need me to grab some more pictures, but as long as you follow either the OEM air lines (if you have an UL) or the brake lines you should be fine
Thanks,
Yann
First off I wanted to protect the airlines as much as I could and wrapped them with plastic tubing:

I then routed them above the plastic covers:


Zip tied them where I could to avoid them getting pinched.


Hope those help!
Let me know if you need me to grab some more pictures, but as long as you follow either the OEM air lines (if you have an UL) or the brake lines you should be fine

Thanks,
Yann
#89
Intermediate
Thread Starter
Hello,
Quick update - I decided to replace my spark plugs as I didn't know when they were last changed.
I used the OEM plugs and to be honest the overall process was very easy and I did not encounter any major issues apart from one of the spark plugs wiring protective cover crumbling in my hands.


I also decided to clean my MAF sensor as it clearly needed it:


I also noticed that the spark plug right next to the battery was the dirtiest, perhaps someone had not bothered to change it in the past? Either way they are all done now

All comments welcomed.
Thanks,
Yann
Quick update - I decided to replace my spark plugs as I didn't know when they were last changed.
I used the OEM plugs and to be honest the overall process was very easy and I did not encounter any major issues apart from one of the spark plugs wiring protective cover crumbling in my hands.


I also decided to clean my MAF sensor as it clearly needed it:


I also noticed that the spark plug right next to the battery was the dirtiest, perhaps someone had not bothered to change it in the past? Either way they are all done now


All comments welcomed.
Thanks,
Yann


