When you click on links to various merchants on this site and make a purchase, this can result in this site earning a commission. Affiliate programs and affiliations include, but are not limited to, the eBay Partner Network.
Hi all,
This is a build of my 2008 IS-F I purchased October 19th 2018. My goals for this build thread are to help document the car and to get advice/help without starting a new thread or digging up old threads. The first phase will be to restore some neglected components in preparation for a mild track build. The track component isn't intended to be competitive initially, just to survive the beating w/o needing a tow home ("If it's going to break it'll break at the track"). This is easily be the most humble IS-F build on this site. My apologies if it's too lame.
Brief History of the Car:
106,000mi when I got it.
4 Previous owners, mostly in Texas. One year in Louisiana and one year in Missouri before me.
Water pump was replaced at Lexus. There is a significant number of history through the Lexus system. New radio and nav screen etc.
The car was clipped in the passenger rear and repaired through Lexus. I'll be documenting this repair.
There was a respray at Lexus of the drivers front fender and hood.
There is damage to the under engine splash shield and a few missing bumper tabs. I'll be documenting this repair by me.
Brief History of me:
I've spent most of my time working on two strokes, but when things come up generally I fix my cars myself. I'm semi-obsessed with Yamaha. I own 4 Hi-Fi systems, a 1976 RD 400, 2002 LX 2000, few guitars and now I'm going to count the IS-F as an honorary Yamaha. I also have a 63 Skylark vert project and a 99 LS400 and 2005 GX470.
I have a PhD in civil engineering and have been learning machining and rapid prototyping. I run a testing lab at Missouri State University and teach classes for Missouri University of Science and Technology.
The first challenge was lots of fog with the roof tilted and no defroster. So I pulled the trunk panels looking for water due to a leak from a bad repair and found no water, but did take these pictures of the repair.
It turned out to be the trunk vents.
And I pulled the rear window surround on the driver side and got lucky the defroster was just unplugged.
Next challenge was the rear passenger door lock not working. Duh a bit. It sounded like there was a replacement $5 motor, but I found an OEM replacement on Amazon st clearance pricing of $36. I got the last one. I didn�t need to remove the window as others have mentioned.
I also have some other goodies waiting to be put on as seen in the background.
So I signed up for my first oil change. It turned into a new serp belt, new under engine splash shield. There's an exhaust leak (I'm thinking cracked header), so while I'm here... maybe I'll do that, and ohh, well, I'll need to drop the cross-member, new alignment, might as well get the FIGS lower arm poly bushing.... and new motor mounts too. Photos will be added to this section when my phone and CL get along again.
In the mean time. I'm wondering about how to get the subframe aligned. Should I just put it back go for an alignment... see what happens with caster... adjust... go from there... then maybe go back and dowel it?
Looking at new suspension too... options are 2008 springs with Bilstein or 2012 springs with Bilstein or OEM. Thoughts?
After that I'll probably investigate some wheel hop reduction measures. At some point I'll need to make the front headlights look nice again.... new.
Serp was way easy! I started the car in stands to listen for the leak and now I�m thinking the headers might not be cracked yet. I need to charge up my bore scope to have a better look in there
In the mean time I figured out you need a 14mm fine pitch thread bolt to lift the engine by the cylinder heads(factory). That might be posted but I couldn�t find it. I actually read 10mm :P
I might still do the motor mounts, but I�m for sure doing the FIGs LCA bushings since they have a bit of wear and the newish tires look like garbage.
Hopefully I�ll have time in the next week to replace the melted trunk switch and busted shift slider deal. I need to take a photo of my Uber valve stem covers.
If I don�t do the headers I�m going to try to fix the front bumper completely. I miss driving it so I don�t want to do both.
Thanks for the support. I need it.
I keep getting more boxes, but not putting parts on.
Ohh yeah, thanks to FIGS they wrote me after I ordered the 80 durometer and strongtly suggested 90 since I had put IS-F in the order notes. Attention to detail and quick service is a dying thing.
You might be making a point. Many would say it does eventually happen on all years. Others say is more general to the Toyota V8, and I can vouch for the 4.7L in my GX having a leak.
The truth is is I don�t know I�m still new. I should have some pics tomorrow.
I didn�t take any picks of the manifold. I couldn�t find any soot.
Instead i I went for the bushings and motor mounts.
Both were due, but not completely failed.
Heres a a brief summary. I followed the Sikky header install, but if you don�t remove the headers you can�t get the mounts off nearly as easily.
So so instead I removed the motor side brackets.
So then you can rotate the mount and remove the bracket.
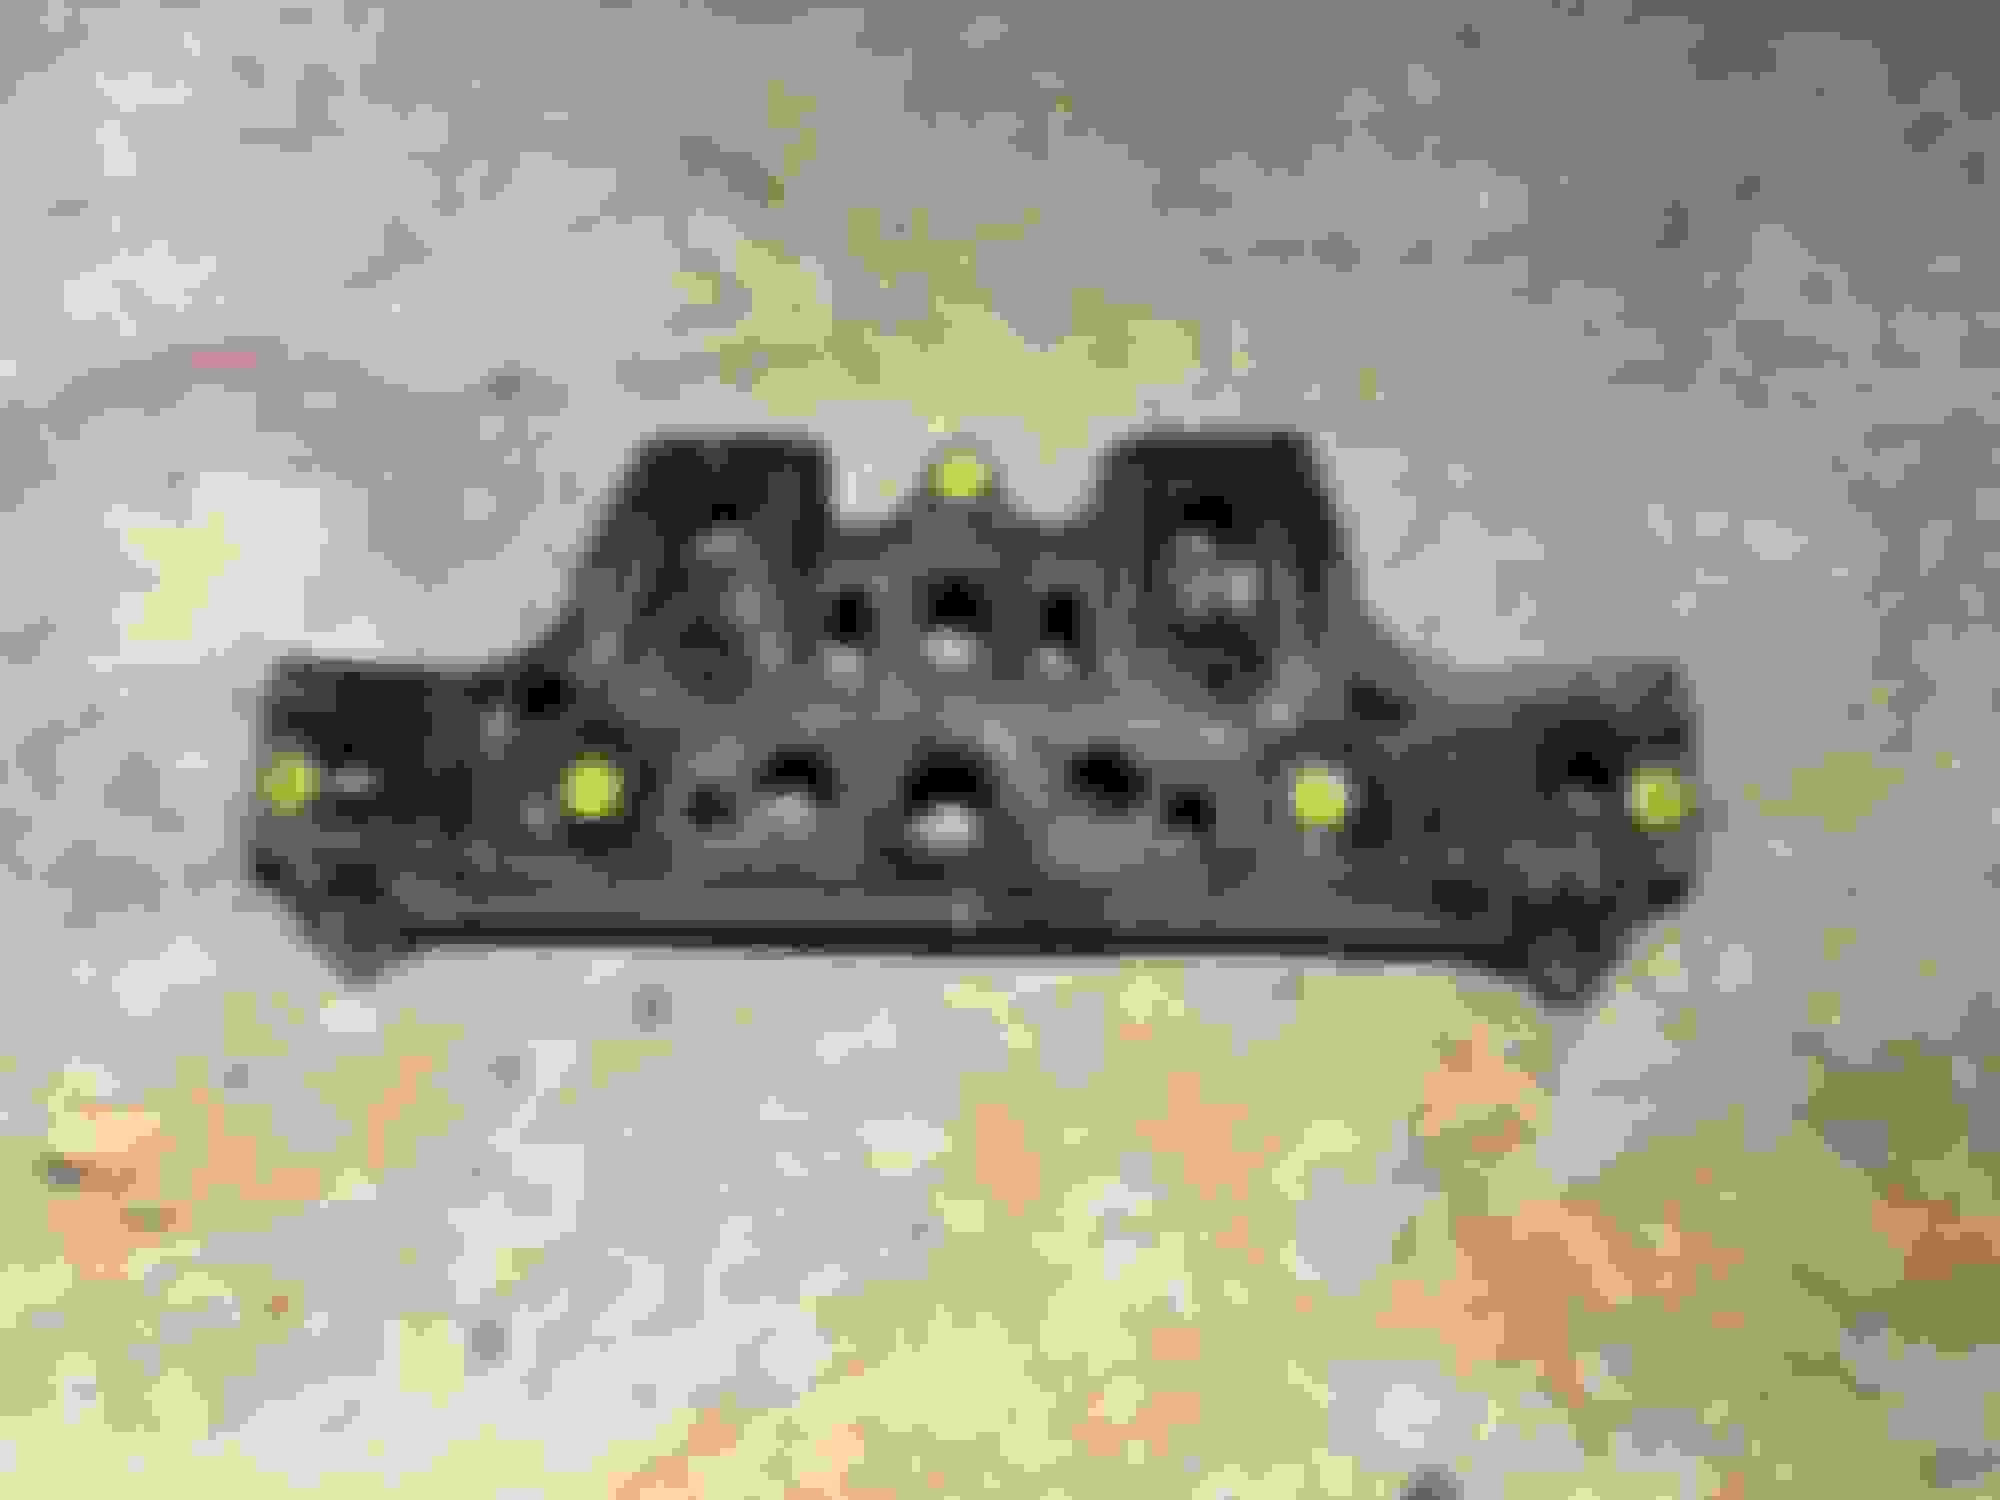
To get the passenger side out you need to remove loosen the rack on the drivers side and remove the bolt on the passenger side. Also need to remove this shield.
I read 1.5 hours for this. If that�s true then I missed some obvious shortcut. Ohh well. It took me about 5 hours and I had to pry out the control arm bushings while I was at it.
Im actually looking forward to the other fixes after that.
 12-12-18, 10:57 AM