When you click on links to various merchants on this site and make a purchase, this can result in this site earning a commission. Affiliate programs and affiliations include, but are not limited to, the eBay Partner Network.
Yes, for later model clusters you just take a 14ga super short wire and solder each end over the terminals of resistor R73. That will allow the lower-than-NA voltage and current of the ECU�s direct RPM signal to reach the tach correctly.
For earlier model years it is resistor R180 on the back of the cluster.
Yes, for later model clusters you just take a 14ga super short wire and solder each end over the terminals of resistor R73. That will allow the lower-than-NA voltage and current of the ECU’s direct RPM signal to reach the tach correctly.
For earlier model years it is resistor R180 on the back of the cluster.
Mine doesn't look like the 95-96 cluster on the rear do I have to take it apart further?
Update: R2 made my tach work however now two of my needles (gas and speedo) are no longer lit up maybe i messed up the different height screws over there.
Update 2: i took it apart and again and carefully put it back together and now the needles work.. lol i guess you gotta get these screws just right.
Everything works so far! AC works on the switch, all gauges work, fixed a coolant leak today, header wrap is still smoking but itll go away.
Here's that R2 resistor to jump right by the orange plug, the cluster had to come apart to perform this as it is behind the white plastic on the 97 year.
I bled the clutch today and backed it out under its own power. Took it around the block a couple times to get a log and everything is pretty good!
My speedometer needs work (module)
Powersteering is funky at speed because my speedo is getting maxed out so it think that may be messing with powersteering.
Coils are set too soft, its kinda bouncier than i remember but i do daily drive a jeep so idk.
I don't have any updates since work literally swamped me up this week real bad, all i was able to do was back it out of the garage once.
Ordered my 4" PHR Single exit exhaust on saturday so hopefully that comes soon.
Still waiting on radium fuel rail and some fittings so i can actually do the fuel system. (i'm on stock fuel lines right now)
If that takes forever as they are closed until late july i will try and get a base map from a tuner (might do bend calibration) just so i can drive it around safely and break in the clutch/trans.
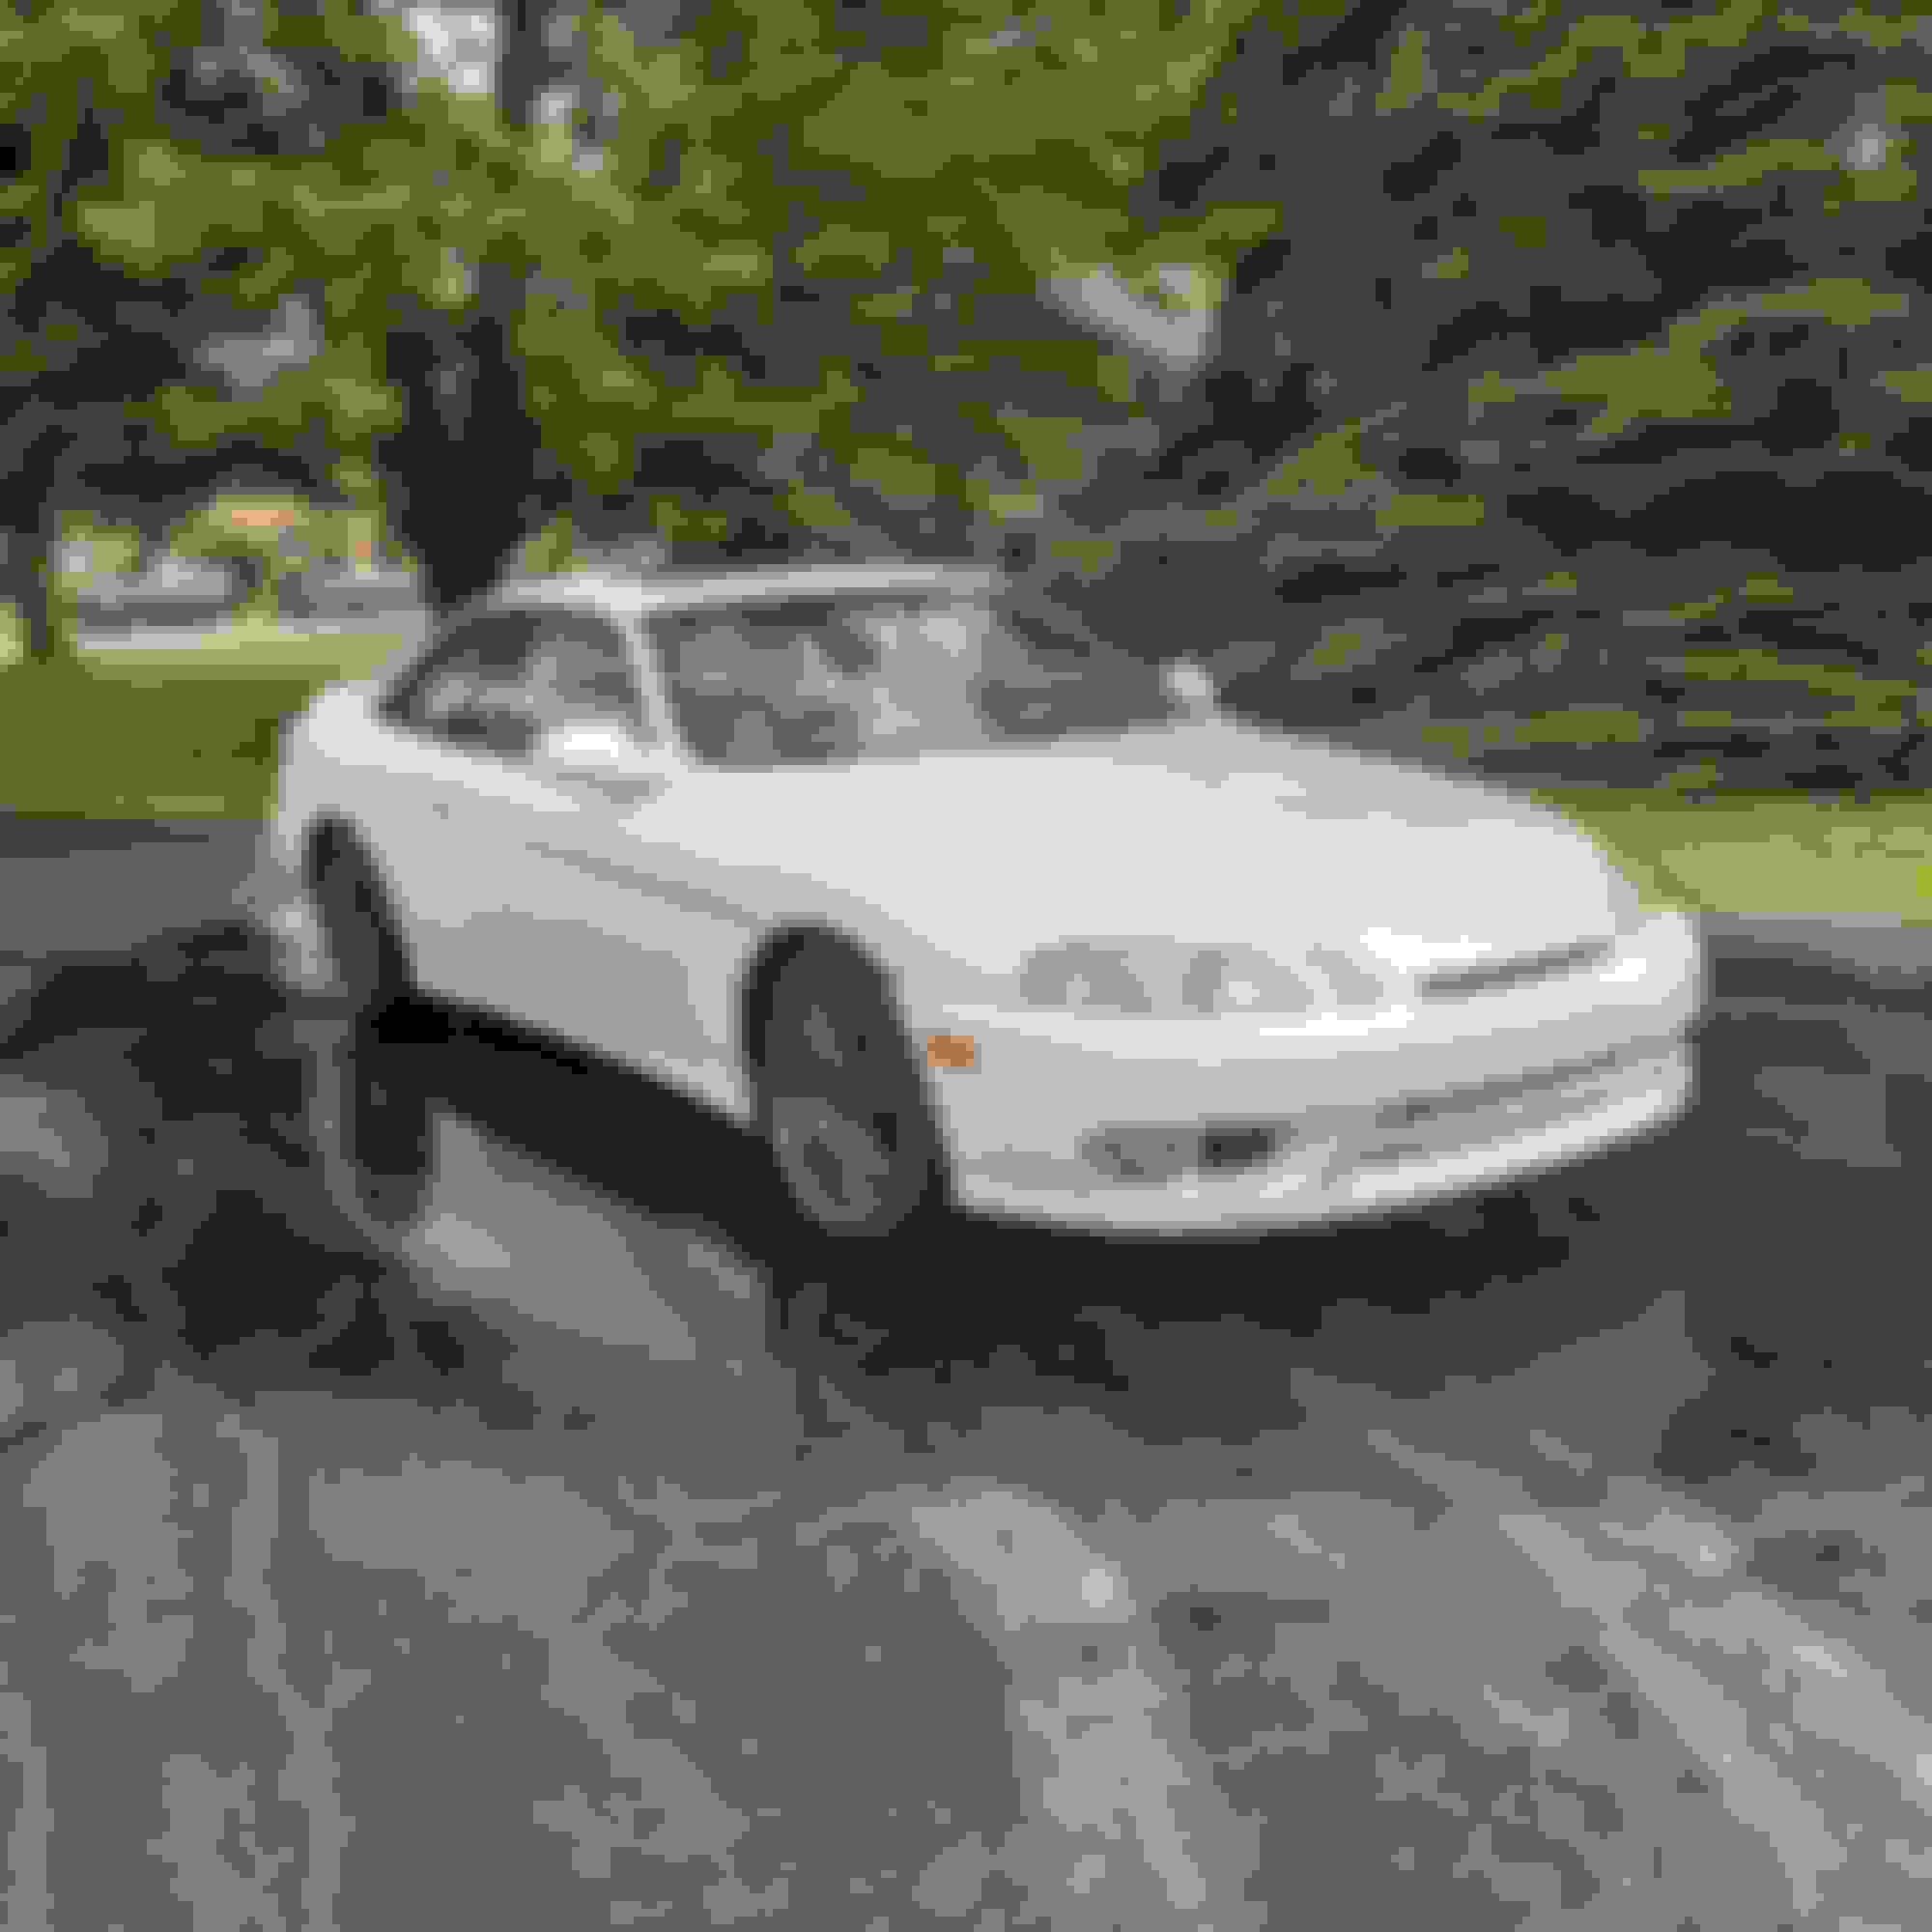
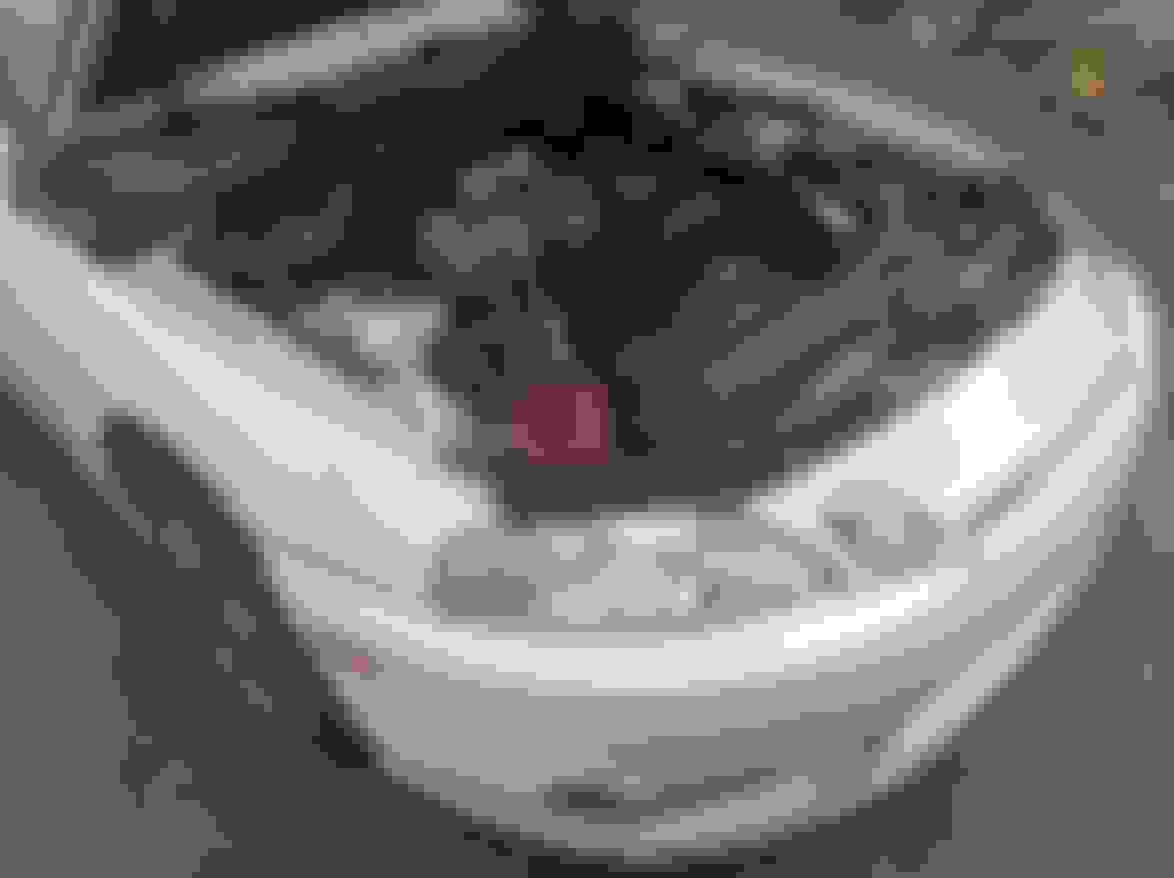
It looks so damn good. The white gets me every time, especially with such a great looking engine bay. I love this thing!
Thanks buddy!
The white really hides blemishes, that front bumper is spider cracked and looks kinda EH it person if you're looking eye level with it but its so low all you kinda see is the good paint still lol.
currently trying to fix a new power steering leak, ive ran the thing and drove it a bit but today i drove it for like an hour straight and it developed a decent ps leak at this fitting i think, its leaking down onto the ac compressor and everything and the high pressure line isn't leaking. I might need to play with some different orings and see if i can get a better seal. I cleaned off the pump really well this time and lubed up the orings.
I made this bracket by cutting a mounting spot off of the old res, seems to work better than the phr one.
so far its still dripping here and there but not sure if that's residual fluid on everything and the fan is blowing it off? idk we'll see, pretty annoyed with this lol
Did you put the long bolts back through the pump when you removed the reservoir? those not only hold the reservoir on, they also hold the pump together.
I had a leak out the side of the pump due to that at first and then it shot everywhere a couple drives later when it split apart, so make sure that is not the issue because it is super messy!
I have all the bolts in but that's interesting and i didn't know that. The bracket i made for clamping down the adapter seems to have fixed my issue.
Cleaned everything well, drained a bit out of the pump so i could get the oring area clean for reinstall, clamped it down and now no leaks! I think the weight of the large -10 line was causing that fitting to not sit flat.
We'll see of course, weird enough though it wasn't leaking for the how many times i have started and lightly drove it but when it had an issue i had been driving the car for like an hour straight.
 07-08-20, 02:05 PM


 maybe i messed up the different height screws over there.