When you click on links to various merchants on this site and make a purchase, this can result in this site earning a commission. Affiliate programs and affiliations include, but are not limited to, the eBay Partner Network.
Hey Will, your build has inspired me. Would you be able to show the mounting points for your seatbelt harnesses, I�m assuming your using some? I just switched out my GSF seats for some fixed bucket seats
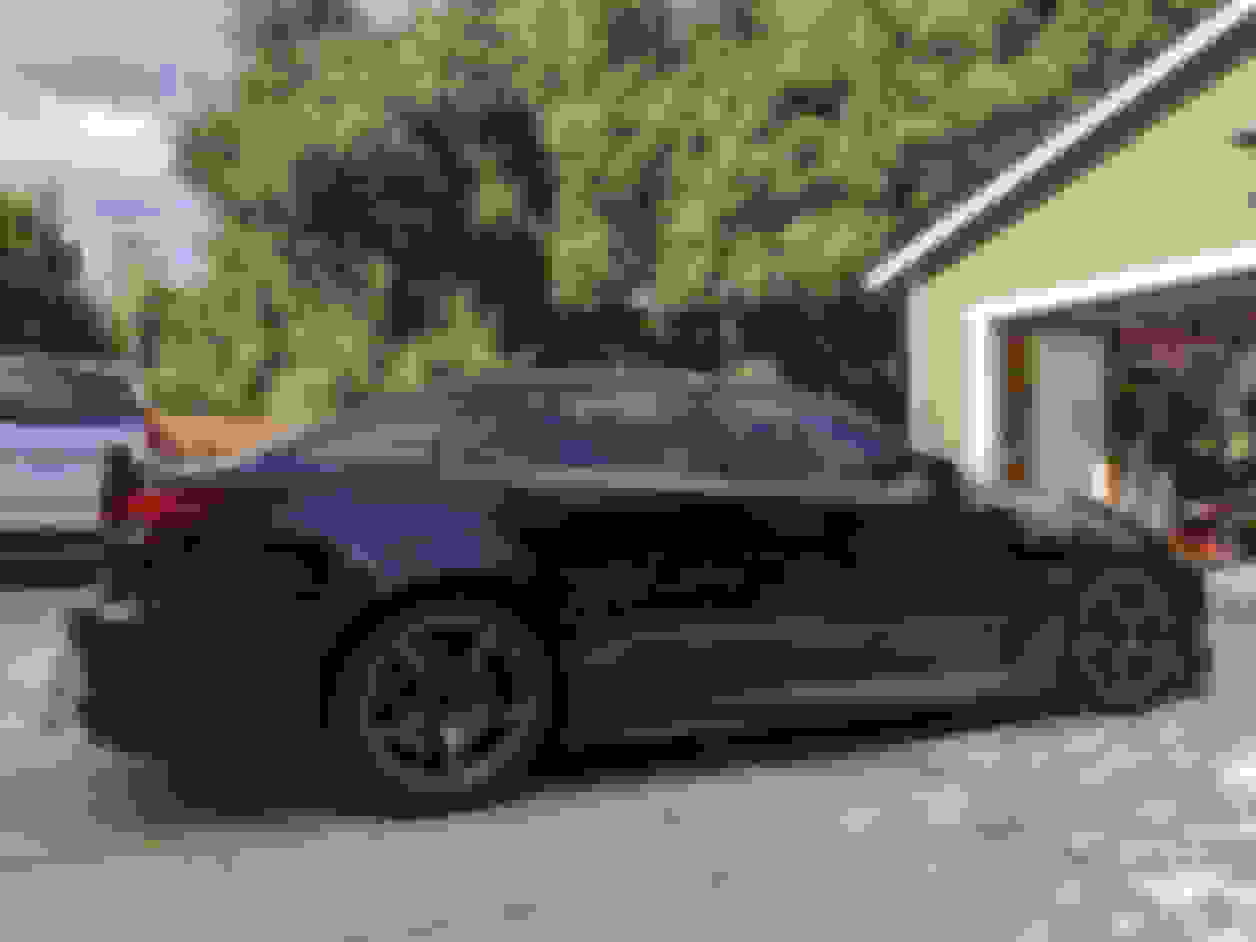
I also did some ARP studs and extended lug nuts. My stock ones had quite a few miles on them so this is cheap insurance. Braking studs at the track is not fun.
2. Belts should be attached to the seat base, not the chassis. When you add harnesses to your car you typically need to fabricate two provisions on the sides of the base so you can bolt tabs or snap-in off the lap belts. You do not want to attach the lap belts to the chassis, especially if there is a slider on the seatbase your using.
3. Do not use a slider if you don't have to.
4. The 5th-6th point crotch strap should be attached to a mounting point behind your center mass. (ie do not go to anything in front of the belt pass through hole) I typically wrap it around the back cross bar of the seat base using the Schroth mounting instructions on page 8-9 in the link above
5. Make sure there is nothing impeding the lap belt holes on you bucket seat that can cut the belts.
6. Don't use your harnesses on the street.
7. If you run harnesses GET A HANS DEVICE or something similar. If you wont do this immediatly, just use the oem 3pt belt system
8. If your using a fixed back seat and oem 3 point, the oem belts need to be threaded through the lap belt holes of the seat so they rest flat against your pelvis bone and can tighten in an accident. To do this correctly you need to get a seat belt extender from here: https://www.seatbeltextenderpros.com...belt-extender/
Once you have them both take the metal end off of the seatbelt extender and wrap it around the new seatbelt tab as shown in the Schroth instructions i posted. adjust to length and bolt with a grade 10 bolt to the seat base (this is exactly what I am running for the time being)
I personally am keeping both the OEM 3points for the drive to the track and harnesses for when im on the track so i can use my HANS device. To do so is going to require an additional tab be welded to my seat bases so I can use the harness lap belts and have the oem 3 pt receptacle as described above
I had no idea there were so many principles here. Why no 5 point on the street? Sorry if it�s in the materials you referenced, I don�t have time to dive into that today (but will).
Thanks for all the information I will be reading through it before all my parts arrive so I can install it properly. Thank you for the help I also didn�t know there was this much that was required to safely run the harnesses. I will also be leaving the OEM belts.
Ok grabbed some pictures for you guys, realized that this is most likely easier to understand with visuals. Its also really important to get CORRECT knowledge out there. I tech cars for a couple track organizations and you would be surprised the level of JANK set ups I see on a single track day. THIS IS NOT GOSPEL, things change when installing in different situations on different cars, but this is what I have worked out to be the best for my situation. Do your own research, this *****s important. I'll take some pics of my racecar and you see that there is no such thing as 'overkill' when it comes to safety.
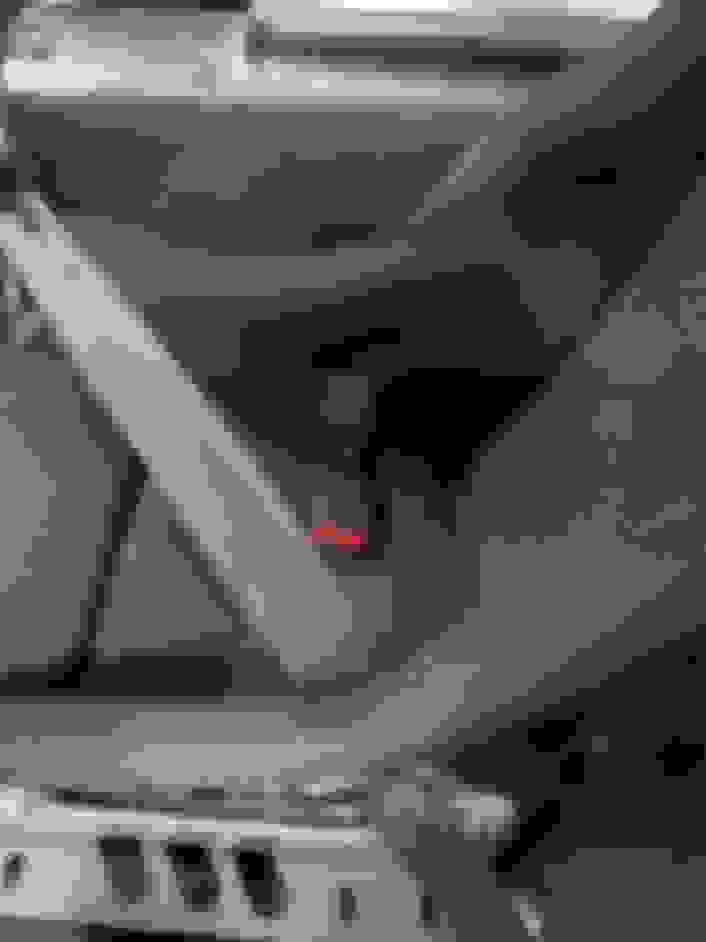
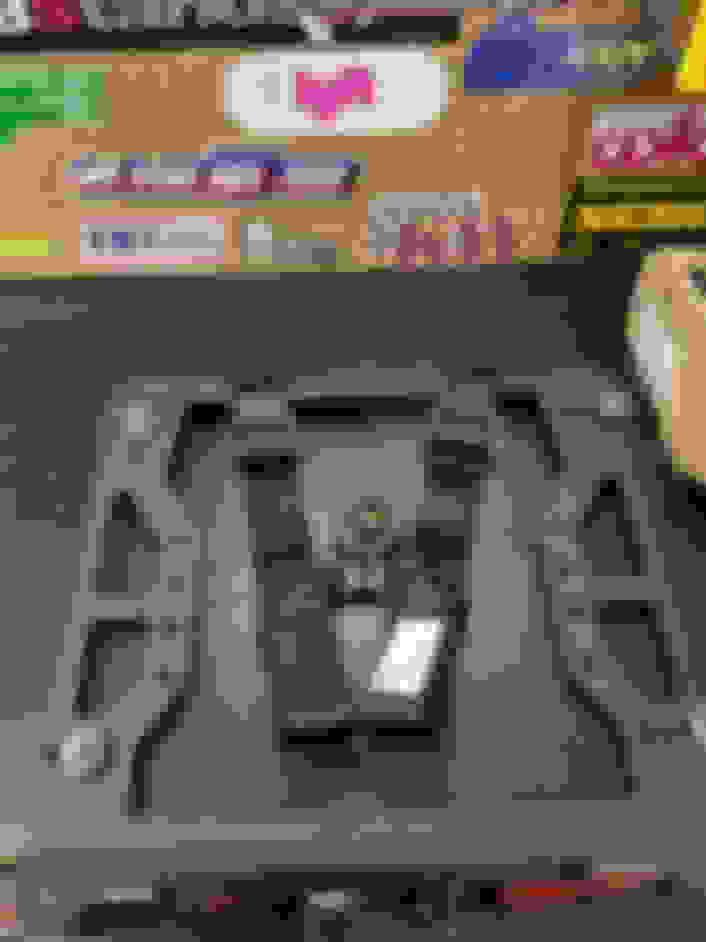
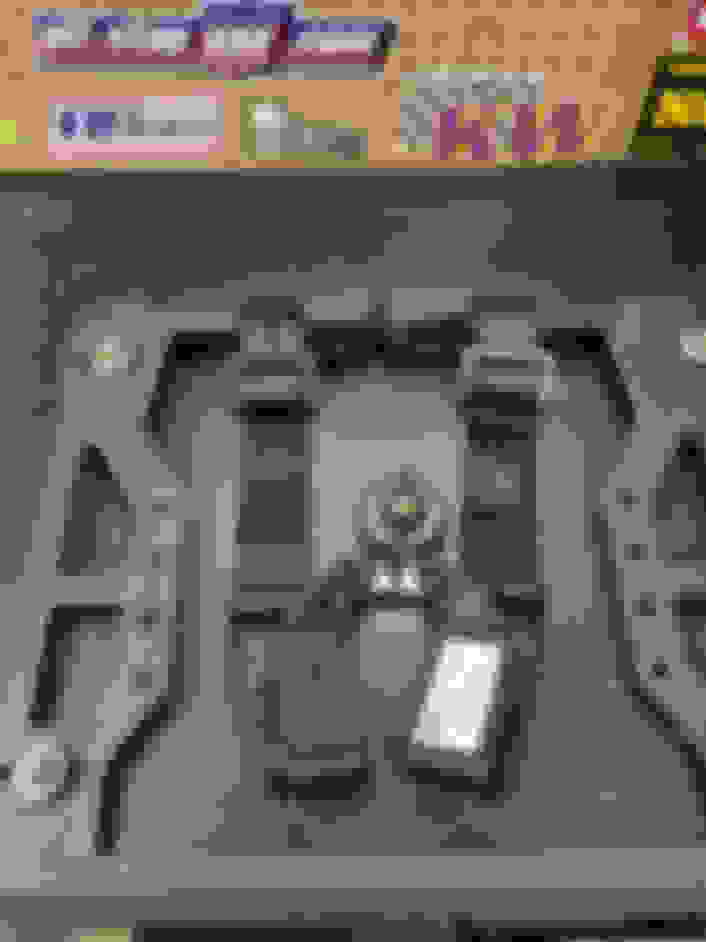
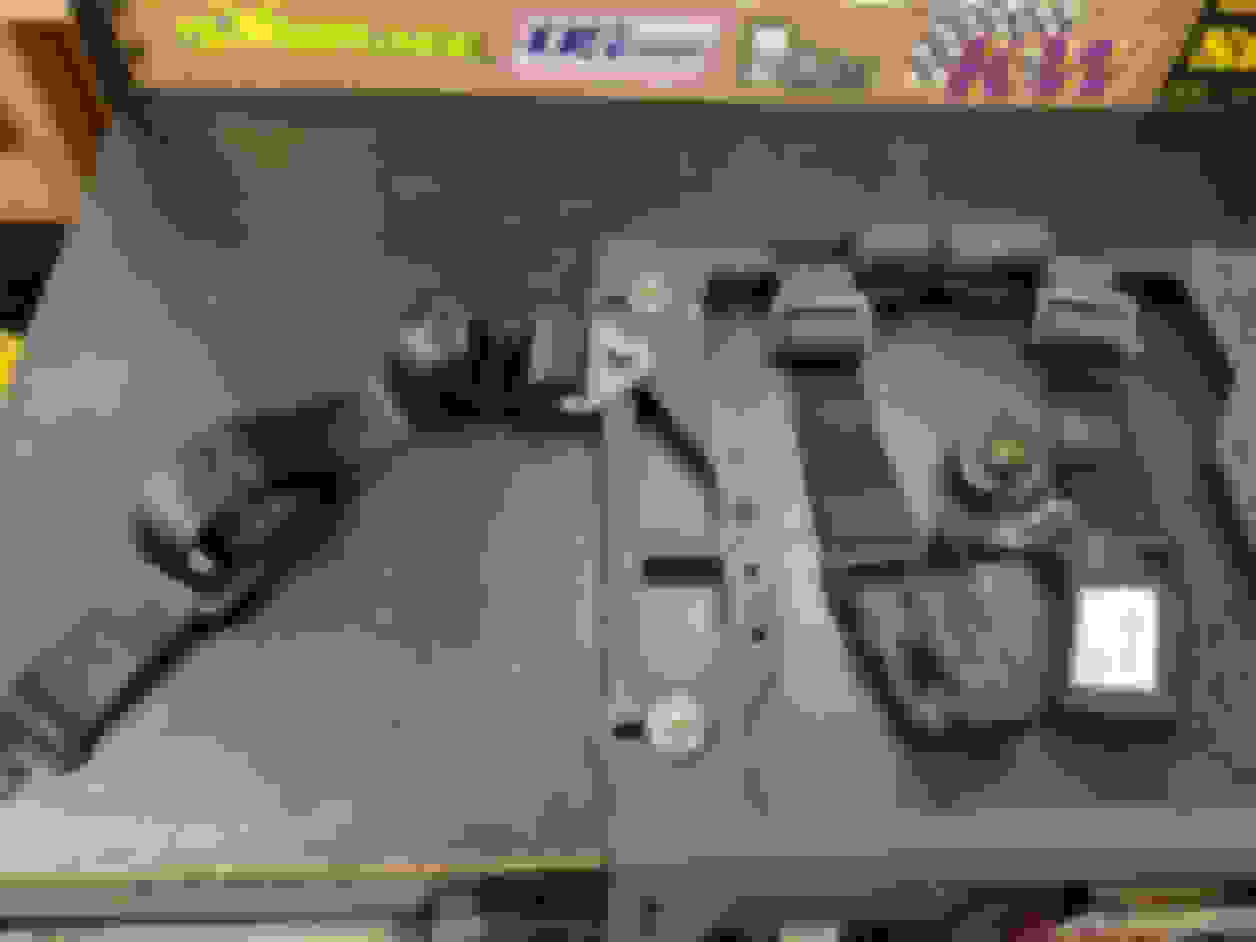
Ok, here's the set up I currently have in my ISF. Notice how both of the OEM lap belts go through the seat side holes. Its important that the receptical side come through the side hole to.
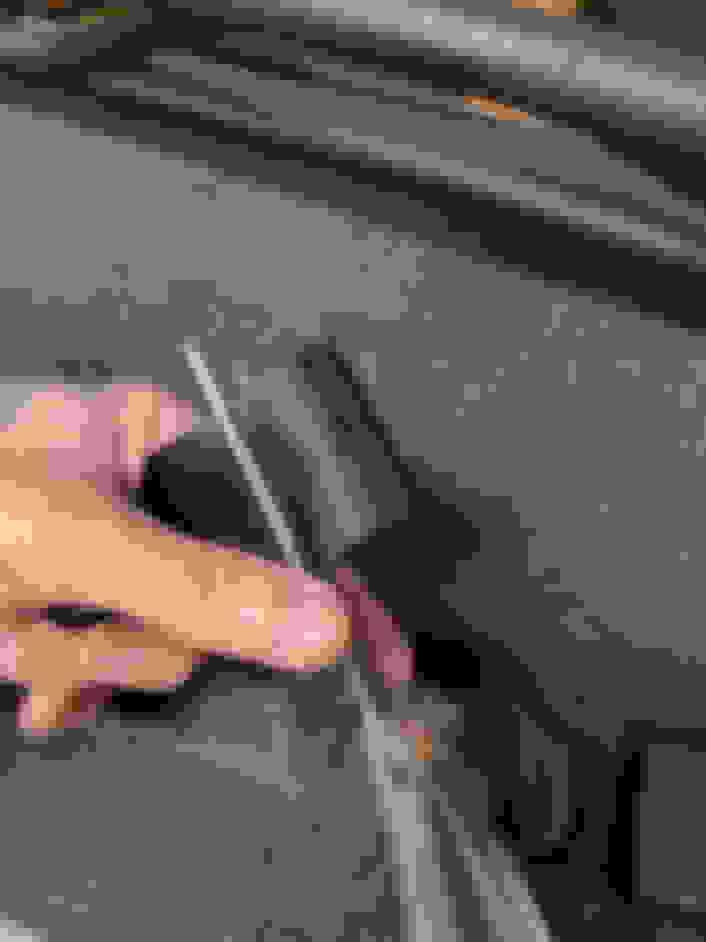
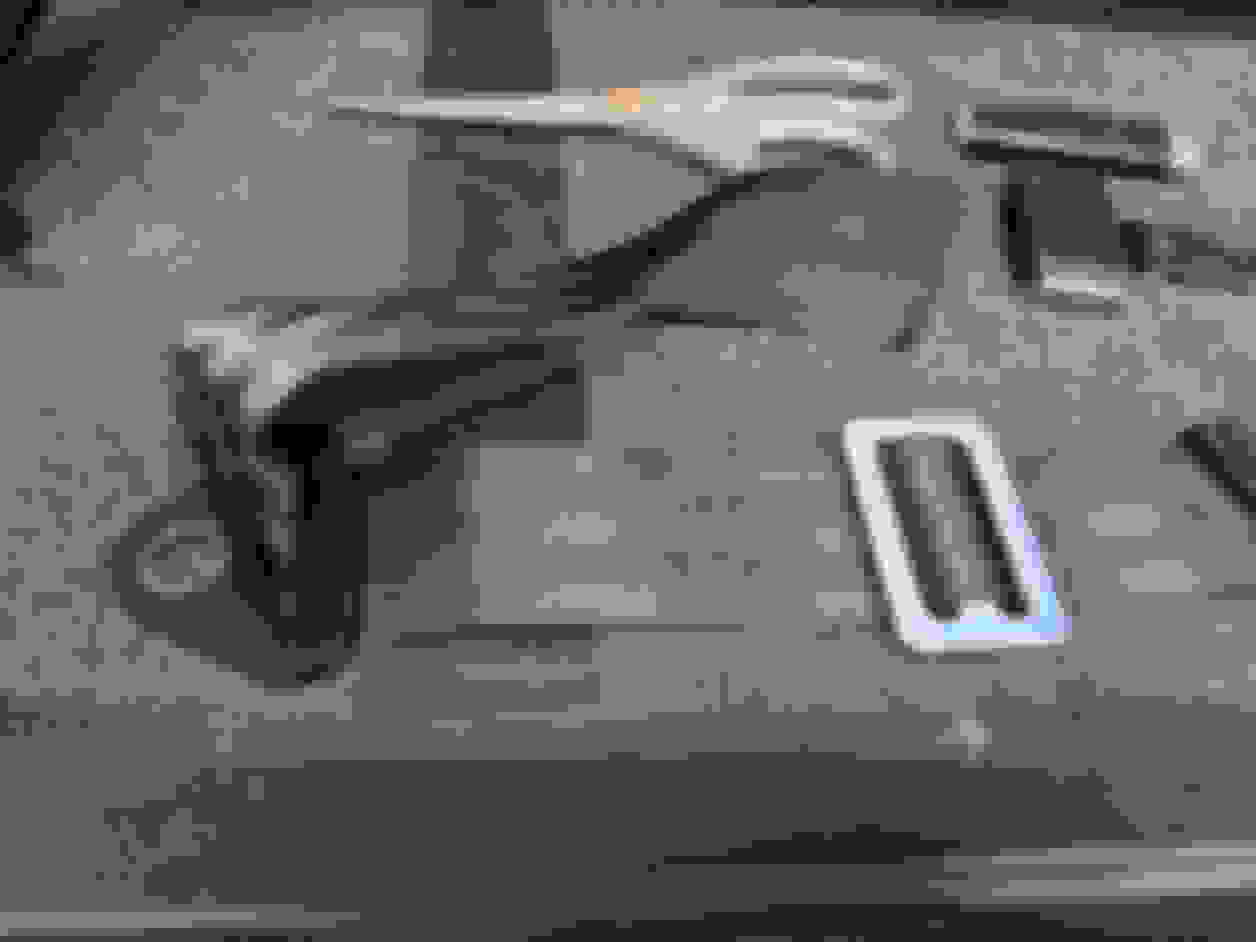
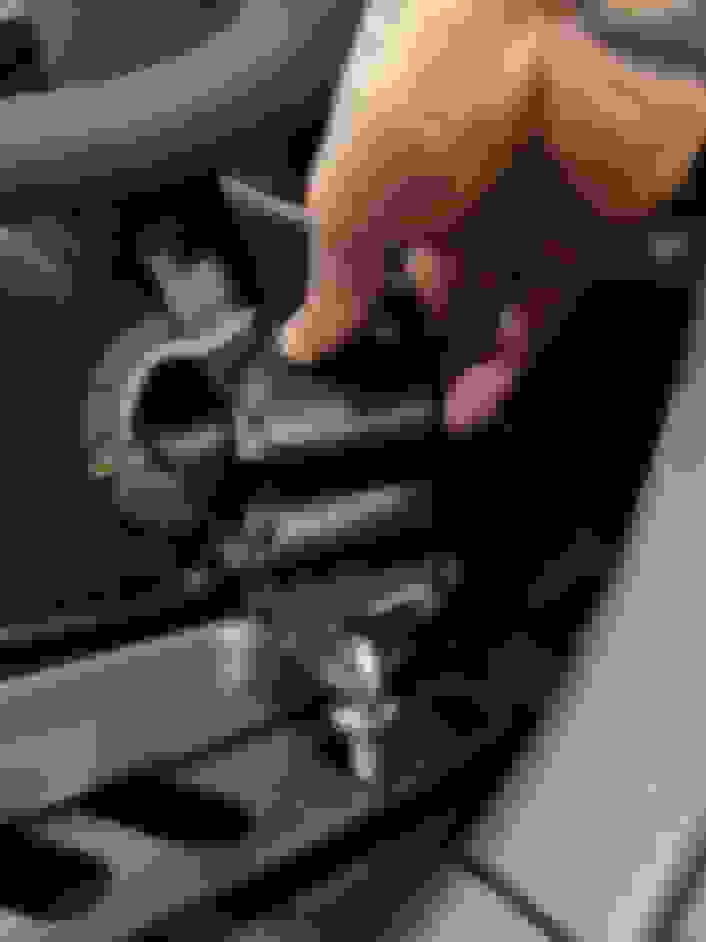
Here's how I did it- I took the opportunity to build my passenger side belt for illustration purposes. Here's the exact seatbelt extender that i linked to above..
Cut the folded end off so your able to remove the buckle..
Then torch the end of the nylon to prevent fraying. YOU MUST DO THIS. when belts start fray they lose strength. Make sure its nice and fused together to prevent this.
Slide off the buckle..
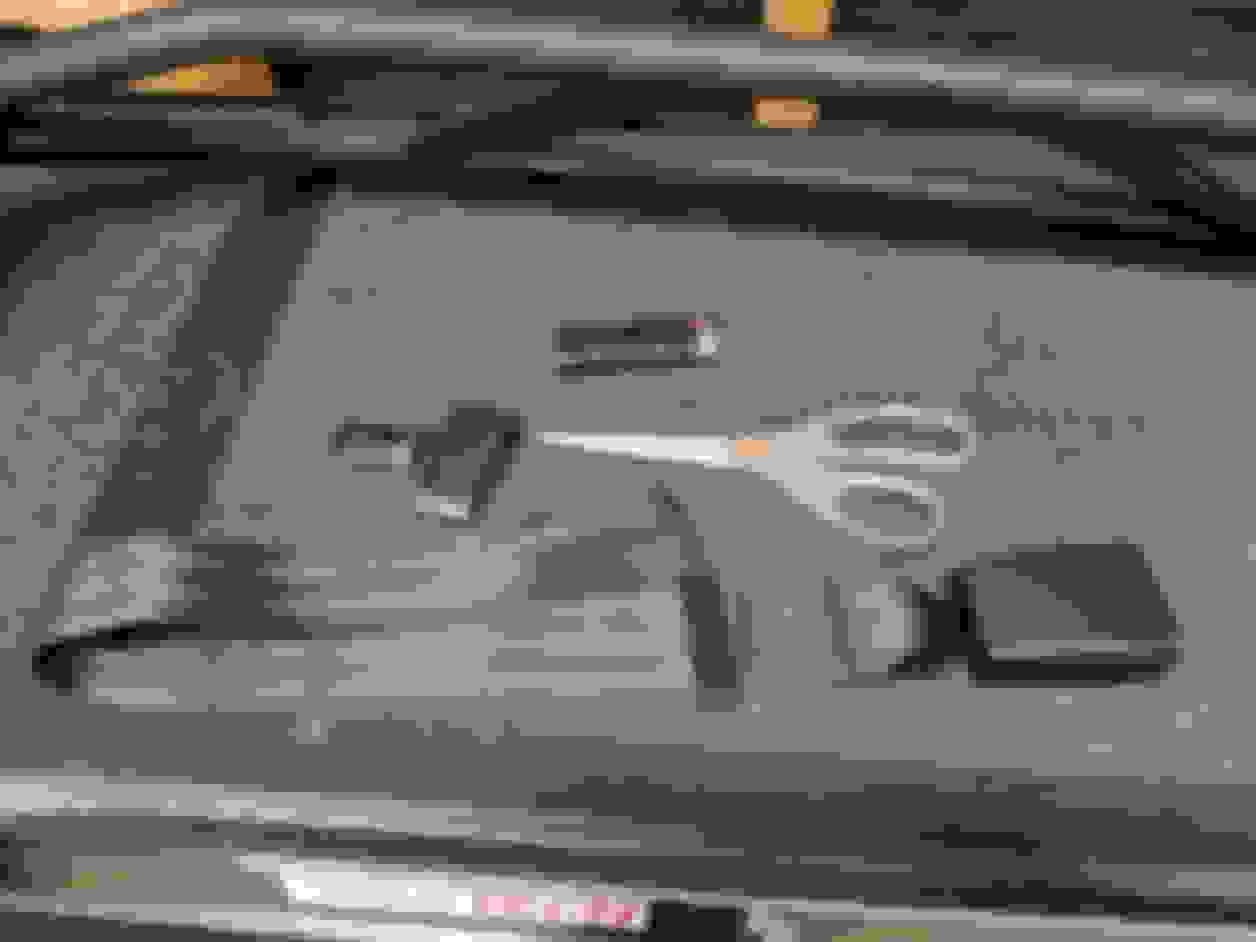
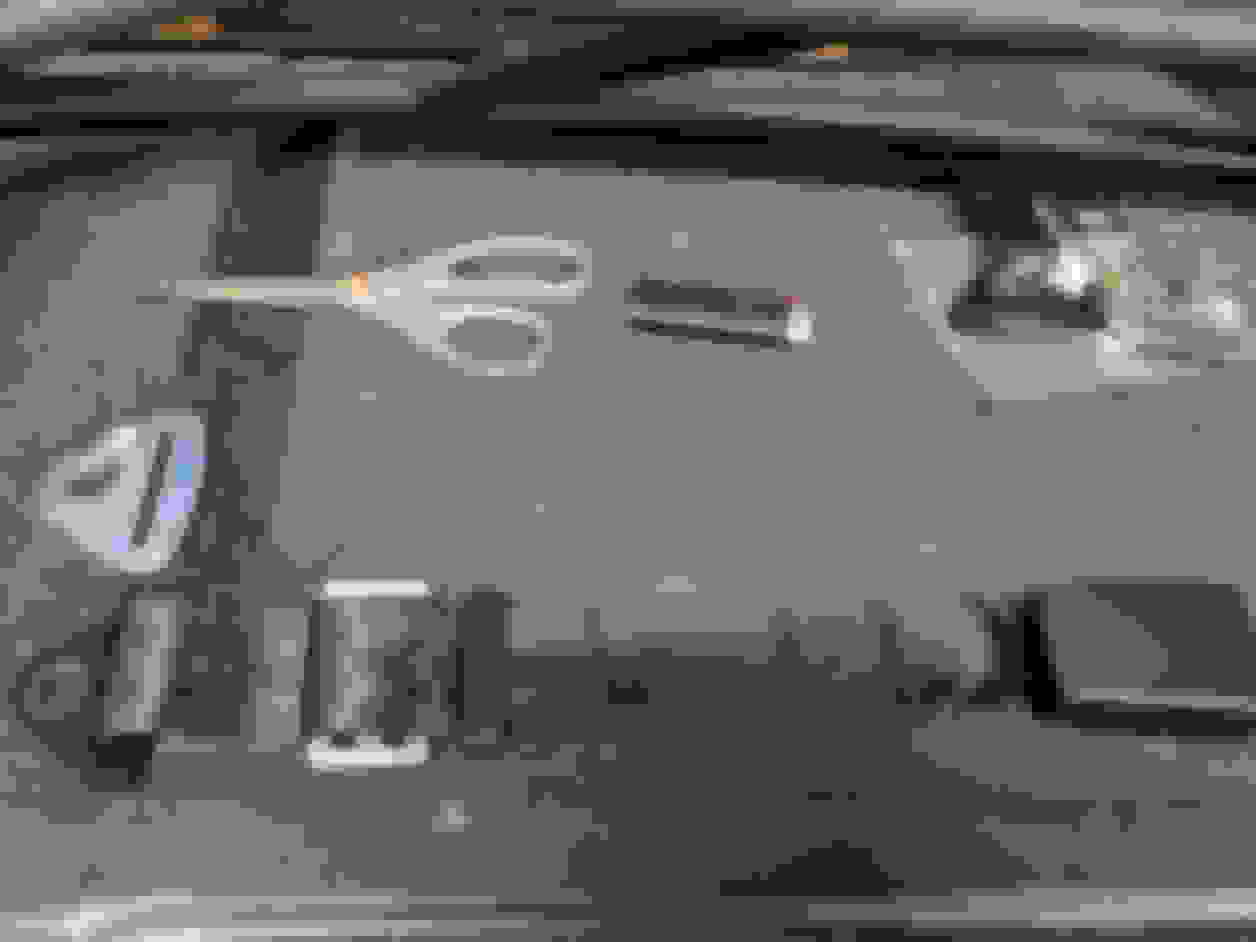
Here's a different array of belt ends. Clip-ins to bolt-end tabs, some flat some angled. They are 2 inches wide but are designed to accept 2 and 3 inch belts to just like shown in the link i posted. The standard bolt hole for the belt loops are 13mm or 1/2- I have seen them with 3/8 hole but thats typically for formula racers or Radicals, There are also a few other designs but they are mostly vehicle specific stuff for Porsche cup cars etc.. these are the basics.
In the post above i forgot to mention you'll need whats called a '3-bar slide' to wrap the tabs into the webbing correctly.
Slide the 3-bar onto the now prepped webbing then loop in the bolt-tab or clip-tab.
Adjust to length the wrap according to the link provided earlier.
Then bolt it in with a grade 10 bolt.
As far as the anti-sub belt- here is generally how I do it. The other way is to mount eyelets to the floor with the correct sized backing plates and use clip-on ends. Most times, because i'm tall, I don't have any room under the seat to have the eyelets sticking up off the floor. Sometimes I just don't want to drill a hole in the floor of my car. If you are going to wrap the anti sub belt around the seat base as shown, make sure the seat base where you're going to wrap is deburred and not sharp.
If its a 6pt and has two straps like this one shown, you want to wrap them and make sure they don't slide towards each other thereby changing the effective adjustment length. To fix this i use a low tech method. I get some closed cell foam (like pool noodle or old school roll bar padding) and zip tie it between the straps to keep them apart.
As far as hip belt mounting- you can weld a tab off the base if you are planning on using the bolt in belt end. First mount your seat at the adjusted range you want and mark them to be sure that where you weld the tab the belts have a straight shot through the seat holes.
The other method is to use eyelets and clip type ends as shown here..
As far as the shoulder belts just make sure they have a straight shot through the seat back holes to the cage and the length isnt to long. Wrap them around the roll cage harness bar provision, do NOT go to the floor of the back seat. Use collar clamps to keep the spacing of them correct similar to the foam used on the anti sub belts above.
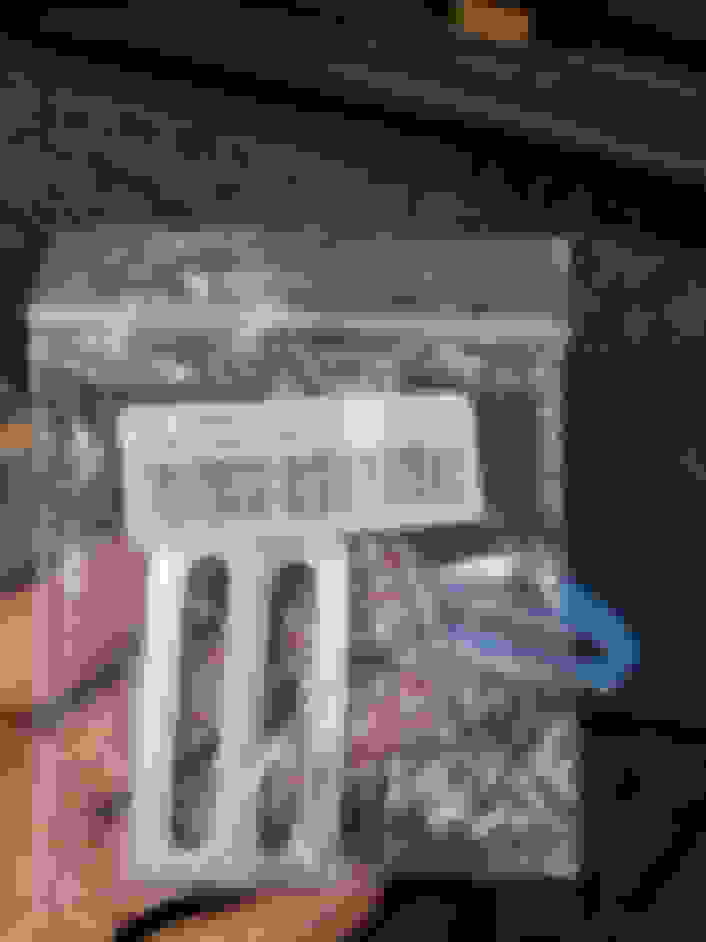
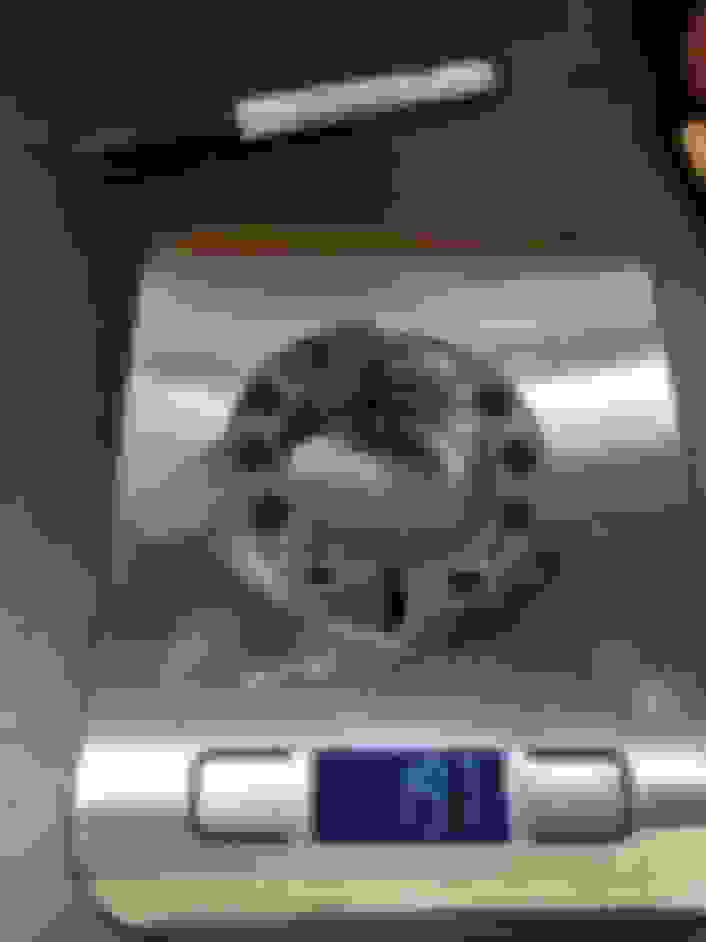
Here's some claps i was drilling out for lightness on another project..
Harnesses on the street are not a great idea. An oem 3 point belt on a head-on collision has a tensioner that locks but still lets one of your shoulders lean forward. This effectively gives you another few inches and miliseconds come to a stop and dissipate the g-load. With harness's there is no shoulder lean so the amount of stretch built into the webbing is all your gunna get. Now imagine you head is a bowling ball, and your body is a bar stool. If someone were to kick the bar stool the bowling ball is not going to stay attached. Same principals of force apply here in a relative way. Your body is strapped securely in but your head (weight) is attached to your body. In a head-on you get whats called a Basilar Skull Fracture.. you hit hard enough and you basically unplug your brain stem from your nervous system. This is why Hangings work and hangmen have a formula of weight to distance drop needed; more weight less drop, less weight more drop.. Its not strangulation that kills you its the BSF. A HANS device is designed to attach that bowling ball weight to the harnesses load in an accident- effectively attaching the bowling ball to bar stool. On the street you don't wear a helmet, which means that you don't get the benefit of a HANS device...which means its not a good idea to wear them on the street.
At risk of putting to fine a point on this and using the logic above you can see why adding weight to your head (helmet) while strapped into a harness with no HANS device is a WORSE idea than wearing harnesses on the street without a helmet. (remember more weight less drop, less weight more drop) Its still not a good idea but basically if you have harnesses you NEED a HANS device.
Thank you for taking the time to write this up! Helps a lot more for us not as knowledgeable guys. Is there a certain HANS device brand you would recommend?
So finally pulled footage down from last weekend. I was at the track to help a friend shake down his car in preparation for Global Time Attack finals and drove out on my ISF just to get some heat in the engine (its been sitting waiting for parts for a month). Around lunch time he was done with his day- I happened to bring my helmet so he convinced me to hop on track for a few laps. It was already hot but I managed to get out there and throw down a 1:24.2 next lap a 1:25.1- do a cool down after i got blocked by the s2k on the straight- then did another 1:25.2. I haven't put the Penskes on or the differential in, diff should make the biggest difference on this track you can see how i was having to wait to put the power down on corner exit. That with aero and this car should be over a second and a half faster- which would put it into the 22's. Thats time range for the c7 ZR1 corvettes with a decent driver. I hold the NA FWD record at this track and i can 100% non-bench-racing say that once the car gets dialed in its going to be quick everywhere.
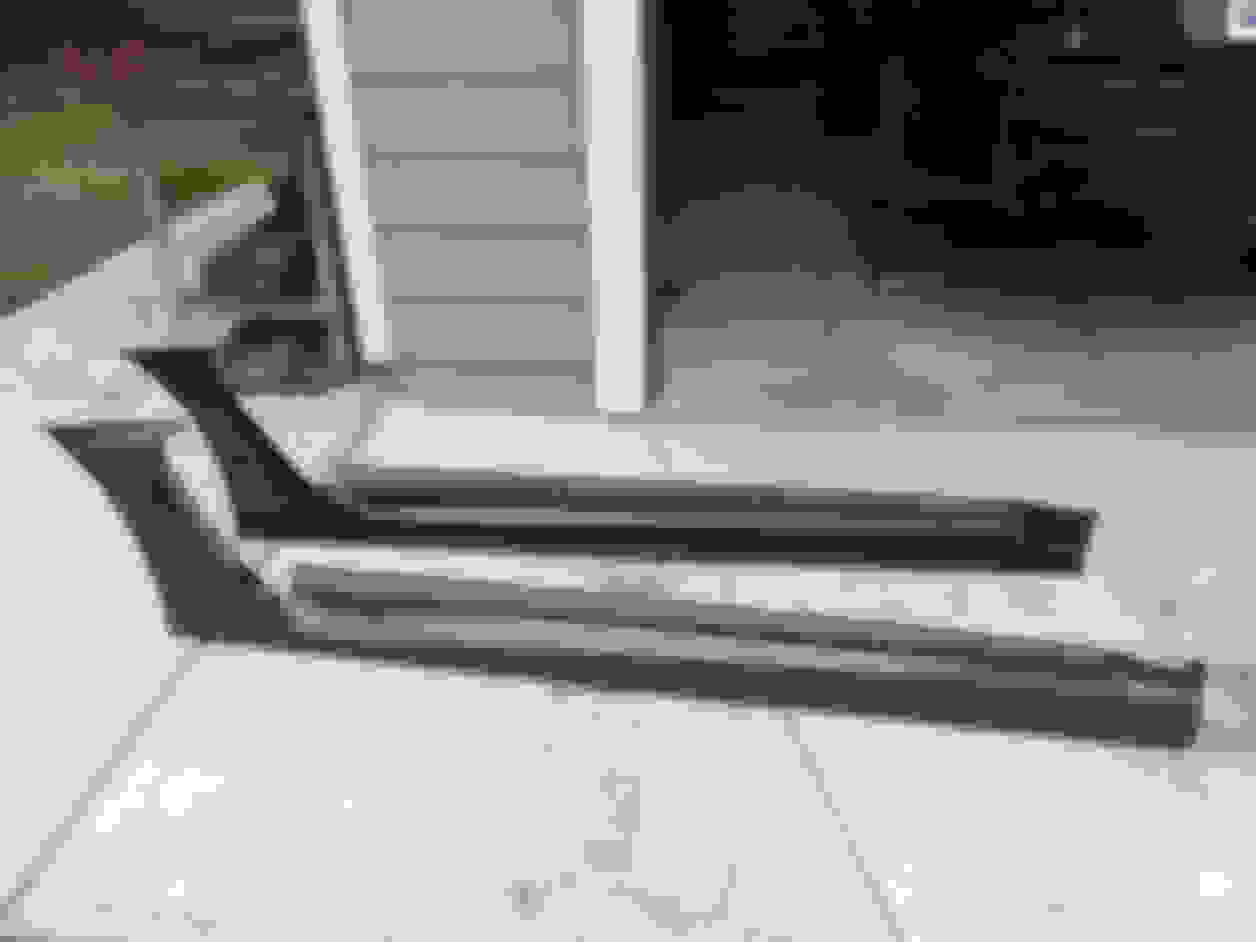
I also picked up some C-west skirts. Blingy sure, but I got them because the larger rear venting allows me alleviate the high pressure in the wells that i'm going to create when I add the carbon splitter with the large diffusers
Old vs new
OEM fender holes with my aftermarket slit..
Took out a larger chunk for better flow and finished the edging with trim stripping
Mounted- and you can see the larger volume of air that it can extract.
They also look pretty mean to..
Also threw on an RR racing brace that i had wrinkle finished.
Took the ISF out to Chuckwalla for a Nitto Tire appreciation track day. Weather is starting to cool down a bit but it was still around 94* degrees. I cant wait for winter. There was a race there a couple days before and the spec tire they used didn't agree well with the Nitto rubber we had to be running, times were about 2 to 2.5 seconds off PB pace. There was just no mid corner grip to be had but it was still super fun to get on track with friends. I drove 3 hours to the track and did 5x 30 min sessions then drove home. ISF continues to impress. Apparently they want to do a feature on the car but its about to go into fabrication next week. Anyways here's the video of an extremely low grip track in an ISF.
 09-04-19, 06:23 PM