When you click on links to various merchants on this site and make a purchase, this can result in this site earning a commission. Affiliate programs and affiliations include, but are not limited to, the eBay Partner Network.
Im going to start pasting over my updates from ls1tech to current status.
Actually had some free time to mess around with the car. My buddy got the mounts tacked together for fitting they just need to be finished welded and find some spacers. They also have a brace in the middle i forgot to snap a photo of it. Either going to run a spacer or trim that outter edge, depends if the mount is molded to it. What do ya'll think I should do? Sits on the rack but spacers should help with that
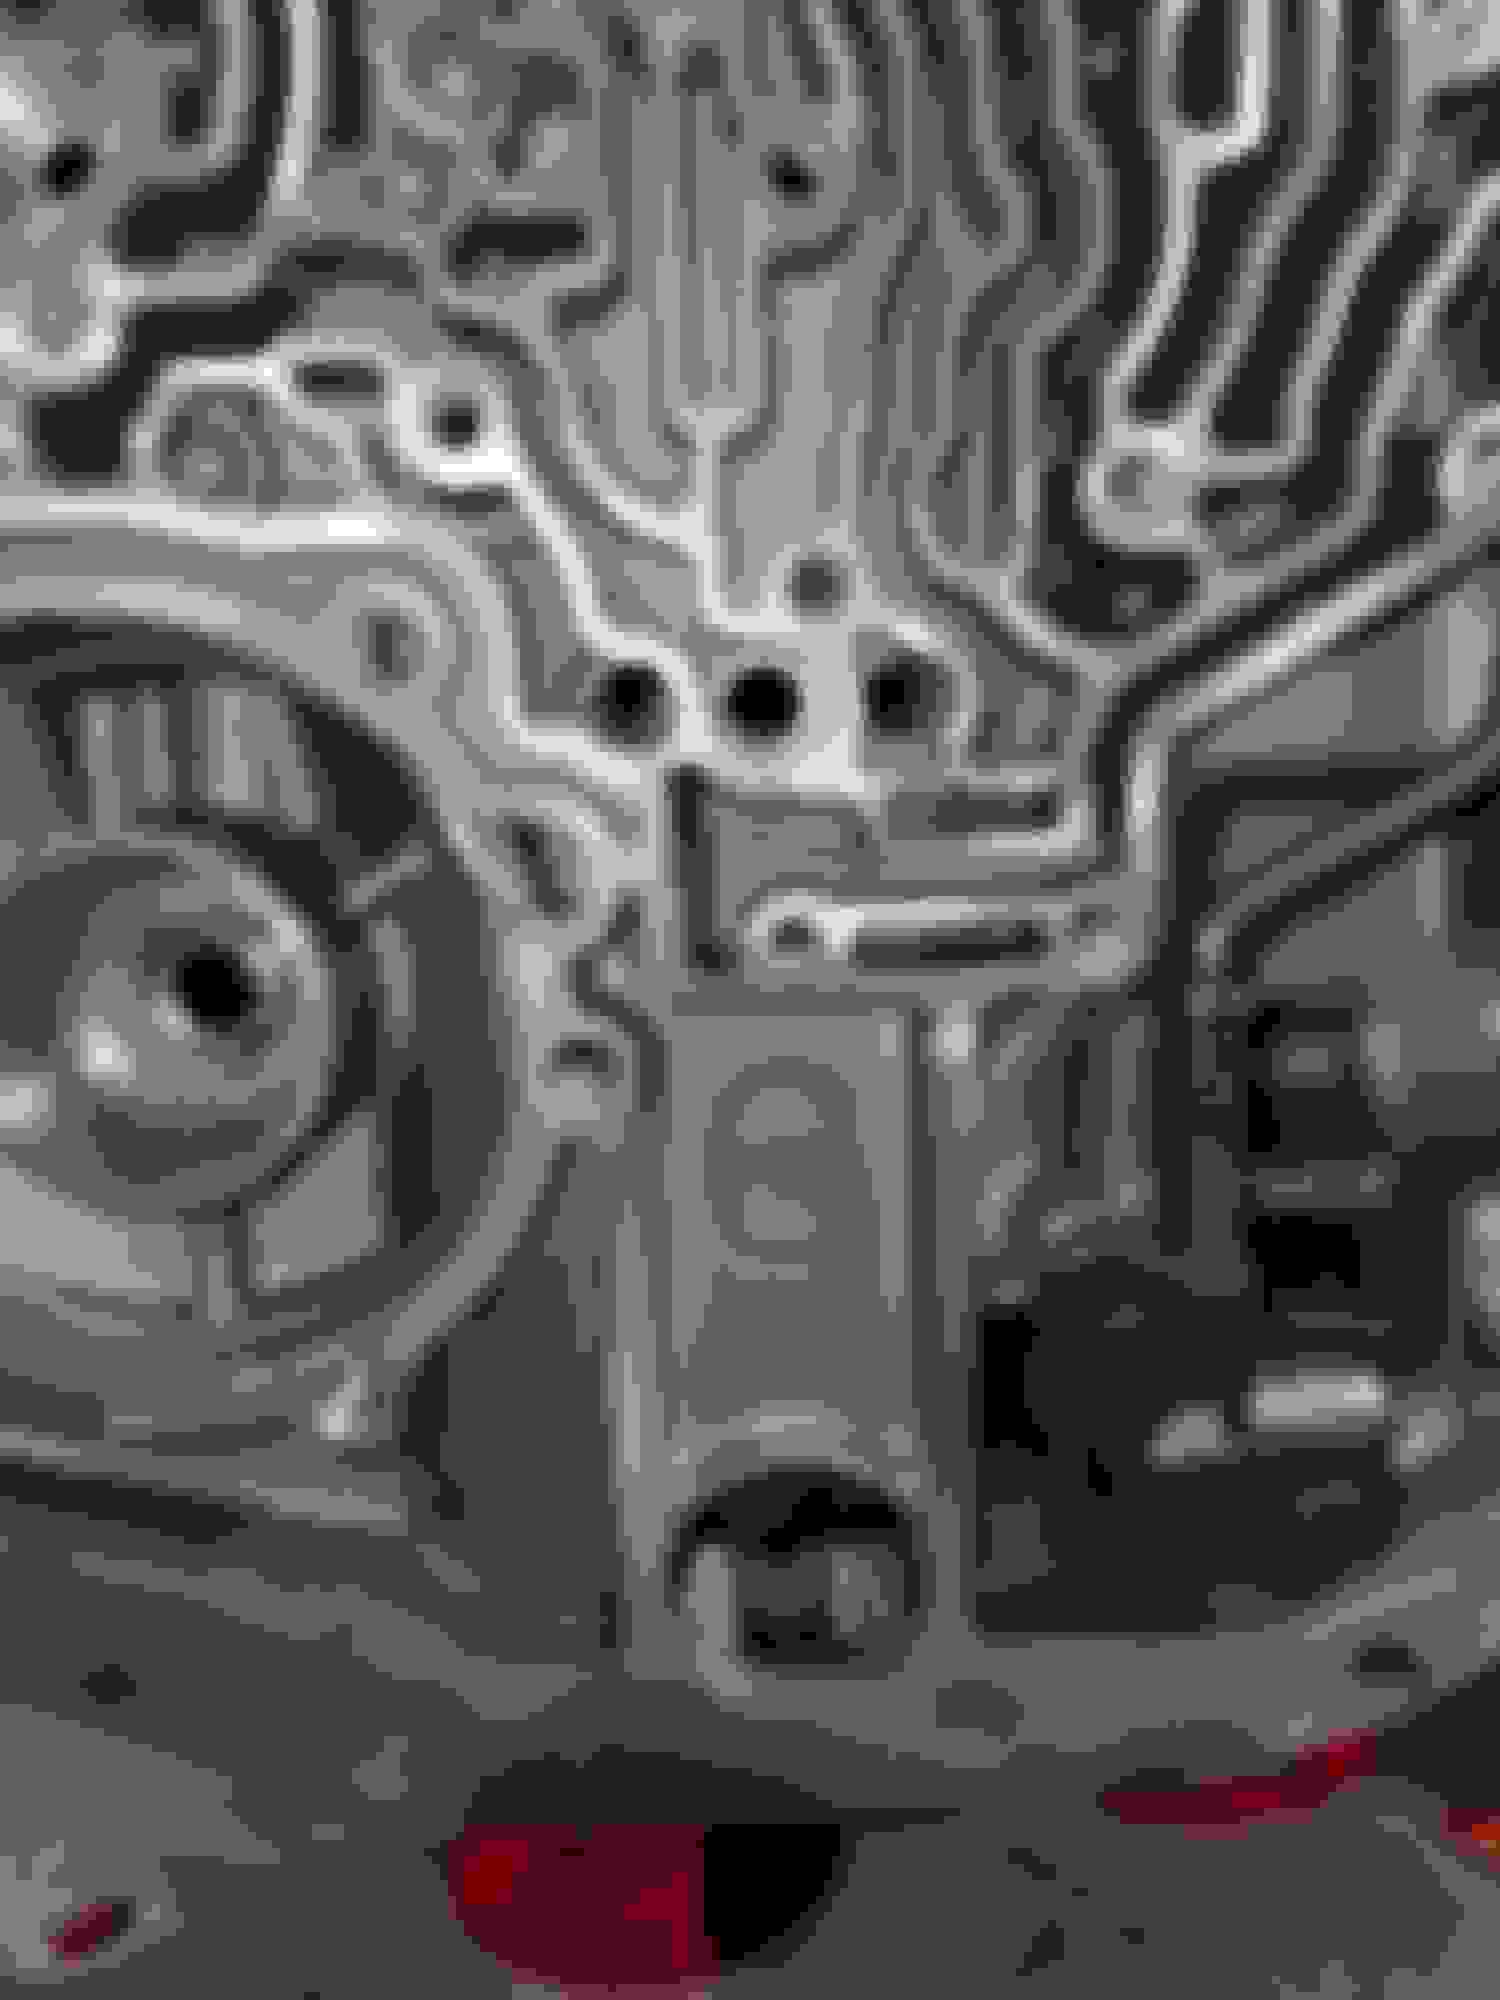
Went over to my buddies shop with some of the the trans parts that need drilled per the ck performance kit. Drilled thr separator plate, which I need to call about because they had some holes circled in the diagram that didn't need drilling. Drilled the pump relief holes and the feed holes for the center support. Hopefully I'll tackle more tonight. Enlarged drain back Tiny little hole
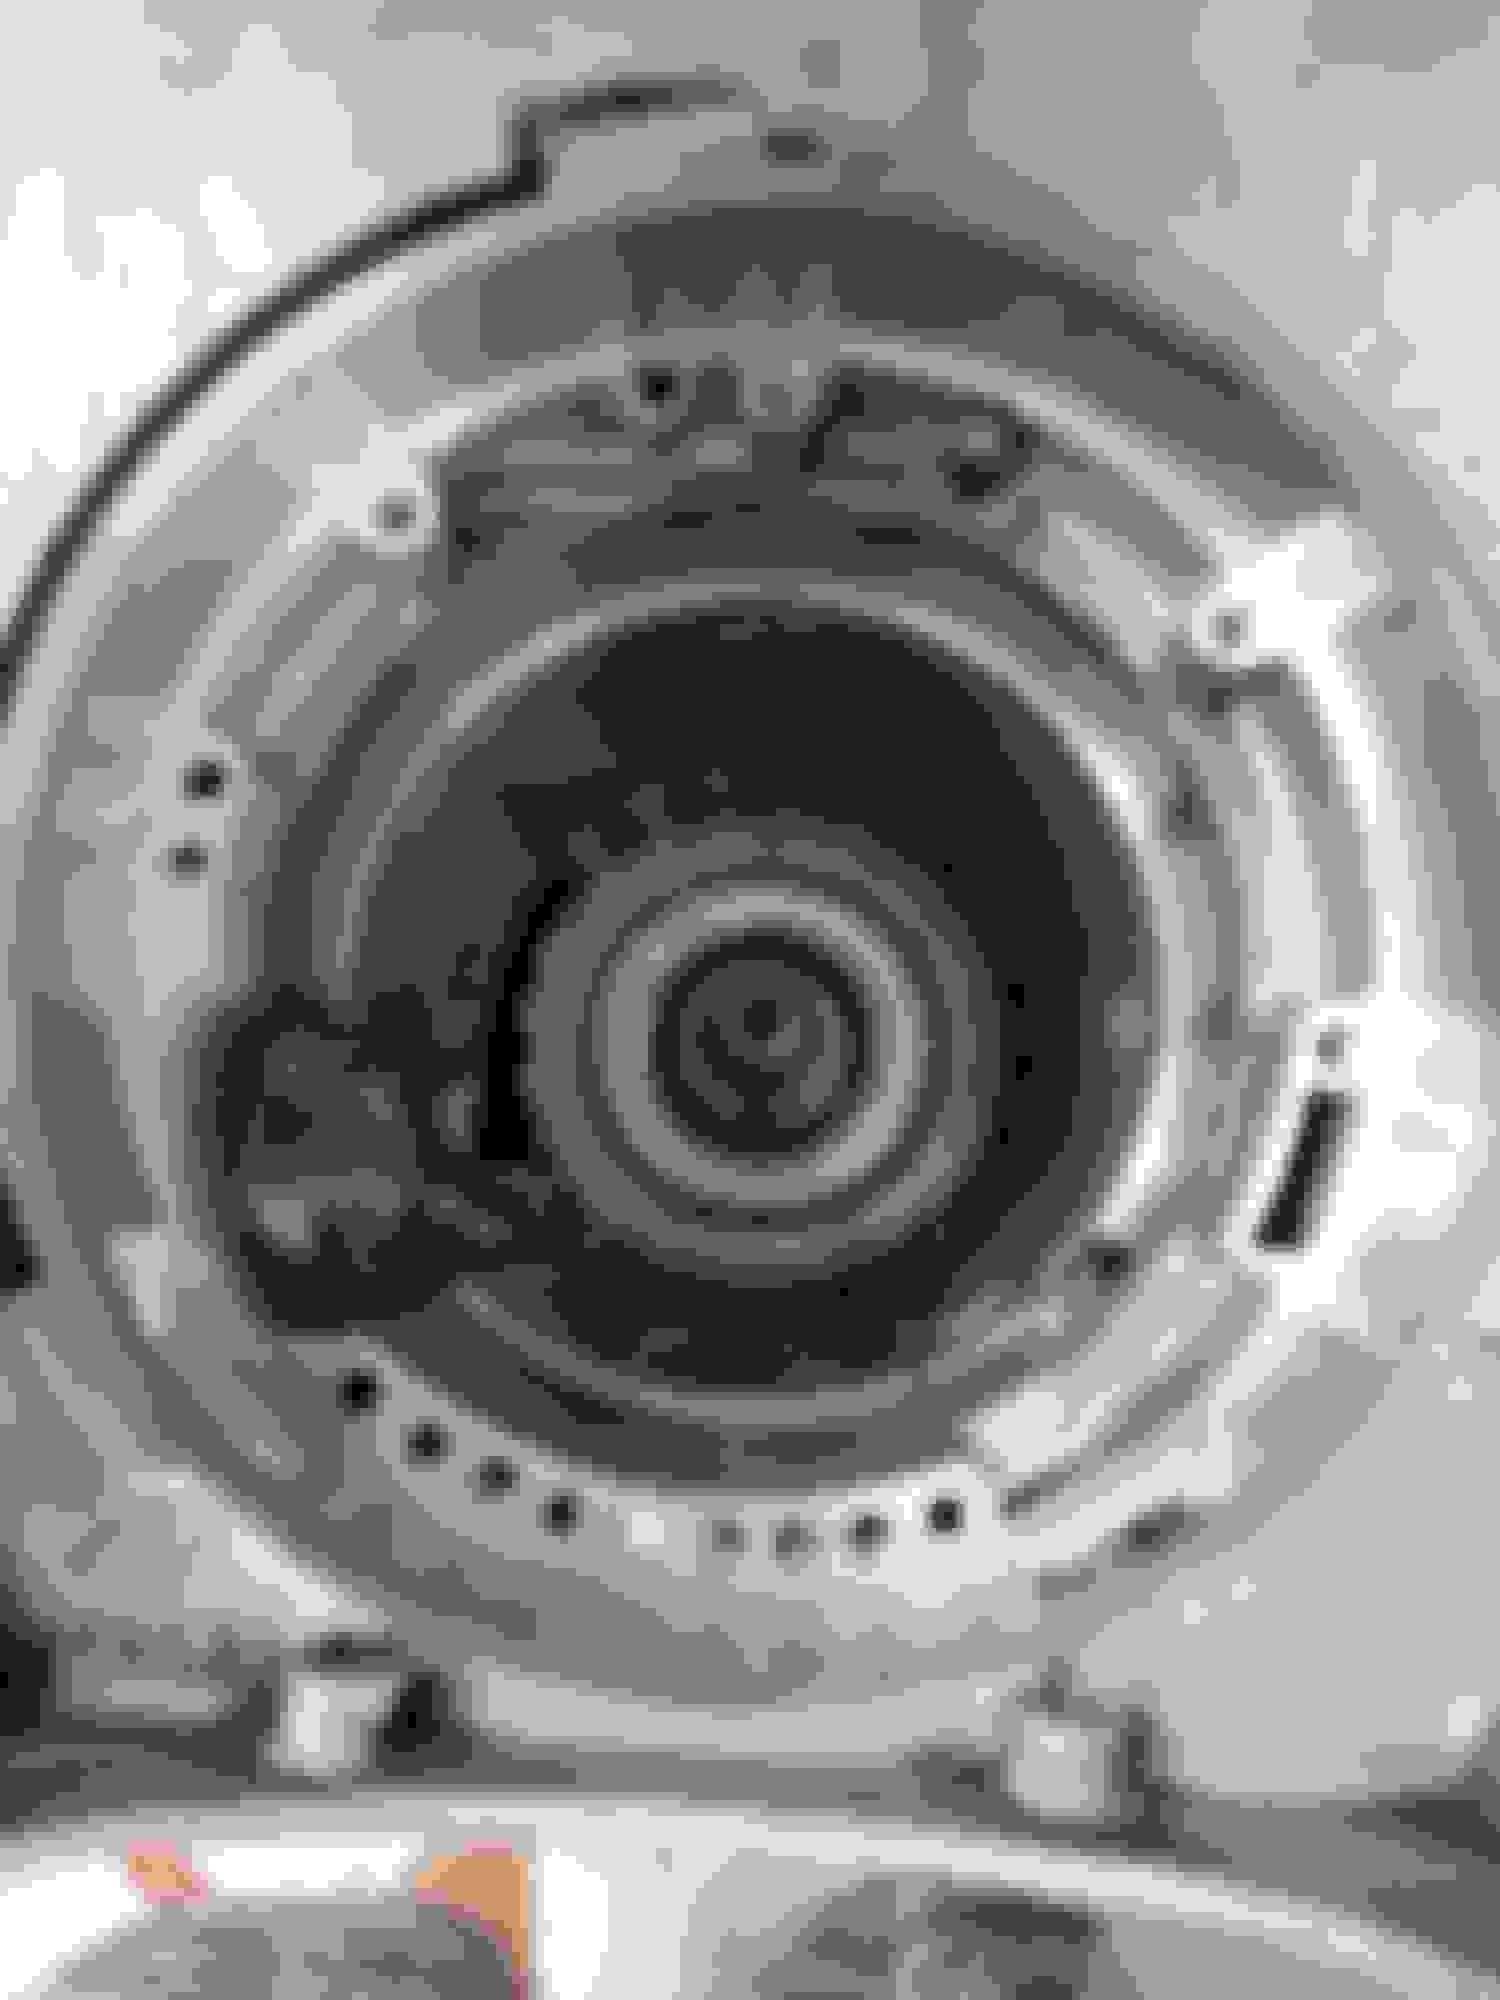
Had some free time so me and my buddy finished disassembling the trans for lube mods and found the failure point. Looks like I will be ordering this whole section found some spots where the housings grinded into each other. This thing got alittle hawt lol
Washer stacking, plan on getting some steel tube cut to the same size as the washers for a cleaner looking spacer. After posting this i realized there was an extra washer on the driver side. Good tunnel clearance. Alot better pan clearance might remove one from each side (2 from the drivers side since I had an extra) to get more bite on the mounting post nuts. Hoepfully ill get some time to work up a transmission bracket this weekend.
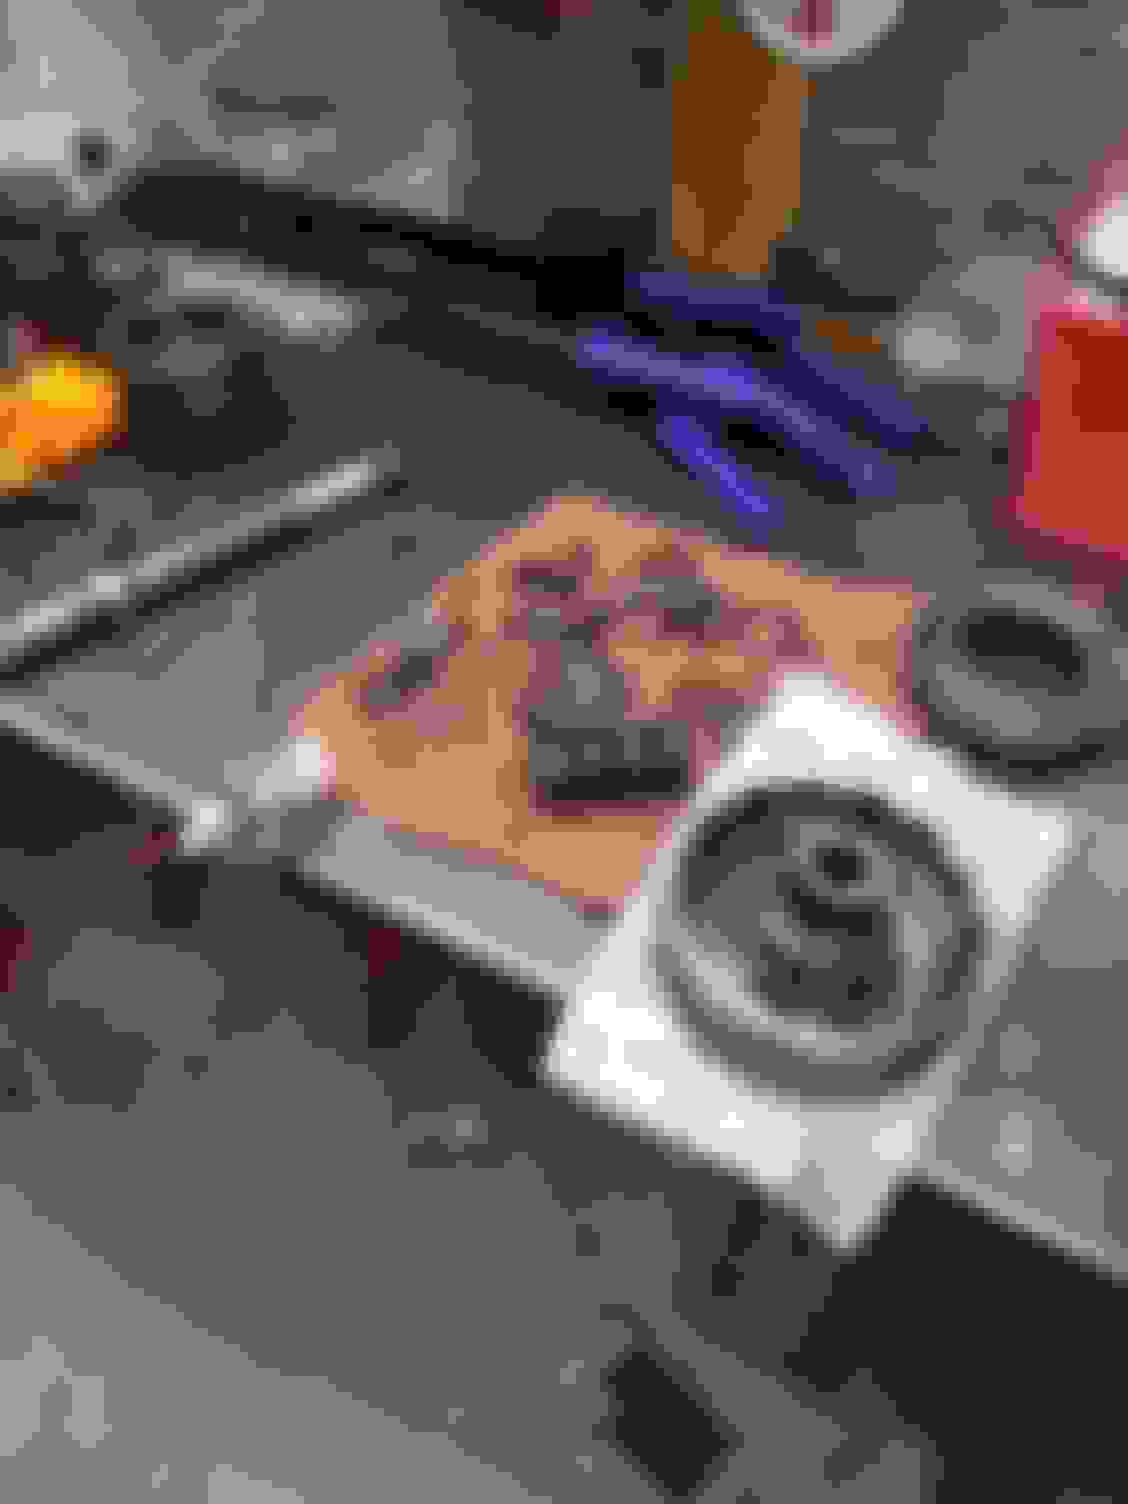
Ck performance master kit Toasty roasty lol Clutch disk Toasted clutch disk Loaded with clutch material... This doesn't seem normal to me This shows a good bit of wear also so I'll probably write this one off and source another good direct clutch assembly. The center support was pretty much straightforward to do Upgraded these with the ck performance master kit Beefy springs and retainer plate New teflon seals had to order another set for the other side they didn't want to go on as easy as these did. Stay tuned for more just waiting on parts to come in.
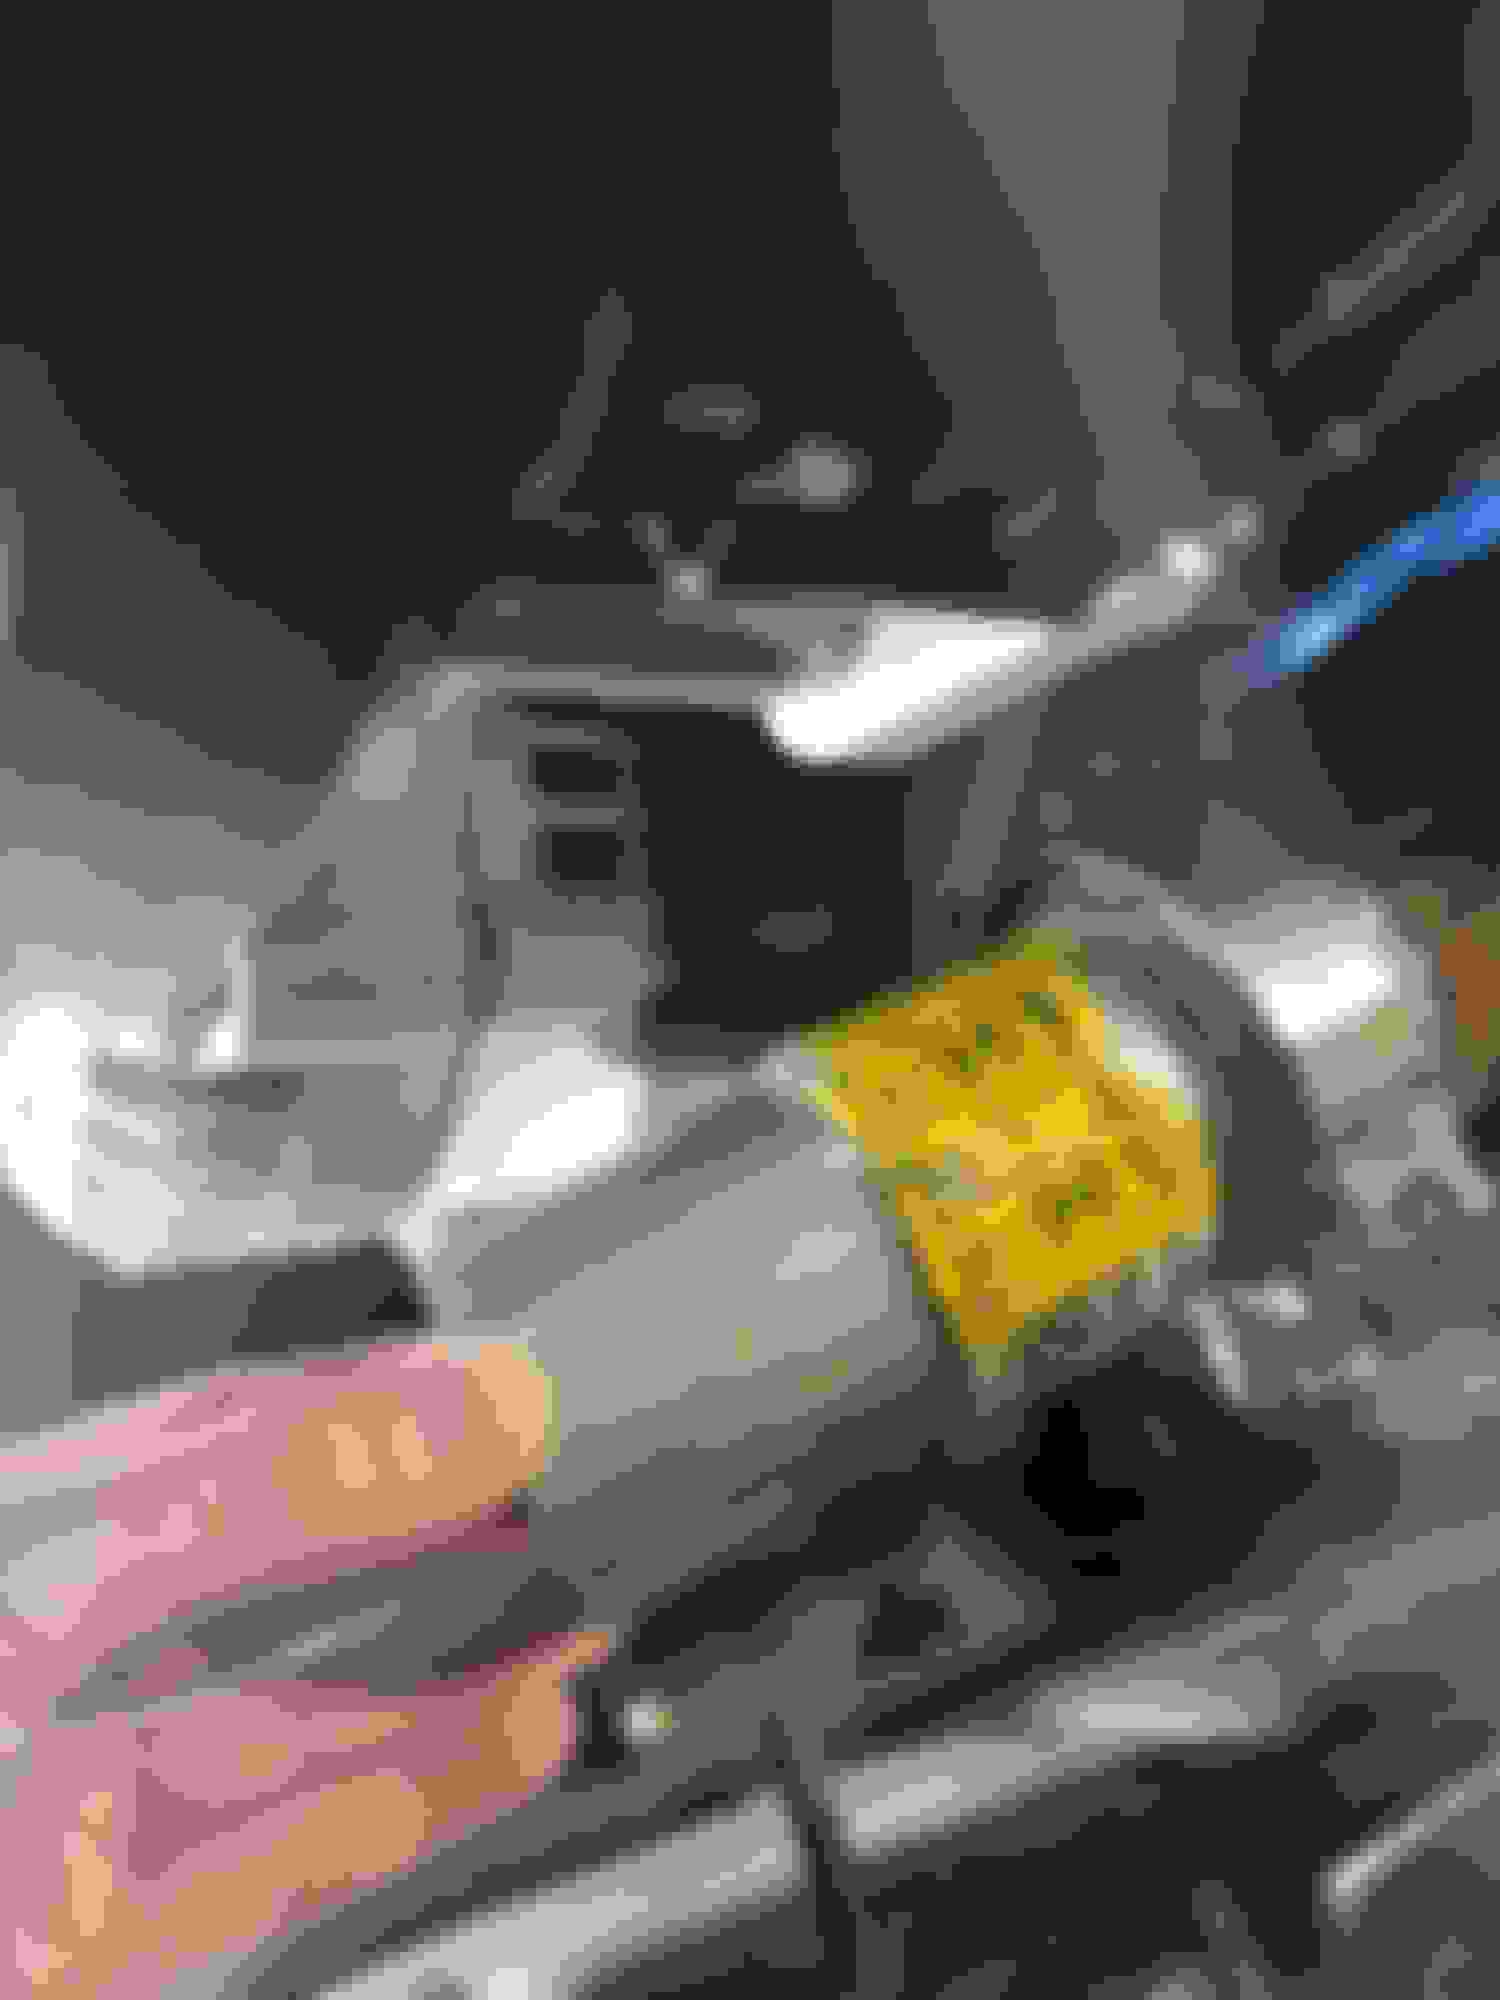
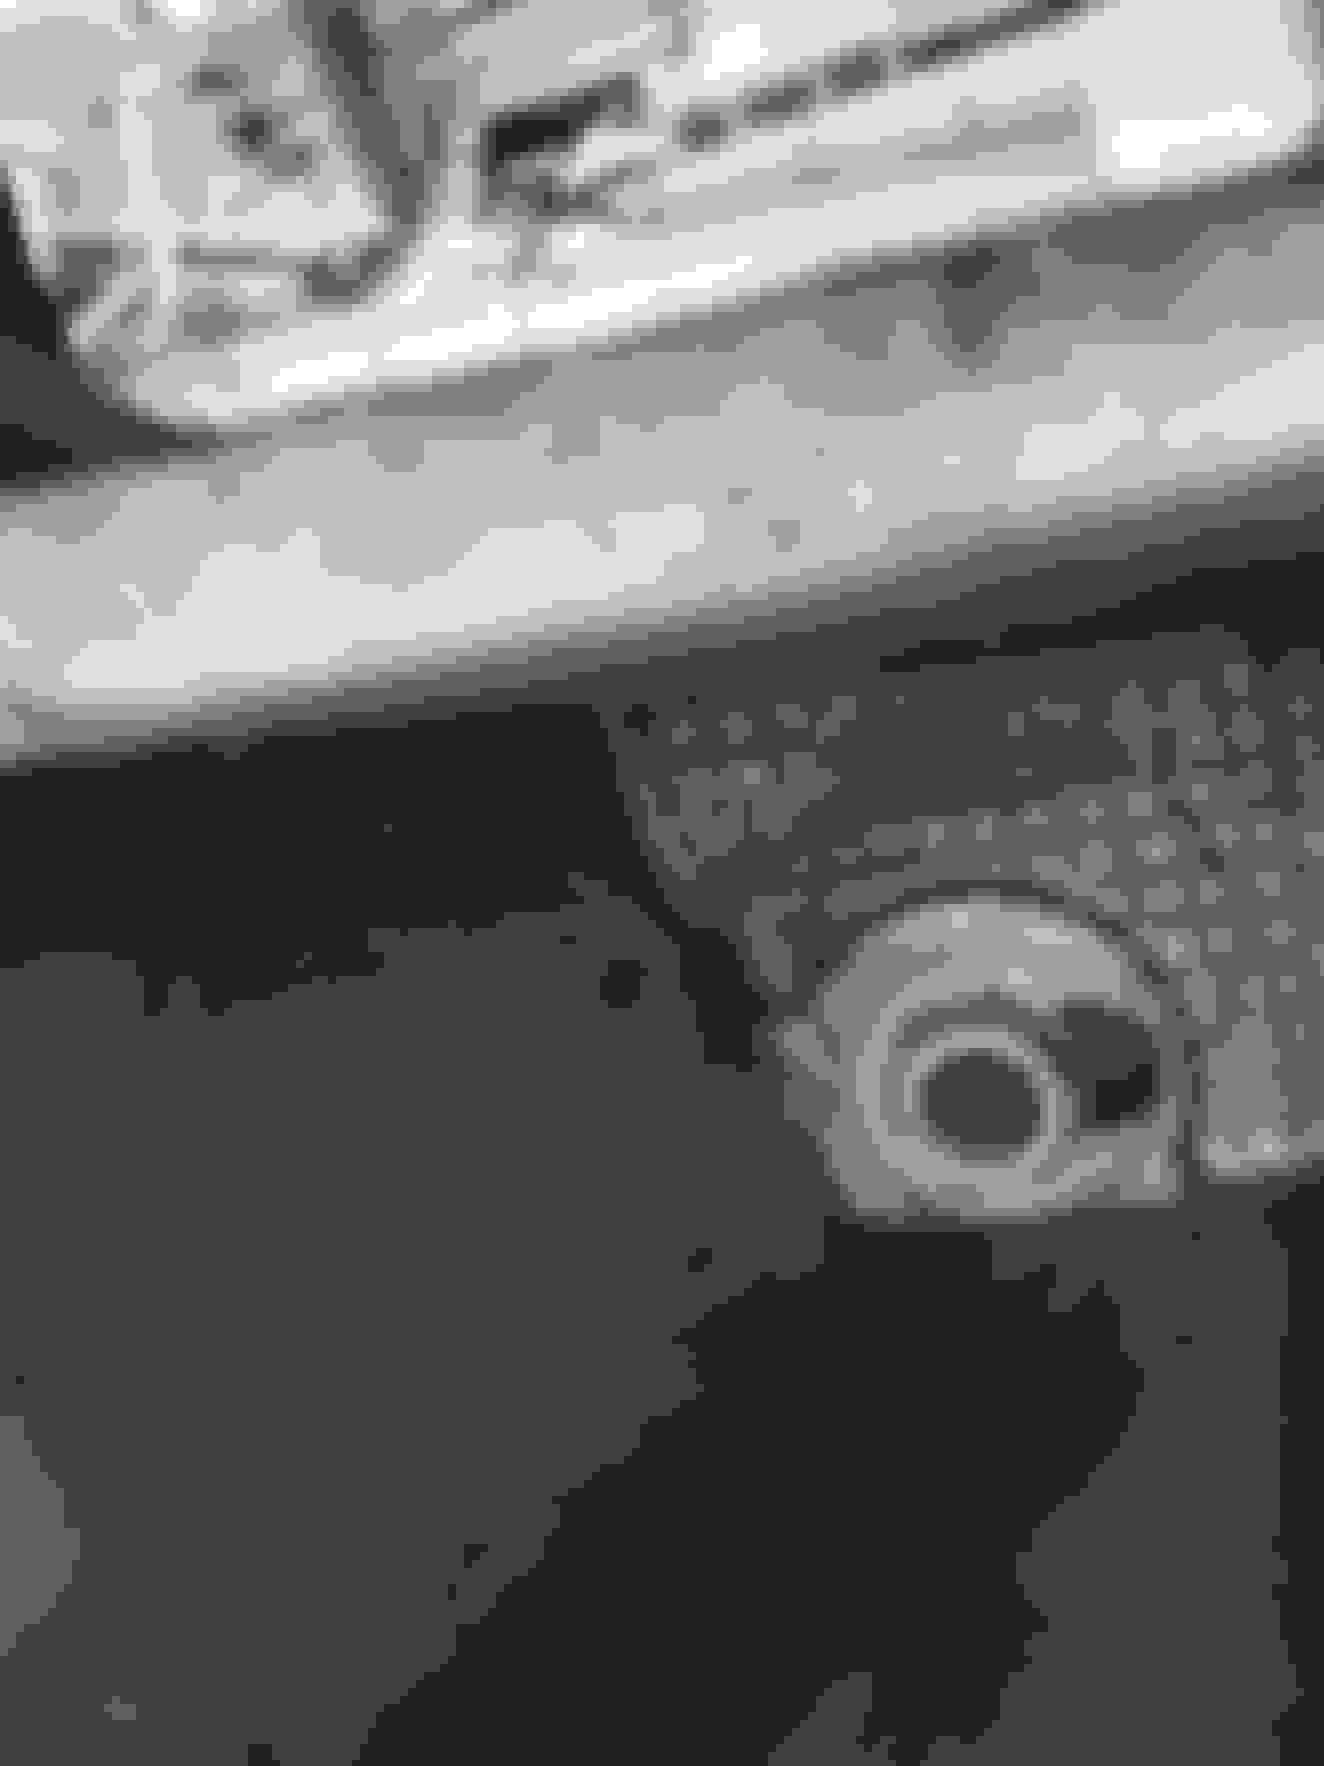
Not much happening most of my parts to finish the transmission is held up at USPS hub so time to tackle some small things. So canton wants like $20+ for a pan plug. Luckily i have a well stocked advance auto 5mins down the road so i picked up this plug for $3 and a trans mount for $25. Pan plug installed Also looks like the oem lexus transmission bracket is going to come in handy. Tail shaft hangs roughly 2.5 inches past the mount which isnt to bad New energy suspension mount installed. Just have to fab up a plate to connect everything.
Got the car on the ground to see how far the sway bar rolls back. Not to bad time to install the balancer. Old balancer on and have little ove a 1/2" of clearance Don't think the ls1 lower alternator bracket is going to work have to search for some tight clearance brackets. Y'all have any ideas on what i can use with truck spacing? Showing how wide the bay is. TBSS intake sits high but i got it with rails for $190.. Looks like i might be the only ls400 thats going to rock a hood scoop lol. Hopefully this weekend i can get back to work on the transmission.. was holding off as long as i can. The empty trans case makes pulling/installing the engine so mich easier.
Some parts are finally showing up. Hopefully this pictures look ok keep getting file size to big tp process so I had to resize them. Luckly this small case alternator works. It's snug but thats also with the ls1 bracket. My ICT truck spacing brackets shoild be here soon along with more accessory drive items. Jist glad I don't have to go this route... this was going to be a last resort Idea lol.
Still working on the transmission had order another center support bushing got the new one pressed in but needed to seat it down alitte further and this happened.
Welp decided to just get a ps pump my local parts store had one in stock I used the gto pump as a core
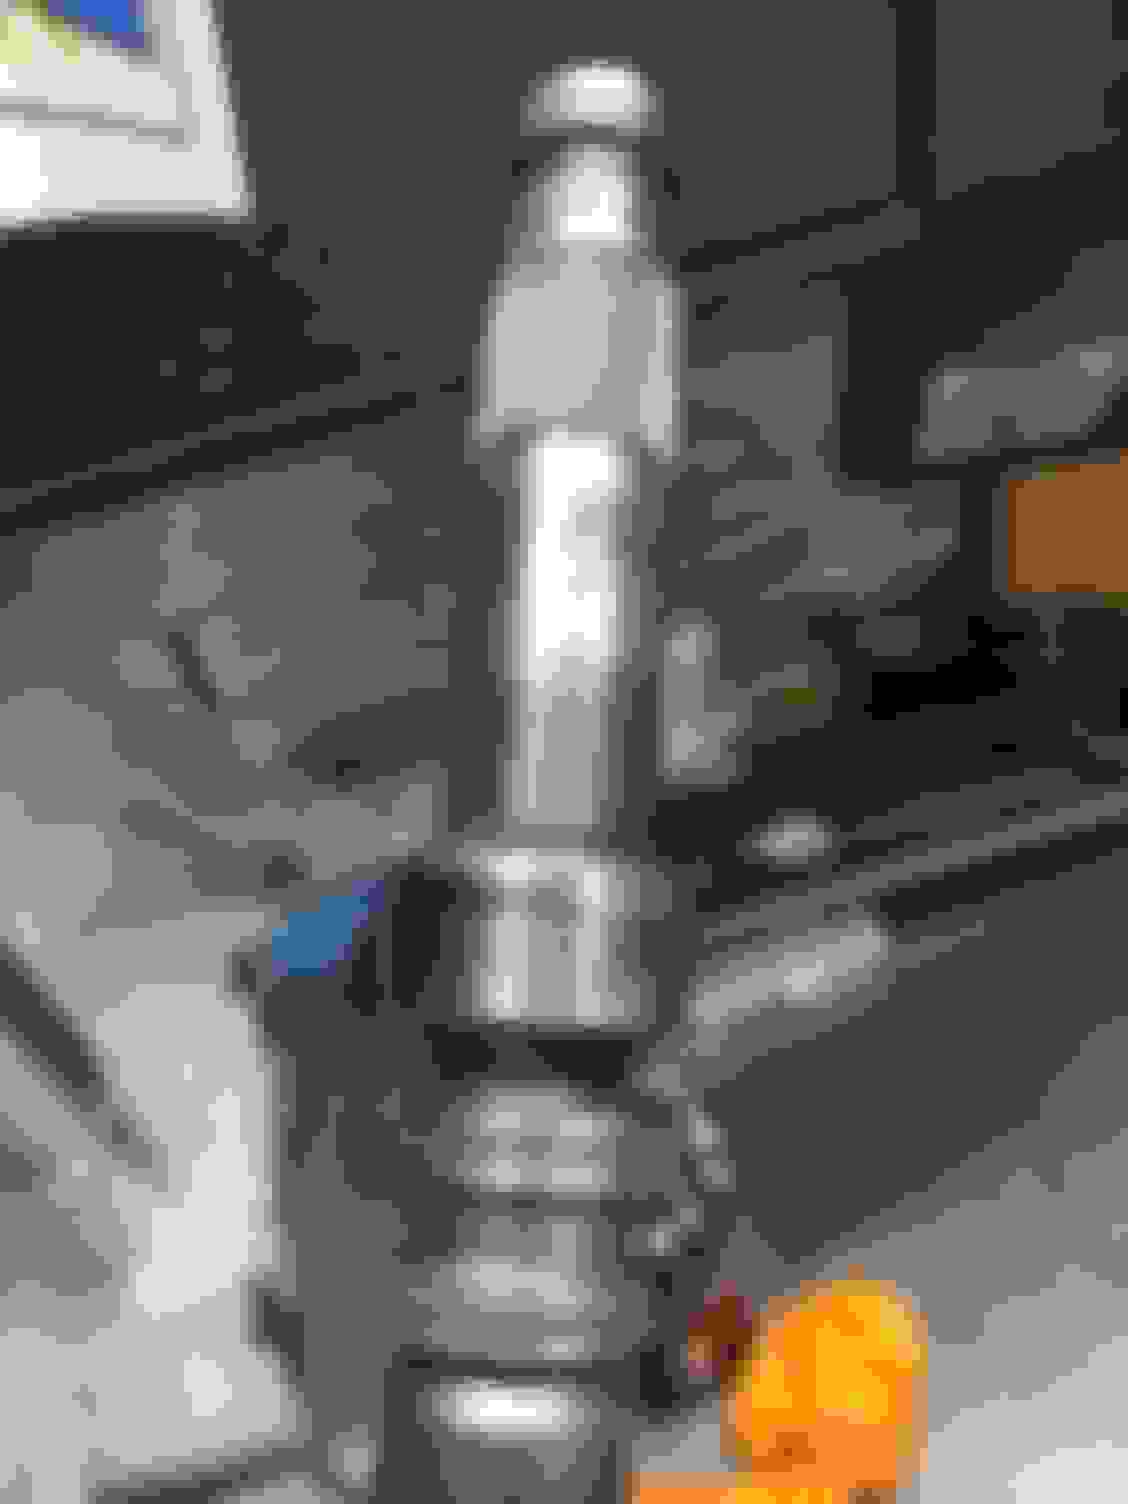
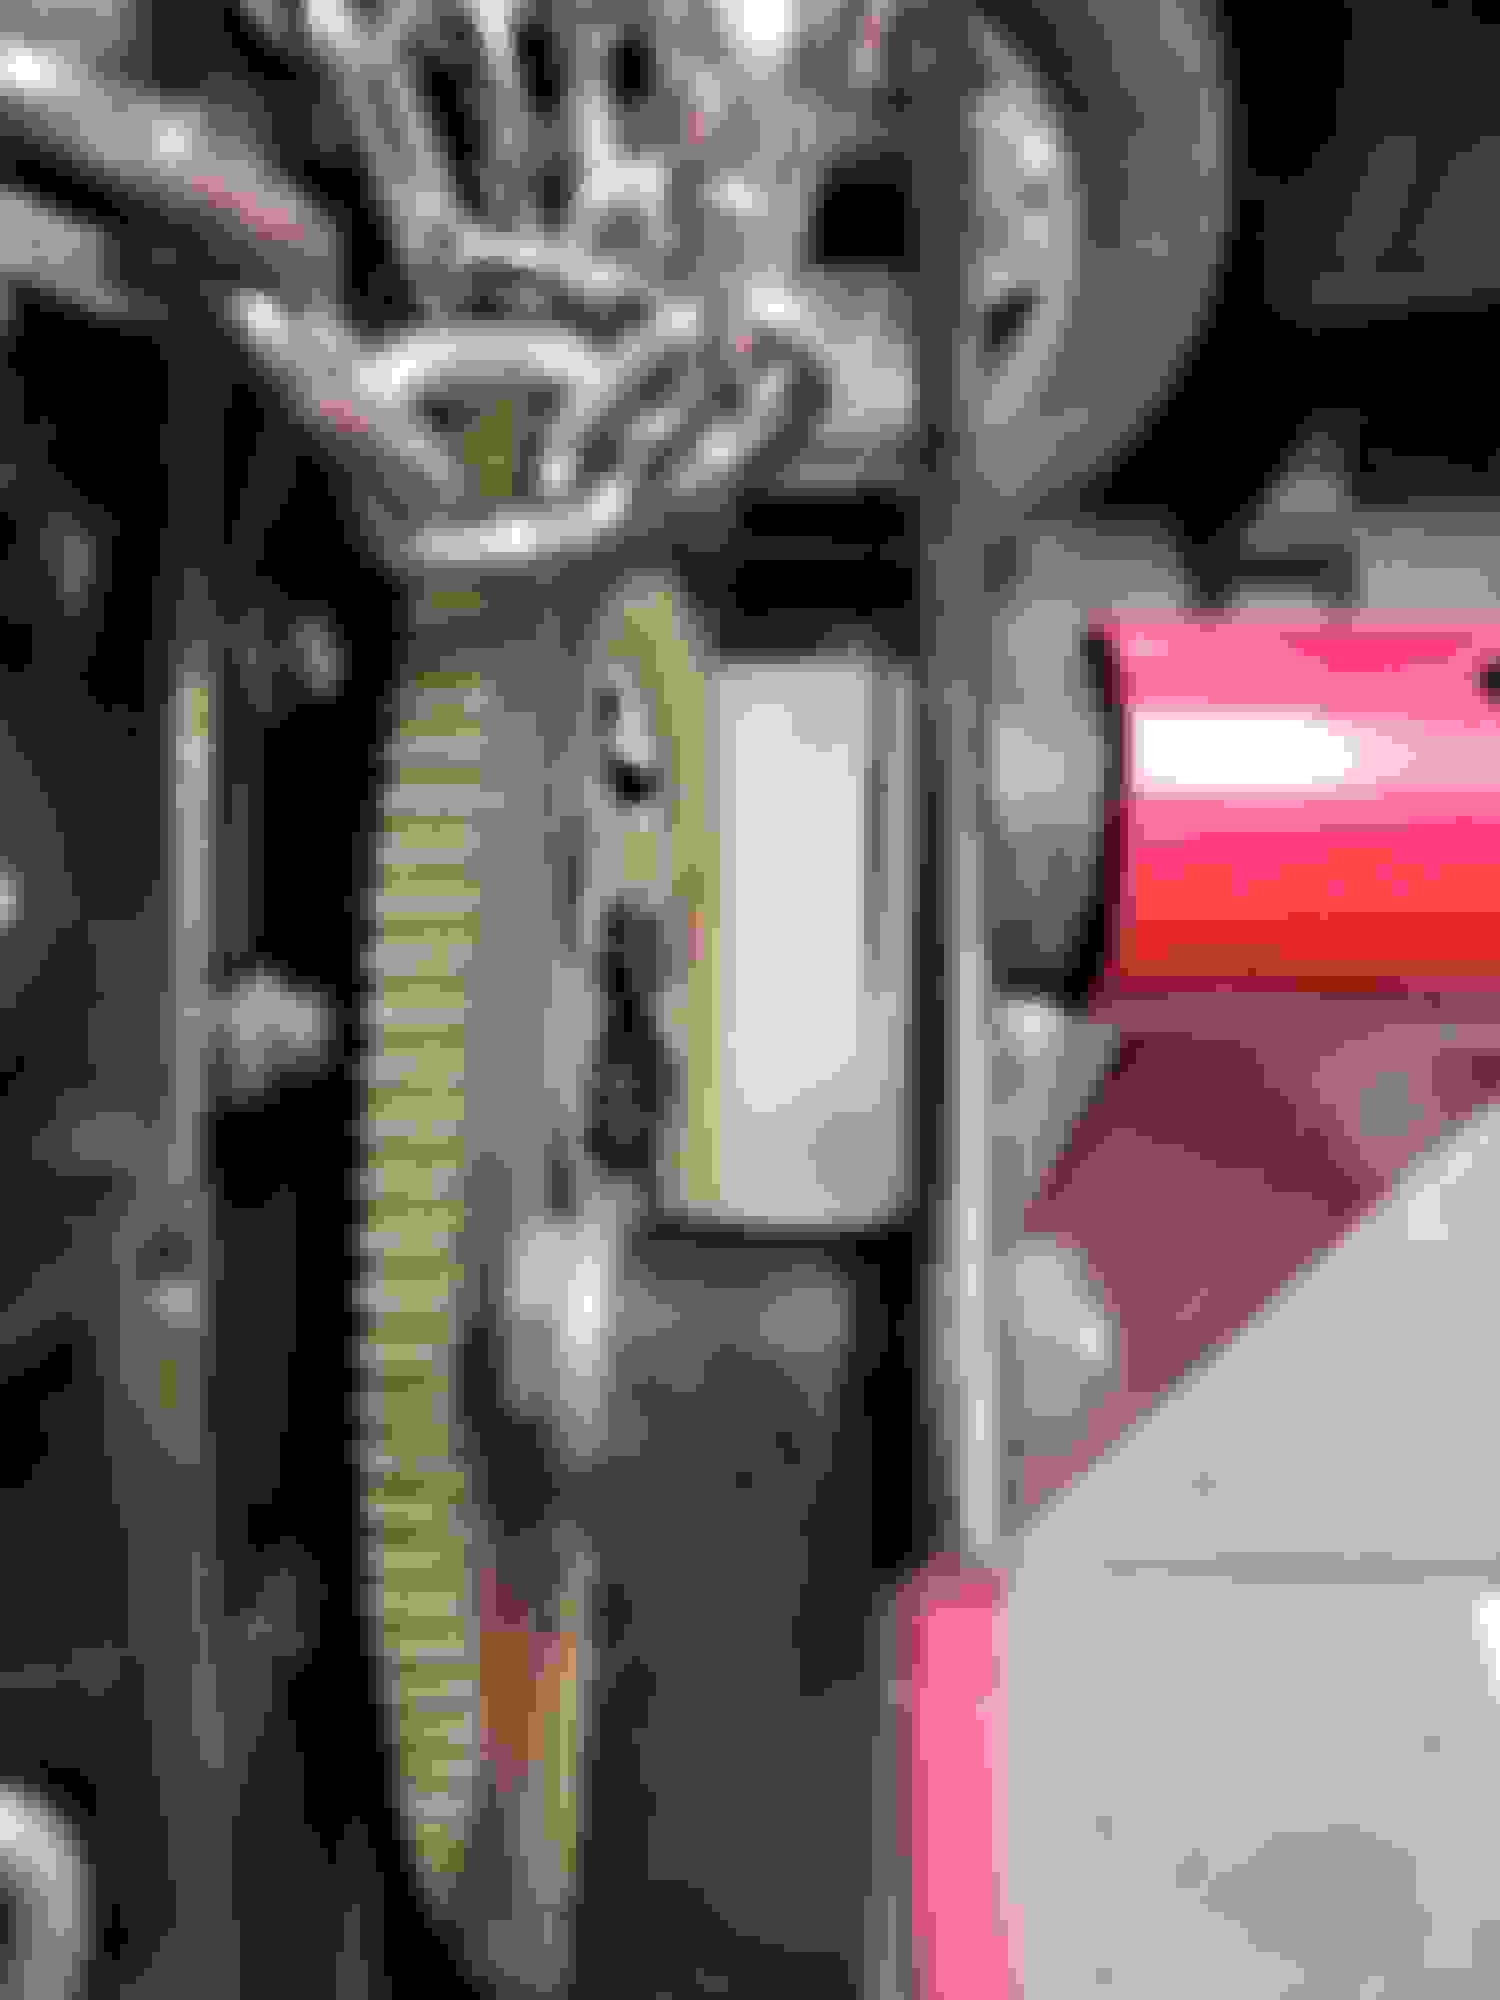
Waterpump came in, looks good with the ICT billet brackets. Test fitting the radiator, might see if there is a slimmer option. The mk3 toyota supra radiator is replacement option for this car but this one is a 3 row and is super thick. Might limit my options on the turbo crossover options. Looks like the hooker turbo blackheart manifolds might be my only option. Also got the new center section bearing pressed in and managed not to fudge it up this go around lol
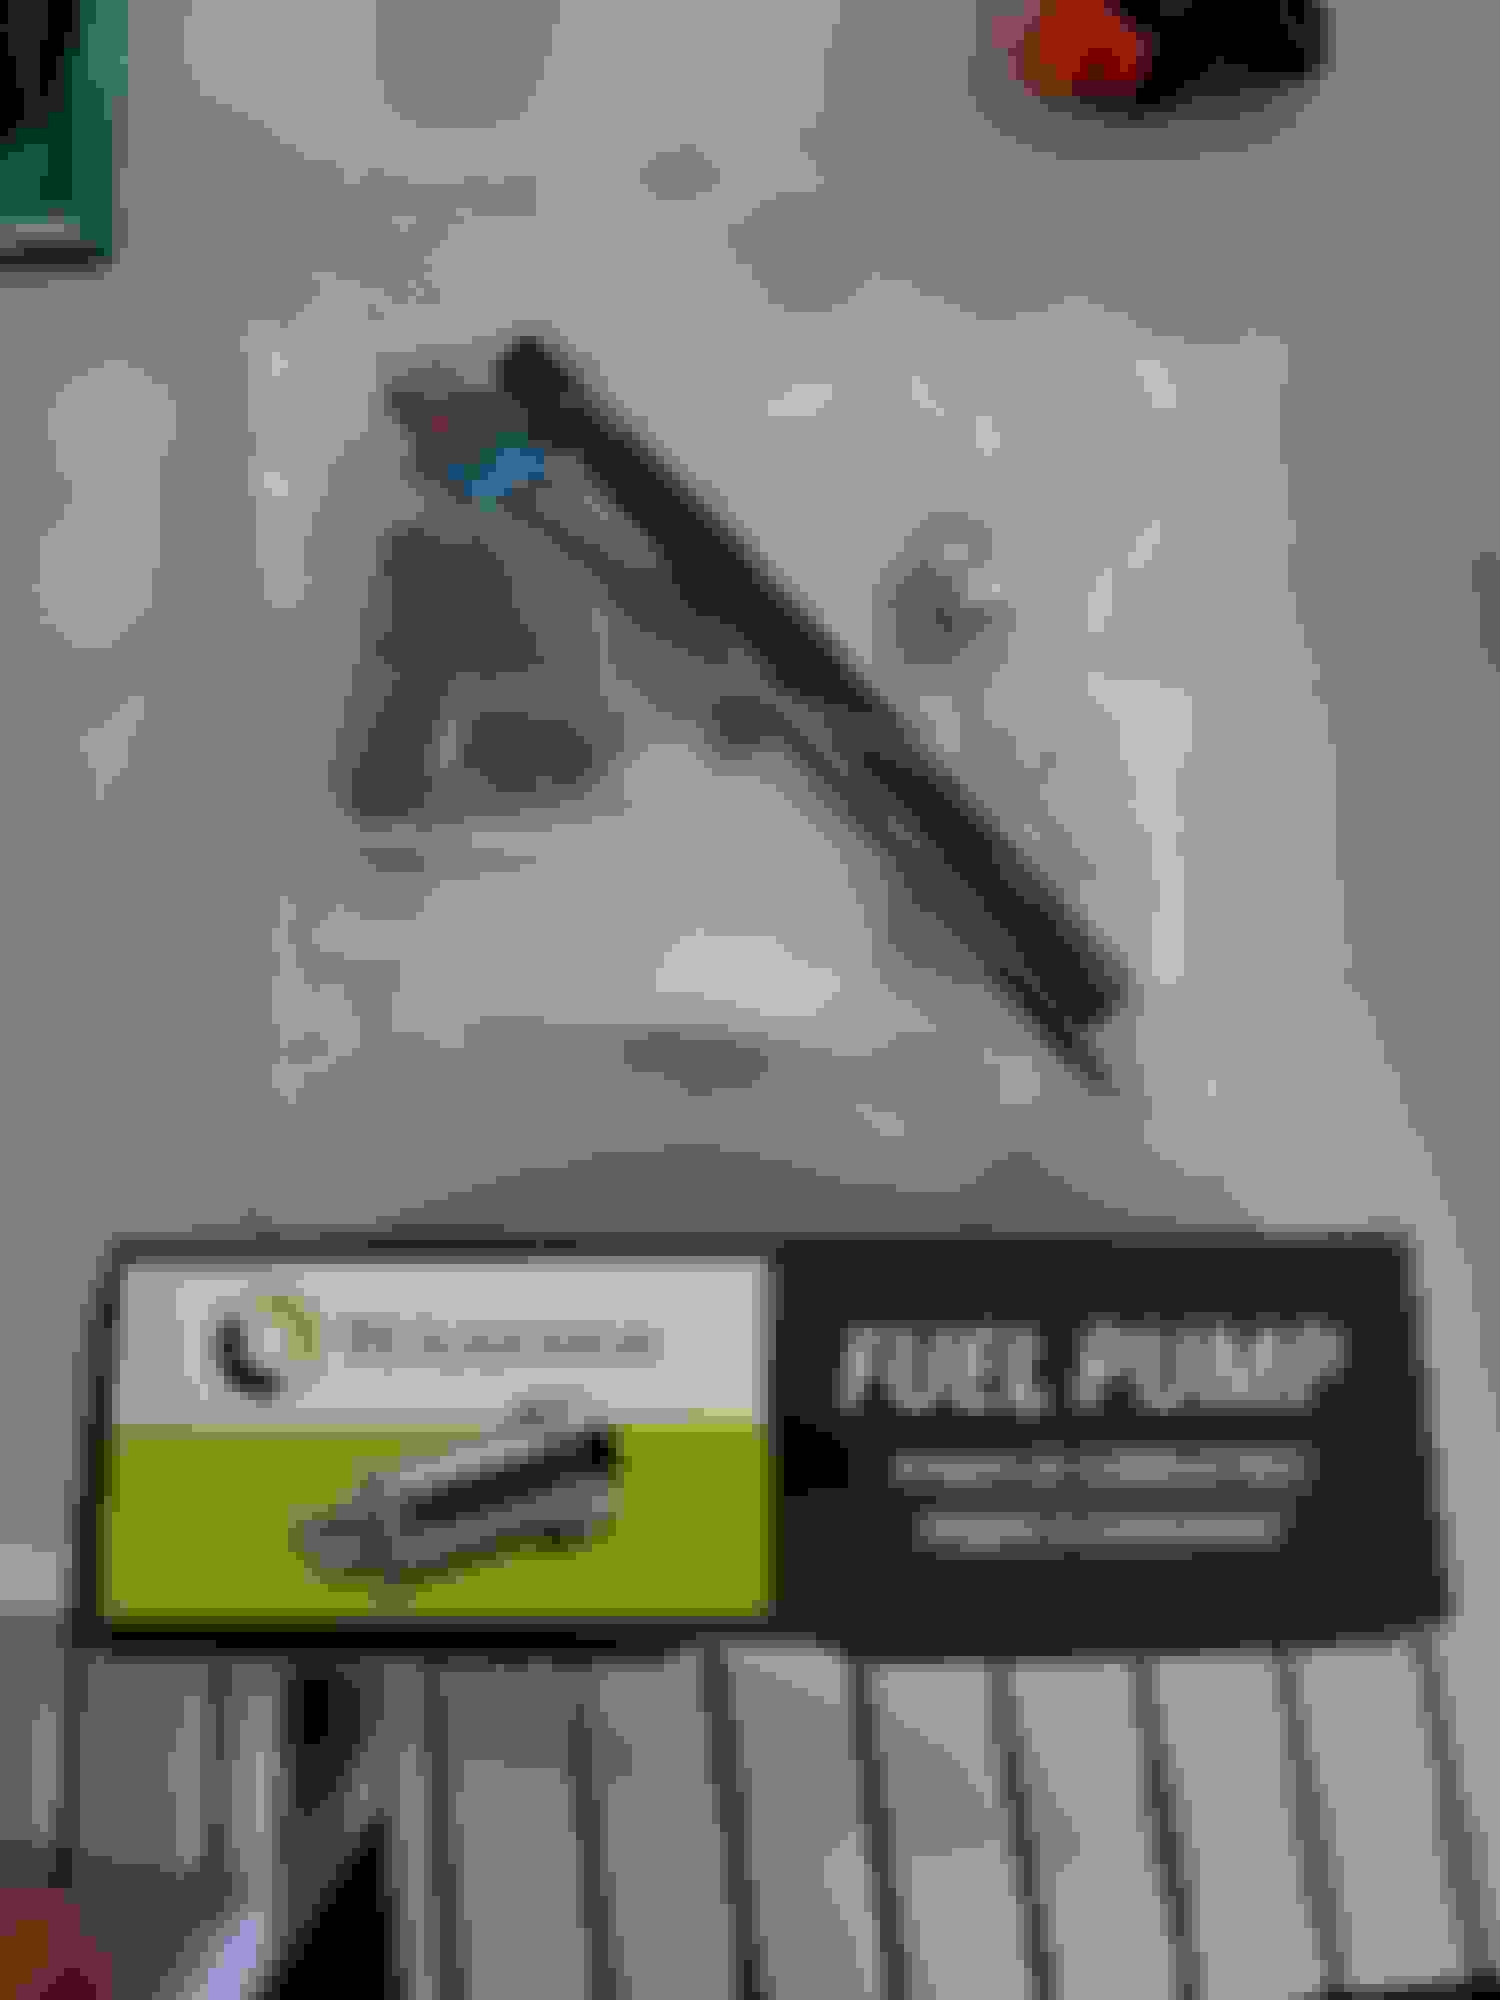
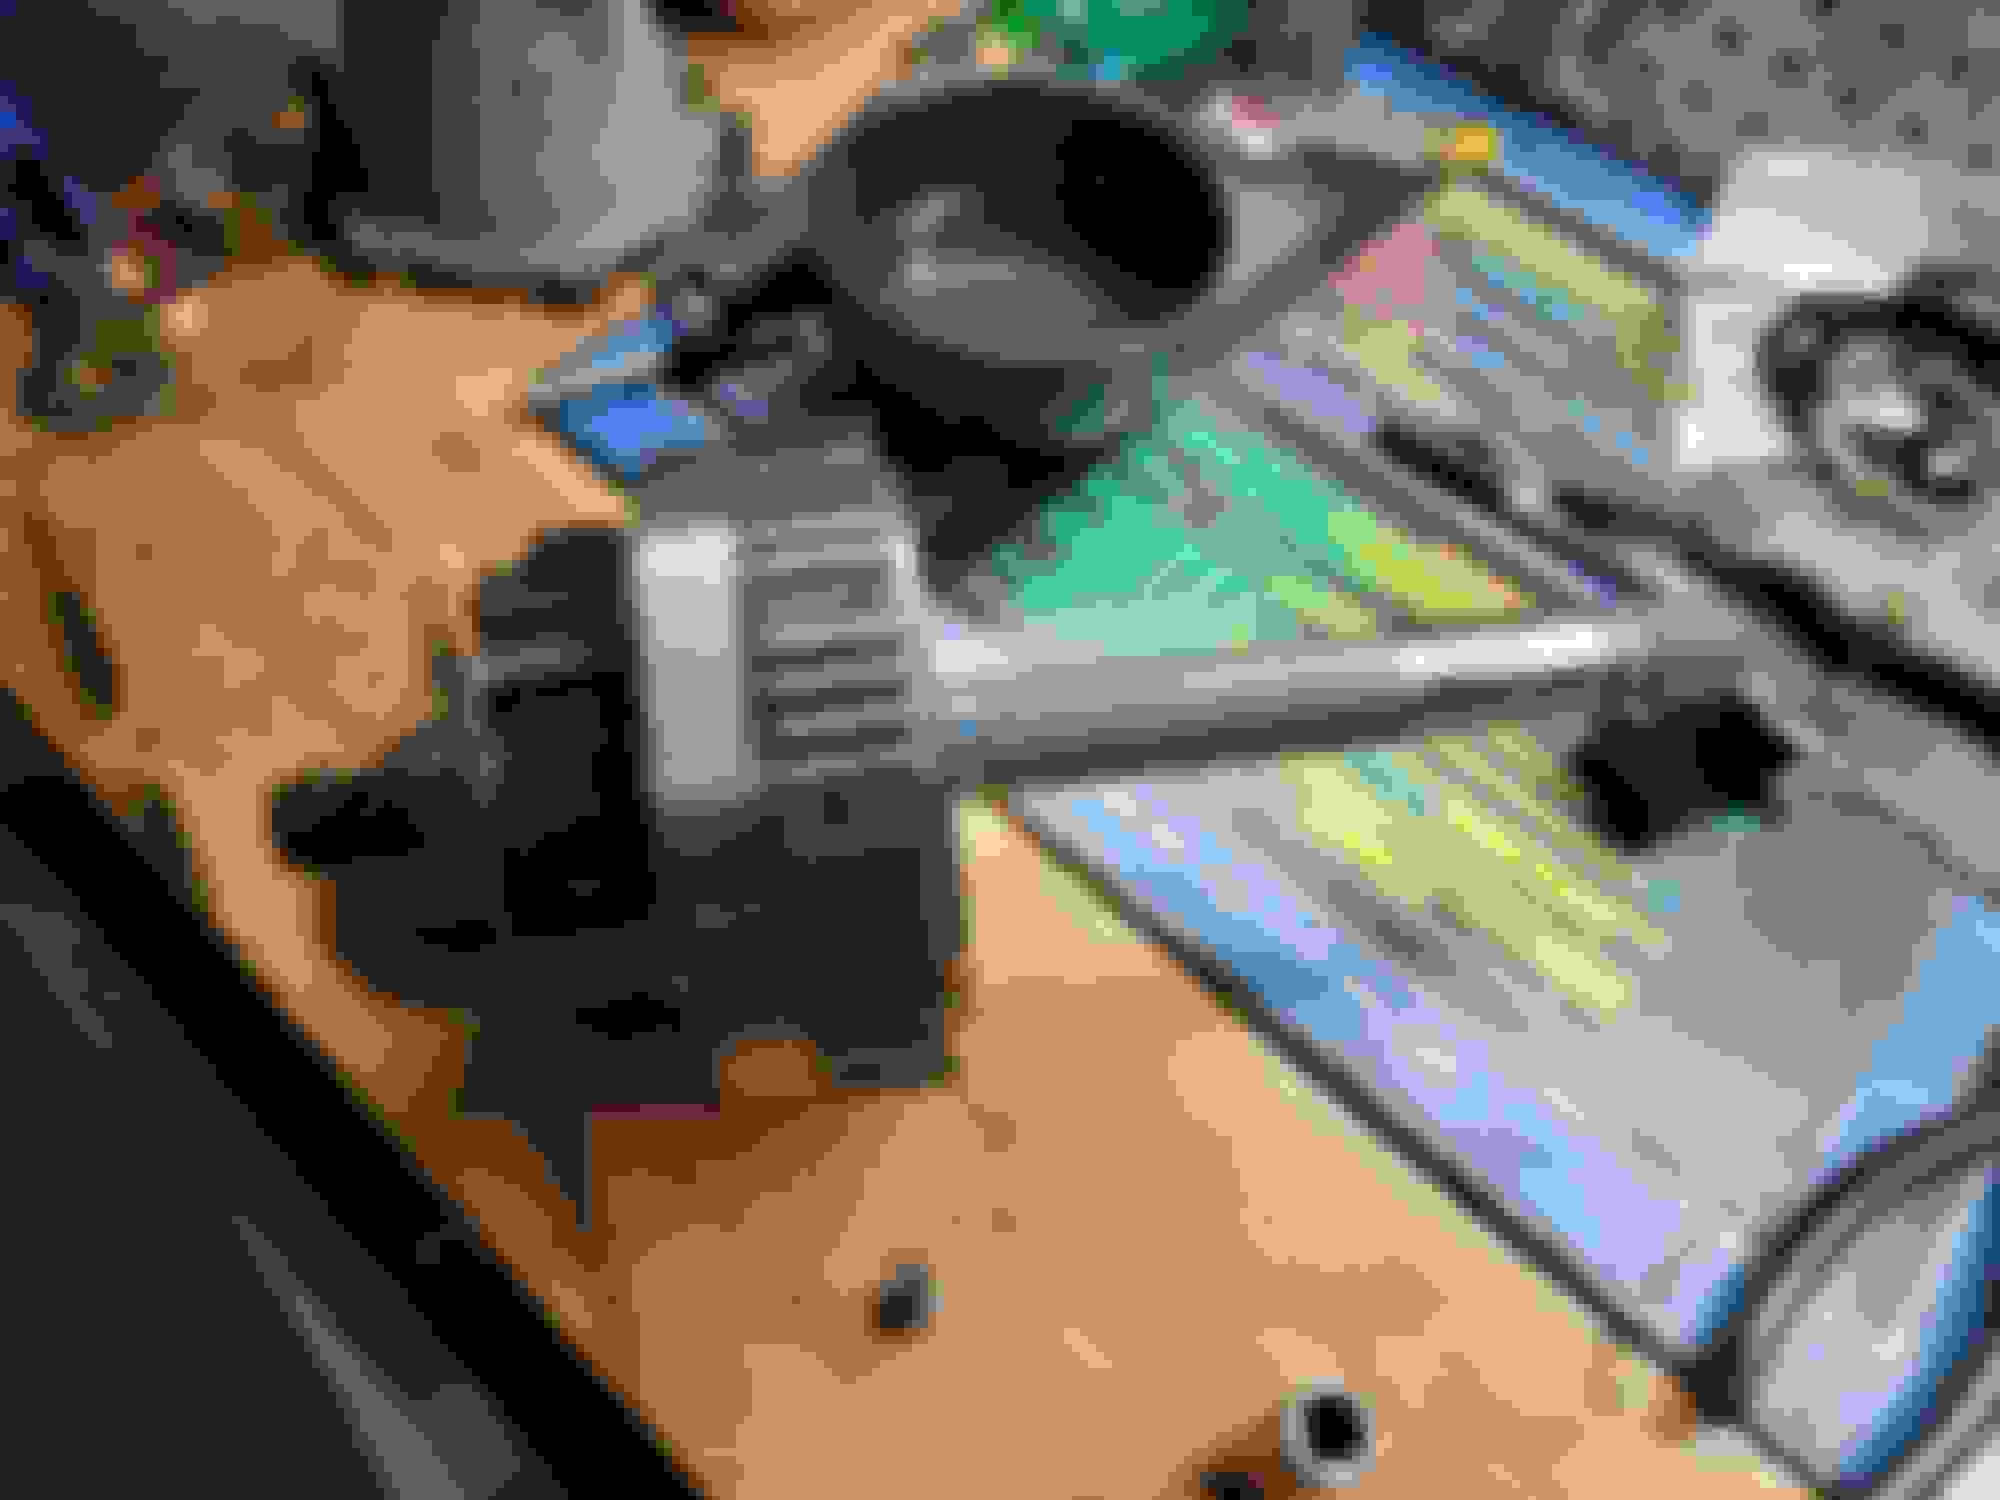
Fuel stuff finally showed up aeromotive FPR, gauge, and fittings. Walbro 450 pump and install kit. Need to get a new hubs for the transmission TCS billet and rollerized forward hub. This fuel adapter was a booger to find ended up getting one of ebay. Its a 6AN Male to M14x1.5 female inverted flare. Got the dorman pulley on the camaro ss pump. Looks alot better then the plastic one. Part number if anybody wanted to know what it was took some searhcing and digging to find it.
Here goes my options for truck manifolds. They can work flipped either way after trimming and adding v bands. Taking them to work with me to cut the OE flanges off and test fit before having the bands tacked on. Let me know you think. Thanks for looking.
Flanges cut more test fitting to come after work. Driver side manifold. Is 2.5" v band to big? Passenger side manifold. Looks to fit better then the other side. Have to take these to get welded our shop isn't setup to weld stainless (forklift dealship/service)
Might have to find another manifold think i cut this one to short for the v band to go on 3" down pipe test fitting Clears the firewall
The 3" i have is awkward tight V bend but seems to clear what i want it to
Had the little one help with the oil filter adapter today. Waiting on my trans mounts and engine mount spacers to be finished up then things will be back in full swing.
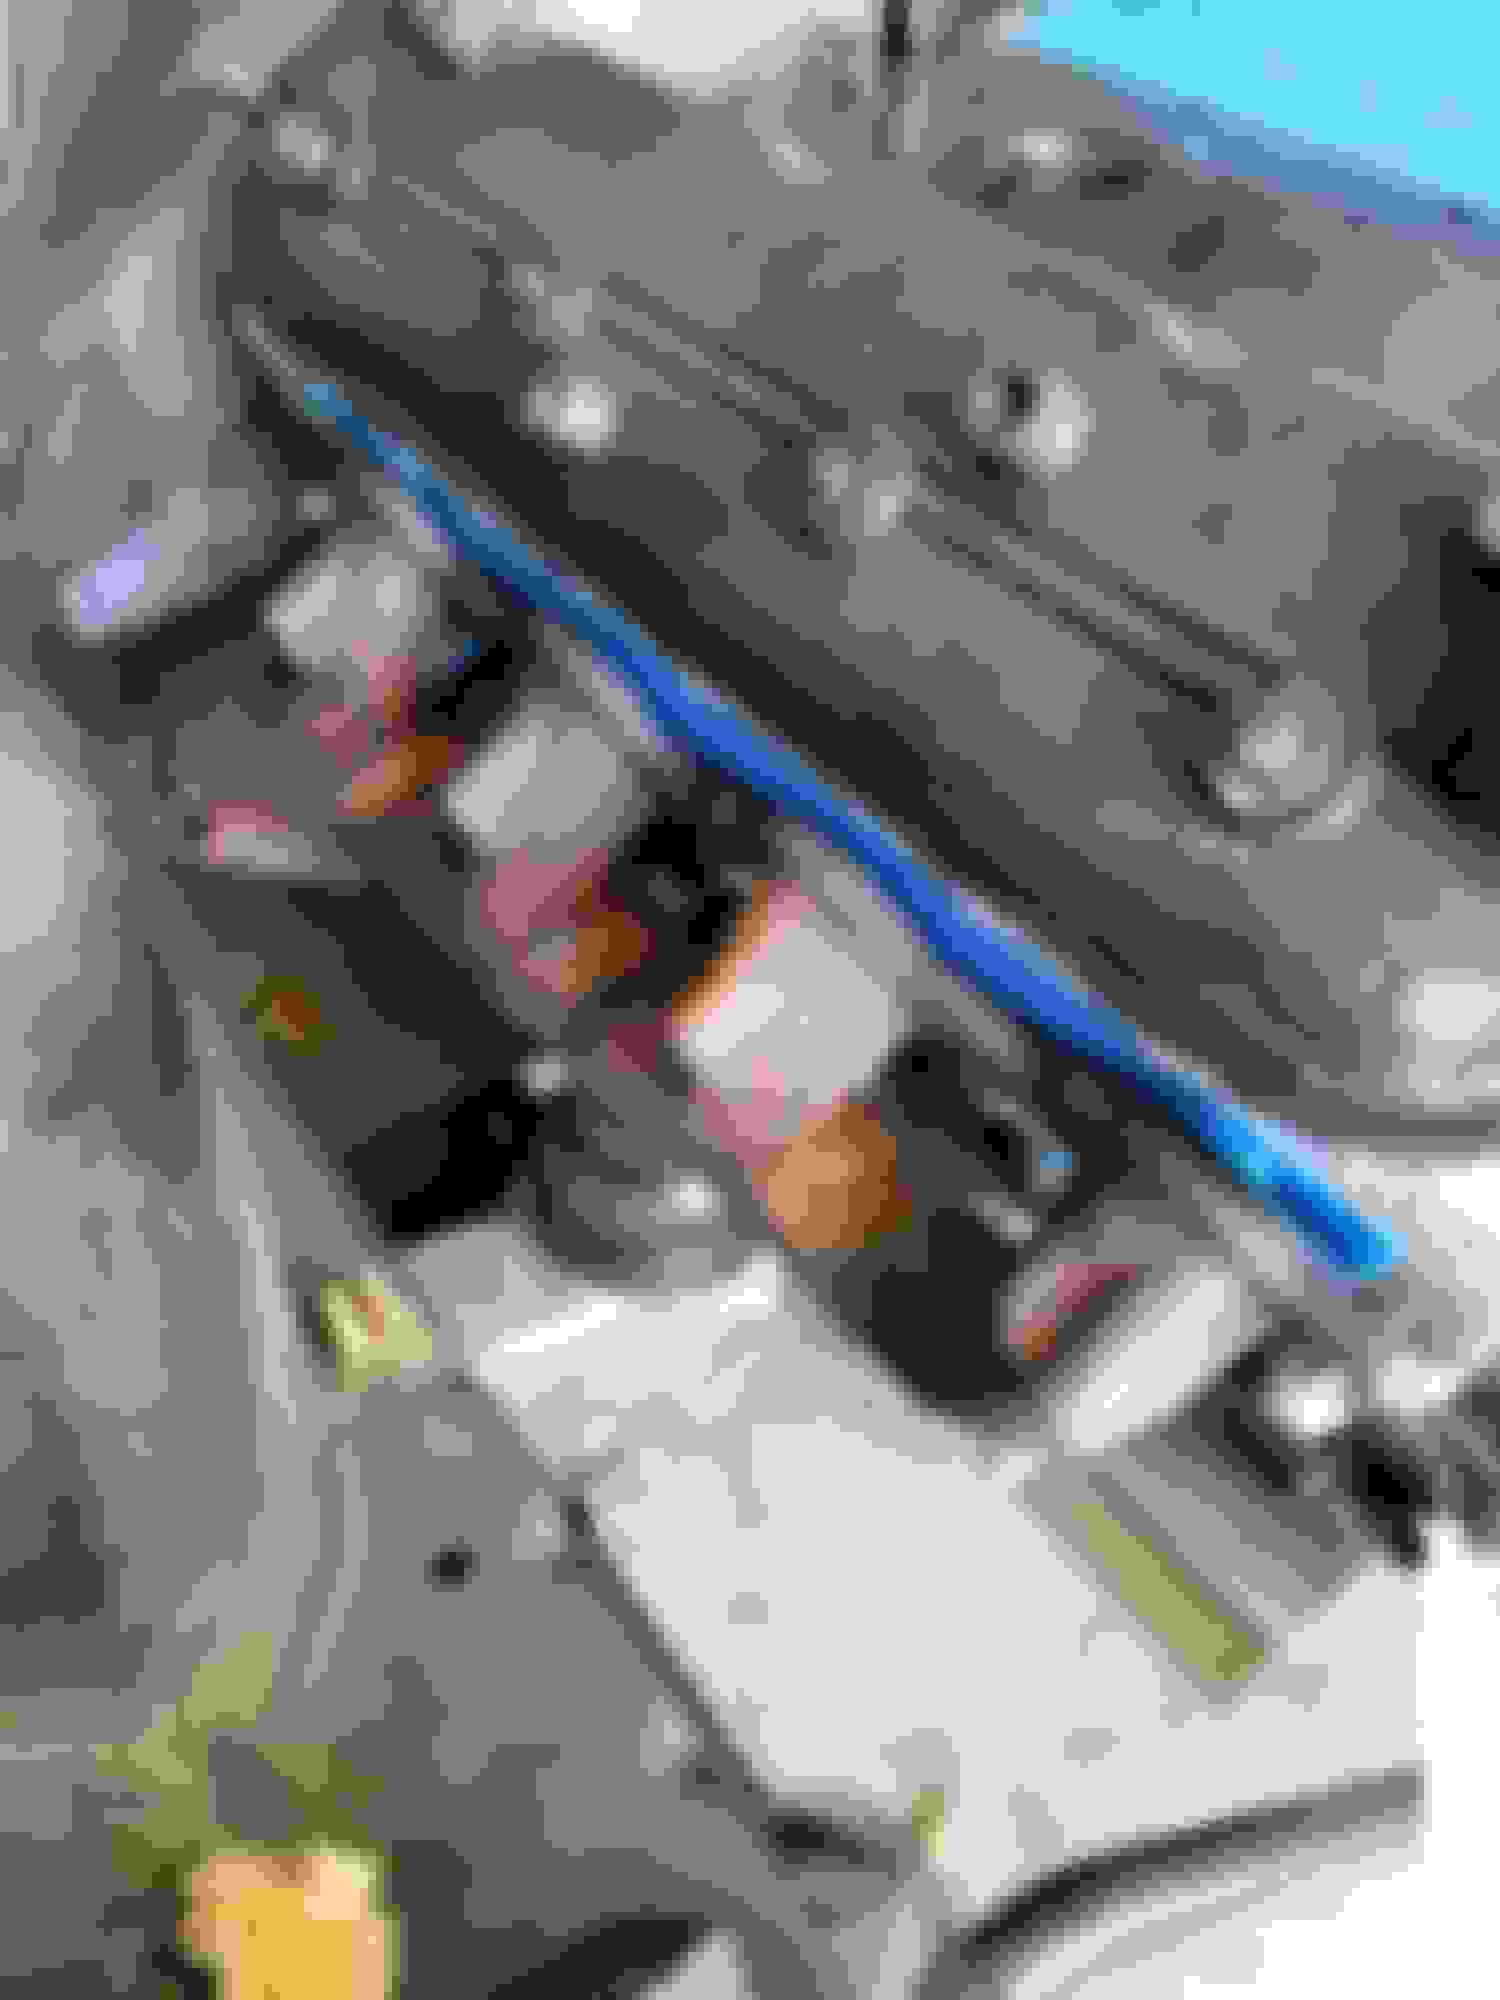
Some more transmission related parts are in and more on the way... I ripped some lip seals during the rebuild process😐😐. Also maybe a little screw up on the pump bushing while staking it.... is this still usable or should i knock it out and try again. The other side along with a little graze from the punch but i cant feel it when i run my finger nail across it.
Aright the transmission parts are slowly showing up so I'm knocking out what I can with what I have. This lip wizard is freaking awesome! Had it in on the second try. Direct finished with ck performance upgrade piston and springs Forward drum done with a new TCS billet rollerized hub. Yay bushings!...... Gonna have to google the best to get these out with trying to split them with a punch. Some attempted at trying to split the bushing... didn't go so well. Stay tuned for more as i work on it today.
Oh yeah forgot this came in friday.... so I'm use to smaller t3/t4 turbos on hondas mine was around 58-60 mm... this billet 7875 monster had me tickled lol.
Got the engine spacers and trans mount from my buddy this past weekend finally got around to messing with them. Still waiting on more transmission parts to finish the 4l80e. Surface area of the subframe for the spacers Subframe mounting hole is almost 1/2 inch thick How long the stud is on the bottom part of the mount 1/2 inch spacer Spacer on the mount (this is where the nut stops when its bolted to the subframe... it grabs enough threads right lol) Bolted up I'll have more pictures tomorrow of the transmission mount it was getting late so I ran out of time.
ransmission mount finished! This is the finished product of how its going to sit in the engine bay. Time to start knocking out the rest of the list. Felt good to check off that major part/headache. Spacer stack for the mounts that I'm going to run for clearance. Before the oil filter relocation block was on the powersteering rack lines.... notice the little pinch lol I'll fix it with the left over brake line i have. Oil pan clearance is awesome👌 Drum roll and the transmission mount in the stock location. the last pieces of the transmission is due in on Saturday so plan is to knock out this weekend and have it all mounted in for the last time.
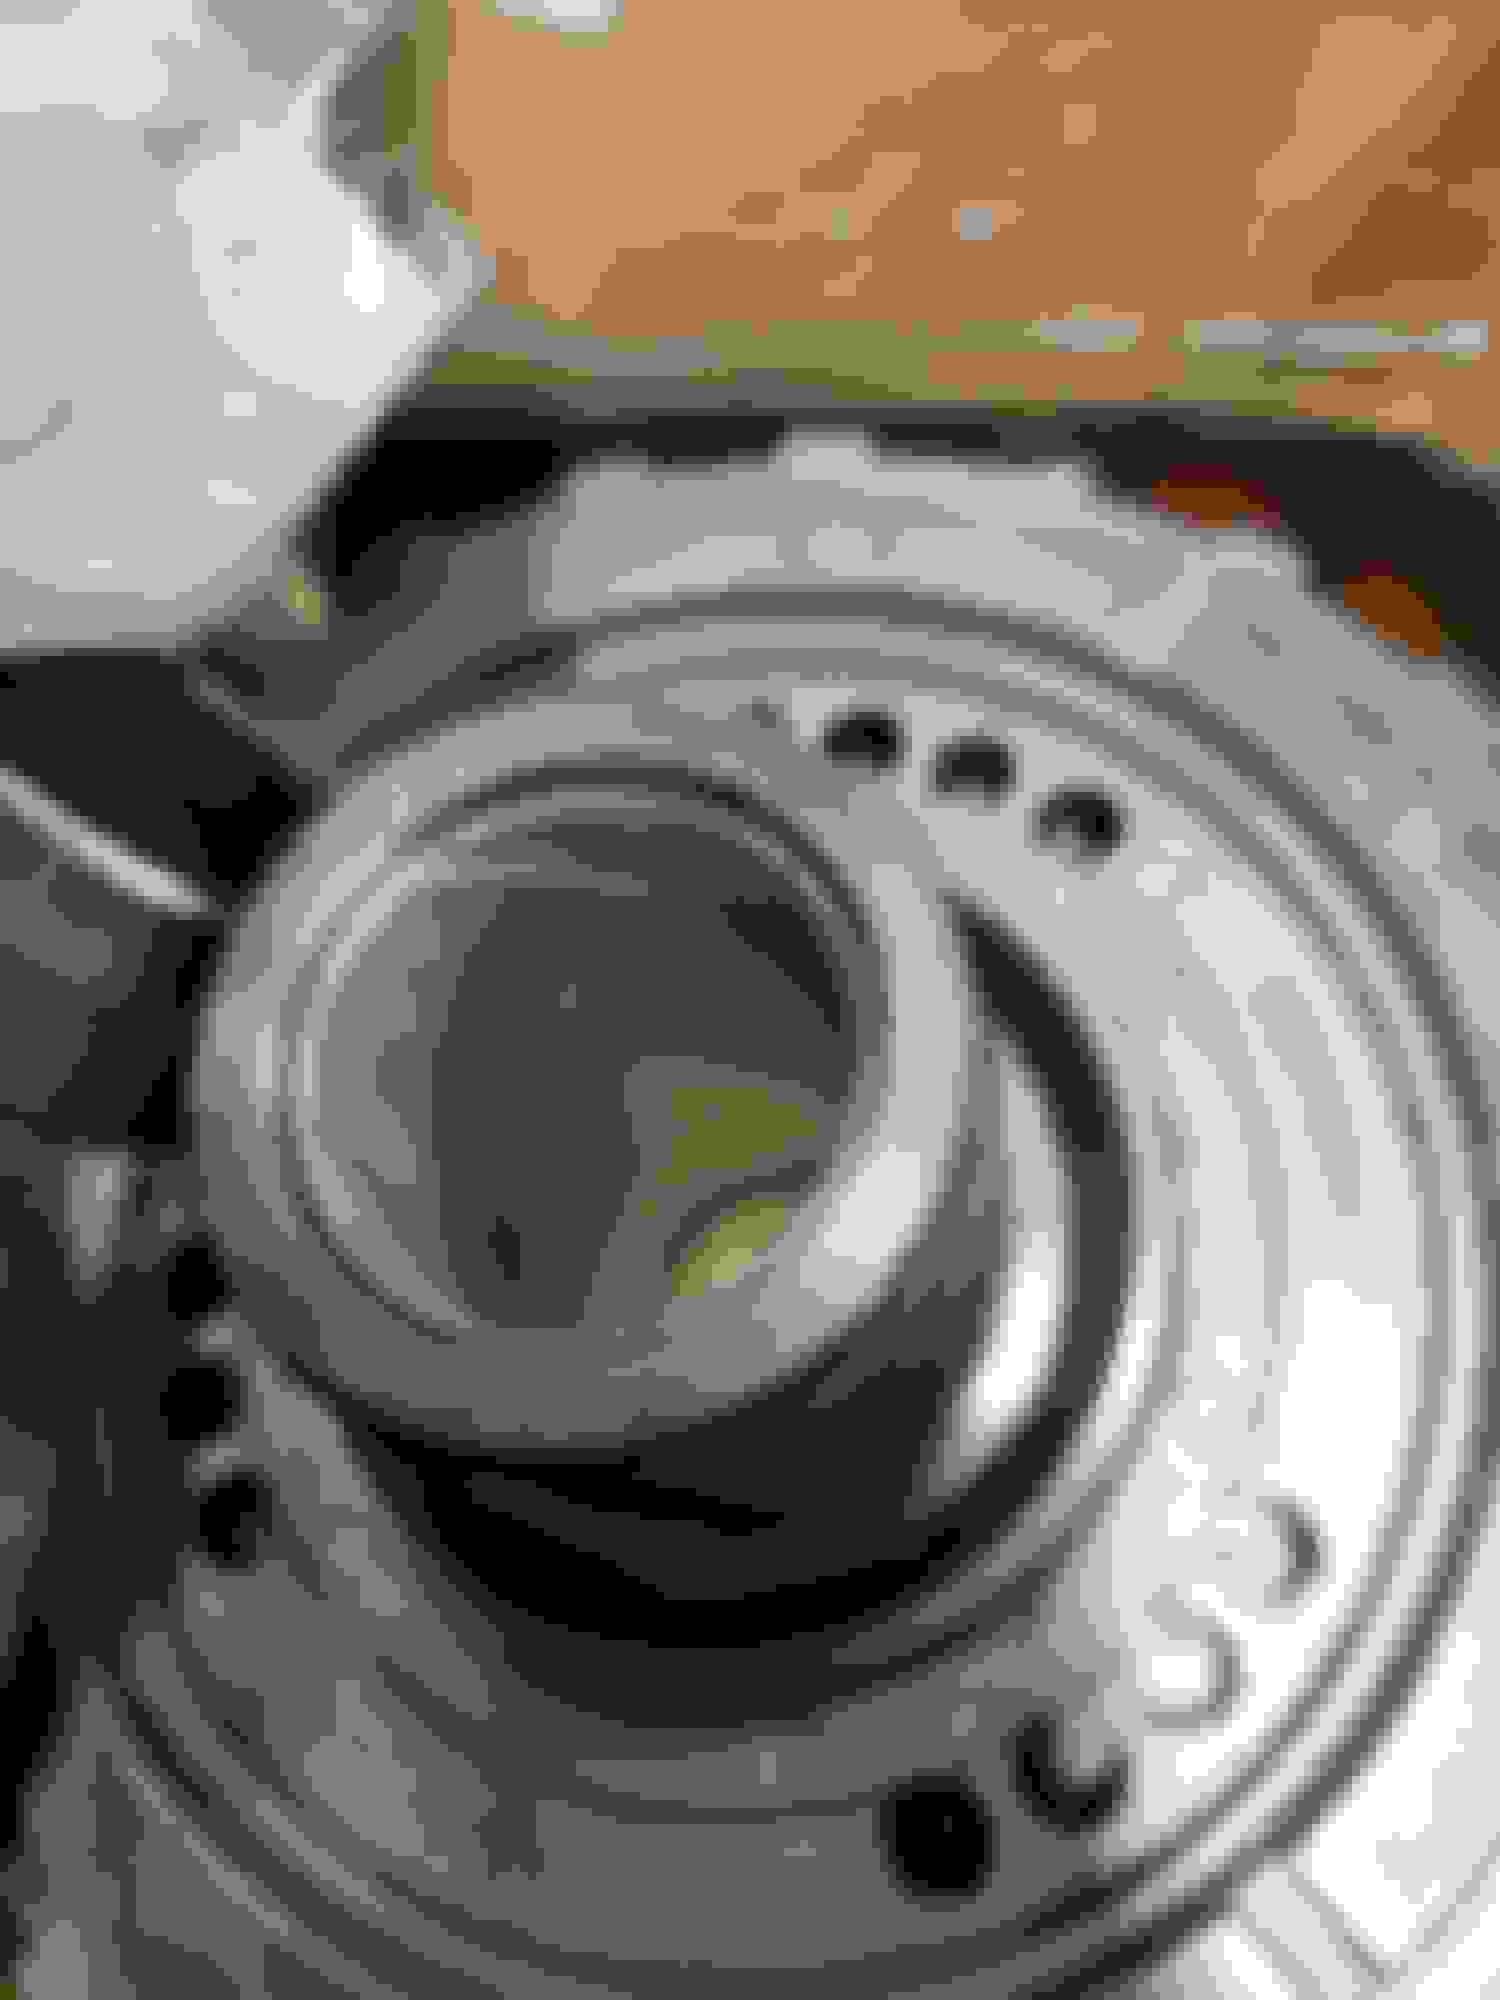
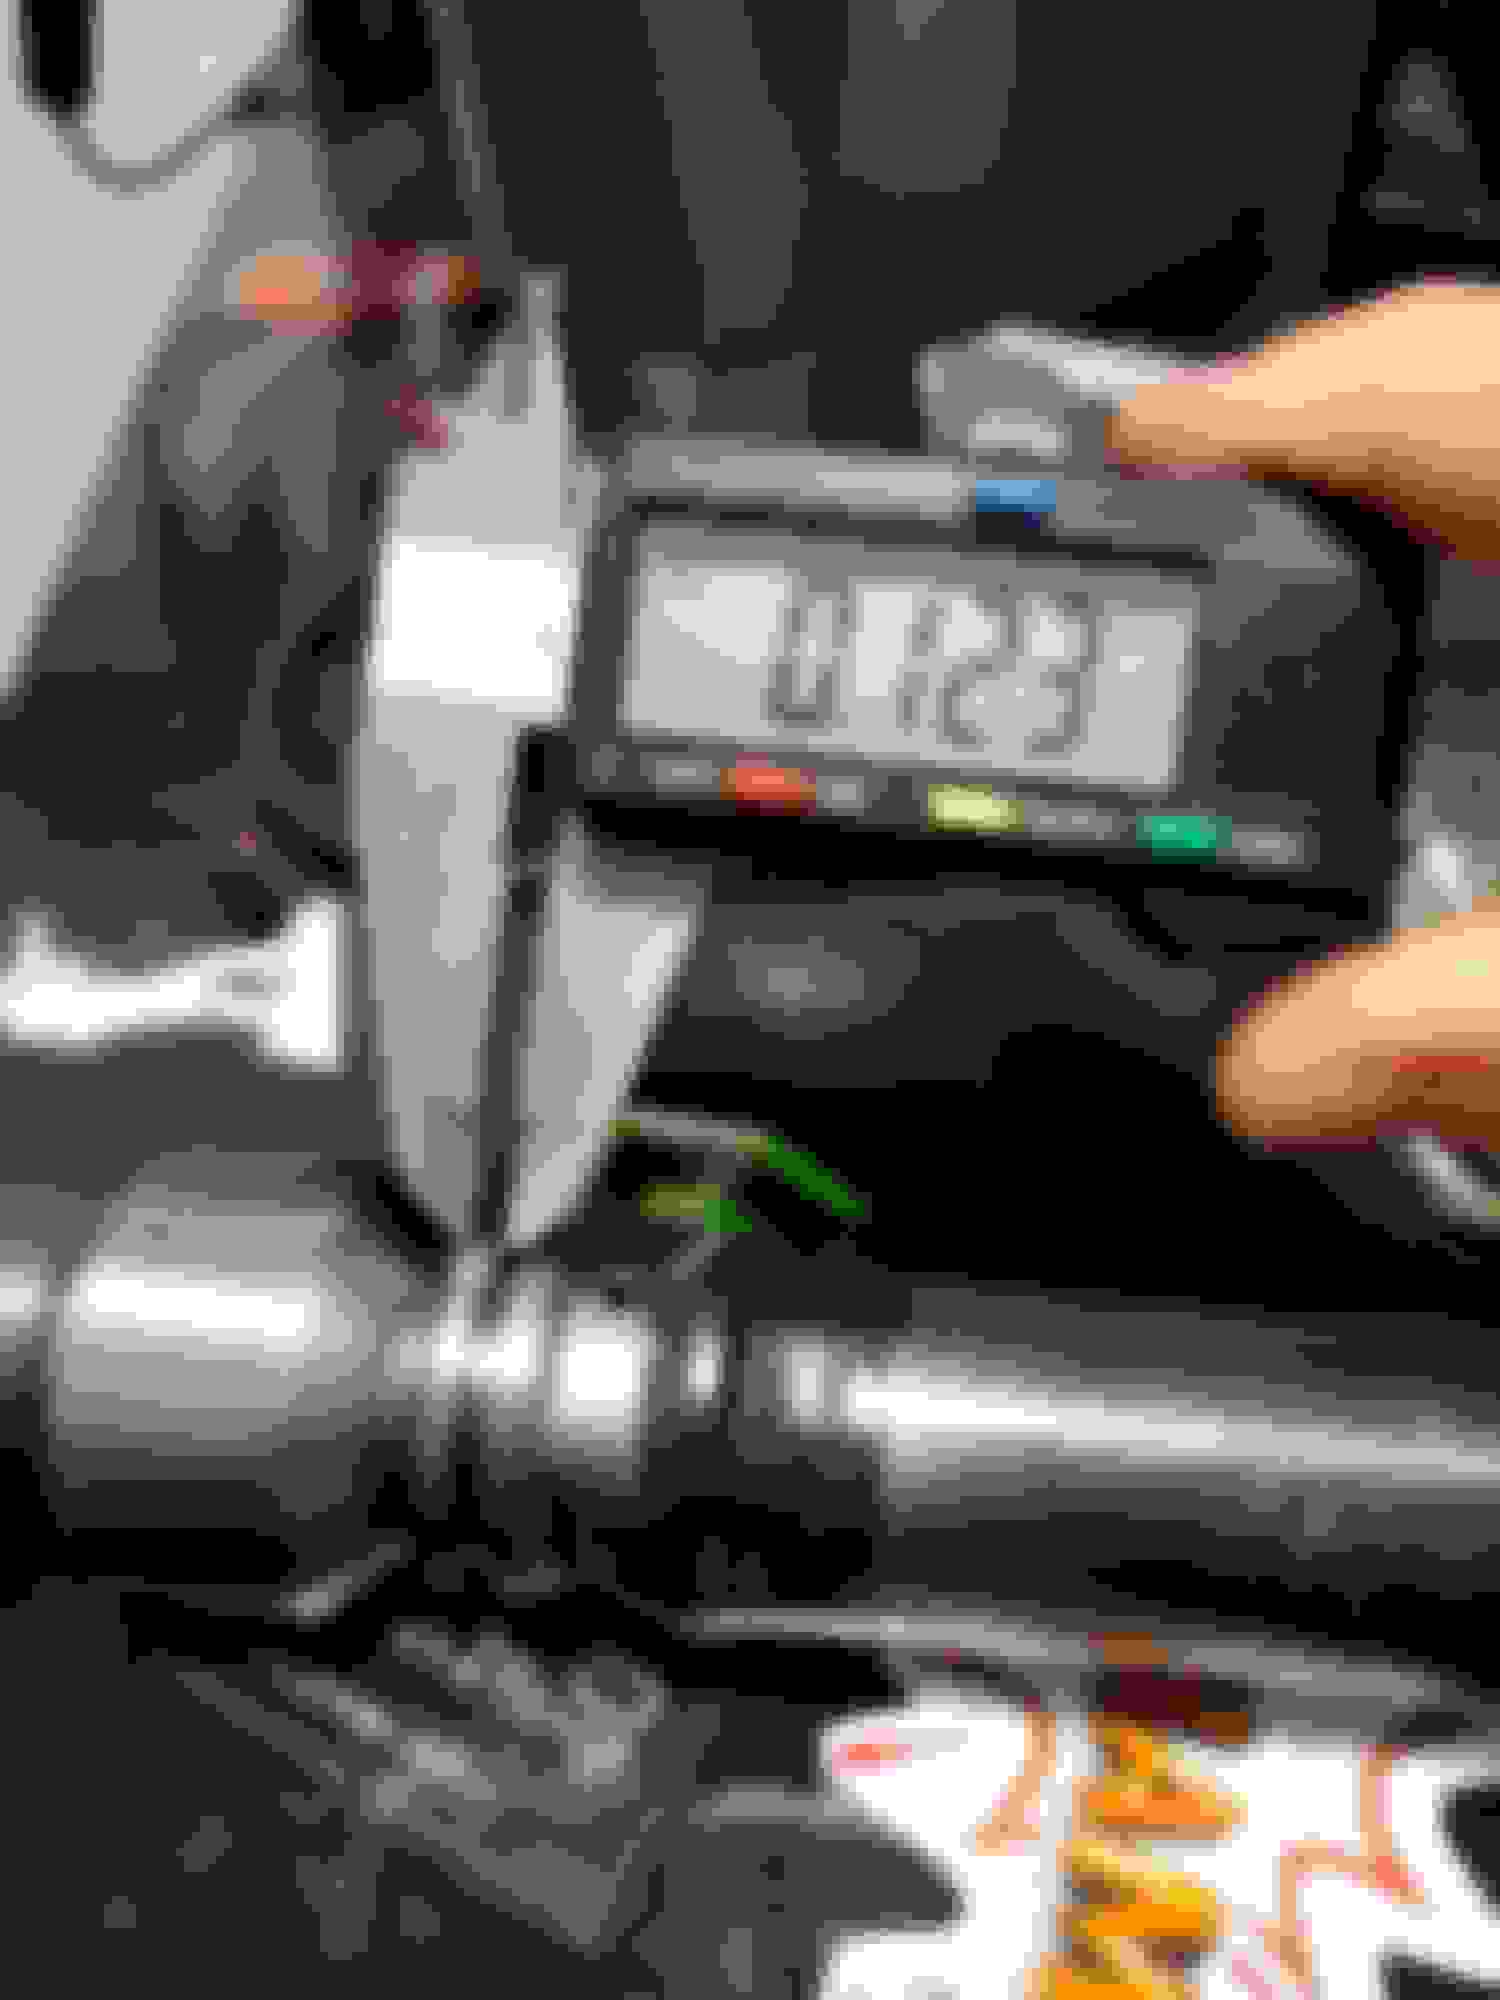
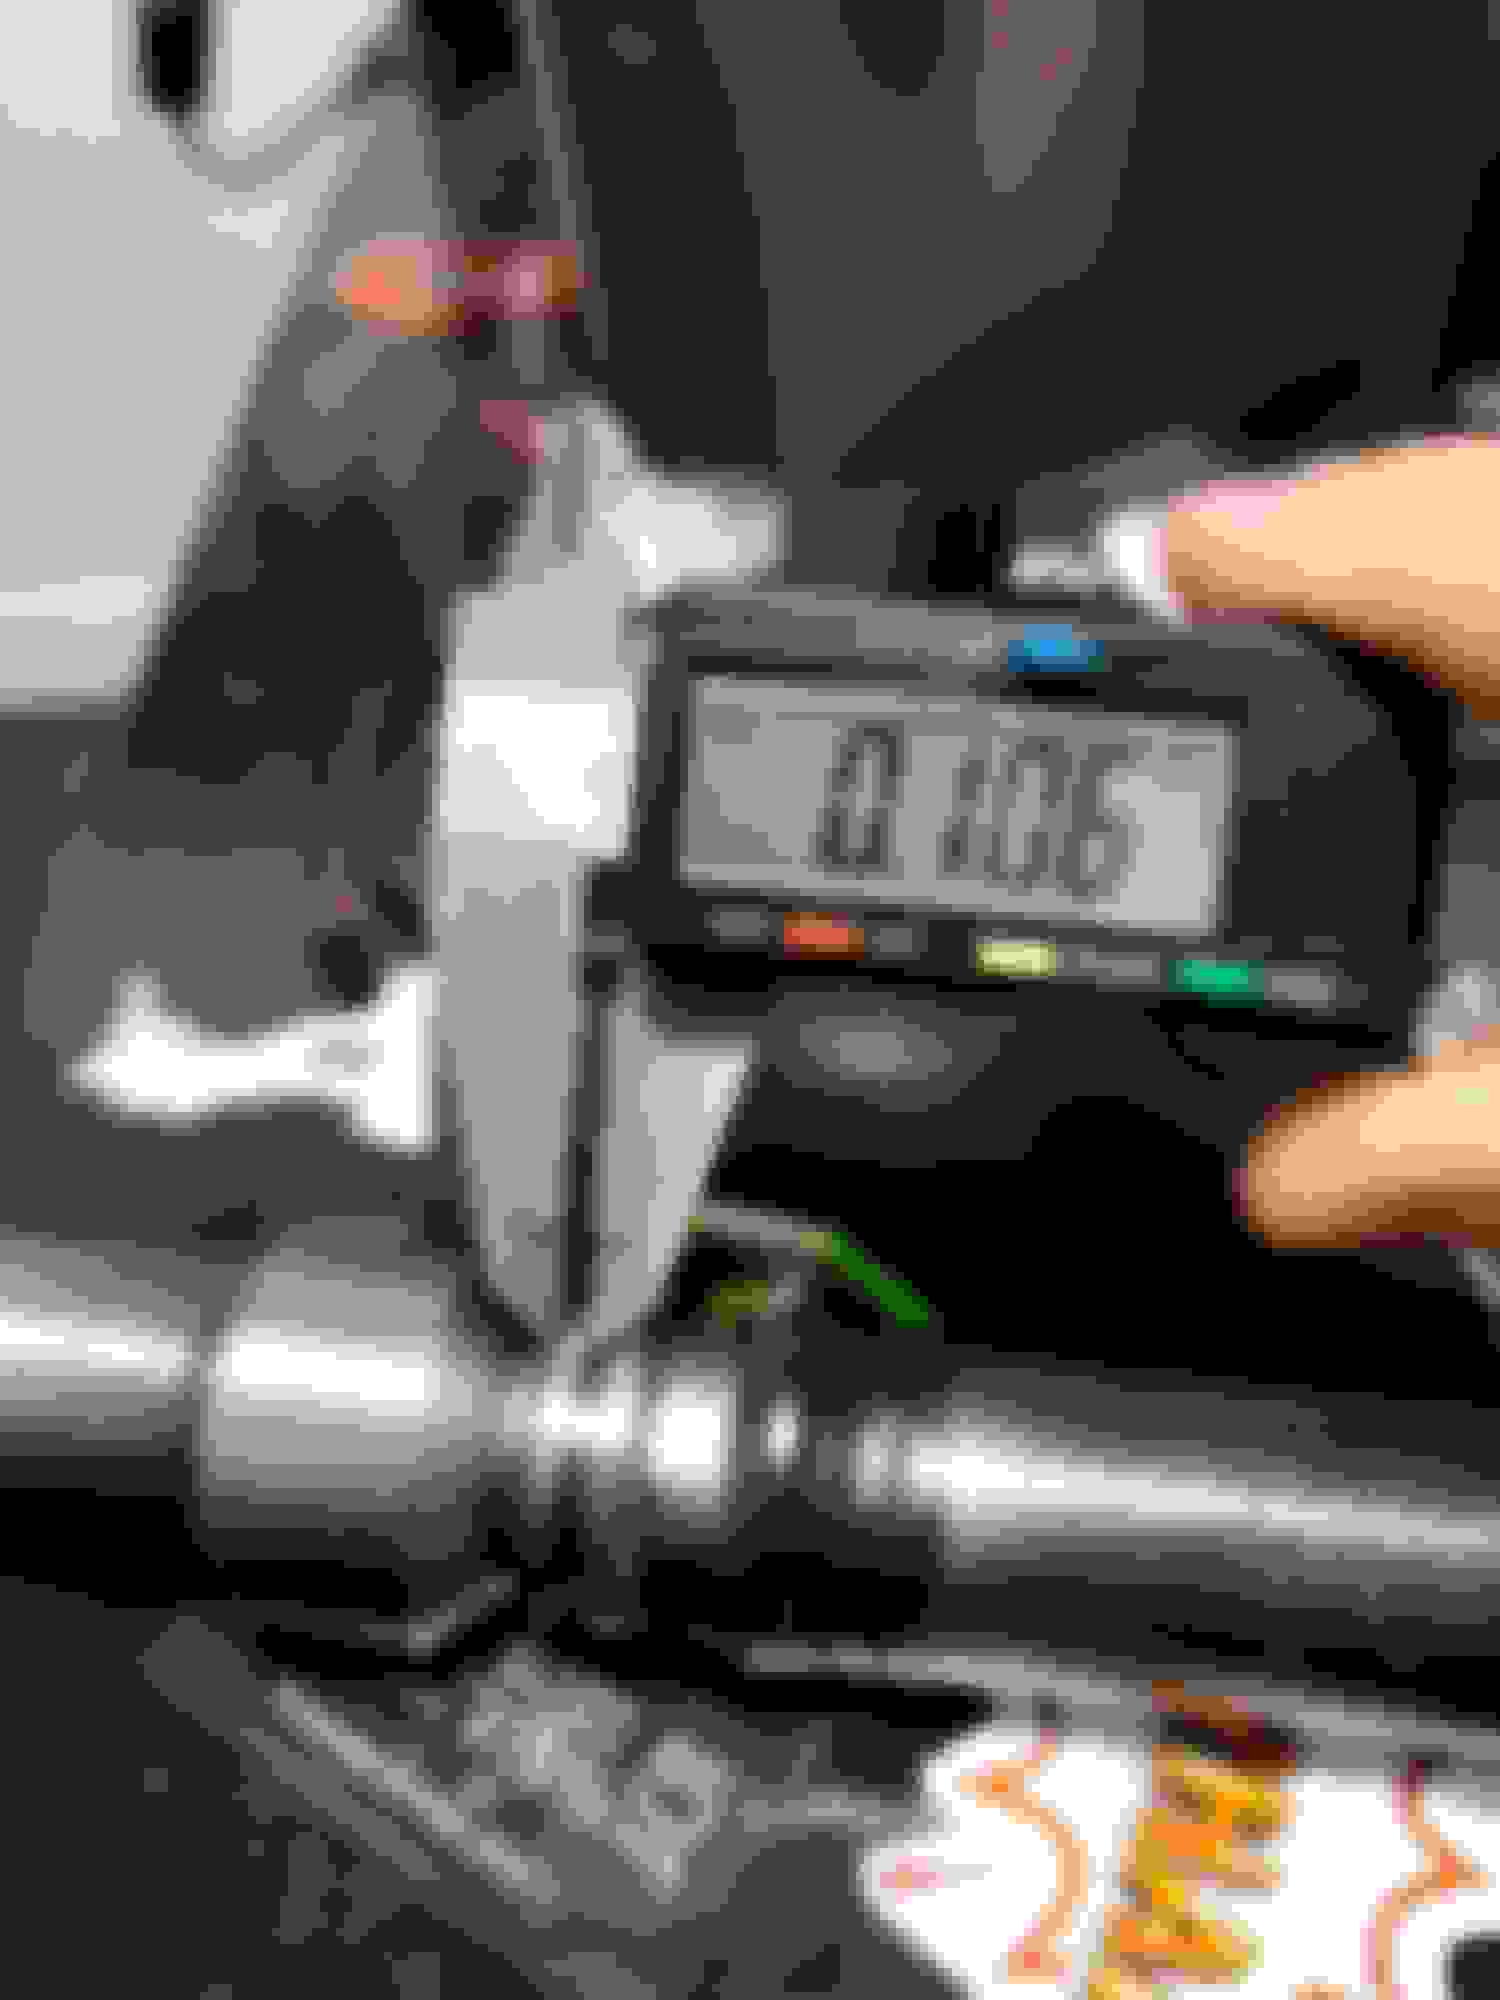
Ok so I've been fighting a o ring issue on the input shaft ripped 4... I mean this is my first transmission build but I cant be that terrible at it... so I did some measuring and found a flat spot on the input shaft, when I cleaned it up there was alot of bushing material on this spot.
also not car related had a few home arise like the hot water heater going out and stove burning up lol. New shaft is getting ordered Monday and hopefully I can switch my focus back to the build.
Back from vacation got the home issues sorted out time to get back to the build. The summit 300m input shaft came in and I got the seals installed, the seal install went so smooooth. Going to attempt final assembly this week HOPEFULLY I don't run into any more problems.
Made some progress on the transmission until it bite me lol Ouch.... but not really Nicely clean and organized work area... These where kinda of a pain to put back together... also it has been almost a year since i disassembled it all lol luckily i had a atar and atsg manual to reference. Reverse band and thin center support snap ring/spacer in Lower guts in Center support bolt is off.... I'll have to find the culprit tomorrow night... it was getting late and i ran out of beer so stay tuned.
About 85% finished with the transmission. Main parts are input shaft/overdrive section, pump and then valve body. Enjoy the small pic dump I'll have more when I make more progress. Also got the summit sfi flexplate on. Electrical tape is to keep the orings from expanding
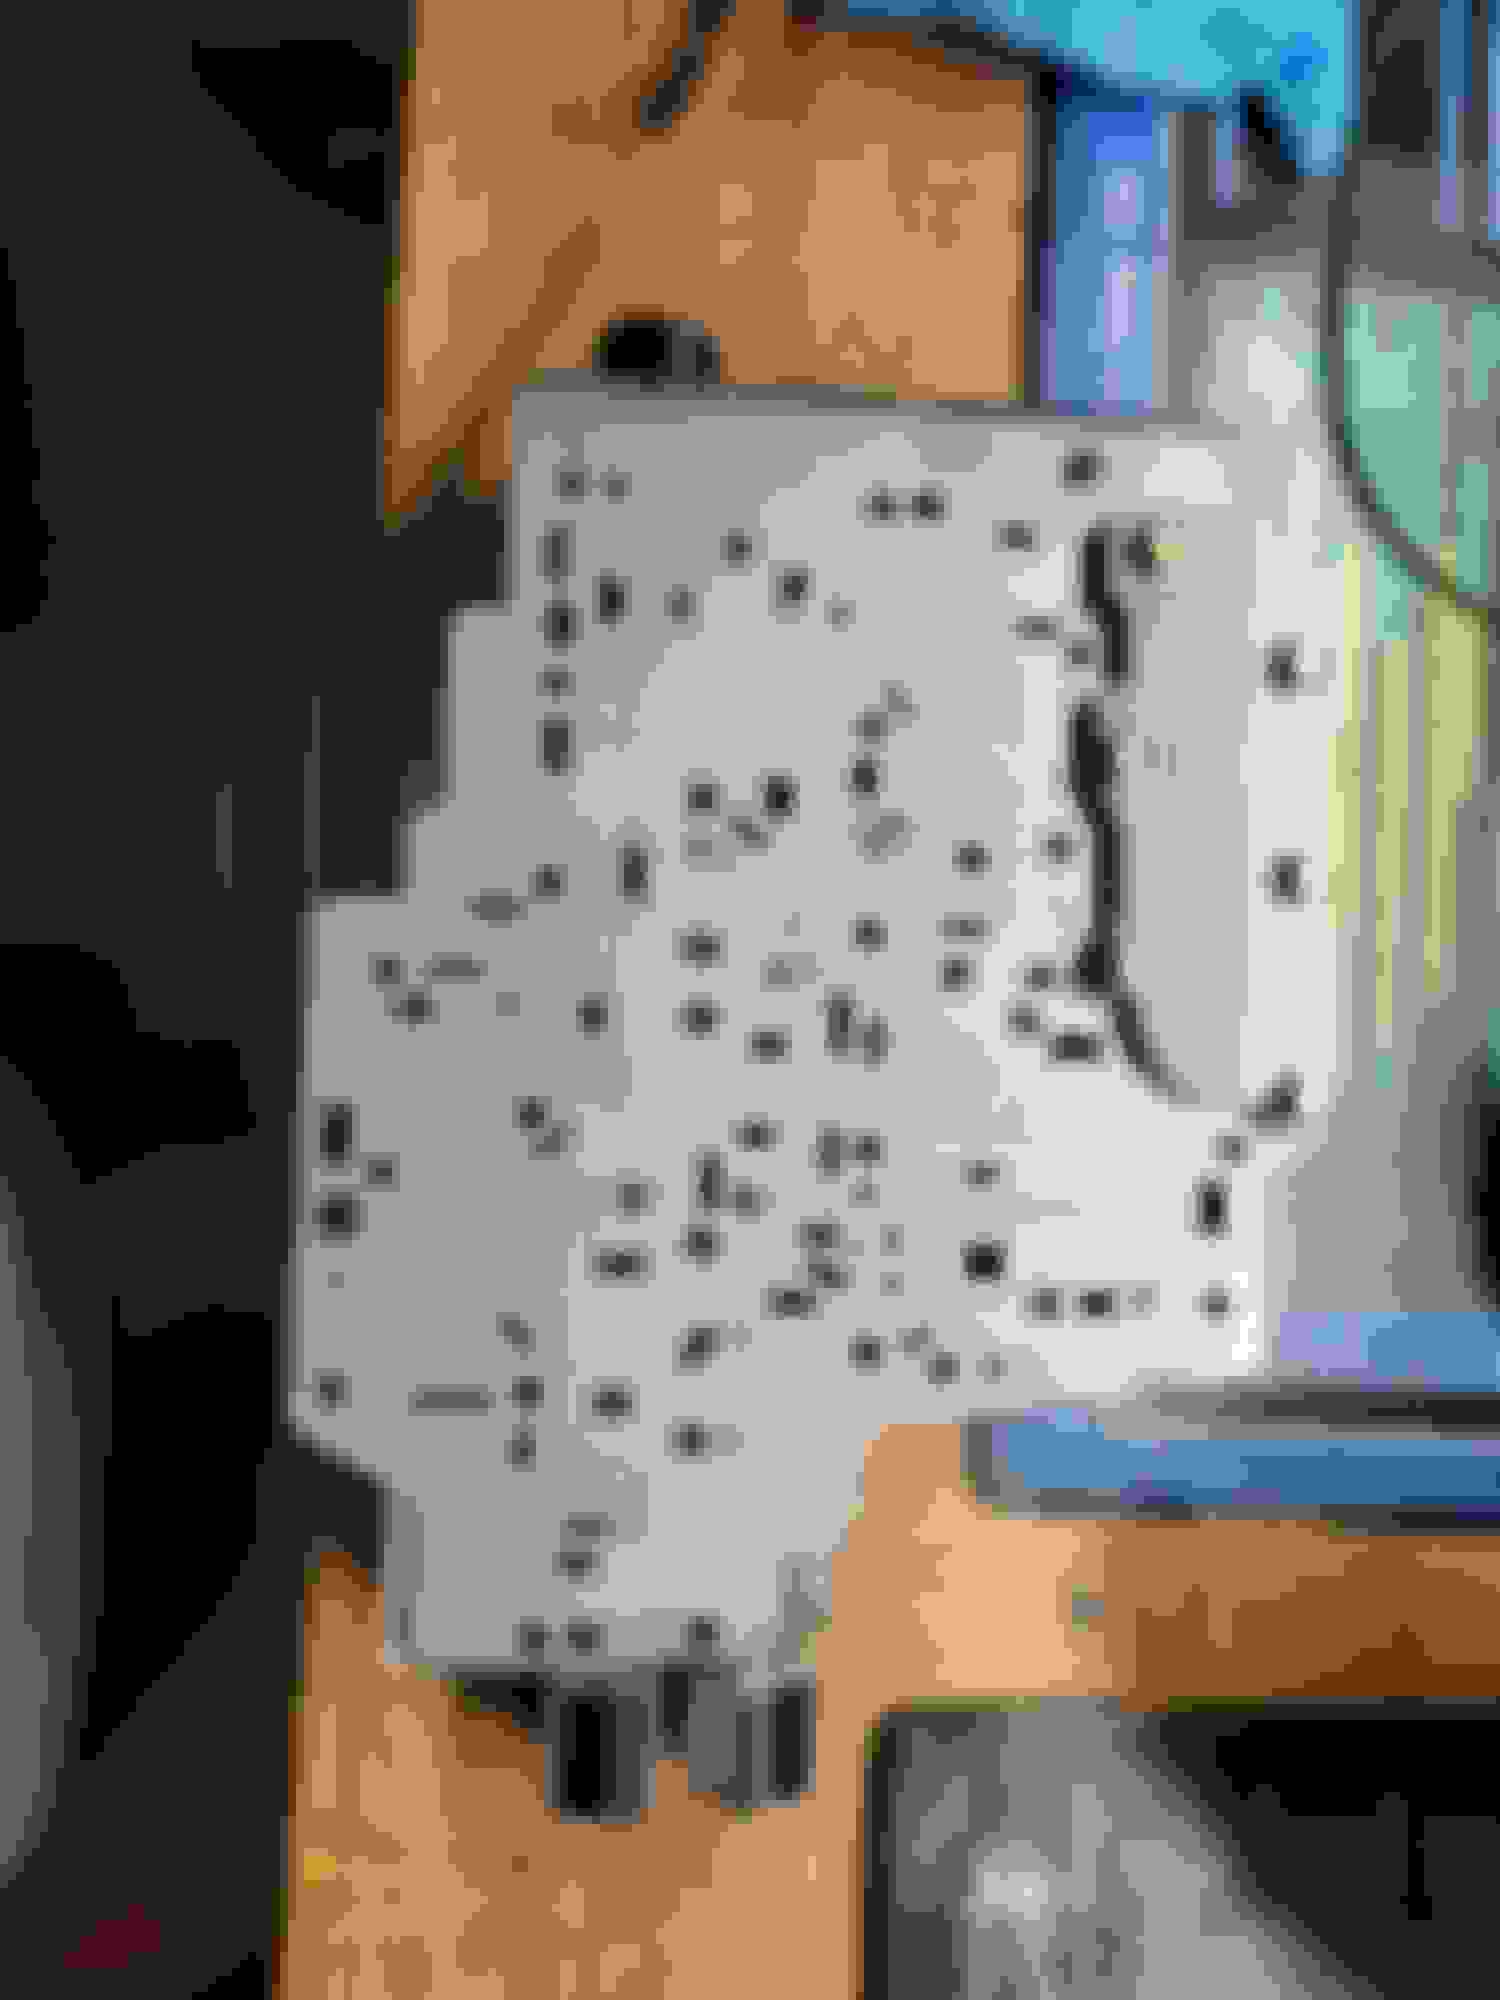
Had some free time tonight worked on the band servos and valve body while I'm waiting on the input shaft teflon seals to shrink down. Hopefully tomorrow the input shaft and pump will go in.
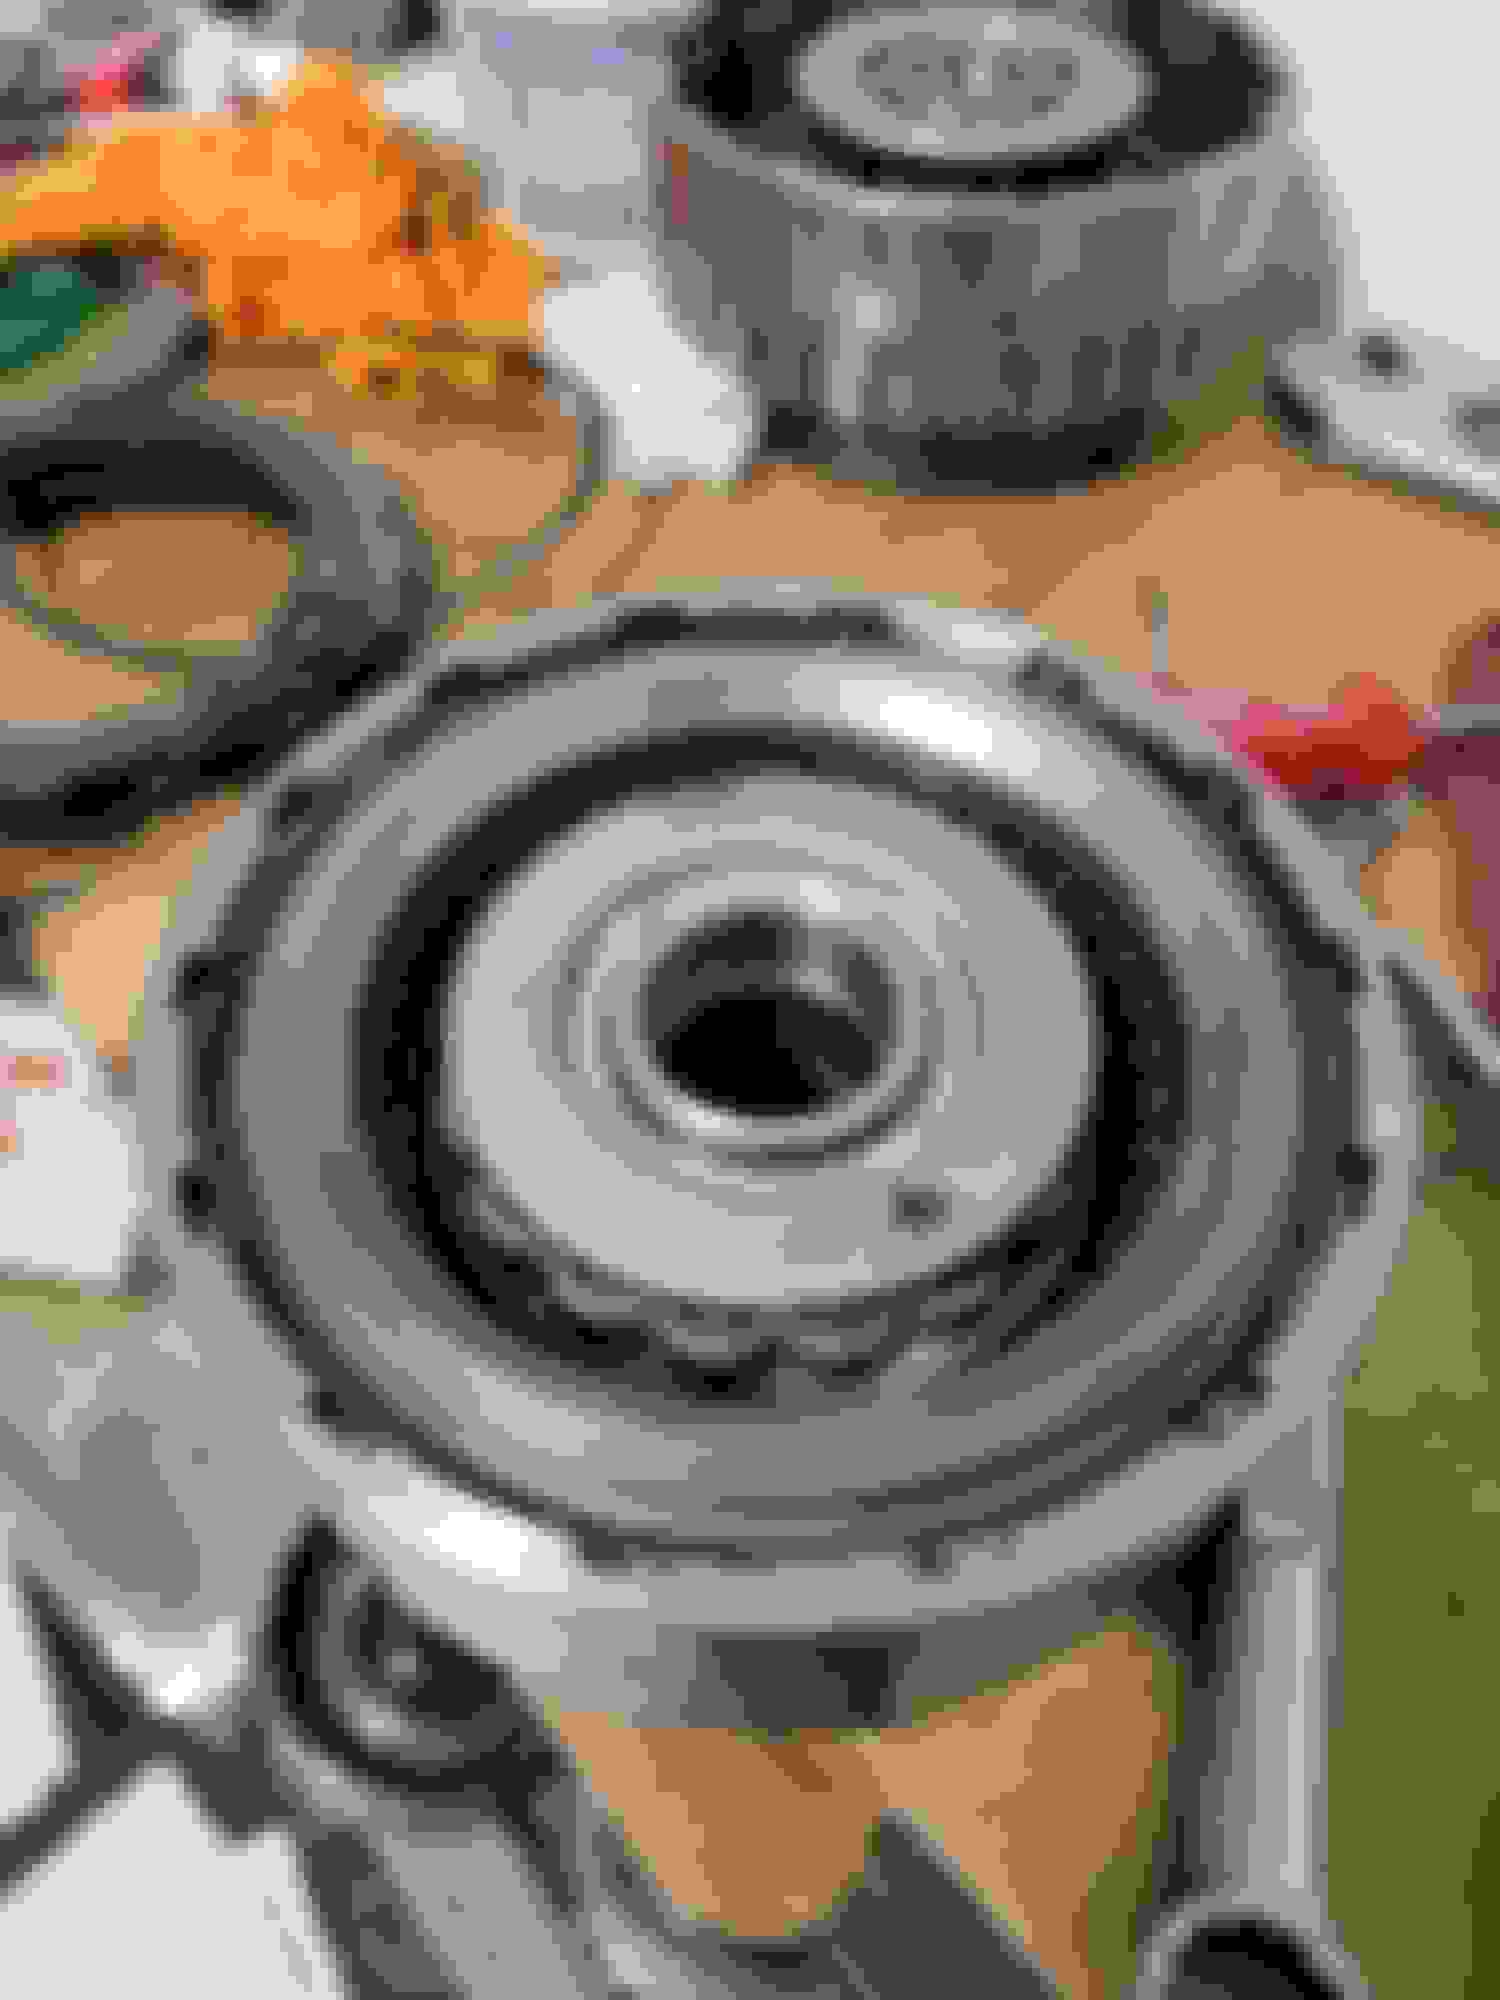
Welp Sunday was uneventful the front pump bushing wasn't the correct size so I ordered another one (went sonnex wide) should have that by Wednesday. I'm guessing I pressed the wrong one in or it messed up while I was pressing it in (split bearing type). So I brought my manifolds to work to get them welded. This weekend I should have the engine and trans in the car (🤞 and start messing with the manifolds and turbo placement.
Got the valve body on tonight not much I can do while waiting on the pump bushing. Really need the engine and trans in to do any mocking up with anything. Also I realized I took this after swapping the rear lube tube hold down so rest assure its in the right spot lol
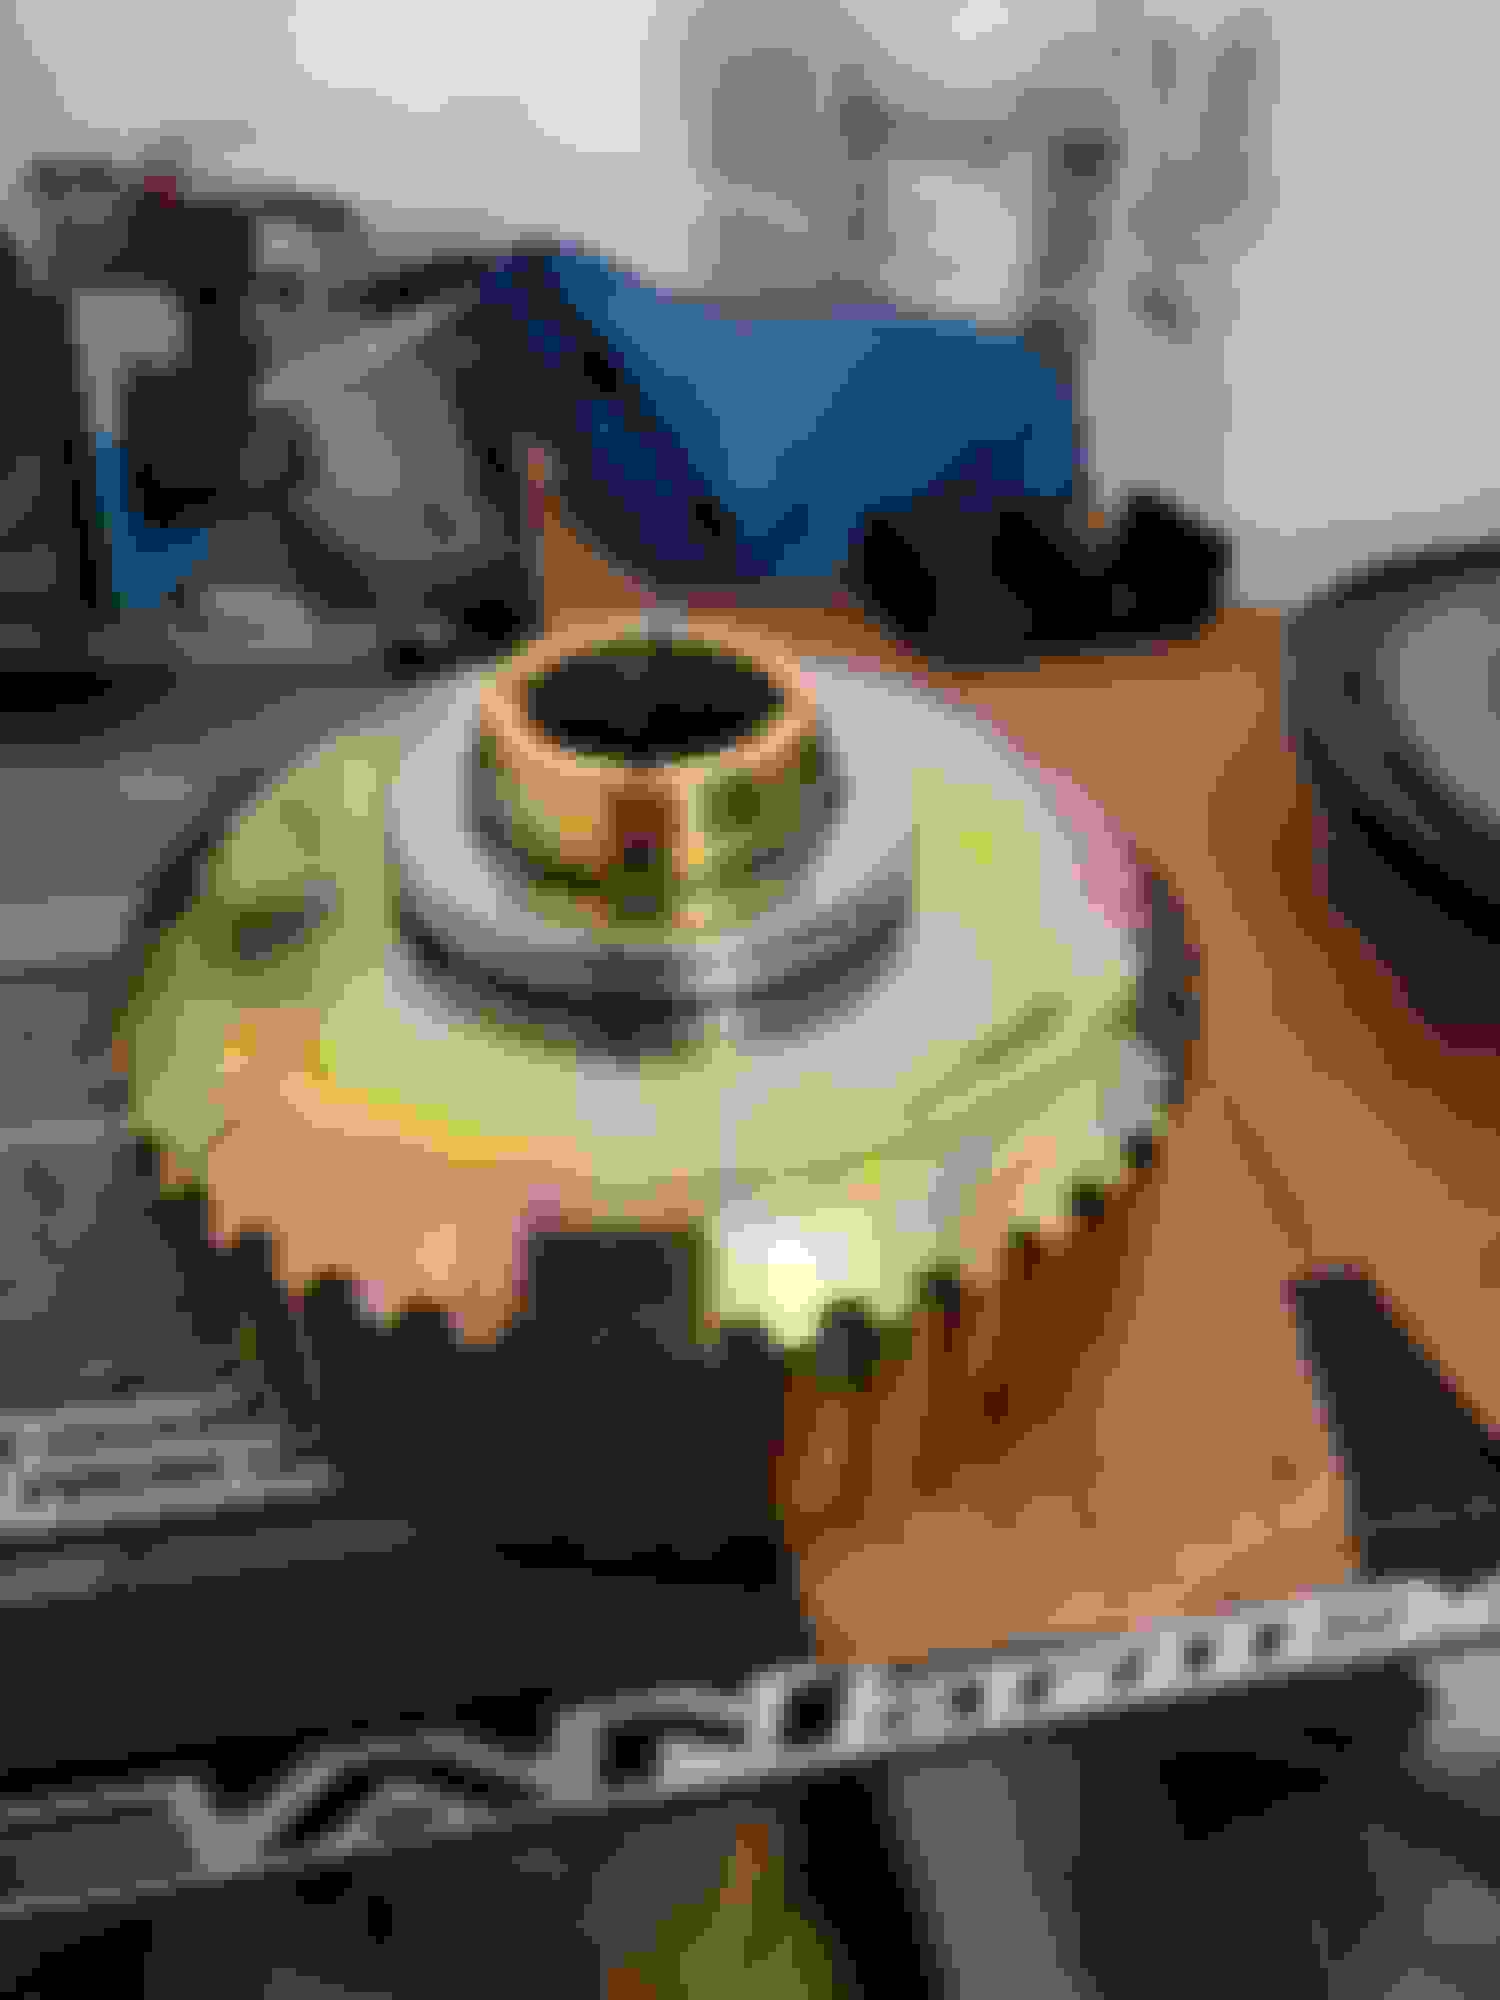
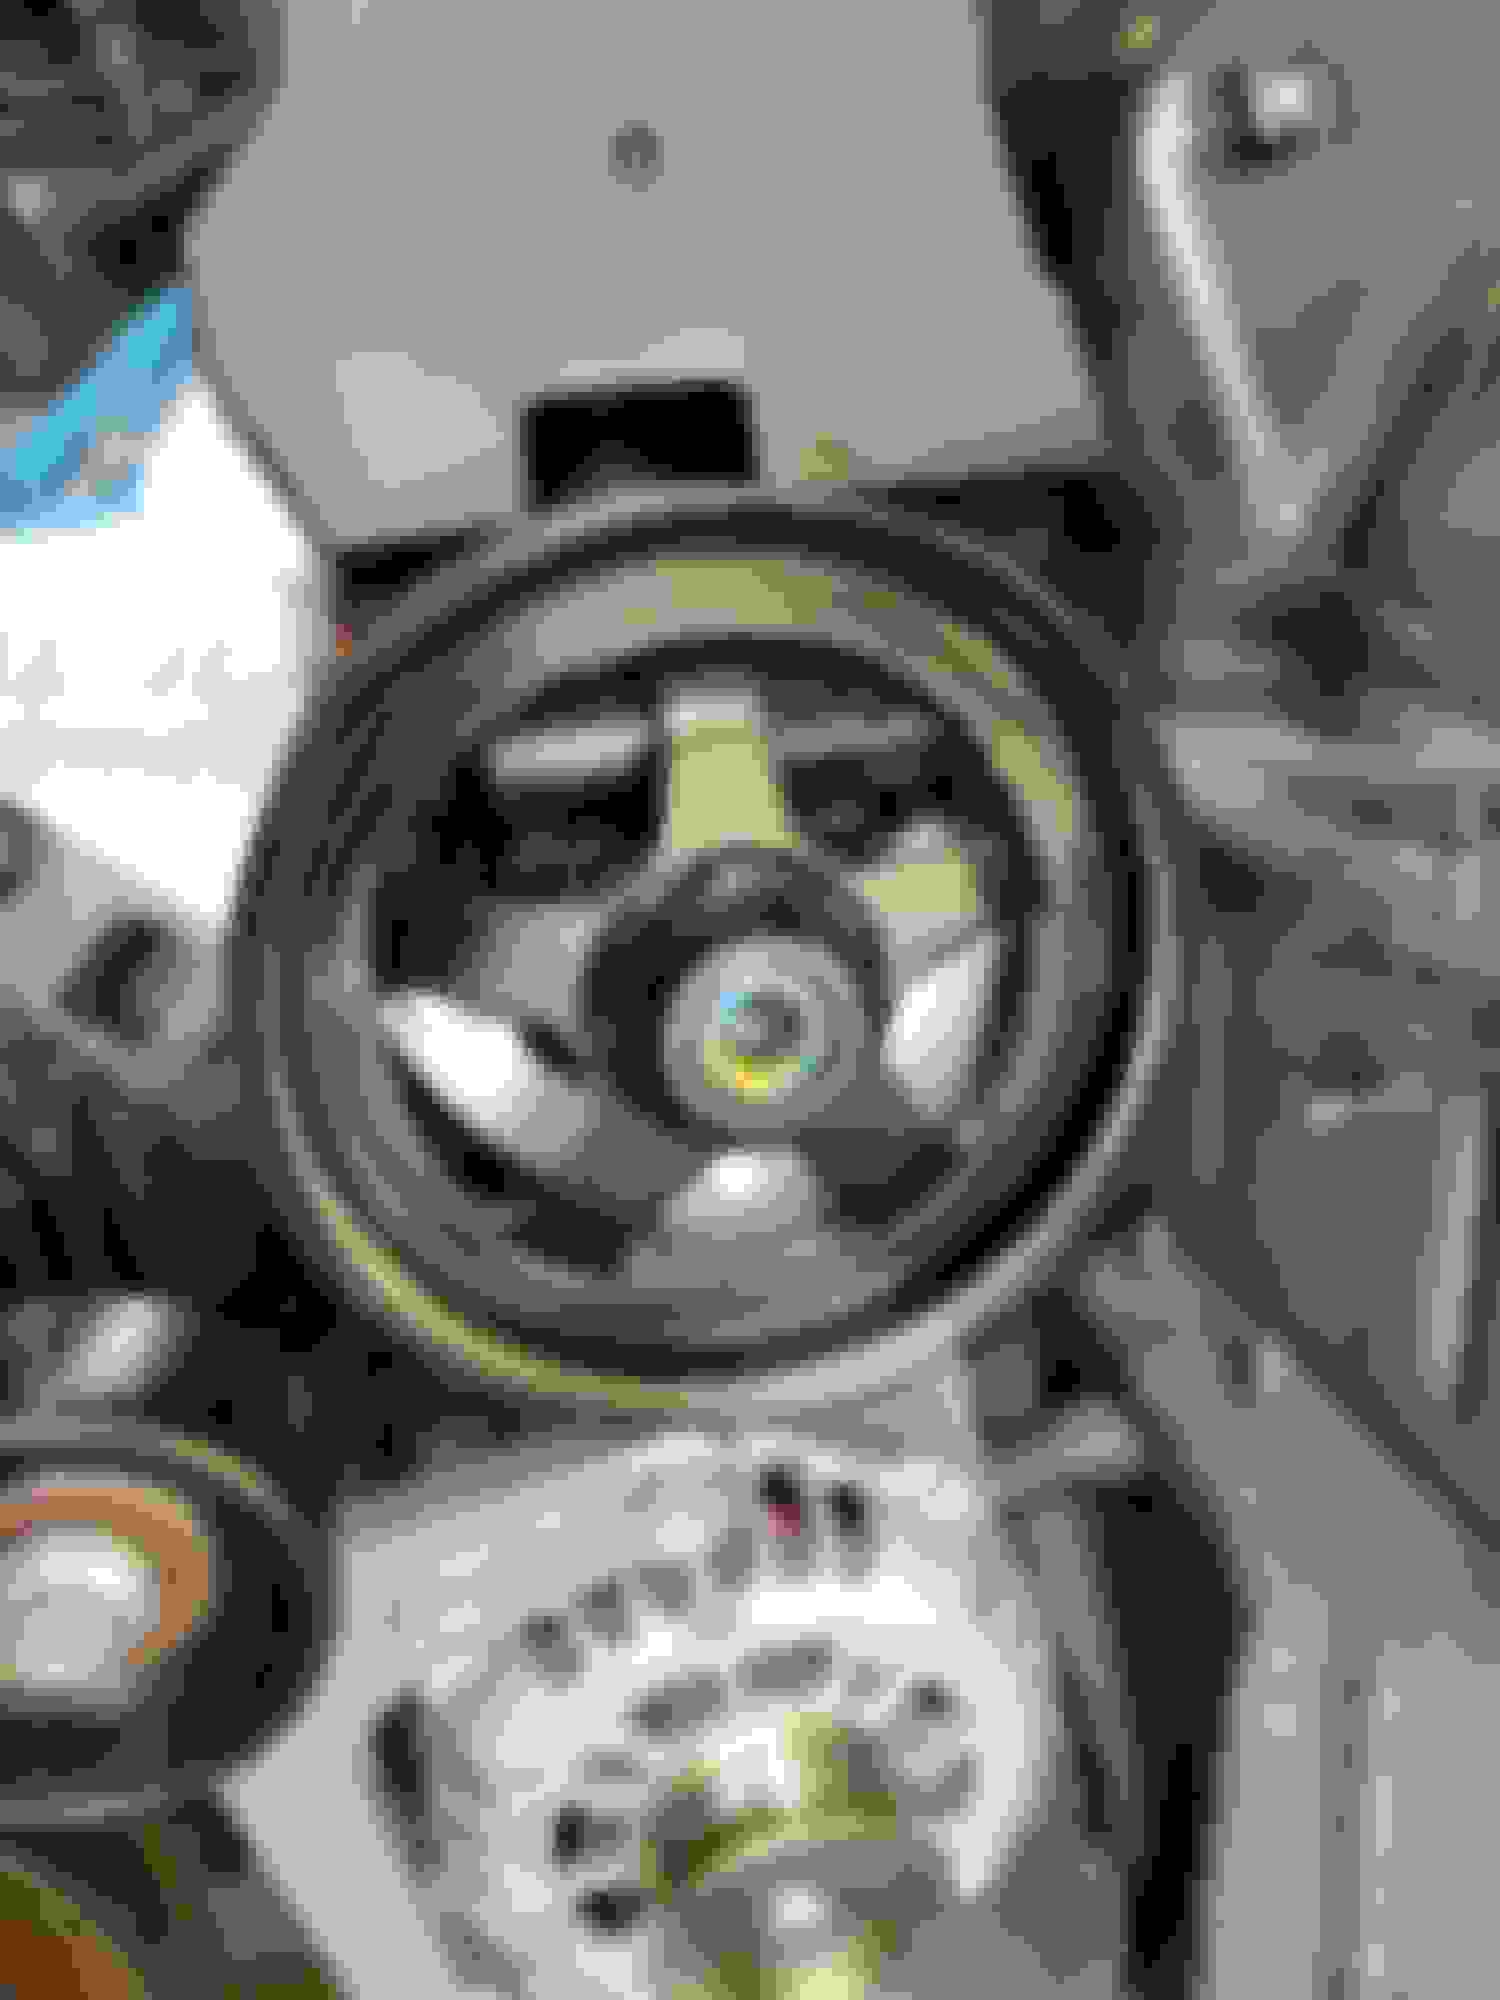
I've been slacking on updates here goes the new sonnax wide stator bushing pressed in.
It's been a busy month for me at work and life but here goes and update. Got the transmission finished and mounted to the engine. I was fighting some bushing clearance issues in the transmission but thanks to ls1tech I got I figured out. Now on to the manifolds, I had 2.5" v bands welded on them. The plan is to go 2.5" to 2.25" then a 3" down pipe. All the exhaust piping is on order from summit (super fast shipping). Here goes the manifolds test fitted. Only issue is the driver side manifold rubbing the back of the ict billet alternator bracket. I'll probably do some slight trimming of it because I would like to run this mount for better stability. I see lots of heat wrap and tape in this build haha.
Here goes some better pictures of the transmission mount setup. Might have to figure out something stiffer for engine mounts. I'm using the OE ls400 mounts but looks like it is sagging alittle to the back.... or could be I wasn't looking eye level. The transmission pan clearance looks good to me, might have to raise the coilovers up a bit due to south Carolina roads are horrible.
Summit came through with a quick delivery and as usual I put it off till the weekend haha. Here goes the mock up so far its a 2.5" v band to a 2.25" crossover. Driver side looks like it's going to be tight but will work. Might have to make another support bracket for the rear of the alternator. On the driver side I'll have to do a U bend or a 45 straight off the v band.
 04-01-22, 05:11 AM


 and start messing with the manifolds and turbo placement.