When you click on links to various merchants on this site and make a purchase, this can result in this site earning a commission. Affiliate programs and affiliations include, but are not limited to, the eBay Partner Network.
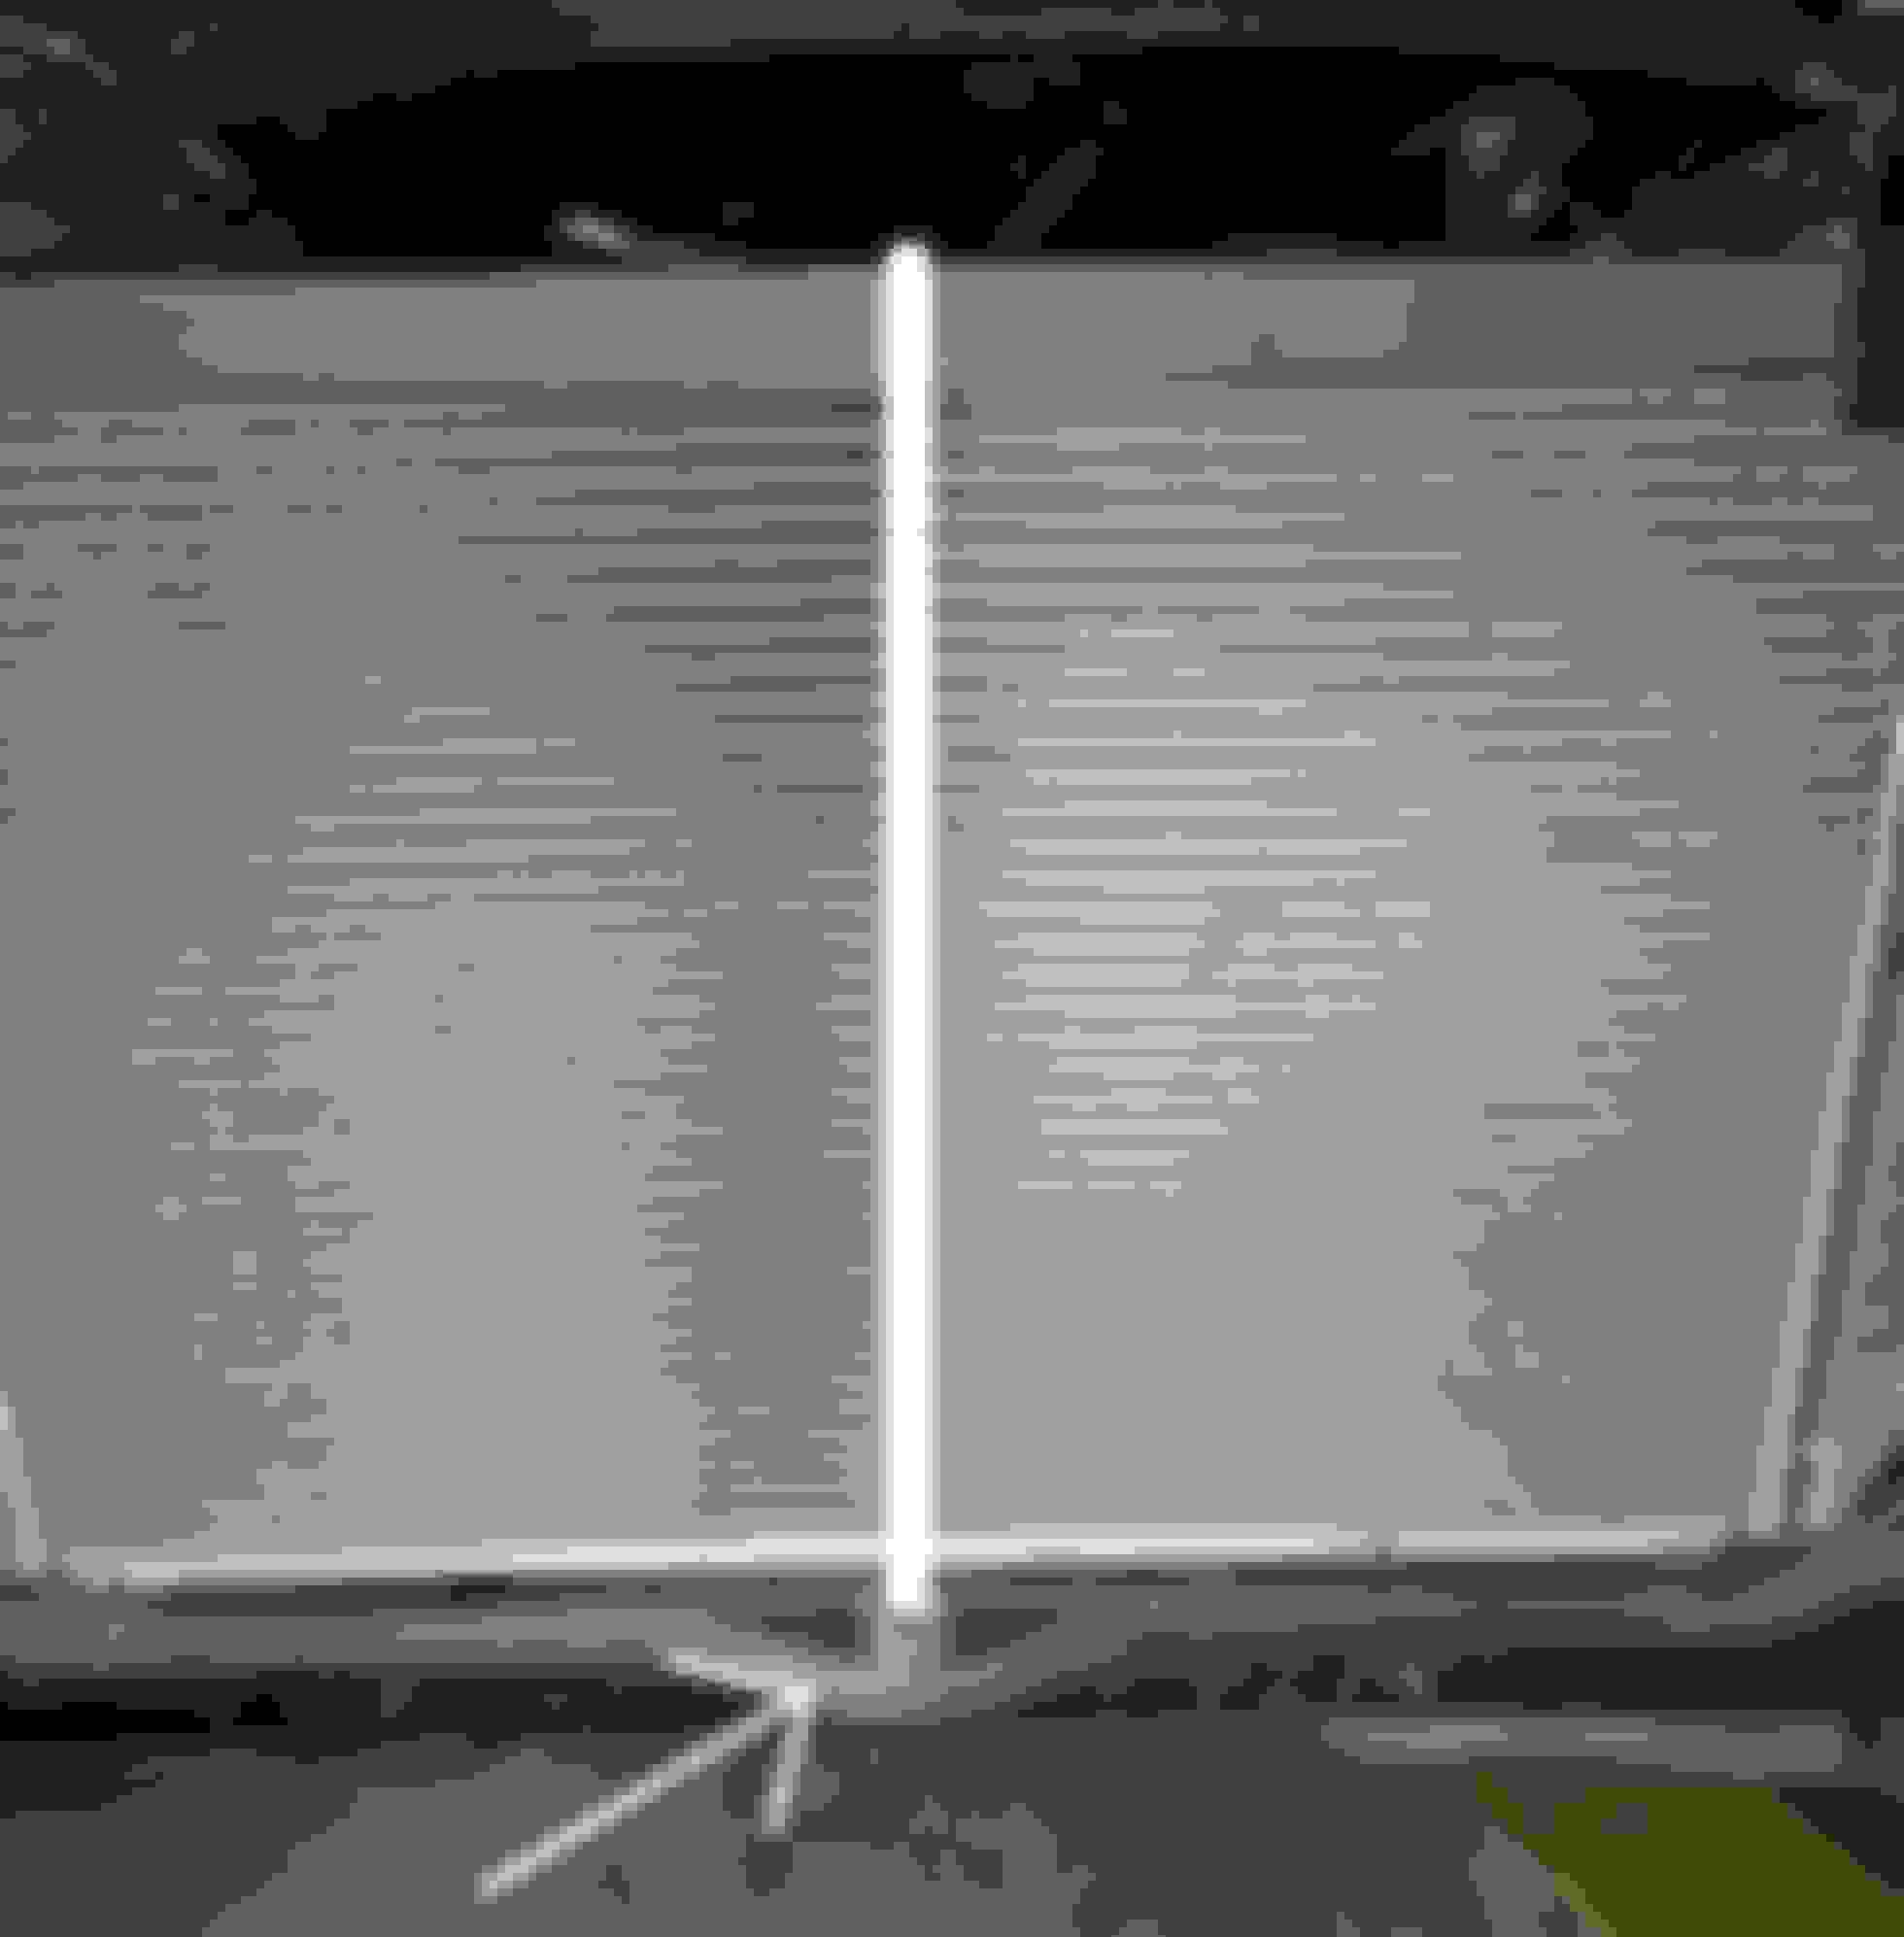
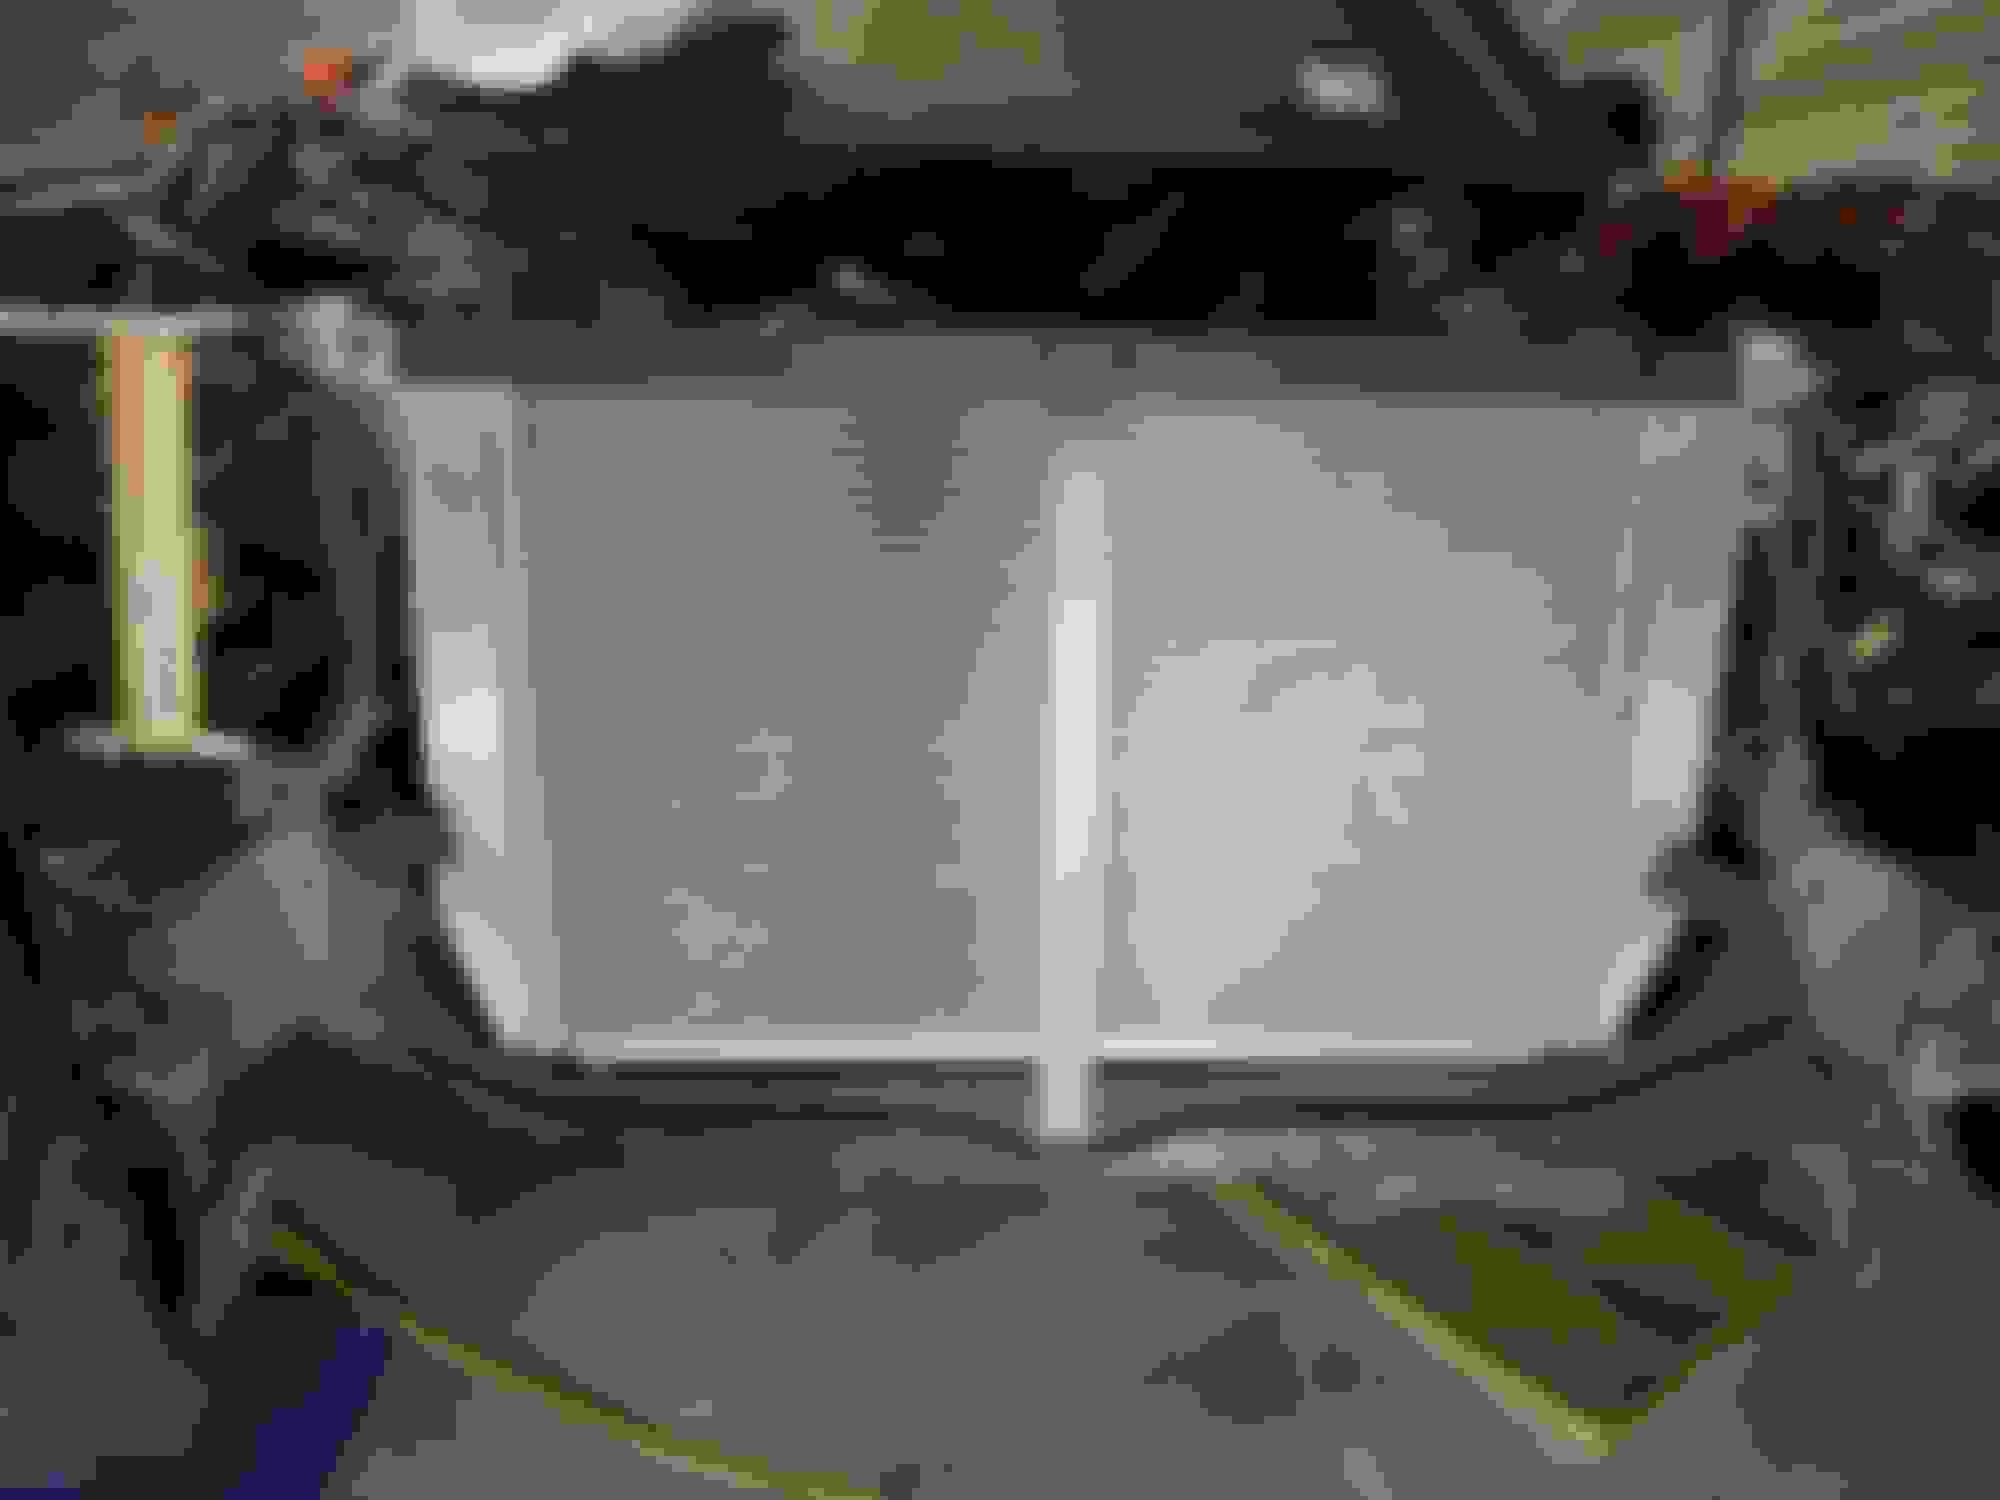
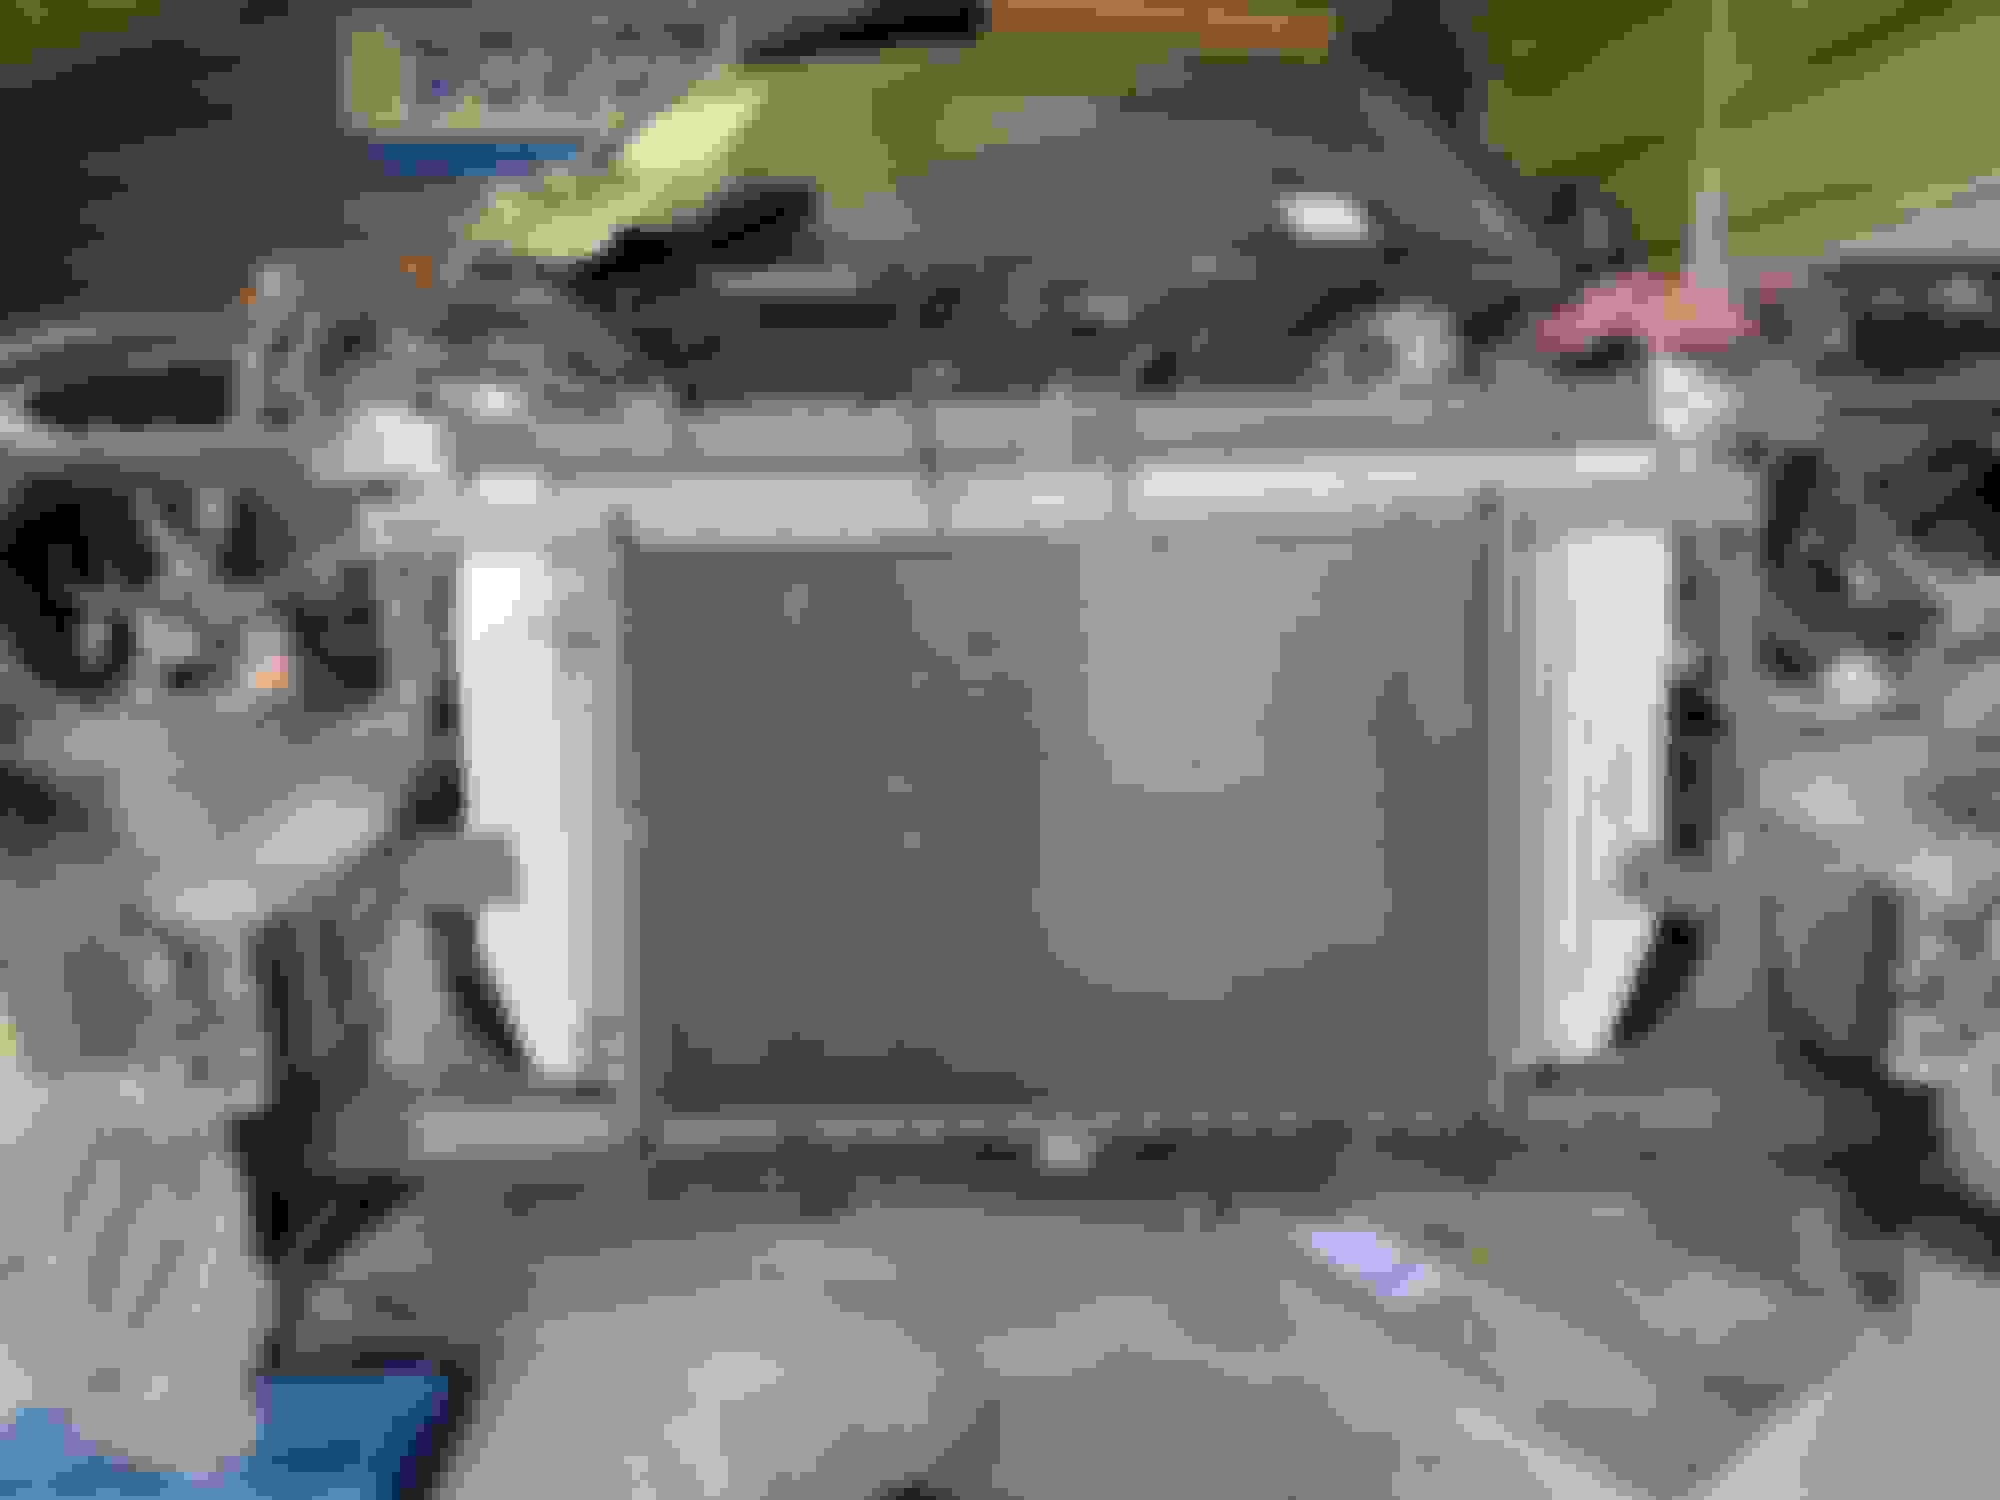
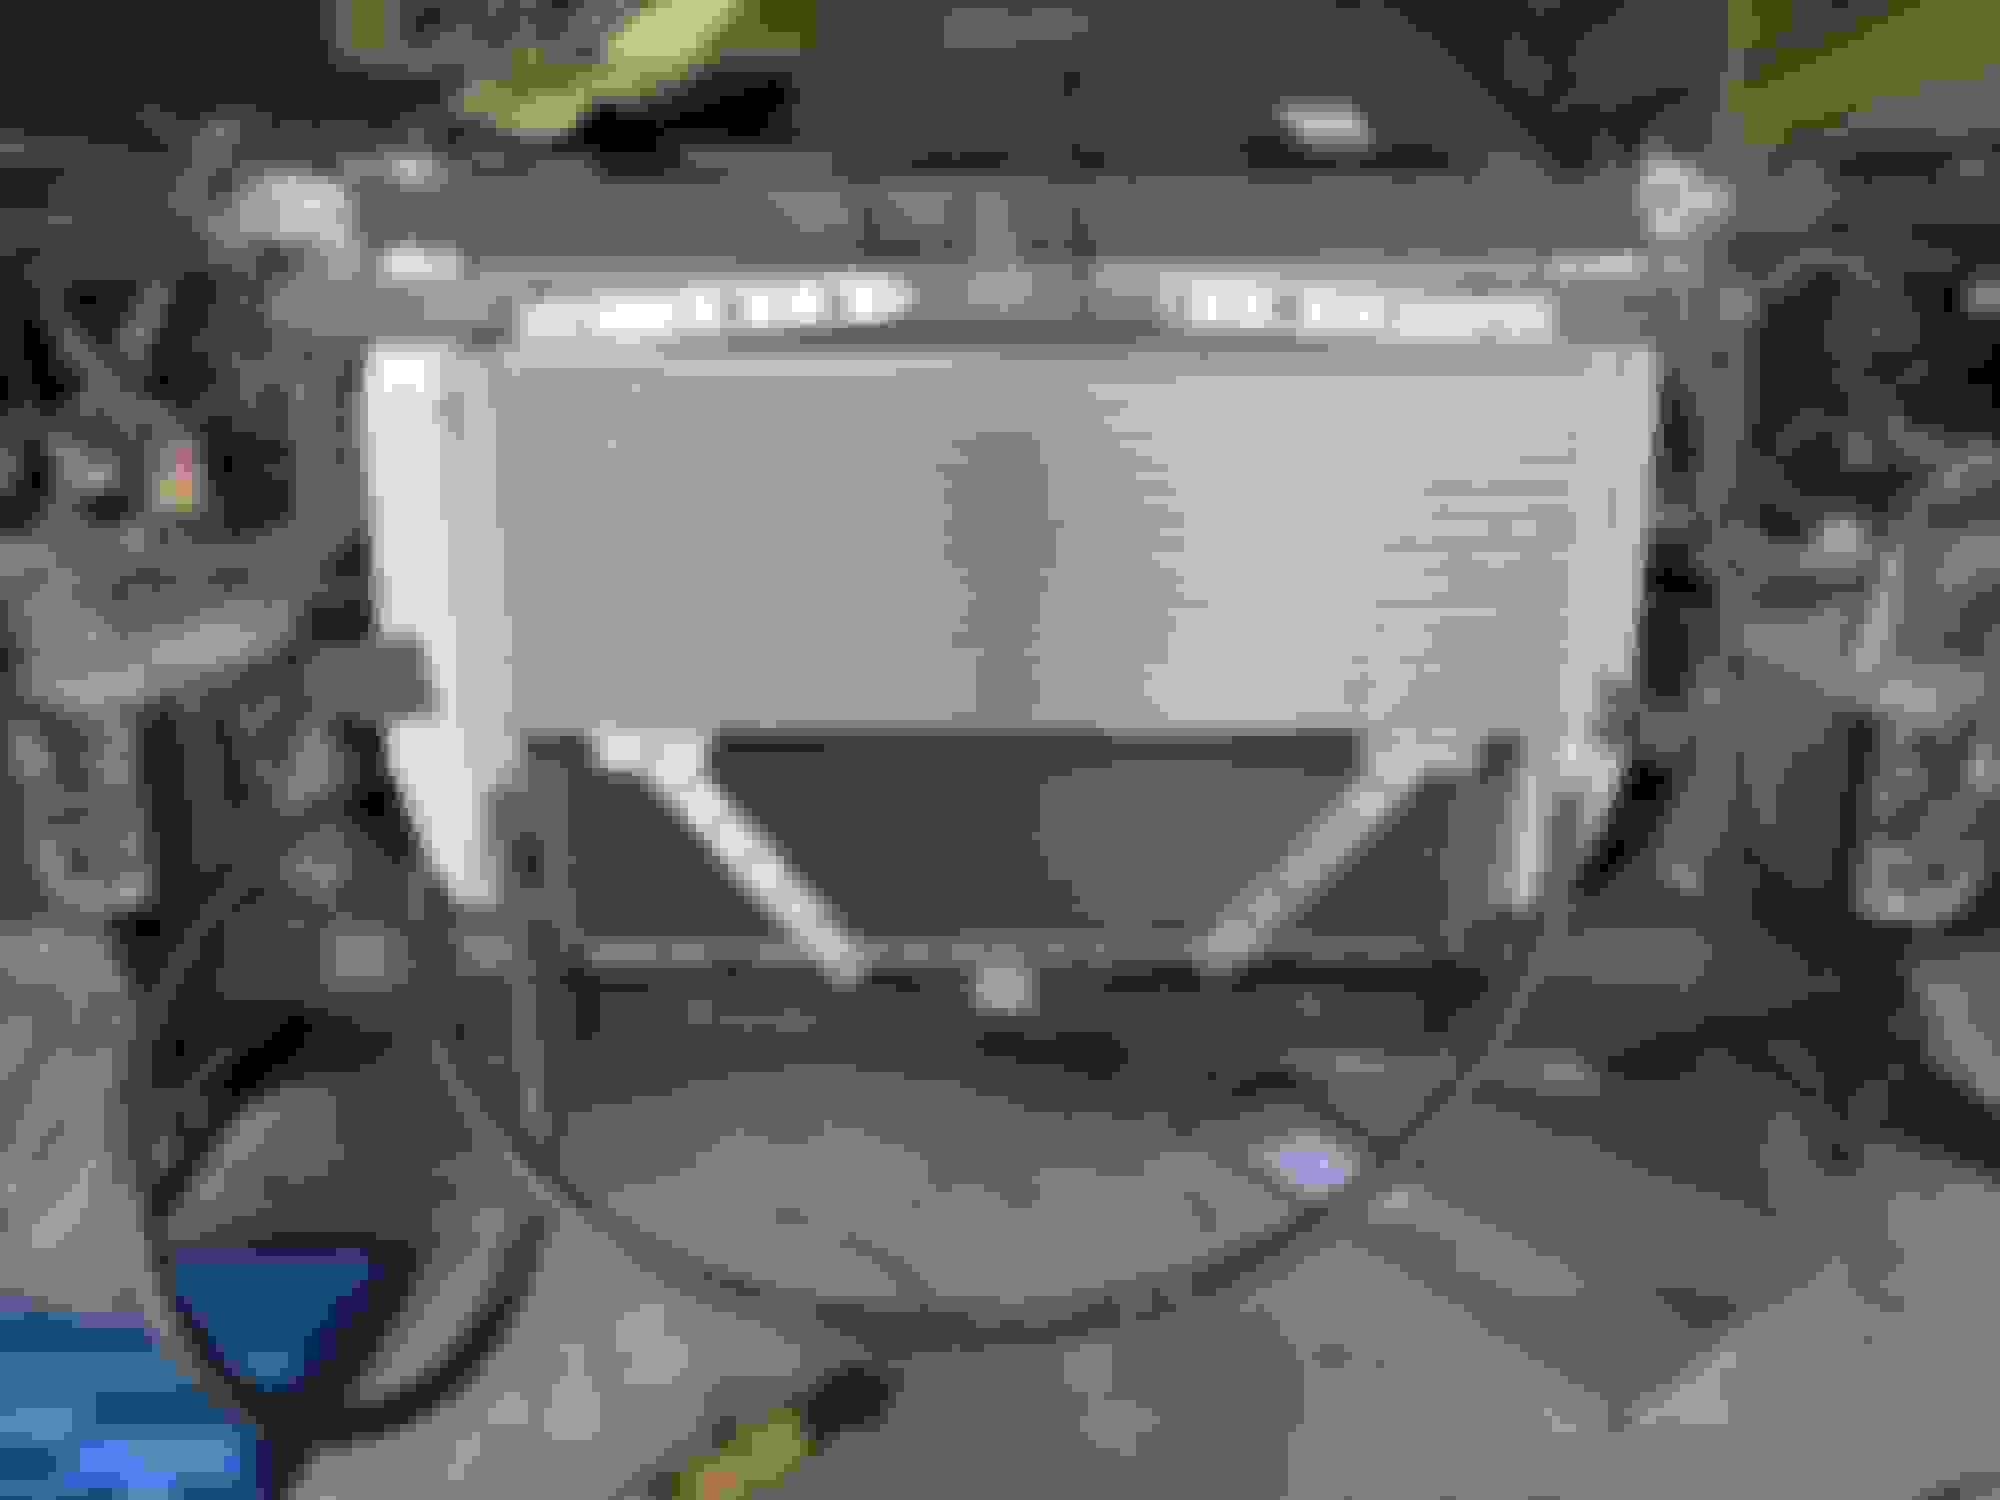
Apologies for the lack of updates but my daily driver got totaled so I've been scrambling to find a replacement. Decided to just use my trash hauling truck for now. Ok on to the update I found a better fitting radiator for the project a griffin 1-55241-xs. Beefy 1 1/4" tubes Mounting tabs I'm going to use Plenty of room for fans, plan on using a 00 camaro oe fan setup And the trash hauling truck after a few upgrades to make more comfortable to drive daily good ole 2.3 lima.
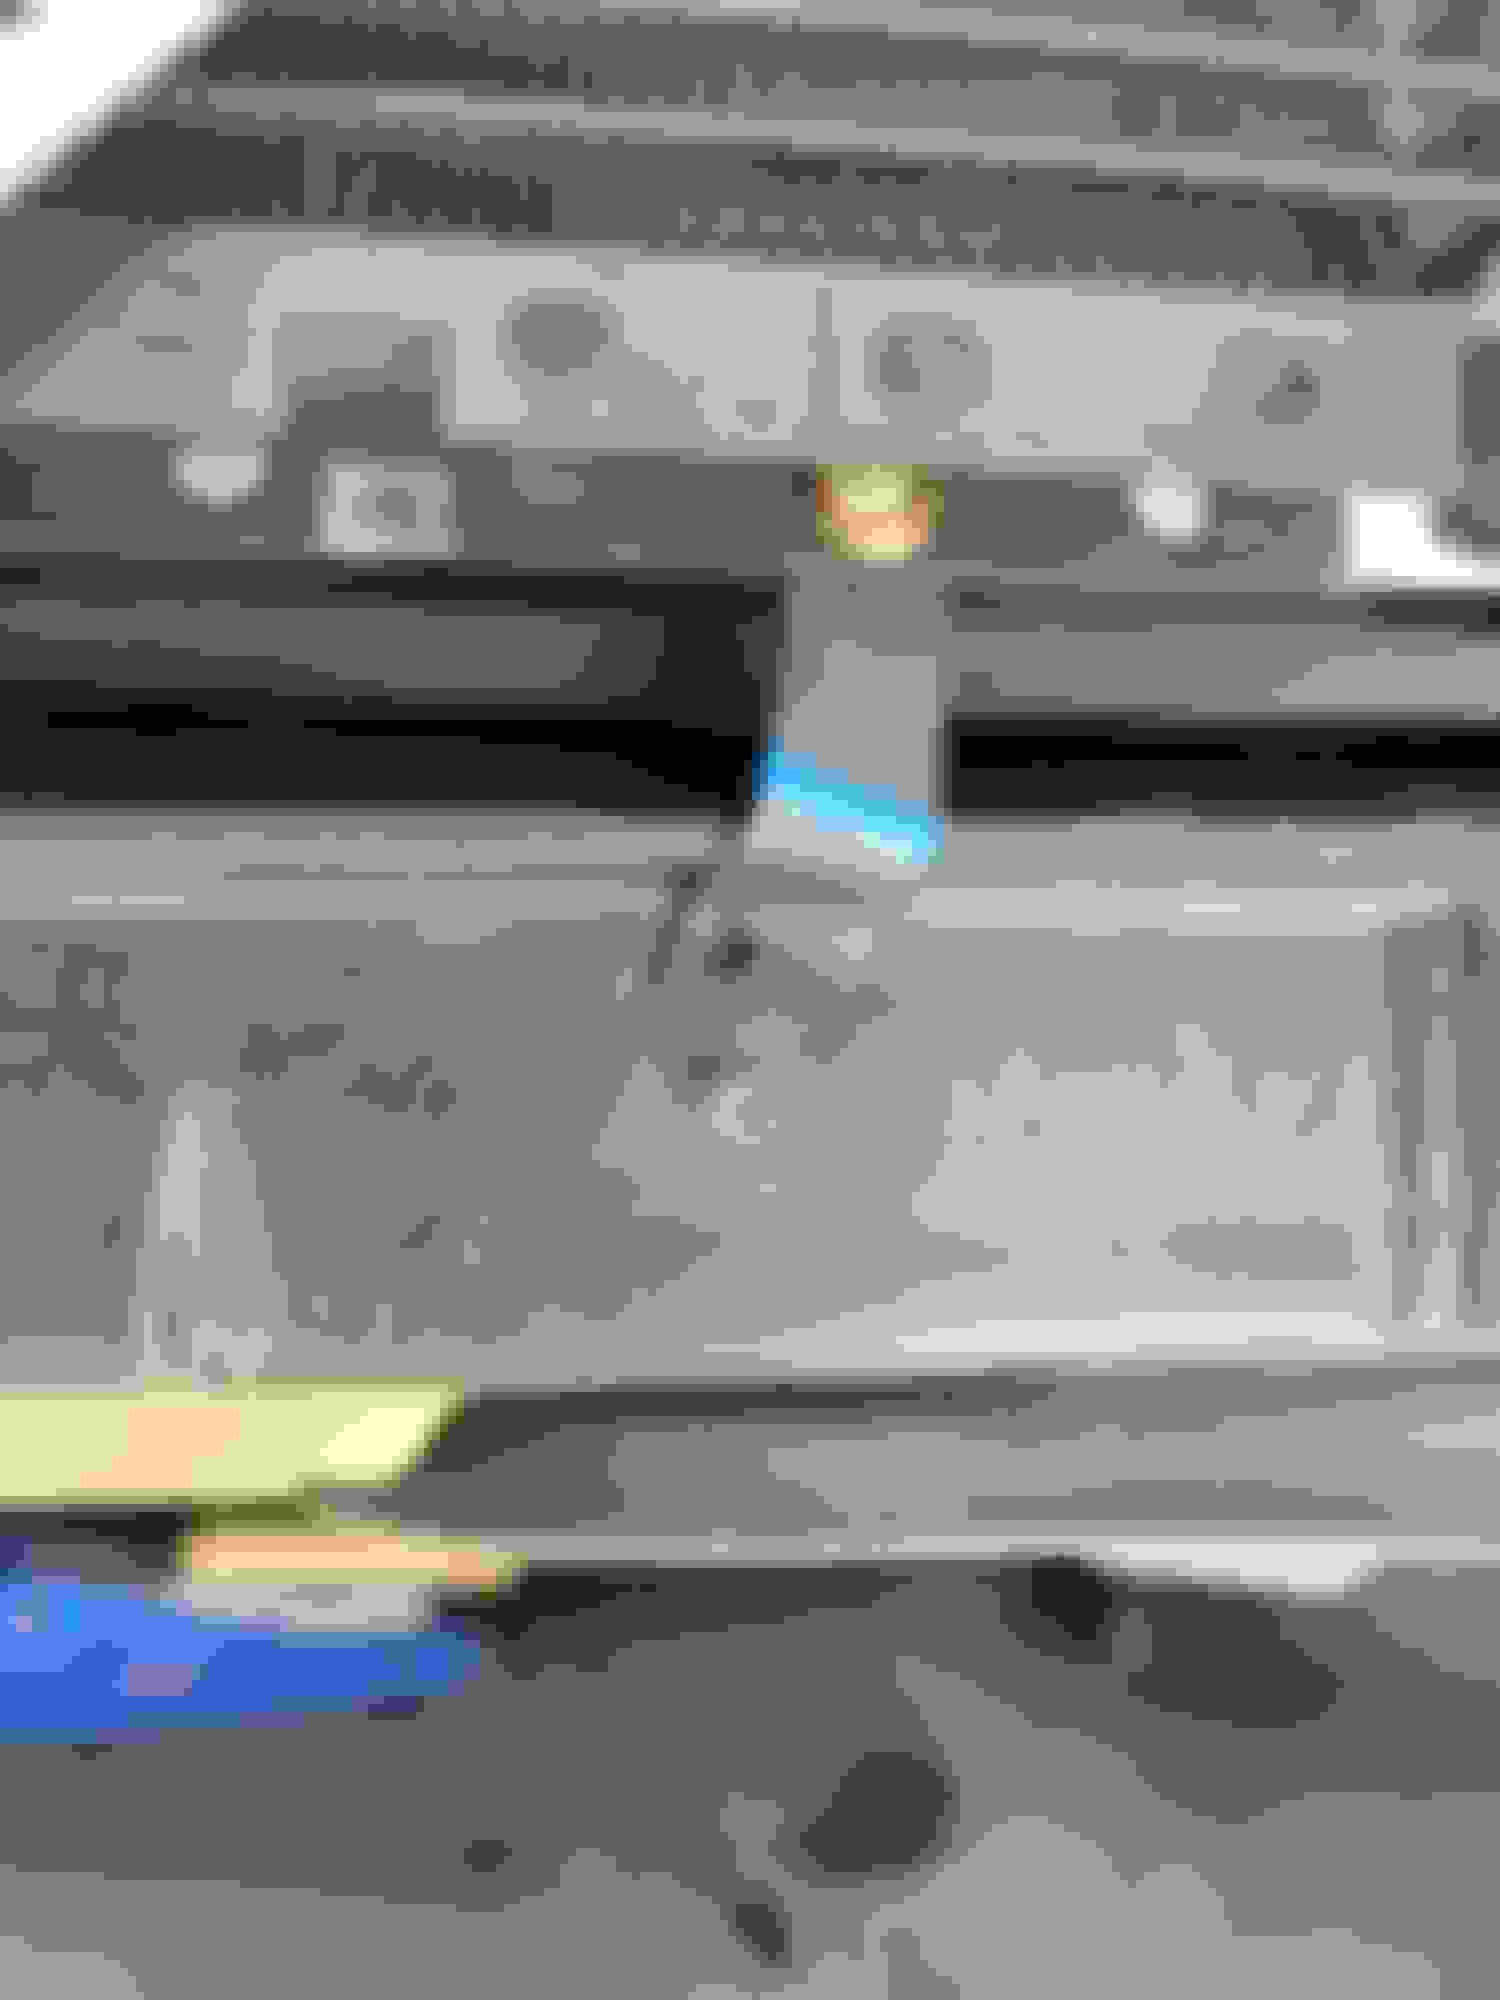
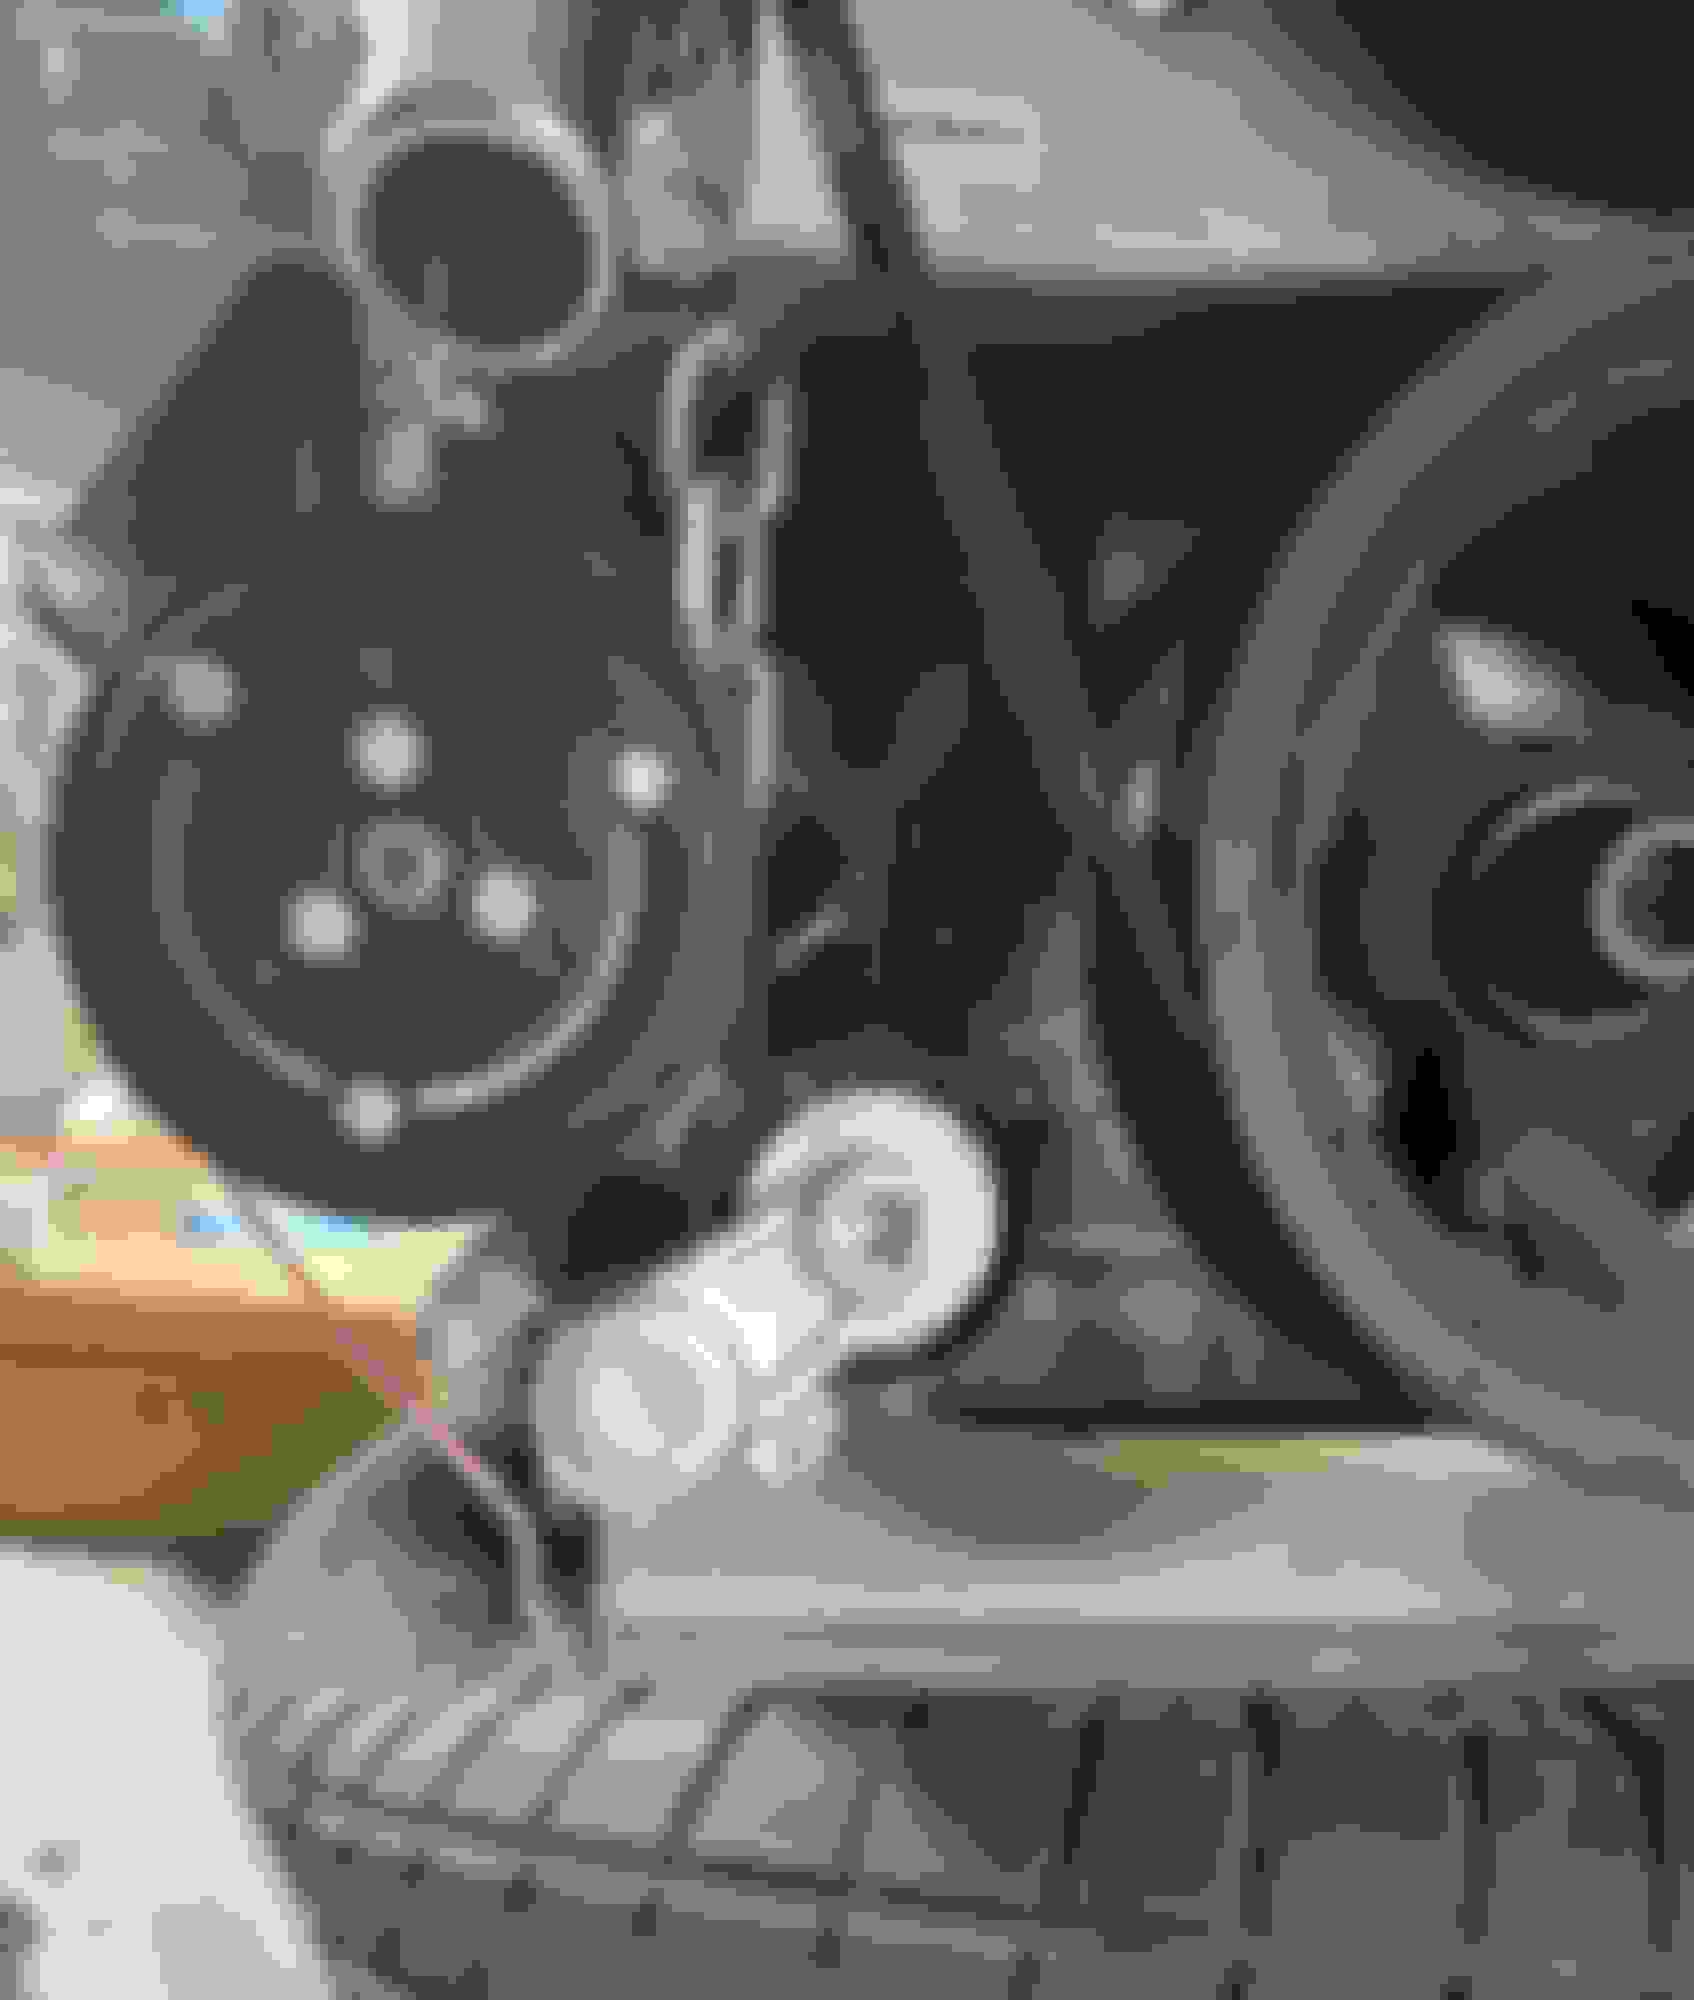
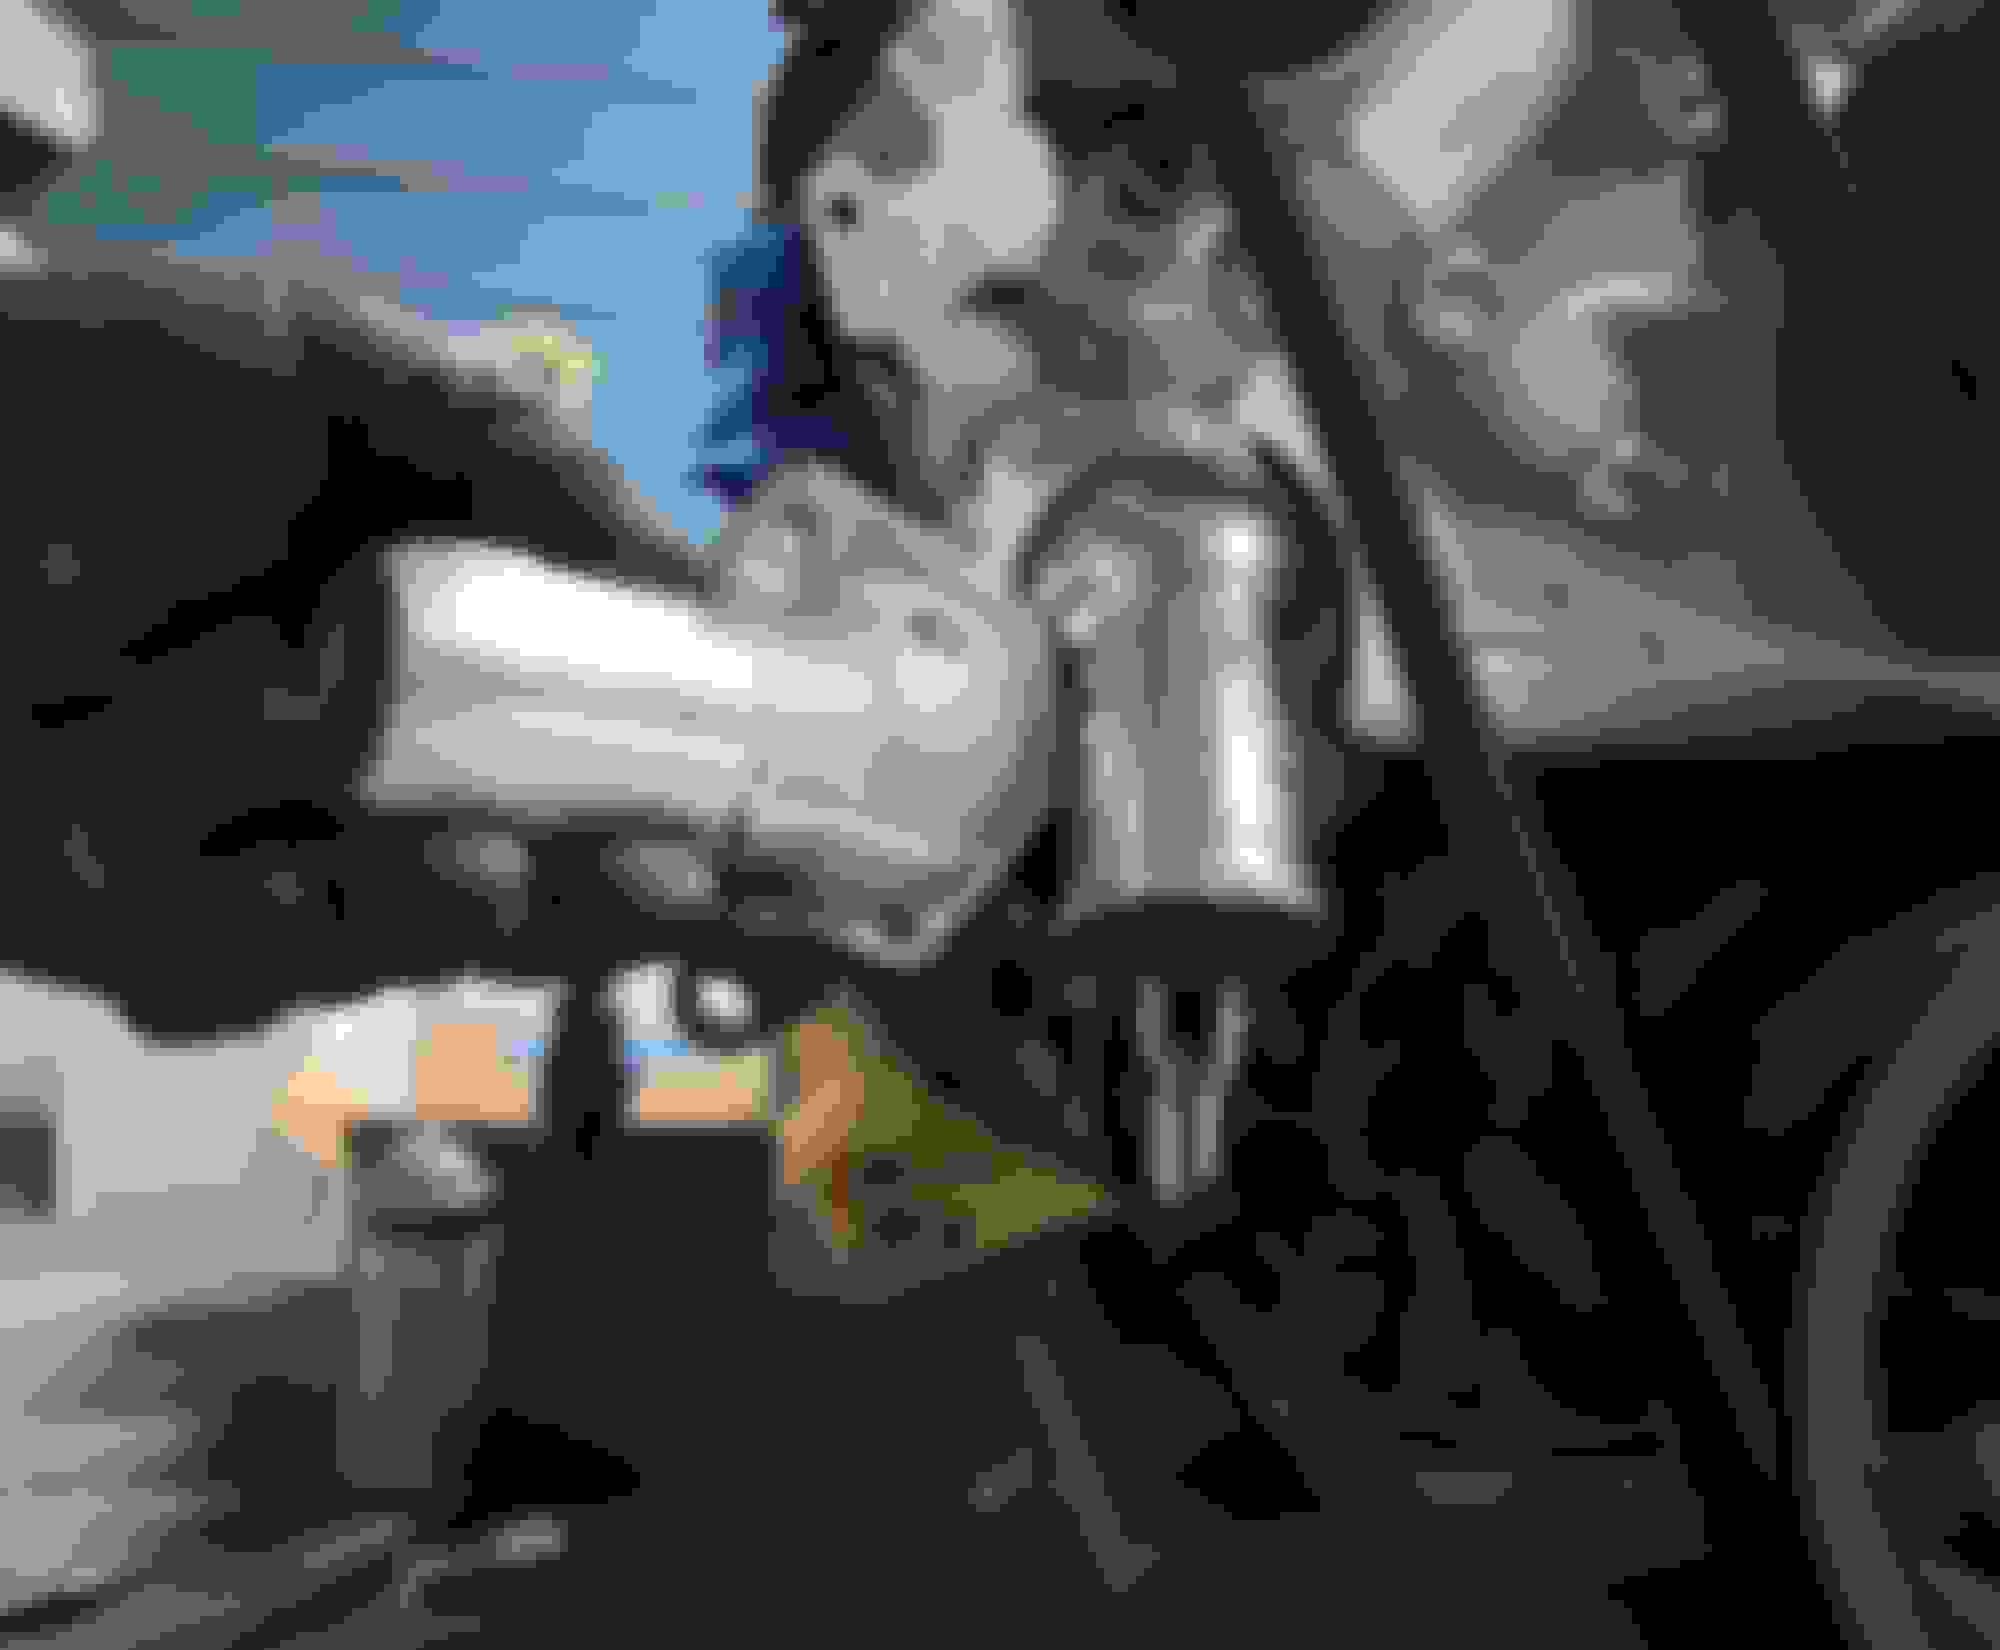
Got the radiator fitted just have to make some mounts. Also messed around with my belt alignment, I've been having issues with it. Both the truck and ls1 tensioner doesn't fit 100%, the truck is spaced way to forward and the ls1 is way to back. So I used some washers to dial it in and going to make some spacers. Here goes the turbo placement I want to use. Run the oil drain to the top of the canton pan and hole saw the side of the inner fender to run the charge pipe. Plan on usong the studs below the tubro for a t4 bracket mount Hole saw area Then a top down view of the area i have.
I still have a bunch of packages being held hostage by usps... hopefully it'll get here soon
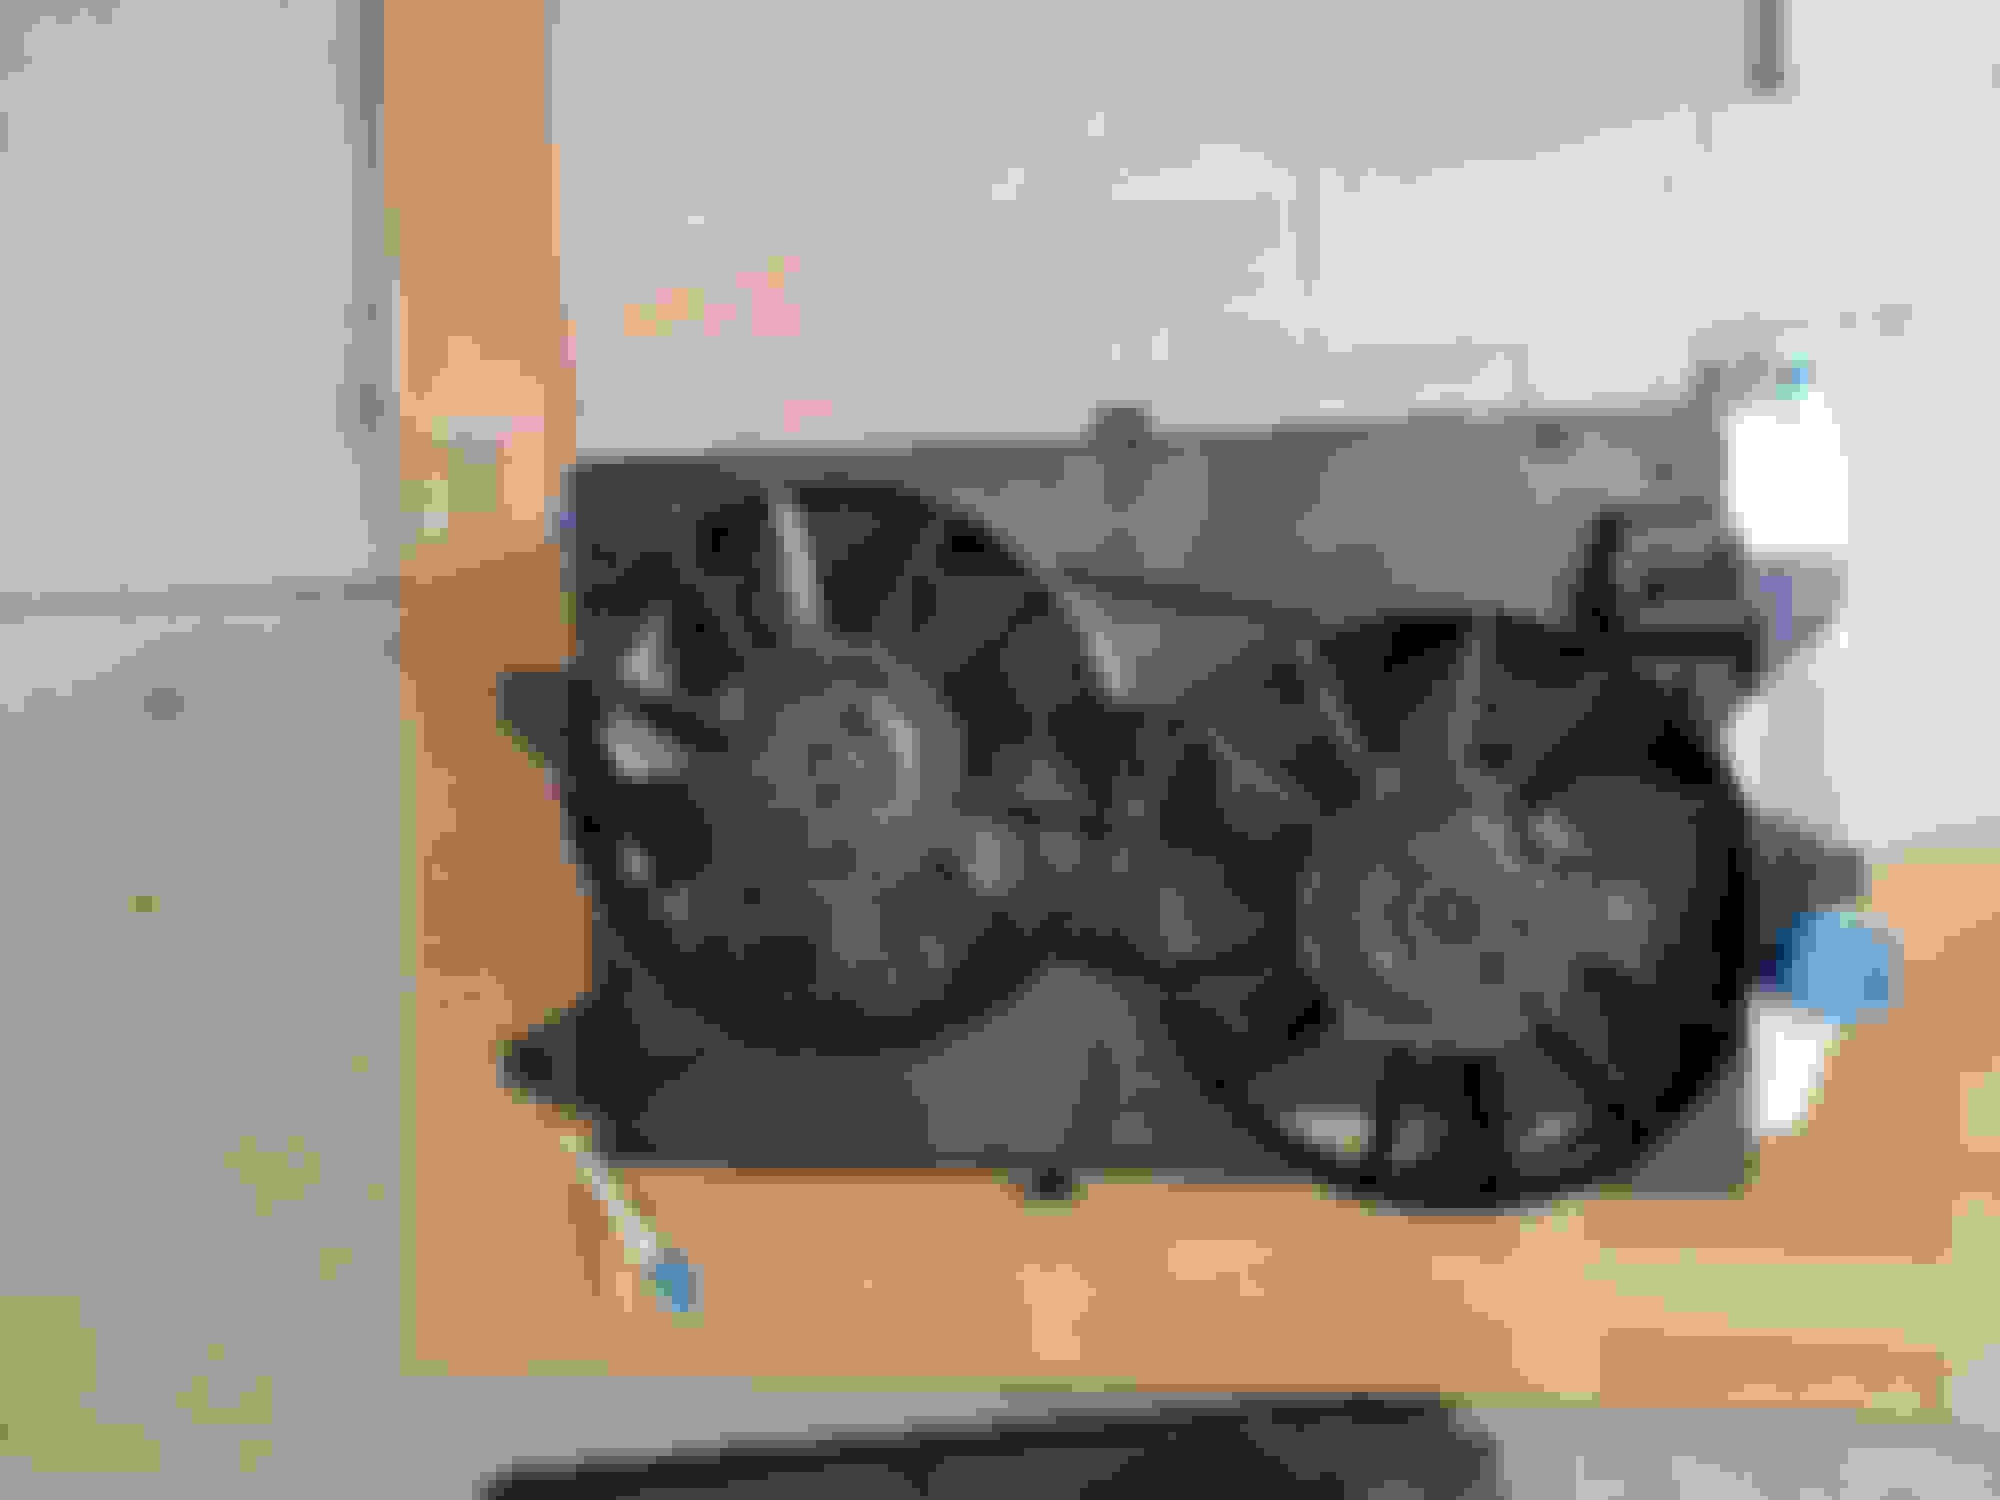
Did some research and came across the ford contour fans as an option for the swap. Possibly more cfm and less retro fitting.
Had some time to test mount the radiator and fan for clearance. I know the relay is supposed to be at the bottom but my crossover pipe might hit it. Ups & usps are finally dropping some packages today whoop whoop.
Clearance the tunnel for the trans cooler fittings and started to redo the hard lines on the power steering rack. I'm probably going to cut the tunnel to clearance the electronics plug for the valve body I don't see no way of making room with just pushing the metal back. Here goes some pictures enjoy. Pinched lines from the engine and trans. Ran the lines under the rack instead of over the rack.
Took some time today to finish running the P/S rack lines and pushed/cut some of the tunnel to make room for the transmission electronics plug, still have some more trimming to do unfortunately. Taking some of the crossover piping to work to cut and start on the hotside routing. Please mind the cave man like markings on the tunnel lol I was blindly marking where I needed to air hammer to fit... almost making me regret not going with a manual swap.
Made the lower radiator brackets at work today and the a/c condenser came in yesterday, more parts will hopefully show up Friday for the radiator mounts.
Have to go back to drawing board on the radiator mounts, but I did find a good spot for the oil filter relocation just have to drill and install rivnuts. It is higher theb the body rail i had to bend down a good bit to get this shot. Filter is slightly higher then the pan bungs hopefully that doesnt mess with flow to much. I will be using a melling high pressure pump.
Messed with the radiator mounts....I don't know how I feel about these might have to come up with something else. I got this 22 gauge sheet metal to mess around with.
k I think I finally figured how I'm going to do the radiator mount/brackets. Going to work on it this weekend then bring the pieces I need welded to work to do so. My goal this year besides finishing this project is to learn how to weld. 1/4" flat bar across the top is going to be bolted in so i can remove it if needed. For the top mounting make these brackets alittle wider so it grabs the fan shroud so it won't rub a whole in the radiator. Then get them welded to the top bar and afterwards I'll coat them in some flexseal so they are rubbery. For more bracing I'll get another 1/4" flat bar and have it welded to the top bar and bolt in at the bottom. Also add some brackets at the very bottom to hold it also
Ok think I can check off the radiator mount, going to use the side brackets and this top bracket with some thick rubber strips to keep it sturdy. Side brackets will be stuffed with rubber to. Have to bolts in at the top (will be a total of 4) and one at the bottom. With rubber Without rubber to show wiggle room. Might bend the brackts in more to put my pressure on the shroud to hold it. Thick rubber at the bottom to prevent any metal on metal contact. The stock location for the fuel feed and return. Didn't like how high they sat (on the strut tower) and close to the exhaust manifold. Trimmed it back to the firewall and added AN to tube adapters.... these where fun lol. Looks like im working on the fuel system next or the turbo hotside who knows with my ADHD/ADD.
Did some messing around with the trucool 40k and ac condenser.......Iets just say it's getting cramped. The radiator has a 3/4" air gap from the condenser, then the condenser to 40k cooler is 1/4". Should be plenty of room for a thic intercooler.... lol
Condenser 40k cooler.... kinda want to paint it black but I'll have to do research to see if that would mess with the cooling ability. In the above pictures you can see the stud below the radiator support i went that route on mounting vs what i was trying to do. Spot for the FPR Going to make a bracket to come of the stud on the firewall to mount it.
Well I made a cardboard mock up the treadstone TR1045 intercooler to check for fitment....looks like I might have to find a smaller one. Maybe if I move this assembly up some it might fit... This bumper is shaped a tad bit weird.... oh well my fuel line stuff should be here soon so I'll start on that next.
My monkeyfabgarage.com fittings and line came in. Went with ptfe incase I go e85. Have to say these went together very easily, well I did mess up the short section going to the fuel rail so I had to order another olive to complete it. Also had a set of stripped valve covers I wrinkle blacked... I am a big fan of wrinkle black.
Well i went back and checked my measurements on the intercooler specs.... it was alittle off so I redid it. Also moved the condenser/trans cooler stack higher up and flushed with the radiator. I have two options either get a smaller trans cooler that cools just as well as the 40k or remote mount the 40k cooler. Then the intercooler would fit perfectly. If y'all have any suggestions for a smaller cooler let me know.
Been alittle stagnant on the intercooler debate so I'm switching it up. Stay tuned parts will be here this week coming up here is alittle teaser.... have to move some brackets but better then getting different parts.
Welp usps and ups finally came through here goes most of my air to water intercooler setup (minus zzp pump its in the roll cart). Also on a side note I have room for the ac comp just waiting on the dirty dingo ac bracket. If weather/wife permits I'll start on the crossover tube routing. Went with a rockauto ac comp, it fits in the general area just waiting on bracket to finalize it. Spot for the A2W intercooler Just have to trim the lip close the headlights and "massage" the fender area near that plug Turbo placement in this general area. And i thought this was pretty neat shot.... then it reminds me i need to find a car intake manifold lol.
Ok that should bring the build up to current day, life has kept me busy so i knock out what i can with the little time i have. I will try my best to keep this build up to date.
SNAP! now this is a build!!! thank you for sharing with us, i'm in awe!!!
crazy to see you rebuild the trans. that takes lots of knowhow and skill. i'm also amazed you are adding AC to this thing...i guess the south is as hot as they say.
are you planning to run the stock rear end? not sure how it will handle the LS's torque but it might need some attention in the future. open diffs are not fun with lots of power.
any concerns with the articulation of the sway bar to the oil pan? i'm sure you've thought about it this far in the process.
Thanks for stopping by and commenting. A/C was a major priority since its going to be my daily...and my 3 year old is going to ride it lol. i plan on running the stock rear end I like the gearing (3.62) hopefully its beefy enough if it holds up then I'll add a aftermarket LSD unit, if not I'll swap it out with a Supra TT rear end. As far as the front sway bar it is a little concerning but i plan on making spacers to drop it down a 1/2"-1" then make some adjustable sperhical end links for it. I need to take some more pictures of it, maybe htis weekend if it's not raining.
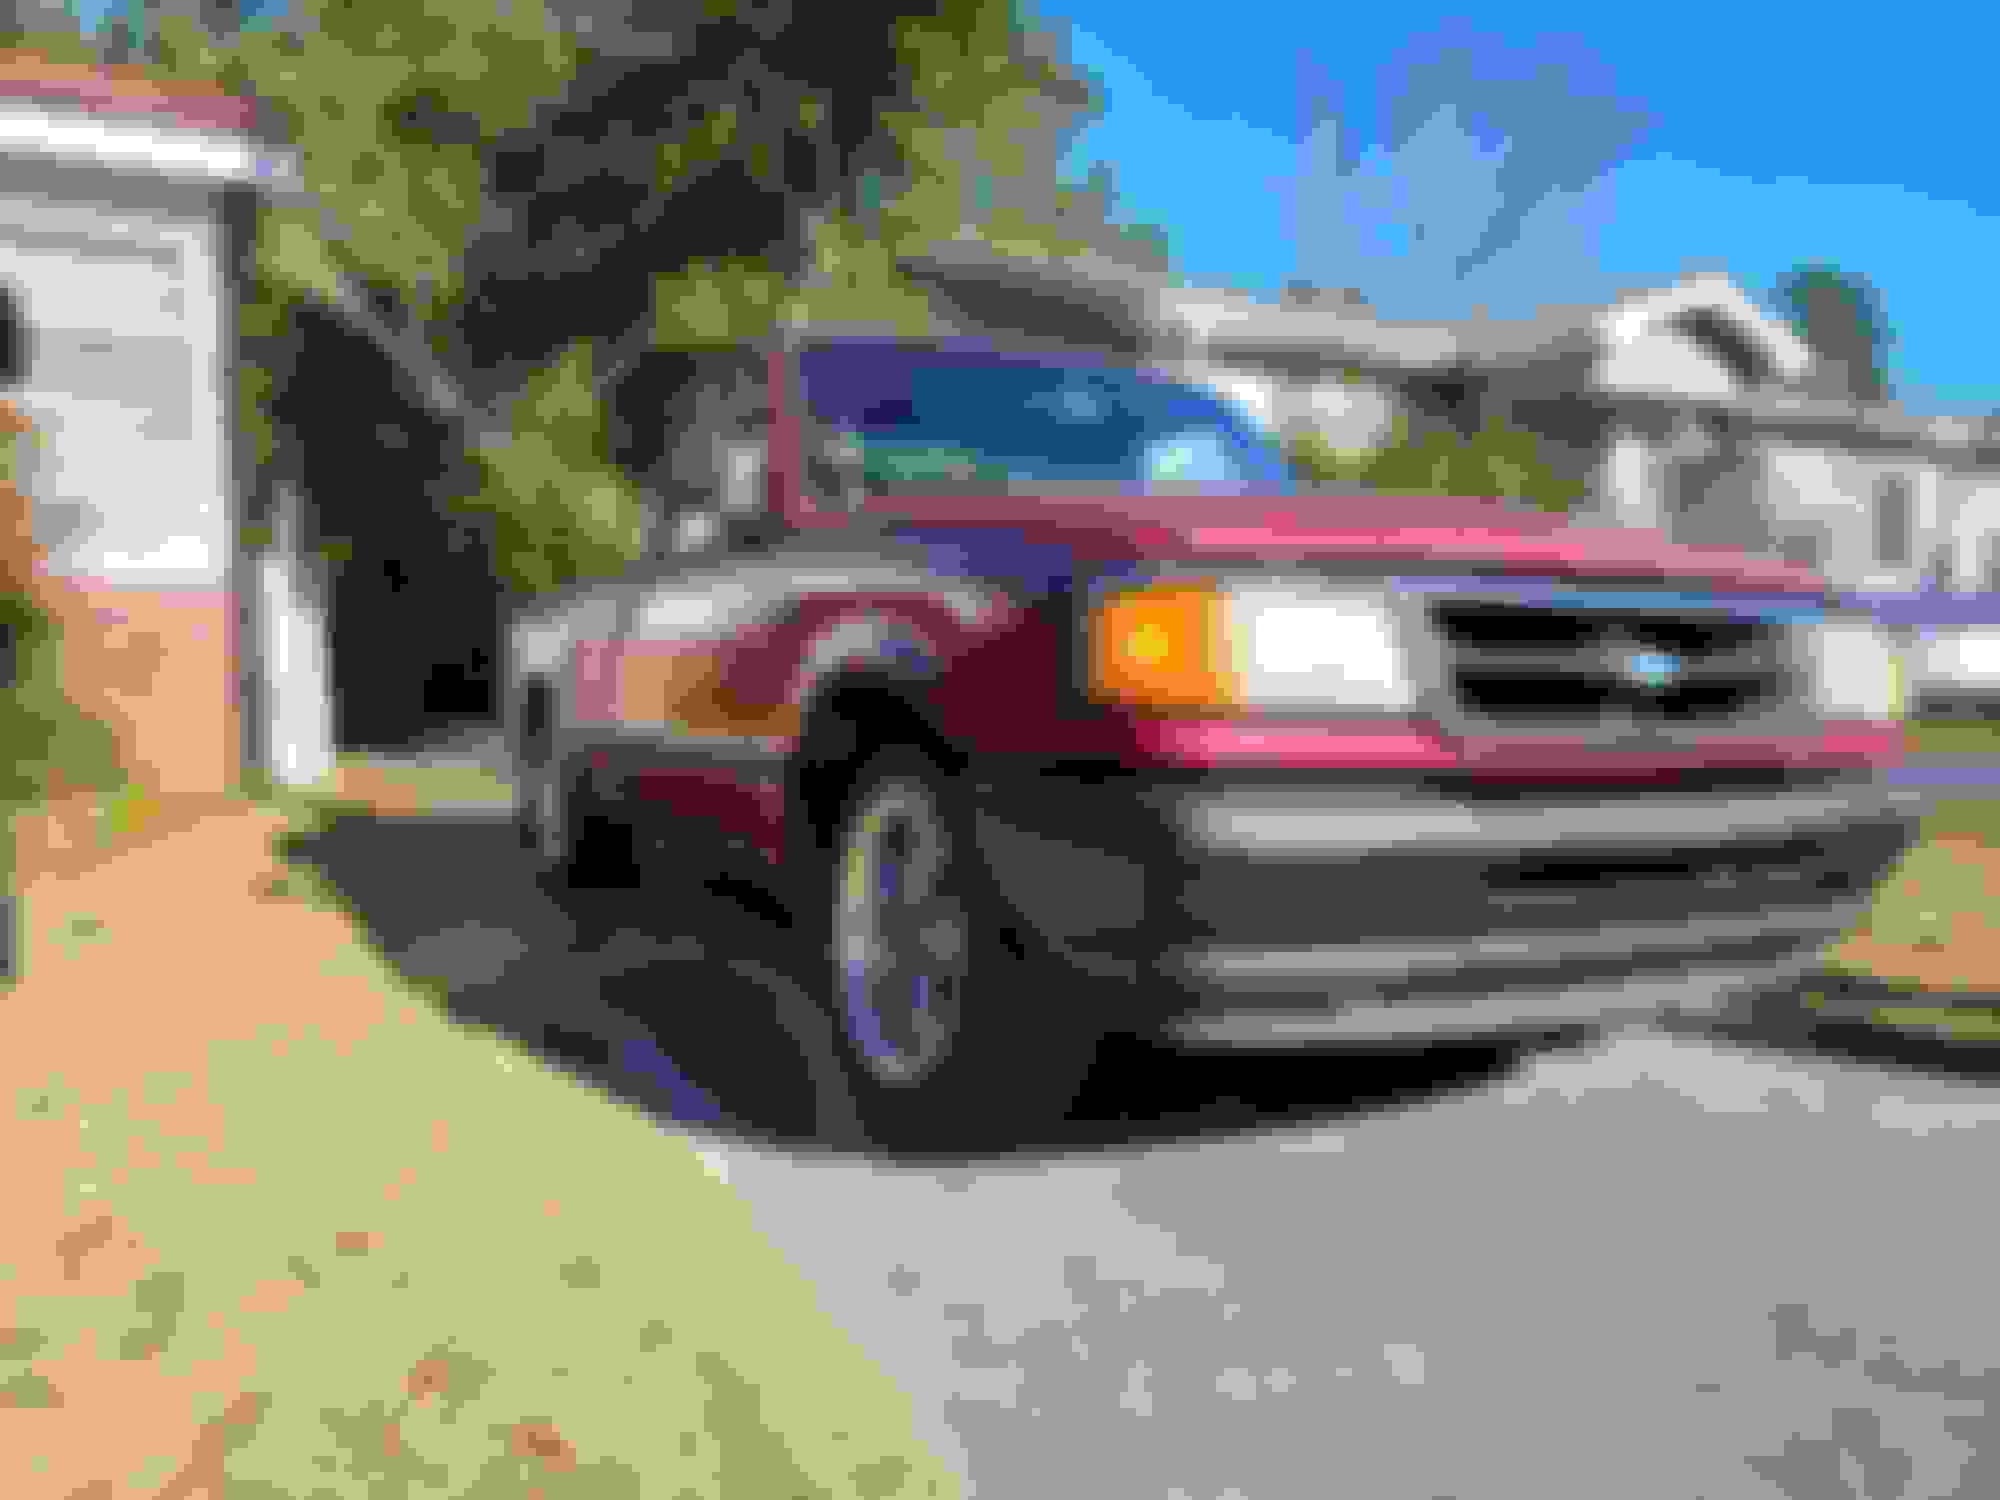
Here goes some hood clearance shots... I'm trying to avoid cutting the hood for a hood scoop... maybe I can get away with cutting out the "ribs" of the hood to gain the extra clearance and maybe some hood spacers. im already having a hard time locating a replacement front bumper and passenger fender.
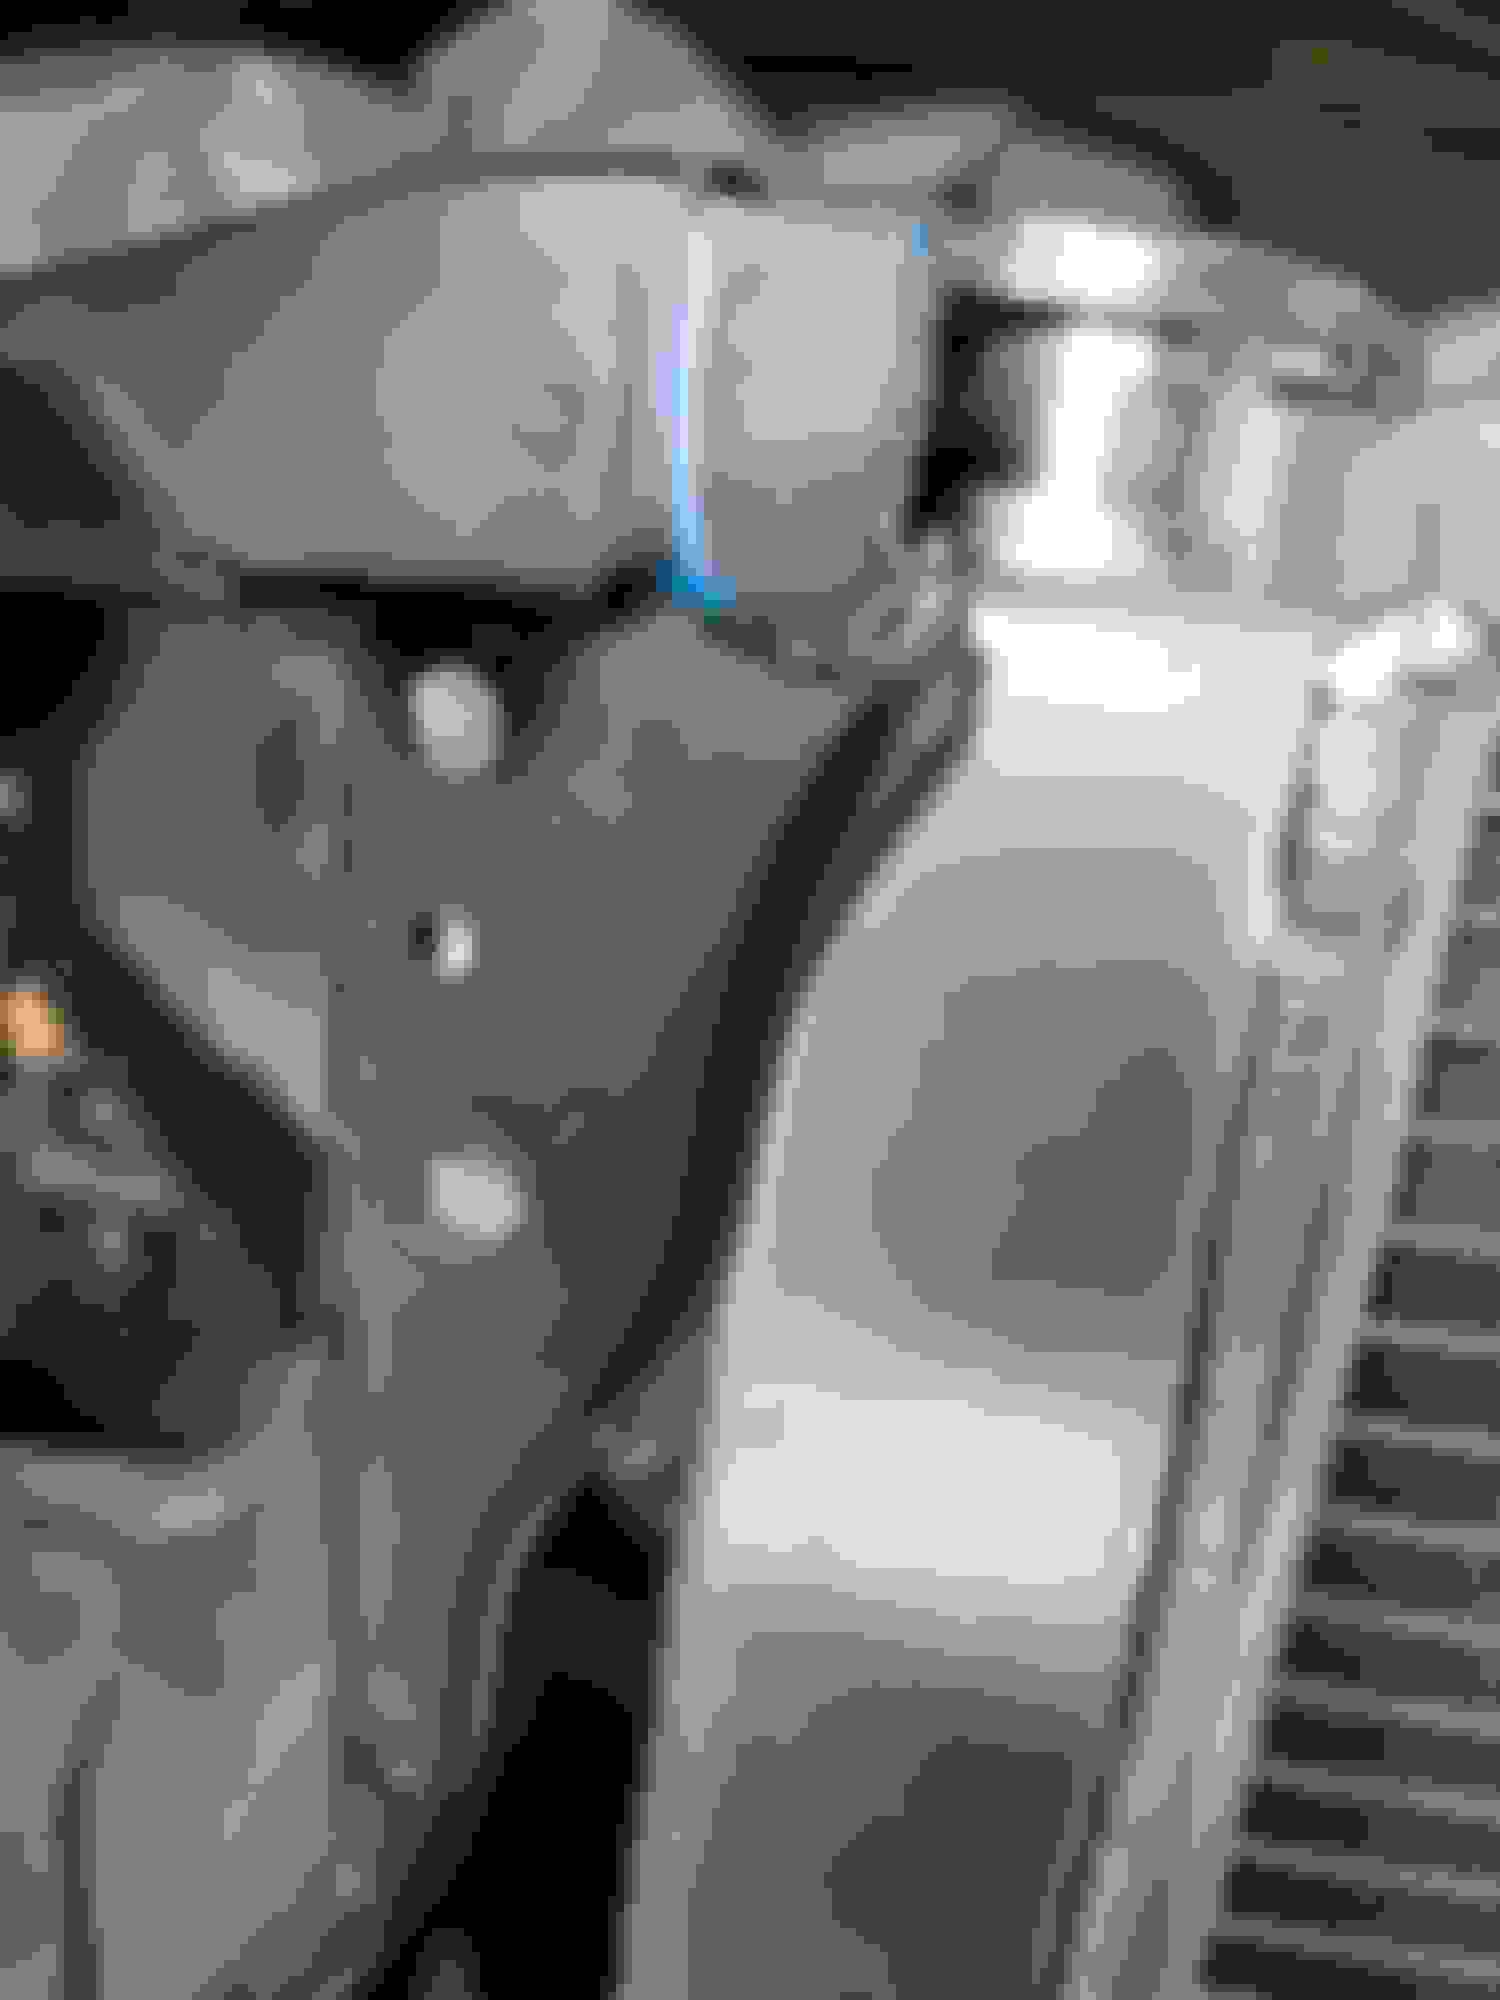
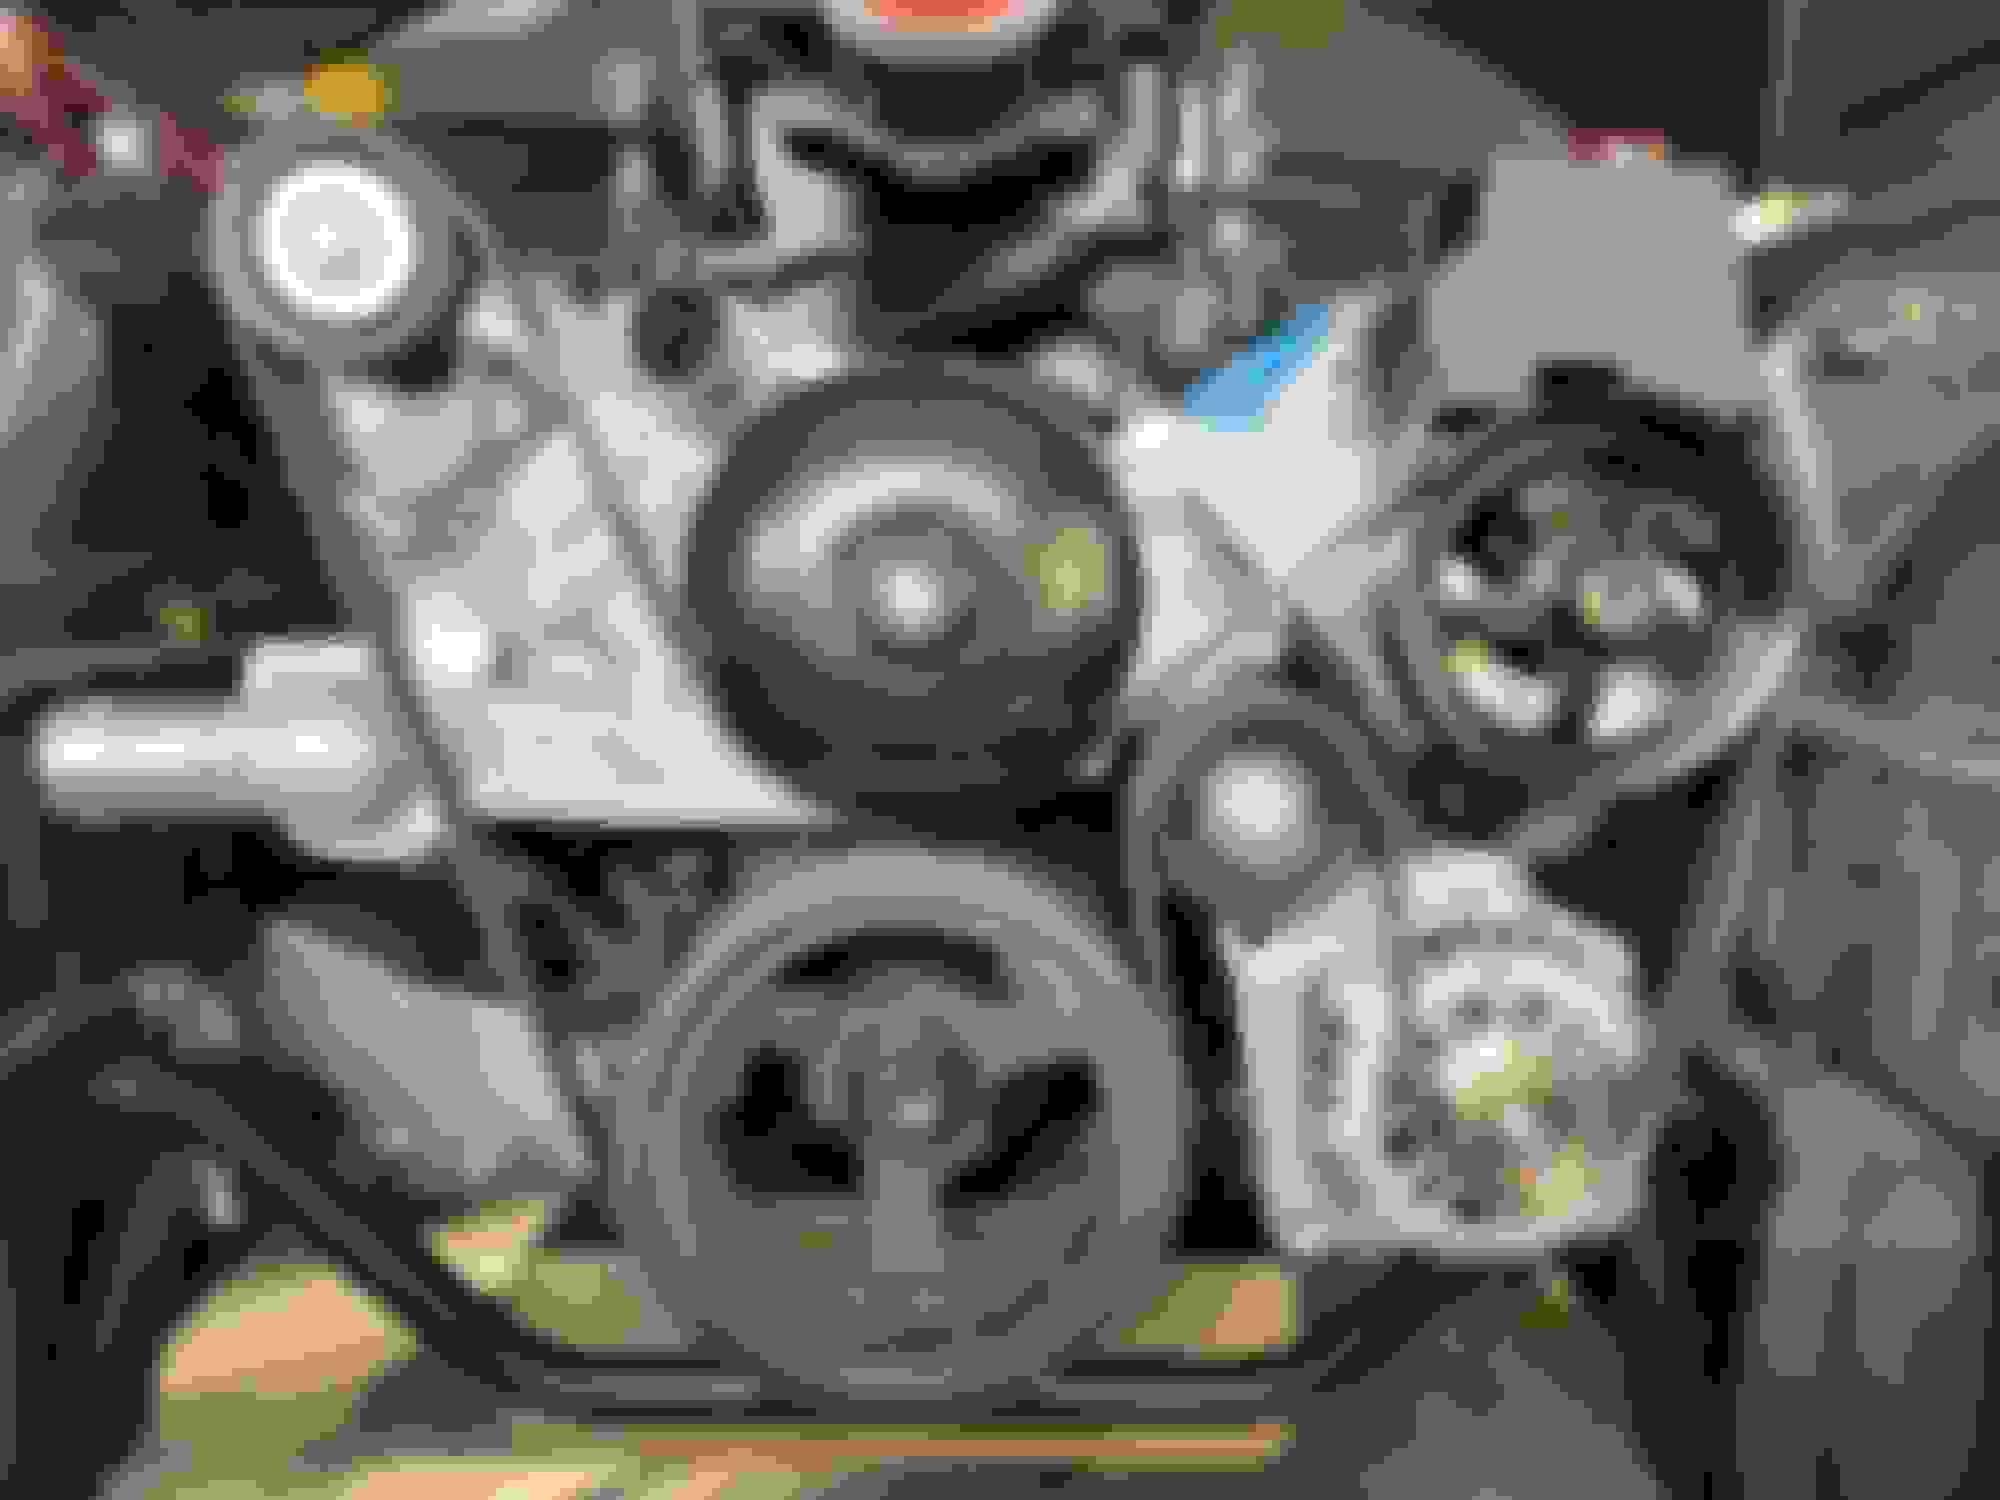
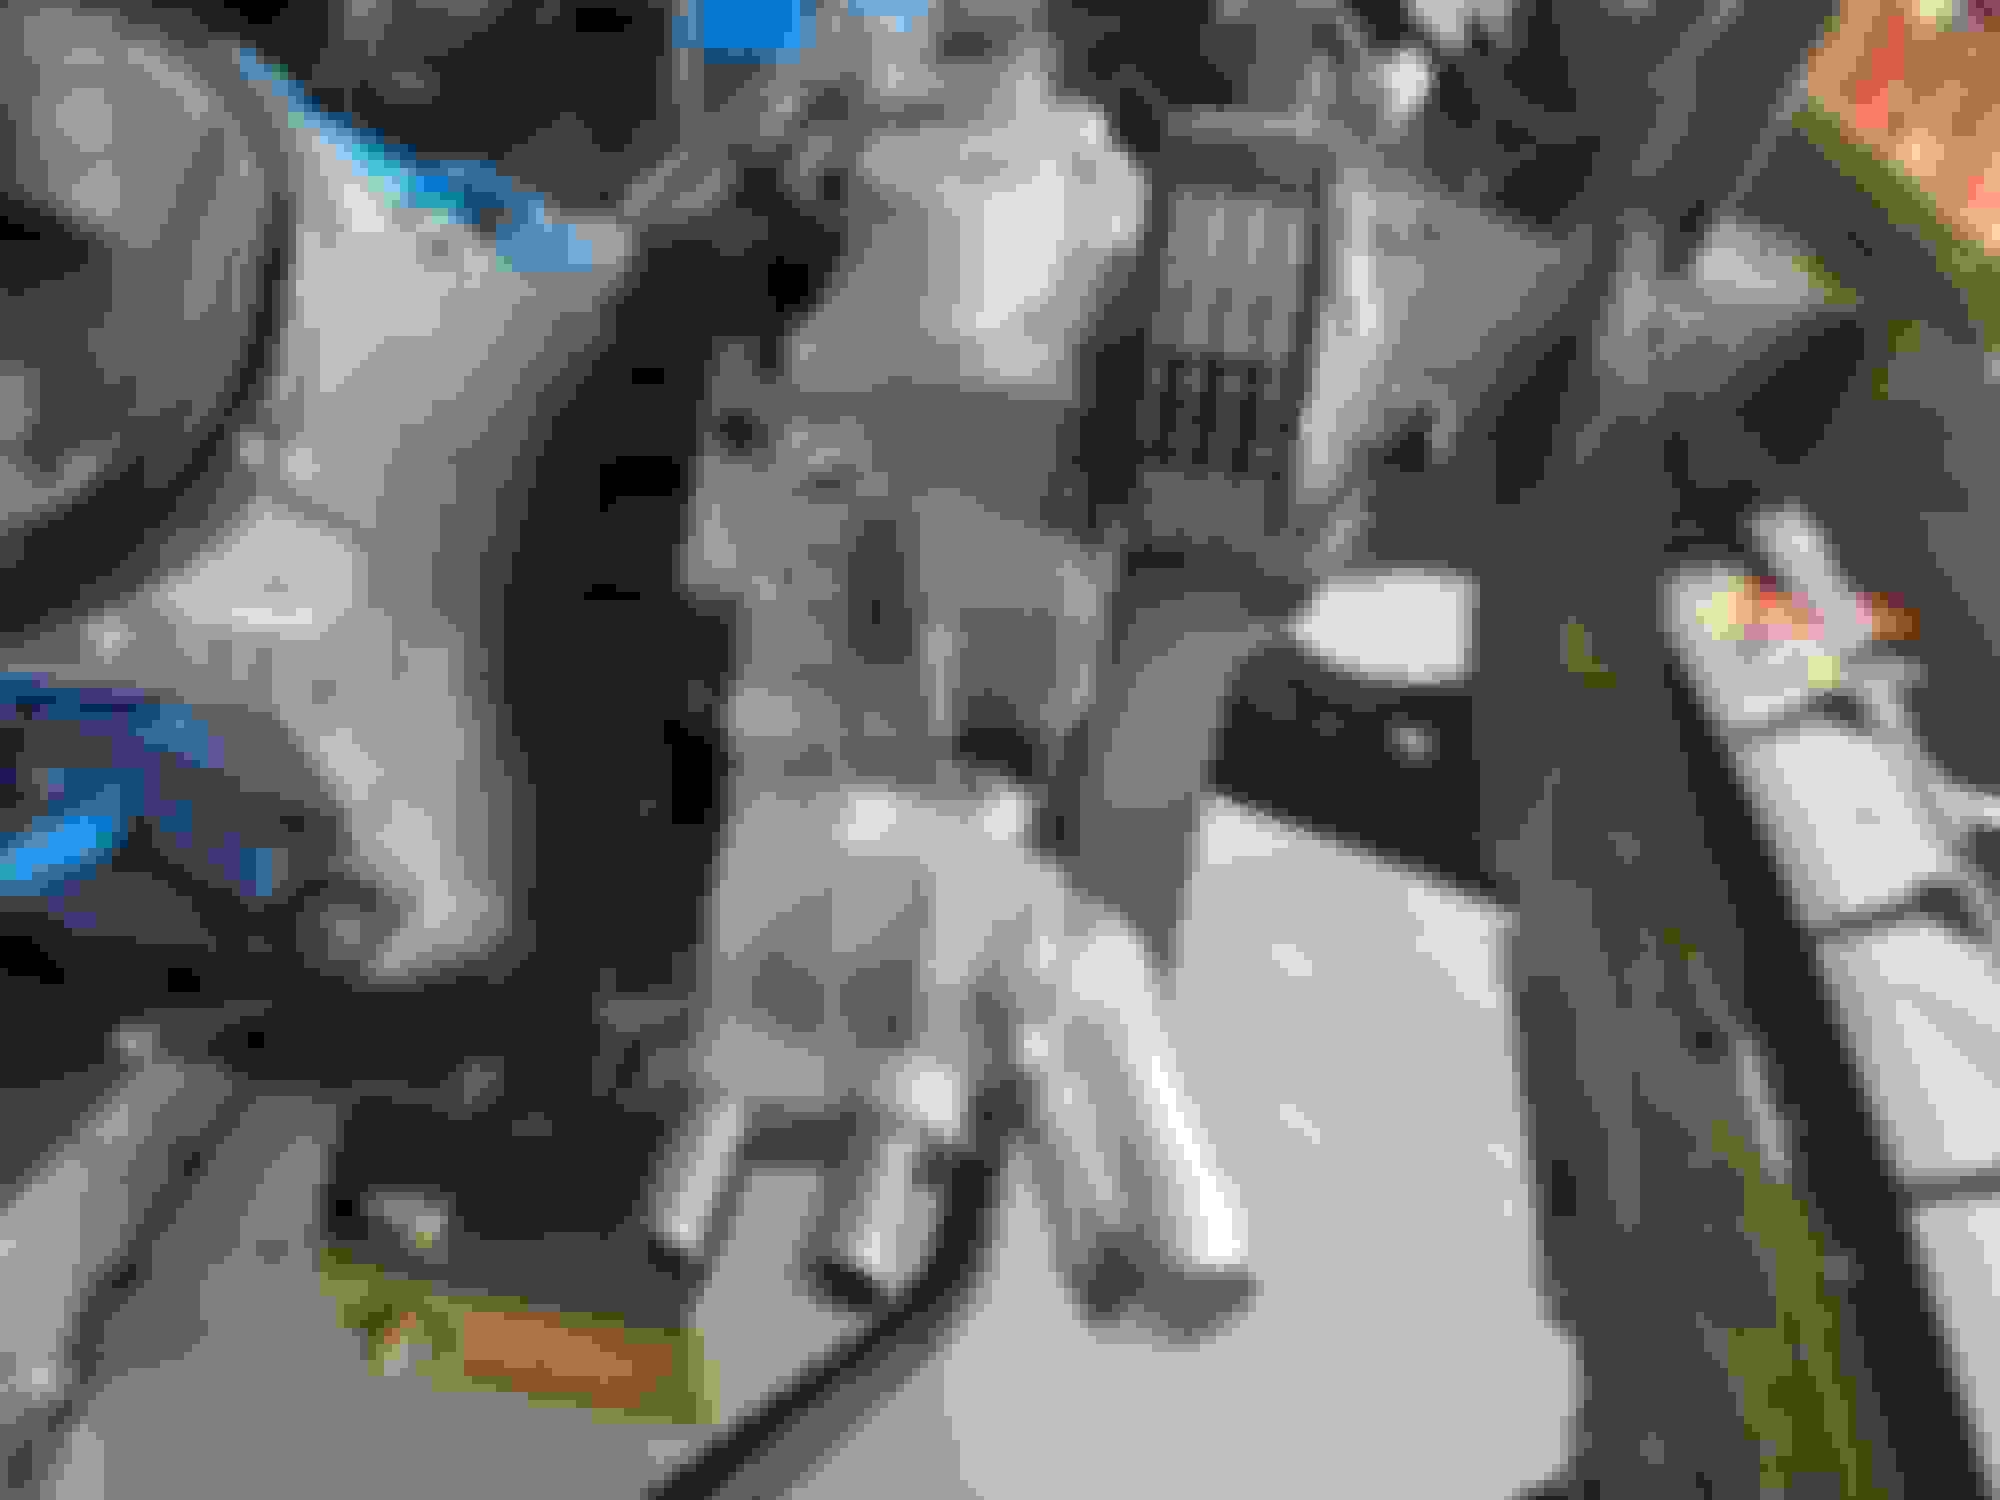
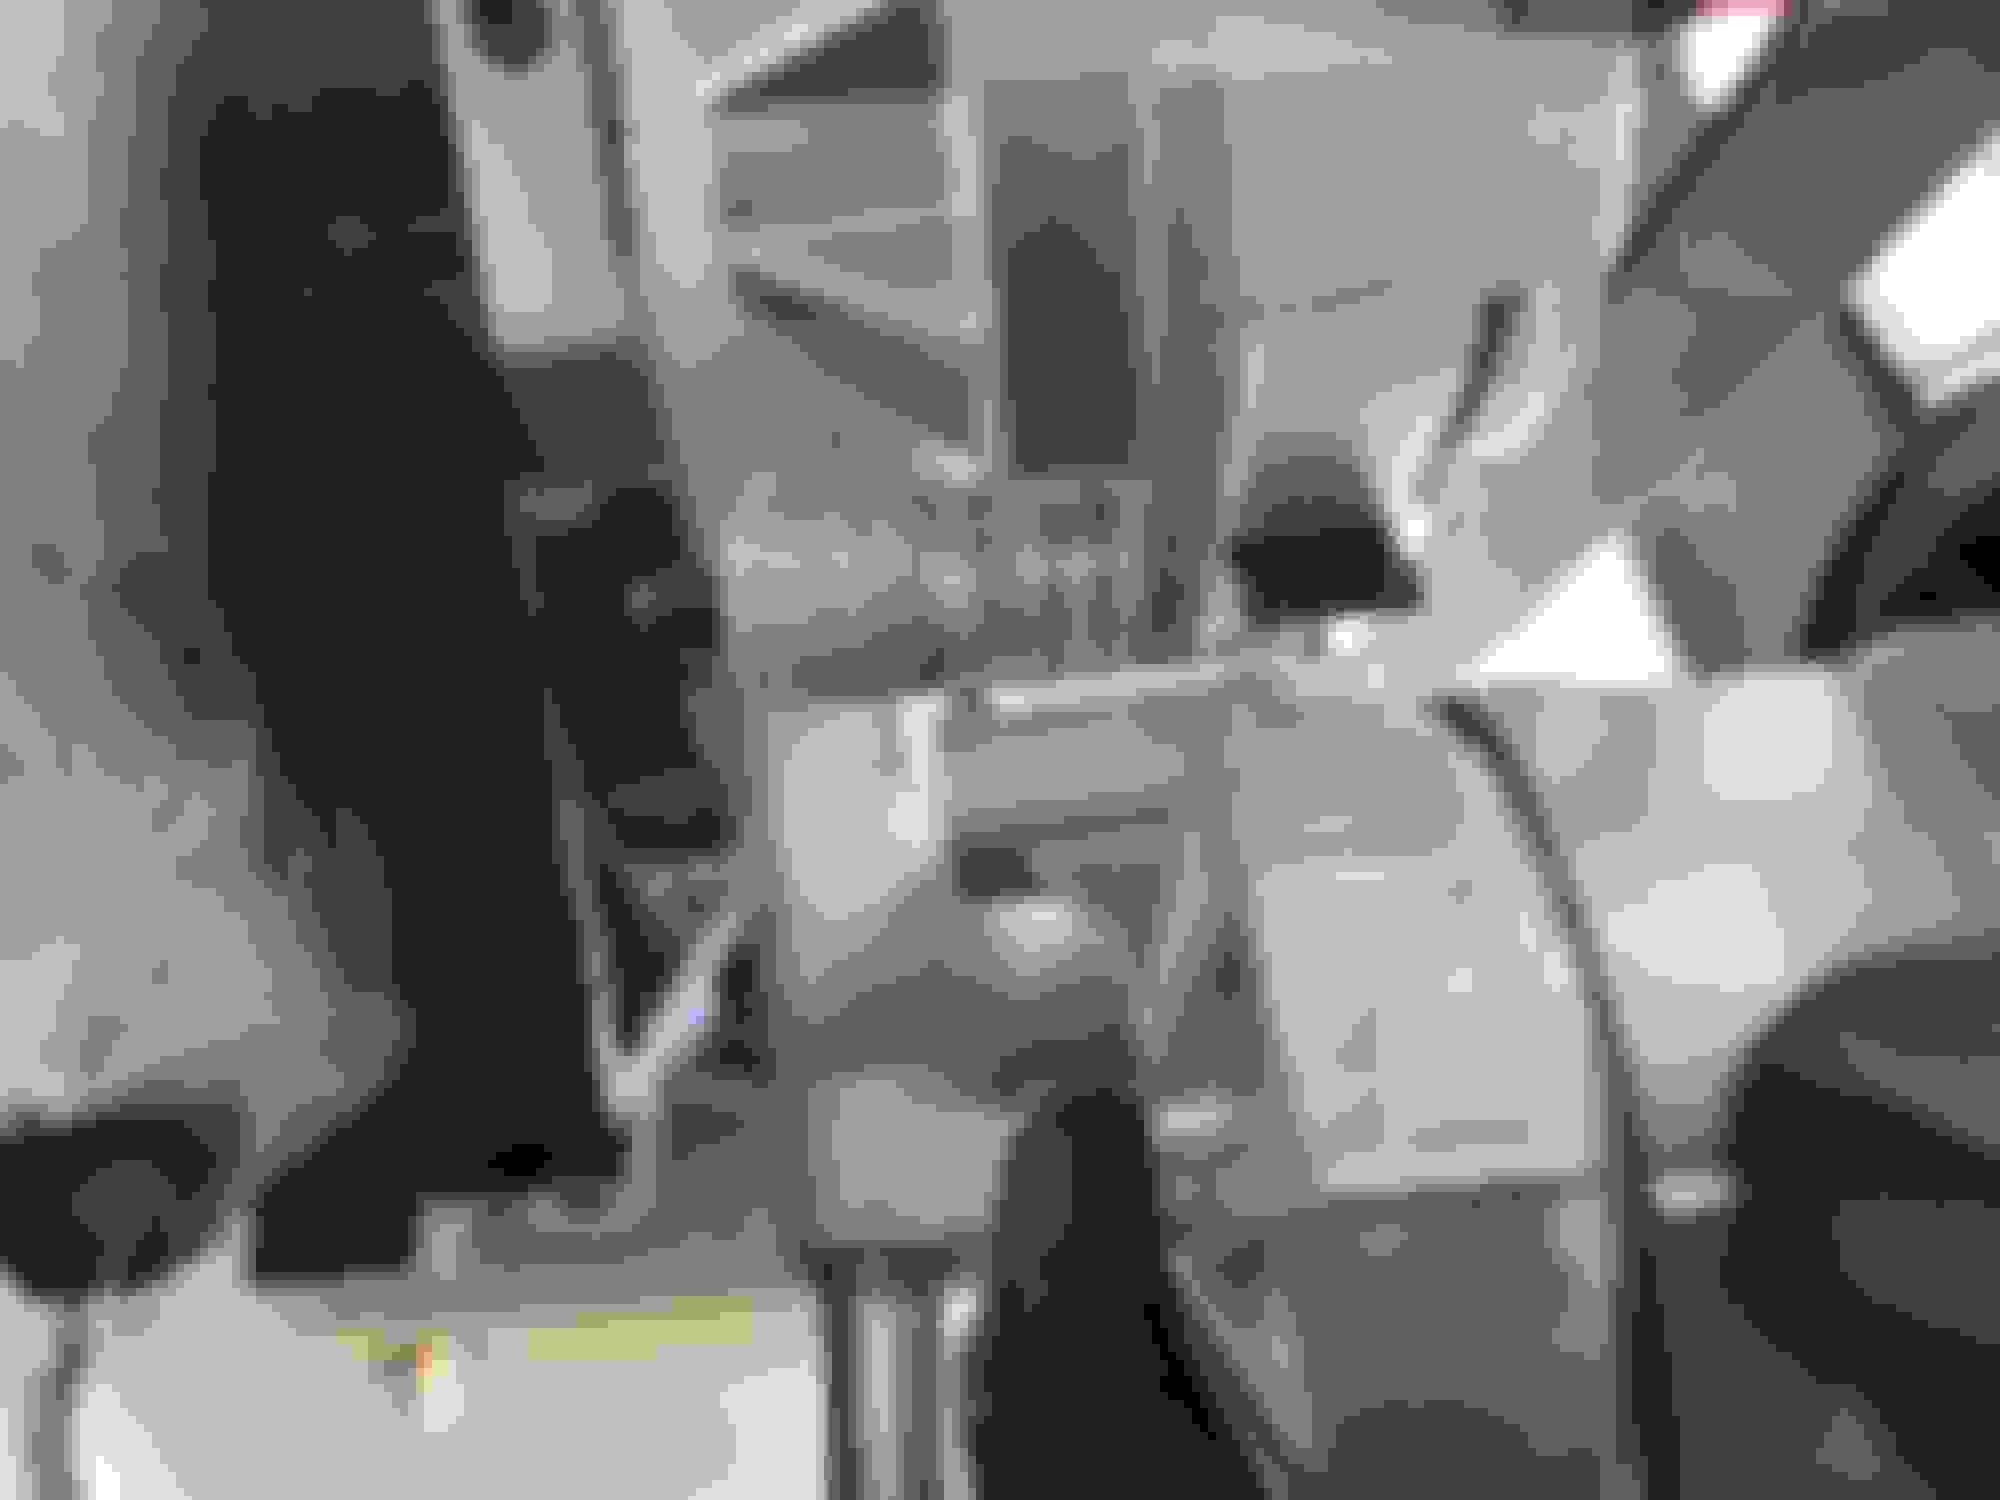
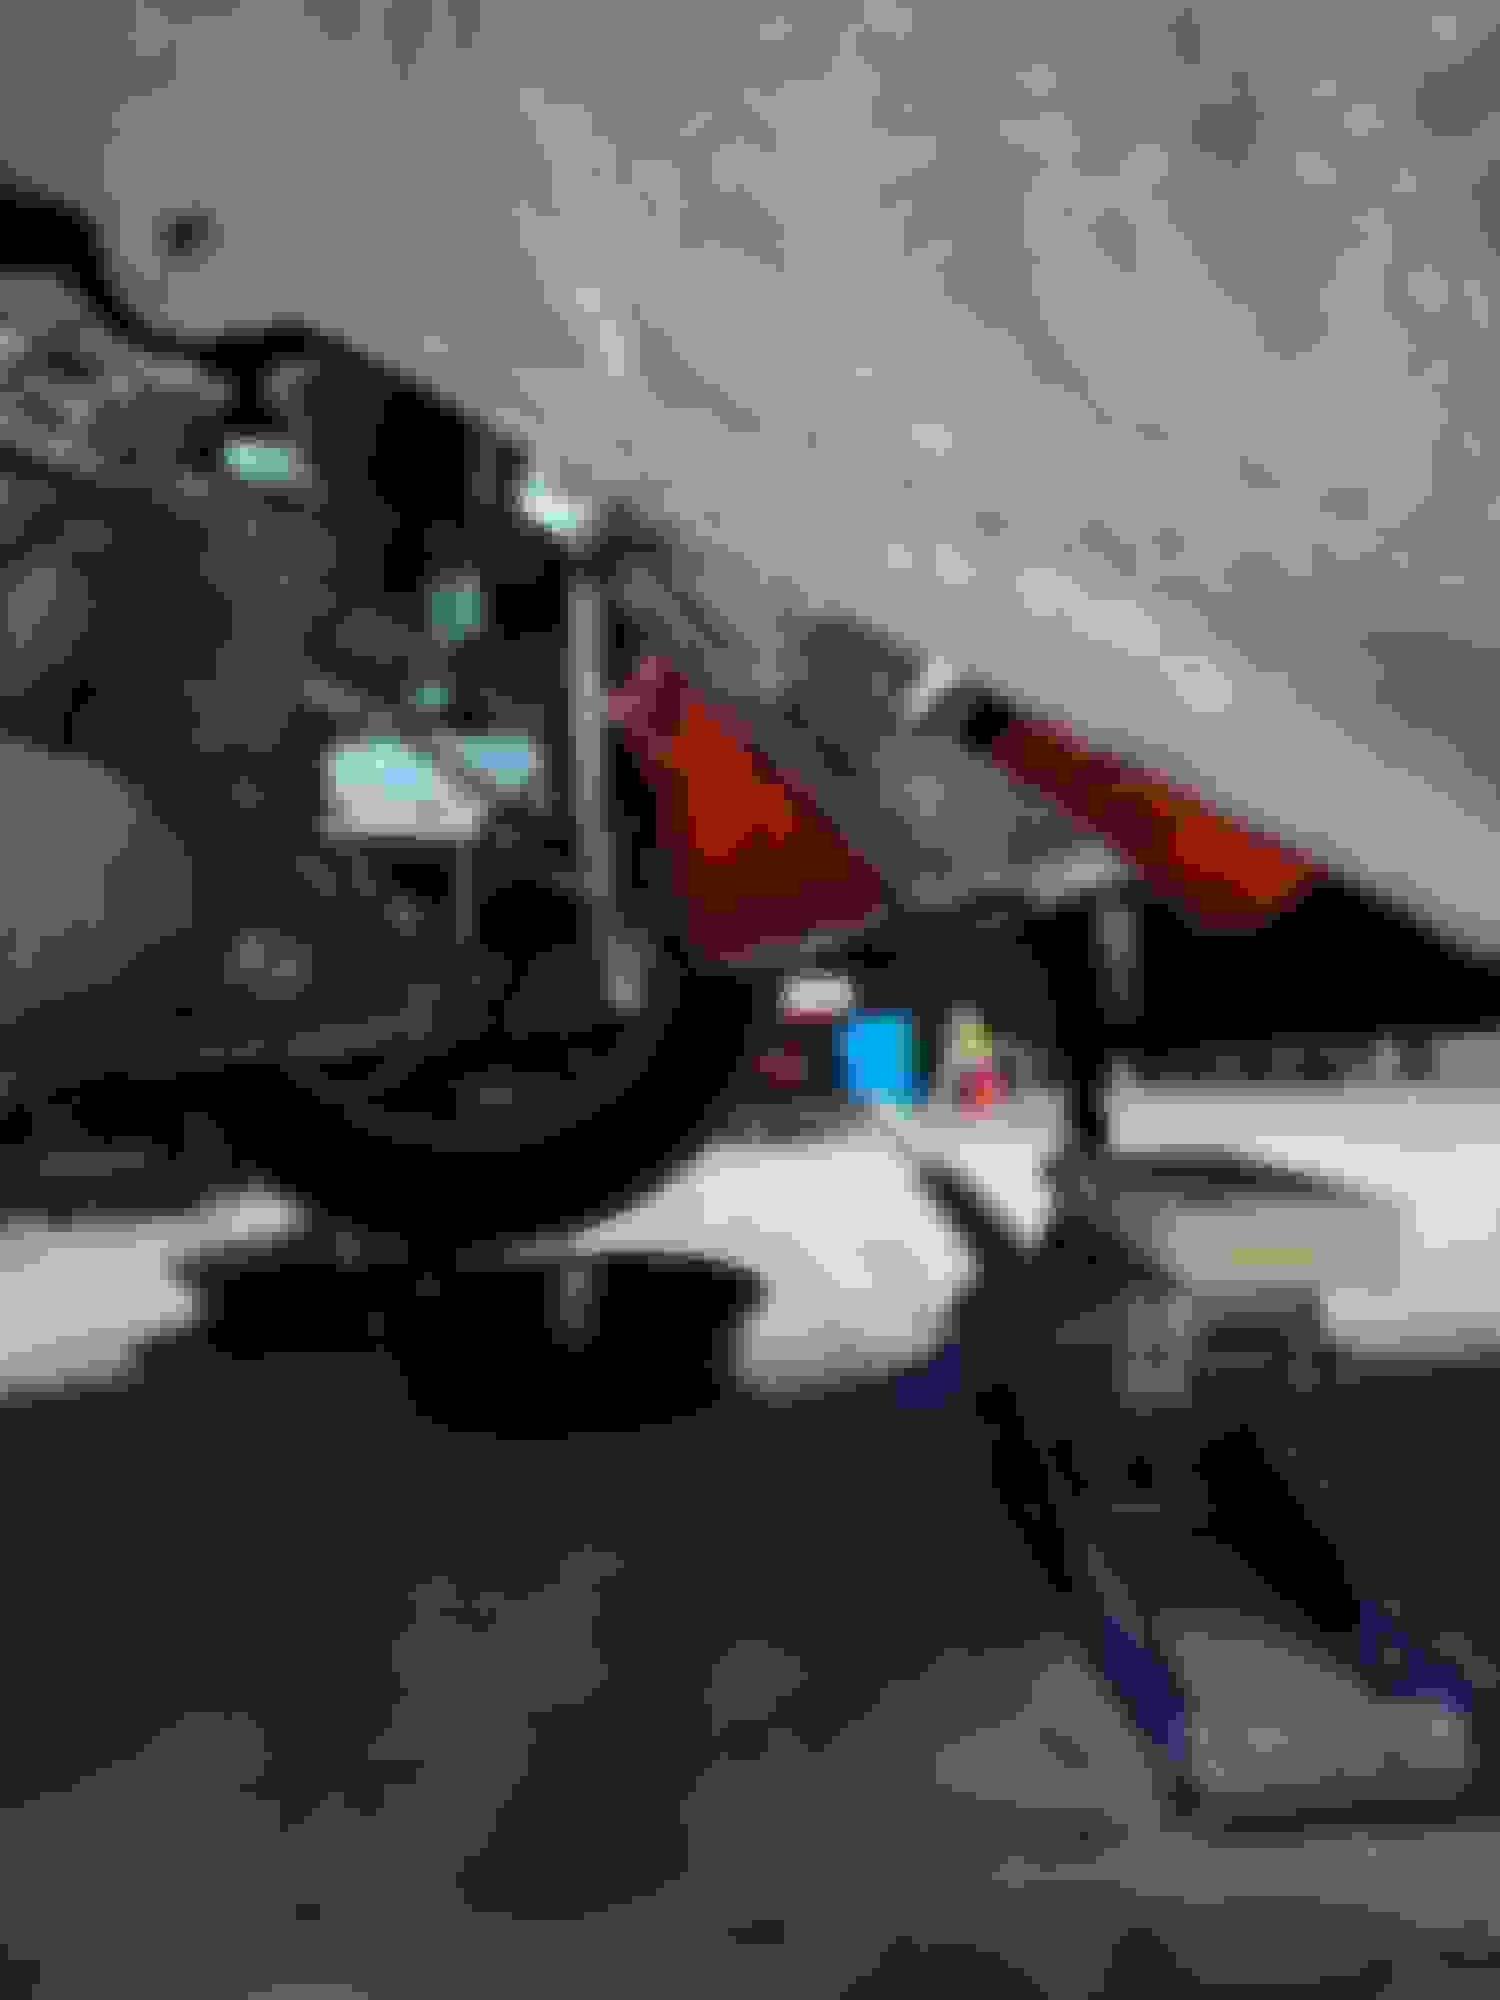
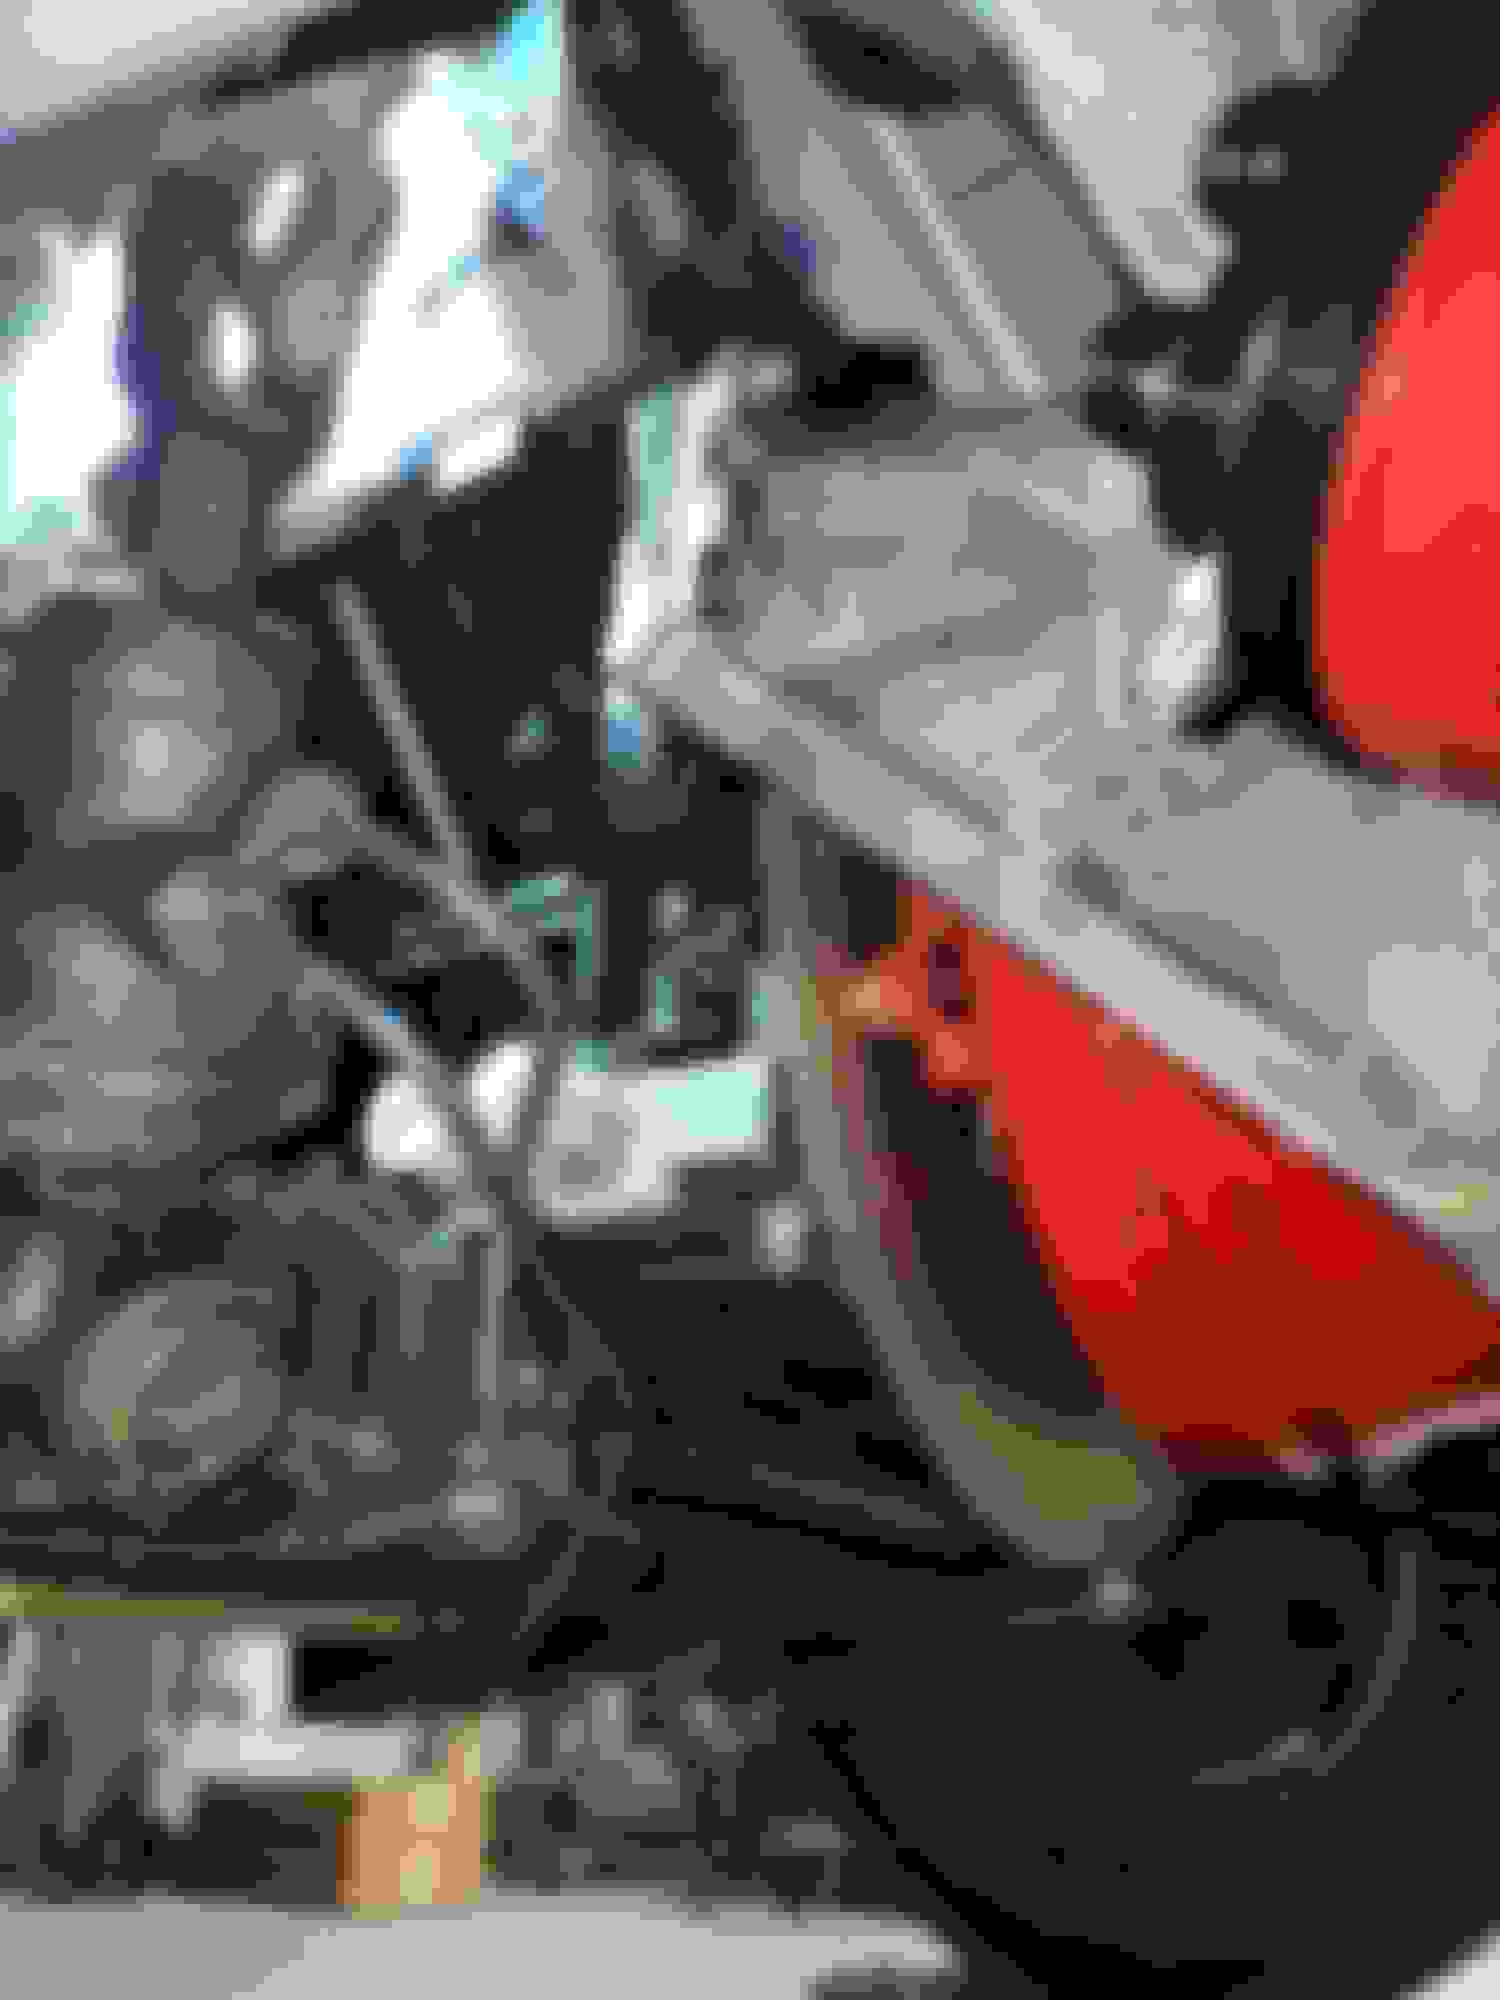
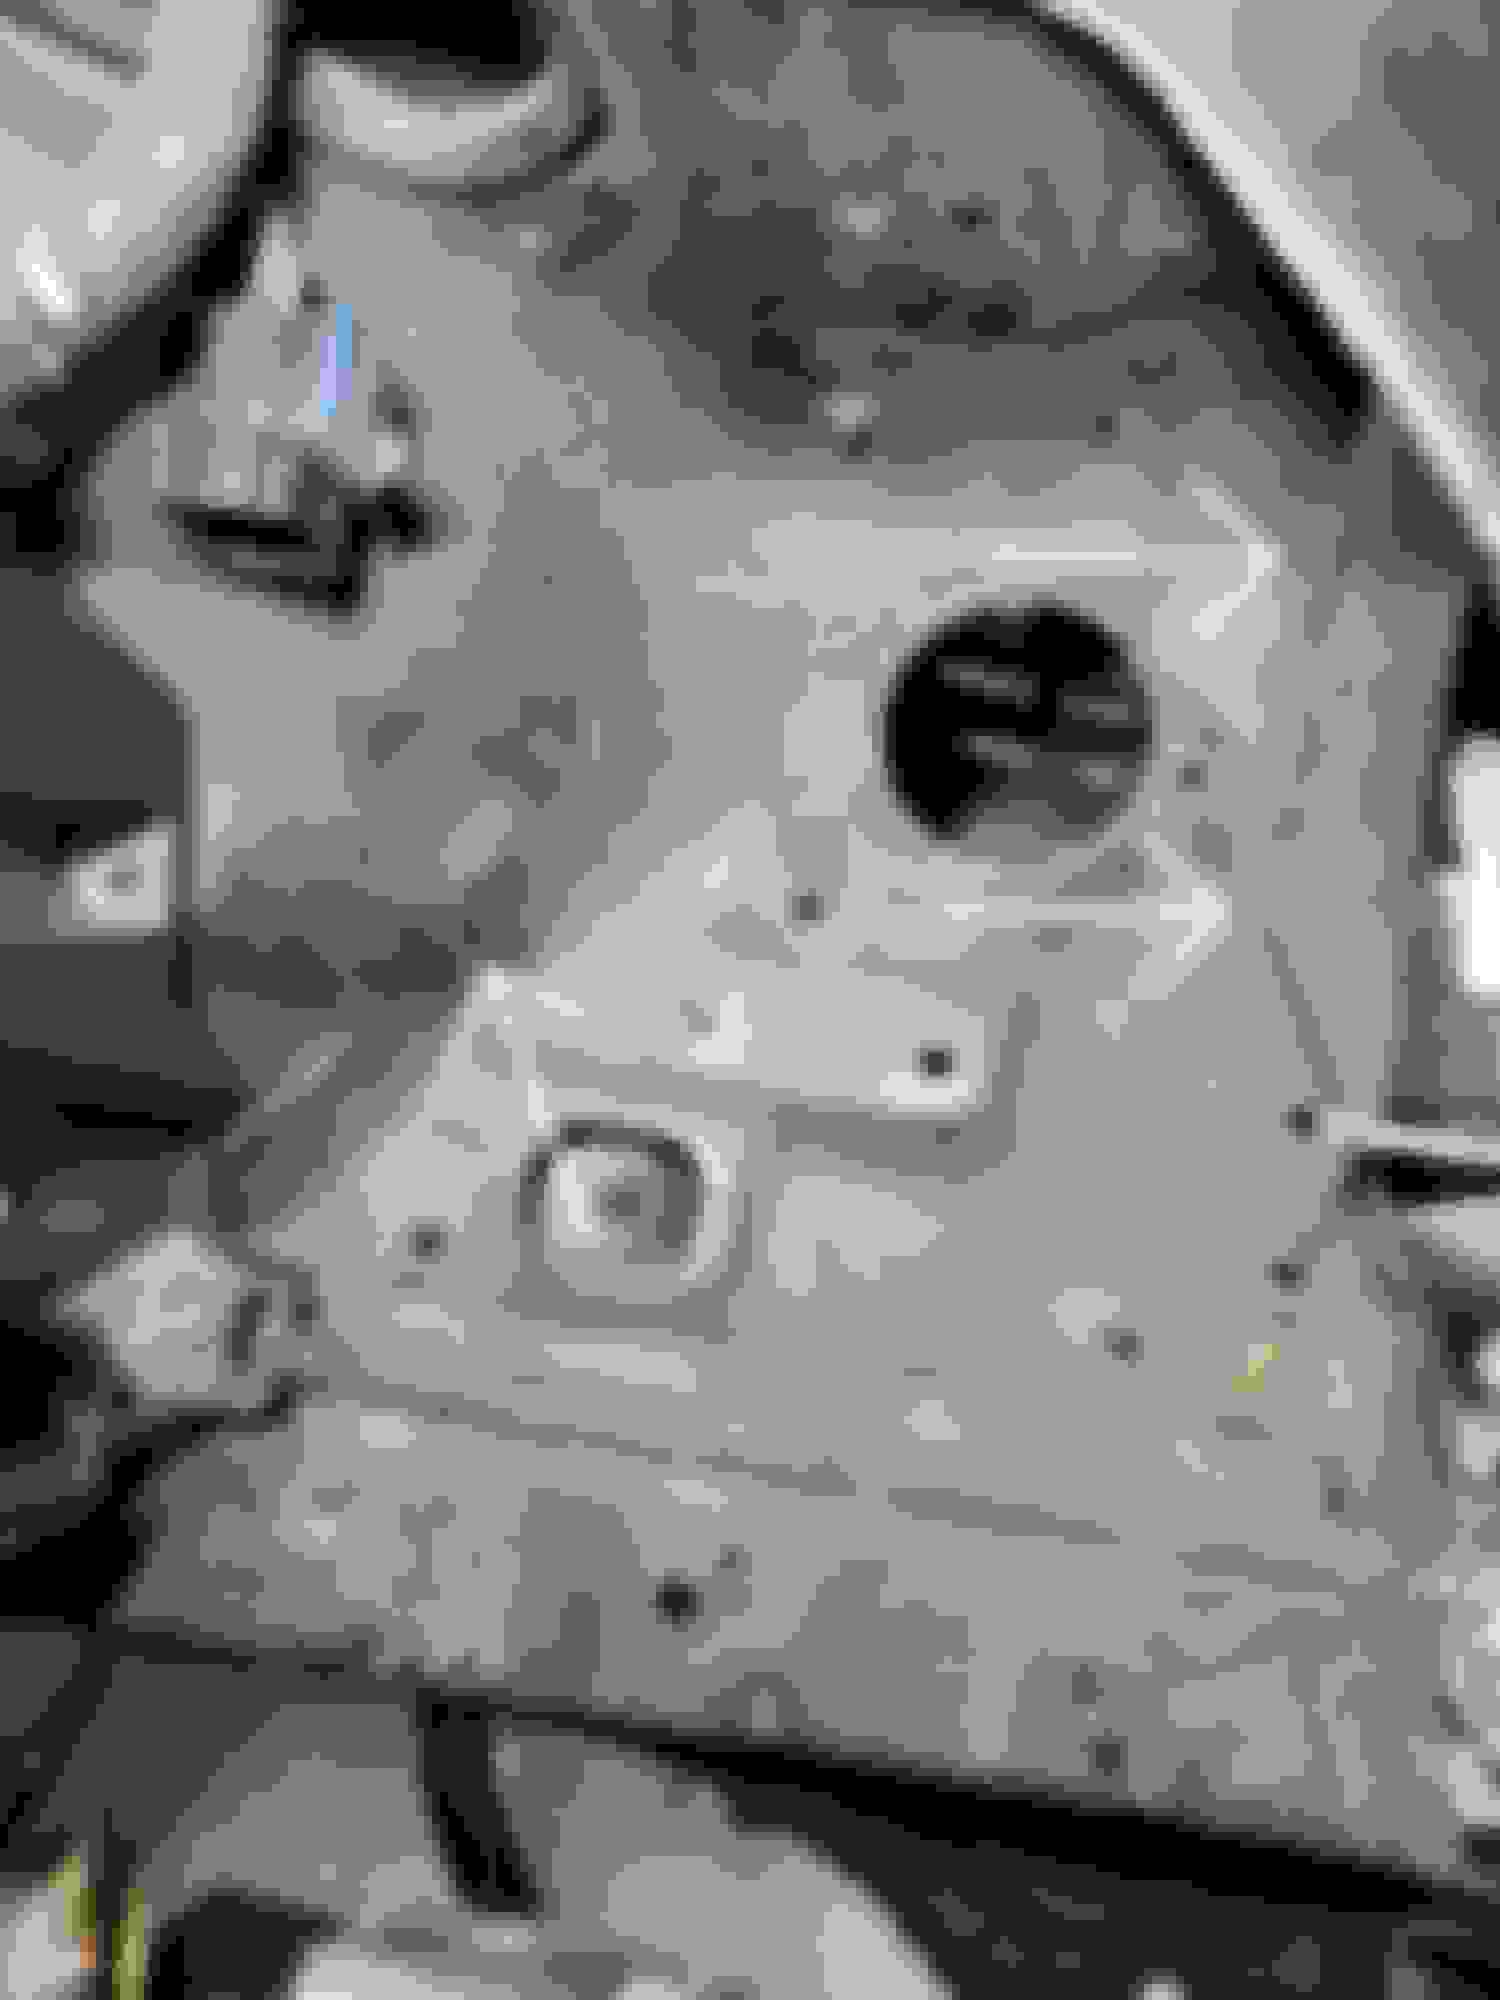
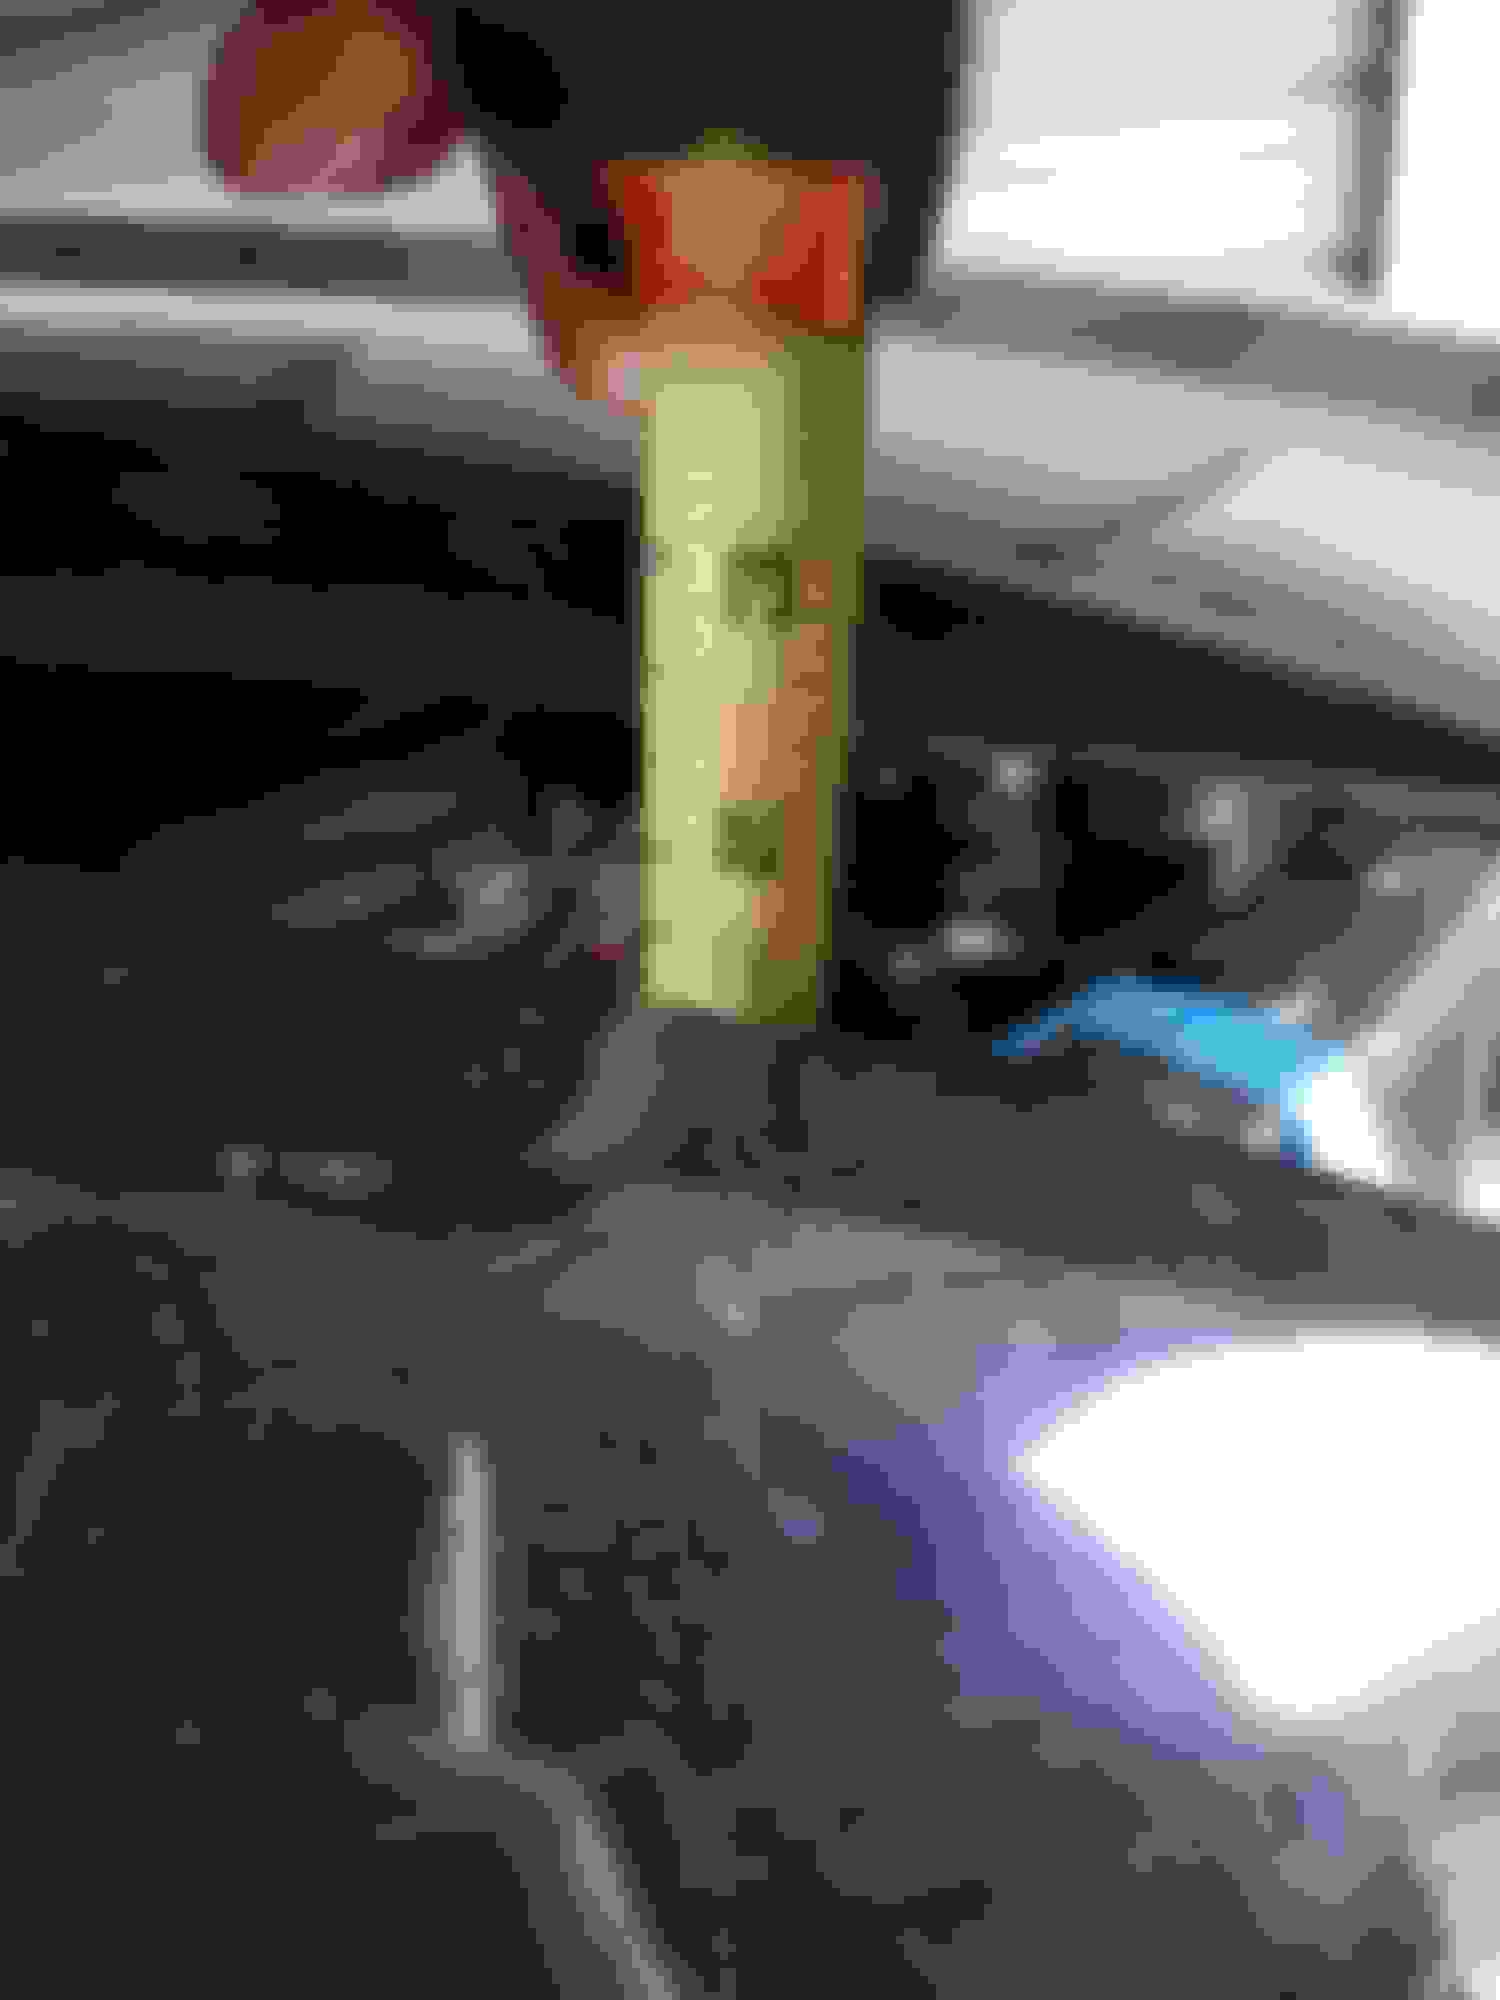
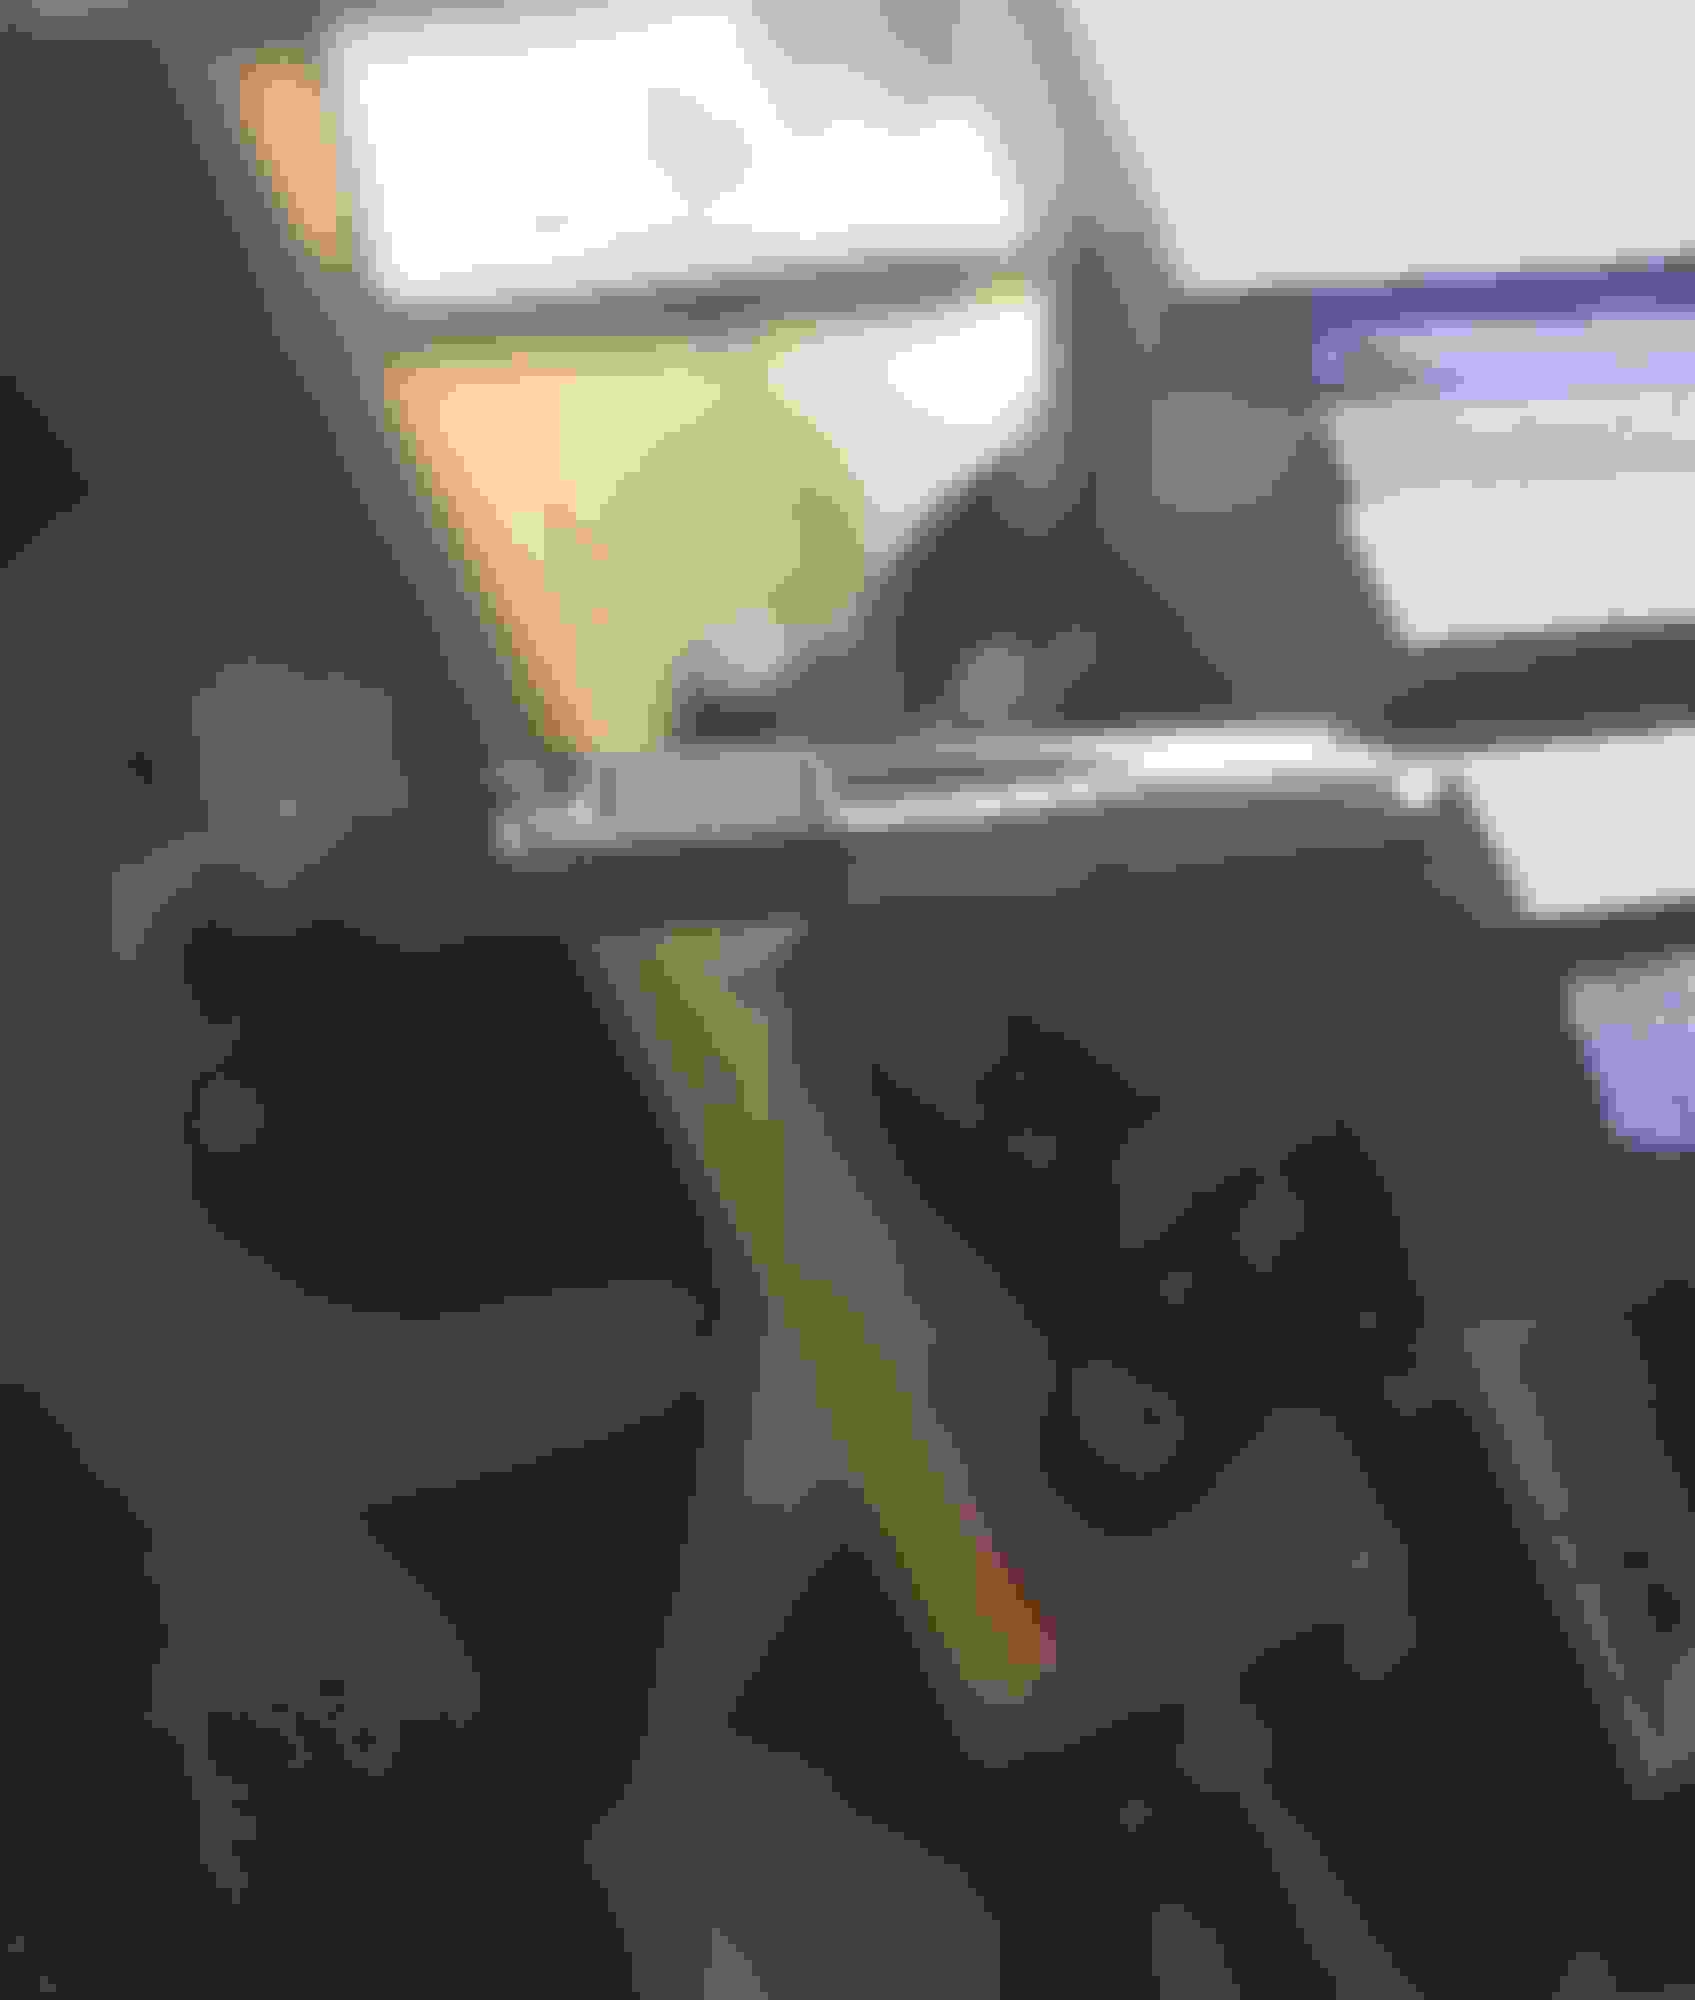
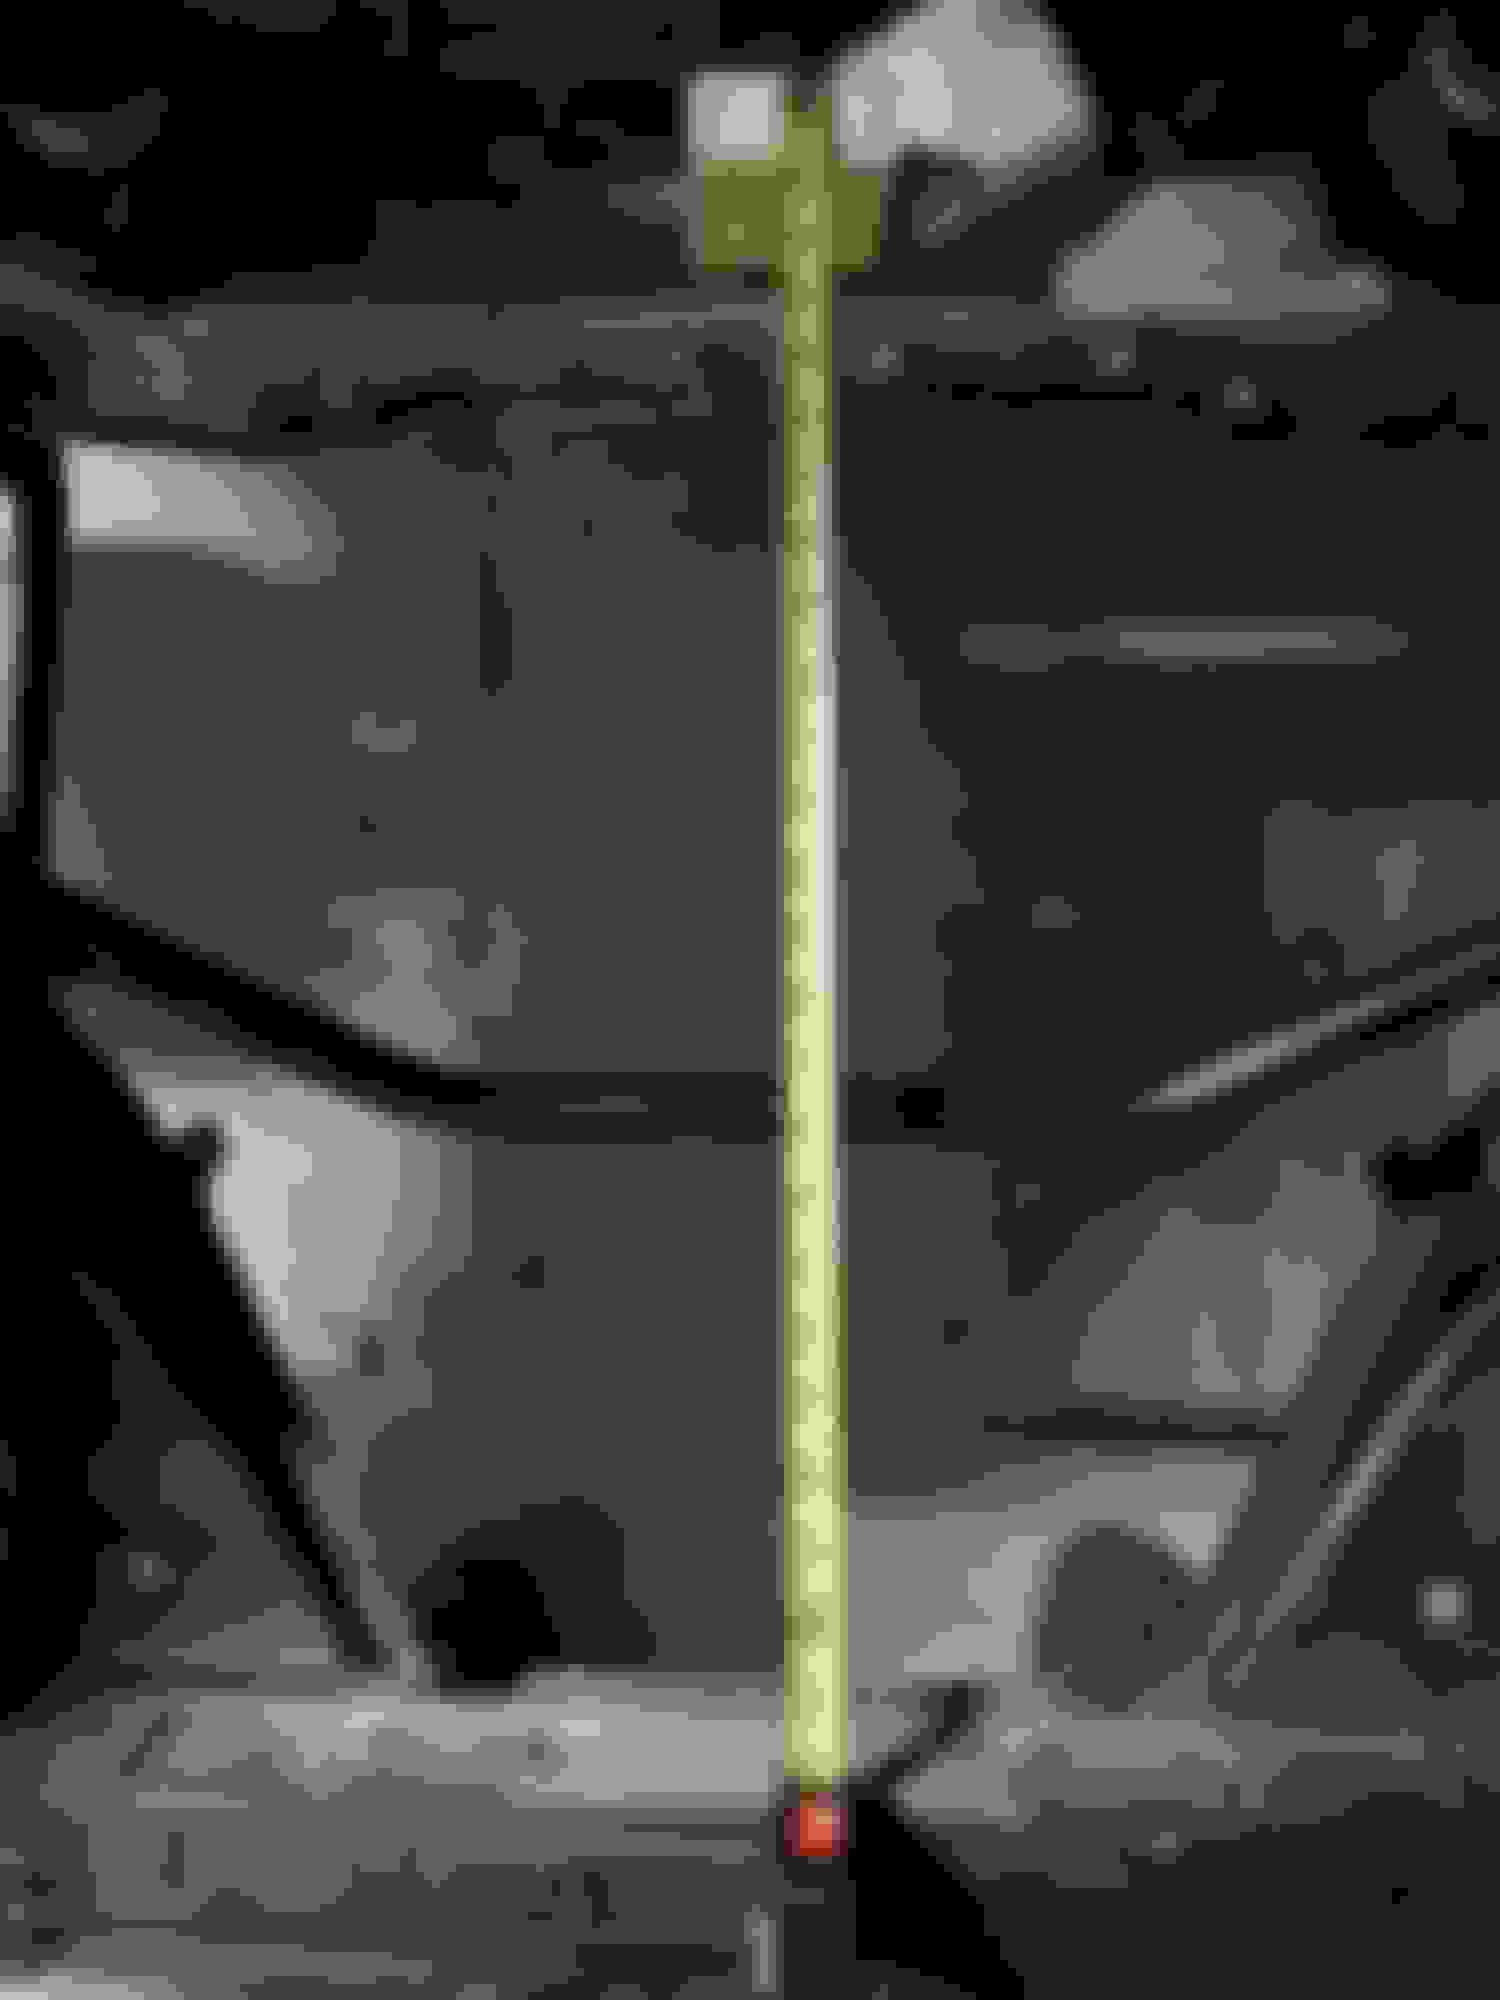
This weekend I decided to pull the engine out, needed to have room to drill/tap a hole for the dirty dingo ac bracket and to install the ict billet dip stick block off. Also a buddy of mine has a transmission guy (guy has his own business for 30+ years) that offered to look over the 4l80e to make sure everything is ready to go. So I plan on taking it to him this week coming up just to be safe since this was my first ever transmission build. Had to cut my taper tap to make into a bottom tap. Also scored a earls swivel thermostat on ebay $12 shipped Sway bar as it sits bolted to the end links Swaybar all the way back Sway bar all the way forward How much i plan on trimming to space the sway bar notch to clear the ac belt tensioner.

 04-01-22, 05:27 AM