When you click on links to various merchants on this site and make a purchase, this can result in this site earning a commission. Affiliate programs and affiliations include, but are not limited to, the eBay Partner Network.
Started the tear-down process. Turbo engine is disassembled in the garage, still need to send the head out (trying to decide who to trust with it). Engine harness detached from the body, which was NOT easy haha. Definitely bruised my finger tips and hung upside down way longer than I wanted.
Intake removed, clutch fan/serp. belt/battery, drained the oil and started disassembling the inside center console. Got the shifter out and center console out. This transmission tunnel needs to have the rivets drilled out and replaced with a new one I've purchased from Toyota.
Greddy intercooler arrived four months early! I had been told it was back-ordered with an expected ship date of late December and without notice got a tracking notification from UPS and bam its' here! Really nice quality and all the piping is designed for this model.
Also called Toyota and ordered a buttload of more parts, rear main seal retainer plate, head gasket, exhaust gaskets, intake gaskets, upper and lower timing covers, new crank bolt and tensioner idler bolt/washer. Going to feel good having refreshed everything and know with-out a doubt its' all being done to my expectation.
Not much work done but BC valves arriving today, also got my replacement muffler which is in much better condition but the tip has a little ding on it which will need to be tapped out. Thankfully its on the very end which will make it easier to deal with.
Got the radiator drained and out, A/C & power steering pumps unbolted and laid to the side; I don't plan on popping the lines off, although the power steering will need my reservoir installed and the upper AN port added again.
Wiring is finally out, definitely hurt my fingers trying to remove all of the body plugs, even bought some pick tools to try and help but that was a pain. Also got the exhaust disconnected and rear end out which didn't go so bad, but having the right tools makes the difference, and I didn't have a 1/2" 10mm or 12mm hex socket or a 3/8" breaker bar, so it took some wrench action but doable.
I recommend these for the rear end:
1/2" 10mm & 12mm male hex sockets - 10mm is used for axles and 12mm removes the 3 rear differential bolts.
1/2" 19mm socket - front two differential mounts, these are TIGHT and required a breaker bar.
1/2" 17mm socket + 17mm boxed end wrench - driveshaft bolts/nuts. I used the box-end on the rear and sat it against the front mounts of the diff; easy to remove.
1/2" ratchet + 1/2" breaker bar.
Or if you're like me, 3/8 tools with a 22mm box end wrench for extra leverage on the rear diff mounts and axle bolts.
Definitely should have ran more gas out of the car before this process... ended up dumping 2 gallons into my drain pan while I scurried to remove the exhaust and remove the rear jack stands to lower the gas tank height. Started off taking the exhaust off, Gotta say that a pair of hanger pliers makes this job so much easier than channel locks, had no problem yanking it out. Lowered the rear of the car to stop the gas from coming out and started on the progressive power steering plugs and starter wire/plug. Then I removed the shielding covering the drive-shaft center section so I could remove the driveshaft and at that point I put a jack under the trans to remove the four 14mm bolts holding the aluminum brace to the chassis.
Everything went pretty smoothly after that, the SC has a nice feature where you pop the hood struts off the bottom and the hood can raise higher up so it doesn't need to be fully removed which is a big advantage over the GS300 hood. Harbor freight 2 ton engine hoist made the job easy to do solo as well, felt stable the whole time. I also prefer to use the chains with the adjustable hook point rather than a leveler setup. I want my pick-up point as close to the motor as possible and I set it on a good angle to make lifting it out easy.
Excellent work!! Once you get the hang of it the first time it becomes much easier now that you've learned the ins and outs!
Whether or not you build up that 2JZ-GE or swap in another block be sure to transfer over your original engine block brackets and mounts (unless you need new mounts anyway). Donor engine JZ blocks have a few different mount bracket designs and I learned the hard way that it's not always easy to know which one you're working with. It's best to just re-use the ones from your original SC 2JZ-GE unless you know your donor engine block already has SC/Soarer or MKIV style brackets on it.
Pretty soon your SC will have much more motivation!
Excellent work!! Once you get the hang of it the first time it becomes much easier now that you've learned the ins and outs!
Coincidentally, this is probably my 6th or 7th time yanking a 2jz out, while I've never done it on this chassis; there wasn't much change and I think it was easier than my GS300's. And I plan to use the SC motor mount brackets combined with my 98 supra insulators, it was pretty funny that upon removing the engine both rubber motor mounts fell off.
The GE bottom end will be a spare for my GTE vvt-i setup, now I have two spare non vvt-i blocks that I can swap in or have built if needed. Appreciate your guys' support!
Headgames shipped me a double thickness box with some packing material, and a bag for the head. With all my extra parts, and extra layers of cardboard on all sides it was quite a tight package all said and done.
I shipped the 2jzgte vvt-i head without stock cams and included BC valves, BC0300 springs/Ti retainers/billet keepers, Tomei 252/260 poncams and Ferrea valve stem seals for a total weight of 83.2 lbs. Went out fedex ground for $216 with $3250 value on friday morning and arrived wednesday. I should find out by Monday how safely things arrived and the total inspection of the head.
Decided to go with a 2J-3 package which is the pocket porting, new valve guides, valve job, lash/mill and assemble with new parts. Also going with shimless buckets which is a $440 upgrade. Headgames said my springs would be maxed out around 650hp and that it would float @ my goal of 7-7500rpm but BC has these springs made by PAC racing and claims 800whp and up to 9000rpm. I think my smaller cams will go far to reduce coil bind and any floating. My goal is only 600-650whp and 7500ish rpm.
Talked with Matt @ PANIC who did my GS300 gte vvt-i harness and got myself on the wait list for a full harness and ECU/sensors. Sadly there is a 9 month wait, which i beat myself up over because I initially was going to proceed a few months ago but wanted to have the harness and motor out of the car first. So here's the list of goodies that will control the motor.
PANICwire full new harness wired pnp for my car with Link G4X FuryX ecu
Link Ethanol Content Sensor (ECS) 101-0034
Link Fuel Pressure Sensor (PS150) 101-0080 (no adapter needed to radium direct mount regulator)
Link Oil Combined Pressure and Temperature Sensor (CPTS) 101-0184
101-0199 Adapter M10 x 1 Female to 1/8 BSP Male to lexus union bolt on filter side
Link 3 bar MAP sensor 101-0164
RIFE (52-1208) IAT sensor
Link Coolant Combined Pressure and Temperature Sensor (CPTS) 101-0184
101-0199 Adapter M10 x 1 Female to 1/8 BSP Male to replace single wire temp sensor on upper water neck.
LINK/AIM MXG Strada 7" Dash - Street Edition 100-0172 (I will be using the recessed makomotorsports dash surround for this)
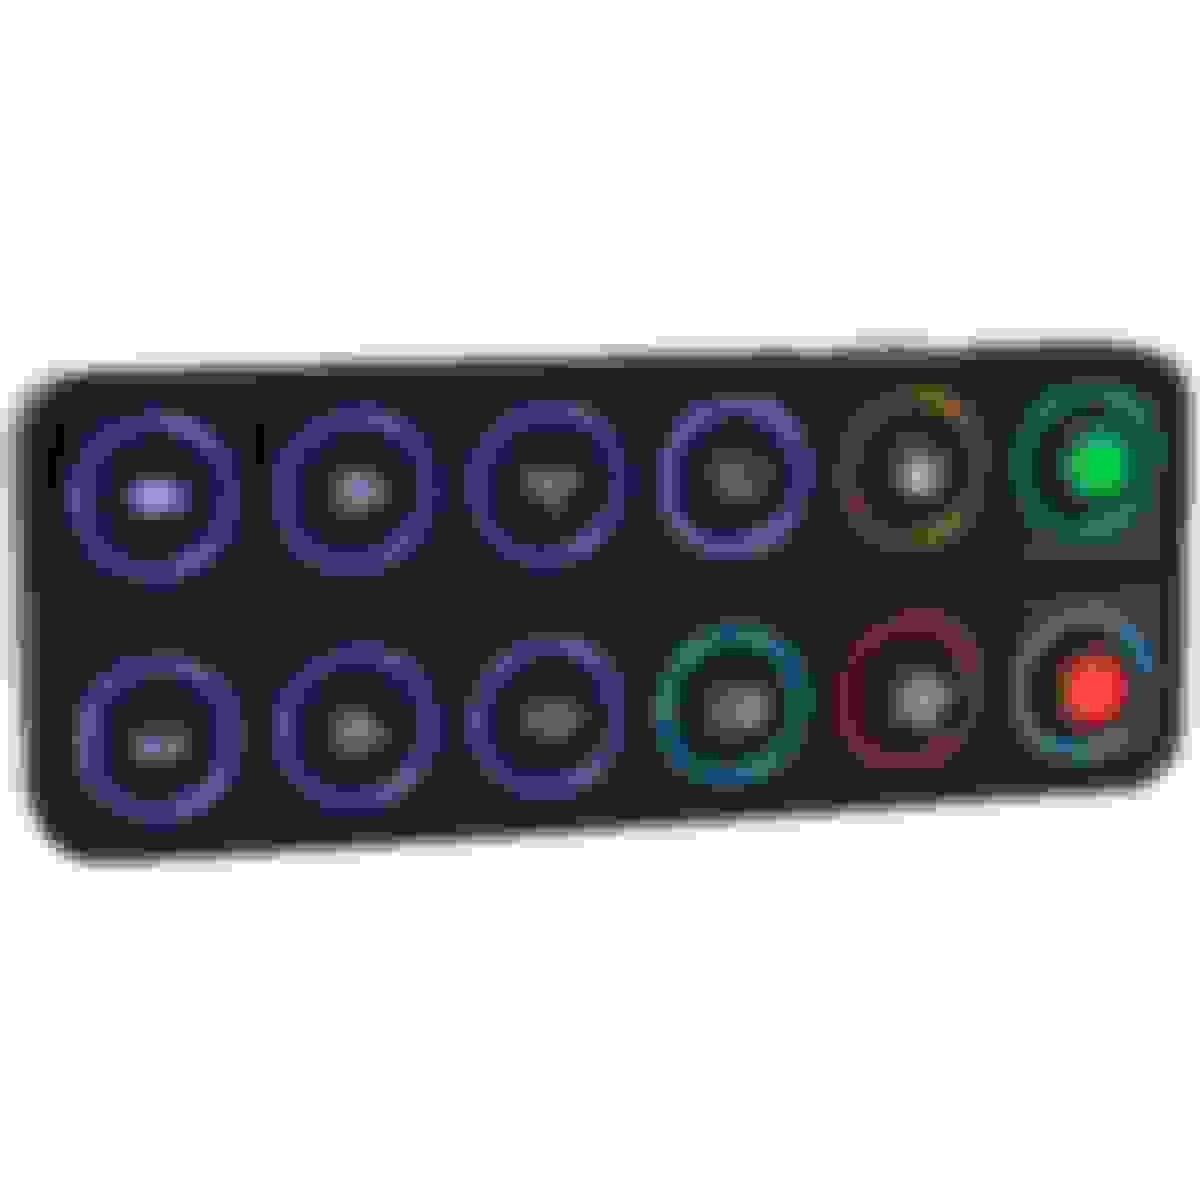
Debating right now whether to add on link 12 button CAN keypad in a single DIN location on the center console, removing the stock radio and having a aftermarket stereo put in with the CAN keypad above it would look pretty sick. Only issue is the height is 2.75" compared to a 2" single DIN location. Maybe in the future!
Just got the head back, will have to take it out and get some photos and inspect everything, but so far the studs I wasn't able to remove will all have to be replaced with new OEM and my vvt-i solenoid cam-cap ended up breaking one of the little allen hex ears, although this isn't a load bearing spot it should be fine with some extra silicone in the corner to prevent oil from coming out. Still kind of sucks, but I feel this may have partially been my fault for tugging a little bit before removing the rear hex allens (i forgot).
Also, followed through with one of my final purchases for this build which is the harness/ecu/sensor package. Here's what I picked up, with tuning will end up ~ $5k for anyone doing similar.
101-0034 - Link Ethanol Content Sensor (ECS)
101-0080 - Link Fuel Pressure Sensor (PS150)
2x - 101-0184 Link Oil Combined Pressure and Temperature Sensor (CPTS)
*hold CPTS connectors for full harness integration
2x - 101-0199 Adapter M10 x 1 Female to 1/8 BSP Male (FREE with CPTS)
101-0164 Link 3 bar MAP sensor
100-0172 Link MXG Strada 7" Dash - Street Edition
122-4000 Link G4X FuryX ECU (includes FREE LSU4.9 o2 sensor)
VERY nice work they did for you! I hope you are able to get that VVT-i cam cap sorted out. Can't you carefully use a bolt extractor on the shared off stud and run the correct size tap on the threads just to make sure everything is okay?
Head looks great, yeah headgames said the same thing about the bc springs and retainers so I listened and went with gsc conical springs, retainers, new valves intake and exhaust. Finally got my 272 cams in , so should be shipping this thing off in the next month or so. Love the build joe! Keep it up!

 08-19-22, 10:36 PM