When you click on links to various merchants on this site and make a purchase, this can result in this site earning a commission. Affiliate programs and affiliations include, but are not limited to, the eBay Partner Network.
Parts from Japan arrived safely! Thanks RHDJapan! They package things so well, you can really see the quality of care for their parts. This new engine cover looks SO good and I'm quite happy I purchased one new. This will be the last piece I put on my car no doubt after everything's tuned and no oil/fuel/coolant leaks are found. Haha!
Been a pretty slow week, just having to listen to my body and take it easy. Been really weak lately so this is probably going to be the last update till Thursday.
I feel like the OS giken alignment tool has a pretty tight tolerance to it, like i said before getting it in/out of the pilot bearing requires a bit of push/pull. Although once I got the transmission off the workbench, i put a little red grease very thinly around the front snout of the input shaft where it would slide in; had my engine hoist attached to the front hook to lift the front of the motor; took a couple adjustments up/down while wiggling the transmission but easily doable; slid right on and didn't need to use the bolts to pull it together at all. New bolts really add the finishing touch here.
my Ah-HA moment finally getting the input shaft to slide fully into the pilot bearing very slight gap before installing bolts Mostly all assembled here, I installed the five large bolts on the top; and two smaller ones on the sides before calling it. I'll have to hoist the motor up to get the lower ones or do it once the engine is in the car.
Figured I would take a look at my starters, toyota is ~ 160 new but I know both my starters work, and pretty easy to change out so I think I'm going to re-use. Turns out I have an original that came on my aristo; and a remanufactured denso that came on my SC300; but it had a plastic broken piece on the post. Swapped em out and cleaned it up with brake cleaner. Going to run it!
Just got the email that I'm next in line for my harness!
Super excited. I only have two more days of work before my 5 week vacation begins.
I agree that getting the motor off the stand, and the trans bolted up with the clutch all ready to go helped put a little more motivation back in me. It's been over a year since I drove my turbo manual GS300; and I feel like its been a two year goal of mine working towards getting this all done. I've been pretty damn exhausted I am finally starting to imagine driving it again and how GOOD it will feel to have it done, wind blowing in my hair and hearing BOOST!
Man you are rockin and rollin!! You're gonna be bangin gears in no time. Nothing beats an inline 6 bolted up to a manual trans... Well, ok, maybe a few things, but man I sure love rowing gears in these cars!
Measured the aristo diff flange right around 4"; turns out it should be ~ 99.5mm or 3.917" Once the motor/trans is in the car along with this rear end I'll measure the length for a driveshaft. My plan is to go with a driftmotion 3.5" aluminum, with their chromoly front yolk and the one piece 1350 joint rear that goes directly to the differential flange and gets rid of the adapter. This will run me ~ $1000 but I think it'll be worth it, I've ordered driftmotion parts a lot over the years and happy with the innovation and support they provide the community.
Also decided to toss the manifold on temporarily for a more complete photo before it goes in the car.
Got an update from Panic, paid for the completion of my harness. I had previously kind of spaced the harness cost out of what I had previously paid but it turns out I had only paid for the ECU, dash, and my wide array of sensors. Now I'm fully paid out right around $6k
My start date for the harness is 9/1; which gives me this time off in August to get the motor/trans/rear end in and start buttoning up my final to-do list.
Seriously considering trading in the honda for the up-coming landcruiser. MAN they look sweet! Perfect rig for me to tow my lexus occasionally, go camping or off-roading; hit up the beach, or daily drive. Might wait for the initial models to get the bugs worked out of them but dang I'm feelin them. Trying to figure out what I'll be trading my honda civic in for, and I'm split between the new 2024 tacoma or the 2024 land cruiser; although the land cruiser has a 15k increased price; the interior is much nicer; and its built in the iconic Tahara plant in Japan. To me having a potentially life long vehicle that aspect adds a quality and admiration factor; being the same factory that made the lexus GS/LS/GX, 4runner, and celica. Known for their quality I feel its undeniable the fit and finish would be held to a higher regard.
So thinking about a final to-do list. Not much left here. I'll try to do this in order of my thoughts on what needs to be done to move things forward.
1) Cut out transmission hole to fit FRP manual trans piece
2) Cut 1-1/4" hole for clutch master in firewall and drill the two stud holes to mount it
3) Swap out brake pedals from AT to MT pedal
4) install Supra TT throttle cable 78180-1B090
5) Install clutch master with clutch pedal bracket assembly (I may have to drill out the lower mounting bracket hole and use a nut from the backside from what I gather? Seems some leave it without the lower bolt
6) power wash/clean the engine bay
7) remove rubber fuel inlet hose and install radium adapter to hardline at frame rail
8) Install motor/transmission into car; get it set into the motor mount holes and get the transmission mount bolted up so its free sitting
9) Tighten motor mounts and transmission mount
10) Install the gs300 diff with the aristo gears in, already has KAAZ 2 way LSD and 3.76 gears
11) Measure from tranmission output shaft to differential flange to order driftshaft
12) Install fuel inlet hose from radium adapter to fuel rail center
13) Install ethanol sensor and fuel return hose to stock hardline (for now)
14) install A/C pump and power steering pump on side of engine
15) remove rear seats and remove fuel pump from stock hanger
16) Install duetchwerks single relay HD kit. In the future when the fuel system is re-done fully for ethanol and twin pumps with PHR hanger; i'll add another relay kit that has its own independent power/inlinefuse/ground/relay/trigger wire so they can be staged properly.
17) After getting relay installed and wired to the fuel pump tophat, run trigger wire from relay to passenger footwell area for standalone trigger connection
18) Install walbro 485 pump in stock hanger for now, connect wiring to fuel pump tophat and re-install in tank
18.5) reinstall rear seats
18.75) Fill transmission with fluid (Redline MT-90); install transmission fiberglass top piece, and start reassembling center console
19) install fuel pressure sensor onto rear radium fuel pressure regulator
20) install clutch slave cylinder with driftmotion braided line to master
21) remove stock gauge cluster and prep for installing the Link MXG 1.2
22) remove front bumper/headlights and install greddy intercooler kit as much as possible and reinstall bumper
23) install rear heater hoses (I still need to order these.. I know OEM isn't available any more)
24) install Koyo race radiator (Supra TT style) with PHR upper mounts
25) test fit radiator shroud (I have a near new SC300 one and Supra TT I'll try both) and trim battery tray, then install clutch fan
26) install serpentine belt
26.5) install wastegate lines with MAC valve to control boost
27) install upper/lower radiator hoses
28) hopefully by this time I can install the driftmotion 3.5" aluminum driveshaft
29) install PHR 4" exhaust system with 3" HKS midpipe (for now) Not positive if i can fit a 4" downpipe yet
30) Trailer car to welder; who will add Tial Q BOV to intercooler piping, create wastegate dump pipes, and create new down pipe connecting to midpipe.
31) hopefully by this time its the end of the month, things are almost finished and I get my wiring harness/ECU and install that into the motor
32) after wiring is installed on the motor, connected to sensors i will install the digital dash with the wiring through the dash to the standalone ECU
33) install catch can system
34) add oil and coolant to the motor/radiator
35) install battery; remove fuel pump fuse, prime oil system
36) first start with base map provided
37) burp radiator system with heater on hot with lisle funnel kit, allow car to warm up and watch for any leaks in the fuel/coolant/oil systems
38) I'll confirm no leaks and get some heat cycles into the car, do some small distance neighborhood test drives
39) Depending on the start up map and how good it runs, I will either drive it a little bit and then change the oil once more before dyno; flushing the head of its moly lube and anything else that could've been caught in the filter.
40) once I've confirmed no leaks, and no errors from my sensors, I will book dyno time with the tuner to tune the car for pump gas for now.
41) probably going to replace my differential fluid after the car is done and I can bring it into the dealership to show it off with KAAZ gear oil.
42) lastly will be the MK4 front brake calipers/rotors with stainless brakelines, I may also have this done with my bro at the dealership (we do it after hours on the lift); we could knock it out quick and he can get a free case of beer. Haha!
Pretty much after that its me enjoying the car, breaking the clutch in, I may change the transmission fluid after some break in period too depending if driftmotion requests it.
From there, I still have dreams to change out the turbo to a dual ball bearing unit. Also going full flex-fuel by removing the fuel tank, having the bottom sealed; adding the PHR hanger with twin walbros and running PTFE lines all the way up to replace the OEM lines entirely. But these things will come after a much longer period of enjoying the car in moderation trying not to blow up the transmission or bottom end; and having fun with my car friends at events again.
Good morning Joe,
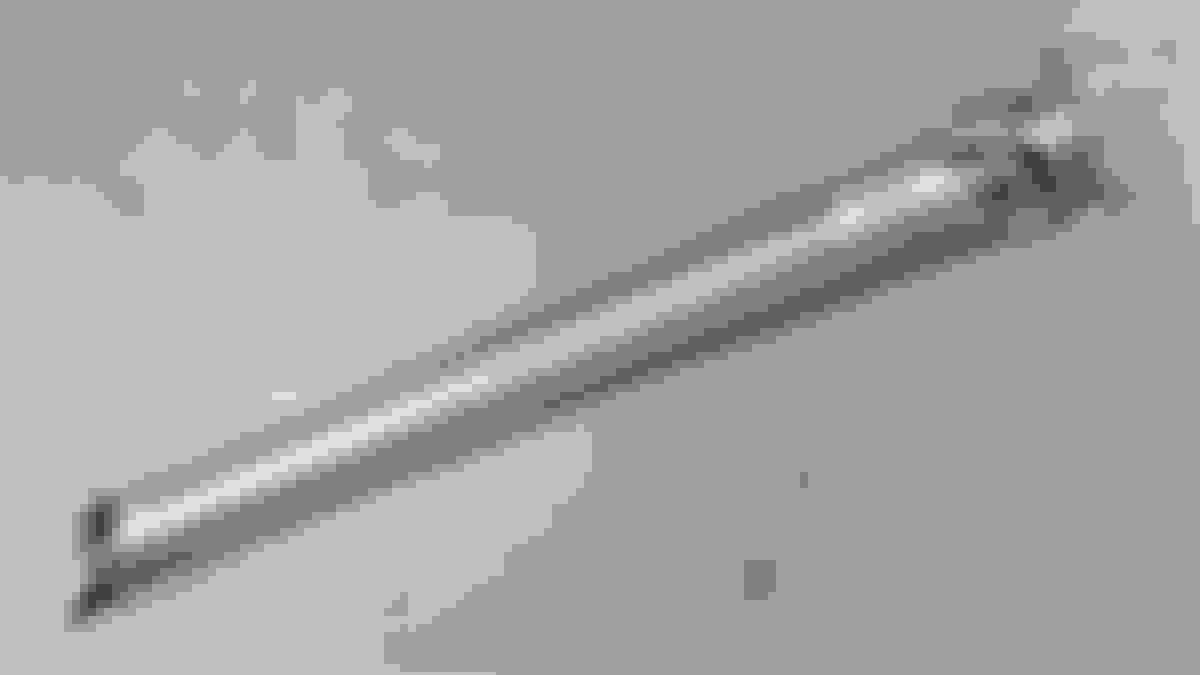
Again I use that term beautiful but that is the only way I can describe the drive shaft. What a piece of workmanship. If you put your car in any car shows which I assume you will, you will need to get out the mirrors because you don't want anyone missing out on seeing that drive shaft. Glad your wiring harness is coming up also, all the parts of the puzzle coming together.
Joe, I do have a question, are you changing out the rubber bushings on your diff for poly? That was one of the best decisions I made with mine. Driving on the highway I would get an occasional vibration from the rear and a friend and I installed poly bushings front and rear on the diff and that has been at least 10k miles without the first vibration. Also what year engine have you got, I love the cam covers on the turbos. I would love to find a set for my GE engine. Visually they set the engine off so much without the dip. Good luck.
Bill
I do hope to be able to get to some car shows once I'm finished and get in a yearly routine. I'd like to also be able to trailer the car to some track events.
So the situation with the control arms, bushings and all that has been something I've not talked a lot about; if at all in this thread. I've priced out full upper and lower front/back control arms and ball joints, but thats something on the back-burner until after the car is running and driving. Pretty much my thoughts with the front brakes ya know? But I definitely put upgraded front brakes ahead of my need for new bushings but it's the next step as well. I would drop the entire subframe out of the rear and go through everything, and redo the front mostly. I could see myself having new wheel bearings put in during this period but I would want the car to be done by a shop most likely, and stored inside at that point.
The engine comes out of the 1998-2002 toyota aristo/supra in japan, with both the twin turbo from factory and the VVT-I intake.
The transition to days has been hard! Yesterday i felt jet lagged like crazy and ended up taking a nap mid-day for a few hours. I dropped off my OEM harness with panic, hoping to start before i go back to work on 9/10-9/11.
Today I was able to get a couple things done, but its hot and I feel this is the worst part of the whole thing; working under the dash... UGH!! Let me tell you that pulling a motor/putting it in is FAR easier than putting a clutch pedal in under the dash!
Link ECU bracket has been mounted. I had to remove the OEM bracket to mark and drill the holes; then got some nice countersunk screws with locknuts on the backside.
Next I started working on the clutch pedal situation; I figured it would be best to remove the lower dash cover. Also tried removing the gauge cluster; but it seems with me leaving my steering wheel in this position I can't remove it. Hopefully once I put a battery in the car I can tilt the steering wheel down and remove it.
Drilled the center hole and the two outer holes, my outer holes aren't perfect but I did get the clutch master to fit through it; was hanging upside down trying to get the clutch pedal onto the rear studs and I feel like I should remove some of the padding down there.
Little more progress today. Its been blistering hot and I almost messed up cutting my tunnel.
The FRP manual trans piece is definitely designed for a JZX100, When setting it as-is onto the tunnel; the side pieces make you want to pull it much further toward the back of the car than it needs to be in actuality. I will need to cut these off. After looking at other photos of tripod R154's in SC300's and the placement of the trim pieces I was able to essentially extend the auto hole forward to the nuts.
This obviously isn't perfection but it will do; and when I, or if i end up having a shop in the future re-do my transmission tunnel all of this would disappear. (I would like to have a shop do that some day with a built bottom end)
I also enlarged the holes for the clutch master a tiny bit with a step drill bit; then I cut the rubber/foam padding that surrounded the back of the clutch pedal mounting bracket, and on the top and bottom mounts as well. You will want this clutch bracket to be fit against the metal; otherwise it will be extremely hard to go on. So I was able to get the top bolt installed which pulled the bracket essentially where it needs to be.
Then I found out that I couldn't just push the clutch master in because my bracket is slightly tweaked; so I needed some help having someone push the clutch master while i slightly rotated the bracket by holding the clutch pedal. Once that was done I was able to get the lower nut on the clutch master by hand; and used a few extensions with a socket to get the other one on. SUCCESS! This was definitely the hardest part of the "build". Ugh such a pain for someone with my disability to climb under the dash and do this. Probably would be a walk in the park for a young dude with some knowledge of the job ahead of time.
Brake pedal is a bit close. I do have the manual brake pedal but honestly that's not hugely on my list of to-do things, as that can be done at any time. I pressure washed the car and engine bay yesterday, i probably should have used a degreaser on the sub-frame but it's good enough for me. Motor/trans goes in tomorrow I will update y'all.
More progress, more hurdles, but tacos solve problems.
My nephews came over to help me with dropping in the motor; its awesome to see how giddy they are helping me remove or put in an engine once in a while. You can really see it lights a spark in em that has carried their own passion for automobiles and turbochargers, the "Wow" factor hit me hard when I was their age dreaming of these days.
Anywho, No real issues lowering the motor in. I guessed on my chain placement based on having about 10 links on the front and the rest on the back from looking at how I removed the previous engine. Undo'ing the hood struts allows the hood to tilt back enough to install without issue and I used my jack to help level the transmission out going in; this is pretty much key.
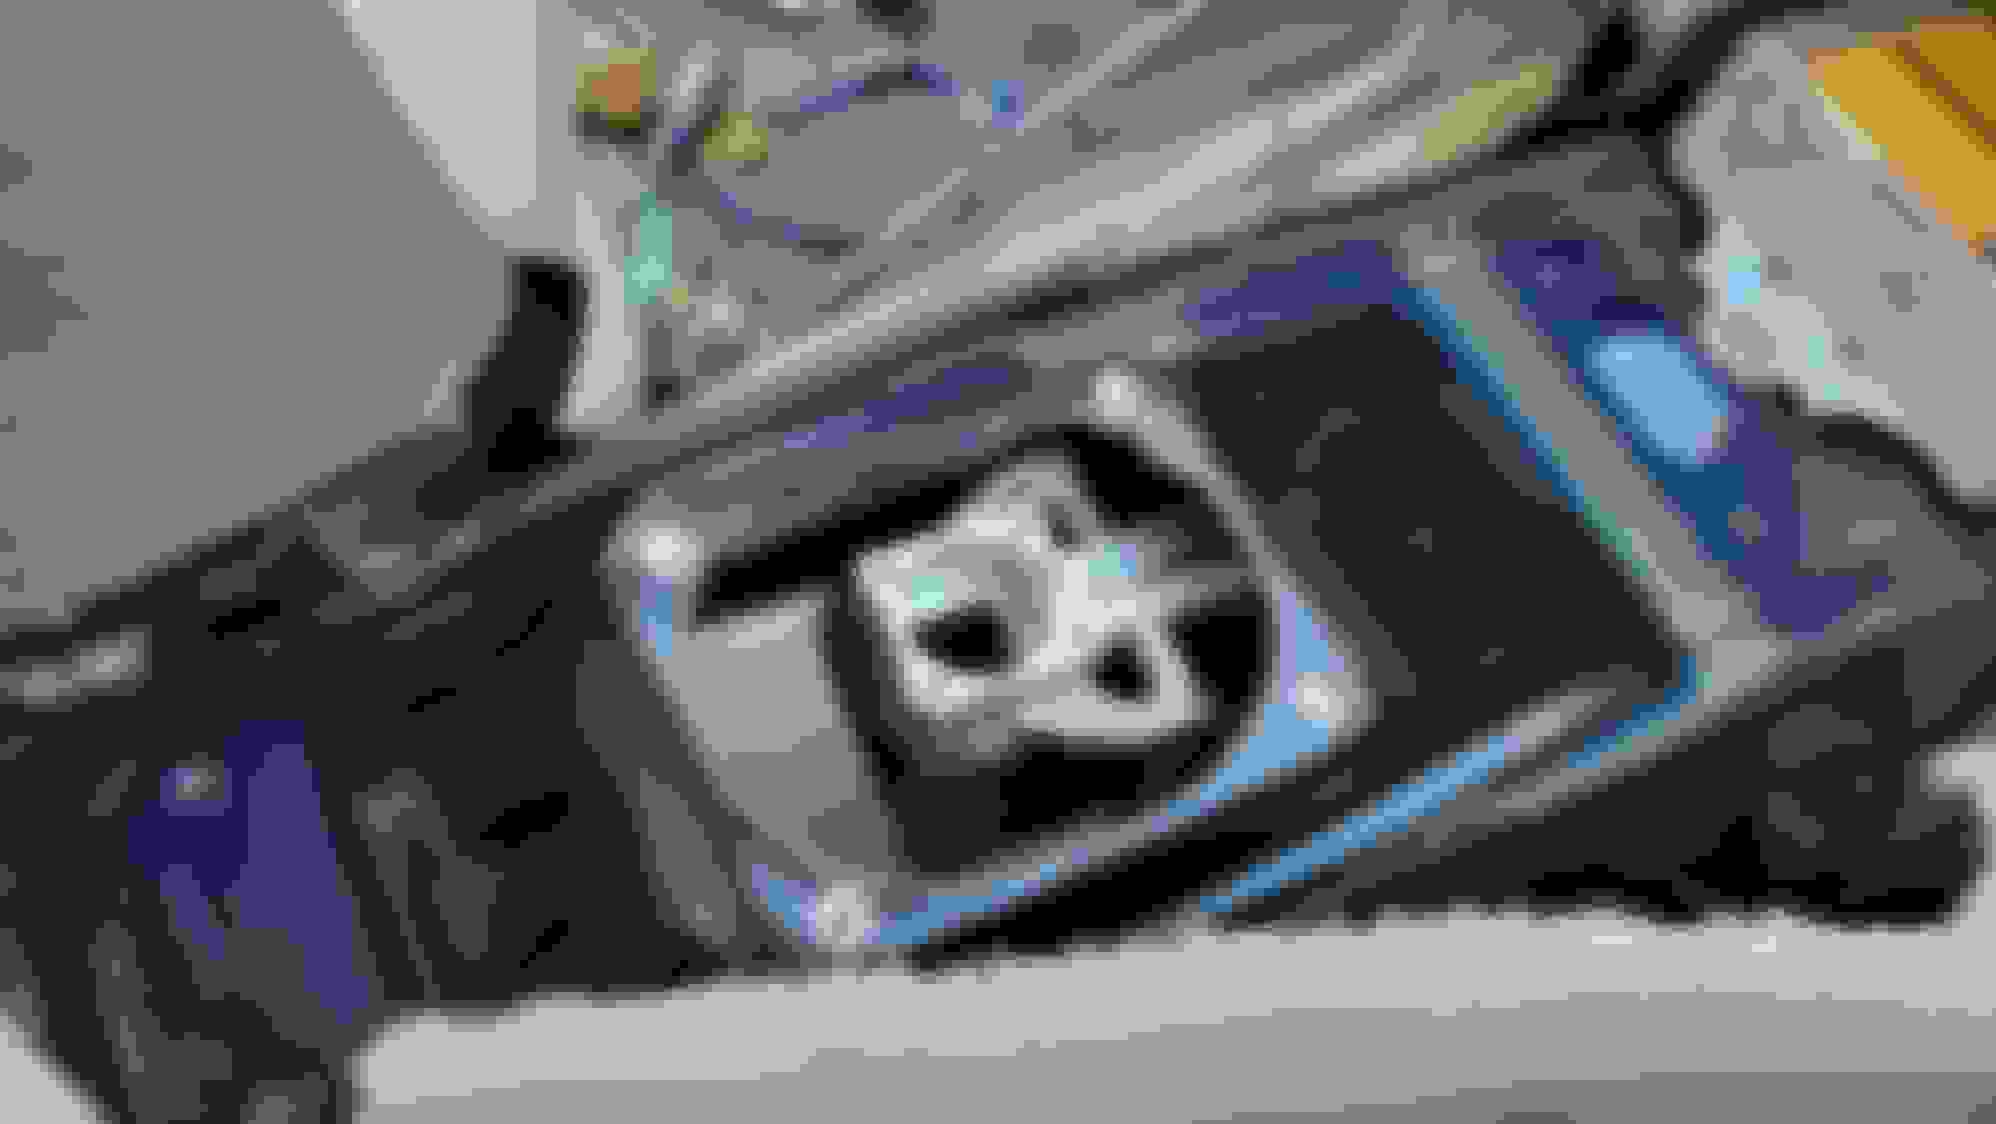
So from here leads into some of the problems. My front waste-gate position is pretty bad for the car, and points directly down into the A/C lines. My initial thoughts are, i could have my welder create a block off and just run the rear 46mm wastegate which could easily be plumbed. Or i could have him create an "extension" tube which moves the actual wastegate lower into the engine bay; but I'm pretty sure I will be running into some complications with my turbo hot side inter cooler piping.
The next problem is the A/C nipple is definitely in melting range of the exhaust manifold, i may be able to bend this a bit inward; and I thought I could try to heat tape this off, DEI firewrap it or make some sort of heat shield that goes between these to create a barrier.
My transmission tunnel cutting almost came out perfect though. Just barely! Should work good.
I come from the FD world and we have MAJOR heat issues. One of our gurus, Howard Coleman, a former racer, pioneered the use of it in his car and has researched and written on it extensively. This stuff is so damn good at blocking heat, he tested it with a 1300 degree blow torch on one side for two minutes and could comfortably touch the other side with his bare hands. And it�s only 1/4� thick.
All of the info is rotary and FD RX7 specific, but of course you can still gain some interesting perspectives and take away quite a bit. What I like about Howard is he brings the receipts, there�s not much he�ll speak on without data to support it.
Anyway, I think you can use Mica in both instances. It�s available as thin as 1/16�, though I think 1/8� is probably as thin as I�d be comfortable with. Consider that your wastegate would only get truly hot when open and EGT�s for 2J�s are generally less than 1400 F, so this stuff should do the trick in anything less than a road race scenario. Provided you can click the wastegate a little and route a sufficiently sized dump, I think this will work!
Another option for the wastegate situation might be an inconel shield, combined with the mica. You can have shields custom made for turbos, so I�m certain one could be made to follow the contour of the car, in that particular spot. The air gap between the paint and the inconel, combined with the air gap between the inconel and the mica, should be very effective at preventing any major heat from transferring to those painted surfaces.
I think that Mica will work for the rear A/C; but that port does stick out in a peculiar way right there. I think my best bet there would be to try and rotate it upward some-how and then use the mica between them. I think I probably have 1/2-3/4" right now?
As far as the front. I realize I'm going to need to pull the turbo off again, sadly. I clocked it way too close to the waste gate; and i need to remove the engine hook; also I may have to have my welder cut off the 90 degree and make it more vertical above the alternator. Then i could rotate my waste-gate and allow him to dump it straight to the ground. I could probably use the mica here easily like you mentioned once the turbo was rotated correctly and the waste gate was turned. Once its turned it has some good clearance between the shock tower and the feed line has plenty of room to stay cool.
On another note, i test fit the FRP jzs100 piece in the center console and my initial cut did pretty well. I ended up peeling up some of the sound deadening, and with it being 100 degrees the past week and even hotter in the car, it came out quite easily. It sits pretty flat, and I think as-is I could easily screw it down and seam seal it. I may be able to trim it a little more to get it to sit flatter; but alignment is pretty good.

 07-29-23, 11:41 PM