When you click on links to various merchants on this site and make a purchase, this can result in this site earning a commission. Affiliate programs and affiliations include, but are not limited to, the eBay Partner Network.
Yeah I never let the dealership look up part numbers for me, its 100% of the way on how to get the incorrect part. I always do my own research using the online dealership (lexus/toyota) parts diagrams then I usually google search those part numbers with supraforums/clublexus to cross reference that I have the correct item. Hasn't failed me yet!
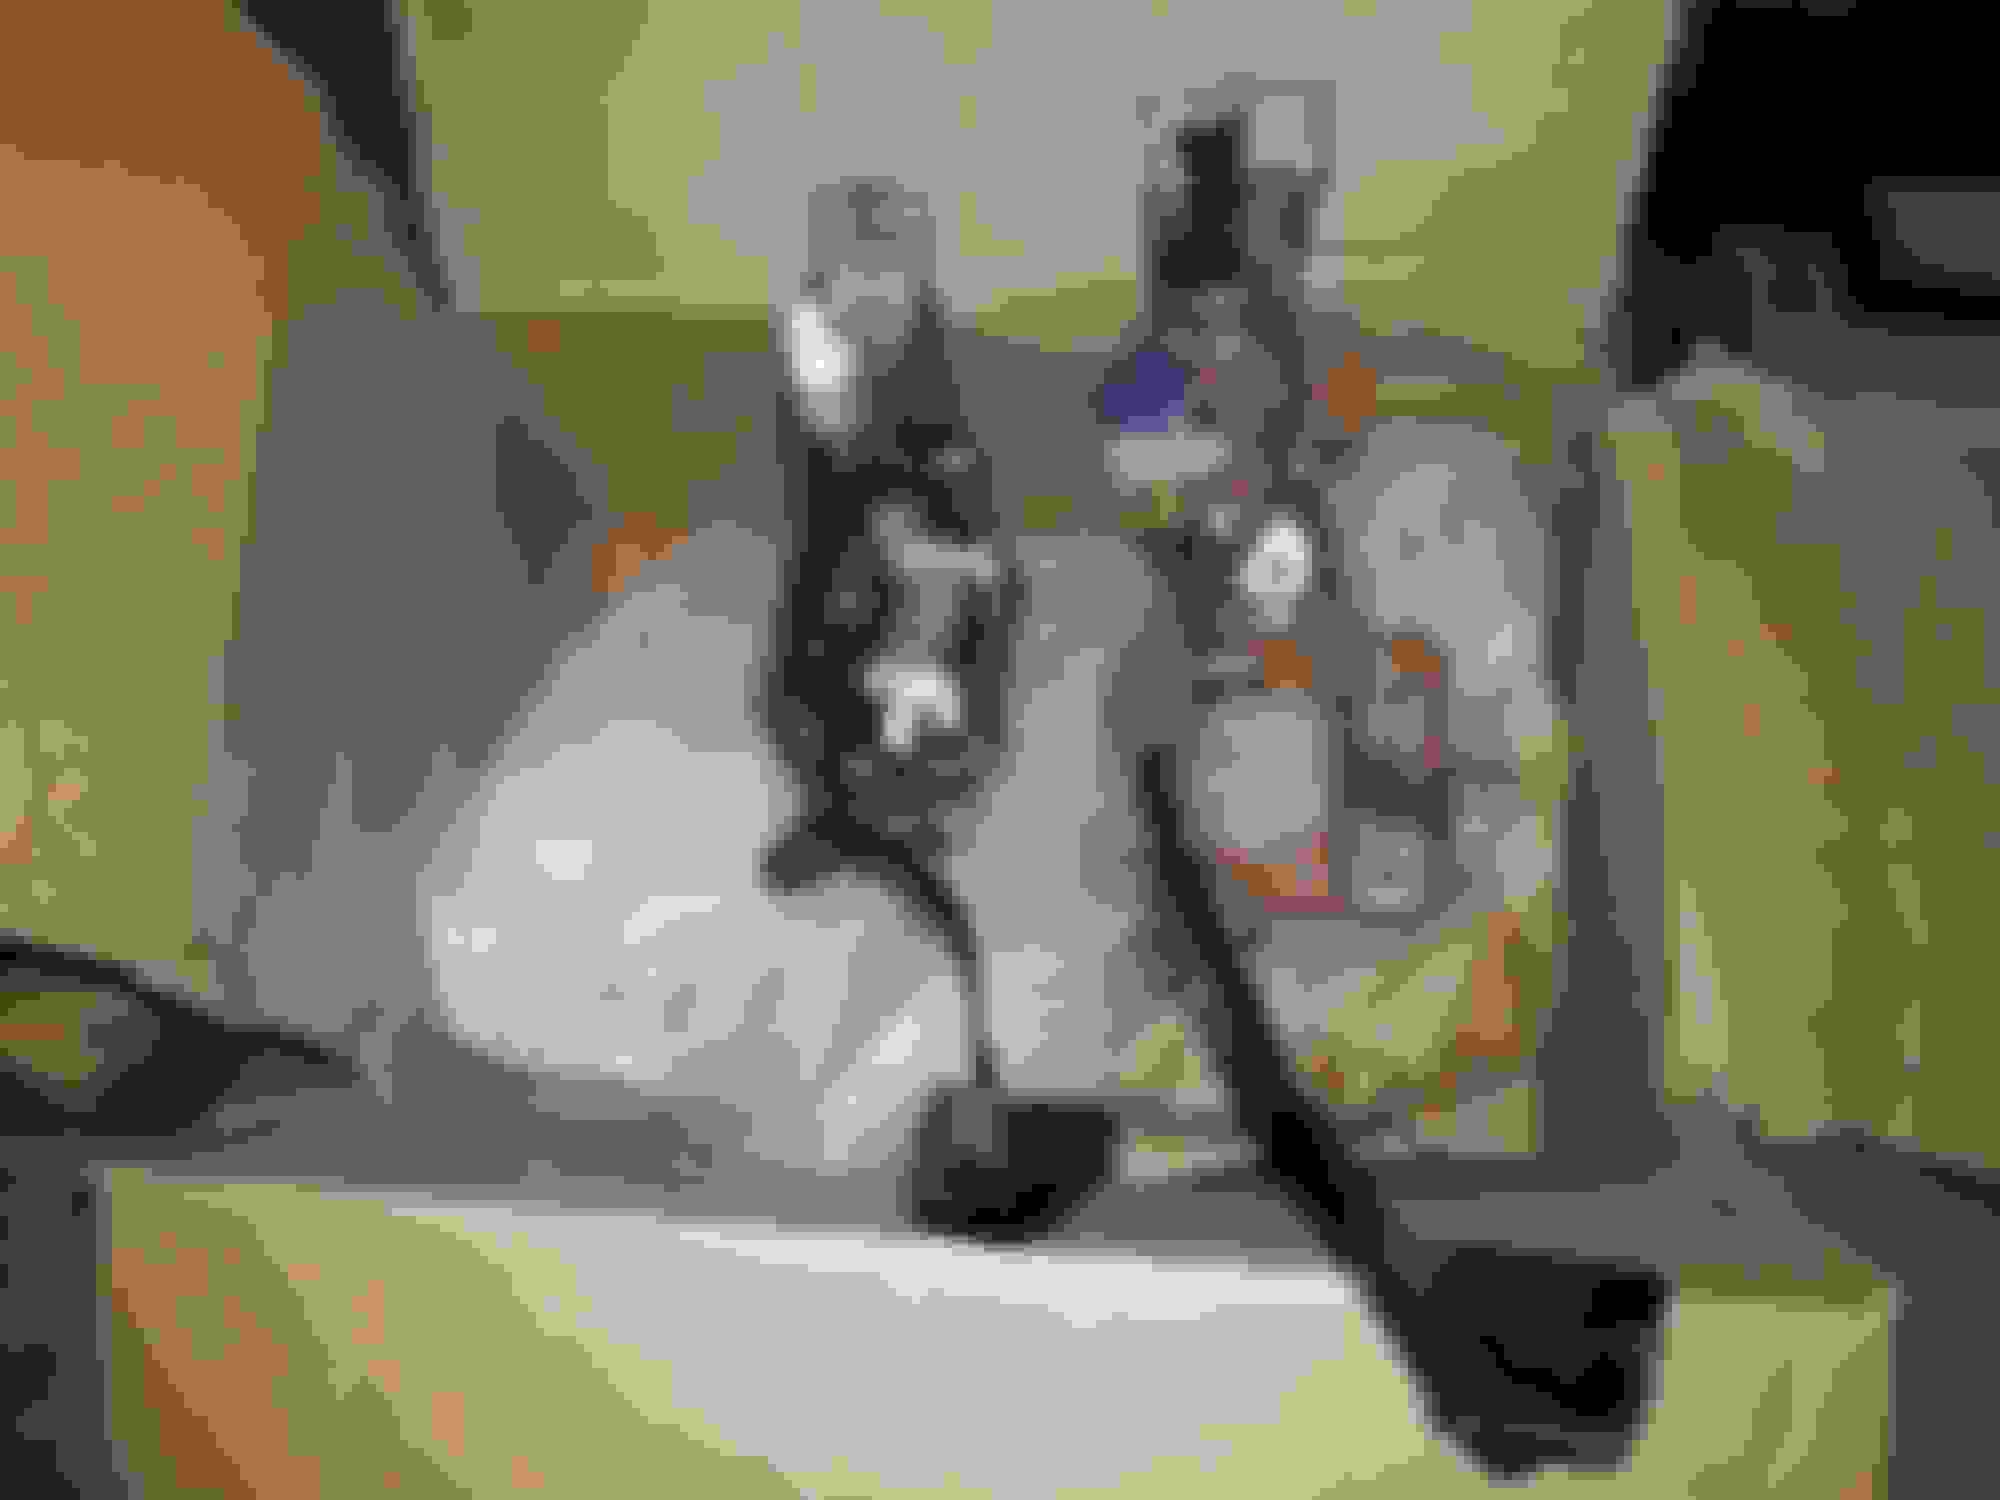
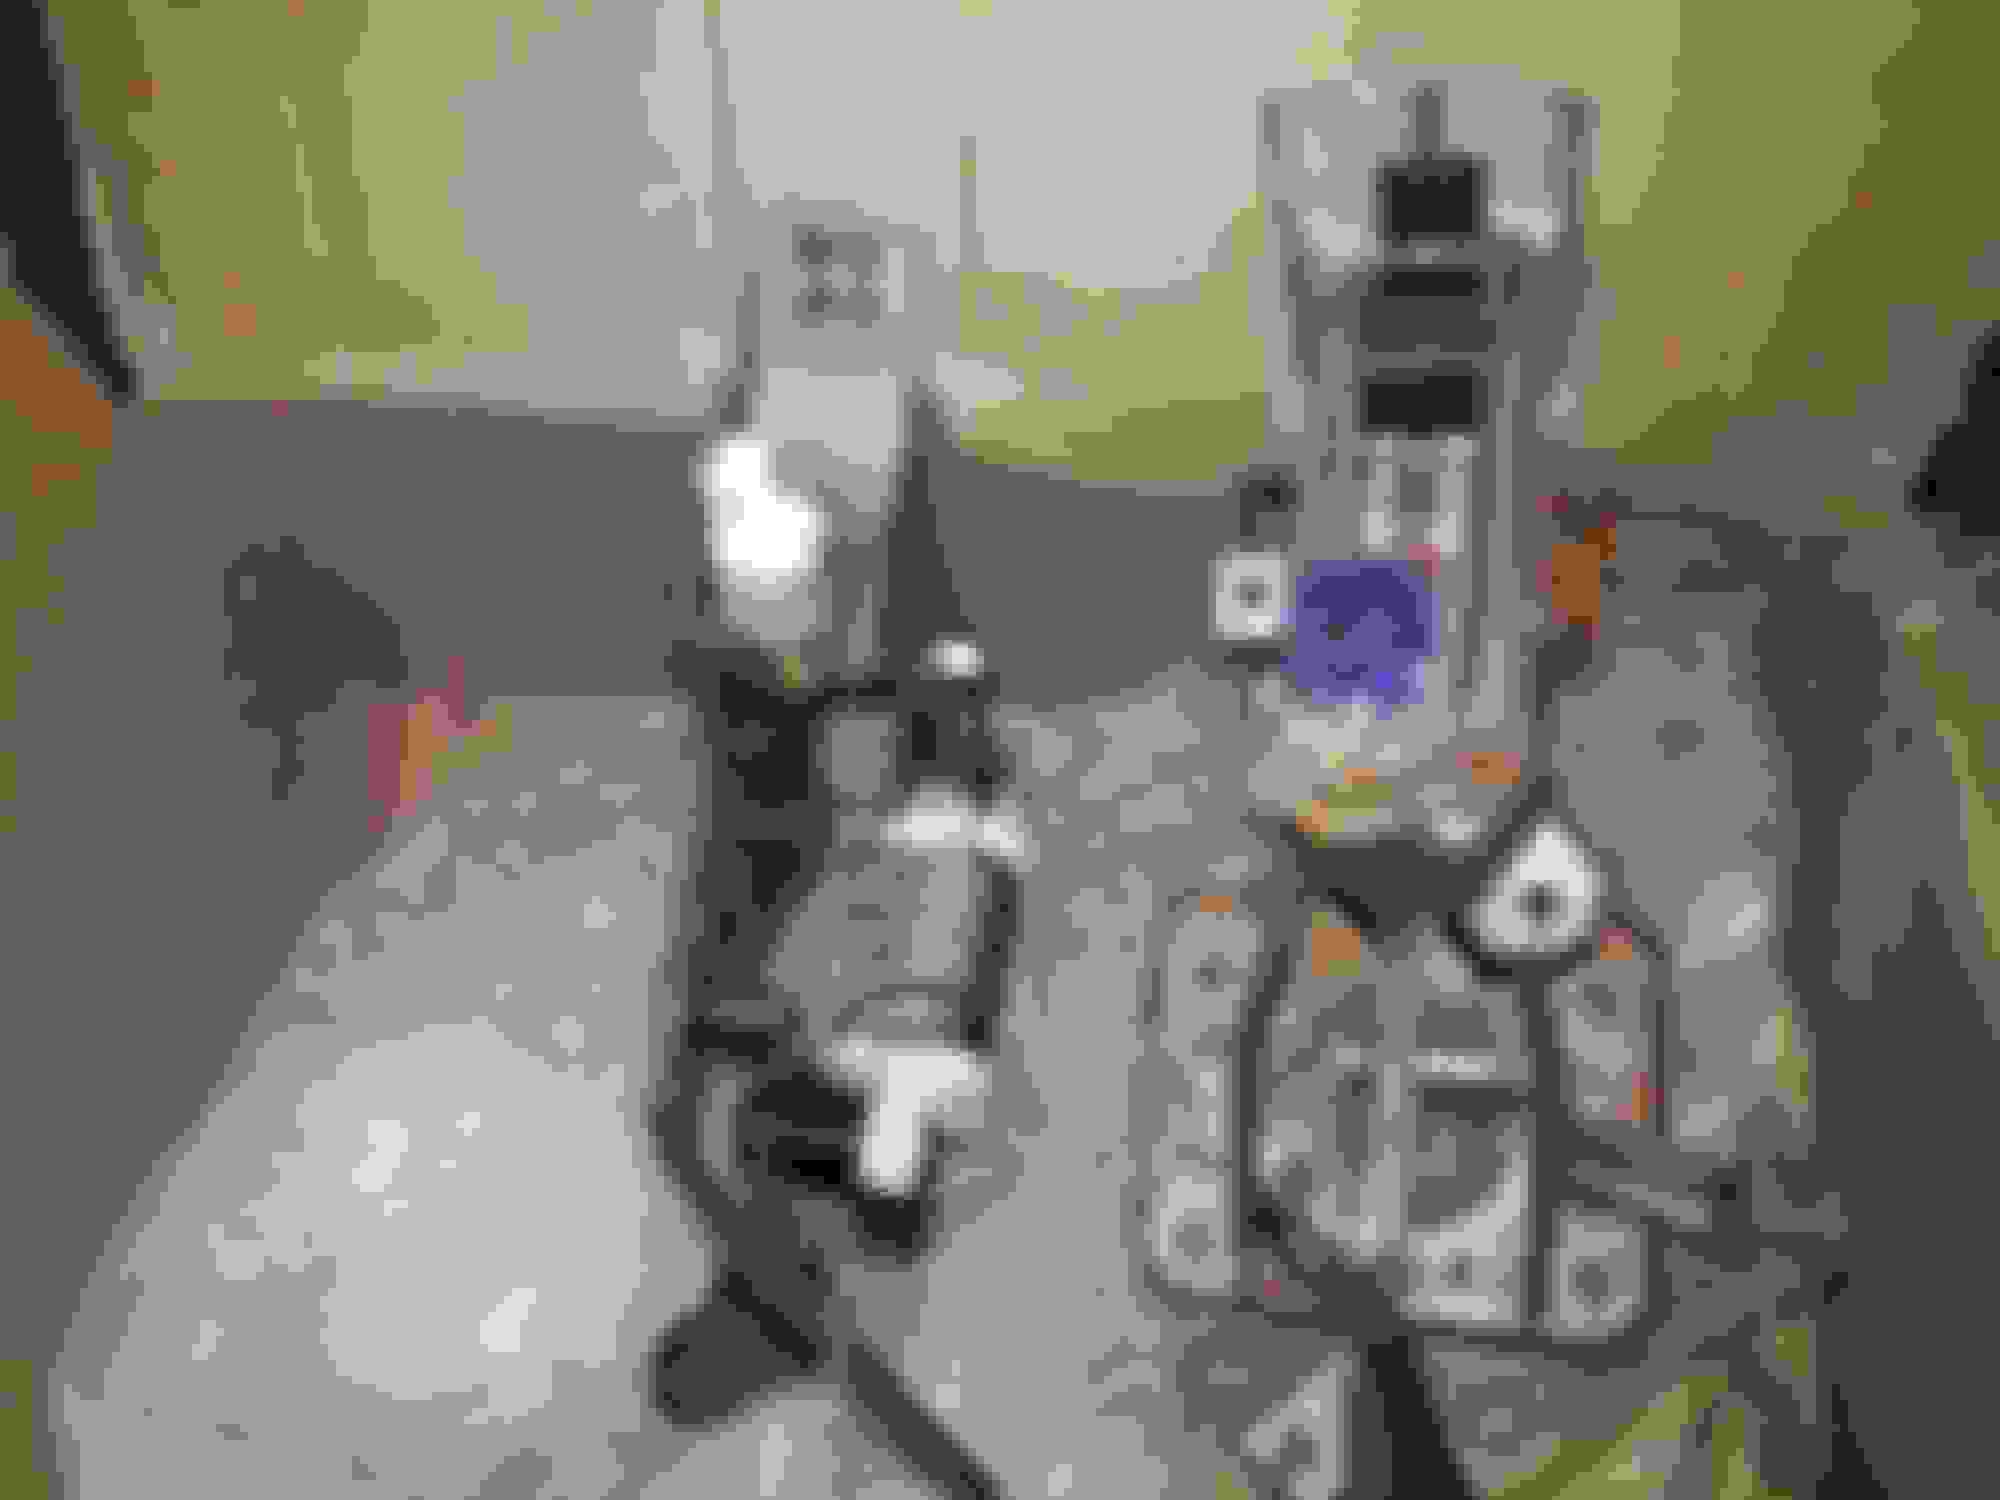
Pedals came in, although they have some surface rust on them I will have to clean them up and prime/paint the brackets. EGR blockoffs' from Arizona Performance also arrived and look quite nice. Going to be tearing it apart soon.
Oh and it looks like my coilovers aren't shipping from japan!! That is great news because currently they are limited to shipping packages by boat and only letters can be air mailed, so now its' looking like I will have the coilovers here next week.
Oh by the way Tallyhoe & Bimmerbill, remember that the TRD strut bar needs multiple washers to clear the stock 2jz-ge intake manifold, but if you are 2jz-gte it will be no problem. Here's my gte that will be swapped into project blueberry. This is with a brazilian SPA cast manifold though which is why I had to clock the turbo in this position.
H
Yeah looks like it would work for the 1UZ too with washers to raise it. How much did you guys pay?
So I started tearing things apart, and I'm not sure if its' refreshing to see everything is stock and original on the car. Rear heater hoses have never been changed with the original clamps on them. Anyways, people online quote this job @ 3 hours and I will definitely take longer than that and I've done this before!
At this point 2 hours in, I've removed the throttle body while leaving the bottom coolant line attached, and I have all of the bolts/nuts removed for the y-pipe, EGR pipe big nut is removed and I've detached the EGR connection to the y-pipe. All that is left (and is preventing me from moving forward with y-pipe removal) is removing the two lower EGR bolts to the head. This thing is a PITA and makes me love my GTE so much more.. Charcoal canister has been removed as well. Will attempt further removal tomorrow after some sleep.
Joe, I paid 160.00 for mine. 20% off a $200.00 list from a parts friend I have known for 30 years. I am very happy since I love the TRD design. It's strong. I have a friend with '73 2002 with an early M3 engine that has been gone through making ?? Anyway his stress bar has the same design and it is much stronger than his previous one.
Yeah it seems like a great brace just heavy! But that's okay for me. I also love the design and as you can tell with my GS300, the aristo brace just isn't comparable for looks. Hopefully I get the EGR off in the morning, everything else hasn't been too bad, but those lower EGR bolts are hard to see.
Ended up ordering a cabin air filter (88880-30040), some primer and gloss black to paint the clutch pedal bracket, and some 10k ohm 1/2w 5% carbon film resistors to fool the computer with the EGR temp plug. Super excited for my coilovers and brake lines to come in, really going to transform the car. Hoping my tire/wheel combo will not rub or I will have to raise the coils up.
Well spent another two hours working on it, had to remove the studs for the upper EGR connection to the intake manifold, then I was able to slide the y-pipe off enough to unbolt the lower vacuum assembly. Had some struggles getting the two lower egr bolts off but managed it after removing the brake booster check valve, I was either going above or below the brake booster with extensions and a long 12mm for the upper bolt and a shorty 12 pt 12mm for the lower one. Not fun!!
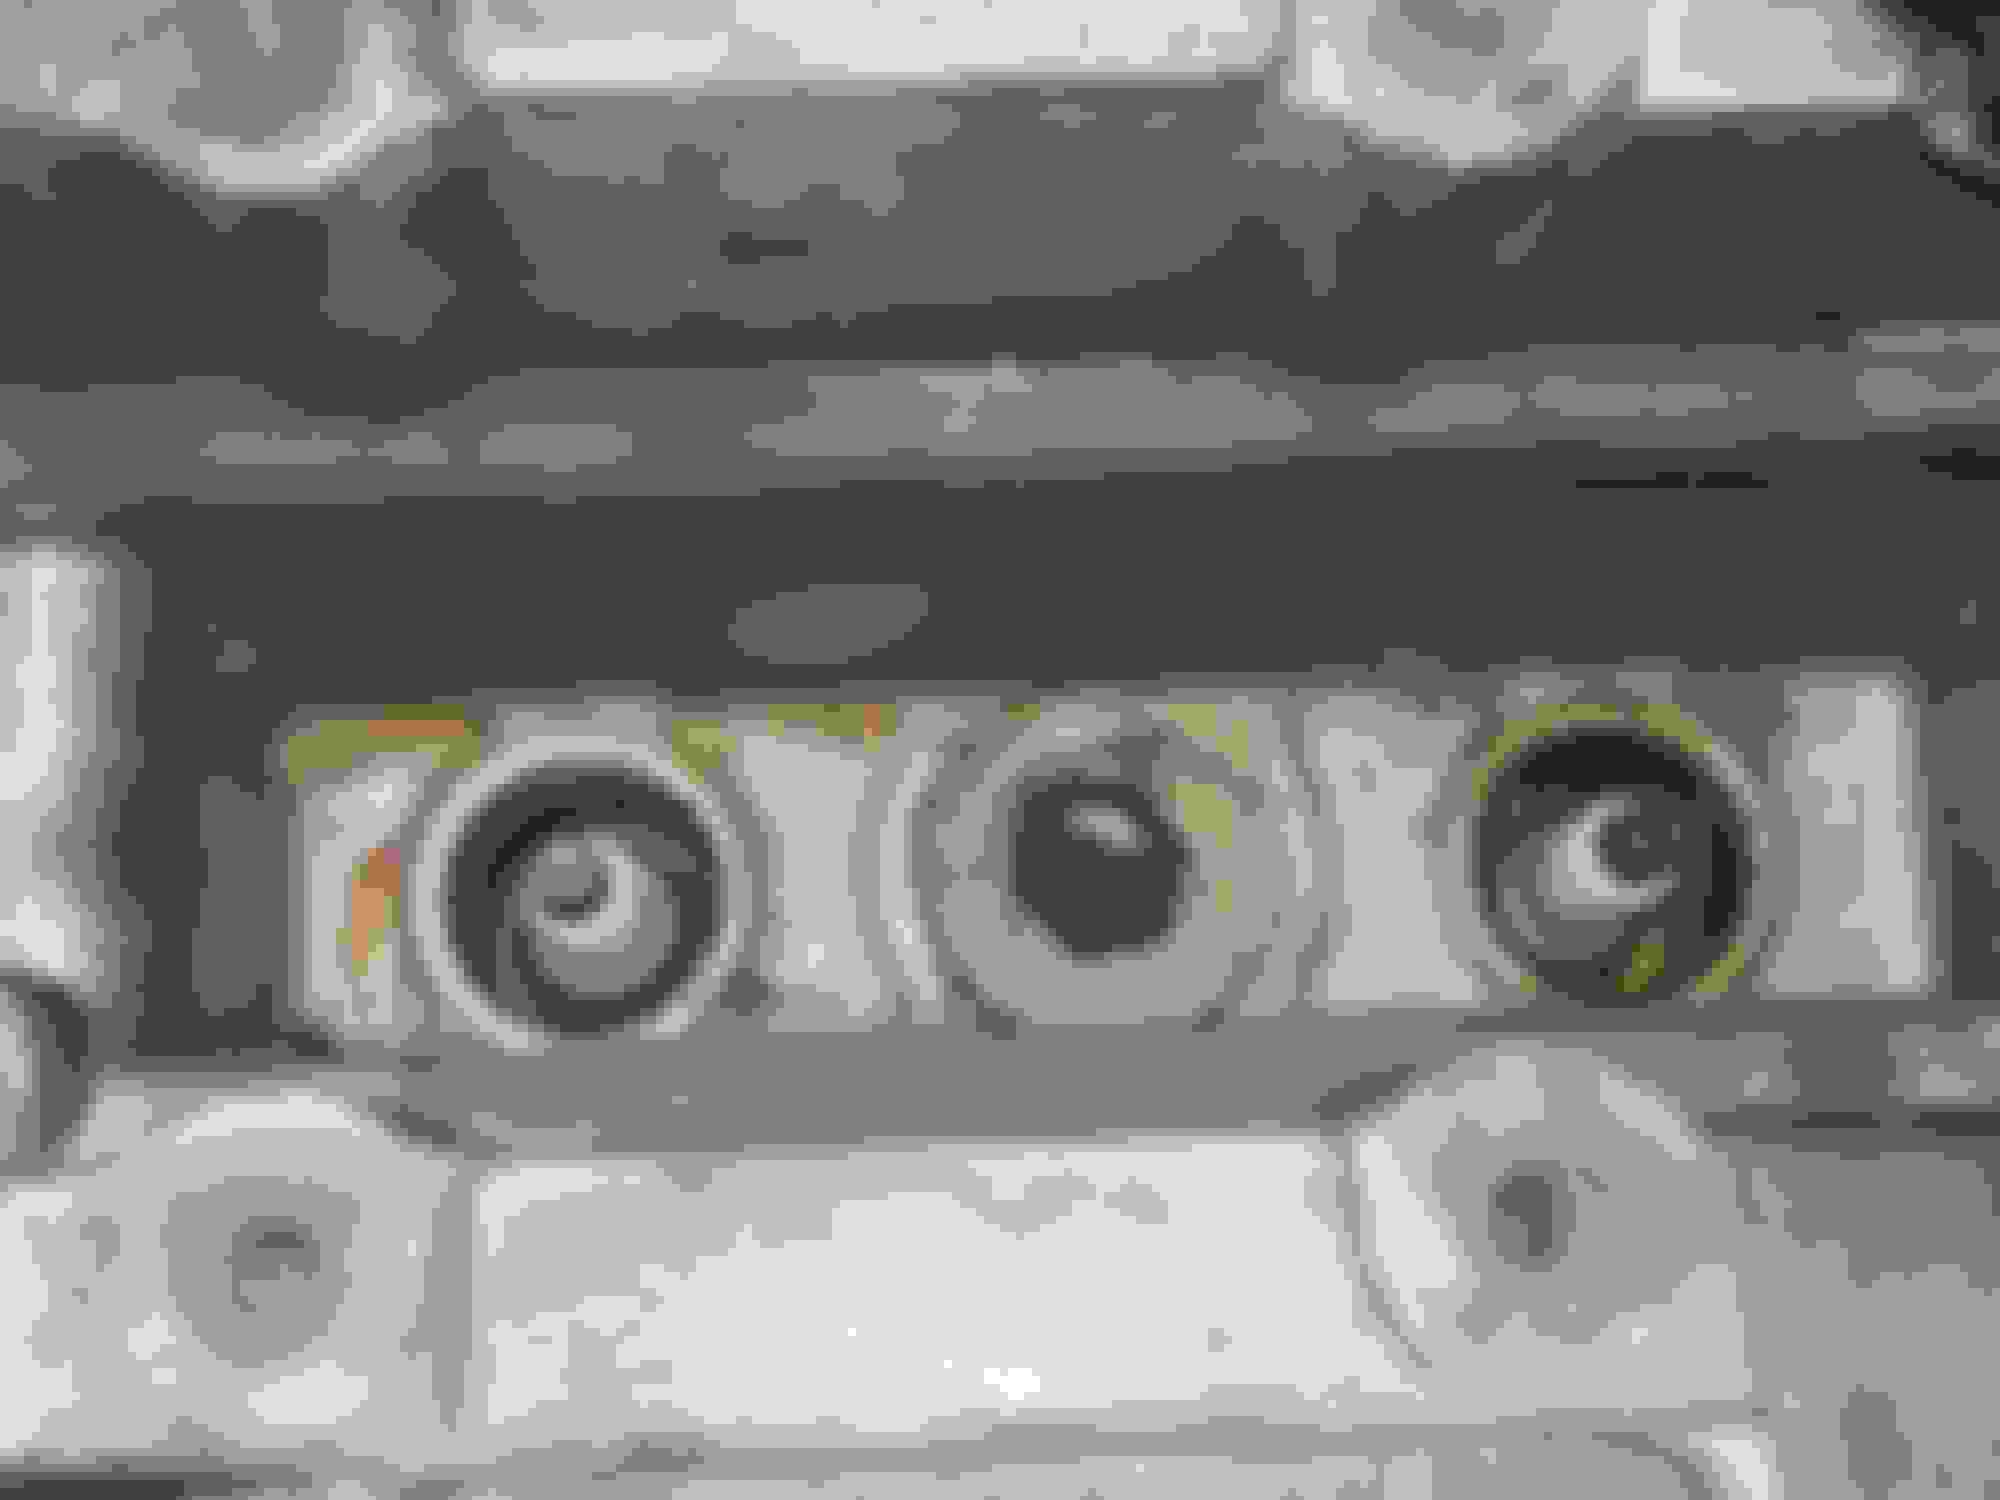
Also made some more discoveries, I believe these spark plug wires/spark plugs/valve cover gaskets have never been changed.. Transmission is covered in oil, intake side is covered in oil down the head, and the spark plug galley is full of oil...
Ended up leaving the canister under the intake manifold with one of the vacuum switching valves that go to the valve in the center of the intake manifold (the plunger?), tee'd that into the back of the intake manifold port connecting to the heater control valve switch. I will make a diagram showing what vacuum lines I will be retaining.
Tried to solder the resistor onto the EGR temperature probe, and that didn't work. Looks like these wires might be Nichrome and I would need a different flux, but I just said screw that because I don't want to wait just to solder it. Hoping this will be ok
Went over both ends with silicone to prevent anything from getting inside, along with about 4 layers of heat shrink and the original heat sleeve to protect the wires.
Coilovers and front brake lines came in super quick from thmotorsports (no sponsor just good service). I was expecting a 2-3 month wait from Japan and they had the best prices I could find on the internet. Oh and I removed the center spark plug cover and was a little shocked to see the lack of maintenance on this car. Really saddening.
OEM clutch and brake pedal setup arrived too.. The brake pedal assembly has quite a bit of surface rust so I feel I will probably just use the brake pedal itself on mine, and I will clean up the clutch assembly and paint it.
Got the center spark plugs clean with an air compressor, safety glasses and a lot of rags, plus some brake cleaner. Also the lower EGR turned out to be extremely simple to put on this time around. I was able to reach my hand in and finger tighten both, then a stubby 12mm 12 point with a 6" wobble and 3" wobble extension, no problem tightening top and bottom. Cleaned the mating surfaces of the y-pipe and primered + spray painted my clutch bracket. Was going for the new "gloss black" that toyota is doing on the supra/soarer clutch pedal brackets but its not quite perfect but I am fine, as long as it doesn't rust.

 09-01-20, 01:48 PM