Review and installation of Ikon Motorsport diffuser for 2014+ Lexus IS
#1
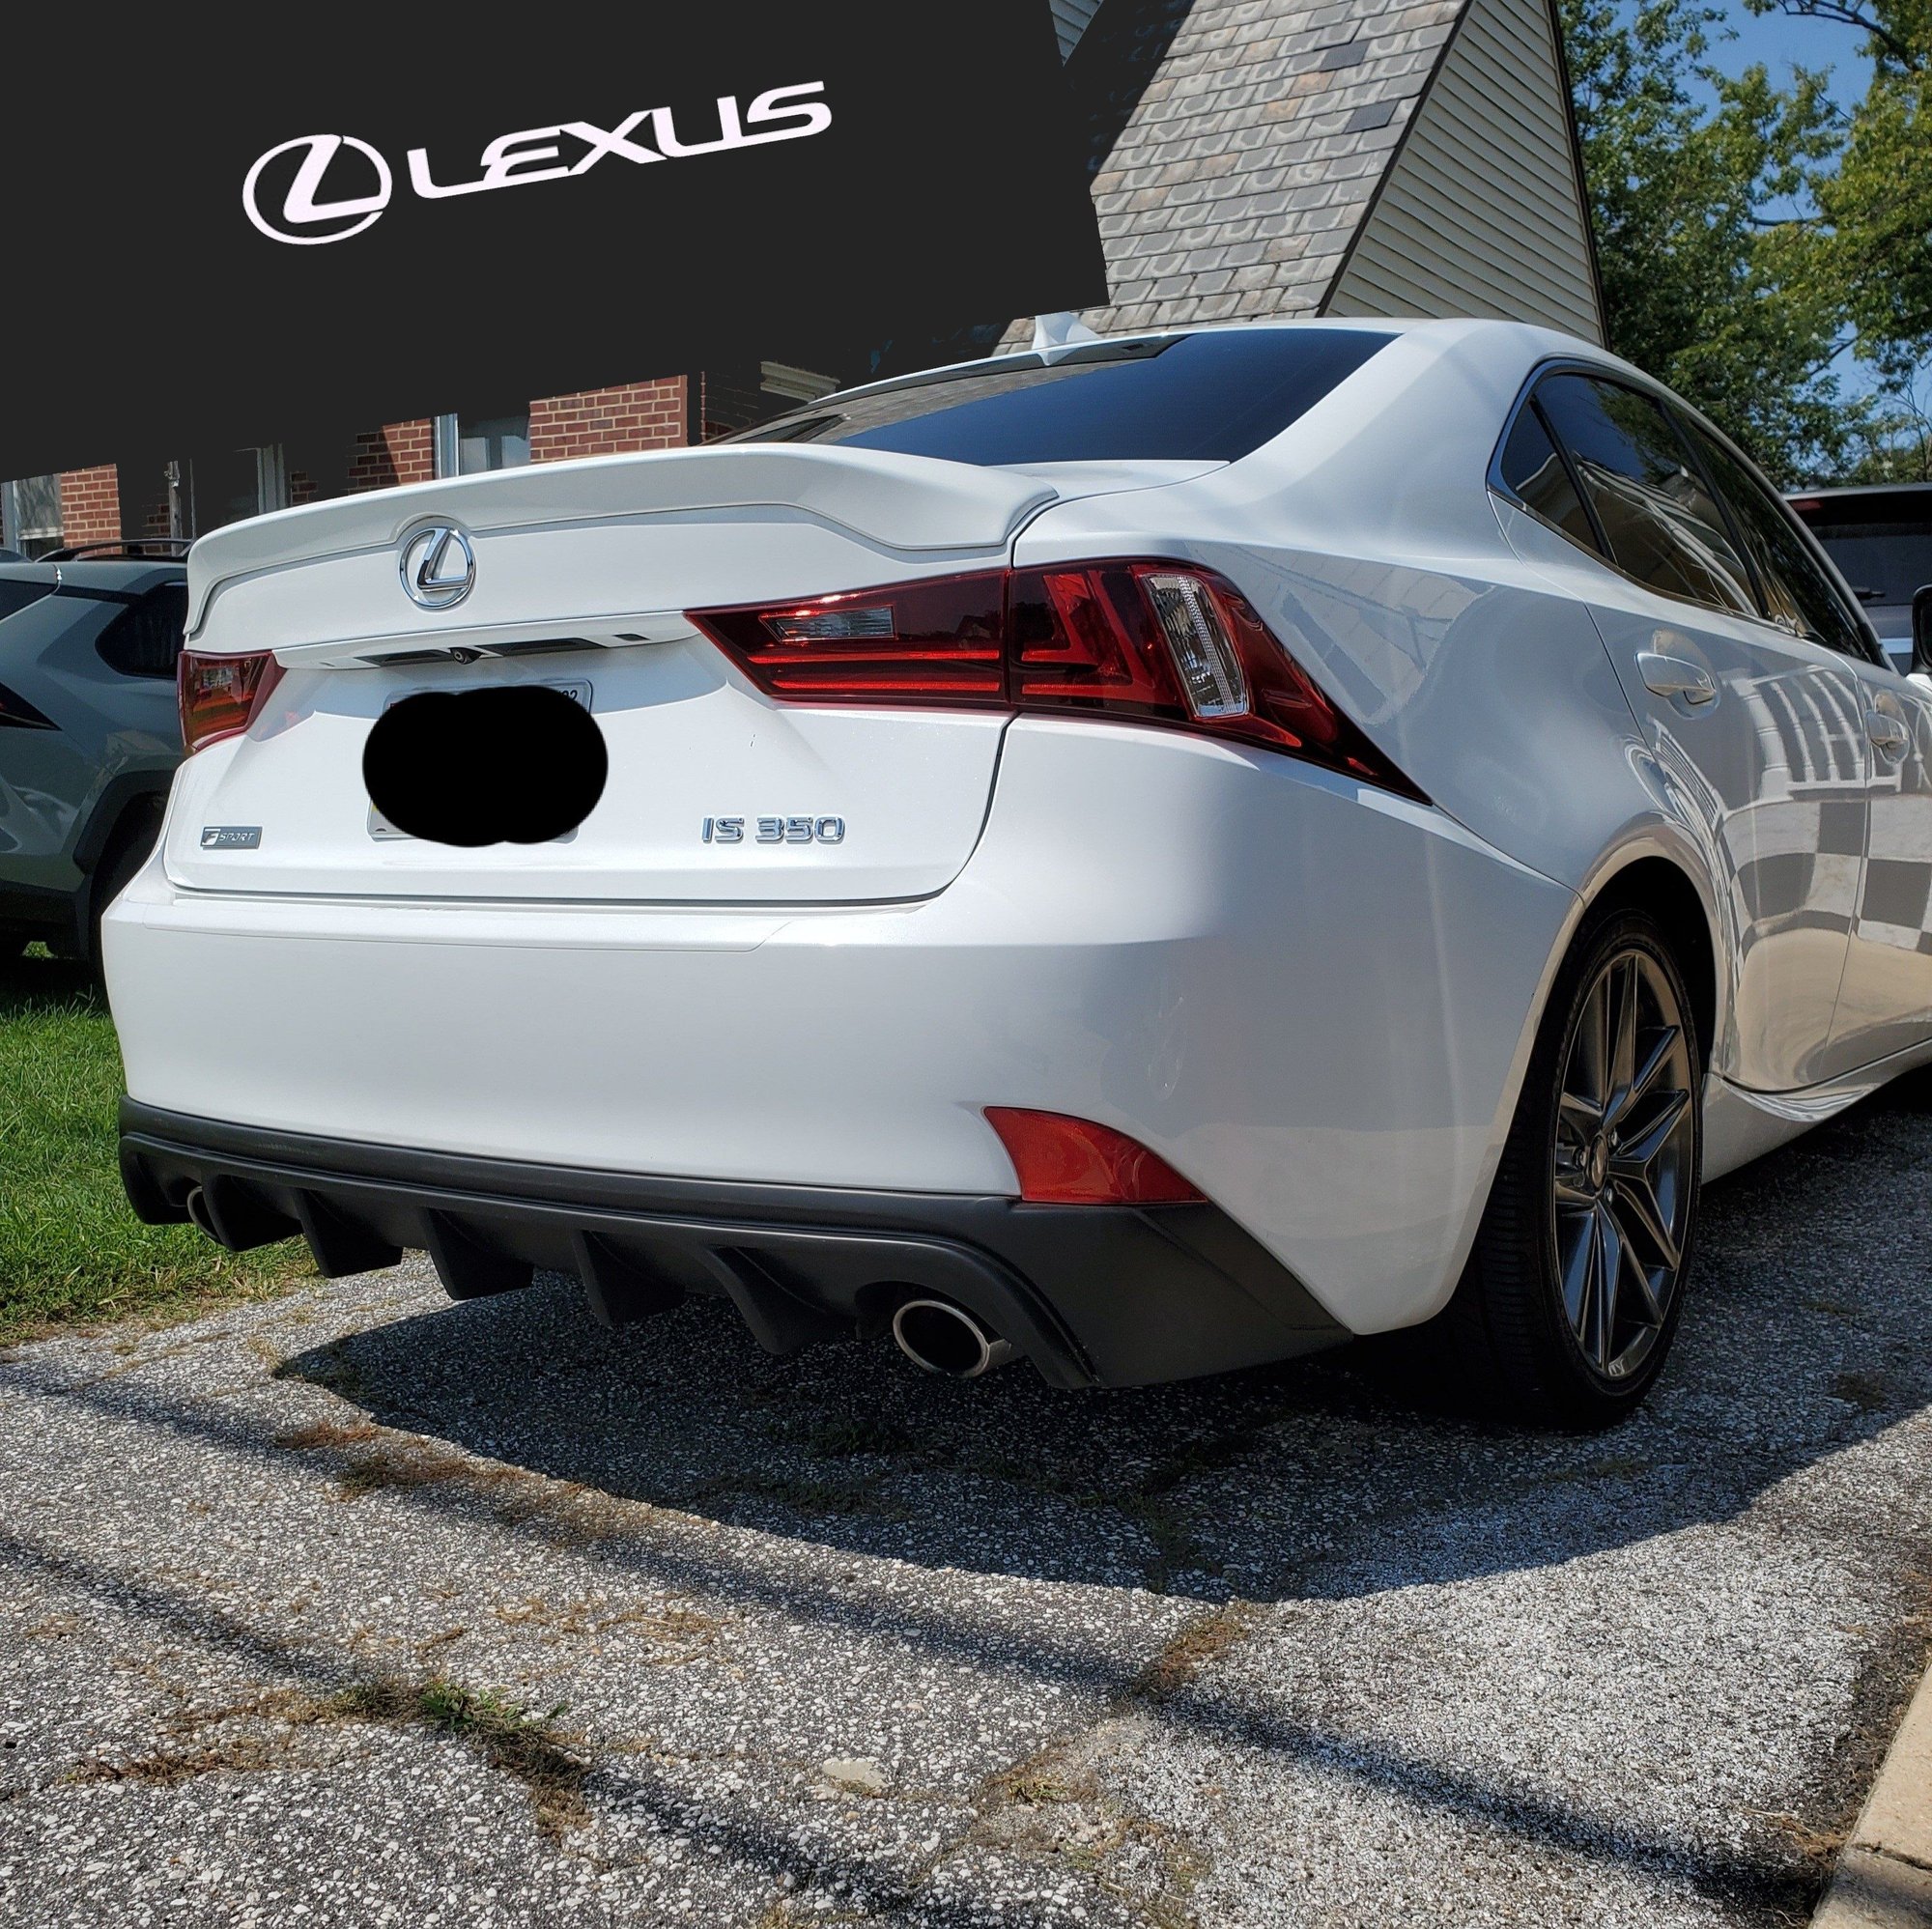
This diffuser fits 2014 2015 2016 IS 200t 250 300 350. A cutout will be required to fit 2017+.
Review:
+ Once installed the diffuser looks great.
-Pre drilled hole would be great.
-Fitment could be better on underside where plastic rivets go.
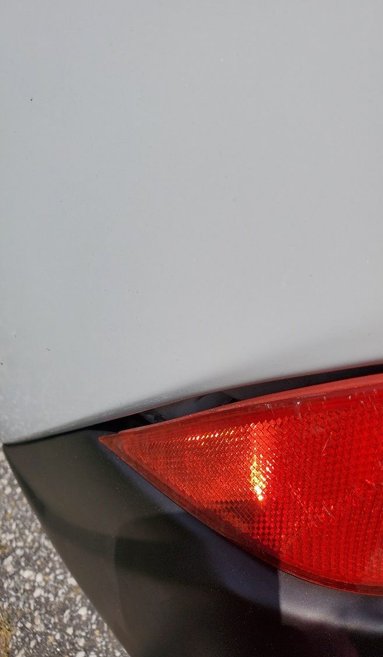
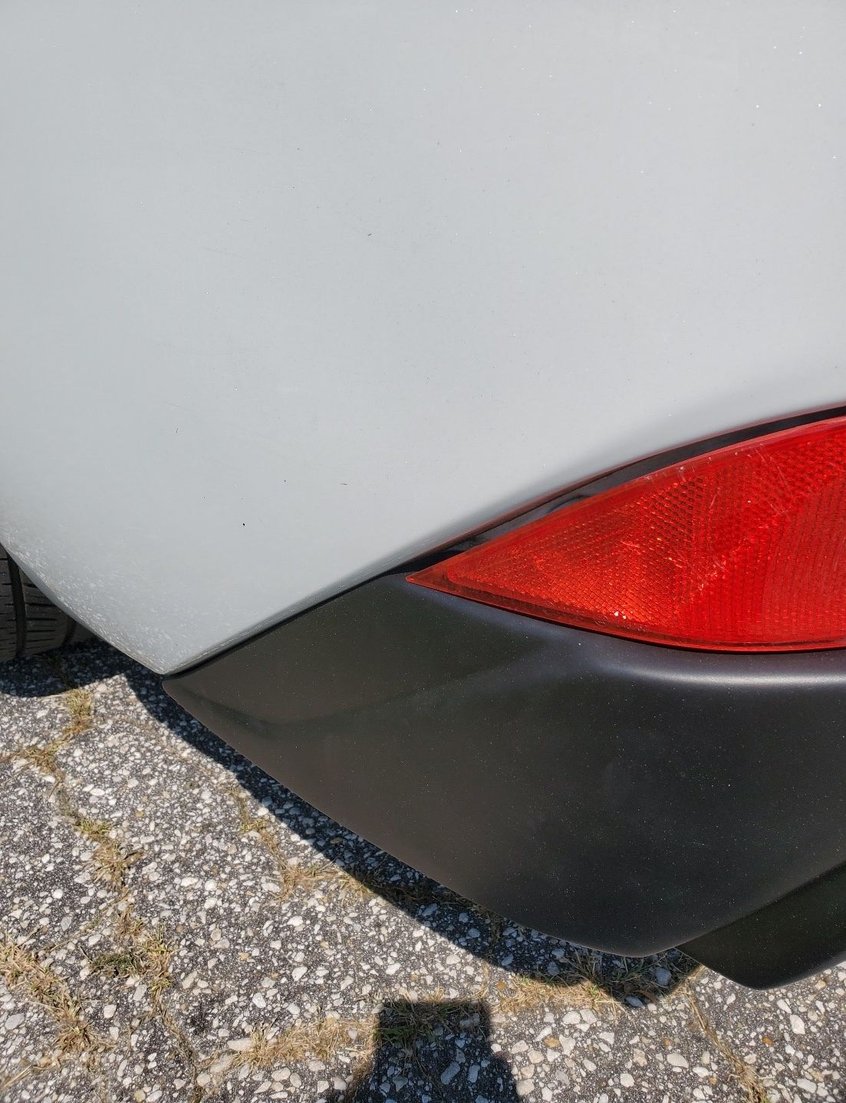
-Light deflectors have gap and stick out due to the shape of the diffuser.
Materials:
10mm sockets
Flathead and Philips
Trim removal tools (optional, but recommended)
Another person when drilling new holes in the bumper and diffuser.
Moving blanket or cardboard box that came with diffuser to lay on ground
Screw gun with pilot bits
Difficulty:
Never done an oil change in my life, but with the help of my dad, it wasnít too bad. The DIY part with having to drill your own holes, made more difficult. It wouldíve been easier if Ikon had better fitment and pre drilled holes.
Steps for installation:
1. Watch video for removal of bumper.
2. Remove old diffuser from bumper. You will need to take off all rivets and screws. The rivets will easily come off with a flat head. All of the screws will need to come off including the ones that are holding the light deflectors. The light deflector screws also hold the old diffuser in place.
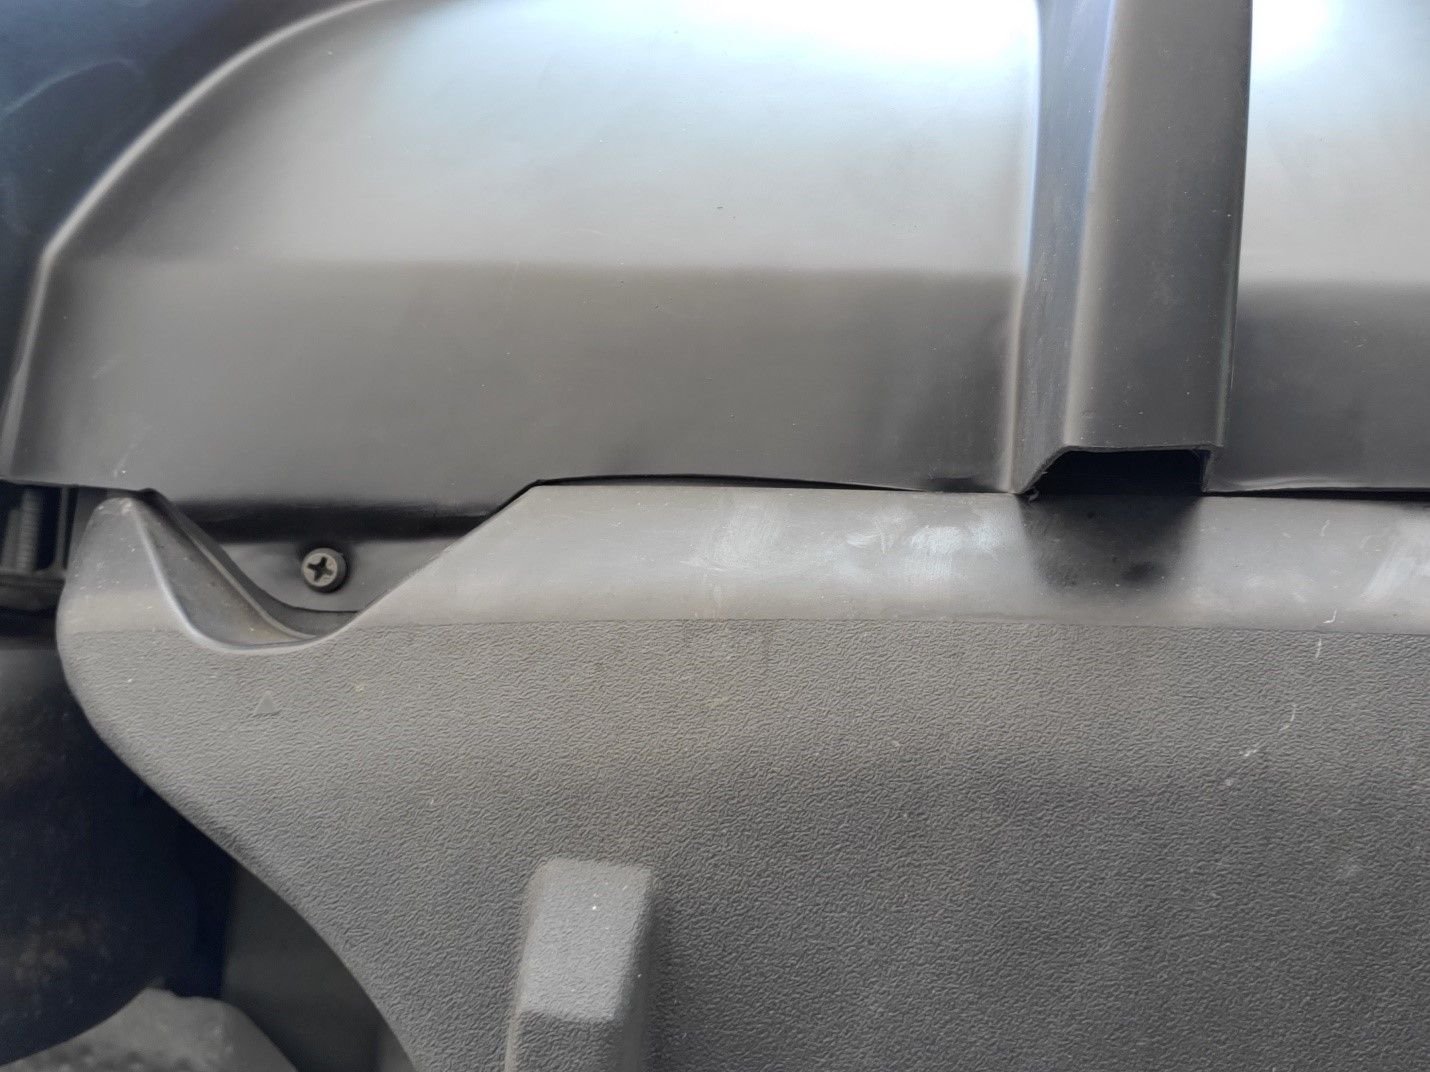
3. Once the old diffuser has been de-attached, itís time for the new diffuser. The new diffuser has tabs that will go into the existing bumper, they should just slide right in. See image below.
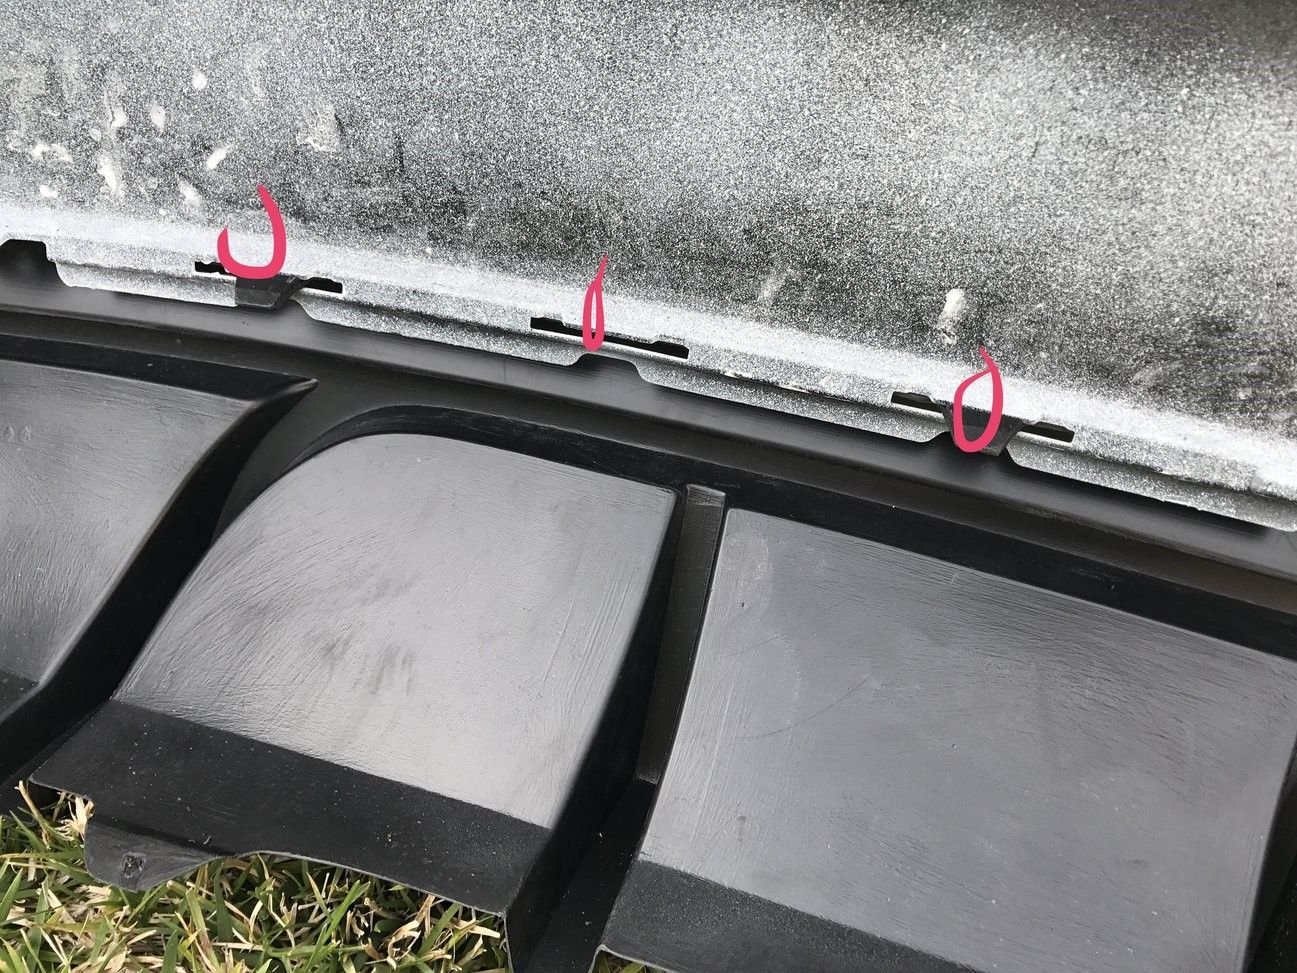
Picture stolen from clubLexus. This is how the ikon tabs should fit with the bumper.
4. Make sure fitment/alignment is good at this point, as you will now make pilot holes for the light deflector screw hole on the diffuser and screw them in. This was a bit annoying, so I suggest having another person to help you on this. One person can hold the diffuser down and the other one can drill. After putting on the bumper back on the car, I did notice the deflectors were not aligned and did stick out a bit. Thereís nothing I can do about this, maybe a body shop may be able to help? I read someone installed the same diffuser and the installer broke one of the deflectors, so be careful before over tightening it.
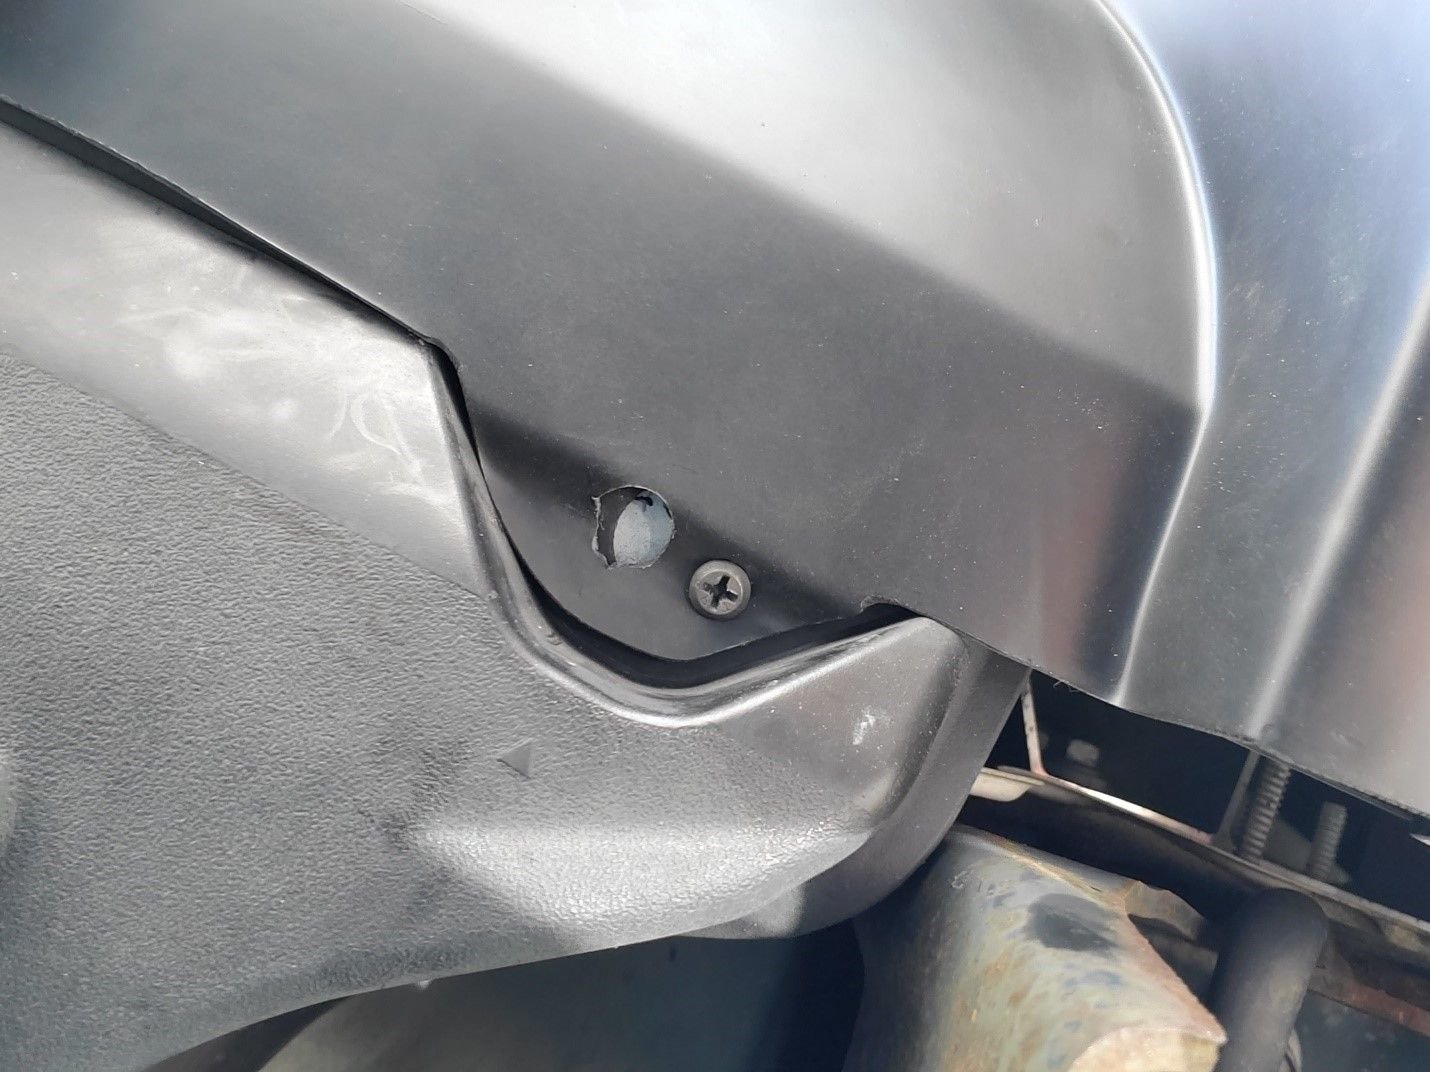
5. The tabs will not be enough to keep the diffuser secured to the bumper, so we will need to create holes in the diffuser for the sides. You can use existing holes that are already in the bumper to secure it.
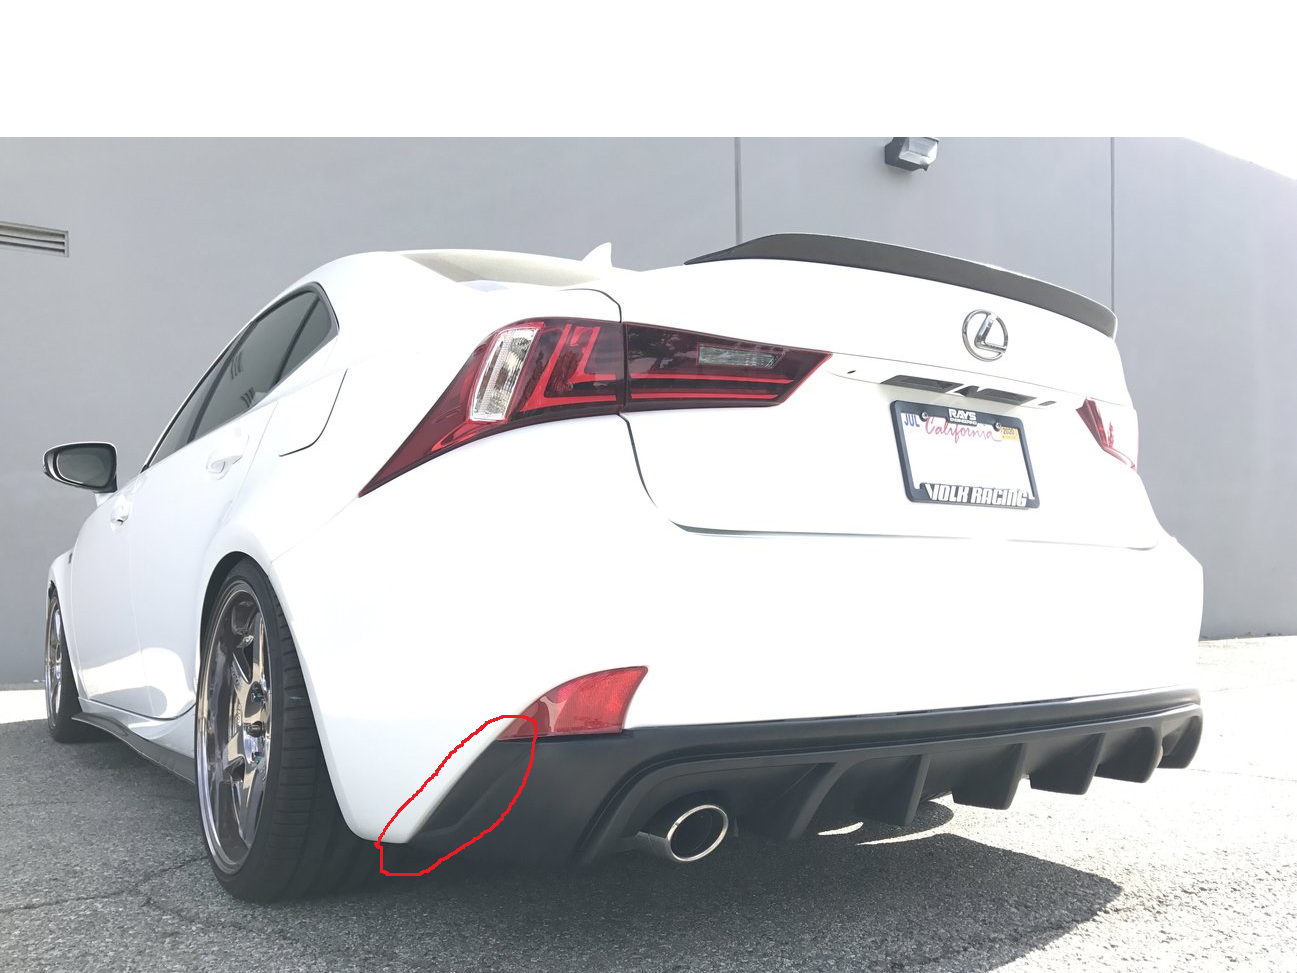
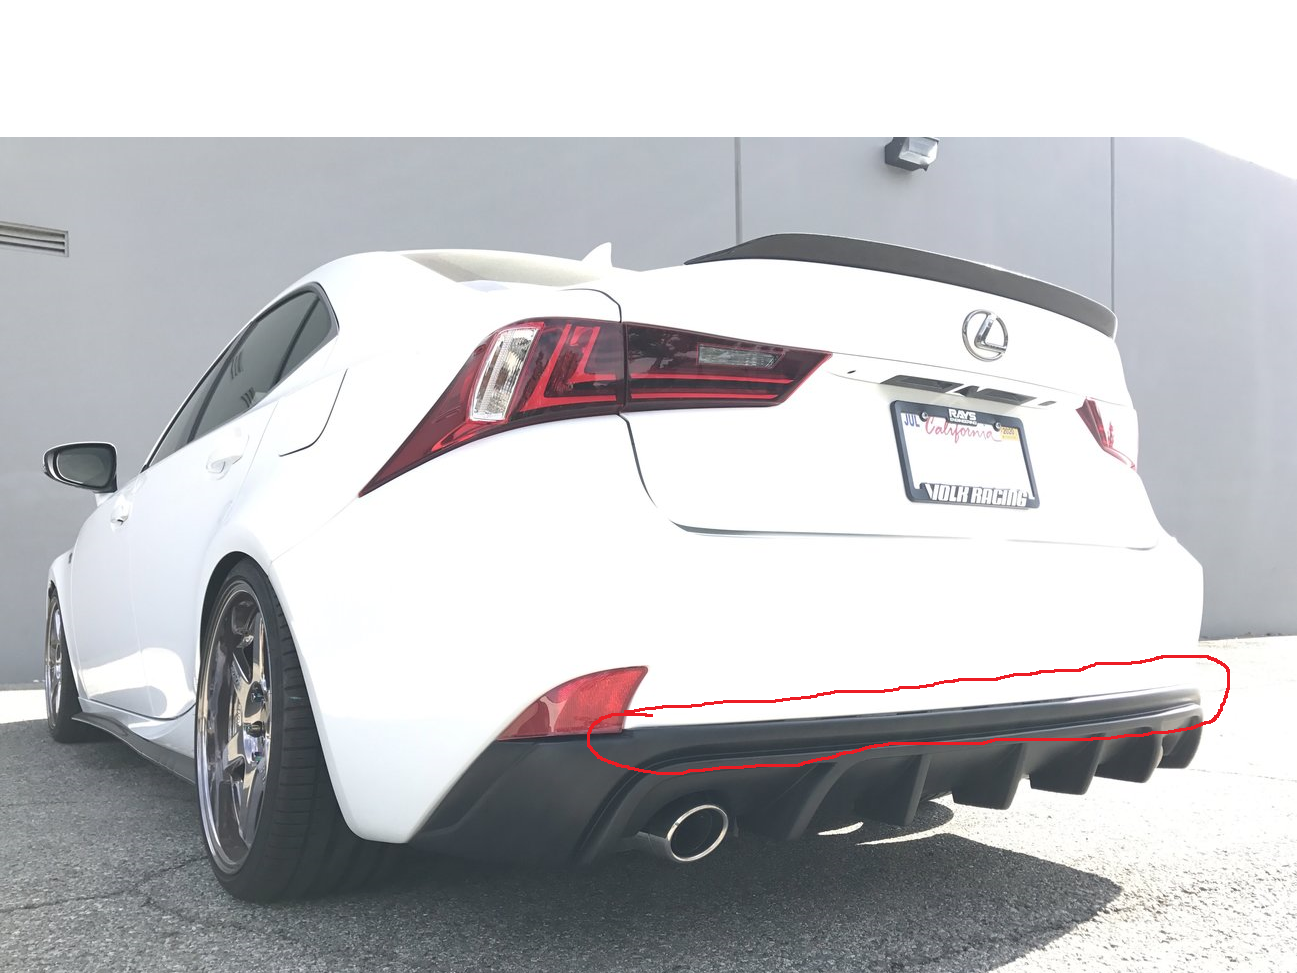
6. At this point you will notice a gap across the face of the bumper where it meets the diffuser. (See picture below) In order to correct this, you will need to use screws at the 3 points where the plastic fasteners were connected to the old diffuser. This solved my issue for the gap. The spots where the existing fasteners arenít too wide, so be careful drilling holes and selecting a screw size for the ledge of the bumper. The screws supplied with the diffuser may be a little too wide and caused my bumper to slightly get dented outwards (not noticeable unless you were looking for it). So, I used the 2 screws that originally attached the old diffuser to bumper as they were smaller in width.
7. The bumper can now be mounted to the car. Do the reversal of step 1 for installation.
8. The plastic fasteners (in my case) did not line up correctly and fit with the spots that were designated on the diffuser and car. The spot where I drilled a test hole, did not match up with where the existing holes are without extorting diffuser/bumper. I ended up taking it to my mechanic friend who just screwed the diffuser into the rear valance closeout panel. I may have been doing it wrong, but who knows.
Thread
Thread Starter
Forum
Replies
Last Post


