Build Threads Details on Club Lexus IS-F owner vehicles

JT2MA71's 2014 UW build

Thread Tools
 
Search this Thread
 
Old 11-29-20, 08:48 AM
  #76  
JT2MA71
Moderator
Thread Starter
iTrader: (7)
 
JT2MA71's Avatar
 
Join Date: Dec 2006
Location: WA
Posts: 2,388
Received 1,550 Likes on 674 Posts
Default

Originally Posted by Jwconeil
Well shoot. That makes me hopeful that my 13 is an easy install!

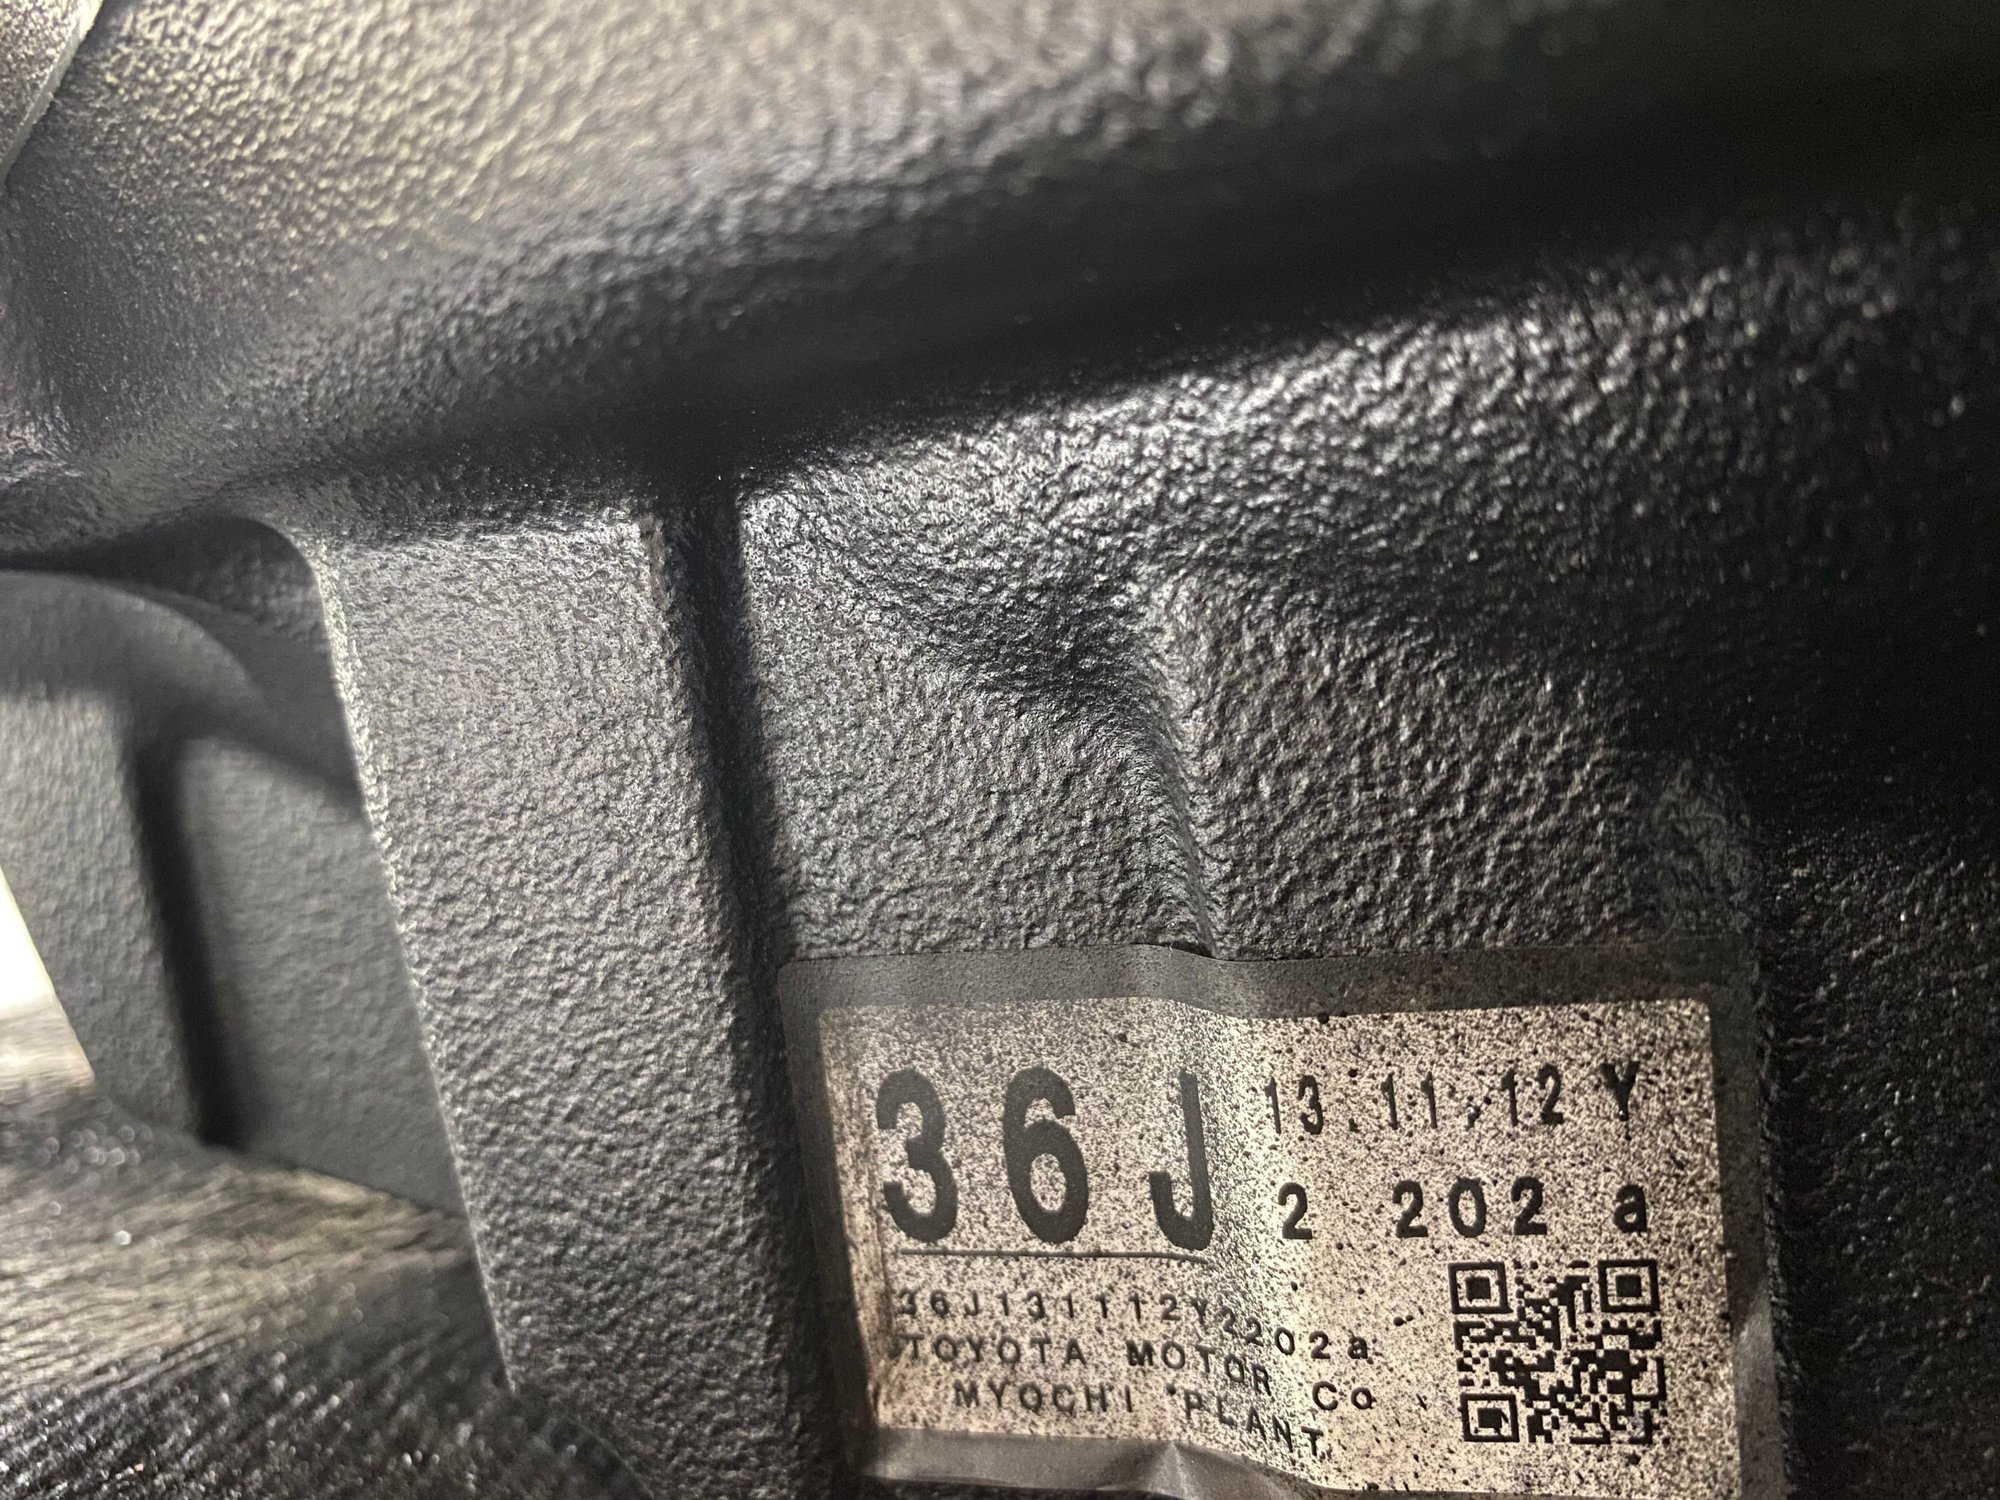
Does anyone know when the diff changed? Is there a part # on your 14 that I can cross reference on my 13?


The following 2 users liked this post by JT2MA71:
Joe Z (11-29-20), ljdsong (12-02-20)
Old 11-29-20, 04:39 PM
  #77  
JT2MA71
Moderator
Thread Starter
iTrader: (7)
 
JT2MA71's Avatar
 
Join Date: Dec 2006
Location: WA
Posts: 2,388
Received 1,550 Likes on 674 Posts
Default

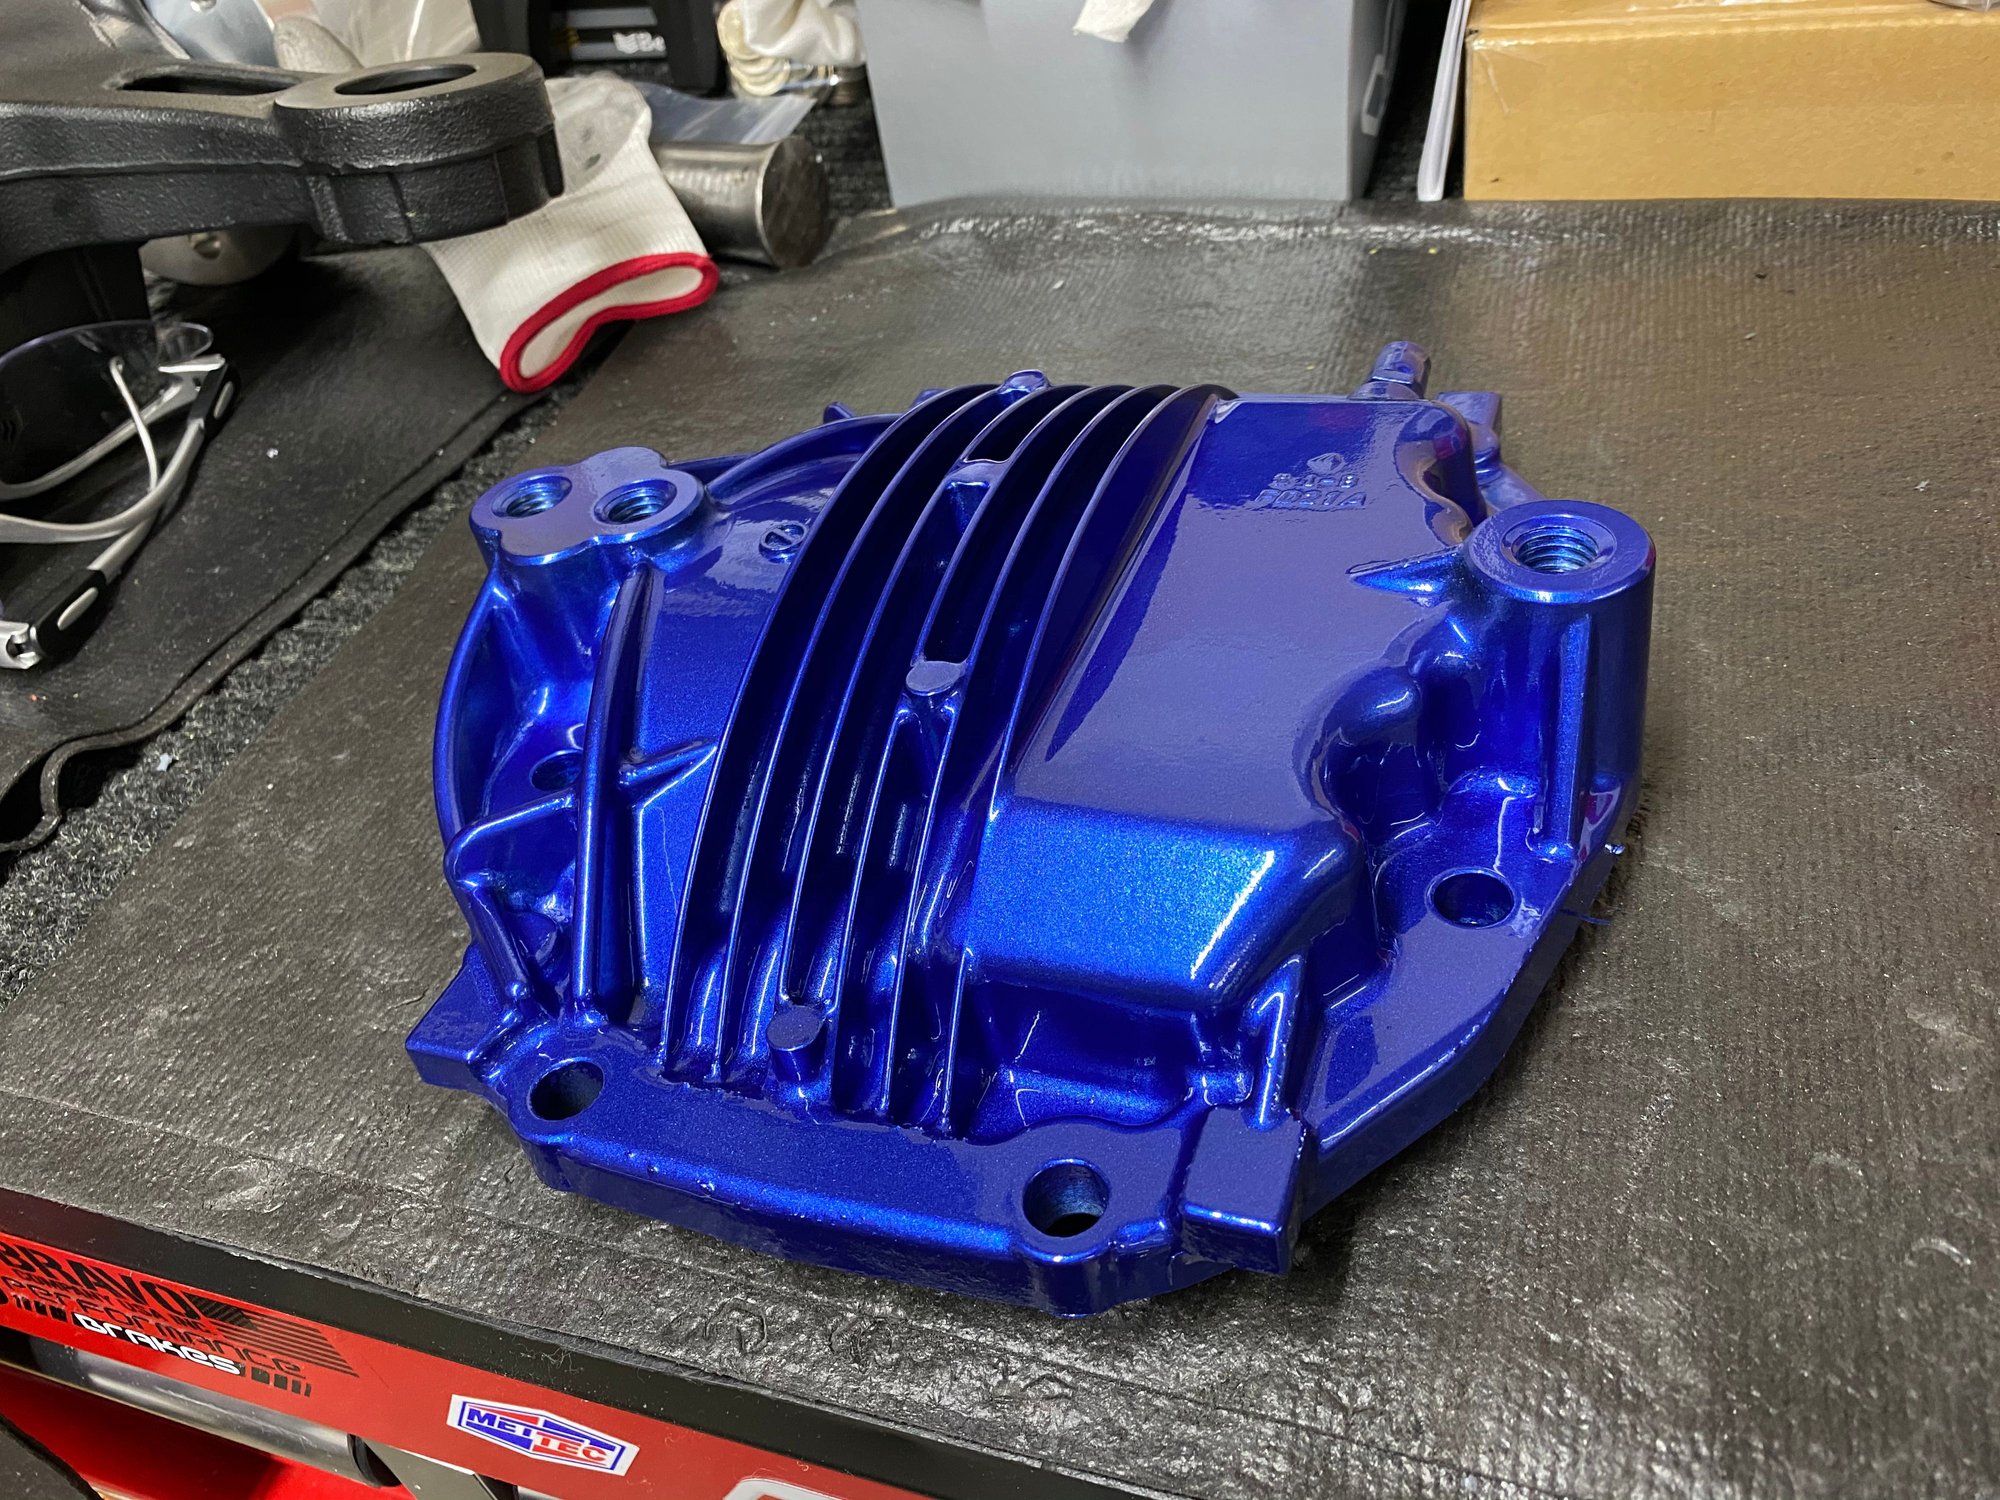
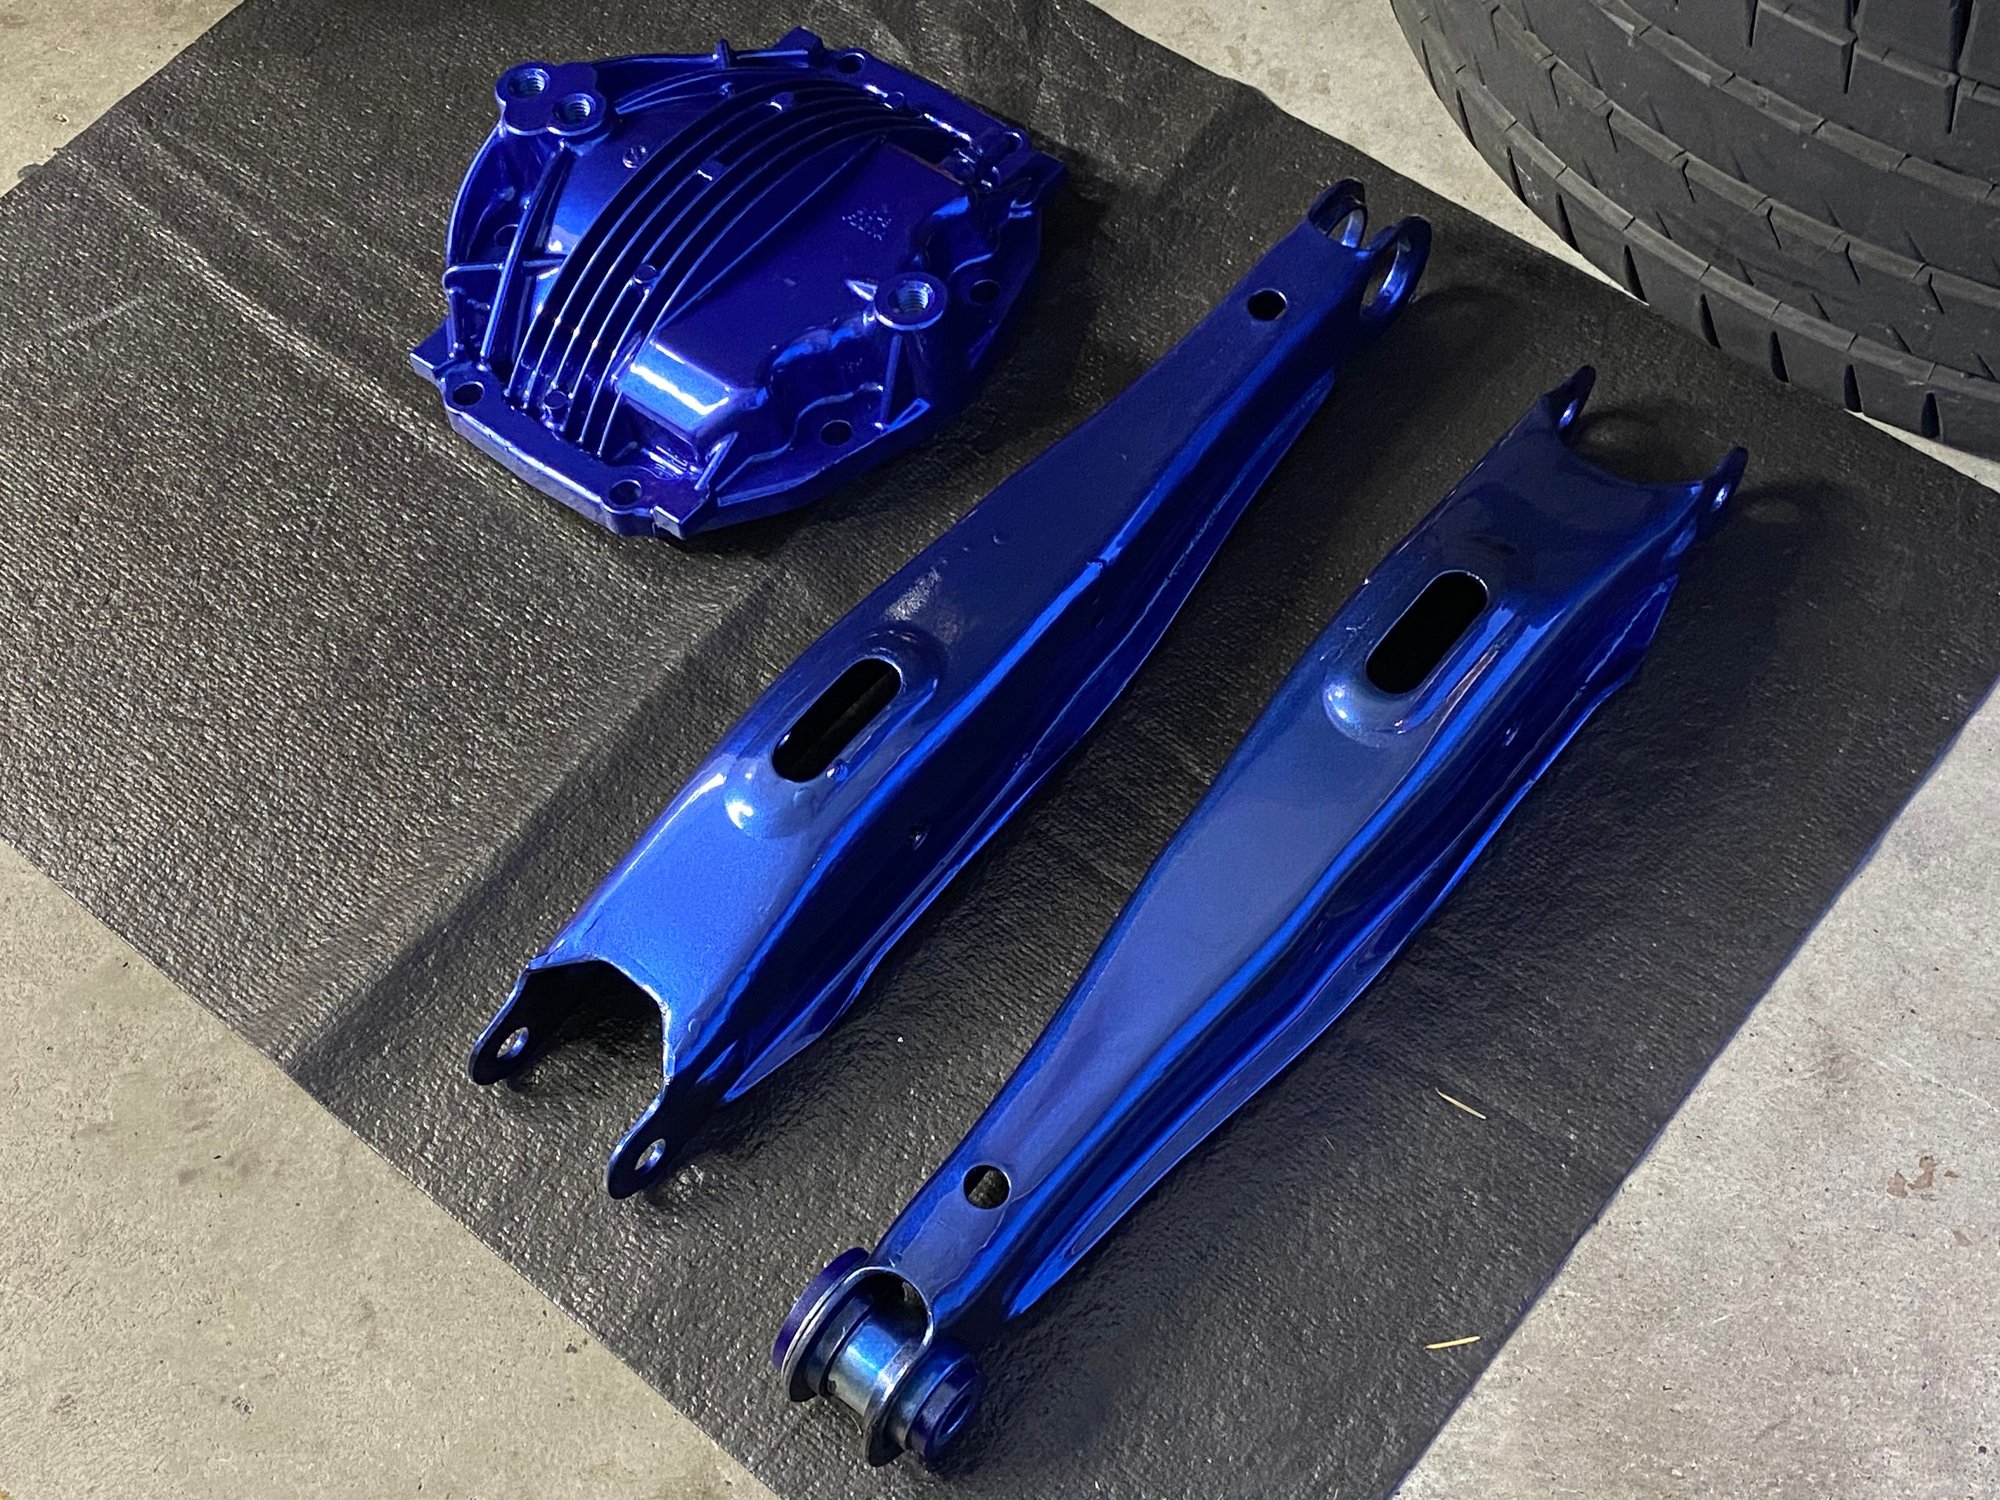
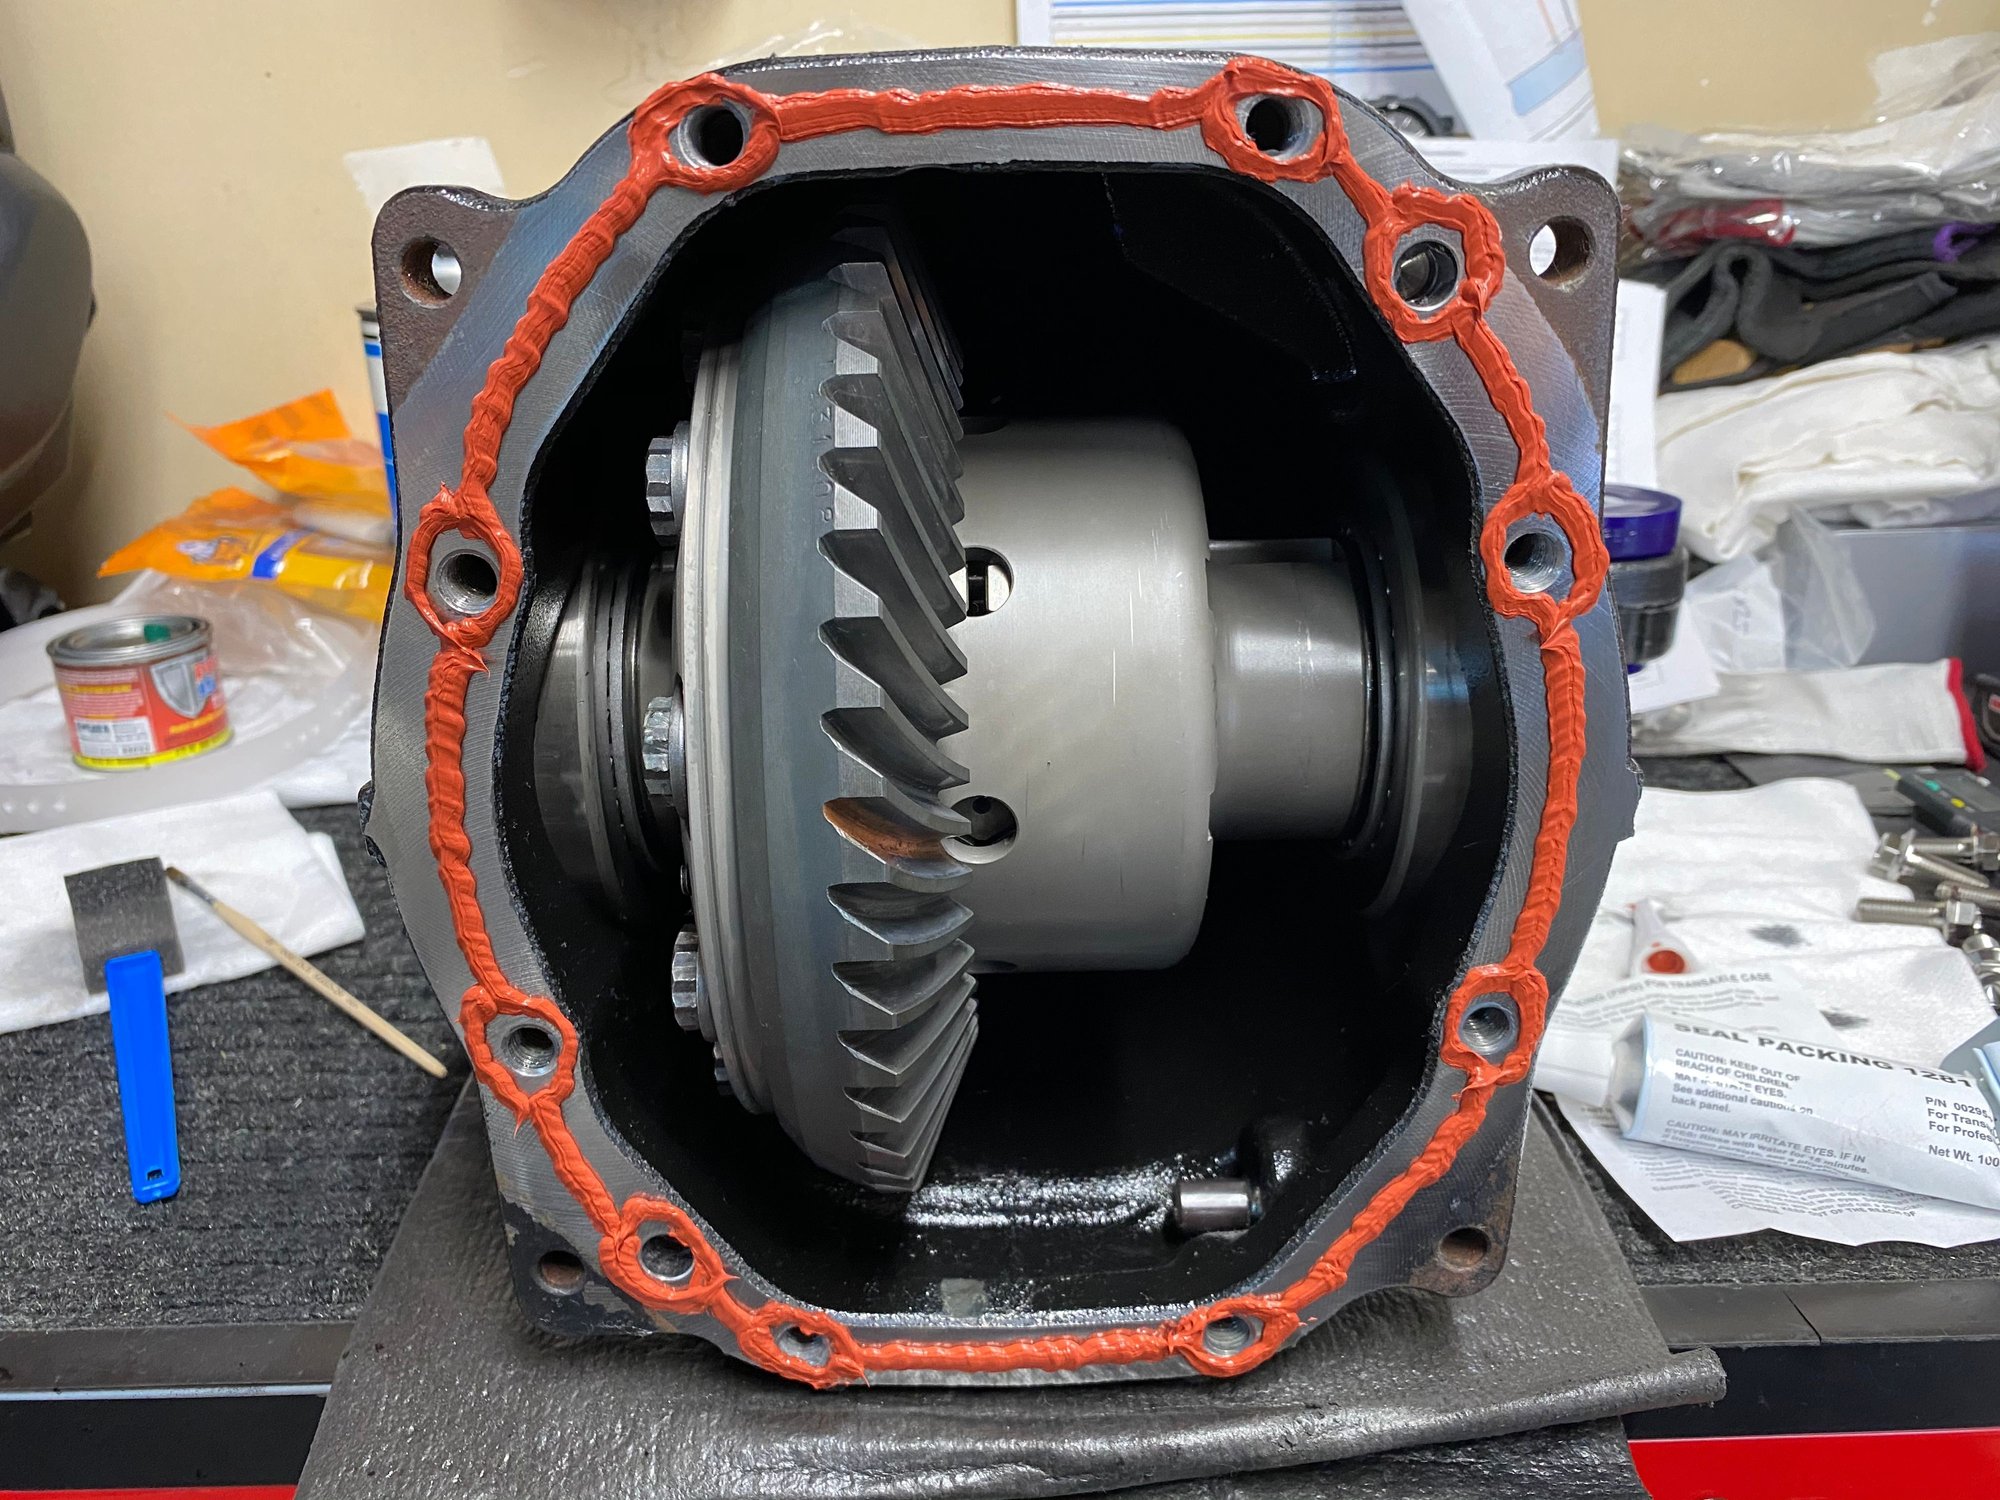
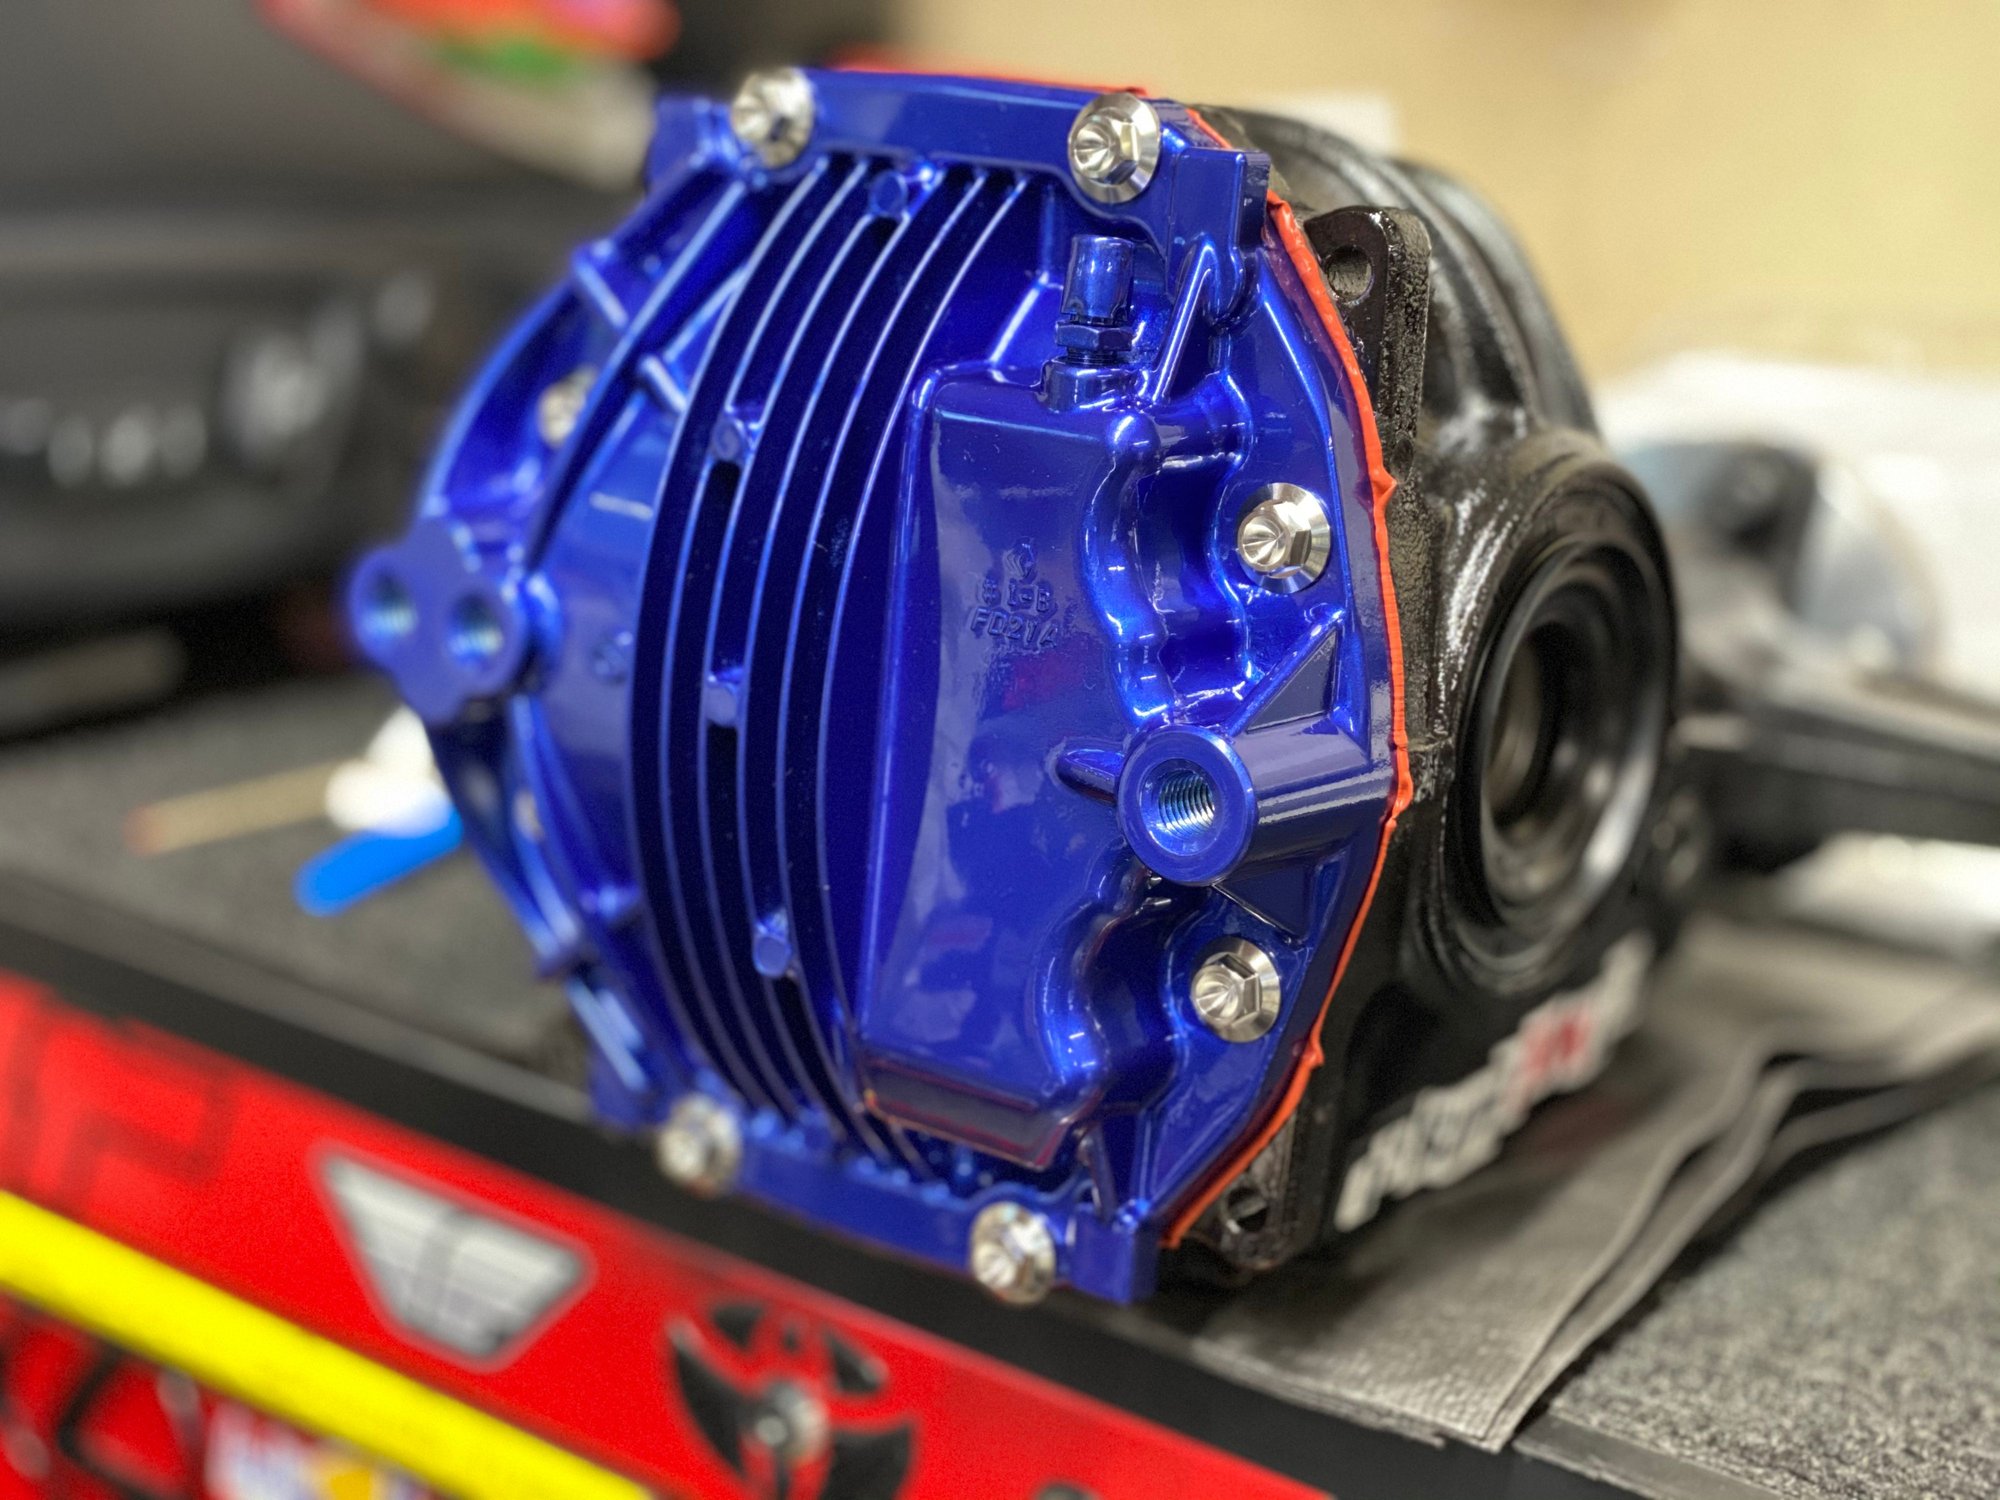
I didn’t like the oxidized aluminum diff cover.


The following 2 users liked this post by JT2MA71:
Joe Z (11-29-20), ljdsong (12-02-20)
Old 11-29-20, 05:17 PM
  #78  
Joe Z
Lexus Fanatic
iTrader: (10)
 
Joe Z's Avatar
 
Join Date: Nov 2004
Location: Under an IS F since 2008
Posts: 13,441
Received 1,062 Likes on 586 Posts
Default

Originally Posted by JT2MA71
I didn’t like the oxidized aluminum diff cover.


Nicely done..!! Didn't have time for this when I slapped in the RC F Torsen unit..

Perfect F Blue

Joe Z
The following users liked this post:
JT2MA71 (11-29-20)
Old 11-30-20, 07:00 AM
  #79  
Jwconeil
Moderator
 
Jwconeil's Avatar
 
Join Date: Apr 2017
Location: Indiana
Posts: 3,086
Received 972 Likes on 630 Posts
Default

Originally Posted by Joe Z
@Jwconeil The IS F's from 2010 to 2014 came with 3 different Torsen LSD full carrier part numbers..
Your 2013 will be the same found on @JT2MA71 2014.


41110 CARRIER ASSY, DIFFERENTIAL, REAR

1) 41110-53290
*FGR=47:16=2.937
(08/2009 - 09/2011) = MY 2010

2) 41110-53291 *FGR=47:16=2.937
(10/2011 - 04/2012) = MY 2011 - 2012

3) 41110-53292 *FGR=47:16=2.937
(05/2012 - 07/2014) = MY 2012 - 2014


Joe Z
Well installing an OSG just got a whole lot easier for future me. Thanks!
The following 2 users liked this post by Jwconeil:
Joe Z (11-30-20), JT2MA71 (11-30-20)
Old 11-30-20, 05:00 PM
  #80  
JT2MA71
Moderator
Thread Starter
iTrader: (7)
 
JT2MA71's Avatar
 
Join Date: Dec 2006
Location: WA
Posts: 2,388
Received 1,550 Likes on 674 Posts
Default


Old 12-04-20, 05:15 AM
  #81  
JT2MA71
Moderator
Thread Starter
iTrader: (7)
 
JT2MA71's Avatar
 
Join Date: Dec 2006
Location: WA
Posts: 2,388
Received 1,550 Likes on 674 Posts
Default

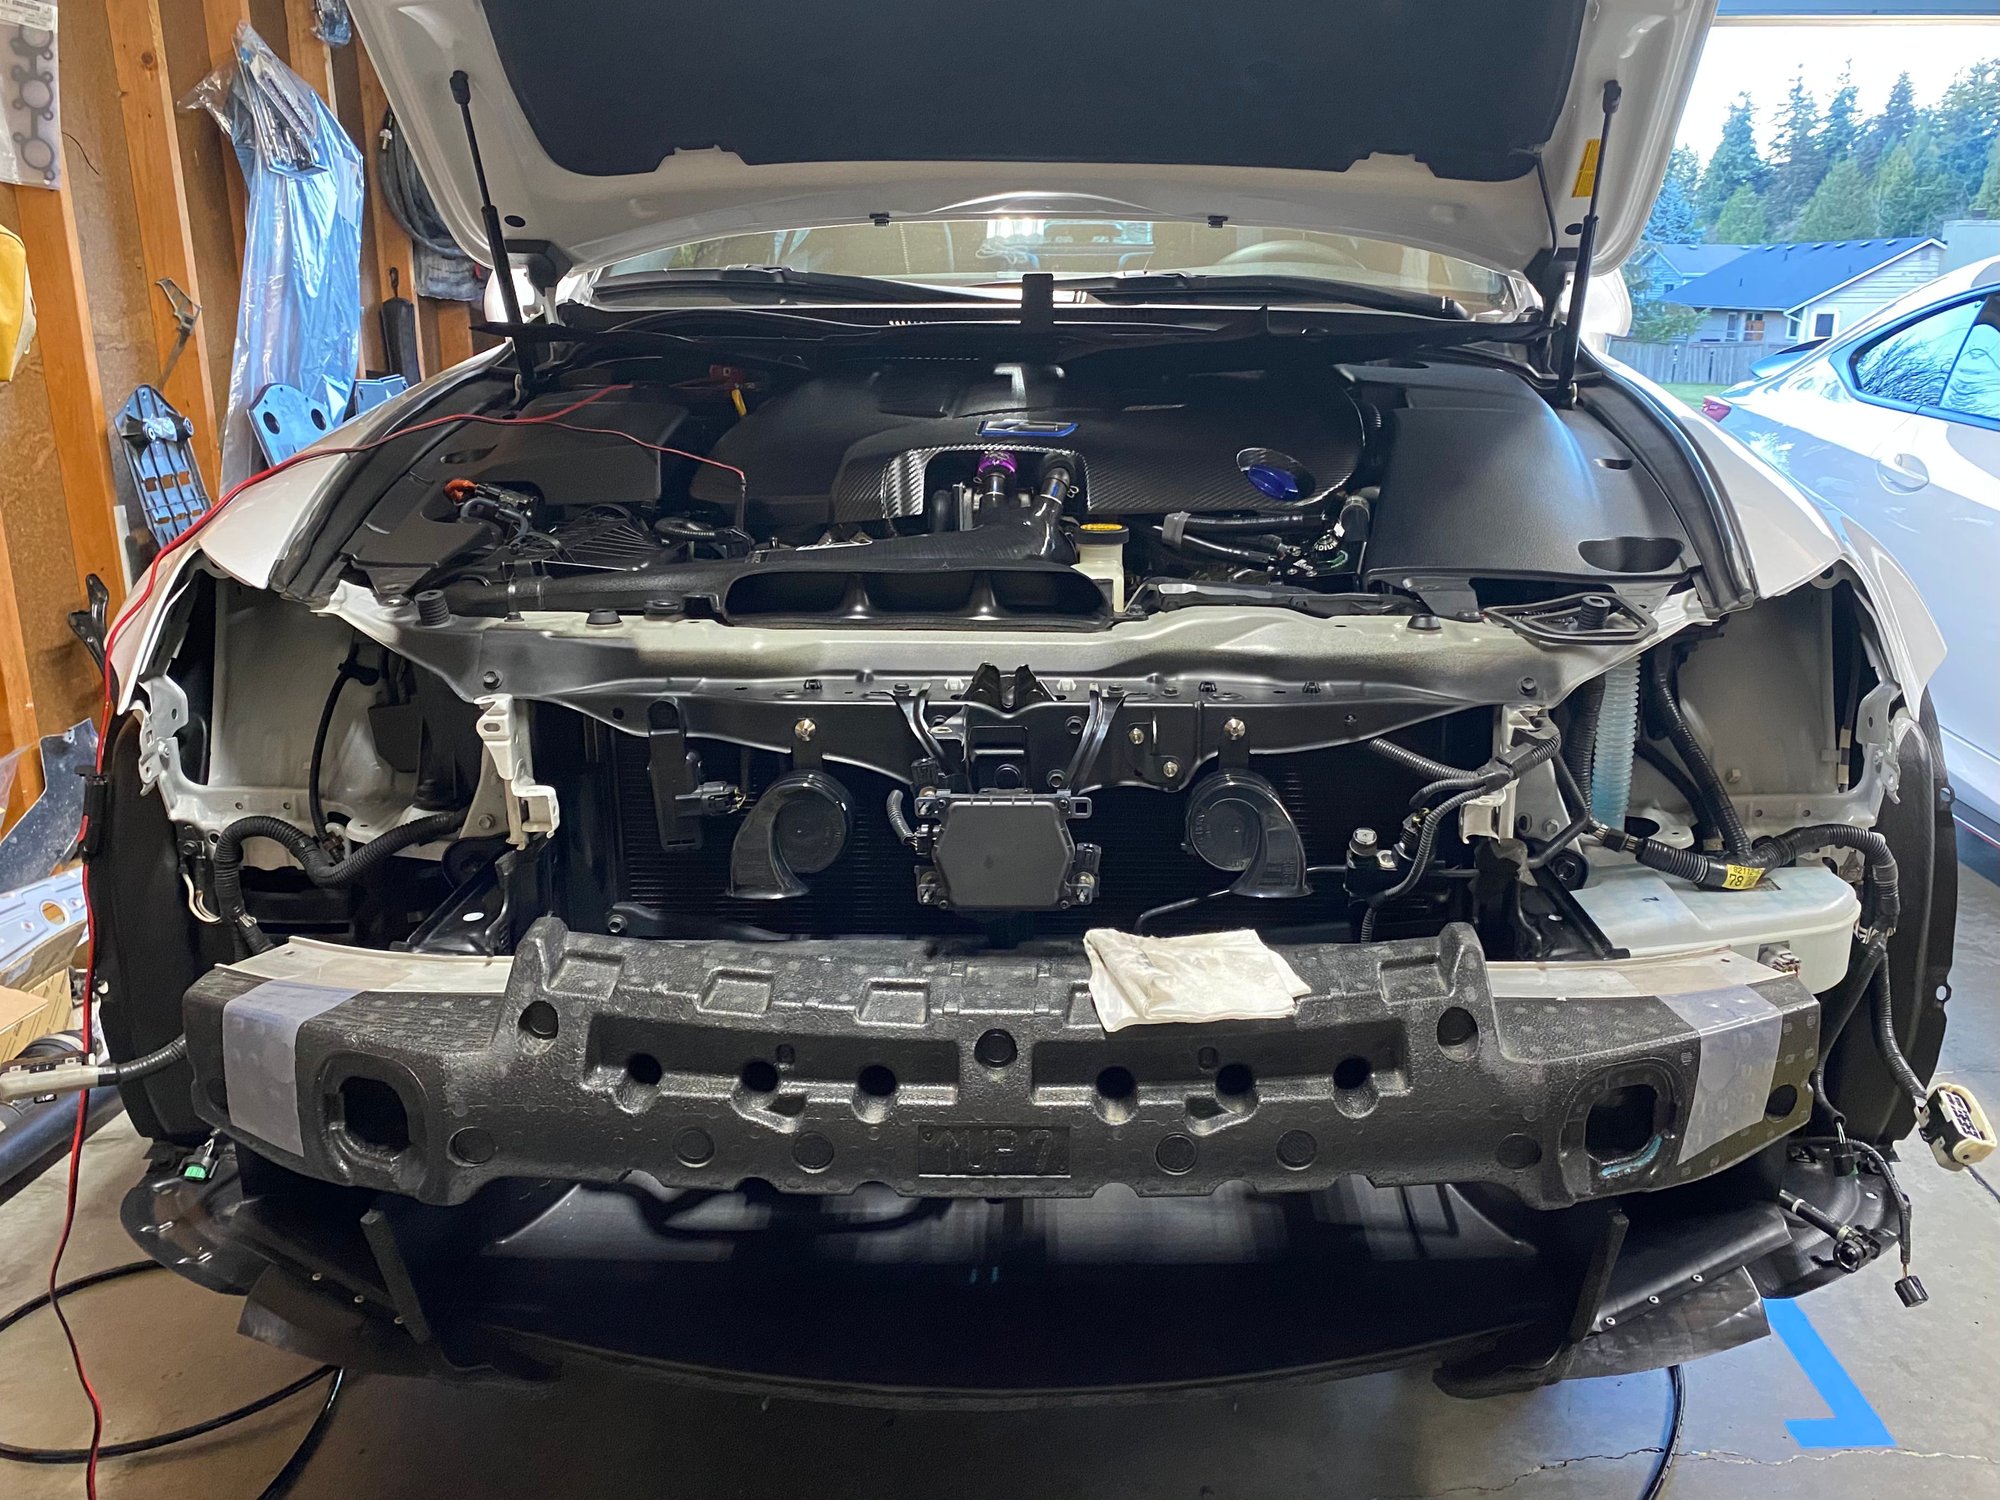
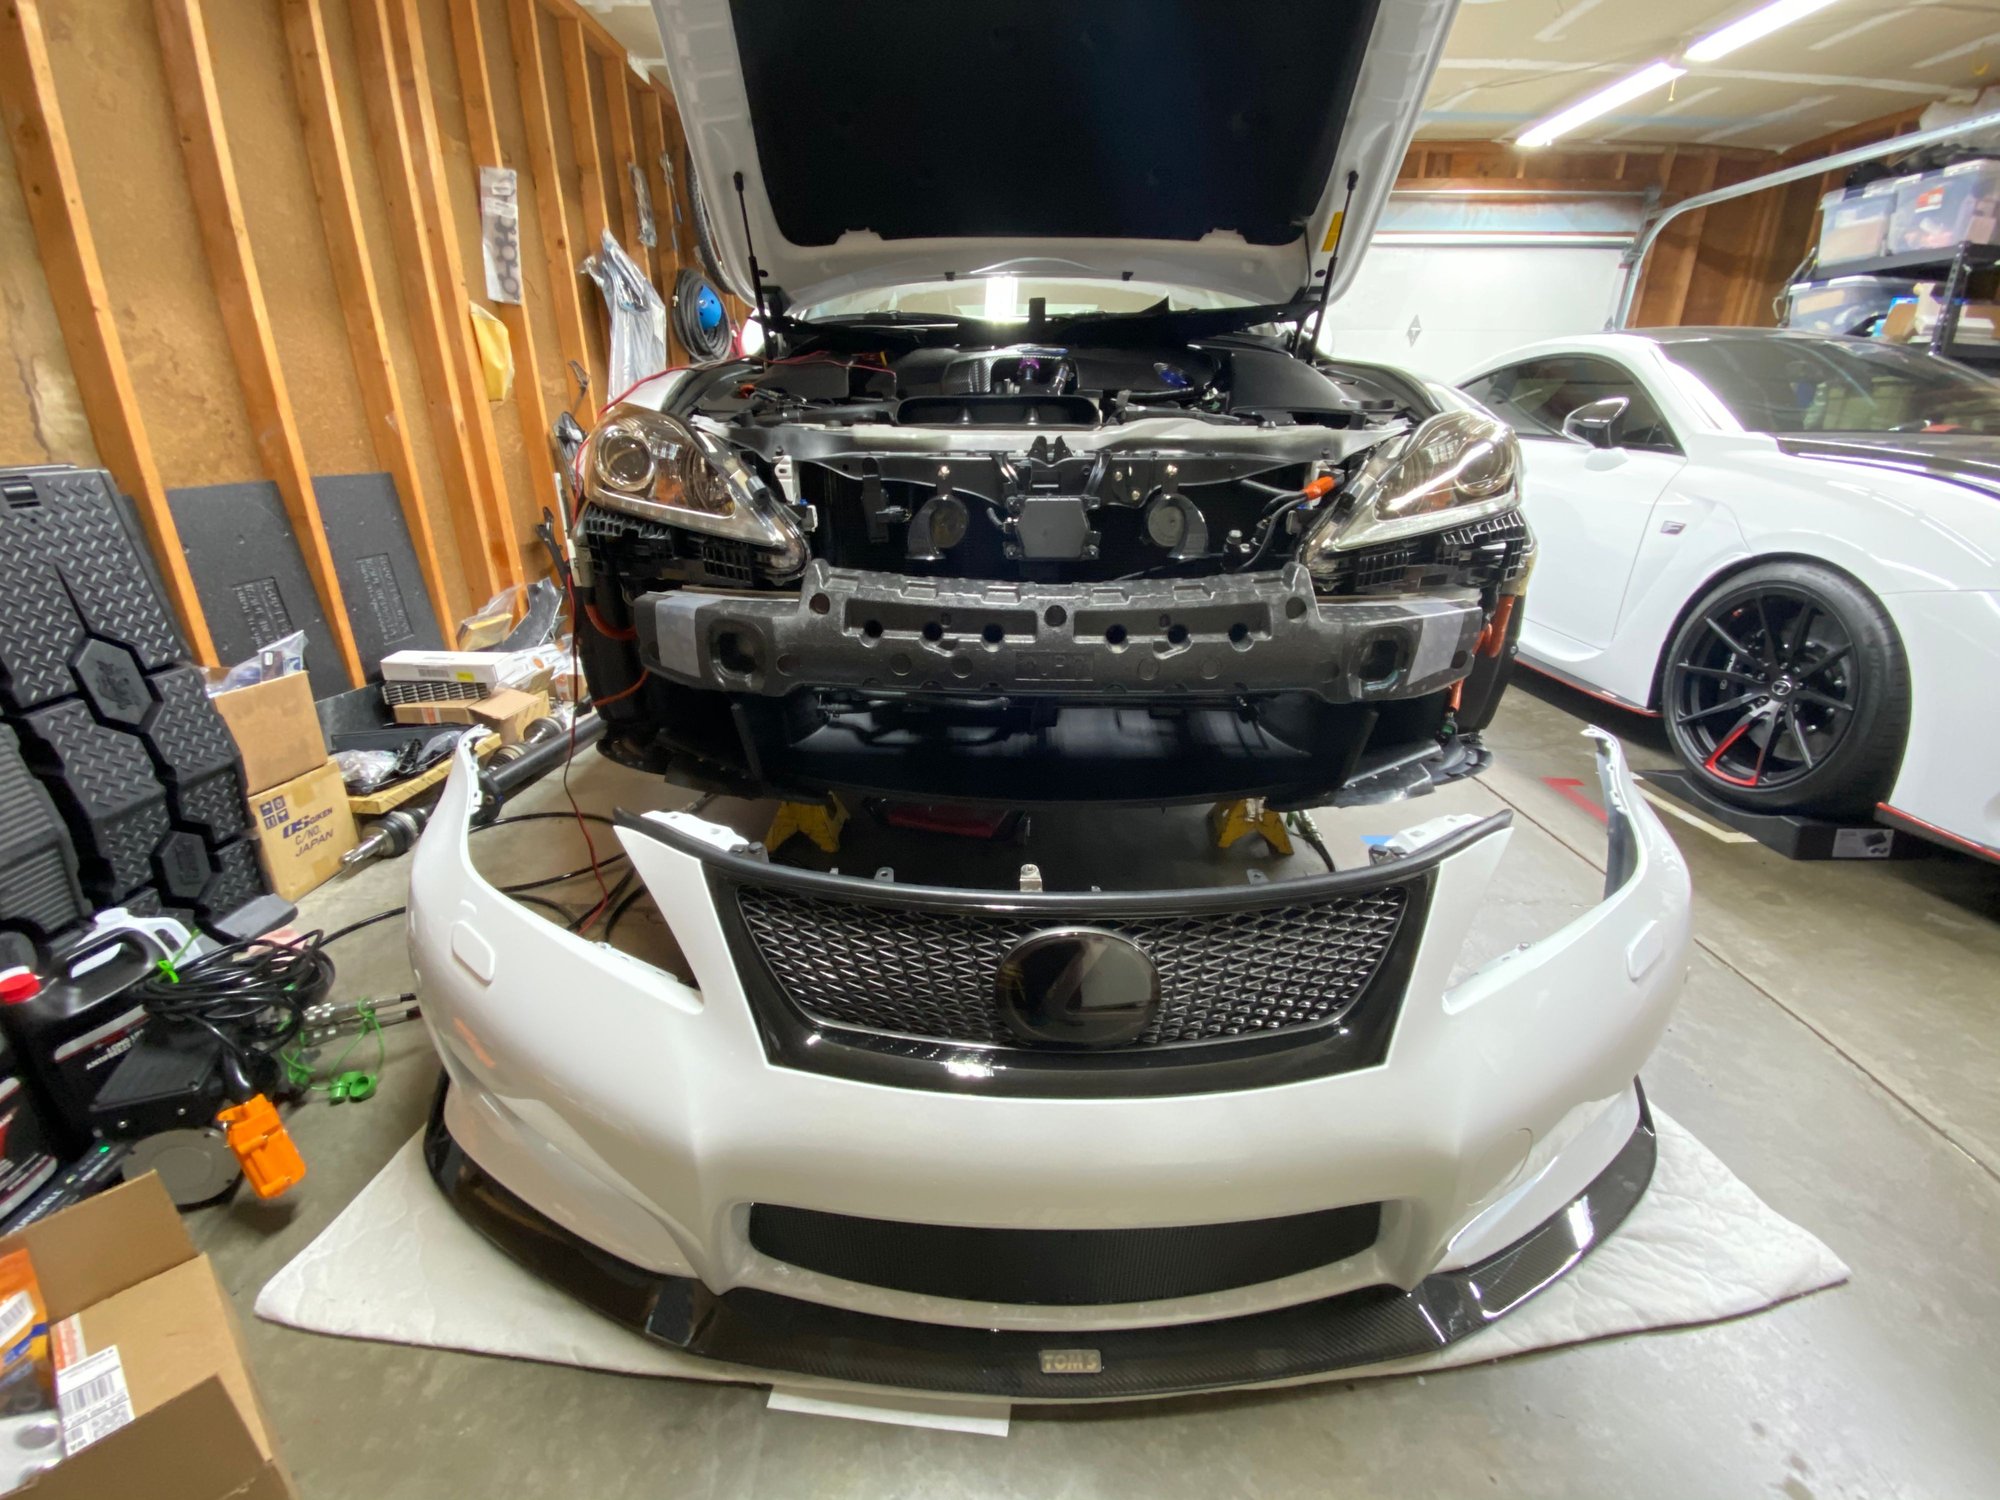
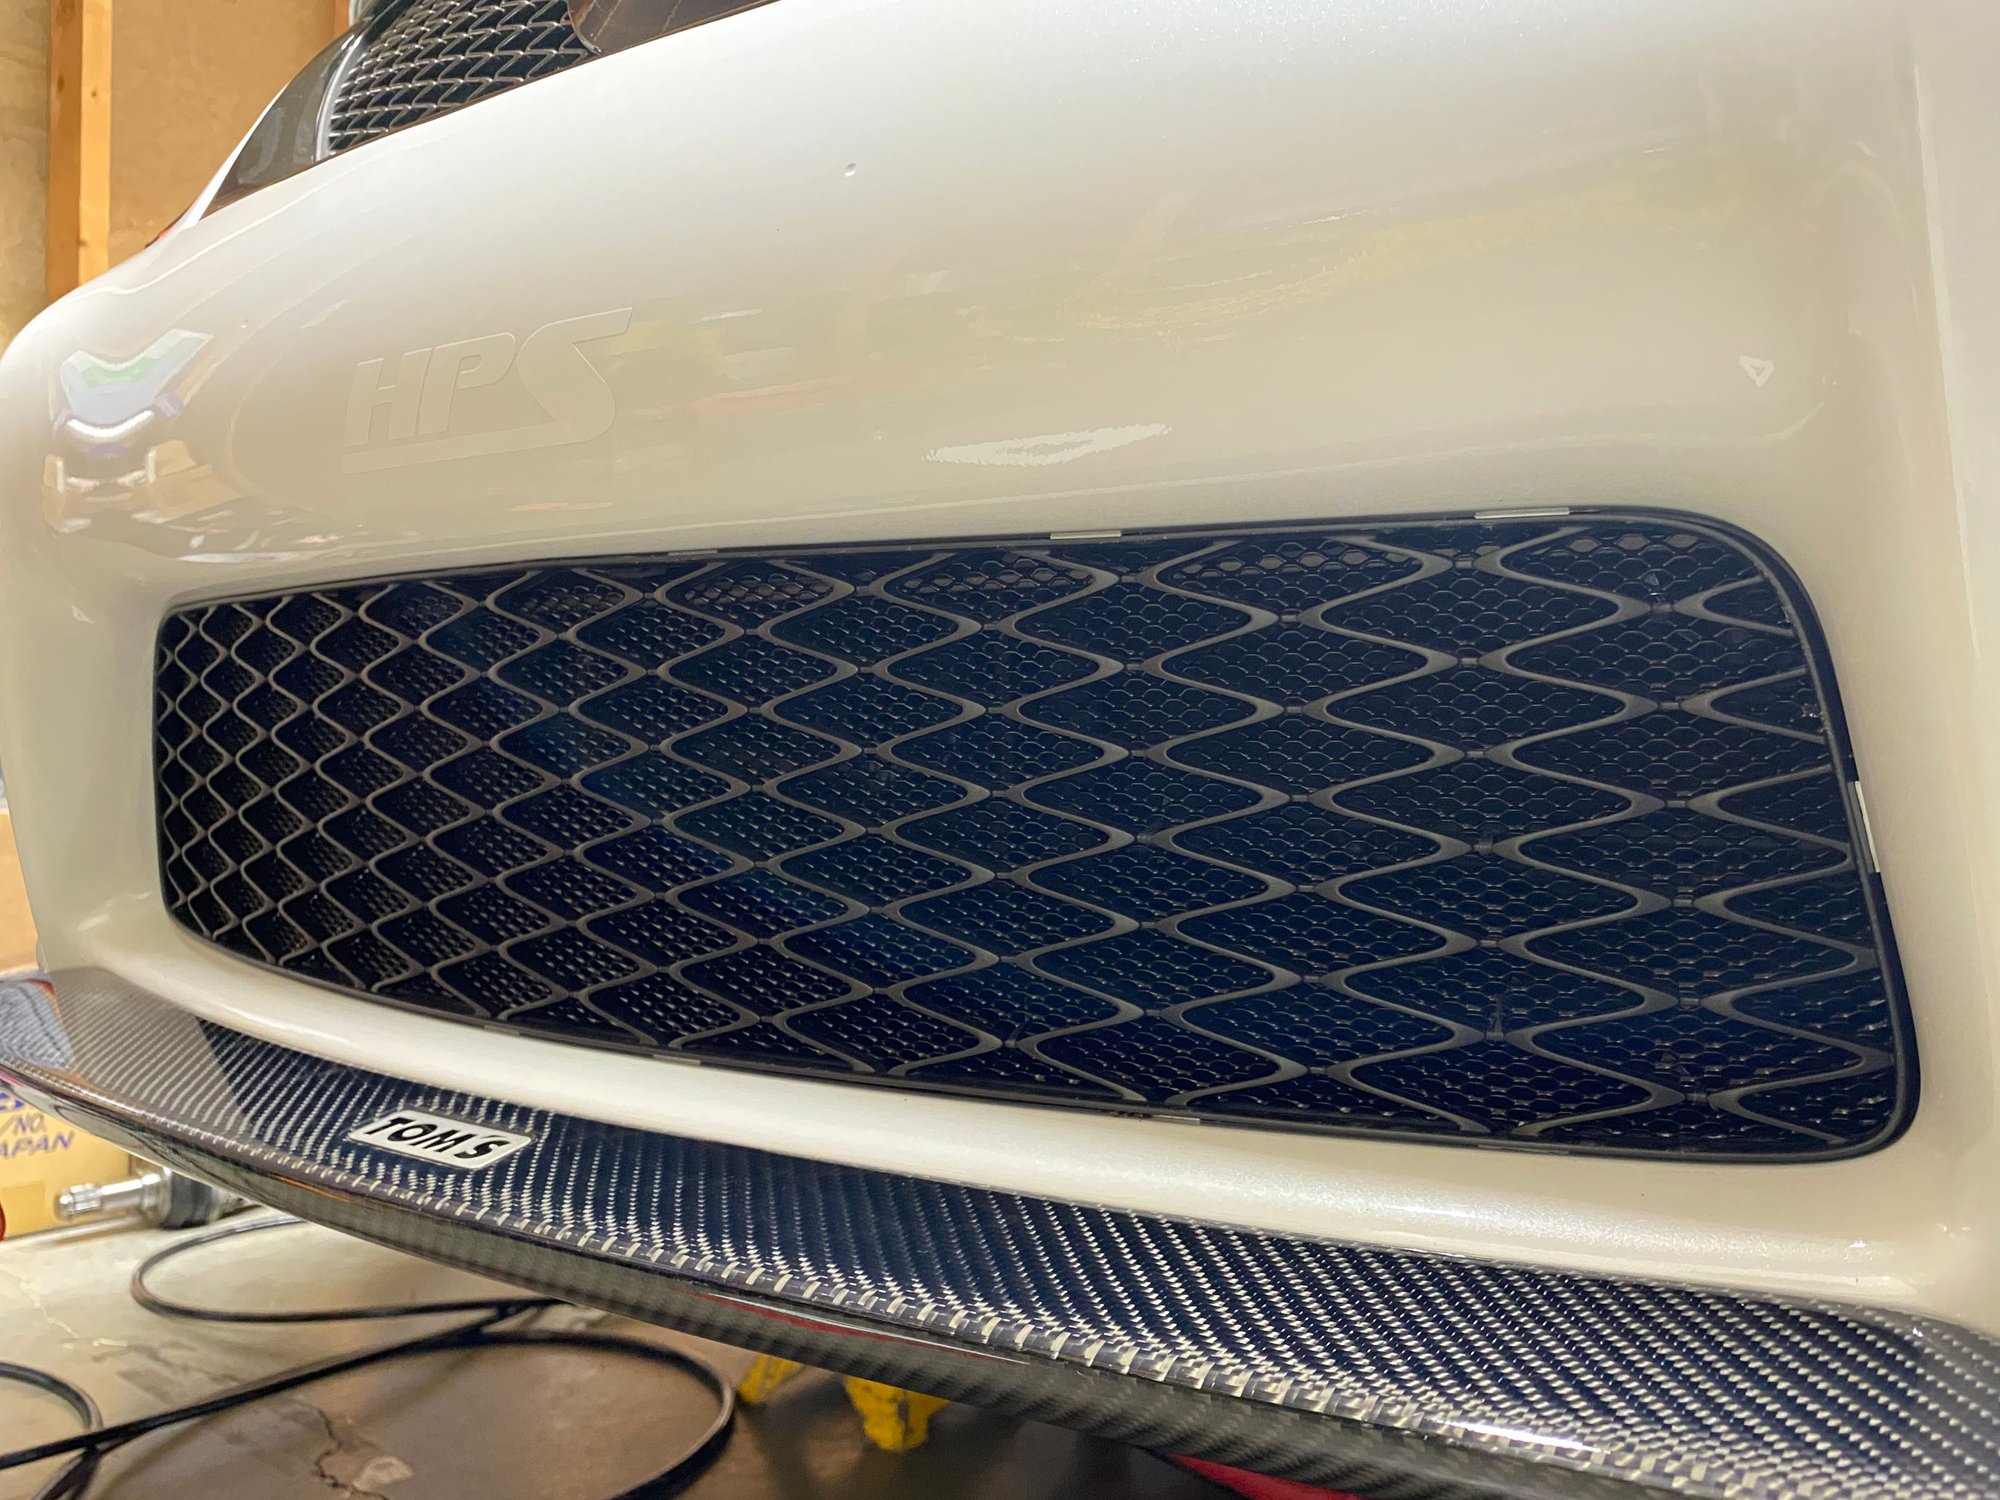
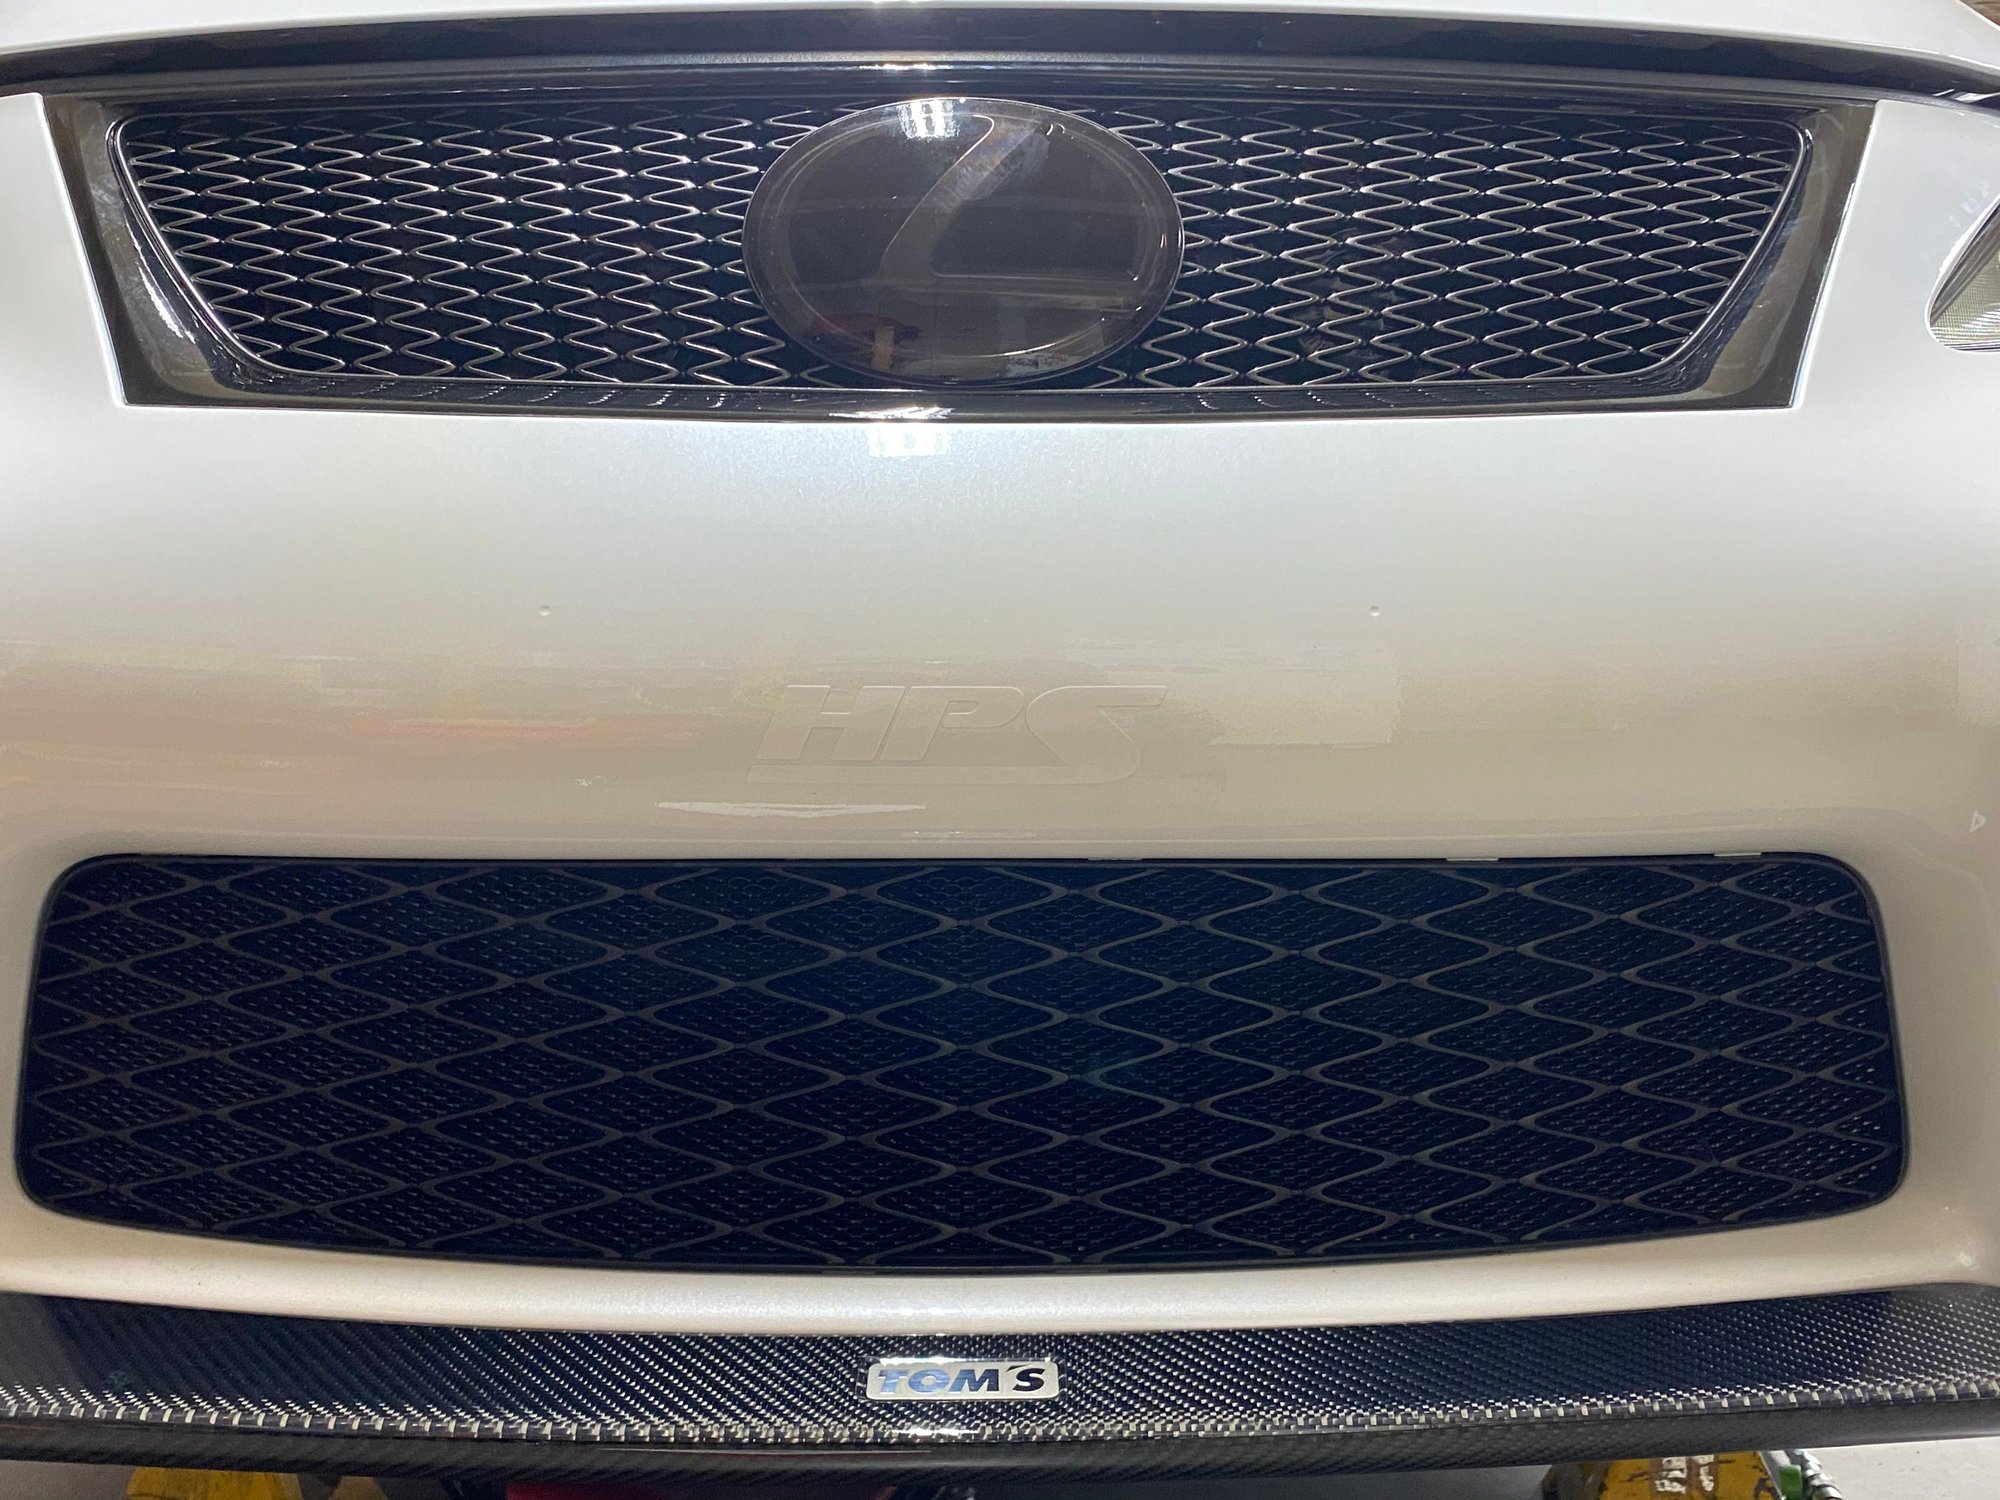
Took the bumper off to replace the headlights and decided to put the fine mesh grill behind the factory one, I think it looks much better this way.


Last edited by JT2MA71; 12-04-20 at 05:42 AM.
The following 3 users liked this post by JT2MA71:
jdmek998 (12-04-20), Joe Z (12-04-20), MileHIFcar (12-04-20)
Old 12-04-20, 06:12 AM
  #82  
jdmek998
Intermediate
 
jdmek998's Avatar
 
Join Date: Nov 2014
Location: FL
Posts: 275
Received 56 Likes on 40 Posts
Default

I like that mesh. Where did you get it ?
Old 12-04-20, 06:25 AM
  #83  
JT2MA71
Moderator
Thread Starter
iTrader: (7)
 
JT2MA71's Avatar
 
Join Date: Dec 2006
Location: WA
Posts: 2,388
Received 1,550 Likes on 674 Posts
Default

Originally Posted by jdmek998
I like that mesh. Where did you get it ?

M-D Building Products 57398...
Amazon Amazon
The following users liked this post:
jdmek998 (12-04-20)
Old 12-04-20, 06:40 AM
  #84  
jdmek998
Intermediate
 
jdmek998's Avatar
 
Join Date: Nov 2014
Location: FL
Posts: 275
Received 56 Likes on 40 Posts
Default

Originally Posted by JT2MA71
Thanks. I might have to copy you. Looks great!!
The following users liked this post:
JT2MA71 (12-04-20)
Old 12-04-20, 09:16 PM
  #85  
lobuxracer
Tech Info Resource

iTrader: (2)
 
lobuxracer's Avatar
 
Join Date: Jul 2006
Location: Georgia
Posts: 22,311
Received 3,953 Likes on 2,394 Posts
Default

Looks nice, but if you do this you will absolutely need to remove the bumper cover to replace the radiator. Without the fine screen you can get a long extension and remove the bolts holding the A/C condenser easily without removing the bumper cover.
Old 12-05-20, 02:26 PM
  #86  
JT2MA71
Moderator
Thread Starter
iTrader: (7)
 
JT2MA71's Avatar
 
Join Date: Dec 2006
Location: WA
Posts: 2,388
Received 1,550 Likes on 674 Posts
Default

Originally Posted by lobuxracer
Looks nice, but if you do this you will absolutely need to remove the bumper cover to replace the radiator. Without the fine screen you can get a long extension and remove the bolts holding the A/C condenser easily without removing the bumper cover.
I didn’t know the ac condenser need to come off to replace the radiator, I thought you just have to take the top core support off to make the job easier.
Old 12-05-20, 04:20 PM
  #87  
JT2MA71
Moderator
Thread Starter
iTrader: (7)
 
JT2MA71's Avatar
 
Join Date: Dec 2006
Location: WA
Posts: 2,388
Received 1,550 Likes on 674 Posts
Default


The following users liked this post:
Joe Z (12-05-20)
Old 12-05-20, 04:55 PM
  #88  
lobuxracer
Tech Info Resource

iTrader: (2)
 
lobuxracer's Avatar
 
Join Date: Jul 2006
Location: Georgia
Posts: 22,311
Received 3,953 Likes on 2,394 Posts
Default

Originally Posted by JT2MA71
I didn’t know the ac condenser need to come off to replace the radiator, I thought you just have to take the top core support off to make the job easier.
The condenser is bolted to the radiator in the front. No idea why, but a radiator swap is far more of a PITA than it should be. My Supra is stupid easy to do the same task. I routinely take the radiator out of it to clean out all the bugs and road grime.

Did you check the vent to be sure it's not paint clogged? I think I would remove that if I were painting the cover.
Old 12-06-20, 02:32 PM
  #89  
JT2MA71
Moderator
Thread Starter
iTrader: (7)
 
JT2MA71's Avatar
 
Join Date: Dec 2006
Location: WA
Posts: 2,388
Received 1,550 Likes on 674 Posts
Default

Originally Posted by lobuxracer
The condenser is bolted to the radiator in the front. No idea why, but a radiator swap is far more of a PITA than it should be. My Supra is stupid easy to do the same task. I routinely take the radiator out of it to clean out all the bugs and road grime.

Did you check the vent to be sure it's not paint clogged? I think I would remove that if I were painting the cover.
yes, I did make sure that vent wasn’t clogged
I only spayed outside/around it and made sure I wasn’t spraying right up under the cap.
Old 12-06-20, 02:37 PM
  #90  
JT2MA71
Moderator
Thread Starter
iTrader: (7)
 
JT2MA71's Avatar
 
Join Date: Dec 2006
Location: WA
Posts: 2,388
Received 1,550 Likes on 674 Posts
Default


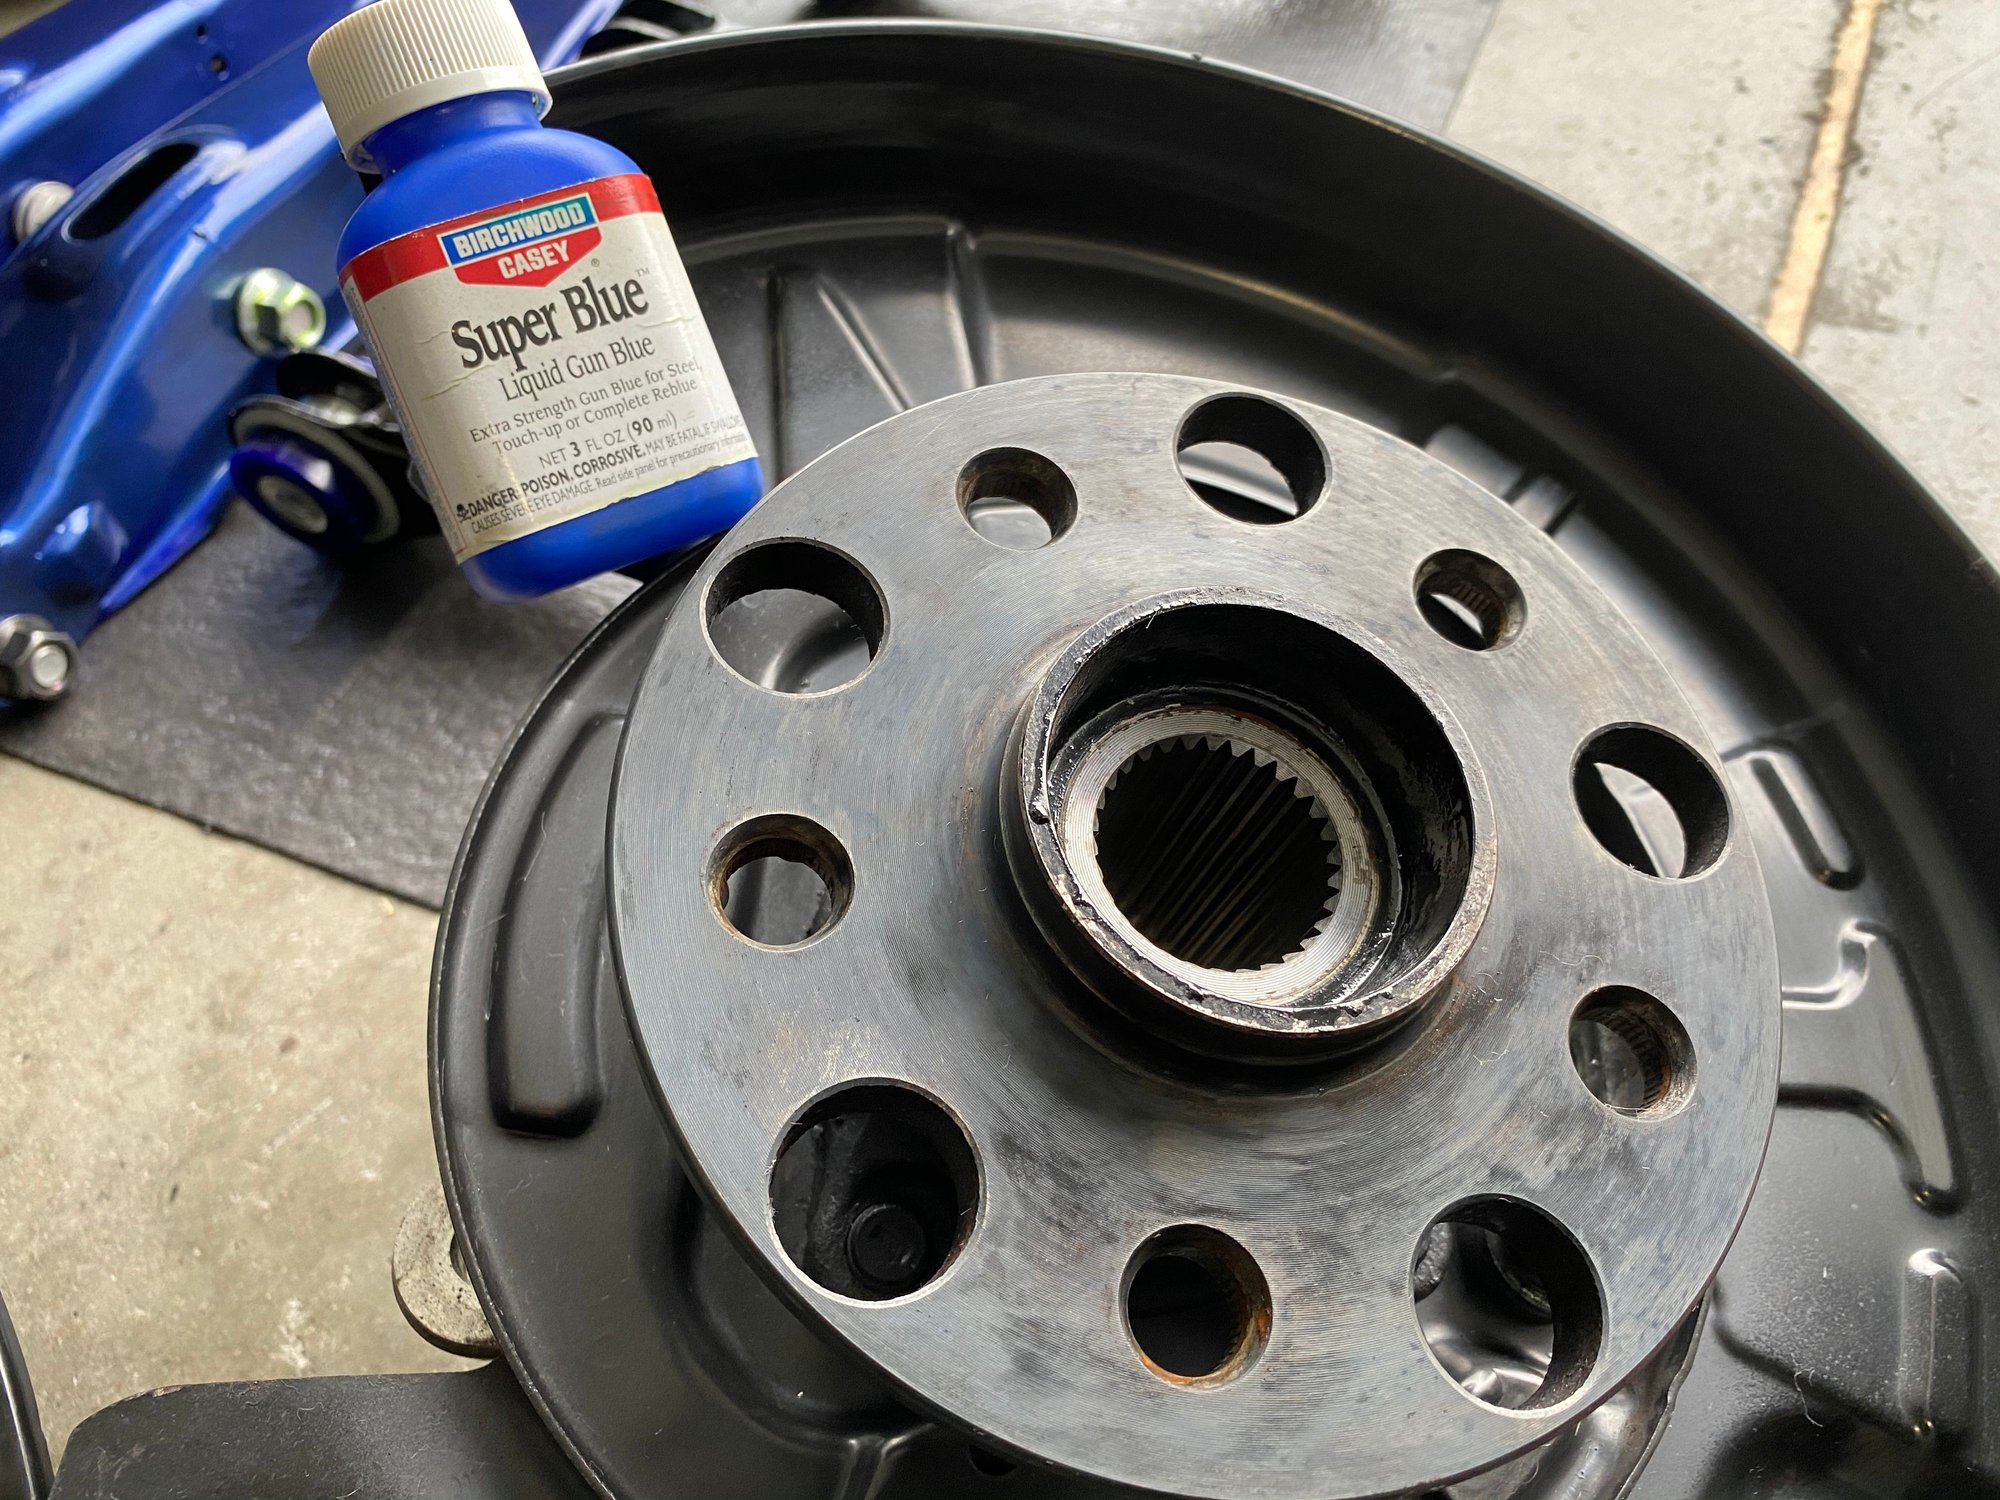
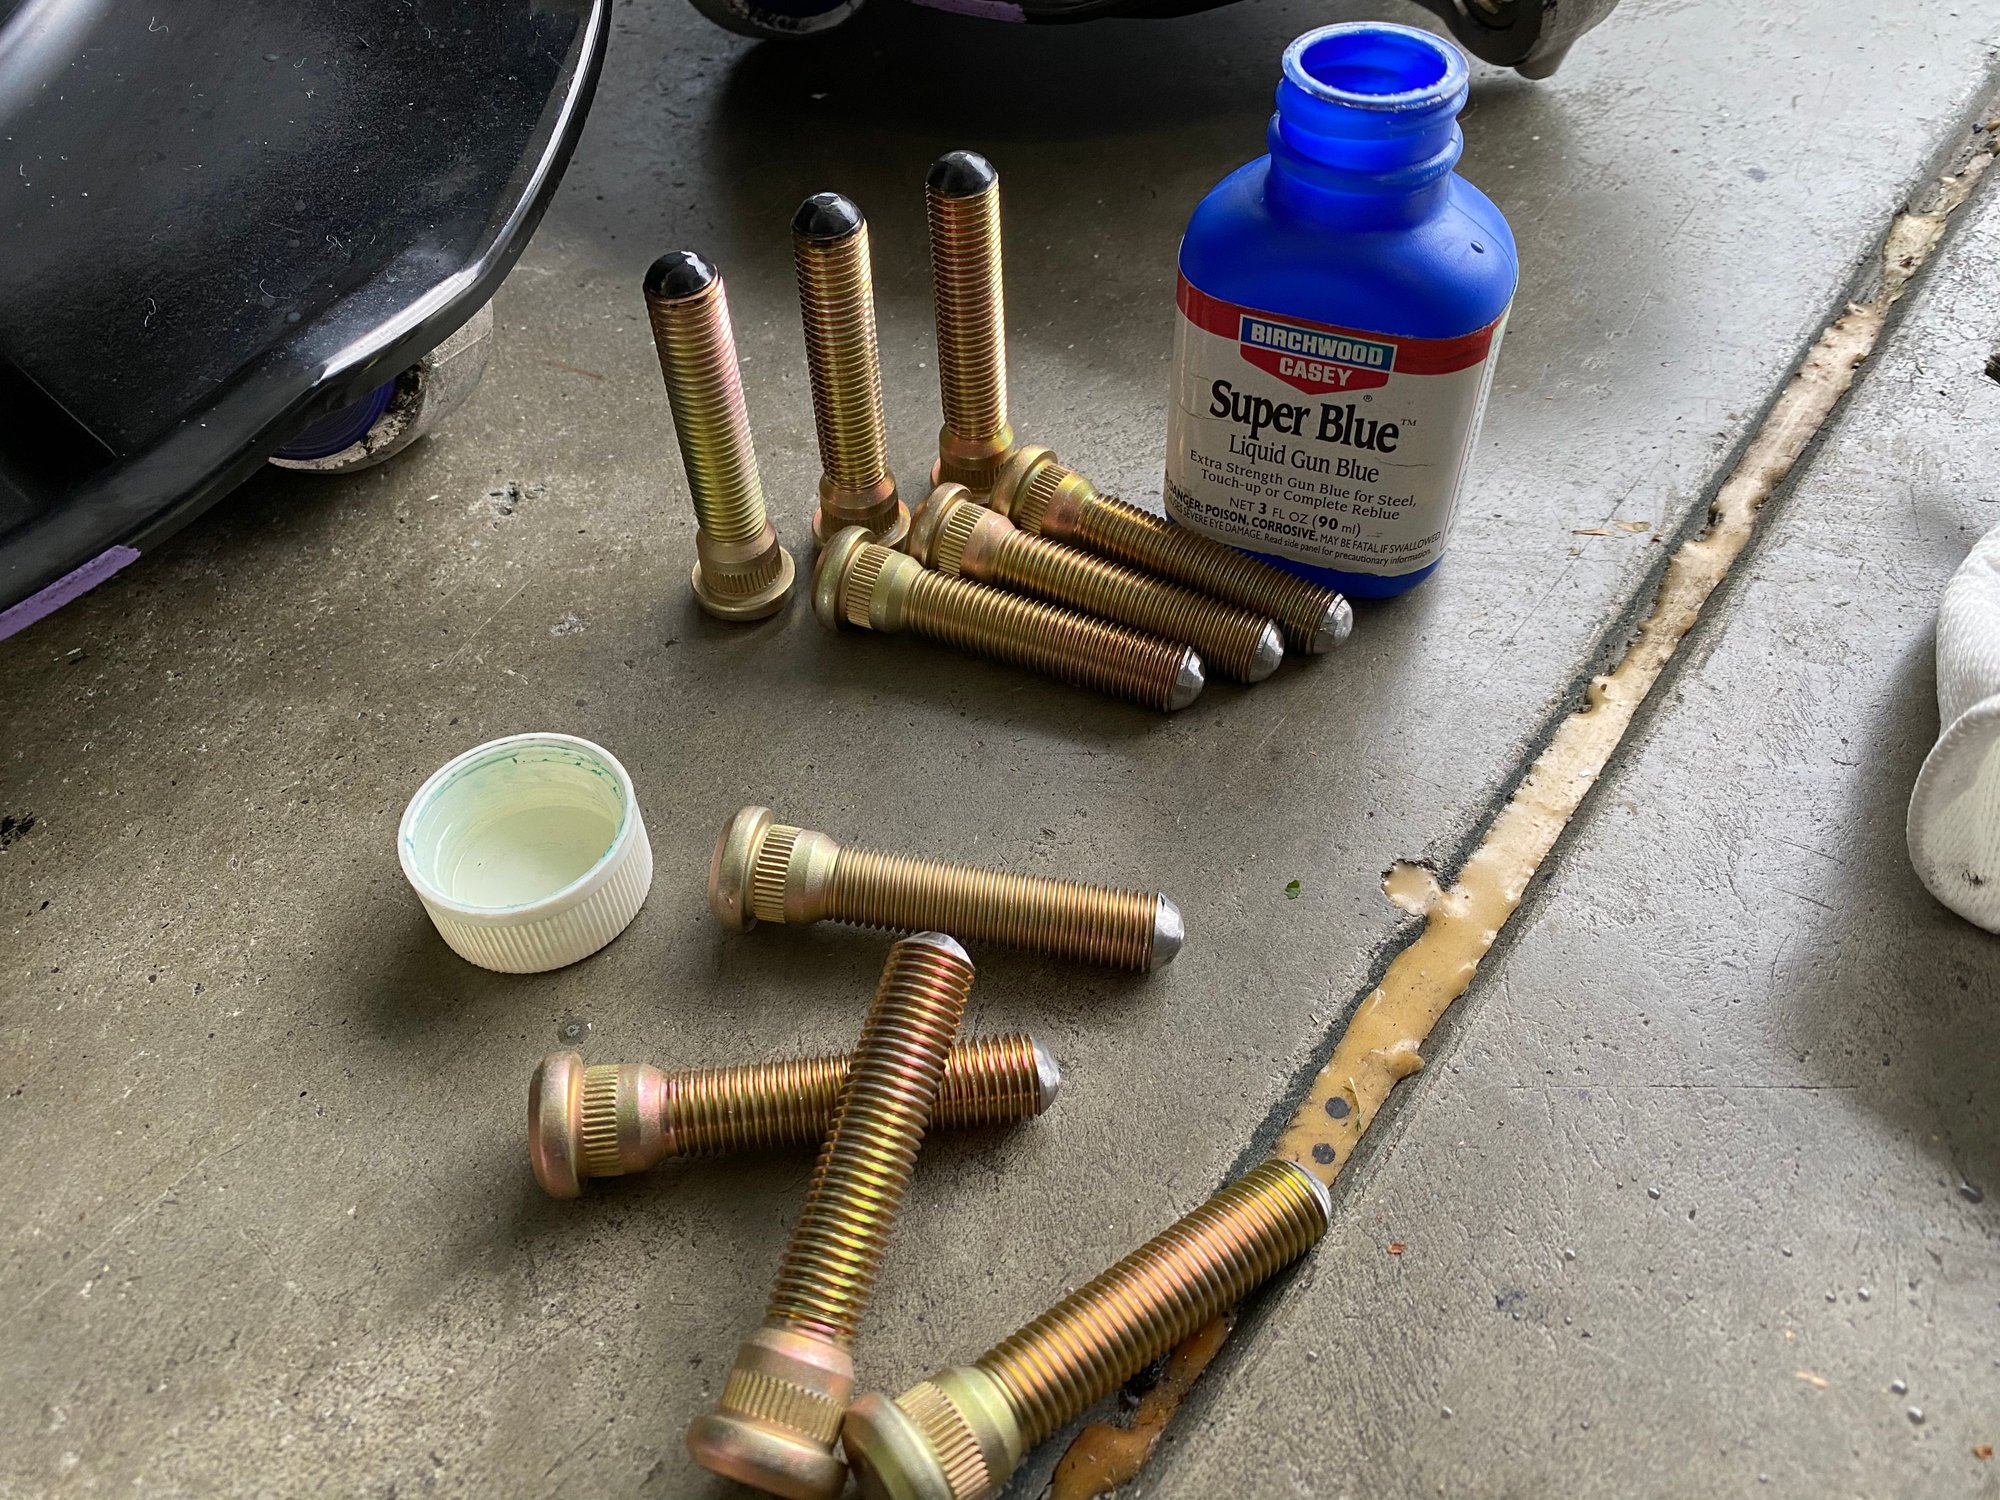
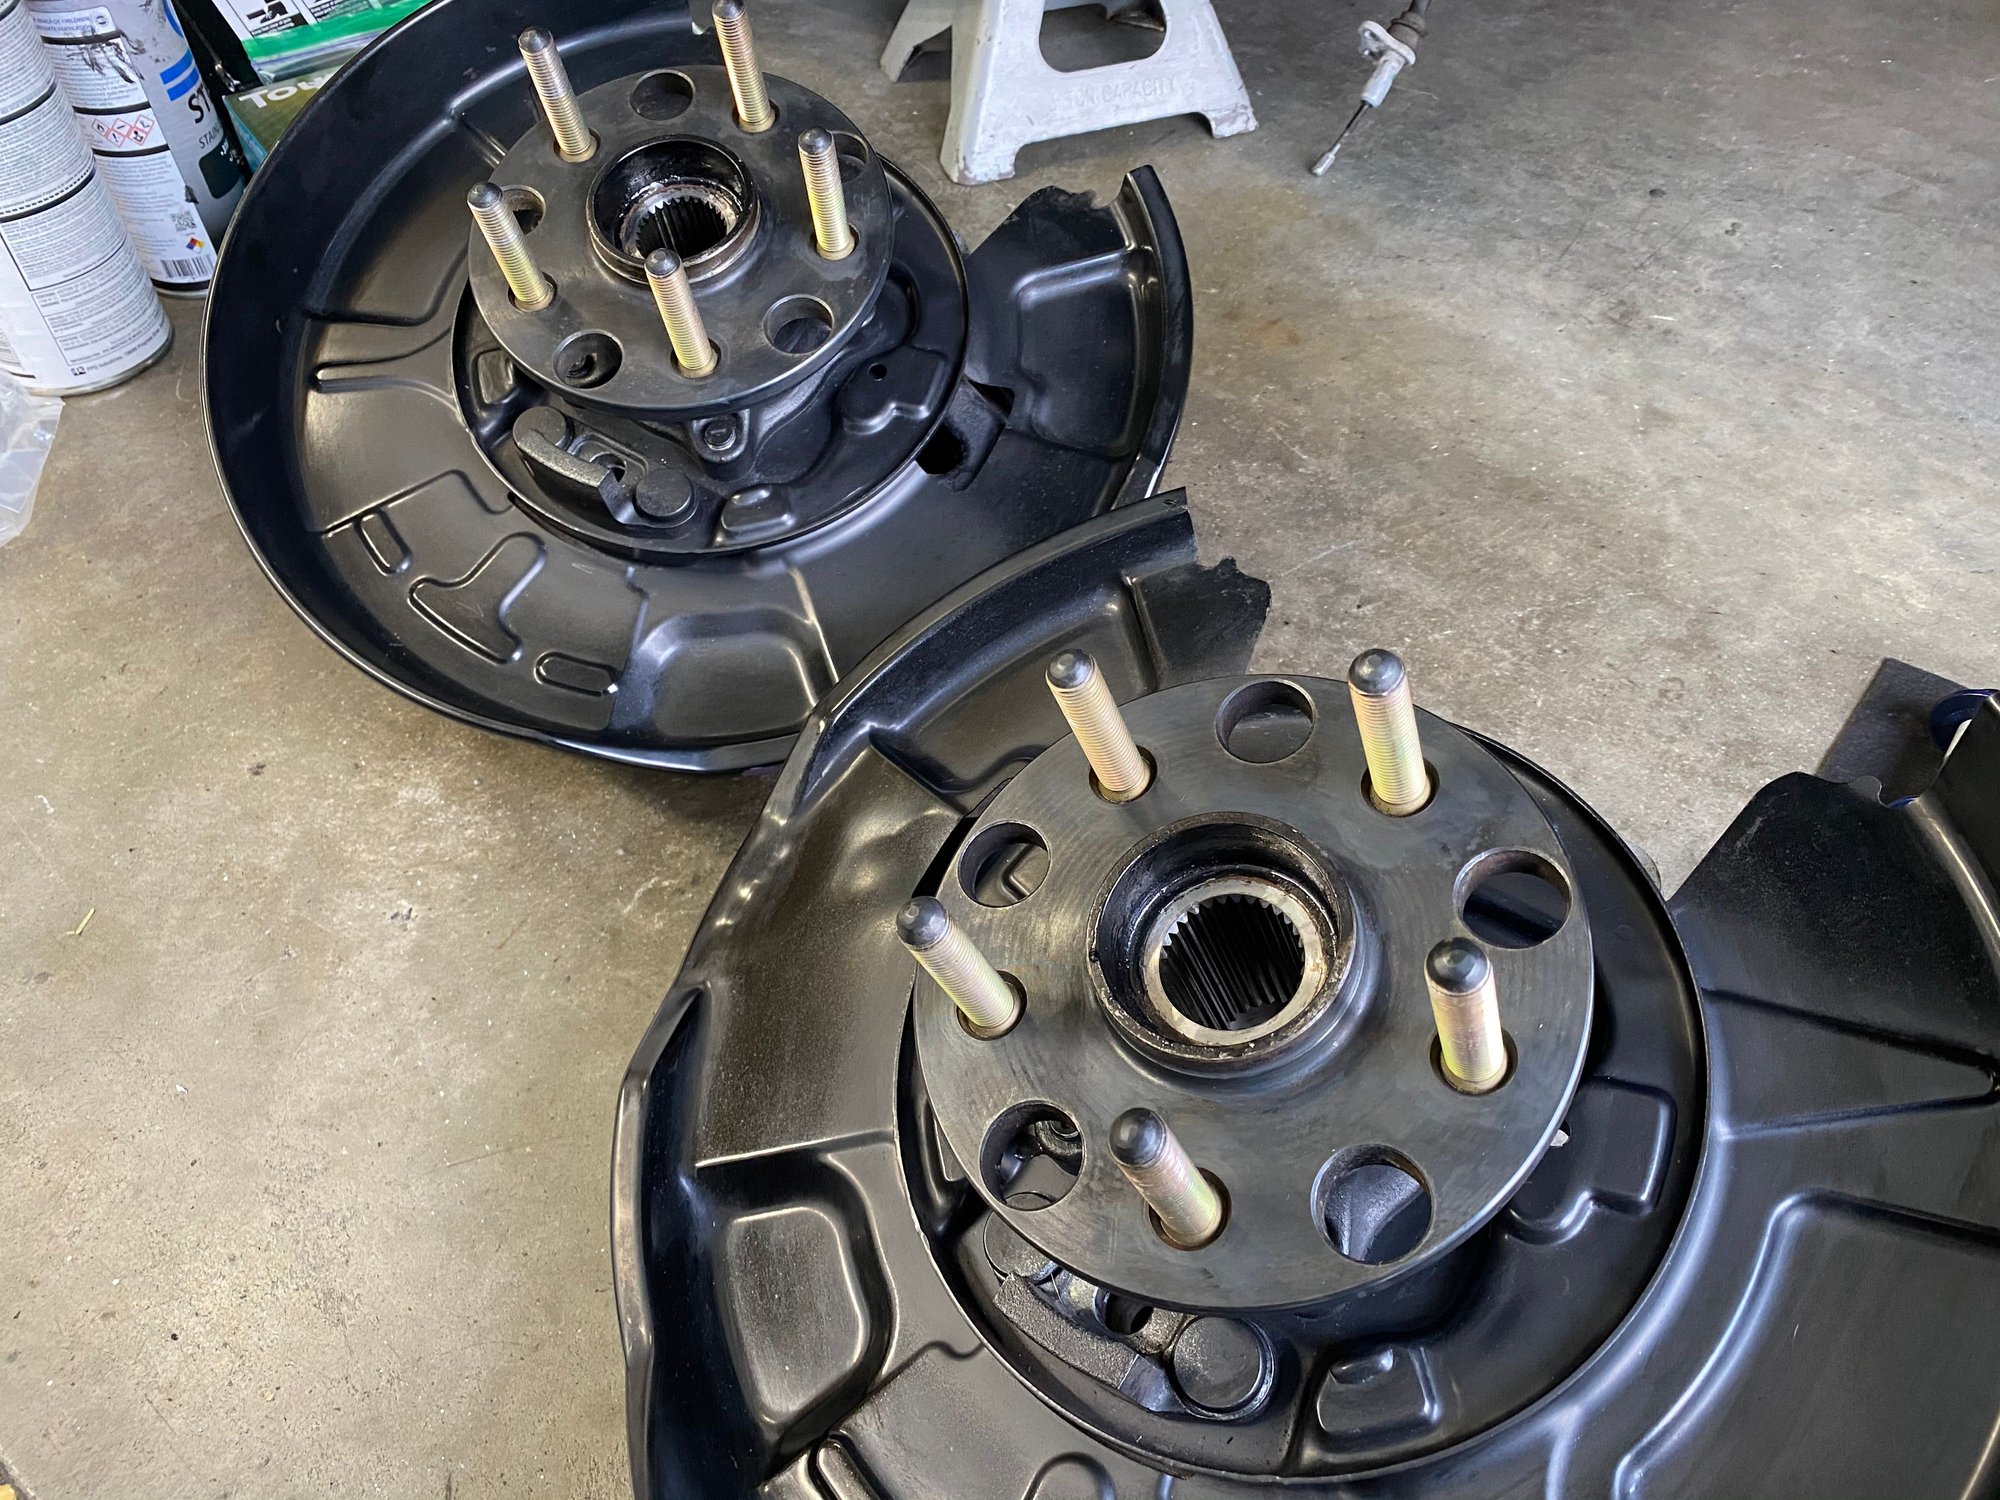
Had some time to install some ARP wheel studs. Had to trim them to get them in, without removing the hub. Also, used gun blue to apply finish to the hub flange and the ends of the studs. Paint just doesn’t work on the hub flange so hopefully the gun blue will last longer.
The following users liked this post:
Joe Z (12-06-20)


Quick Reply: JT2MA71's 2014 UW build


All times are GMT -7. The time now is 04:02 AM.