When you click on links to various merchants on this site and make a purchase, this can result in this site earning a commission. Affiliate programs and affiliations include, but are not limited to, the eBay Partner Network.
U4's 6MT OMGWTFBBQ Thuild Bread Episode III: Return of the Stiff
Not too long ago, in a subforum not too far away...
Spoiler
Episode I: The Forum Menace
Right.
So my name's Jon, and I don't own anything I haven't disassembled or broken while attempting to. Born and raised in Southern Florida, I was that fat kid in the back of the class that always got in trouble for yelling out the answers, but almost failed everything because he left school at school, and doing your homework in class was a punishable offense. Got a 1370 SAT (800/570math) and joined the Infantry 24 days after graduating, 17 days after turning 18. Stationed in Ft. Wainwright from Dec of '03 til we deployed to Iraq in Aug of '05, did a year, got extended, 3 stop losses, another winter in Alaska (where I broke my collarbone...), bellyflop back into the civilian world March of '07. El Manuel Laborer in South Florida for 2 years until I BS my way into the doors at Sikorsky Final Assembly line for 8.5 years and quit due to management (good employees never leave because of the job) 8 months before the place shuts down. Moved to Colorado following my wife's job and have been technically unemployed since, though there are some mom-n-pop shops near our house that like having after-hours help (from clean hands that haven't spent all day on that car) with stuff like interior reassembly, or the usual Subaru head gasket and rod bearing refresh with every oil change. Obviously, there's more to me than that, but I'm a hermit, so that's enough.
I make bad decisions is the gist of that. I'm significantly more Tim Taylor than Al Borland. When you see me going on about some "do as I say, not as I do" type stuff, there's likely a good reason for it.
That all said, on with the show:
Our 2007 IS250 6MT was purchased originally because my wife has never had an automatic transmission, was on TDY for work, and she needed something with a clutch pedal to get away from all the slushbox rentals she was stuck with while away. We went with this because it was a sedan, we hadn't decided on kids yet, and she had great luck with Toyotas in the form of a '05 tC and a 90-something Celica. I gave it my stamp of approval because F-R layout "hey, worst case, I'll just LS-swap it". That was spring of '12, and it had under 60k on it. Within a year, the water pump had started rattling a lot and in replacing that I started to learn to appreciate the car beyond it's miserable slowness and terrible clutch setup that makes it sound like you don't know what you're doing. I started lurking here hardcore in my spare time, particularly Jeff Lange's 6MT and Thumper28's LS swap pictures. Albeit, it more or less stayed as just an appliance until 2016, when I started getting serious about cleaning the carbon out of the intake tract, and found what my denim-dyno would estimate to be 15-20lb-ft of torque in the middle of the band from cleaning the area closest to the valve seats and up into the tumble cuts. That's the start of what I hope to be a somewhat consistent revenue stream, should I actually get my shop put together like I keep saying I'm going to, but in the meantime, I'm going to be focusing on giving myself a stiff, standardized platform to build more power from. And won't flex like a wet noodle on the dyno, should I make some numbers.
Already installed the Y38 Torsen diff, my #1 recommended mod for 6MT owners. Also already have the 1st gen IS-F steering ECU and a Megan front sway bar, which made the car feel safe on winter tires again. There was WAAAAAY too much sponginess between the ton of rubber in the car and the winter sidewalls to even do 10 under the speed limit on the highway up to our house, 285 (yes, DEY TOOK ER JERRBS highway). She came home crying from how stressful that rubbery turd is just to commute with on more than one occasion...the only reason I can recall her crying since her father died. That's how bad it was without the Torsen, ECU and sway bar. It's still bad, but it's more funny/less deathy now.
I still have a couple more things in shipping, and I still can't move the car out of the snow, but in the near future--let's call it a month or two--I'll be installing:
New wheel bearings on all 4 corners
Upper and lower ball joints
KYB Gas-A-Just shocks
Megan Rear Sway
Megan front and rear braces
F-Sport rear brace
Ultra Racing front shock tower brace
New OEM* transmission mount and rear LCA bushings (got the OEM in case I bugger the Whitelines)
Whiteline differential, complete front, and what they make for the rear bushings. KDT923, KDT924, W53622, W53623, W53625, W63581, W63585, W63586, W63587, and W63588. I can already smell the burned OEM bushing rubber...
Magic Collar kit
Megan headers that I've had for 5 years. Maybe even with cats if I find a welder with time.
Anyway, just starting this thread to get it out of the way. Which took significantly longer than I anticipated...you'll sense the trend...
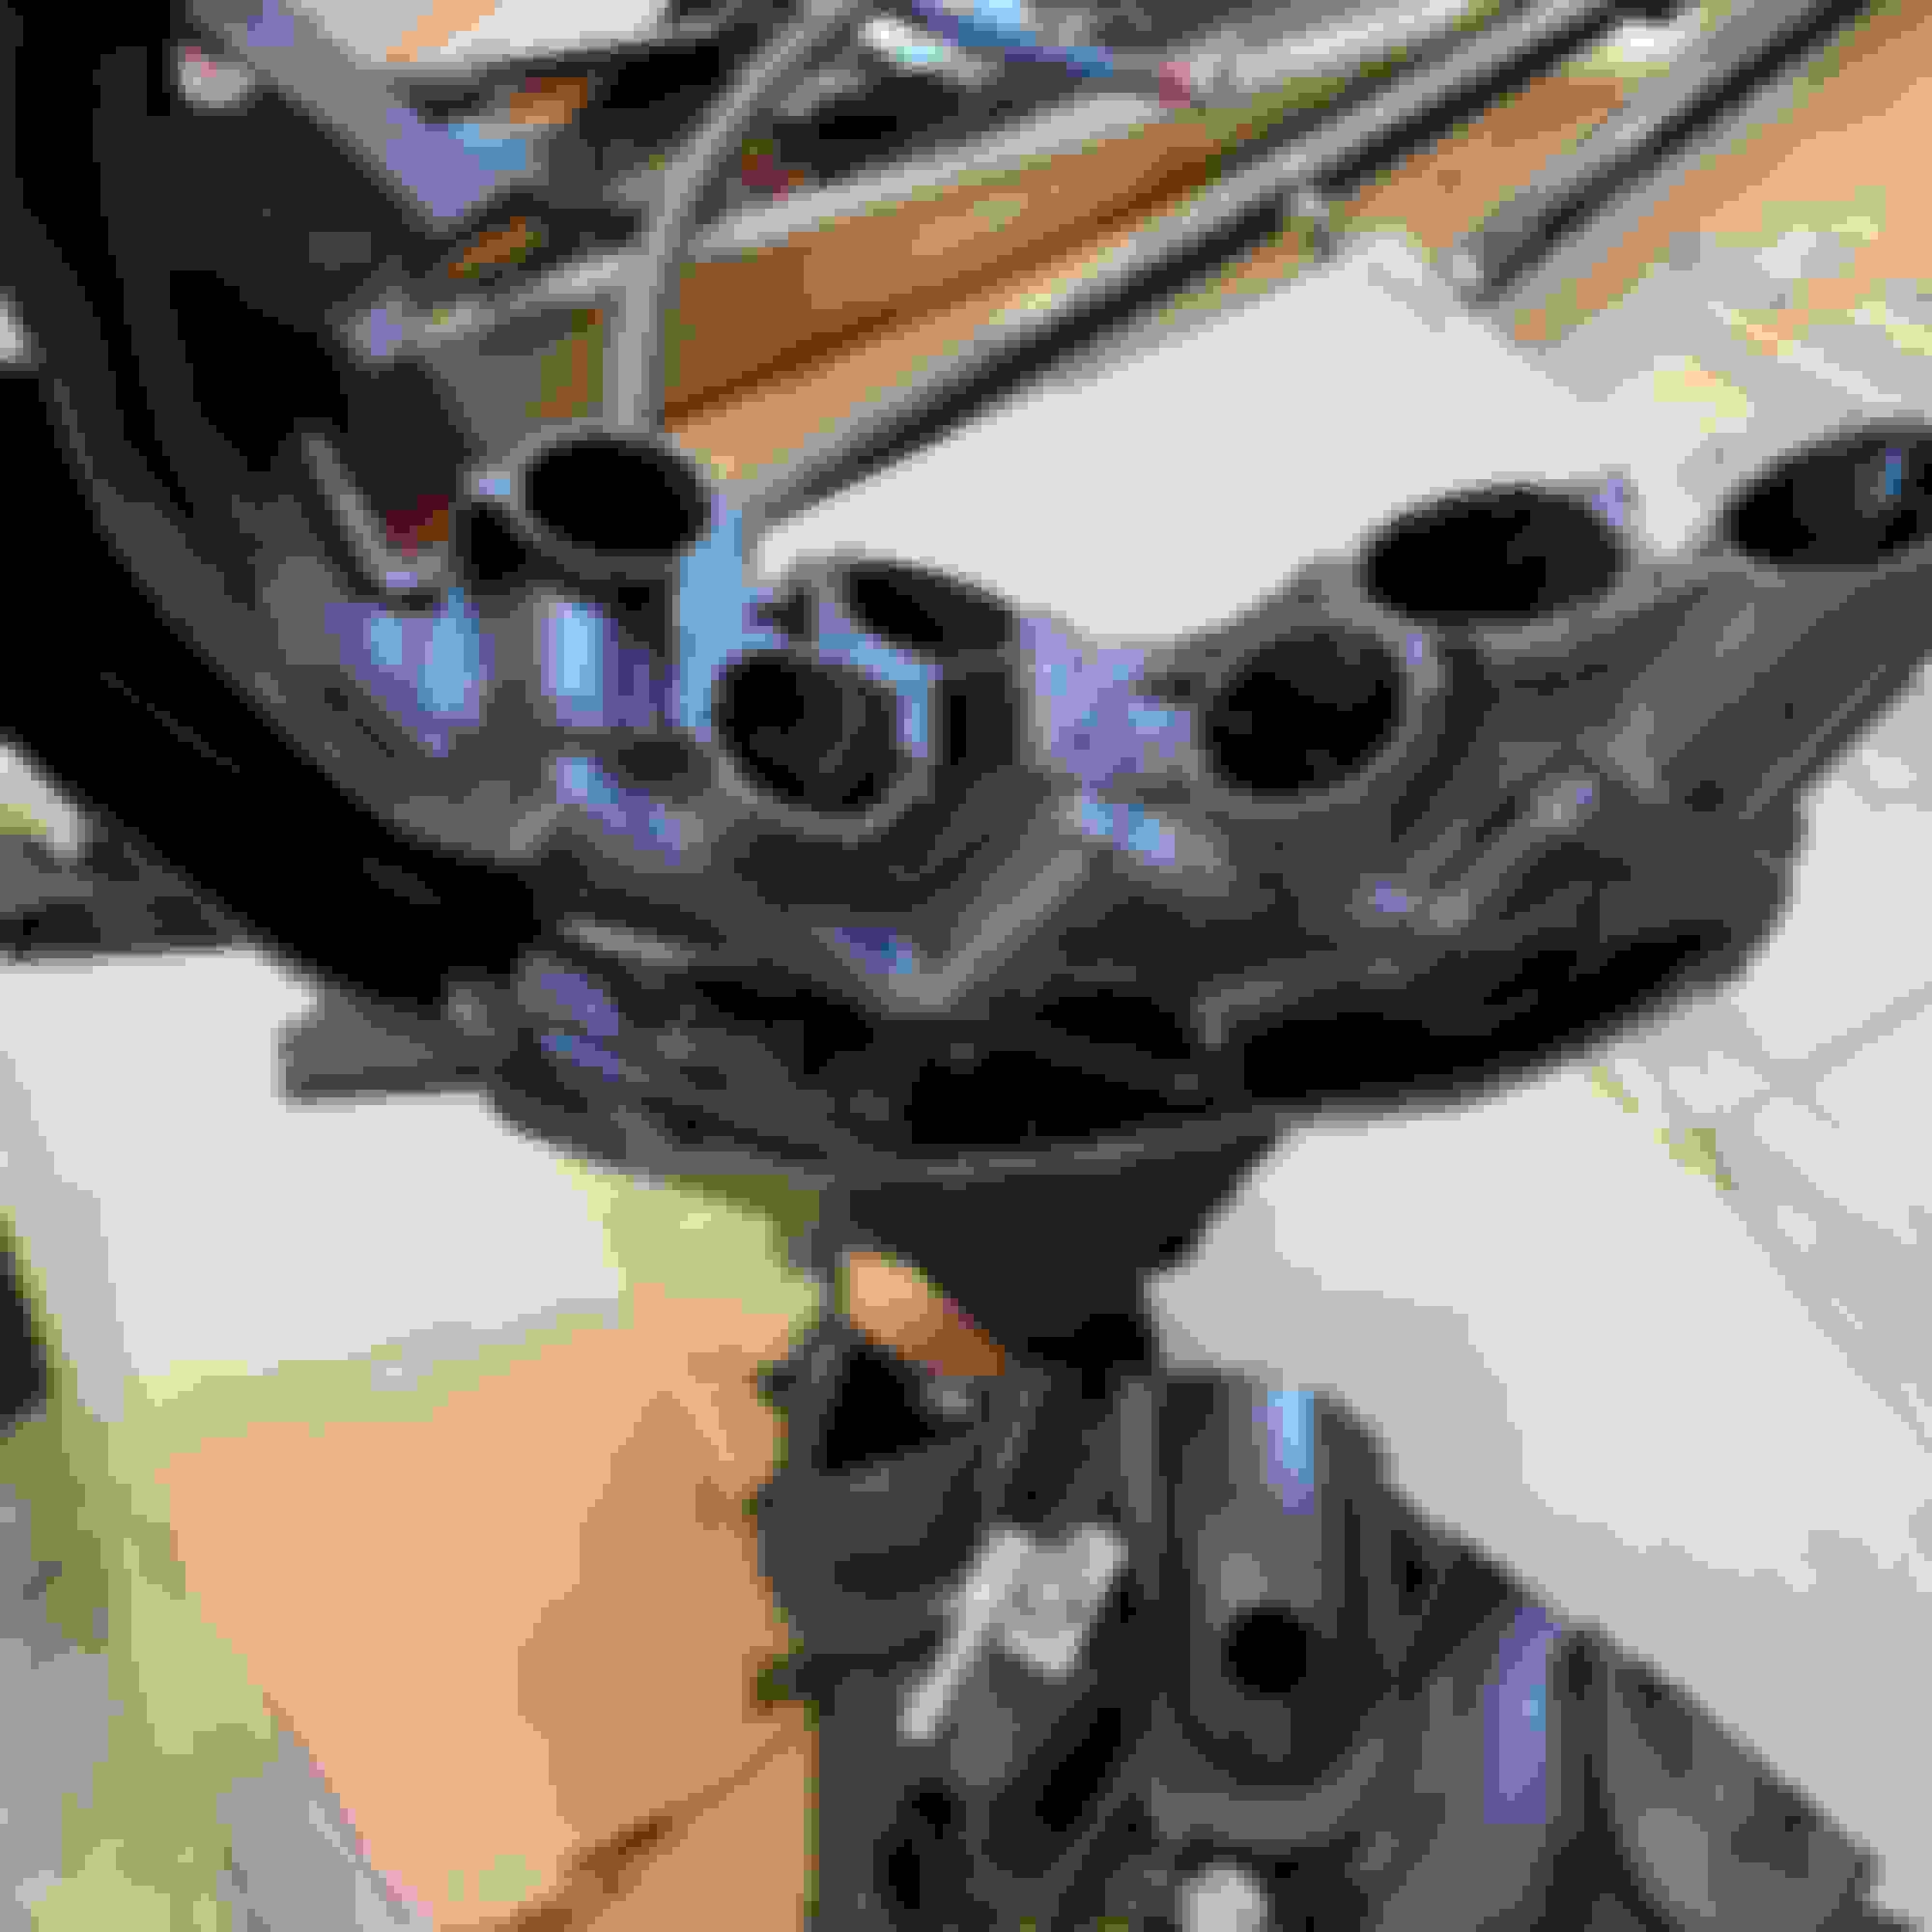
I left a couple of pictures ^^^ up there. Port exit.
Any thoughts on why the left the mating ports so oddly shaped? Was it a structural thing? It just seems unnecessary.
So, from the list, what are the next 5 items to get completed?
From our old Iron days, it didn't take much of an excuse to pull the heads, toss a cam in, jazz up the dizzy for more ignition advance and walla, instant results. These being of good health, makes it hard to justify the labor and expense unless there something in return. Which mostly lies in cam timing and the POS plastic intake. The two hardest things to change.
The ports going into the RHS cylinder head are elongated because the ports are still making their 90-degree transition at that point in the tract. The LHS head gets nice small round ones because the turn is already made in the plastic. I cut the middle section out already, next time I'm down there, I'll pic it up.
Once I get the car up in the air my fist plan is to show you guys how to pull the diff with as few tools as possible. With that out, it'll be on the bench for new snout bushings (KDT923), and I'm most likely to just drop the rear subframe and roll it back so I can clean the whole assembly and replace all those bushings...I think I will still have two OEM rubber connection points that aren't ***** in the rear, but we'll see. Really, really, really not looking forward to extracting the OEM diff-to-sub bushings to put in KDT924, but I'm also really looking forward to deleting that rubber. I can deflect it with hand pressure. After the bushings, I'll already be in a good place to swap old parts for new and bolt in braces as I reassemble everything. Might even use the proper tool to compress the springs instead of ratchet strapping them while wearing a helmet. Safety third, kids.
I really wish the holes going into the SCV plate were more symmetrical like on the *GR-FE engines, because I'd already have an okayish model to show you guys for my dual-throttle body manifold idea, but my hot-glued cardboard mockups don't even stand up under their own weight without a couple rags stuffing them, so I'm essentially at the drawing board again...I originally was just making the thing to check hood and strut tower clearance (plumbing for a single MAF/dual TB is hard), but it never left the bench. I did find out that you just need a 120-degree cut board to make a convenient topend stand from that venture, though...
When doing bushings, a grinder and drill make quick work of them. Use the grinder or a cutoff disc to cut an opening that removes the flange. The objective, leave a flat landing for your drill. Now take like an 1/8" bit and drill into the case parallel to the bushing shell. Aim to split the shell and likely leave a 1/2 round drill mark in the subframe or diff housing. Who cares, it won't hurt a thing. With the shell split the interference fit is gone and the bushing falls out by hand.
The hot wrench is an option, I save that for last after the air chisel or BFH.
Speaking of air. Finding pipes that fit the bushing and welding a solid cup in them works well with press or air chisel.
The holes in the roof were for me to get measuring tools in there. The volume of each port is ostensibly equal, as far as I can tell...ain't no way I'm making another water bench, I about went insane cc'ing that first set of heads.
^^ Interesting. The marvel of 3D software right there.
Think we're gonna need a McDonald's trash can lid for our hood to pull that off.
I'd like to understand the IS-F intake. They added a lot of volume to the plenum as if it nears the volume of the runners. Best guess is for even air distribution. Looking further one notices they didn't deadhead the end runners but extended the plenum back which makes since under conditions like idle to WOT the the rear cylinders have something to pull from. Now I can't find the pictures...
Oh well.
Some 350 stuff...
Originally Posted by 2013FSport
I would think a little blend job in bowl area would be beneficial. If I had the cams out I would def pull the heads and take the next step.
Here is a tiny snapshot of the intake alignment that could aid the lower intake transition. GL.... Do you know who made the valve springs? Is this something you're installing or machine shop? Either way, heads off is best as these pull too many RPM to miss something...
So, might as well give you guys an update/all my excuses on the Head Games heads...
I found a valvespring/retainer/lock stackup that I thought would be a winner for revving to the stratosphere, and it didn't cost much, but turns out it spits the locks when you dry turn the cams over the rockers. Much digging later, I find out that stackup is originally intended for a 6.5mm valvestem, not a 5.5mm valvestem, and the locks I had were adapters to a 6mm valvestem for use in a 4G63 application, which is why they kinda went together okayish and worked until they didn't. No real biggie, if I ever get a lathe to turn titanium with (boy-oh-boy does that stuff work harden when you play rowdy) the nascar valves and bronze valve guides will just get cut to whatever diameter I want. The more senior members of the class will remember that factory valve guides and seats are ferrous, which leads me to believe the guides are iron and the seats are a powdered steel. Which means both have to be replaced if you want to actually make power with titanium valves because titanium holds heat like you wouldn't believe. Just ask the biggest stoner you know what his dab nail is made out of and why. Titanium valves lose most of their heat through the seat, which is why I have a 2.5lb bar of Beryllium Copper to cast into intake seat rings. If you don't cool ti valves, all you're doing is spinning the engine faster for the air to stall at all but maximum valve lift due to the valve and the ferrous seat heating the transitional areas to a couple hundred degrees (I bet carbon issues would skyrocket without proper valve cooling). BeCu is, I think, the only copper alloy tough enough for seat use. The other big contributor to titanium valve cooling is the guide, and since copper tends to be the thermal metal of choice, a copper bronze alloy would make the ideal thermal bearing material. Got some chunks of that, too, thanks to it's ability to play in saltwater and my previous life as the last guy holding the hot potato in a now-dead vbb community. That like eight thousand plus people blame me specifically by name for disappearing without any explanation. For the record, I was out of days to take off work to fly to friggin commiforniastan to be in court and I already maxxed a line of credit my wife never found out about just to keep that place afloat. I digress.
So the Head Games heads can just get a factory valvetrain and we can do this the right way, one thing at a time, right? Riiiiight.
Thing is, when I tried to CC them, I never actually ended up with an effective way to seal the valves themselves--or maybe it was the guides...who knows?--without taking up additional unmeasured volume and ended up chasing my tail long enough for me to not be the most confident in those port wall thicknesses anymore. Could be just fine. Could suck the water jacket into a cylinder immediately upon startup. No friggin clue. I had no consistent way of telling how much I was removing, and once a straight, true port wall reaches 60 to 80 grit, your Mk1 calibrated eyeball ain't doing you any favors. Of course, having already publicly jumped *****-first into this project the way I would have in a past life, I took no measurements of the ports and was flying blind. Got a 2nd set of heads, measured them to estimate port volume, tried measuring port volume of our plastic intake, couldn't, bought one and cut it up. Now I know.
Kinda-ish. I have all of the pieces to the puzzle, I just don't have the box or a table...
Truck's giving me the symptoms of a bad TIPM. Totally Integrated Power Module. Did they actually say that idea out loud before they engineered it? What part of those four words going together sounds like a good idea to anyone?
Engineers'll swim through an ocean of virgins just to screw one mechanic.
This post isn't all bad news, though. Tomorrow my insurance plan should be getting delivered and I can start actually playing games with heads without killing the wife's car for more than a day. Explanatory pics to follow when it arrives.
Anyone ever replace a GM Cue screen? I have to replace a crazed unusable one in the wife's winter car.
Again with the engineers.
Just some navel-gazing from last night as I was moving forum violations (pews that go "boo!") out from the background of my workspace...
First, I learned that a dry rag with just a hint of acetone on it takes years-old uncured VHT off with absolutely zero effort. Makes me wonder how chemically resistant VHT is after being heat cycled...
You can still kinda see the cloth pattern from the basalt cloth wrap I removed (started to fray after years of being moved around) to use on a neighbor's 2-smoke snow machine's tuned pipe.
Anyway, it caught my eye that the collector diameter on the Maximizer headers was noticably smaller than the collector on the Megans...
primary runners on the Megs
Megan collector:
And the long tubes...
Maximizer primary:
Maximizer collector:
I will almost certainly be doing the Eastwood internal ceramic treatment and doing a whole-header wrap on the Maximizers before installing them on the 3GR.
Yeah, yeah, yeah, I've seen the same 6 pictures of abused, corroded ferrous exhaust pipes from the guy selling you ceramic treatment. You know what I've never seen? One of my own wrapped exhaust systems even begin to hint at that level of corrosion, and I've wrapped a mild steel tuning pipe that sits in salt water in the midsection of a 3 cylinder 2 stroke putting ~80% more than factory output to the screw while on the pipe. Albeit, that powerhead grenaded, I killed the trolling motor battery, and paddled the last 1000ft back to the ramp...but that has almost nothing to do with the header wrap.
Even if header wraps destroyed everything they touched and killed your puppy the way some people think, I'd still use it. The speed of sound at sea level at 50F is roughly 1100 feet per second.
Speed of sound at 700F is about 1600 feet per second.
speed of sound at 900F is about 1800fps
But ideally, we want to run as hot as our materials will allow. Eastwood's internal header coating is good to 1800F, so we would prefer to see temps get up to 1750F, where the speed of sound approaches 2,300fps.
Why do we want to run our exhaust that hot? Scavenging.
As the hot exhaust pulse runs down the primary, a negative pressure wave follows it, and when the pulse hits the collector, that negative pressure wave helps pull exhaust from the cylinder, provided your camshaft has enough overlap to keep the cylinder open for that much time. All long tube headers do this, but the hotter you run the gasses inside the primary, the faster the pulse travels, the more energy is retained in the pipe, the more effective that slug of exhaust is at scavenging, and--more importantly than all others--the raspier and more exotic the exhaust note sounds.
A 3 foot long primary tube running at 700F has a .001875 second dwell time
At 900F, that dwell time drops to .001666
At 1750F, exhaust hits the collector .00130 seconds after leaving the cylinder. That 5 ten-thousandths of a second may not seem like much, but go ahead and figure out how long the exhaust port is open at 6,000RPM...
As you kick the 3GR around, are there any combinations that allow you to get the C/R back up to 12:1?
Have you done the math on a 3.5 bottom with 3GR heads as I thought the bore was the same as 3.0 so maybe the heads swap, but then again, maybe just opt for bigger injectors in a 3.5 and forgo PI until a better idea comes along?
Just curious what you're up to. It's been awfully quiet and the snows melting! Haha
Yikes. What the hell happened to May? I tripped and fell down that .243" bore hole a bit longer than I thought...I also learned the hard way how to troubleshoot and replace a dead-shorted 40 year old submersible well pump a few weeks back. That was fun. Call your local well drilling company, kids...dropping your equipment down the hole is a very real possibility.
Aside from custom pistons or welding in some of the combustion chamber, I'm unaware of any ways to increase CR any appreciable amount. You could grind up some chonky valves that come to the screaming edge of kissing pistons, but I think you'd be messing with airflow characteristics enough to negate any gains, and you'd need equally chonky valvesprings to keep up with the added mass...unless you go Ti, in which case you're creating a more massive heat sink at the most critical point, which would warrant more massive BeCu seats that extend closer to the water jacket, and probably a different stem diameter, so same goes for guides. More effort than it's worth, IMO. Especially since there's only a .5 ratio difference between the two, which I think the 4GR gets away with by starving for air. The exhaust ports on the 3GR are round like the 2GR's, instead of oval like on the 4GR, so a lot of airflow sins committed on the 4GR castings are starting to make more sense, and I'm getting more likely to pop the heads off the 3GR to attack them with abrasives before even seeing if the thing works. Because I like to party hard.
Lesson learned: don't use autoplicity-associated sites to order things from, they take your money and then take their time doing anything else. Whiteline upper control arm bushings showed up this week after being ordered before this thread existed. Yeah, yeah, I know their excuses, I talked to their subcontracted CSR. Just don't use them.
Truck got a new TIPM, airbag light keeps coming back. I have every wire it doesn't need to run isolated. Guess it's finally time to answer one of the thousand or so flyers to get rid of the ol' Takata face-asploder and let someone else touch it. I'ma birddog TF out of whoever it is.
So I'm looking for some input on wheels. I'm an admitted philistine when it comes to the things that attach the most important element of the car to the car, aside from lighter=more gooder and how to operate a tire changer without screwing up the wheel. I certainly don't think "wheels make the car". I see car wheels in the same way that I see women's shoes: if I notice them, it's because something's noticeably wrong.
That said, we have a set of DWS 06's in 225/40r18 and 255/40r18 to go with the factory 5-spokes for our "all season" tires, and I want to have a separate set of summer tires for if we ever actually take the thing to High Plains Raceway for an open track event. I honestly could not care any less about wheel branding and marketing--particularly the absolutely absurdist prices they seem to think the customer needs to pay for their horrendously inefficient design and manufacturing processes...don't get me started on rewarding those kinds of inefficiencies--but I am very much aware of the extreme stresses that high performance rubber can exert on a wheel when attached to a 3500+ lb machine going Colin McRae on the apexes at a track. So I obviously don't want a cheap wheel for looks...I want a cheap wheel that's light and won't come apart if I'm flying through Turkey Creek canyon at 100mph. Which is totally possible to do just on the clutch in the downhill direction. If I get a ding in these wheels, it's getting a rattle can or nothing at all.
Is something like the MST wheels on ebay too cheap to go? I mean, chances are that I'll be finding out the hard way, if I don't find an OEM set of 18 or 19's in 5x114.3 on facebook marketplace that're wide enough to run a 245 front, 285 rear setup...

 04-02-21, 02:38 PM