When you click on links to various merchants on this site and make a purchase, this can result in this site earning a commission. Affiliate programs and affiliations include, but are not limited to, the eBay Partner Network.
Totally awesome! Thanks, this will make the whole restoration process much better!
So bad news - that part number is just for the dust seals, not the piston seals. I got them in today and they were missing the seals for the pistons.
Did some more research and ordered these part numbers off of ebay.
Centric 143.35037 Front
Centric 143-47008 Rear
I think most people I saw on the forums were ordering from Rock Auto, but they are out of stock on the rear. I found plenty of listings on ebay for them though.
That picture at lexuspartsnow's website is a whole lot more than deceptive. I ordered those parts before and only got dust seals, which solved the worst of my problems as you can see from the pics I posted. Super disappointed the piston seals and pistons are only available from Centric, not Brembo.
That picture at lexuspartsnow's website is a whole lot more than deceptive. I ordered those parts before and only got dust seals, which solved the worst of my problems as you can see from the pics I posted. Super disappointed the piston seals and pistons are only available from Centric, not Brembo.
I'm with you, super disappointing. Thats crazy your dust seals look like that, what do you think caused that?
I'm with you, super disappointing. Thats crazy your dust seals look like that, what do you think caused that?
No surprise at all. Notice the silver "Lexus" text is no longer silver, and the pads are full race Carbotech XP12s. They're white because I cooked them by leaving the stability controls on while tracking. This is not a good idea for me as I have a very heavy foot from racing motorcycles, so VDIM overworked the front brakes on my first track day because I was flat pedaling where half throttle was needed and VDIM was taking up the slack for my lack of skill. I got really lucky and didn't have to tour the tulips, but the pedal did nothing at all going into the slowest turn on the track, and it took cooling overnight to get the brakes back. Since then, I only track with the stability controls turned off. I could probably run them now and be OK, but when I was new to cars on track, it was a really bad thing for me.
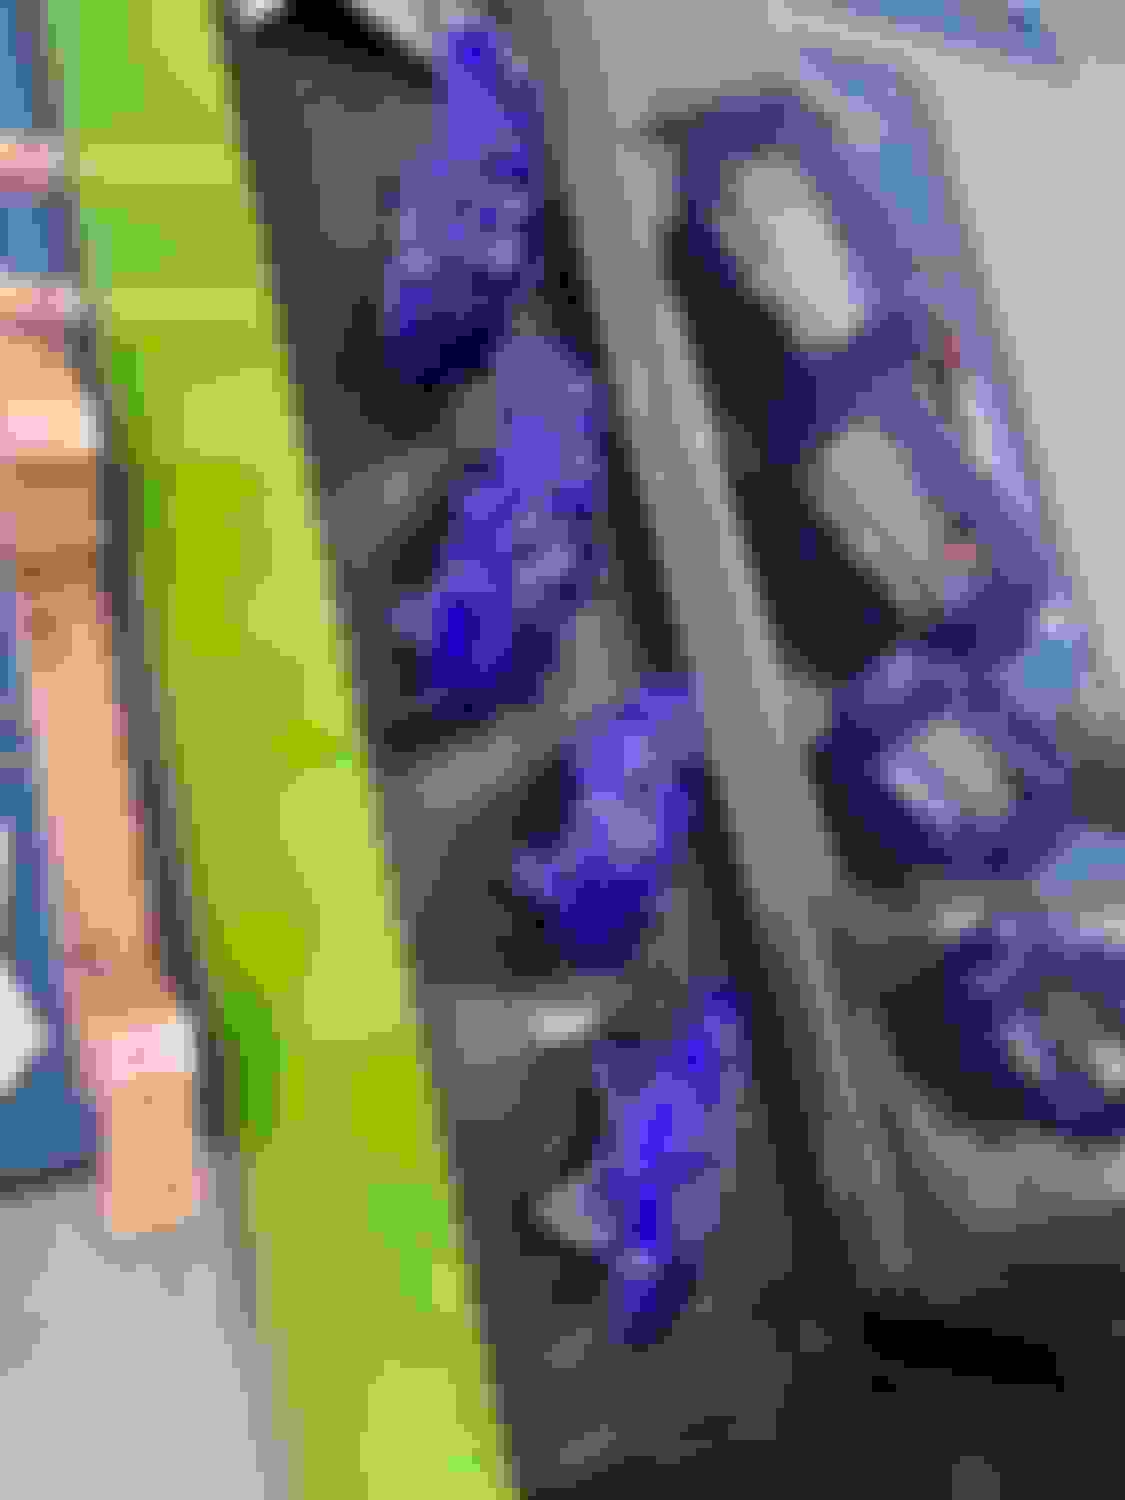
Got a couple pictures last night from the guy doing my powder coating. Some of the pictures look like a dark blue but this one shot really showed the purple. I�m excited to pick them up later on today and get them on the car. I did get the rebuild kits in and they look correct, I guess I�ll see how they fit.
Just make sure all the mounting points, brake fluid port, etc are all free and clear of powder coating.
Are they going to remain naked ?
Joe Z
Good advice, I was planning to do that. What would you say is the best was to do that? I have silver OE style lexus stickers for them. I'll post pictures today or tomorrow when I get to rebuilding them.
If I were you, I'd clean the holes for the bridge bolts and the pins. They're going to chip if you can even get them through, and if you remove material yourself instead of allowing entropy to remove it for you, you'll have control over the end result. These holes from the factory are bare aluminum.
Awesome build... love these resurrection threads!
ISF and GS460 are my dream cars but they were never sold here, they only had the IS250, GS300 and GS450h, so I took the hybrid.
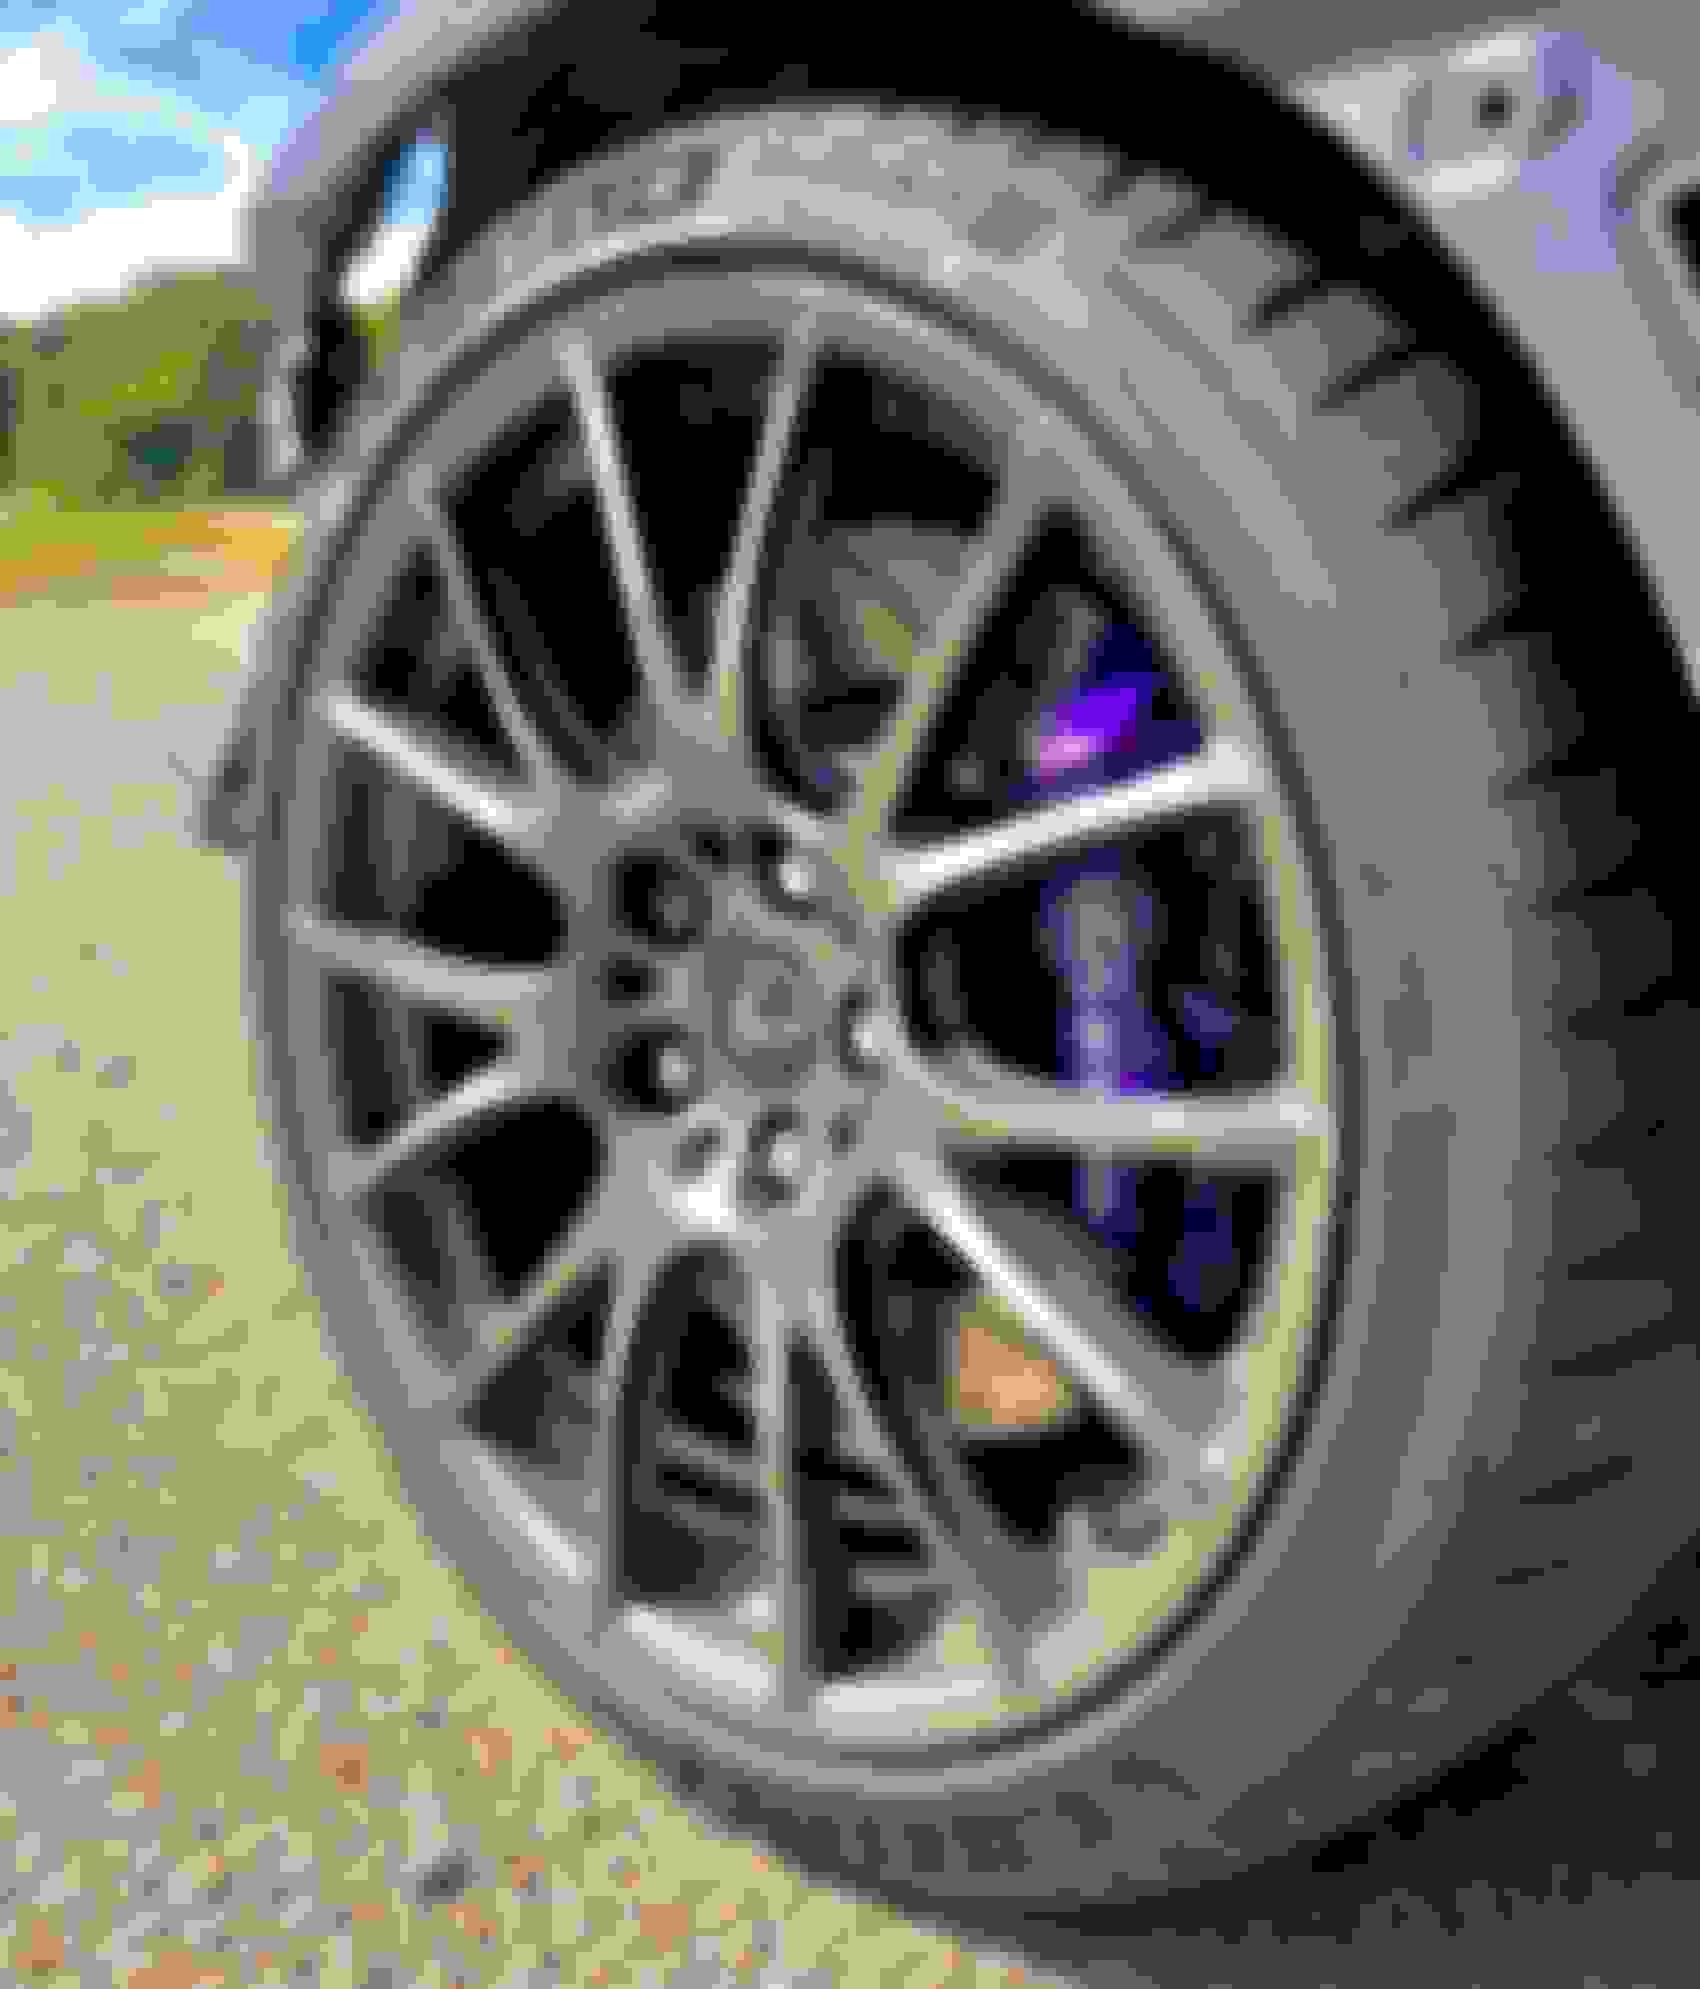
One of the nicest things about the OEM Brembo is the internal bridge, no external pipe i.e. one less part to mess with.
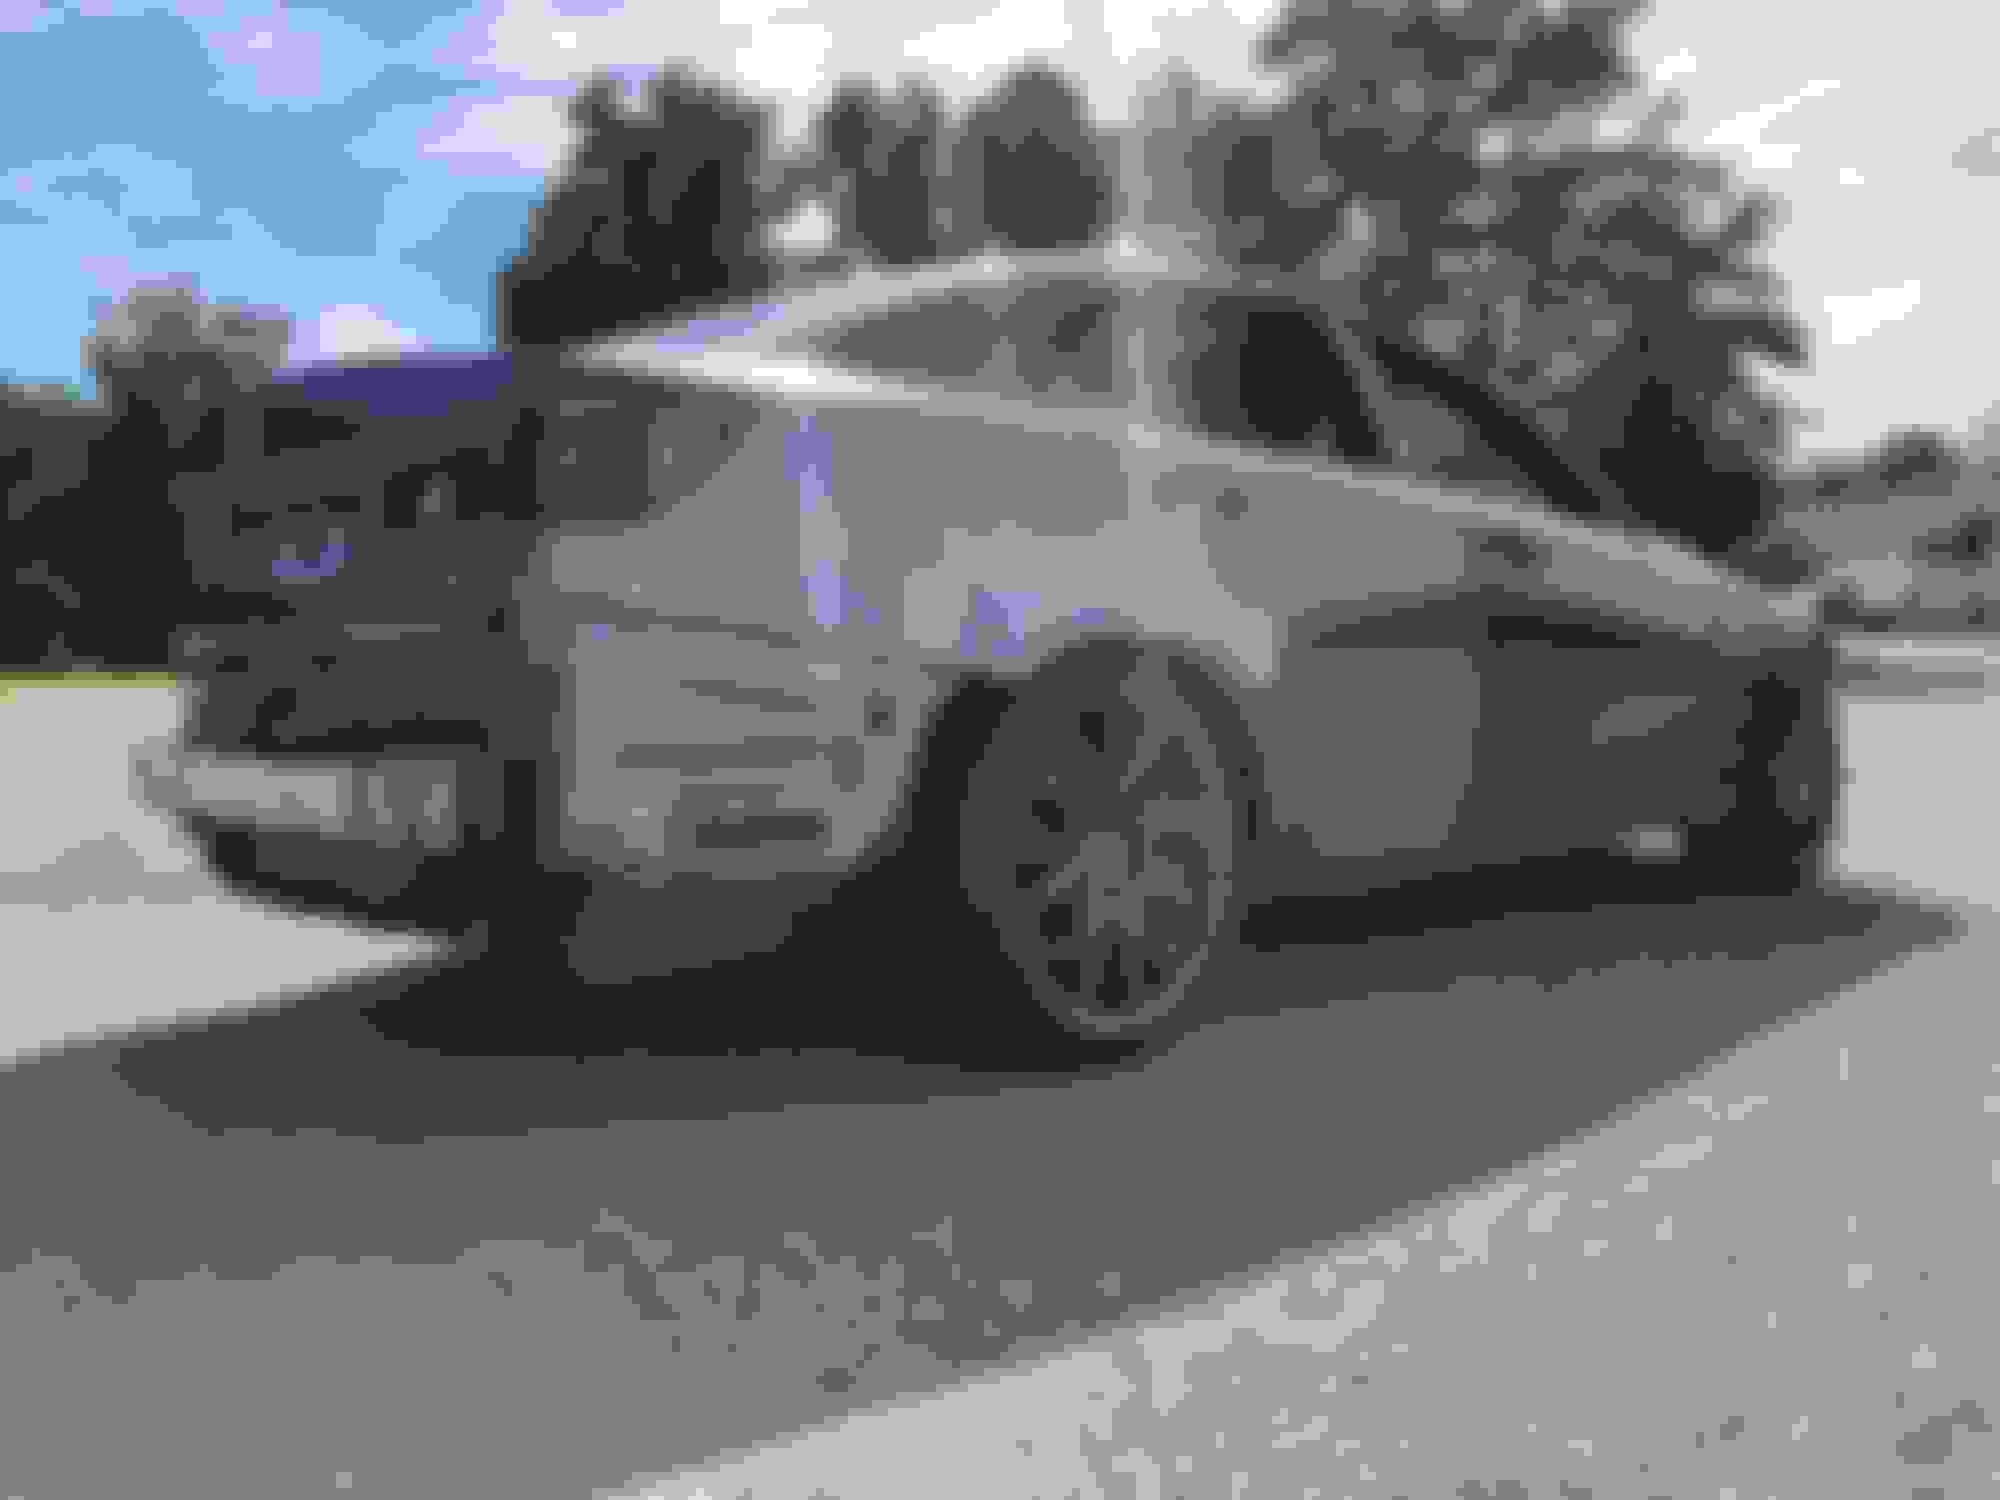
I was able to get the rest of the calipers rebuilt, the seals put in, and new decals on. I think they came out fantastic. Against the recommendations that I was seeing I decided not to clean out the bore holes for the pins in the center bolt. There was still plenty of clearance there for those to fit in and be secure with no binding. Once I got all of that put back together I put the car back on my trailer and took it up to work. I got the car up on a lift and got the brakes properly bled. After that I took it for a little bit of a drive and put the brakes through a work out, got it back on a lift, took it all apart and made sure nothing was leaking. Everything appears to be all good. There was a lot of dirt and debris behind where the bumpers and the trim on the trunk panel were. I also took off the roof moldings and a pillar trim. I then washed the car wash and had all of that cleaned up so that prepping the car for paint would go easier. The car is currently up at my work and hopefully in the next few weeks they will be able to get the paint on it with the bumpers. After that it�s back home to be reassembled and the car should be mostly finished.

 09-13-21, 03:43 PM