When you click on links to various merchants on this site and make a purchase, this can result in this site earning a commission. Affiliate programs and affiliations include, but are not limited to, the eBay Partner Network.
Congratulations on getting this car finished, I first came across your build on YouTube anr have watched every episode. Hats off to you for bringing this beautiful car back to life.
The level of detail and depth to resurrect this has been amazing. Thanks for sharing and I look forward to your next video.
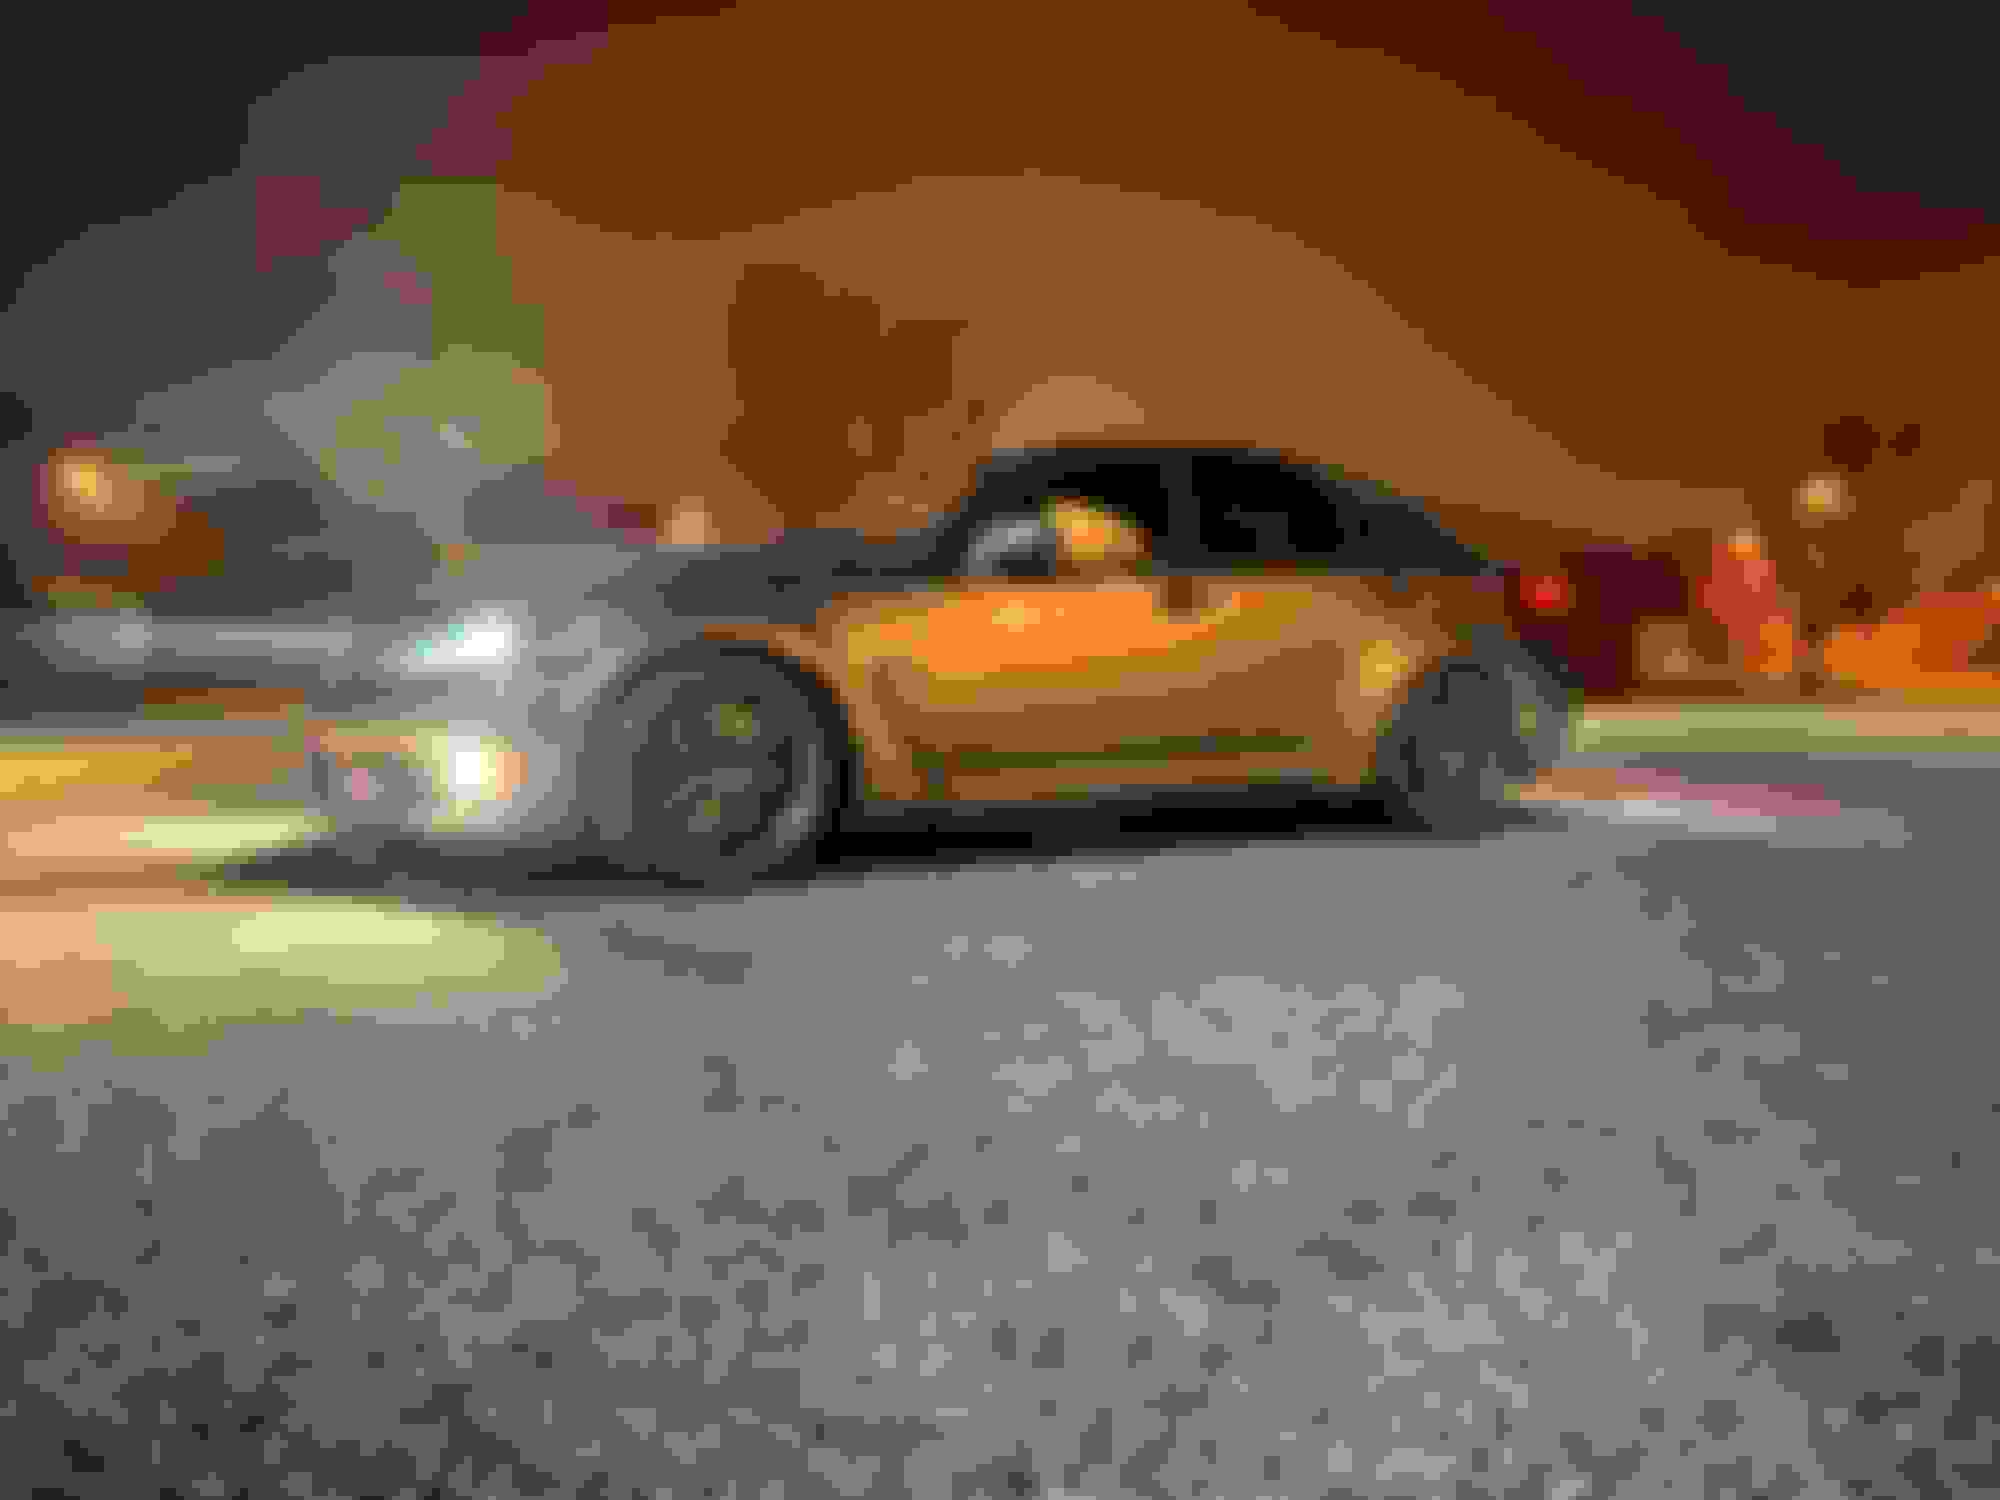
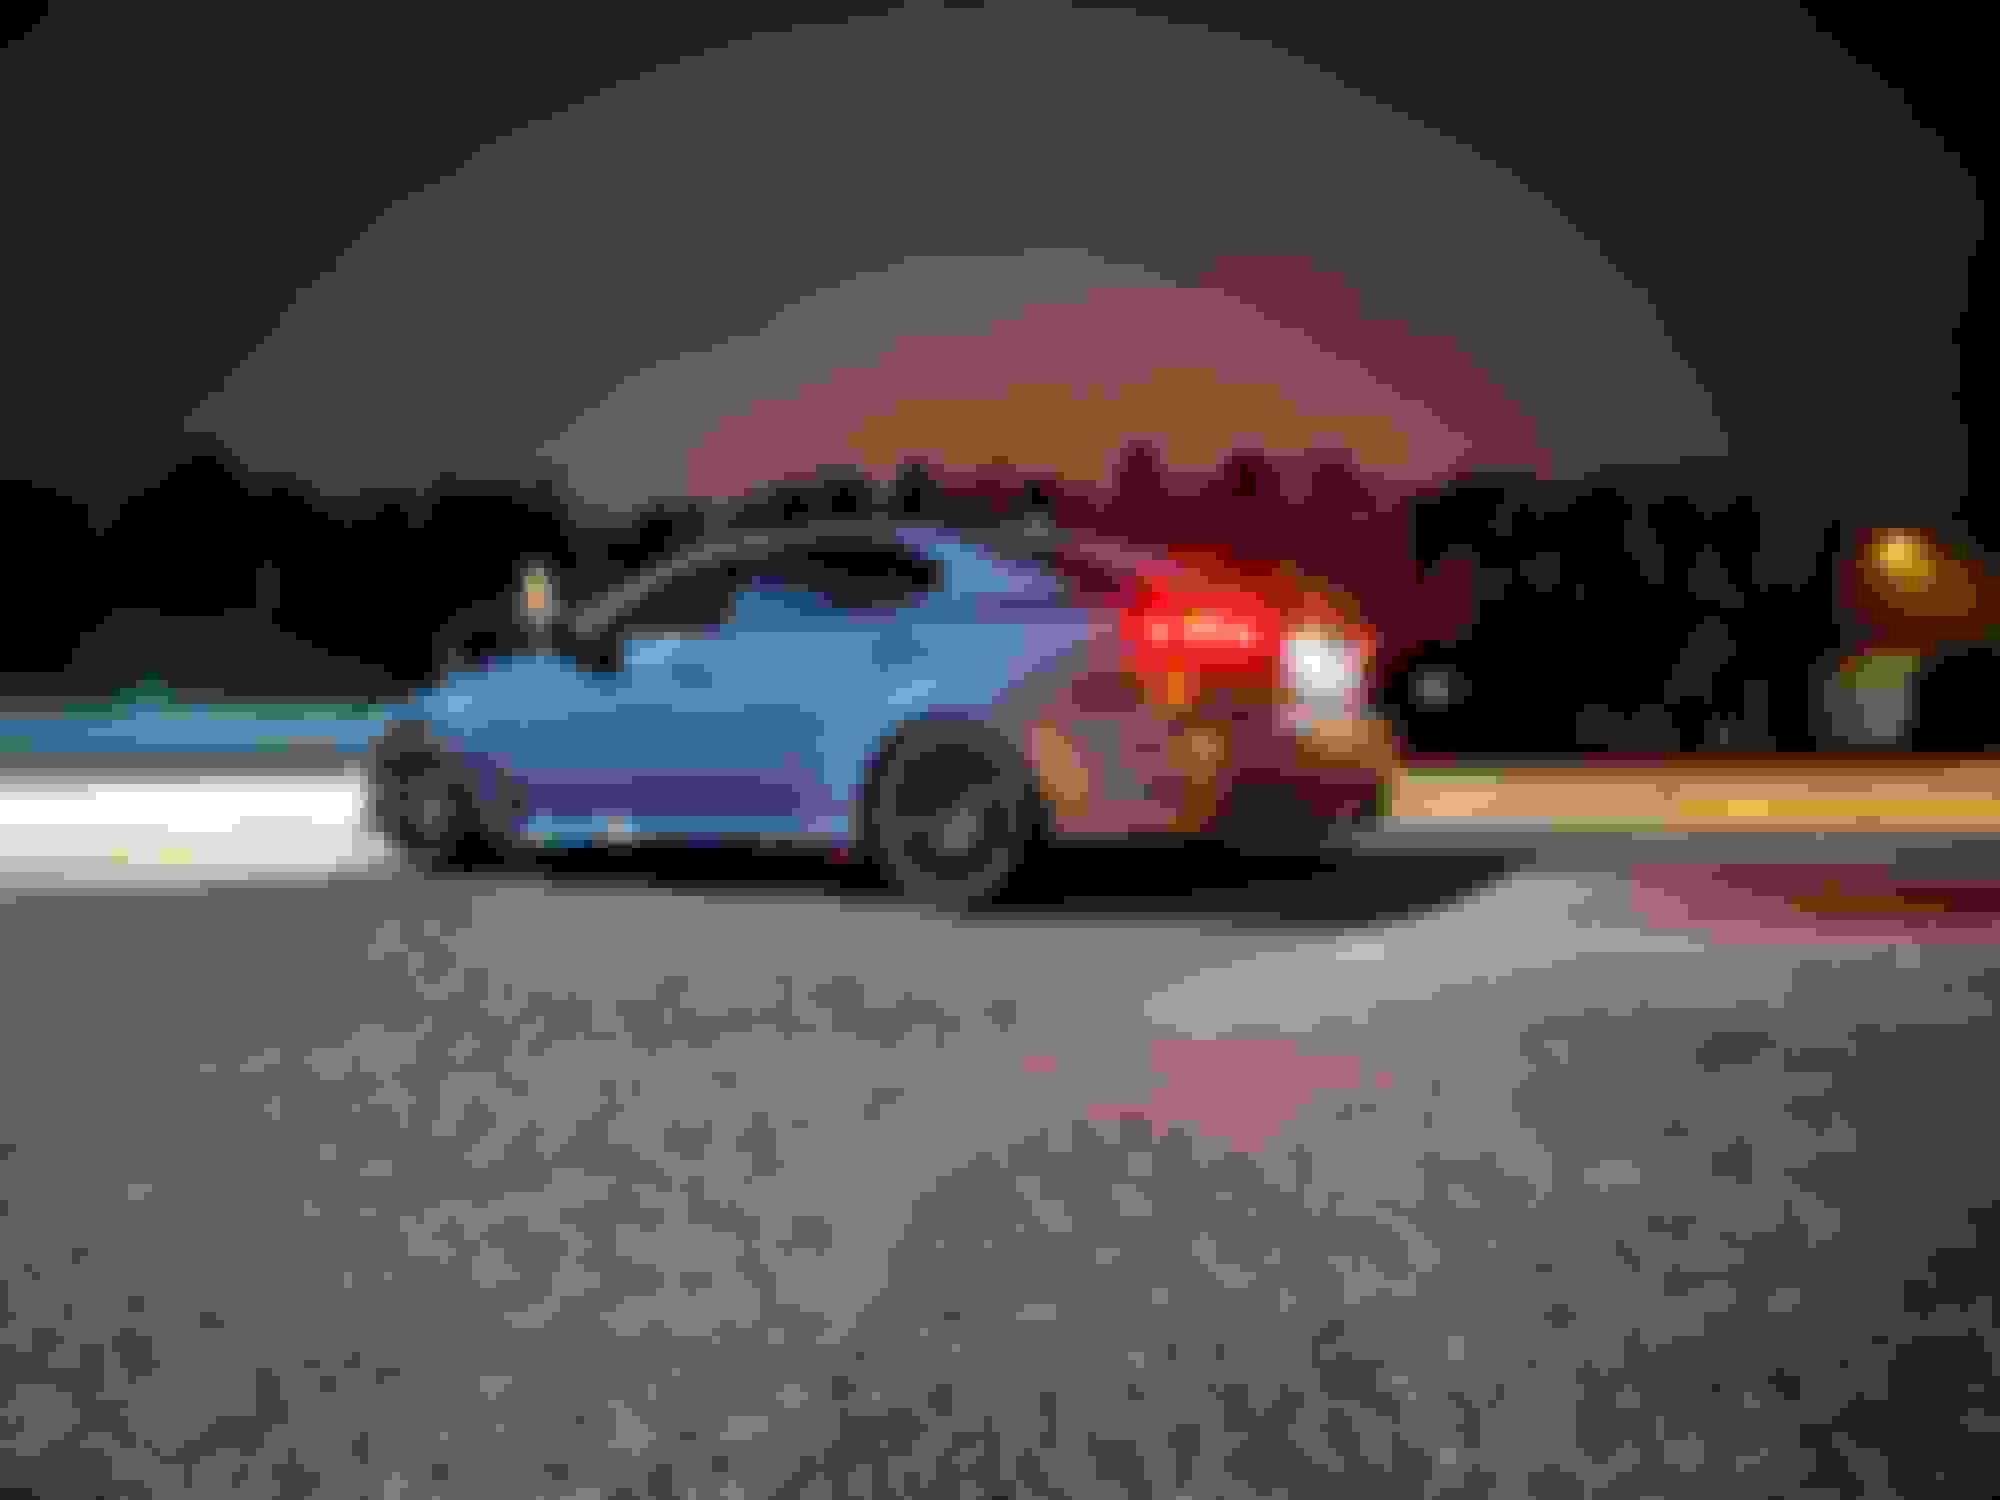
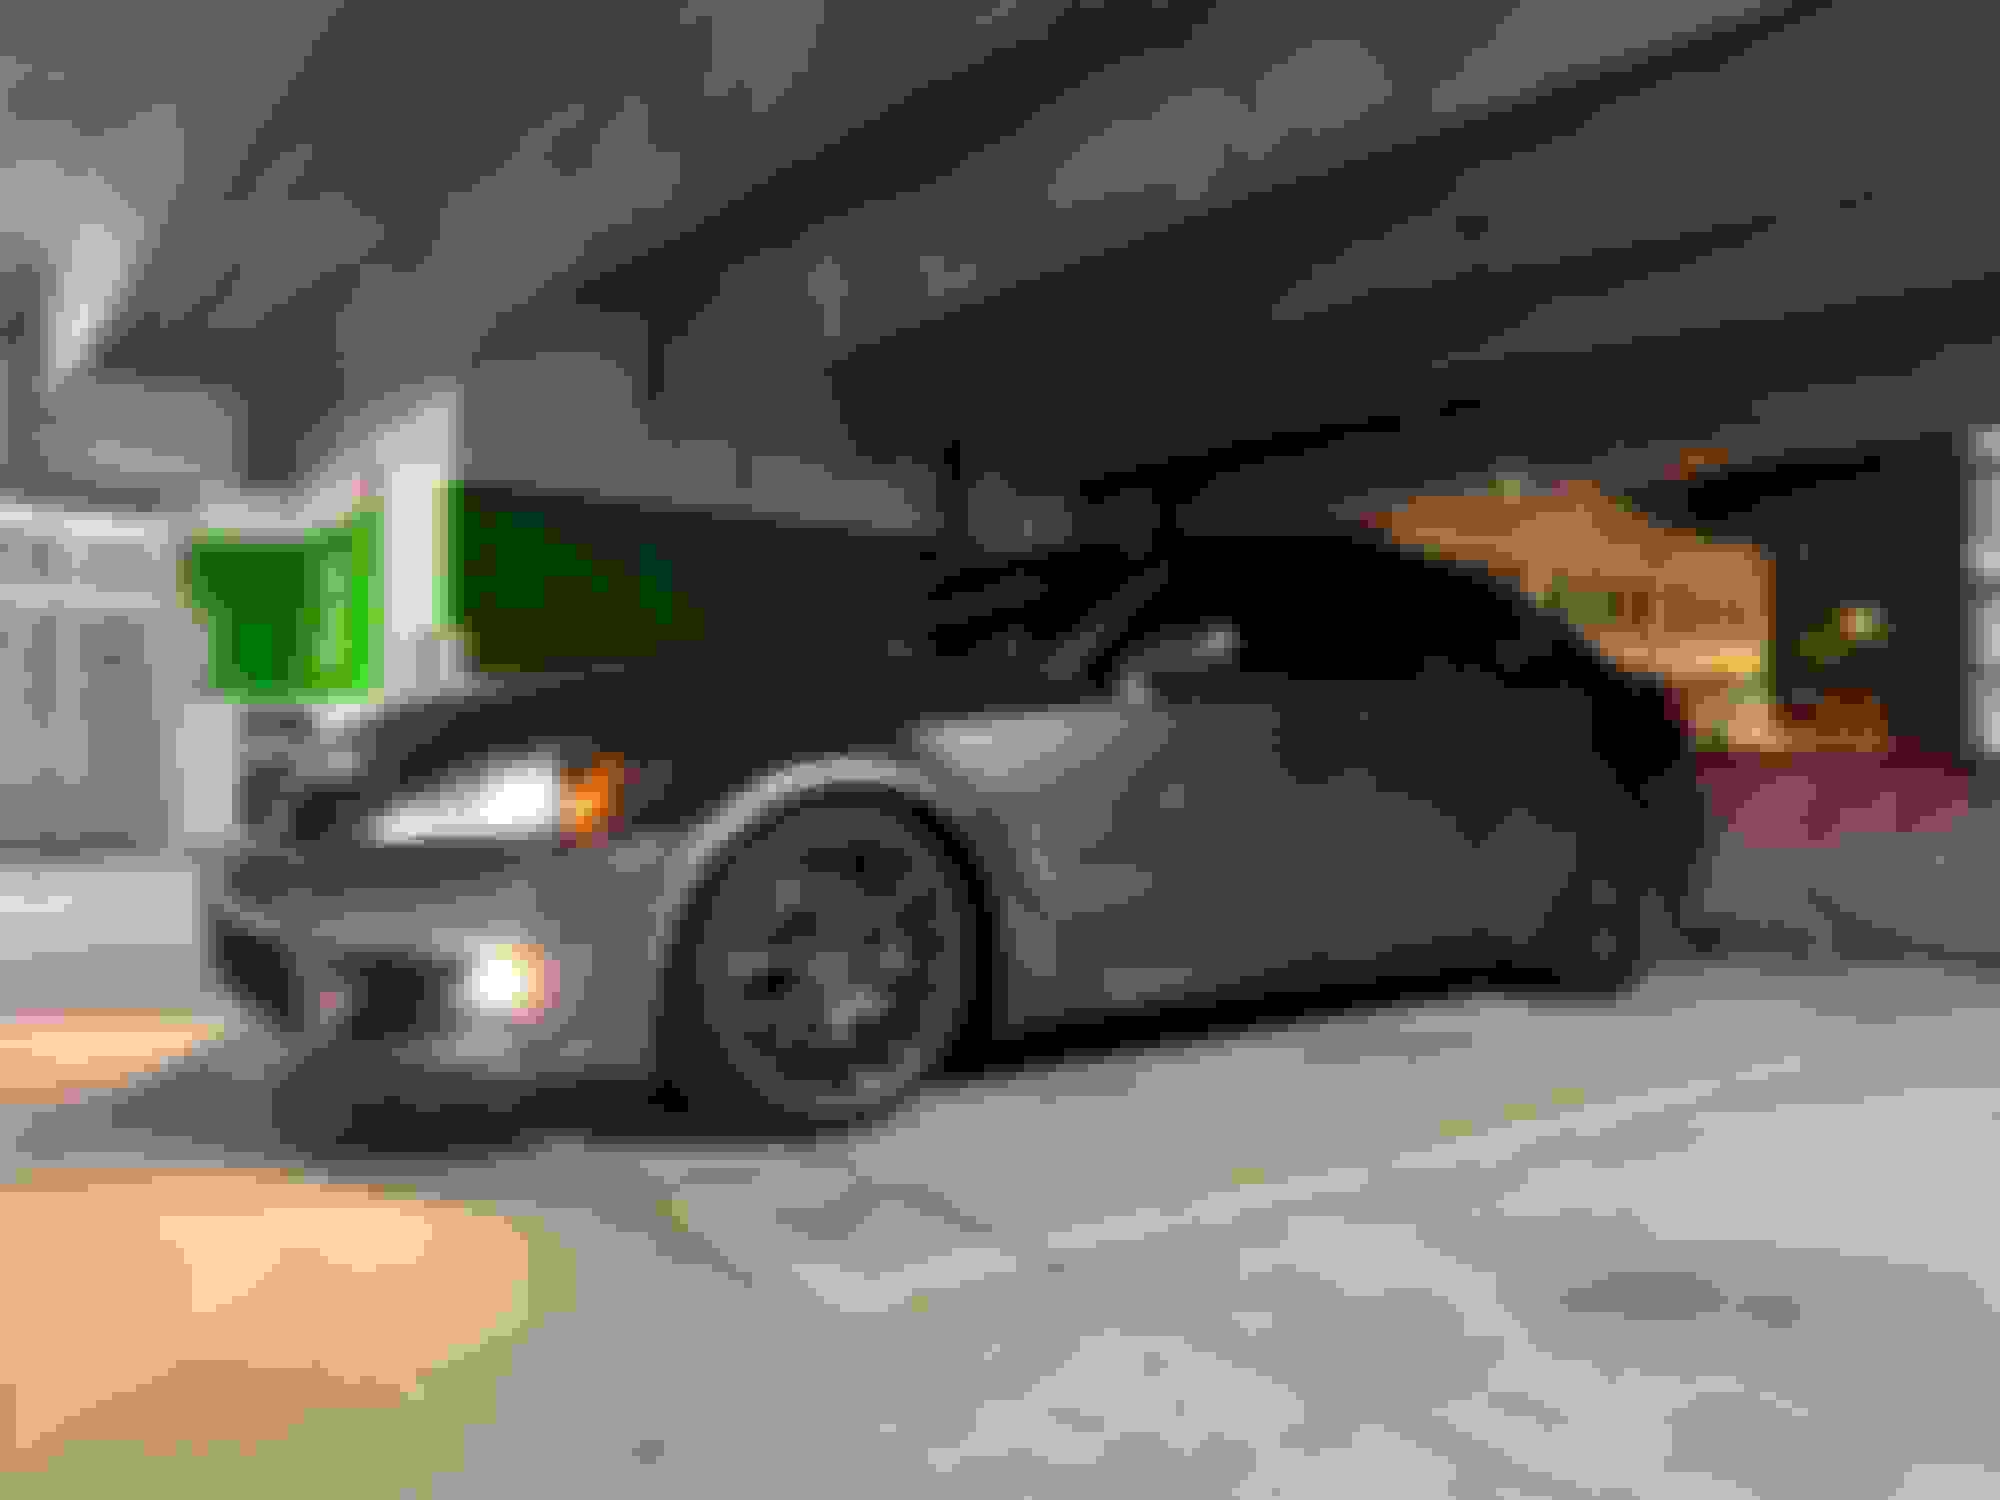
I still have a lot of little things to button up but I took it for the first drive last night! I finished putting the fender liners in it around 10:30pm on a work night and couldn�t help myself. I gave my wife a heads up I was heading out and she didn�t understand why I couldn�t wait until the next day, haha. I went and got some fresh gas and took it to a self serve car wash to pressure wash all of the body shop dust from the car. It still needs a paint correction and a few odds and ends, but it�s so exciting to finally be able to drive it!
Got 300 miles on the car quick since last Thursday including being able to take out my wife on a much needed date night away from our kiddos! There are a lot of things I love about this car and I�m so glad I made the decision to take on this project. I definitely spent a bit more on it than I originally thought I would, but in my opinion it came out fantastic! I still can�t believe this is actually my car. I still have stuff to button up and I have some suspension bits coming that need to be installed but I�m looking forward to getting some miles on this thing!
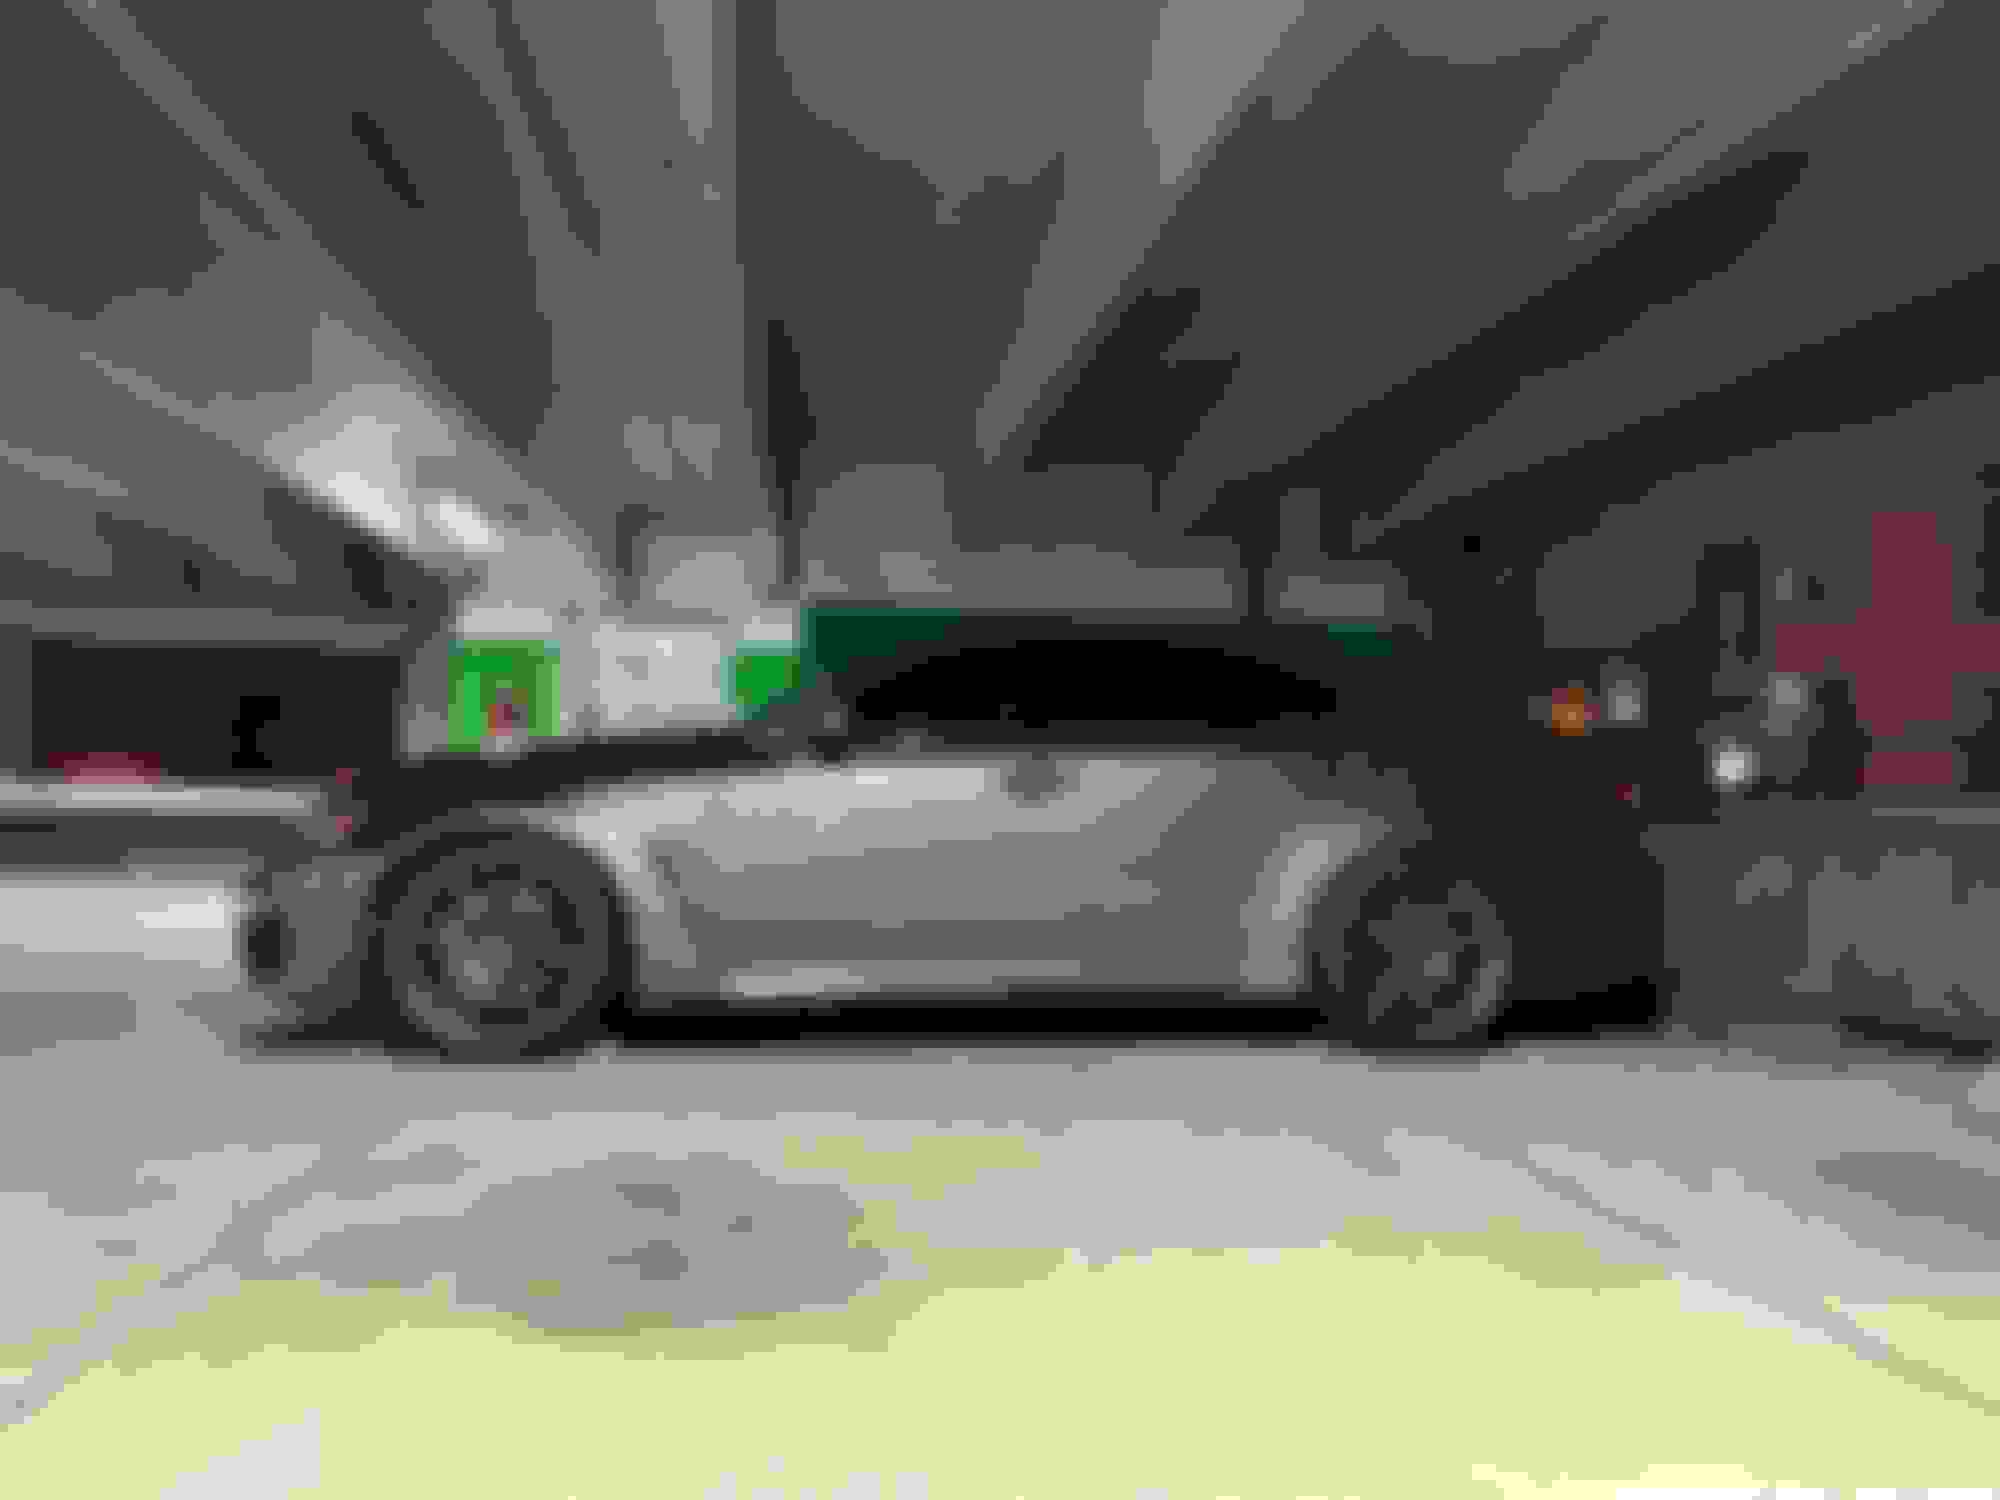
There has been so much to update but I have been slacking on taking pictures and updating my YouTube and this thread. I got the car finished up around Christmas, whenever I posted last. Since then I have put about 1200 miles on the car and it is an absolute blast to drive. I find myself wanting to drive this instead of my tundra that I daily drive. The kids car seats also fit well in the backseat which is one of the main attractions I had to this car over my LS2 swapped Is300 and they absolutely love riding in it. They call it daddy�s race car and they love the intake noise above 4000 RPMs. I bought a set of Fortune auto coil overs with 16K/12K spring rates, and I have a set of figs engineering adjustable front upper control arms to install as well. I need to get those on, along with a few other items like a RR racing catchcan. I signed up for a track day at VIR on March 19/20 for the weekend. I am super excited to take this car out on the track and have been looking at spare wheels and tires for track only. I am wanting to do the Apex EC7 wheels but I would have to modify the center bore to except the 60.1 mm hub on the ISF with the offsets that they offer. I saw a few people running the Enkei PF01 wheels and a 18 X 9.5 with a 45 offset. I like the idea of that but I don�t really like the way that those wheels look. I am thinking I�m gonna go with a RPF1 with a 38 offset. I�ve seen a few people on the Facebook group run those wheels with no spacers. The idea is to go with a square set up and run a 275/35 tire. I also ordered a set of Carbotechs XP 10 pads for the track and I�ll use some Moto brake fluid.
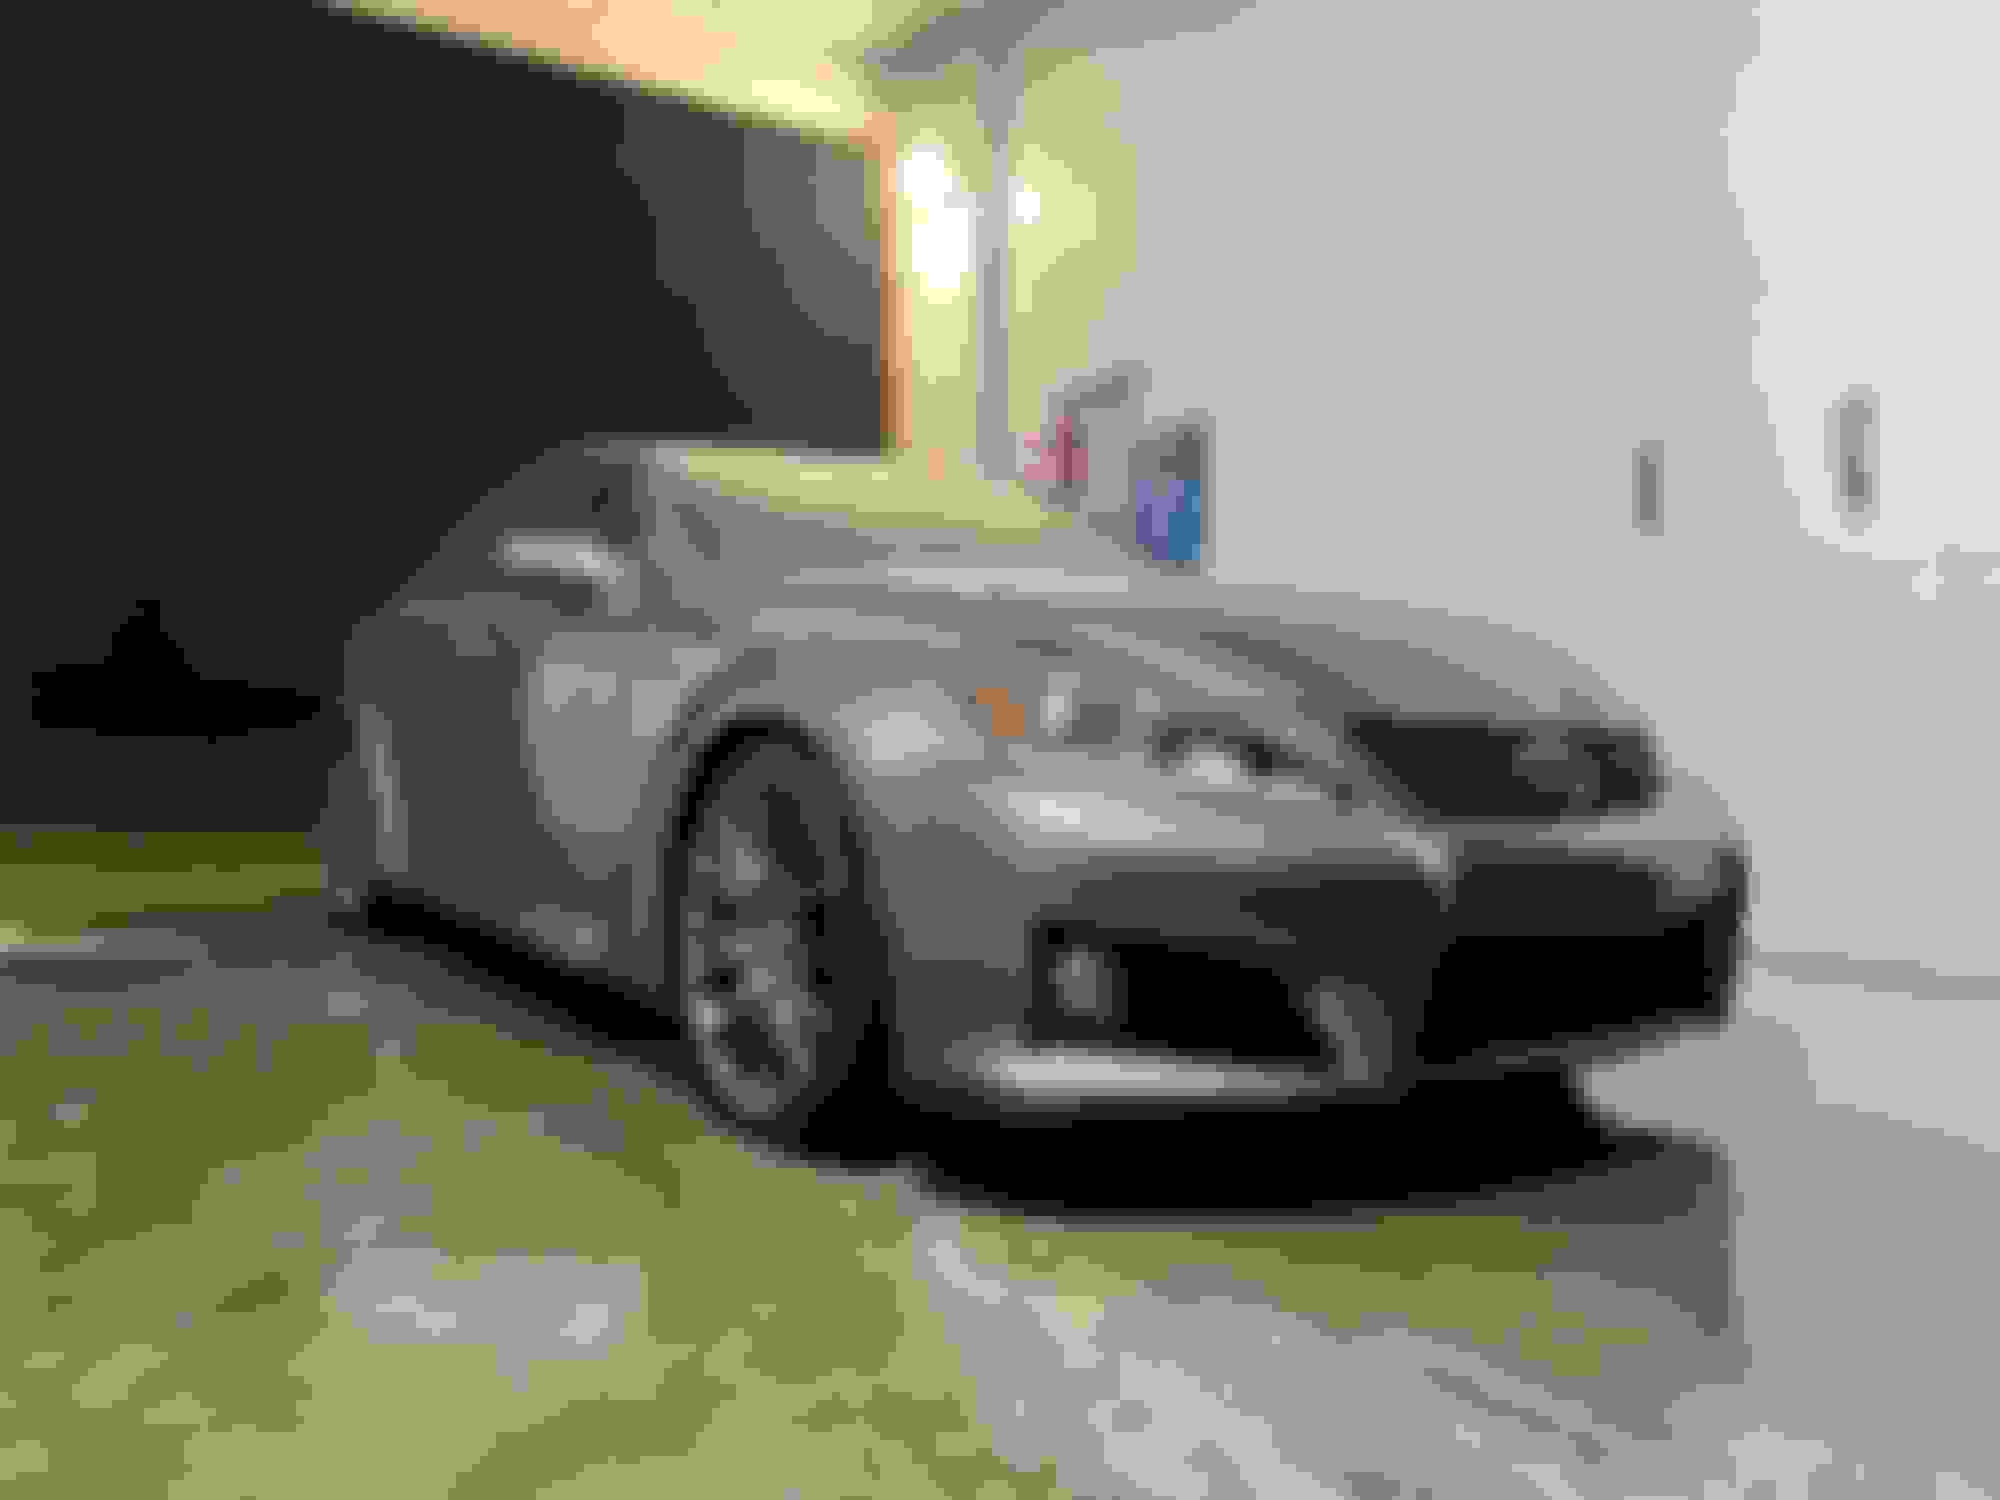
I talked a lot of trash about the paint job on this car and I have to take some of that back. Although it did take a really long time, the painter doing the paint correction did an amazing job on the car. I work at a dealership as I�ve mentioned before and I had one of our detail guys do 3M PPF on the front end and it will be getting ceramic coated this weekend. I was concerned with the new paint and then taking it to the track that I�m likely to get rock debris from other cars on the front of the car and it would be a total bummer to have it messed up a few months after getting the car fully painted. I have a lot going on in the next couple weeks but I hope the post more updates as I throw more of these parts on the car and I will definitely post some videos and pictures from the car running around VIR.
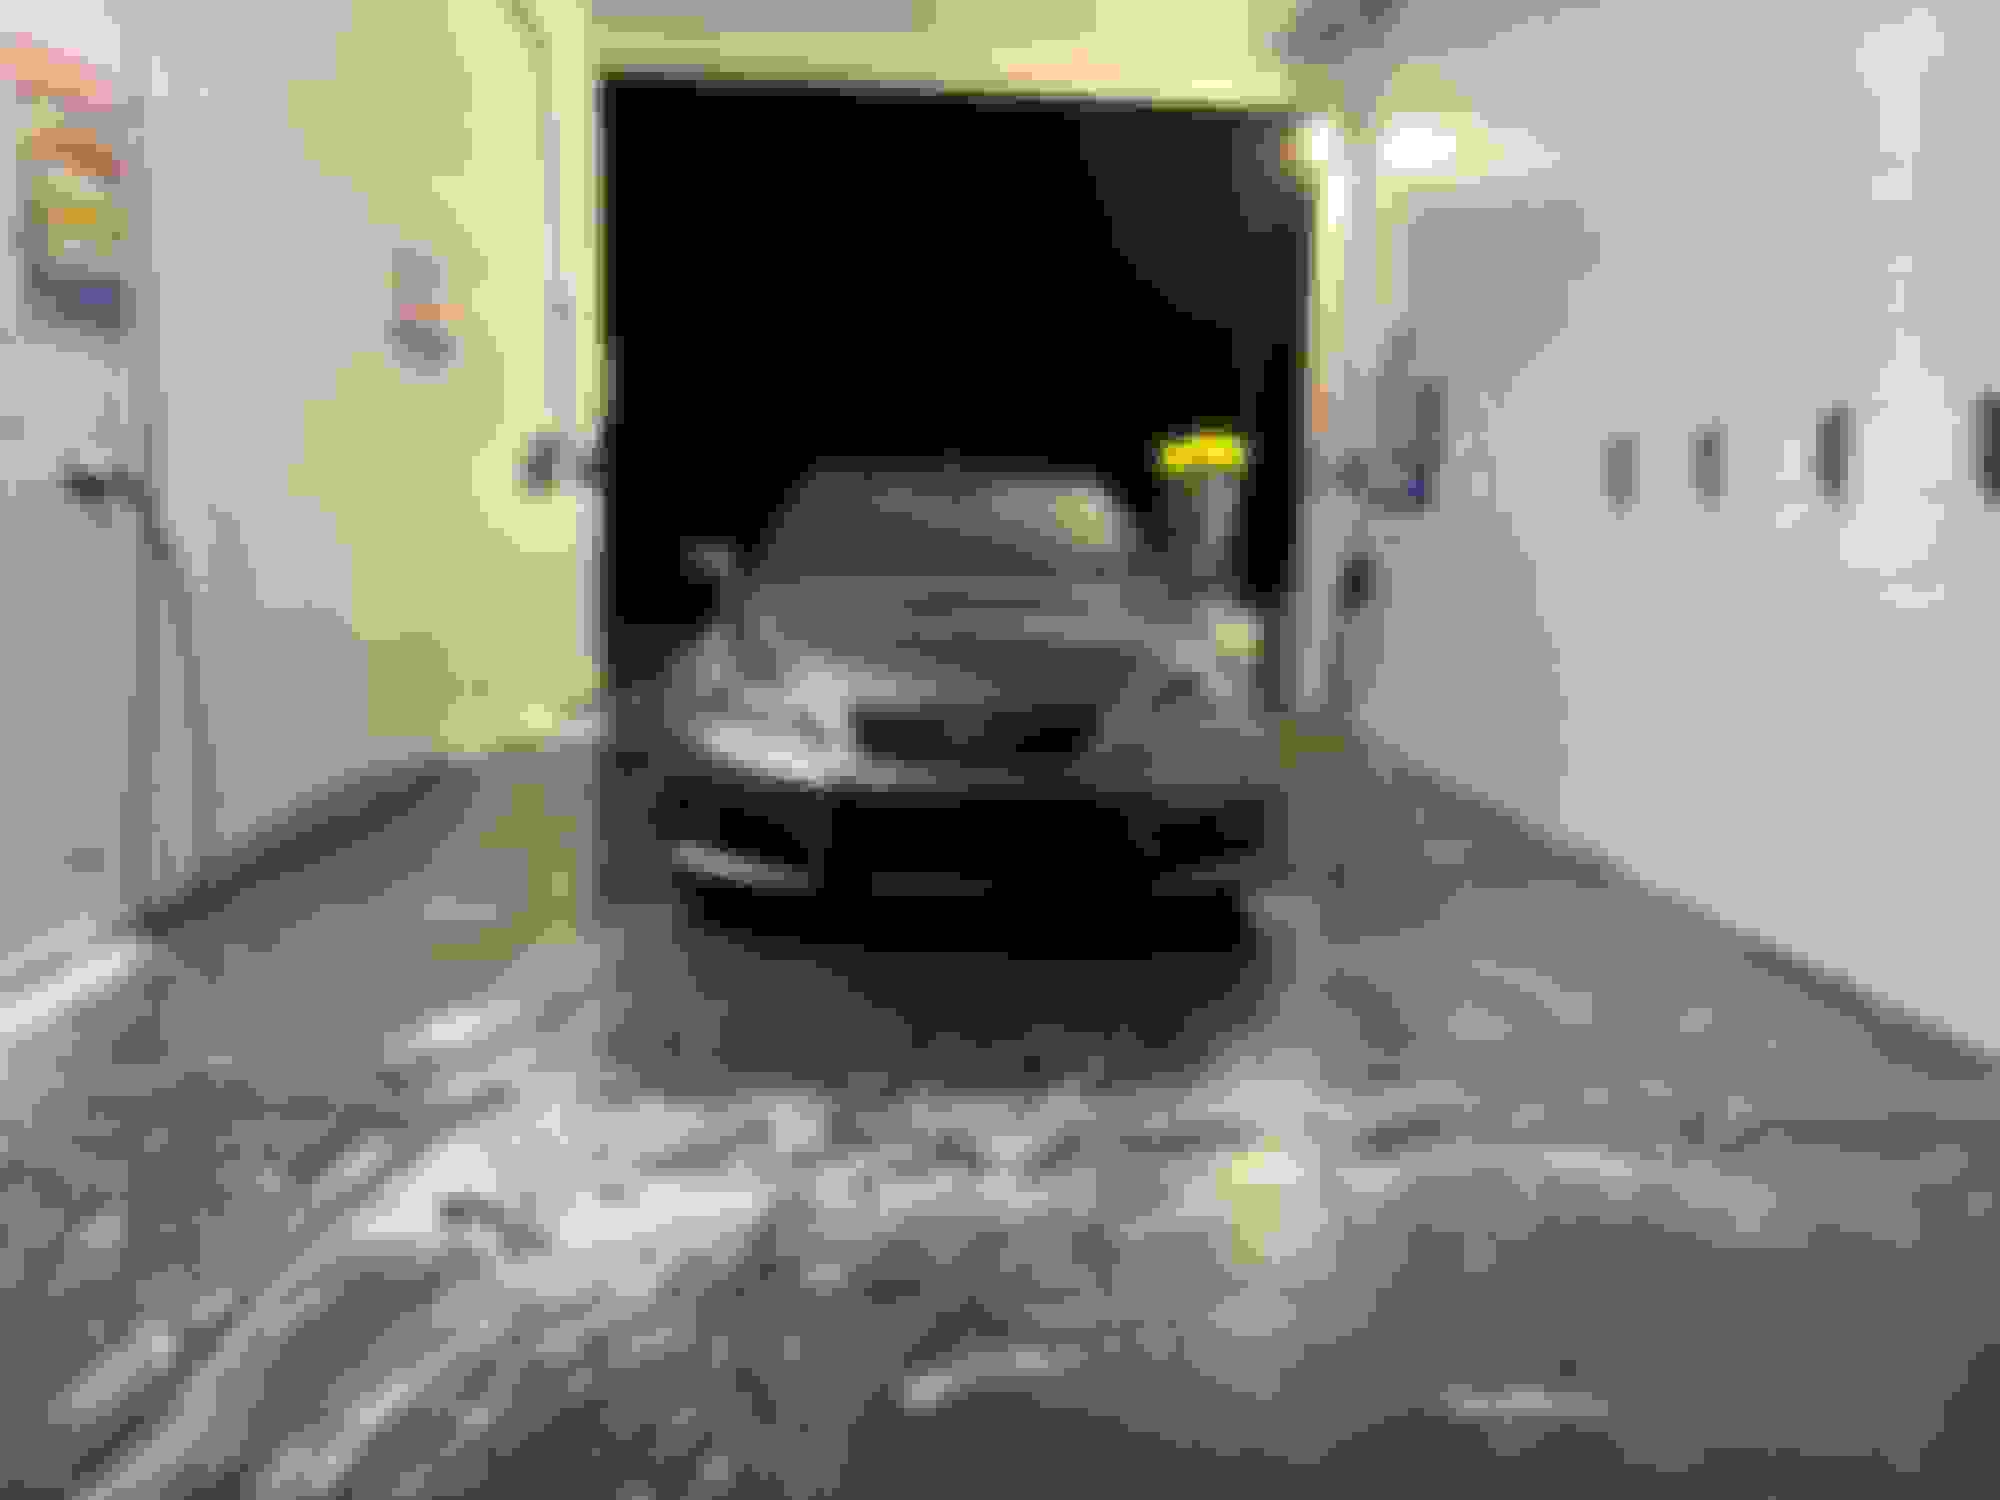
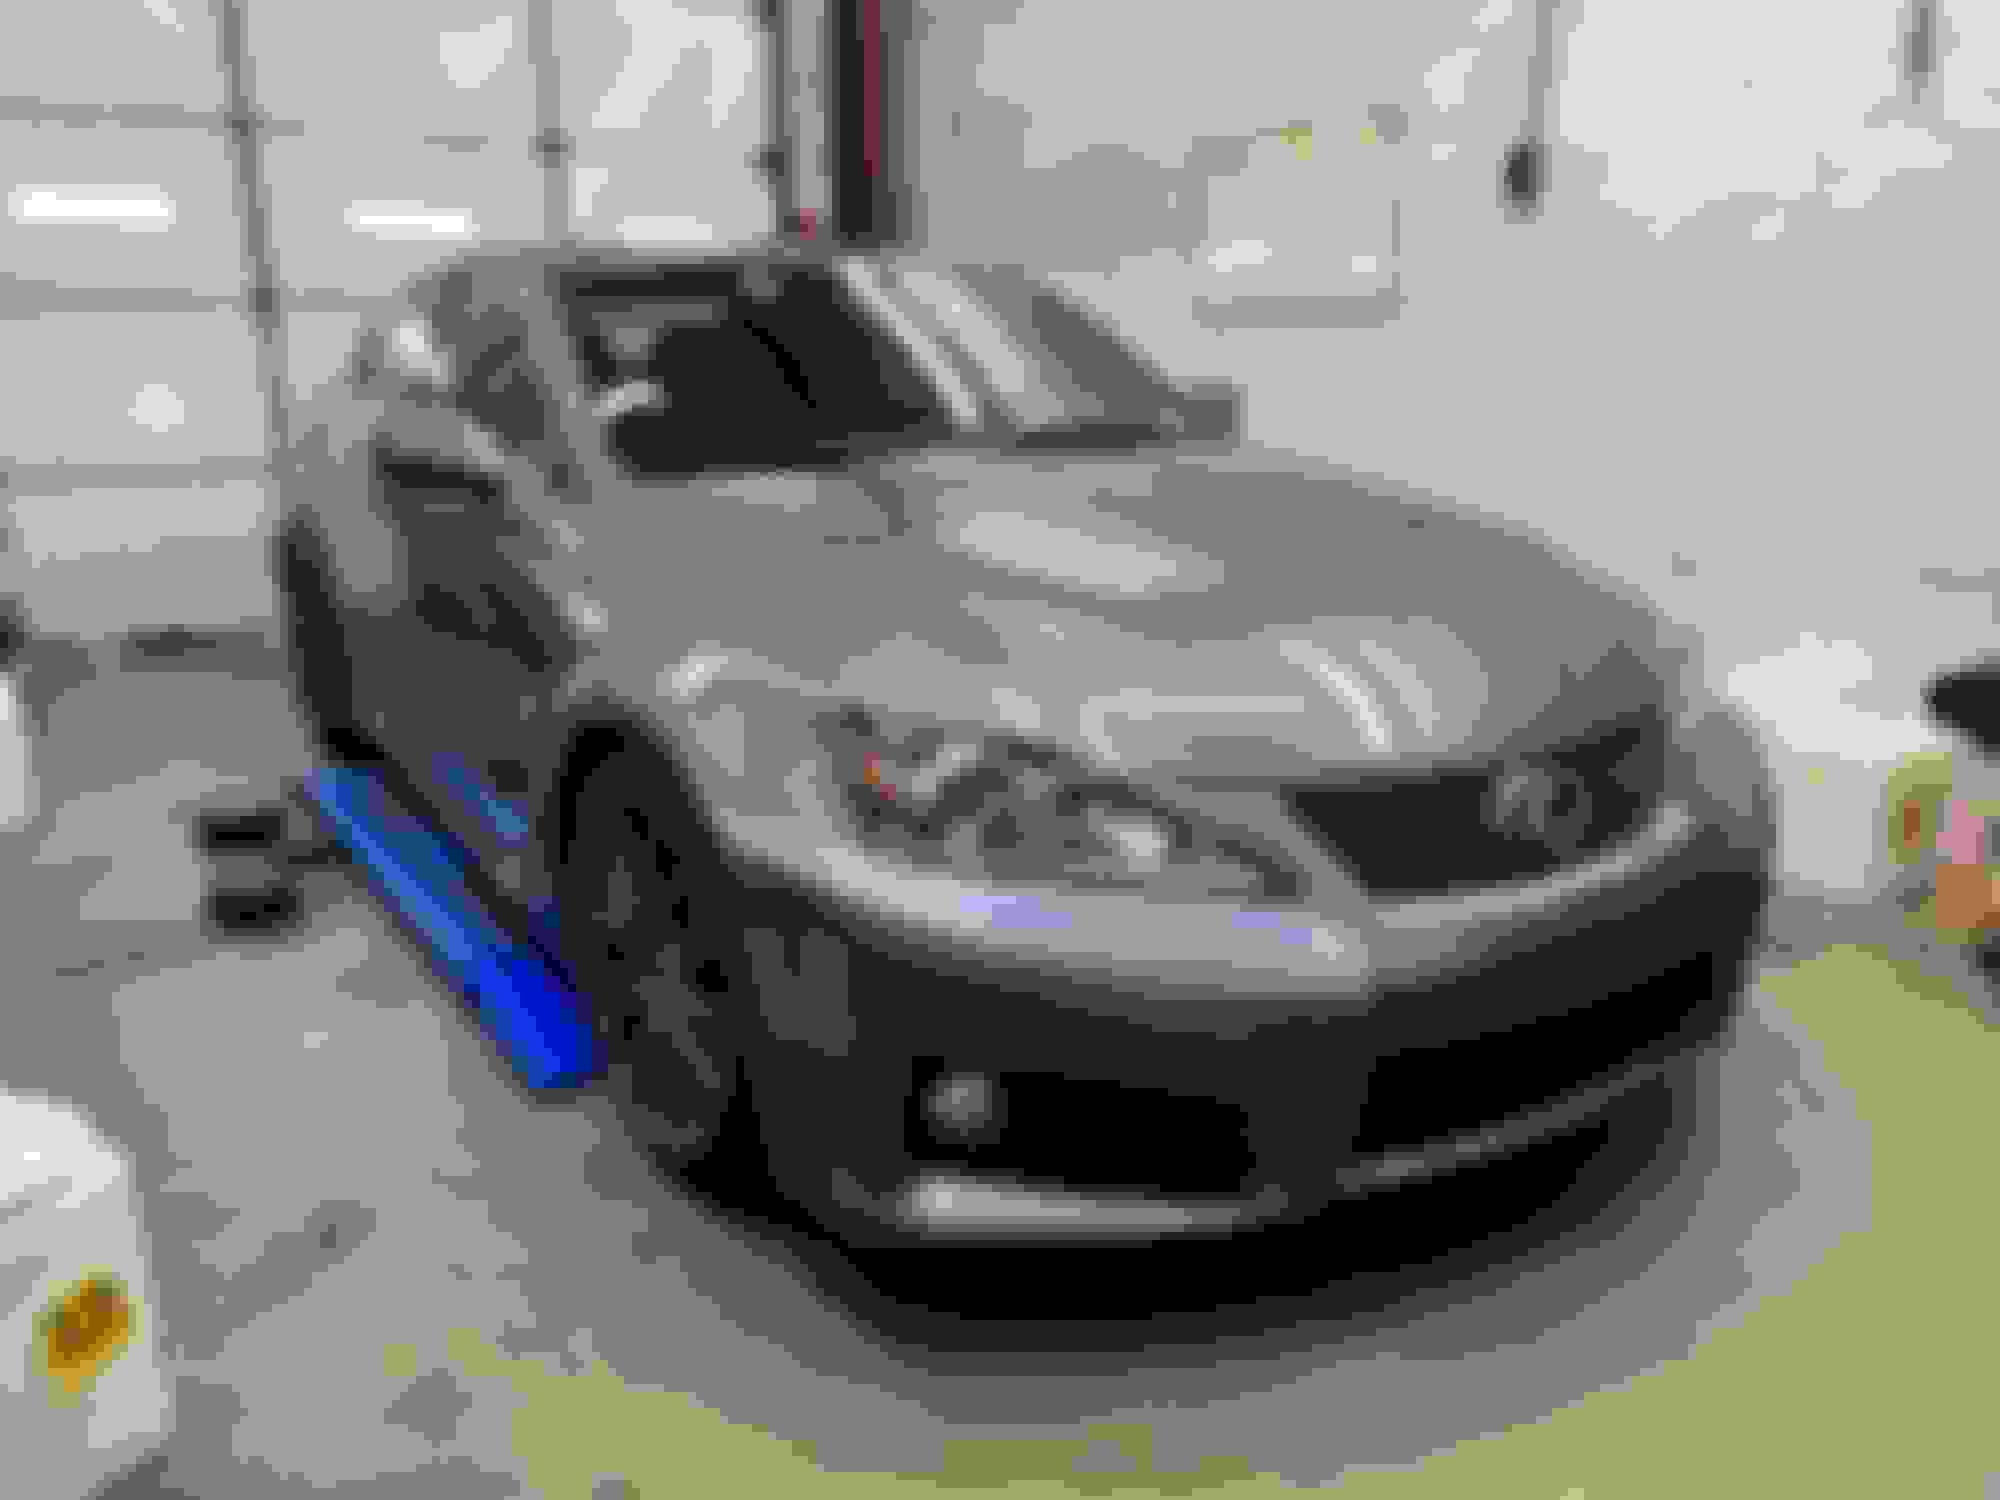
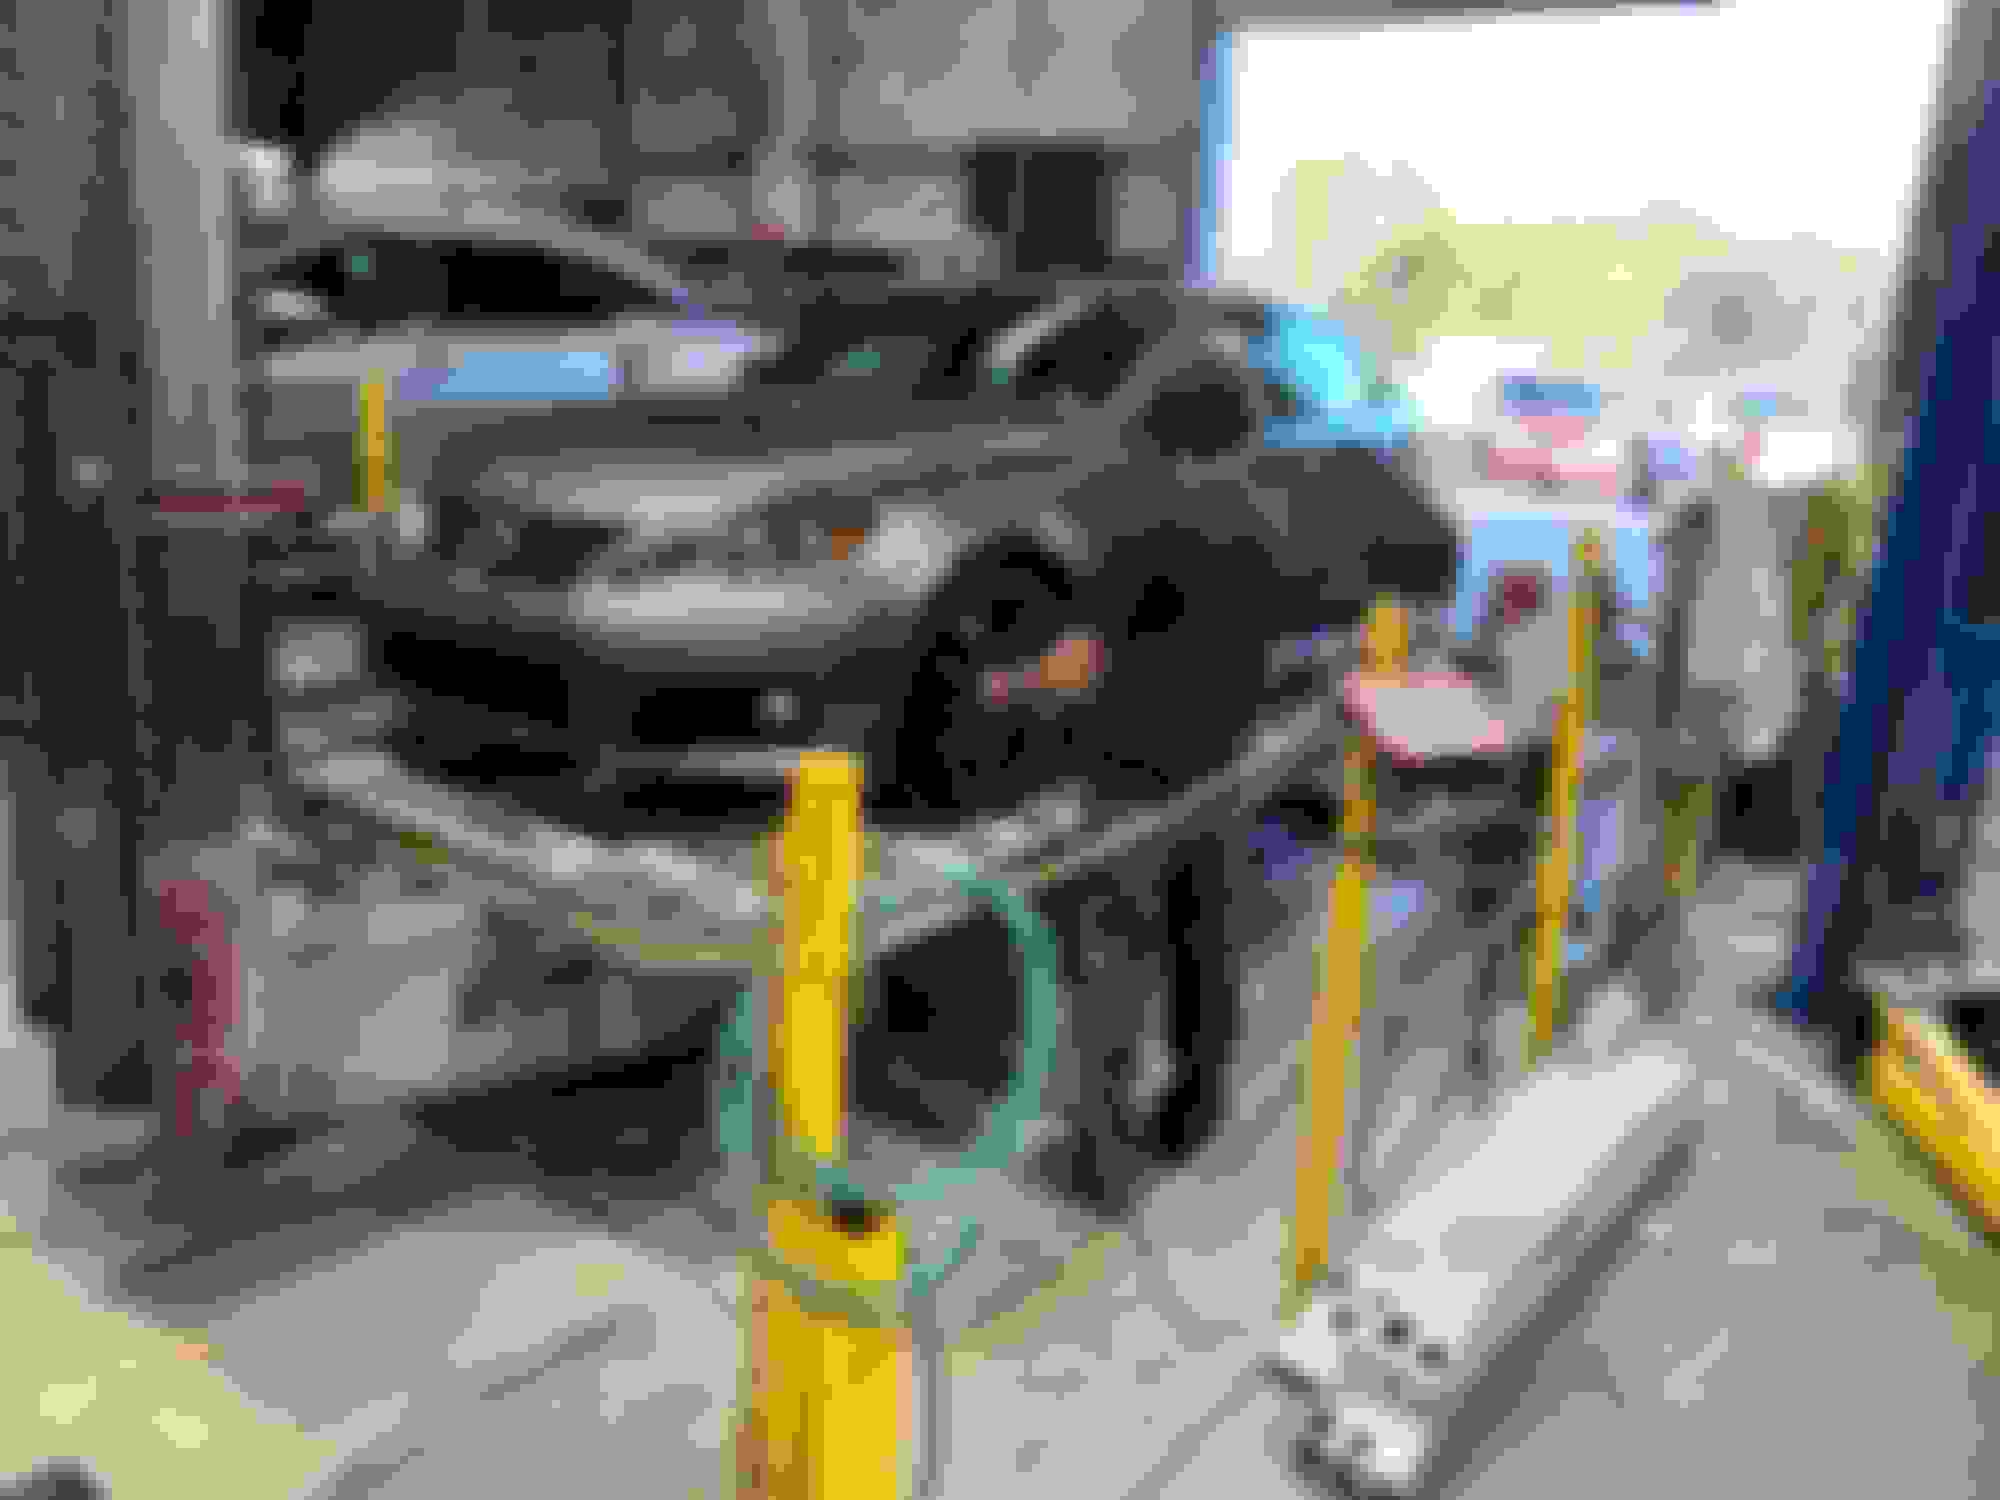
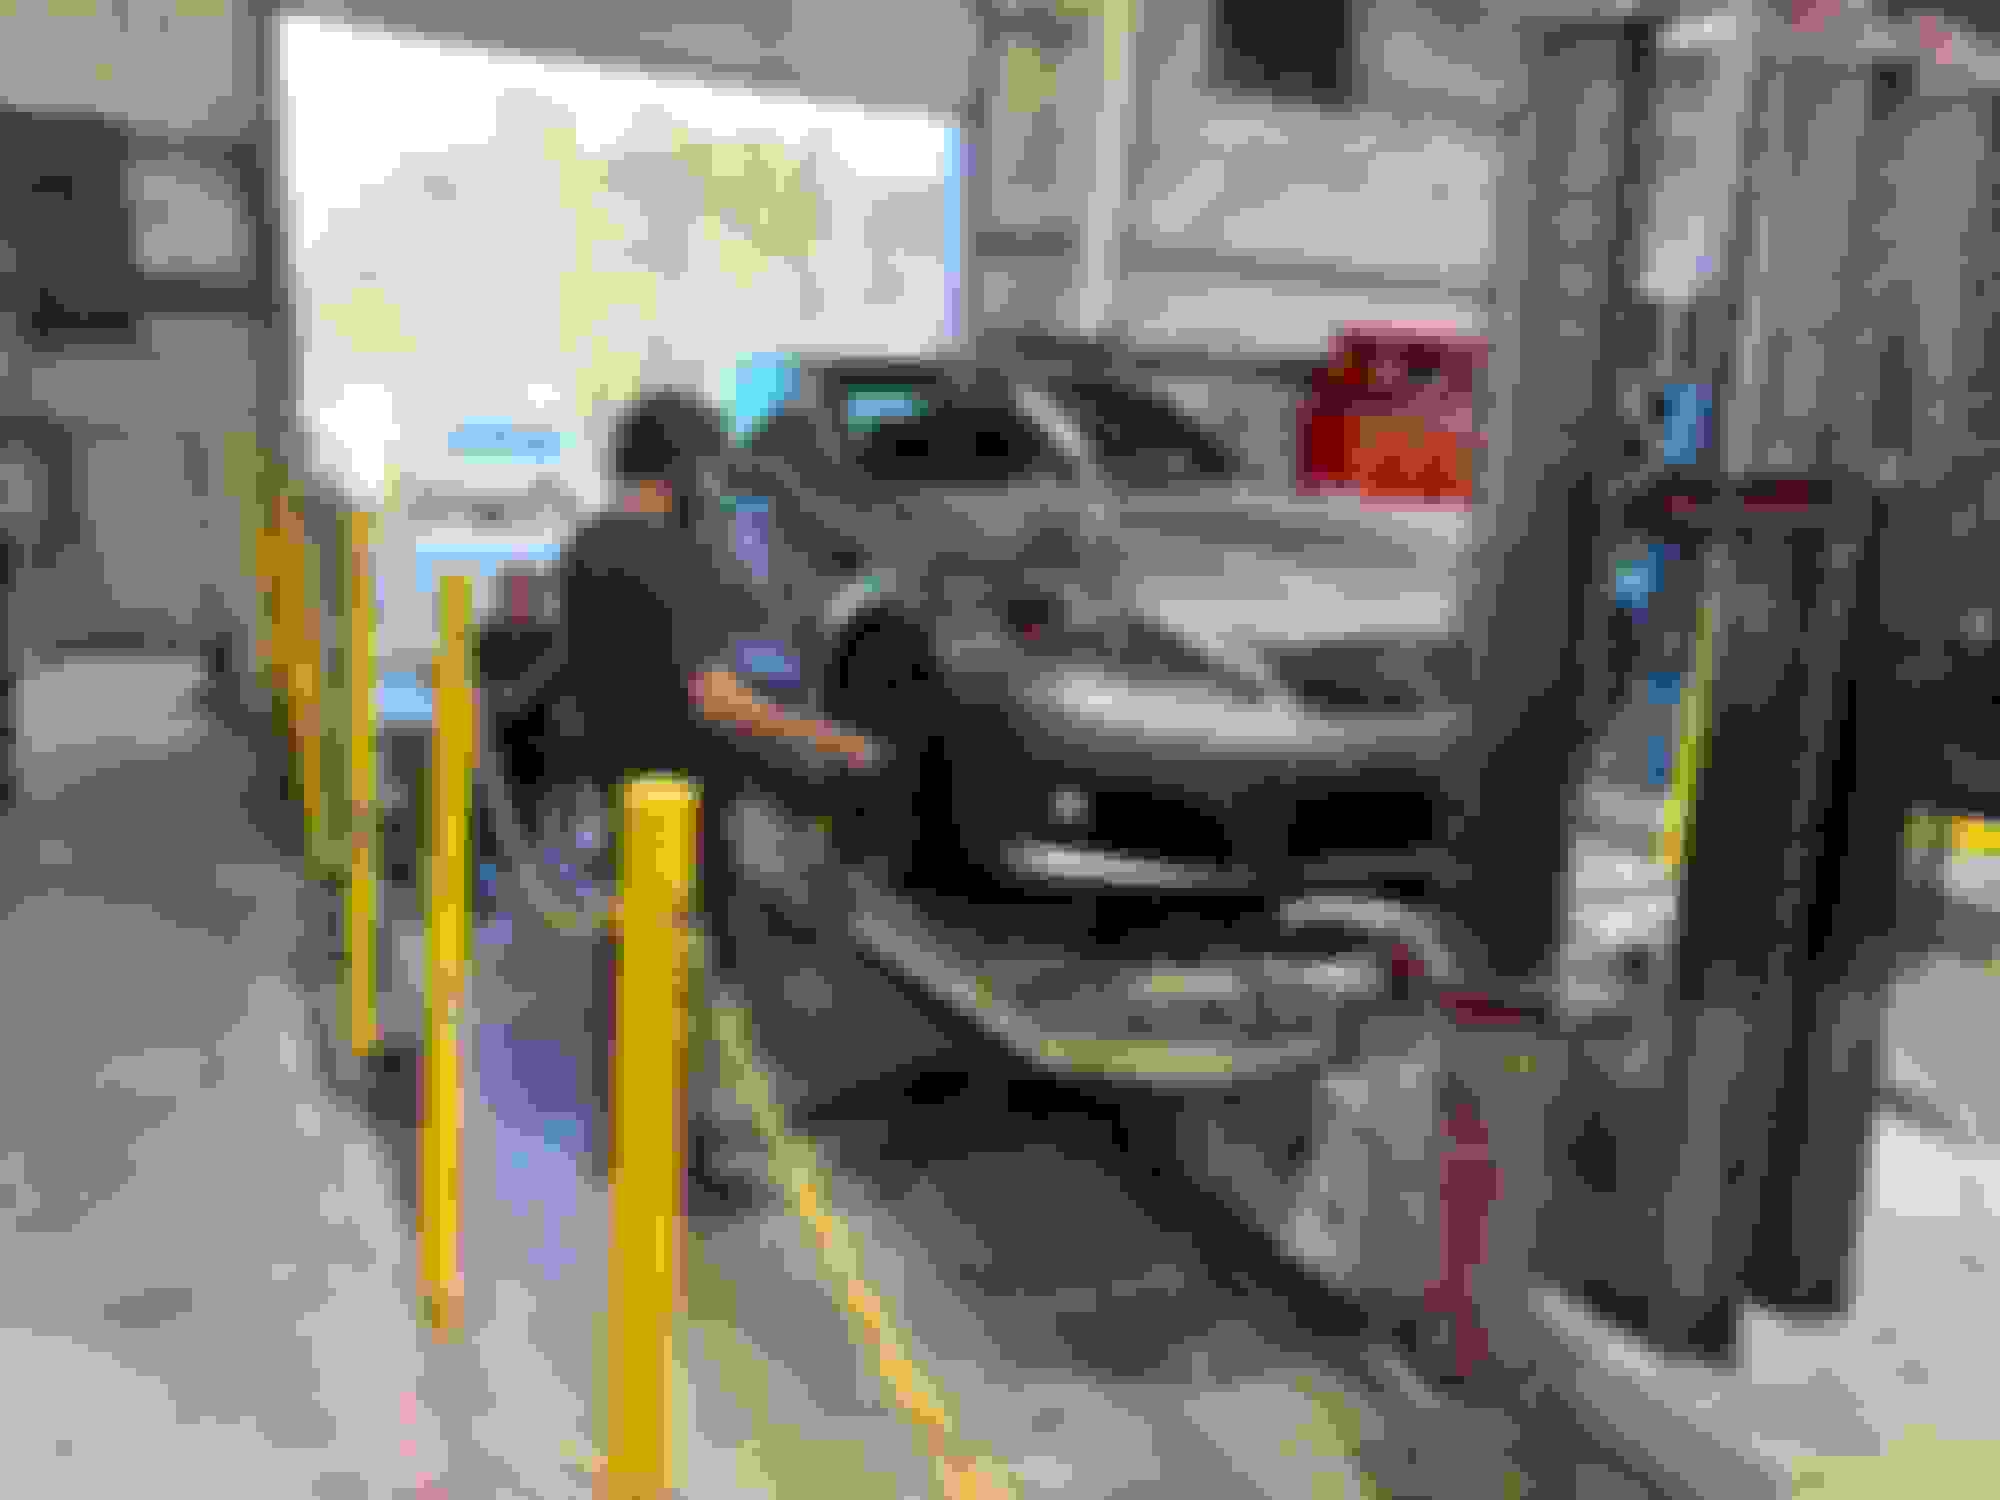
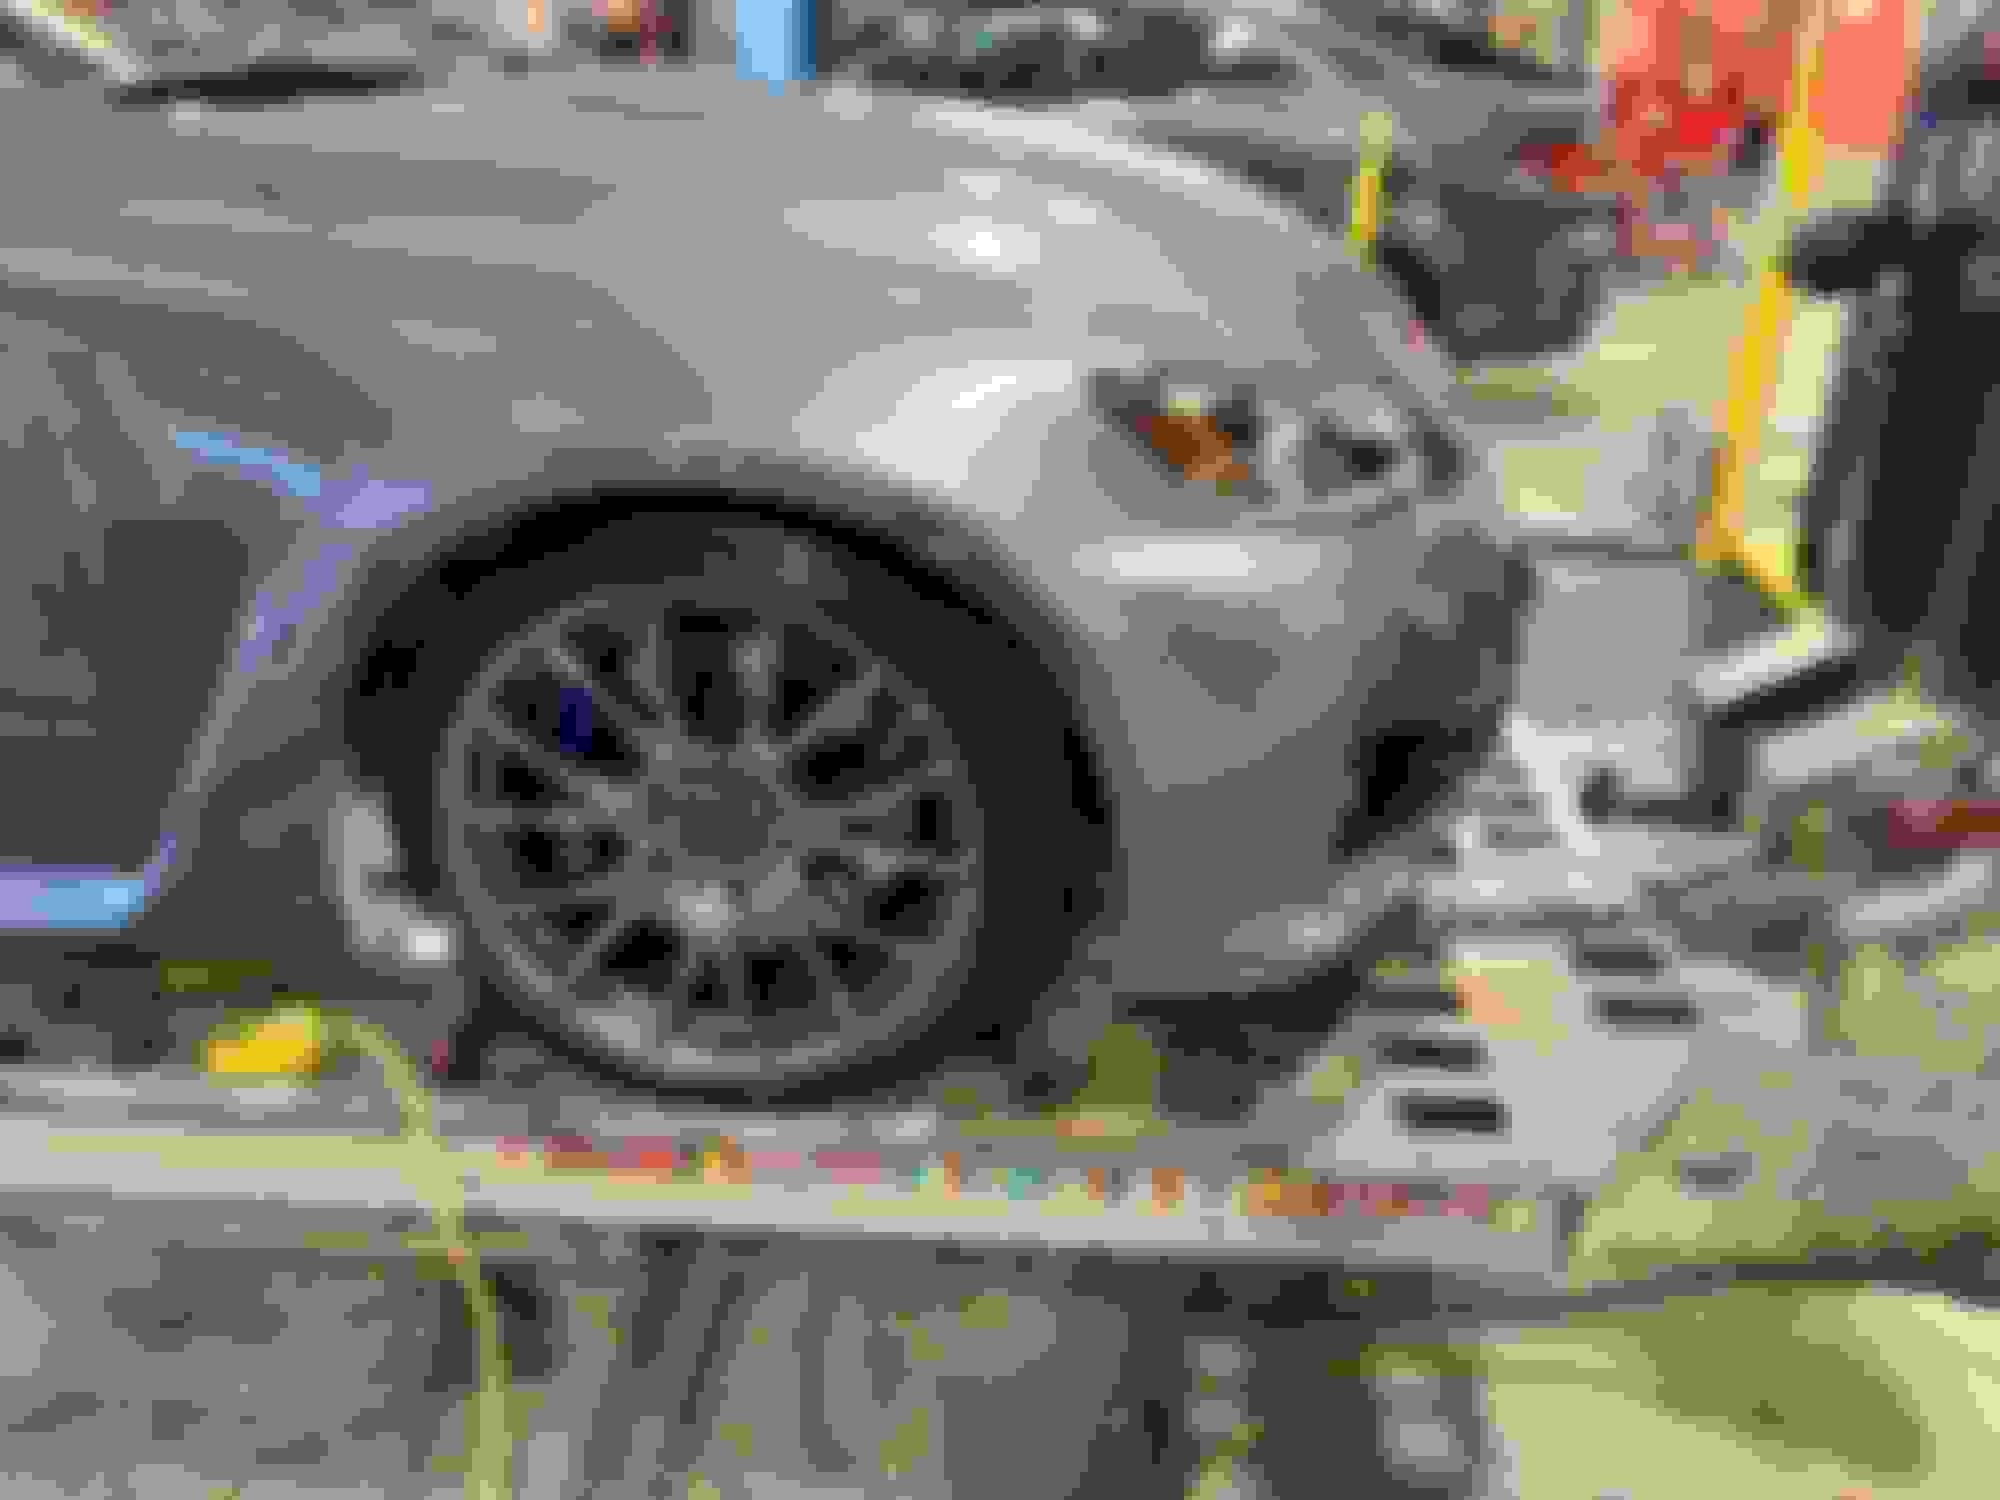
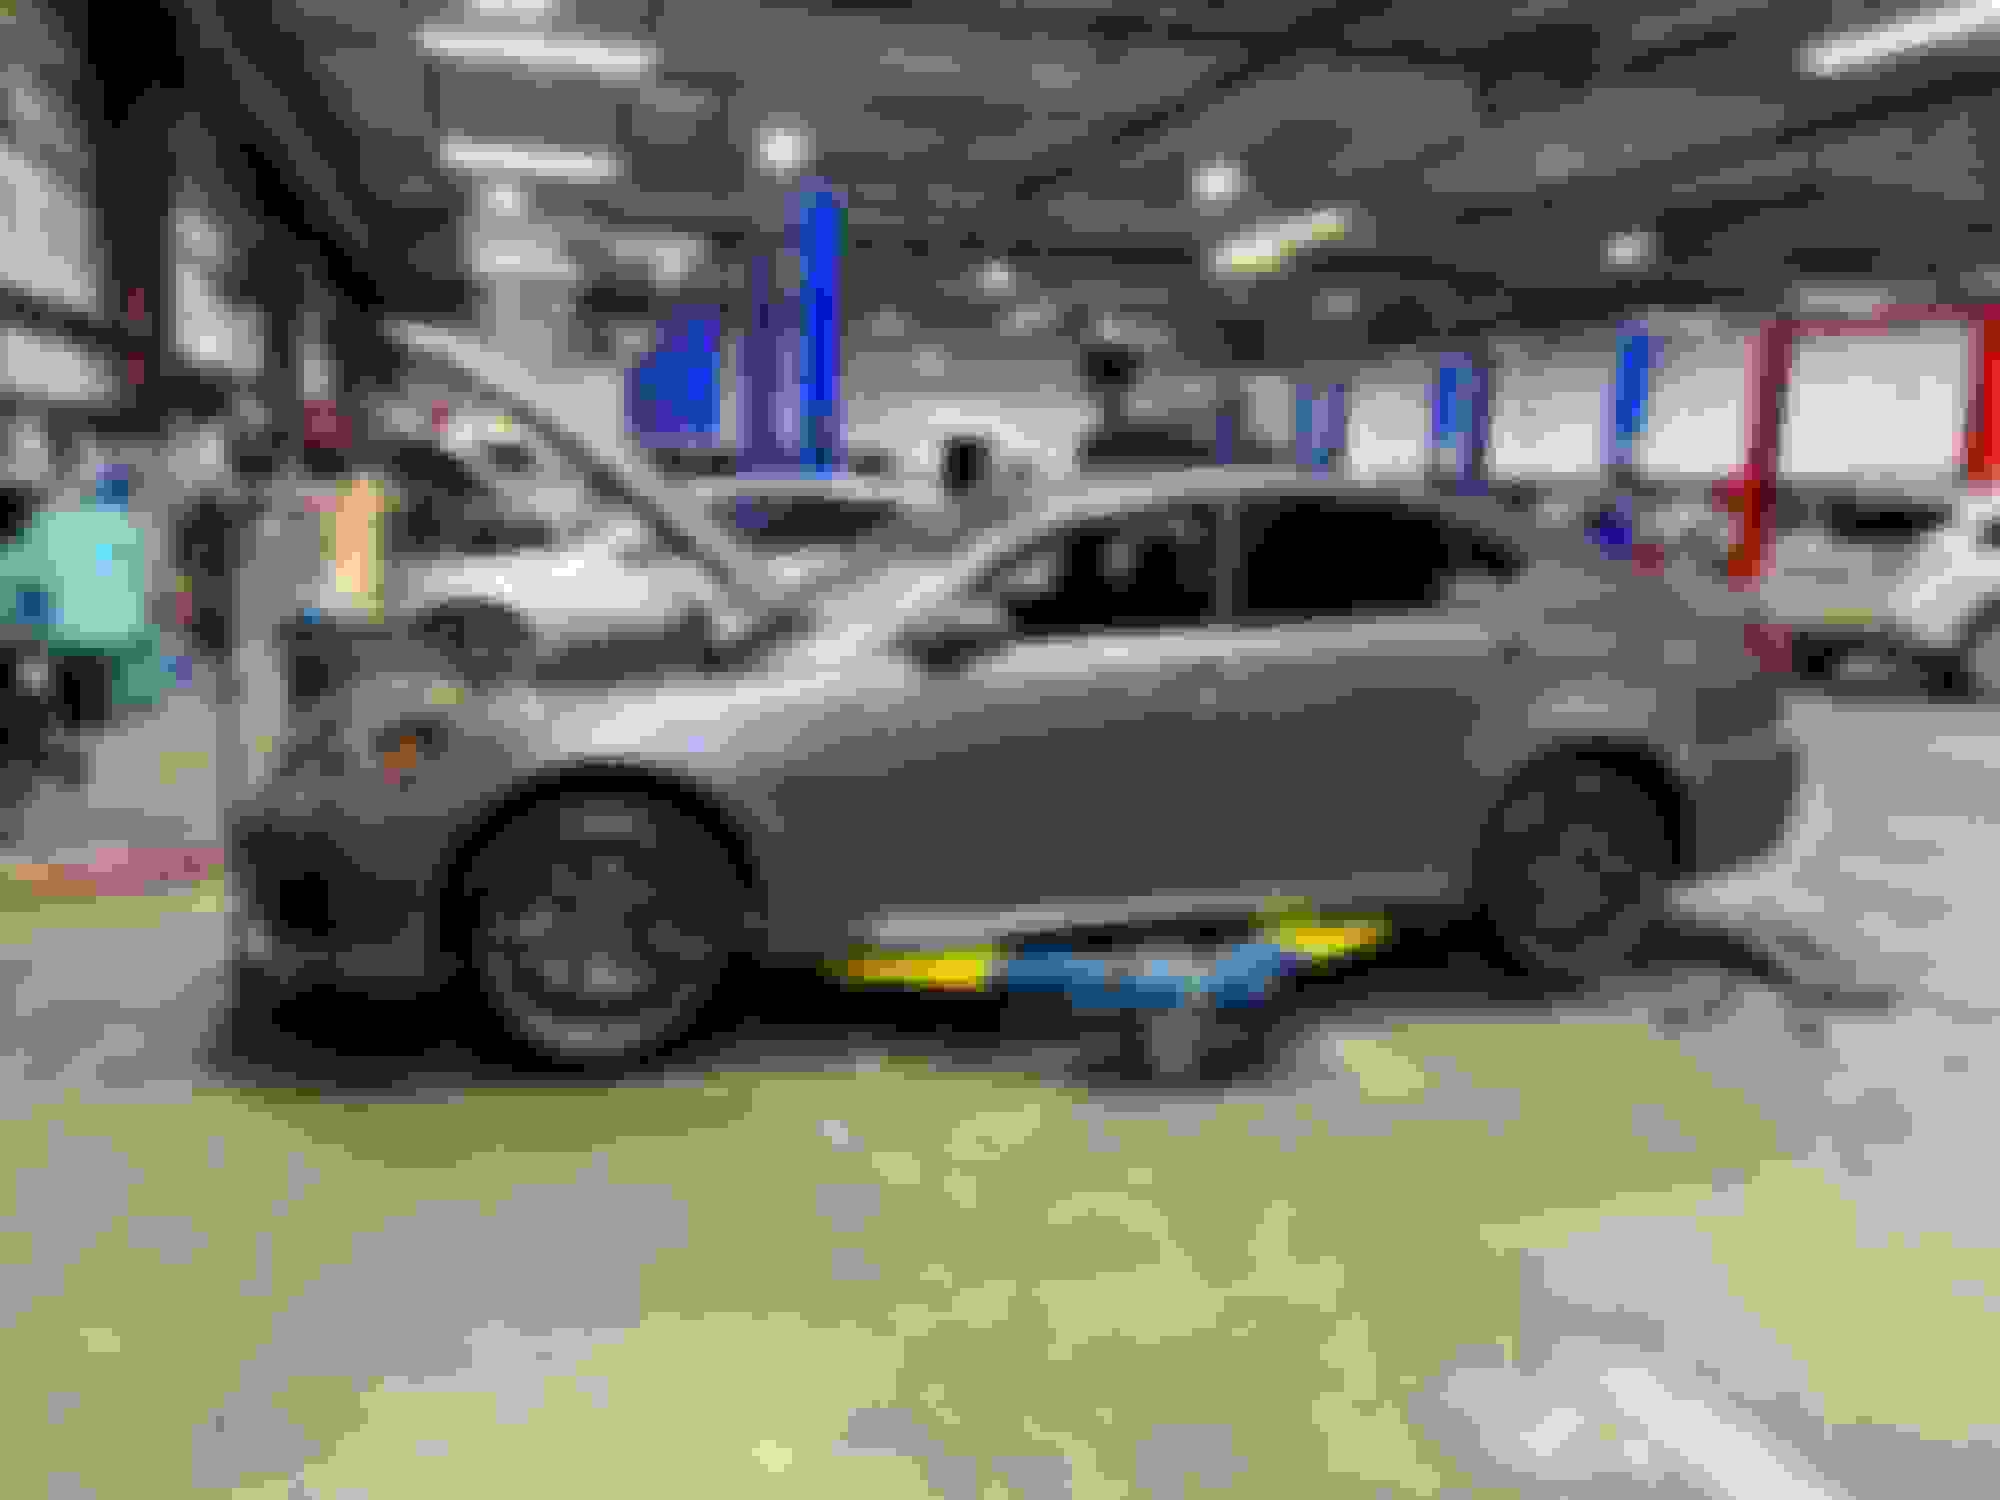
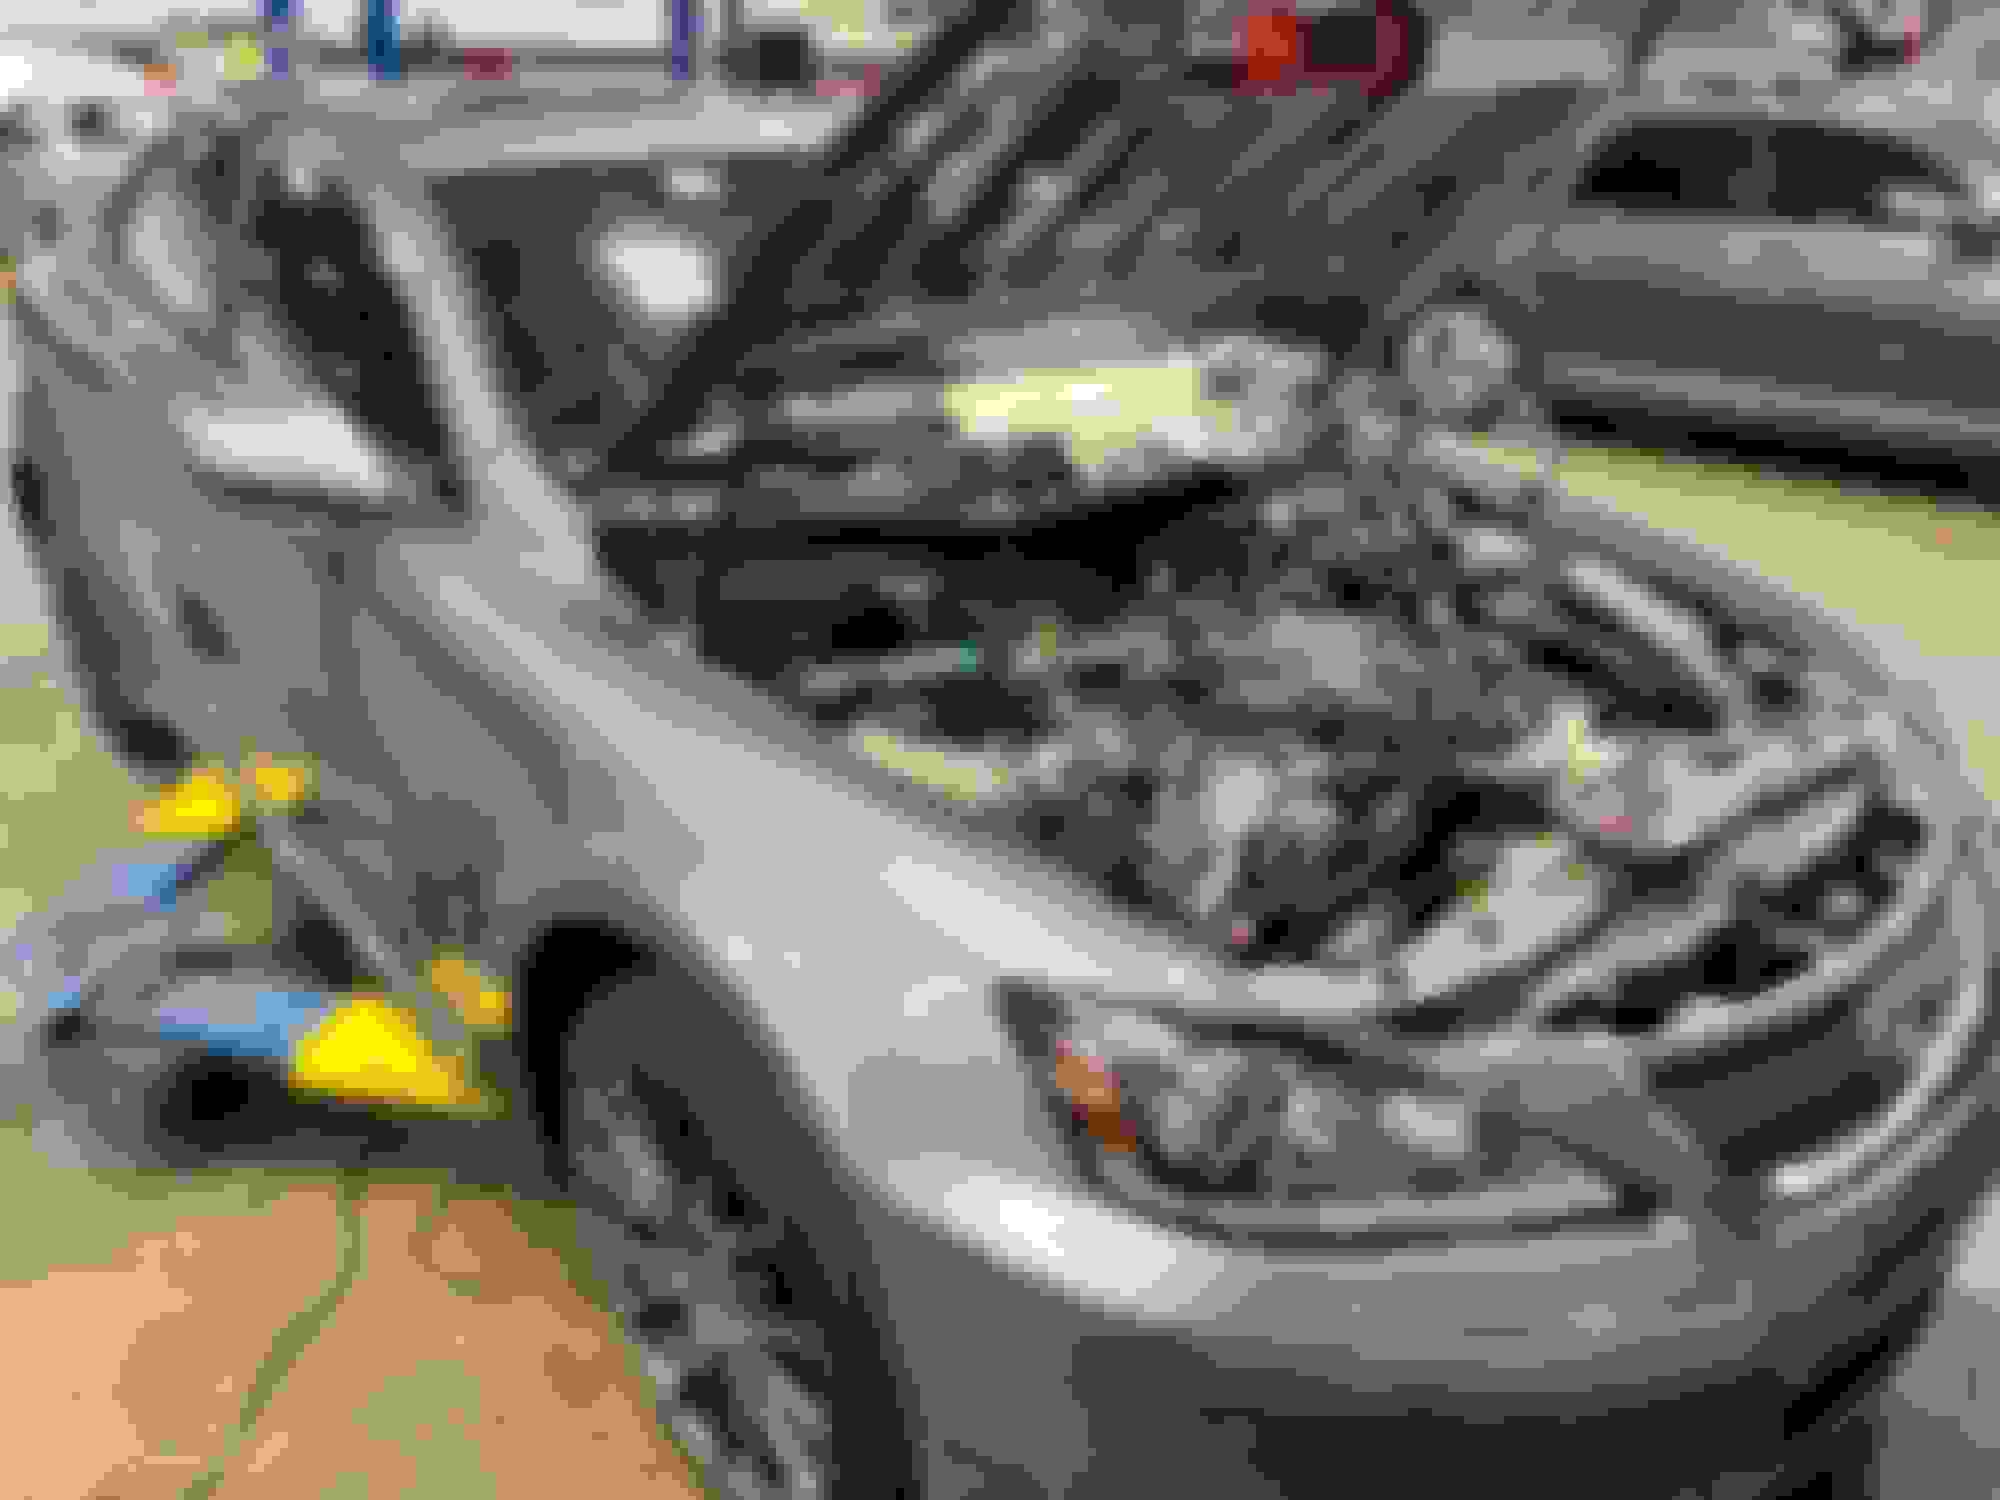
I had posted a picture of the car on my instagram a few weeks ago and someone commented that the wheel on the passenger side didnt look like it was sitting right. I wrote it off as the camera angle and moved on. For some reason it bothered me and I went out in the garage to check it out. Sure enough, that guy was correct. I was about 3/4" further back in the wheel well compared to the driver side. I guess this explains the caster difference between the two sides. We stuck the car on the frame machine yesterday after work and measured it out. We were able to loosen the subframe and get it back where it needs to be.
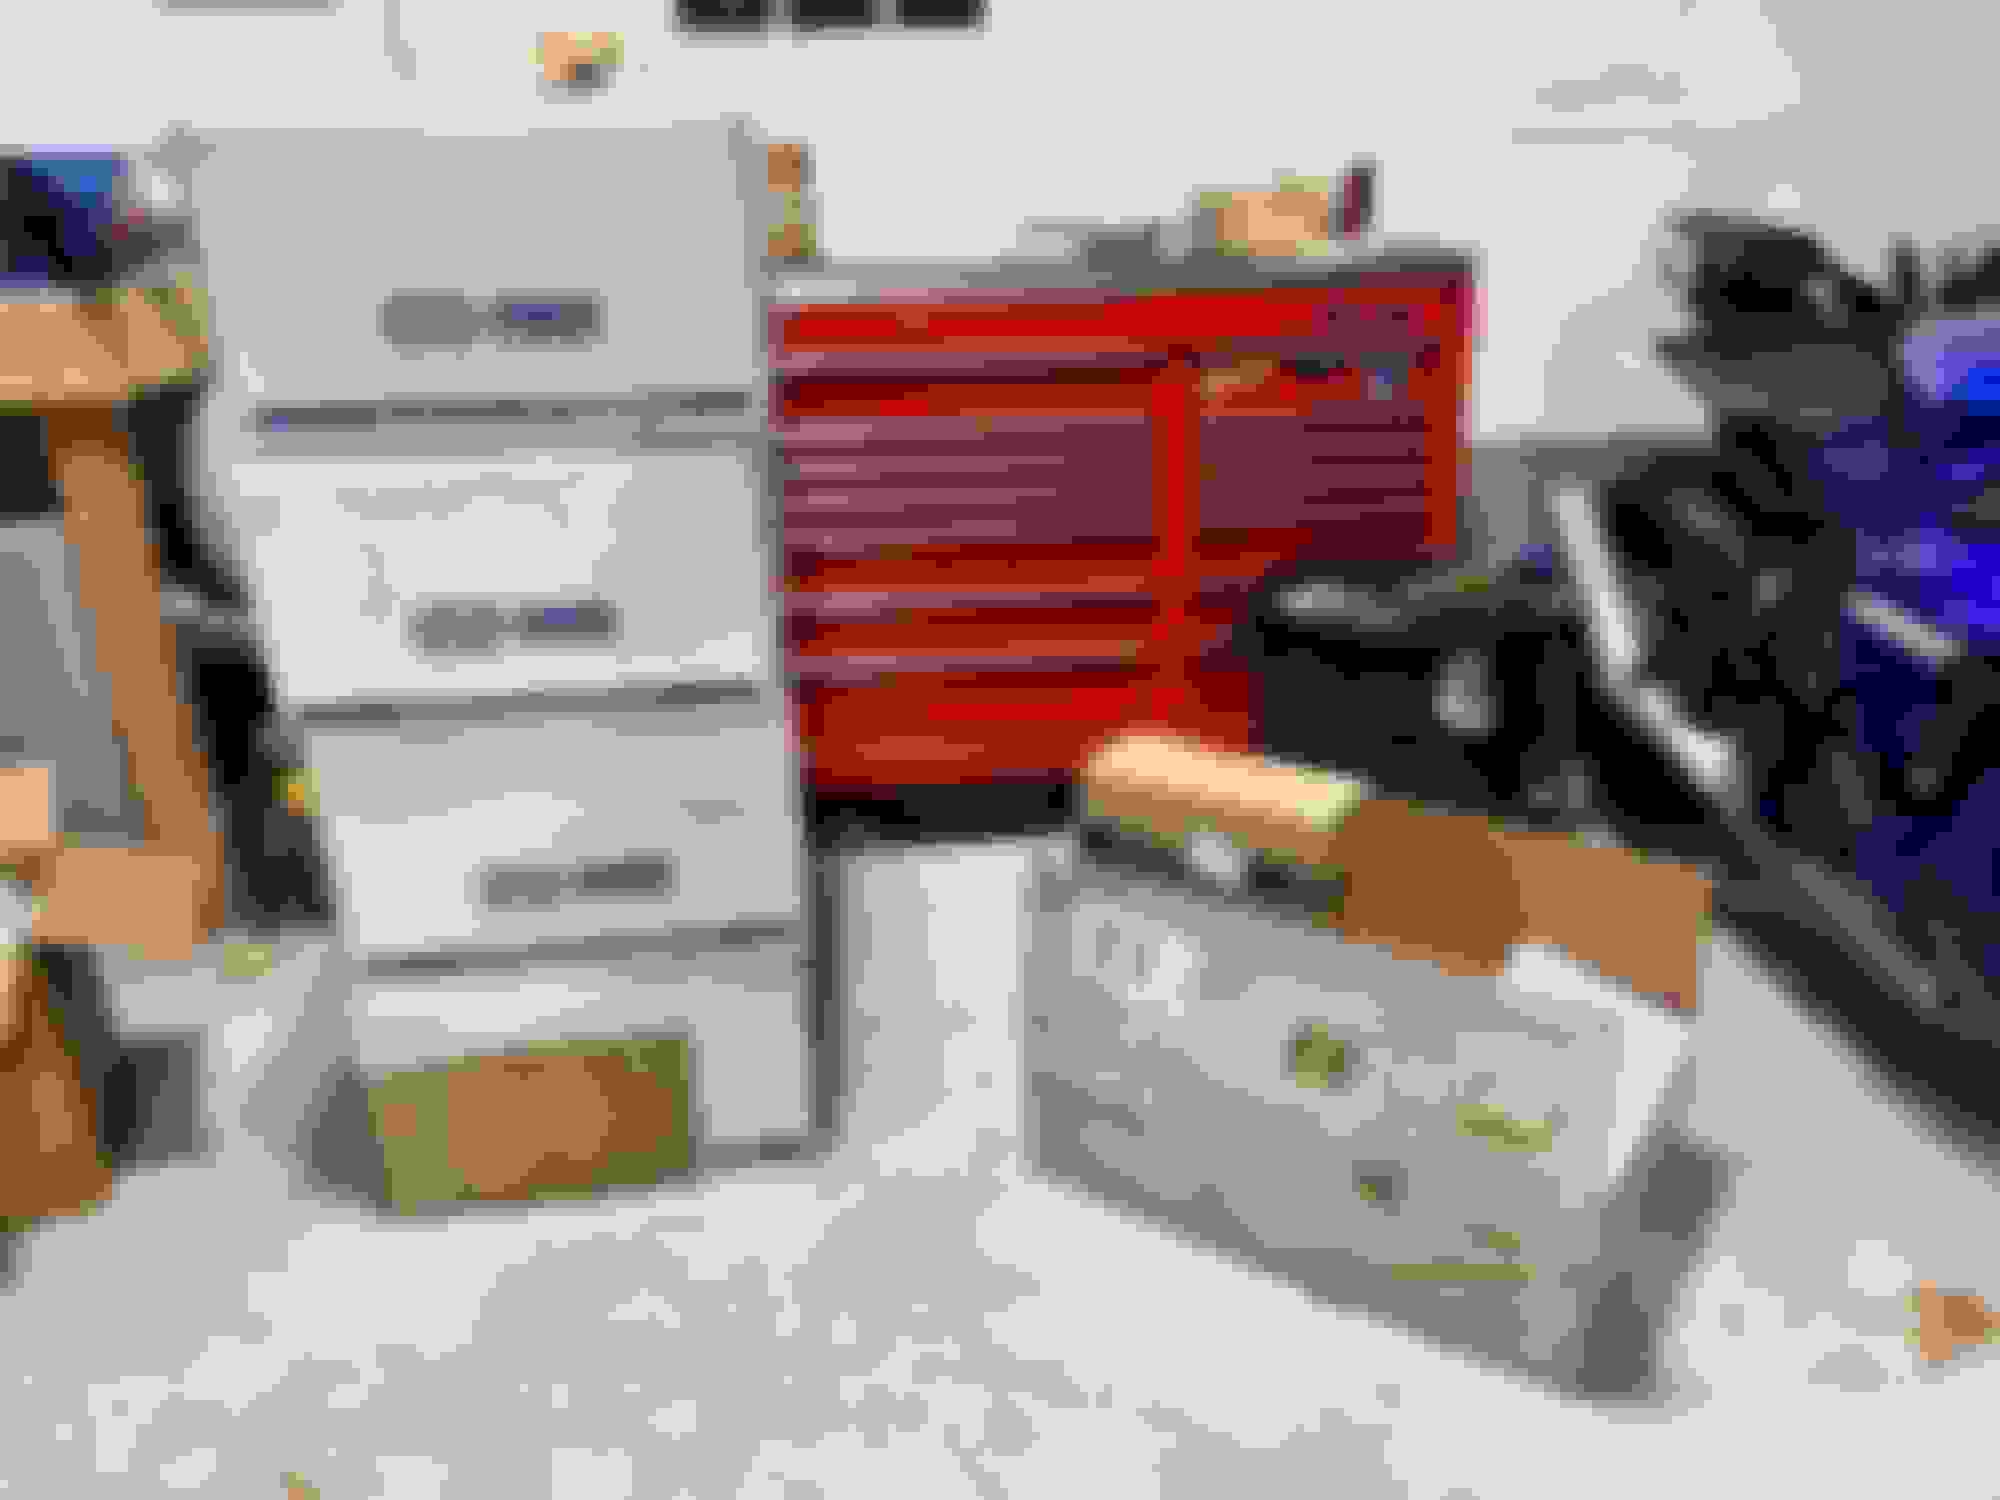
This weekend I have a lot planned for the car. I signed up for a track day at VIR in March. I purchased some track wheels and tires, brake pads, RR racing catch can, Figs adjustable front upper arms, and I have some Fortune Auto coil overs to replace the Godspeed ones from the previous owner of the car. I plan to get all of that stuff put together and installed, along with tackling the valley plate leak. Should be a busy weekend and hopefully I have some good pictures and content for my youtube channel.
The subframe position also impacts L/R camber. If the numbers aren't balanced the subframe position isn't optimum. It's pretty rare to actually get the wheelbase L/R and the camber L/R all correct at the same time. IMHO the factory should do this for us and put a couple of locating pins in the chassis to ensure the subframe goes back where it's supposed to be every time. I've thought long and hard about making a jig to help with this when positioning the front (and rear) subframe.
The subframe position also impacts L/R camber. If the numbers aren't balanced the subframe position isn't optimum. It's pretty rare to actually get the wheelbase L/R and the camber L/R all correct at the same time. IMHO the factory should do this for us and put a couple of locating pins in the chassis to ensure the subframe goes back where it's supposed to be every time. I've thought long and hard about making a jig to help with this when positioning the front (and rear) subframe.
Agreed - if you look back a bunch of posts ago I posted the alignment specs. They were close, but the camber and caster were different left to right and I believe this to be why. There were witness marks showing that the subframe had shifted rearward on the passenger side in the accident. I believe we pulled it back closer to where it was prior to the collision. I am going to install the adjustable figs front upper arms and coilovers tomorrow and will get it back on the alignment rack to see where it stands. I am interested to see what the numbers look like after the shift.
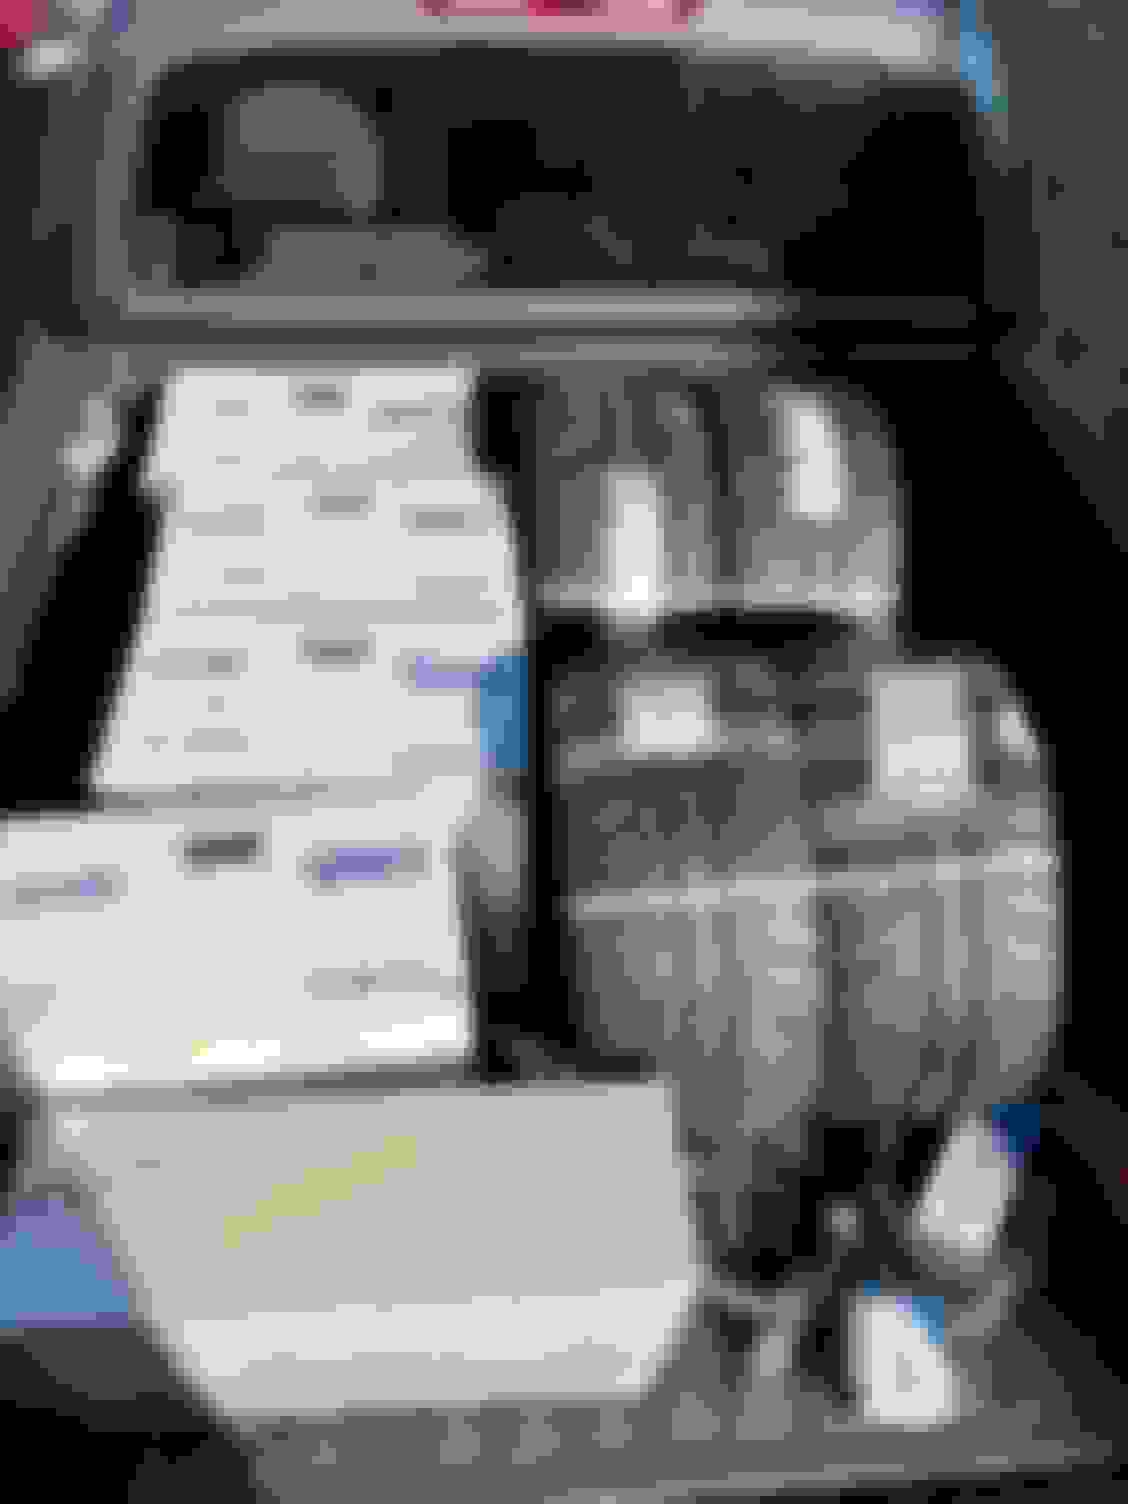
Man... yesterday I had high ambitions to do my valley plate, in addition to fitting my new wheel/tire setup, coil overs, control arms, and a few other things. That valley plate kicked my ***! That was a lot of work, but I got it done. I don't know if any of you have attacked that yourself, but getting the new plate in with the sealer on it while trying to not roll the o-rings for the cross over pipe was next level frustrating. I shot video and time lapse for my YouTube channel and that part will definitely need to be edited for all the cussing I did..
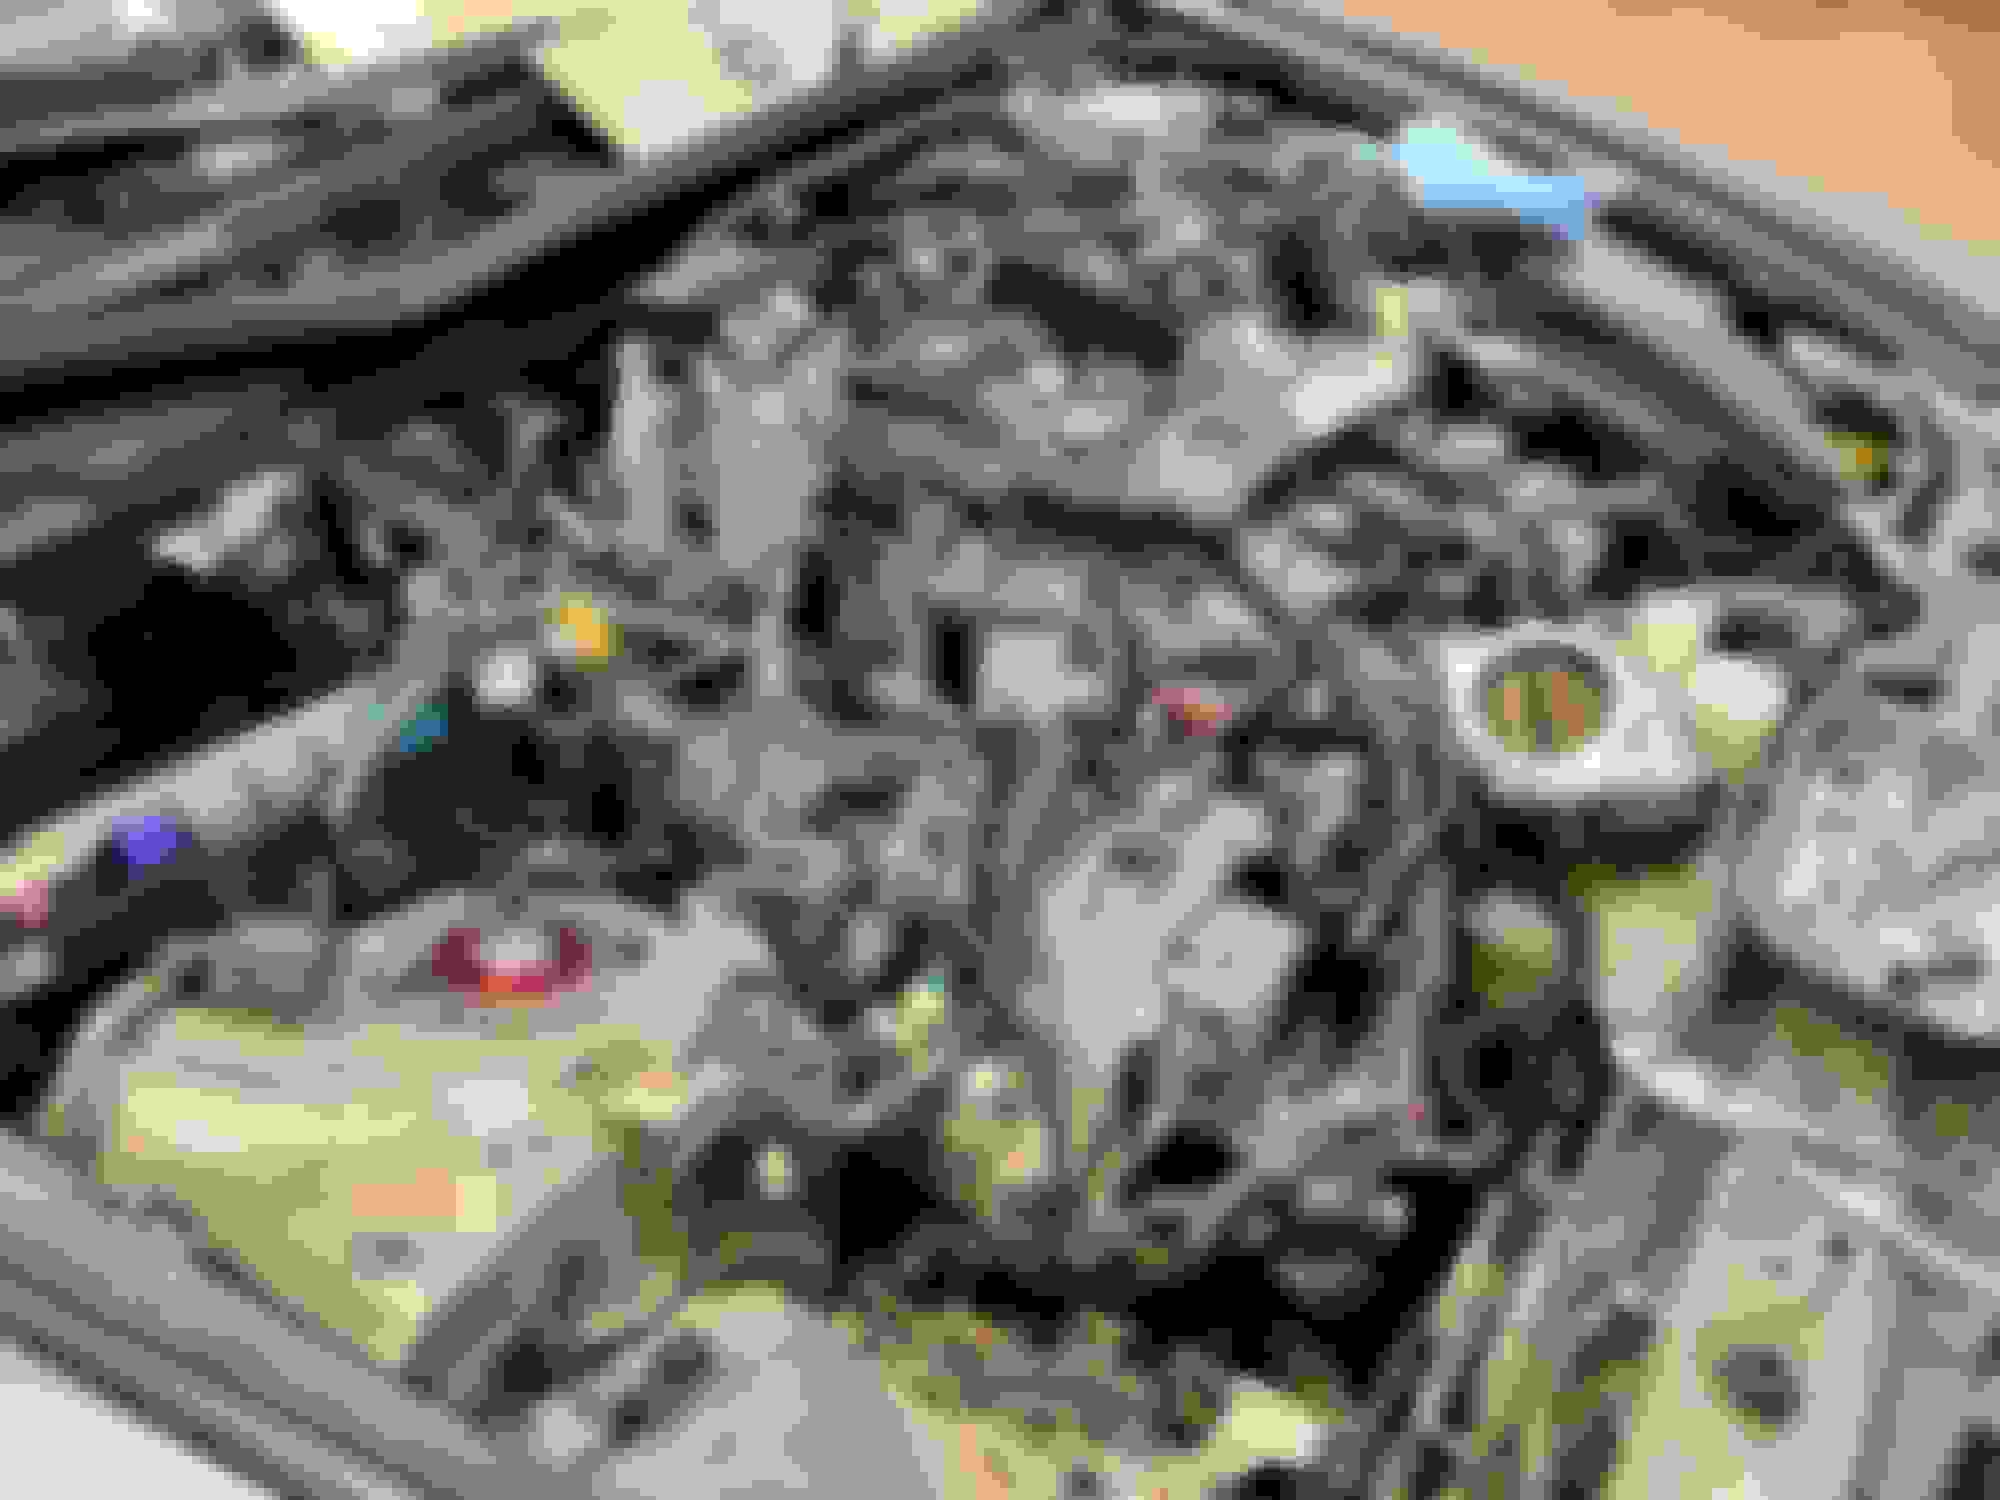
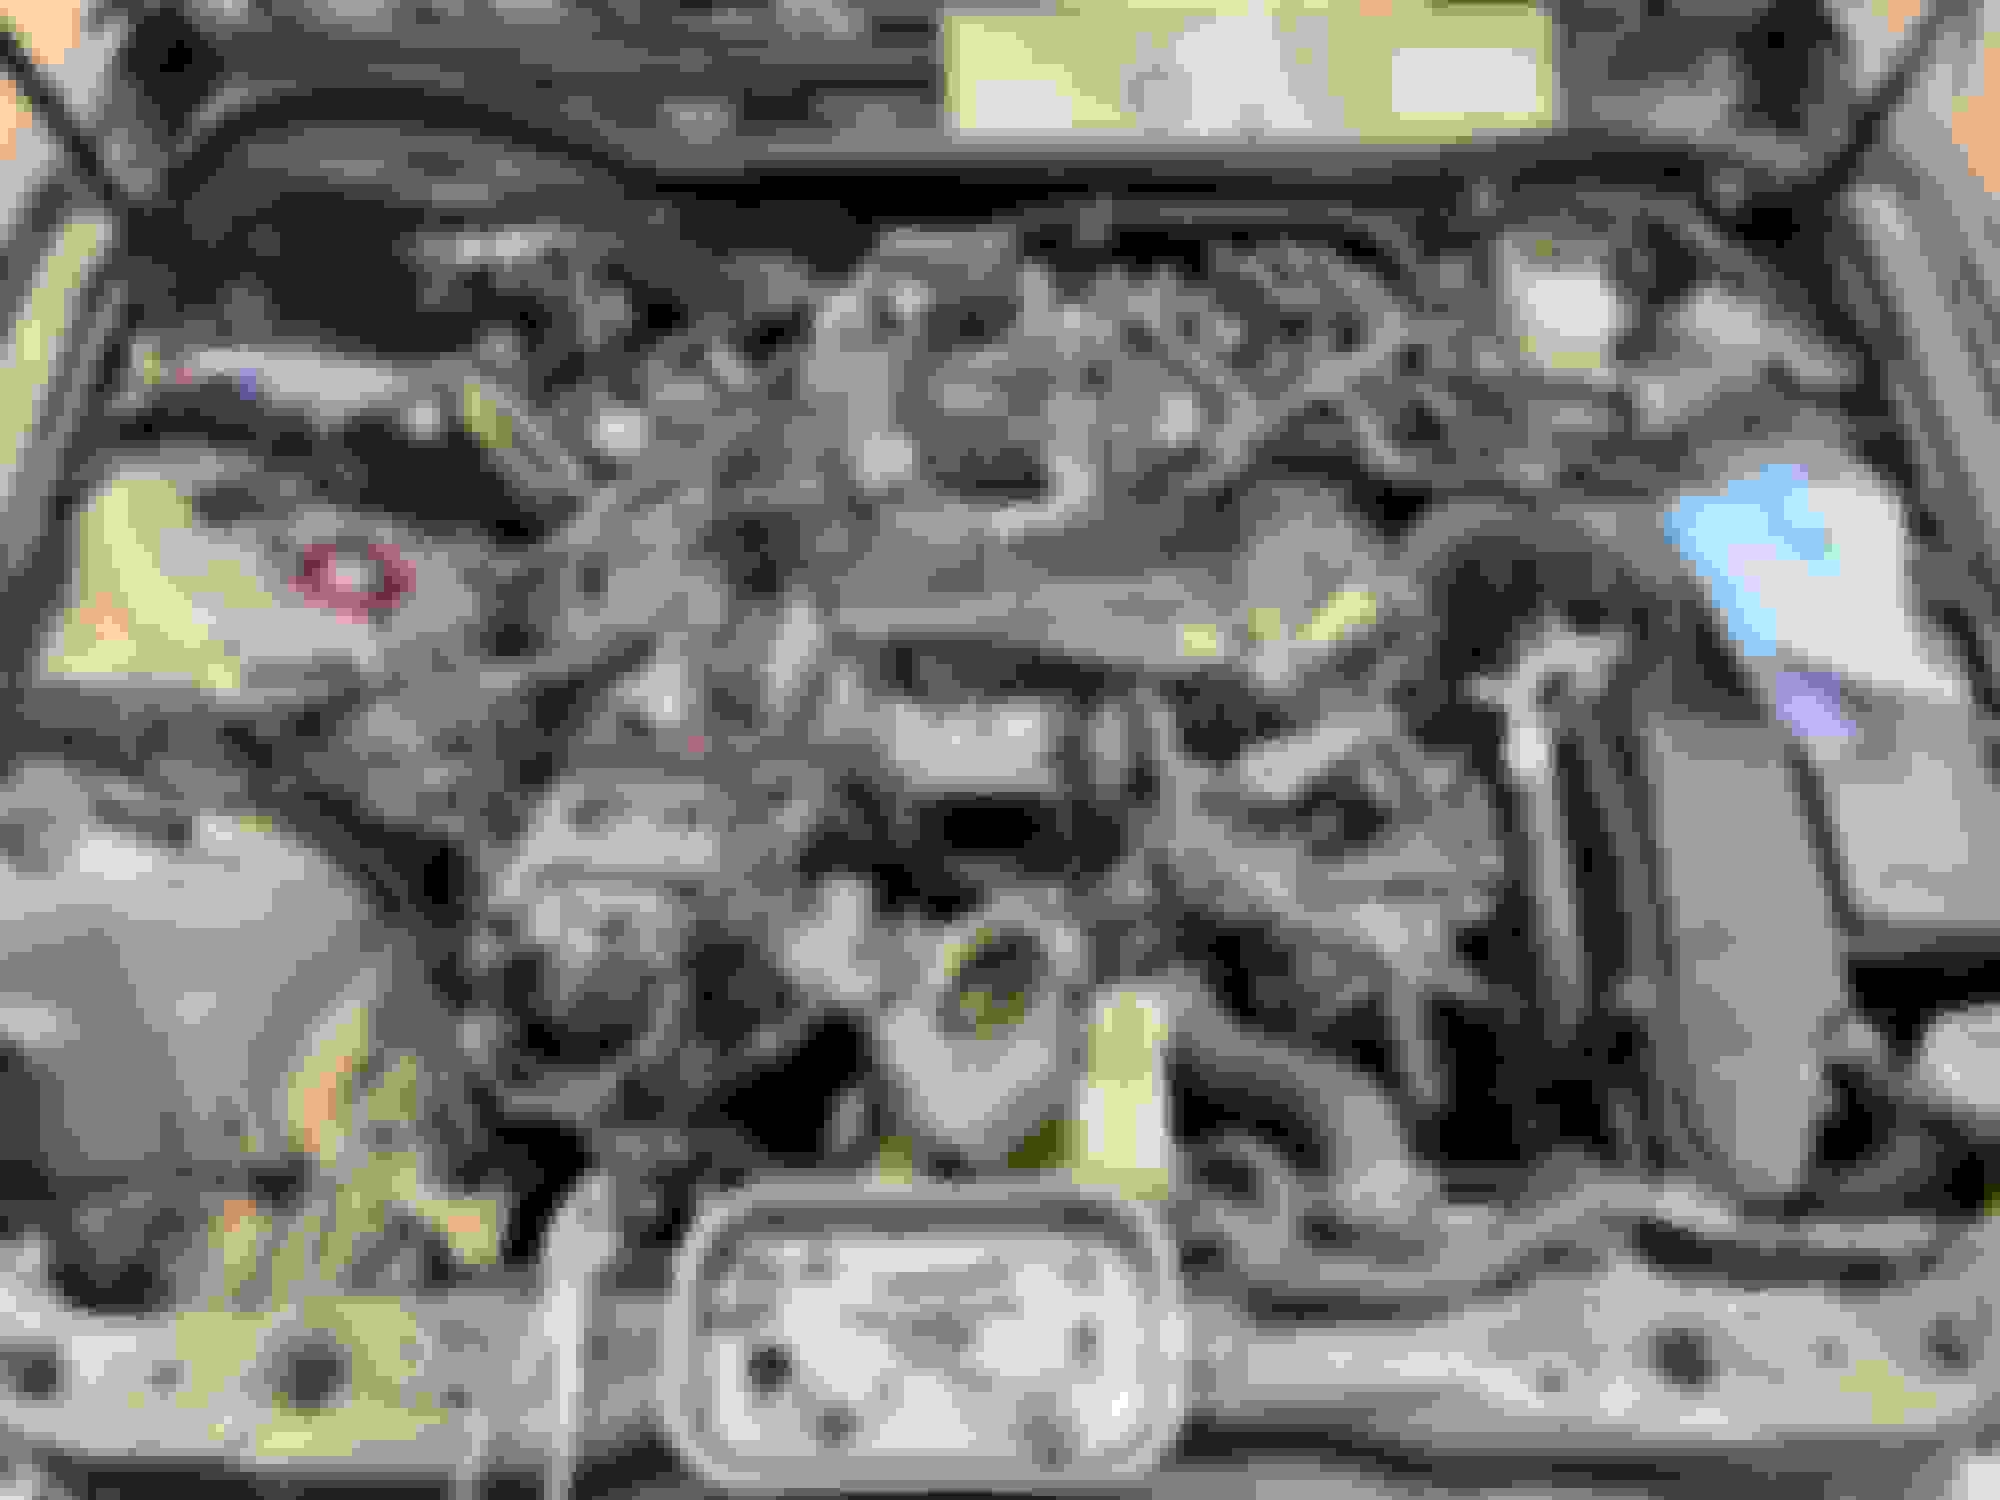
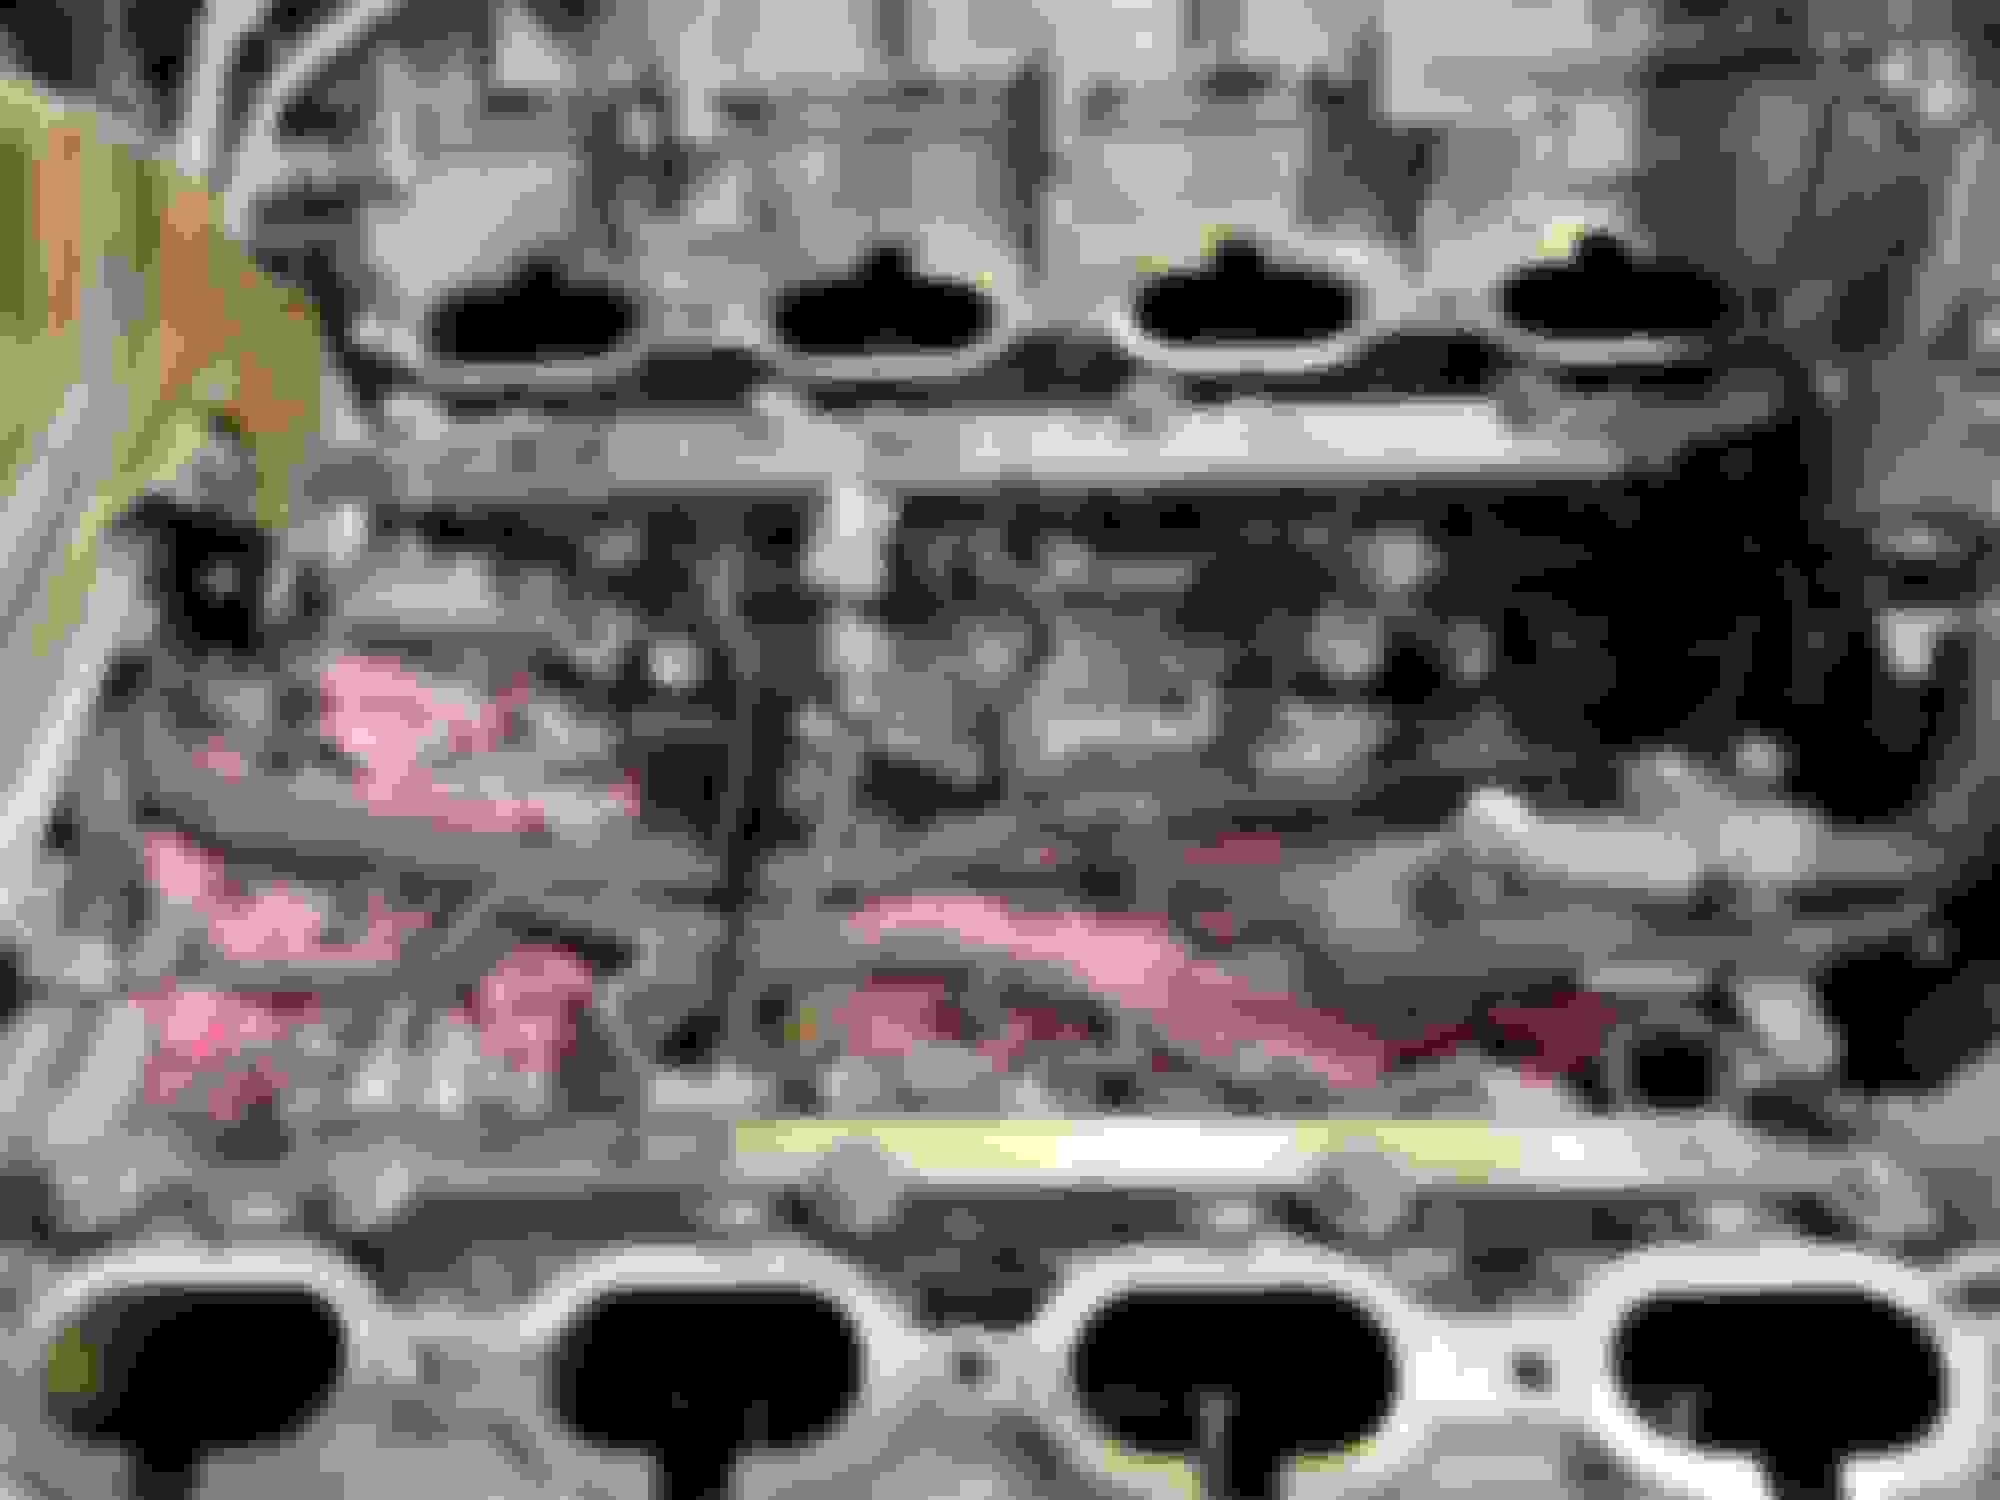
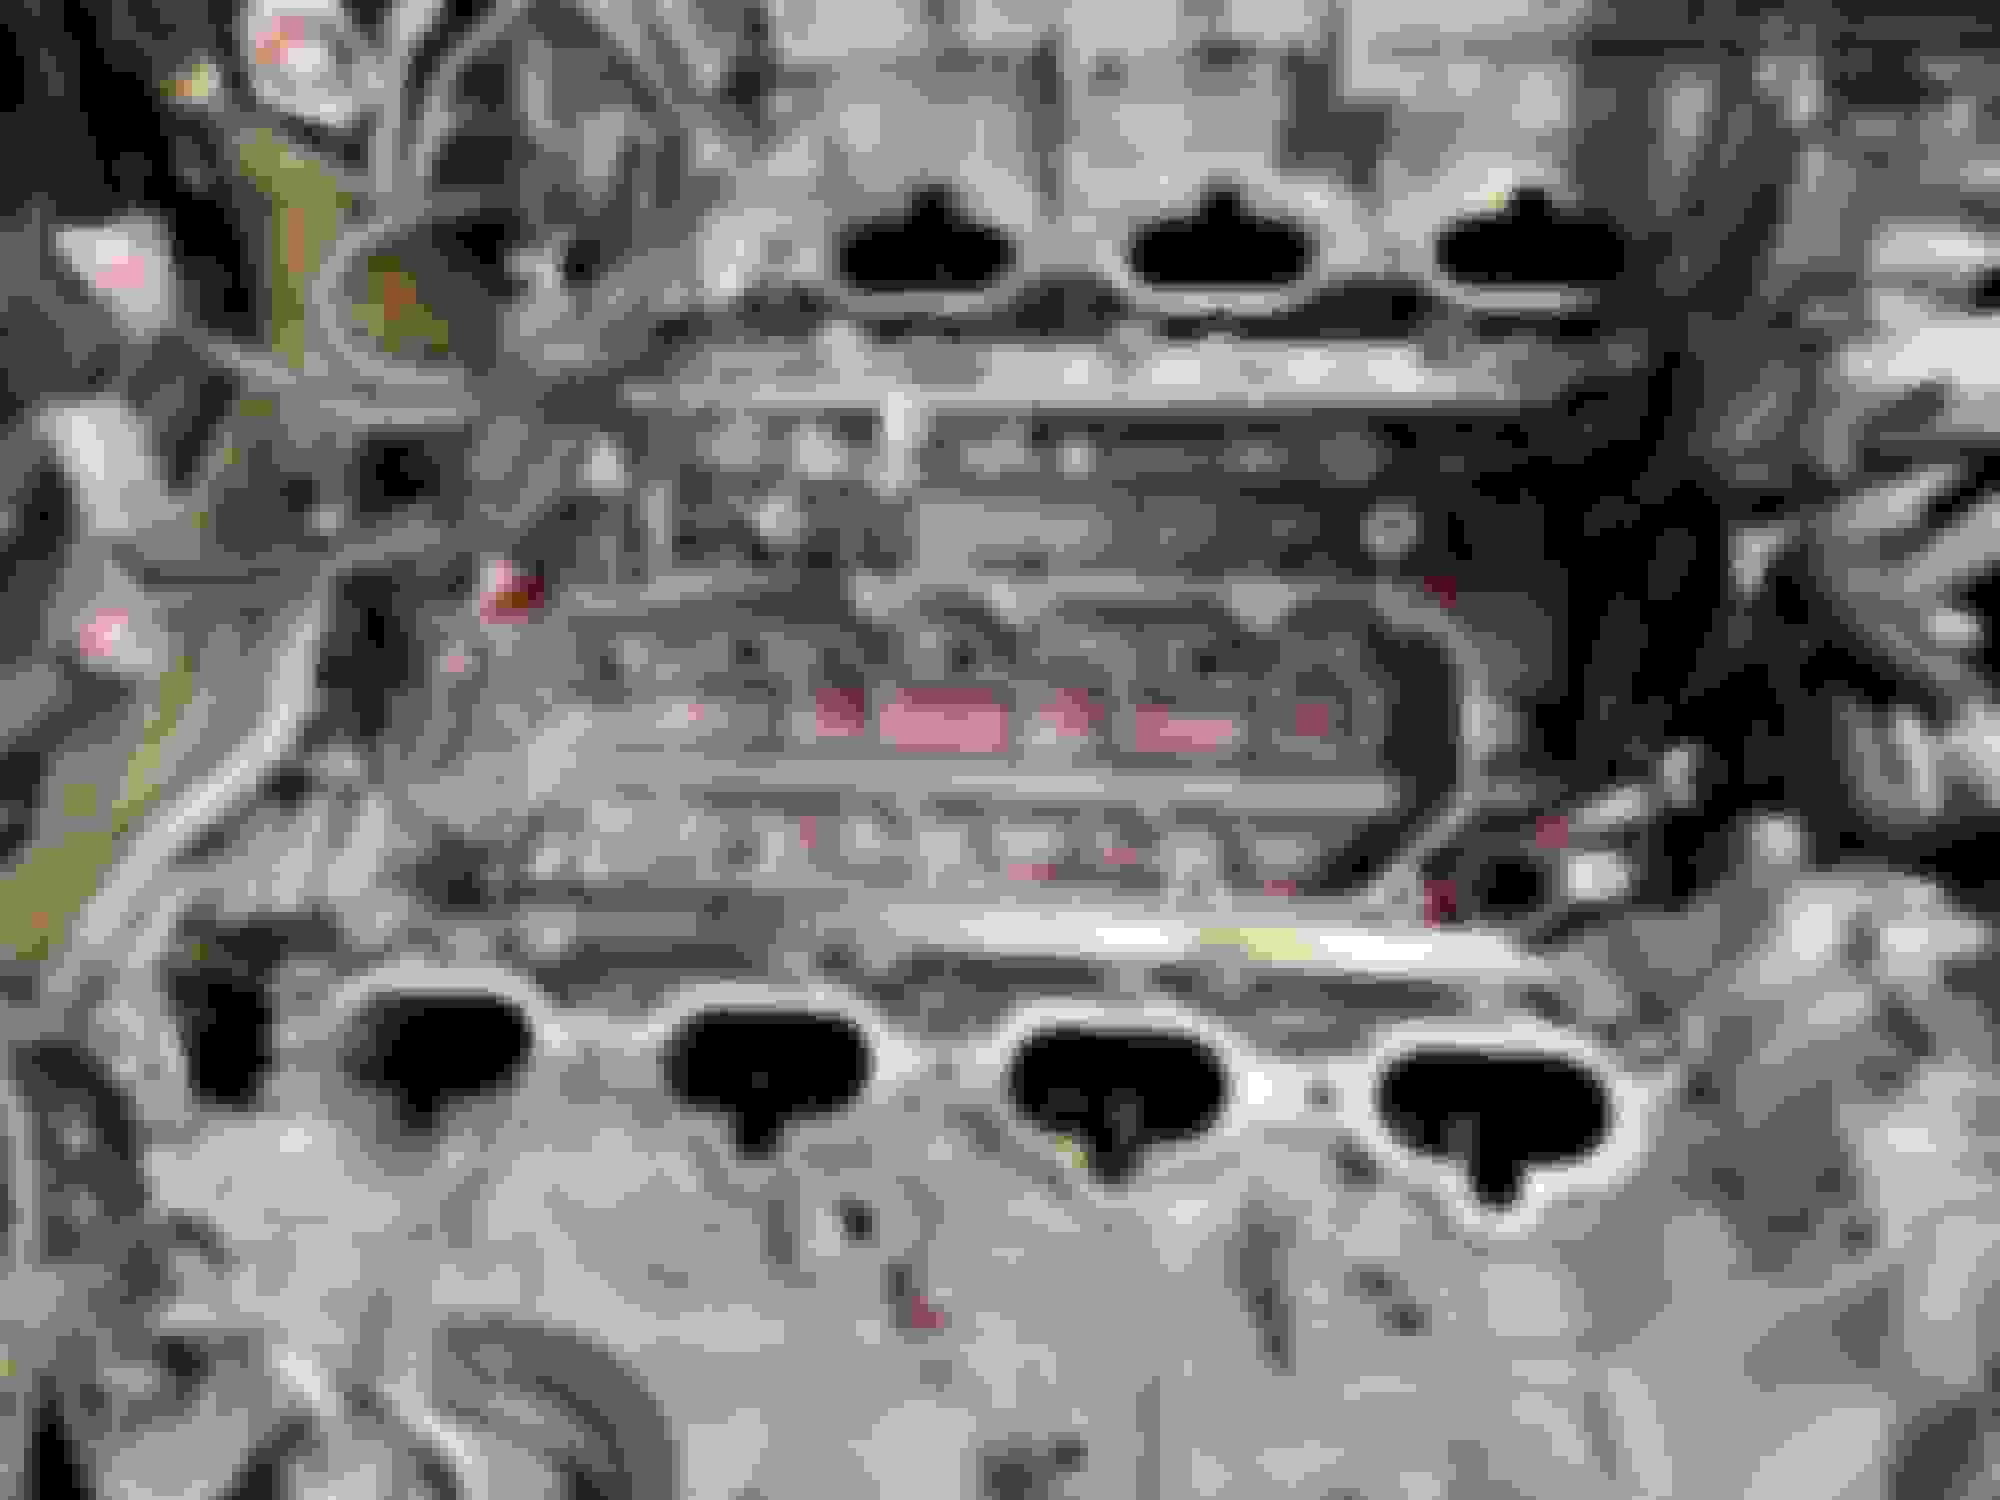
I know the repair has been documented a lot so I won't go into too much of the details, but one thing I want to stress is to check the intake runners before putting it back together. I had a high piece of plastic in on of the runners that luckily I found before putting the intake back on. I think that definitely would have ruined my day..
All of these parts will get a chance another day..
Its nice having access to a lift to do this type of thing. I really would have hated to do this on the ground in my garage.
I would say this one was leaking pretty bad and was long over due to get replaced. I was noticing on cold days the heat was blowing cold at idle. I also could seal coolant residue down the side of the transmission under the car.
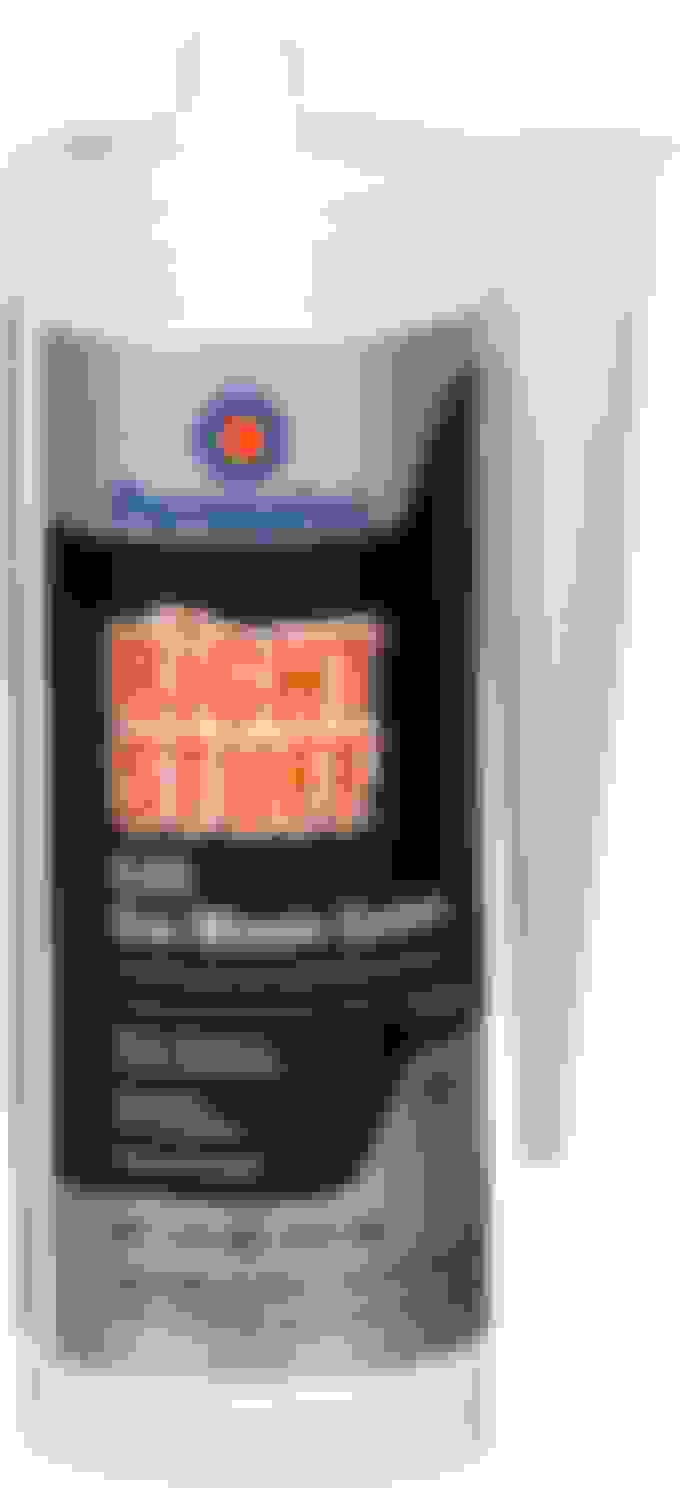
I know there is a lot of debate on what sealer to use. I see a lot of people having strong opinions on using the Toyota FIPG or something else. This is what the dealership I work for uses on anything oil and coolant related where a FIPG is required. This stuff is AWESOME and I don't think I have ever had a failure from it. I remember years ago using this on some diff covers for a Jeep Wrangler I had. When I went to take them off it was a huge PITA because they were stuck on so good. I just used a razor to get the big pieces off, some scothbrite with brake clean, then just cleaned the surfaces off well with brake clean and some shop towels. To me "The Right Stuff" is the secrete sauce.
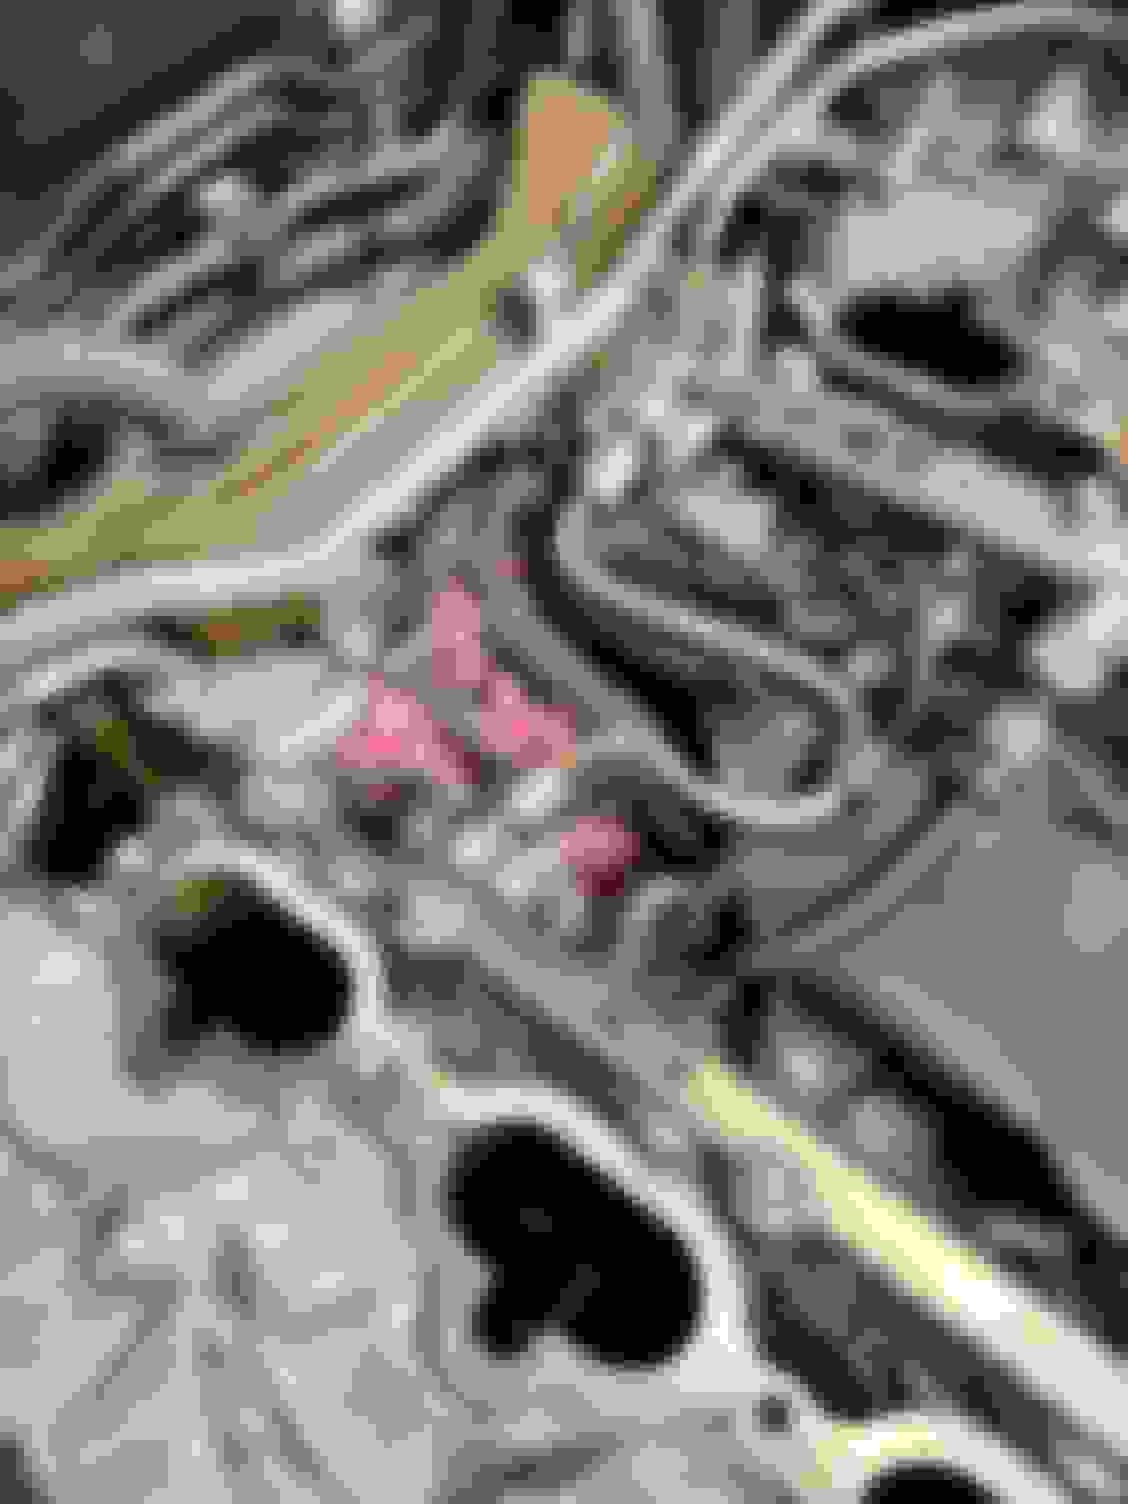
This is the piece of plastic that almost ruined my day. Please check the runners before putting it back together. The upper harness bracket was so brittle is was breaking off in tiny pieces no matter how careful I was. Even if I were to cover the runners the process of taking the intake off makes this unavoidable.
I've done this task too. I used a vacuum cleaner before lifting the manifold to get all those bits of plastic gone. Yours was leaking a whole lot more than mine though. I didn't bother to remove the throttlebody either. Just disconnected it (and broke the lock tab so I had to get a new one) but it came off with the manifold and everything else intact. I think the harness protector is a mandatory replace item any time you remove the manifold, even if it's almost brand new. It's just about impossible to get the clips to release without breaking them.
I used silicone grease on the transfer tube o-rings and it made getting the plate in place pretty easy. Without it, I am certain it would have been a big struggle. For me the key was being able to rotate the transfer tube after installation with my fingers. That let me know for sure the o-rings were happy and not rolled out of place. You're not the first person here to have struggled with this and couple of guy mentioned having to do the job twice because the o-rings were problematic.


 12-26-21, 04:32 PM