When you click on links to various merchants on this site and make a purchase, this can result in this site earning a commission. Affiliate programs and affiliations include, but are not limited to, the eBay Partner Network.
Green Interior LED backlighting swap, flush mount Apple CarPlay unit (Non-Navi)
Did this about a month ago, but I don�t remember everything exact. I�ll be updating/editing this thread with time. Definitely order extra LEDs.
Solder Station with fine tip Solder Flux Solder wick (not exactly necessary) Tweezers Razor blade (used to aid/lifting up old LED) Helping hands Voltmeter (test +/- and also lights up most LEDs on the board) LEDs (1206, 0603). I purchased from Oznium, I don�t recommend some on Amazon as I�ve had inconsistencies. - Climate Control � 1206 x12 (add more for on/off indicators) - Window Switches Driver � 1206 x5 - Window Switch Front Passenger � 1206 x2 - Window Switch Rear Passengers � 1206 x1/side - Steering Wheel Switches � 0603 x9 - Radio (Non-Navi) - 0603 x64 - Mirror Control � 1206 x 2-4? - Switches (Wiper, Gas) - 1206 x1, x1 on/off indicator) - Center Console controls � 1206 x8? - Parking � 1206 x1, x1 on/off indicator - Gear Shifter � 1206 x1
This is the method I used to test if the LED's work and to confirm which side is the +/- , however, some LED's did not light up on the circuit boards.
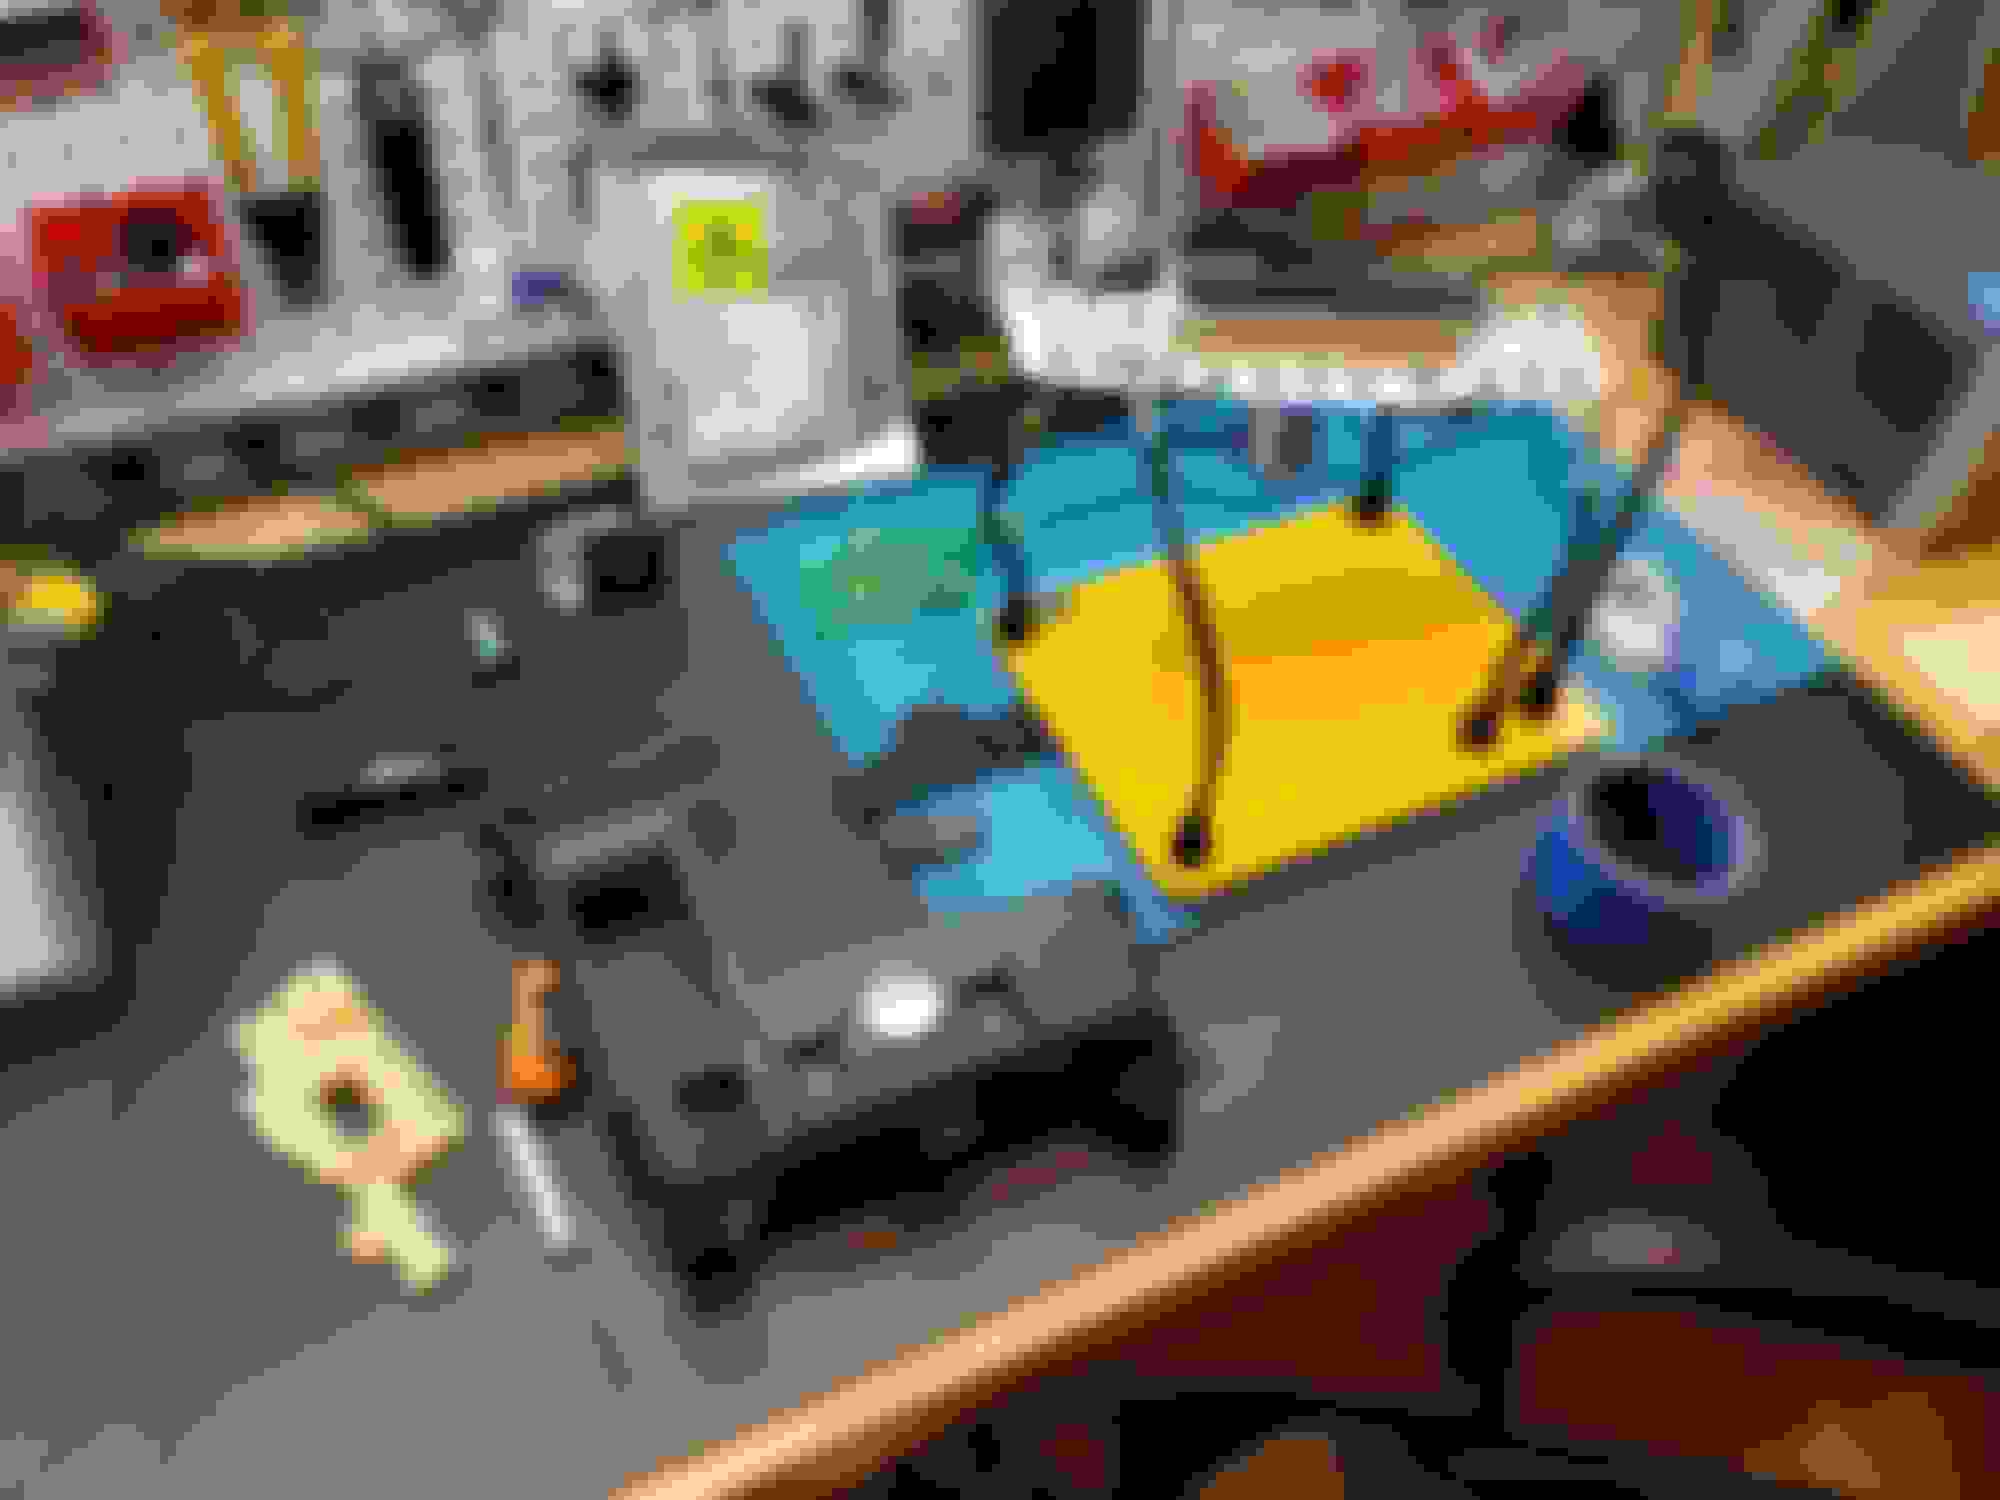
Driver side window switch panel (1206 x5)
(Steering wheel controls (0603 x9). Even smaller than the 1206's
Climate control 1206 x12 for backlighting.
I would typically figure out the orientation of the +/- LED's on the board using a voltmeter, but you can also see underneath which side points towards the ground in case it doesn't light up.
I usually add a little solder to the iron tip, then apply the molten solder from the tip to the end of the LED I want to de-solder while lifting that end up with a razor blade.
Then I repeat the process for the other end of the LED while using tweezers to pull it out.
Next, I'd grab my new LED, dip it a little bit of flux which helped hold it in place on the board, then soldered it in place.
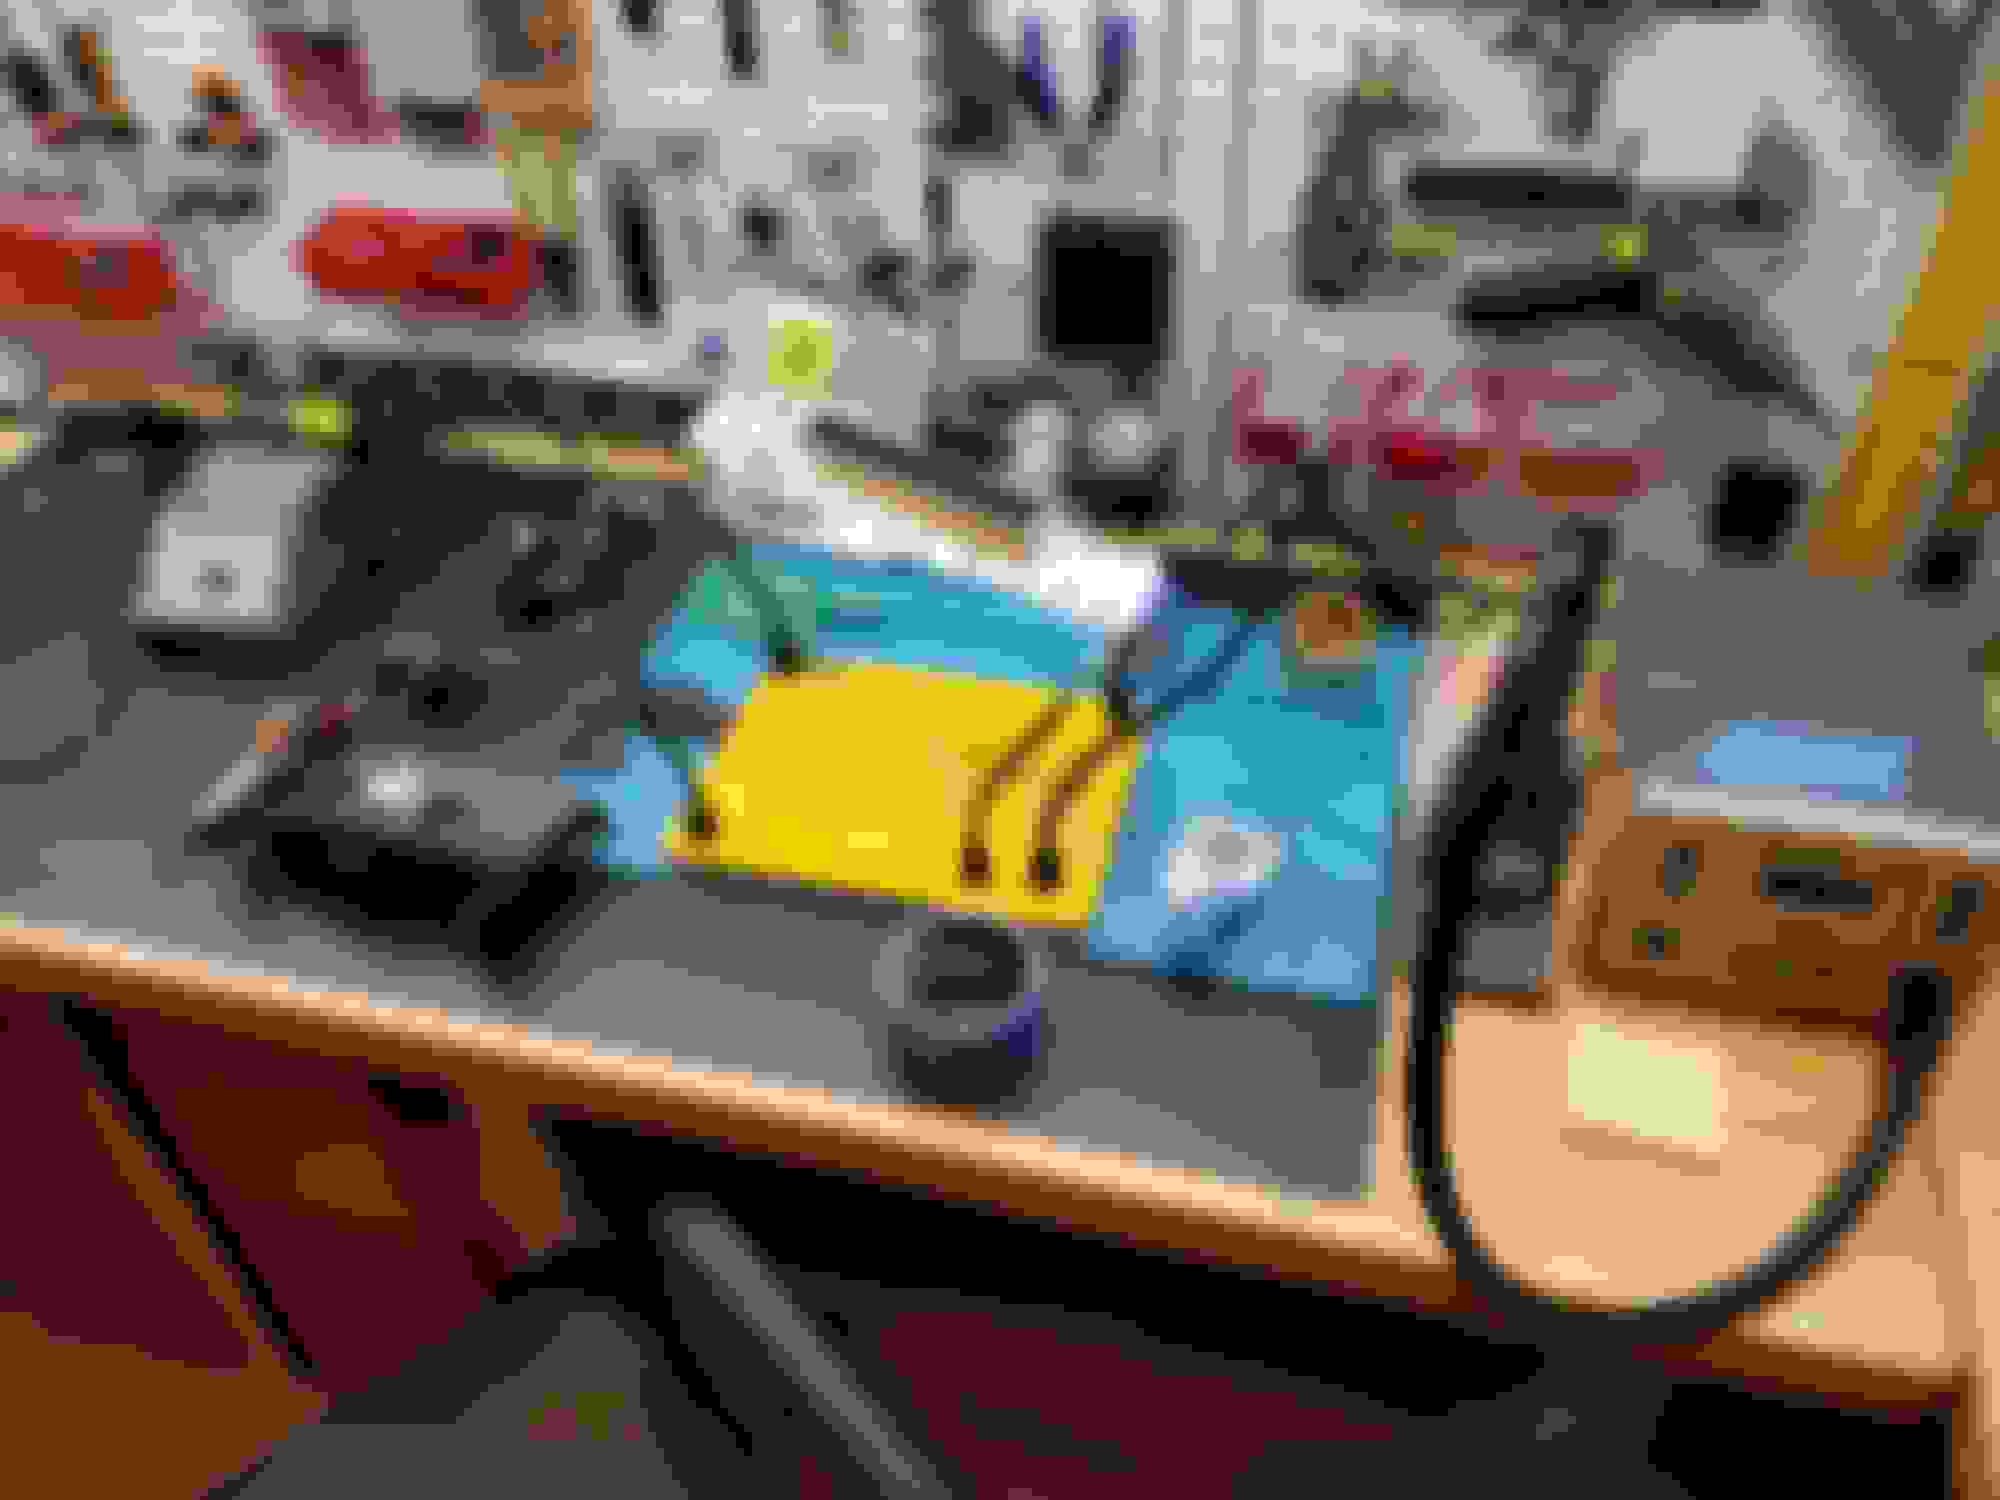
Above is the gear shifter light (had an extra). It uses a four lead common cathode, but the Oznium PLCC-4's aren't the same as the Toyota 4-Lead LEDs (Info taken from Dylan via Priuschat forum). So I went with the option to use a 1206 and ignore the second pair of pads as you can see above (good enough for me). Just wired A (power) and K (ground). You'll also use this method for the Center Console controls (1206 x8?)
Two pics above are not mine. They're Dylan's, using these as examples. For the passenger front, & rear window switches. Instead of purchasing a 3mm domed/diode, I also copied Dylan and soldered a 1206 in place. I cut the diode ends as close to the light that way I had more slack to solder the 1206 in place.
The factory Non-Navigation radio head unit uses 0603 x64 LEDs total, x30? for the LCD/Display alone. Anyway, I messed up the LCD/Display (80 through-hole pins) on two head units. Due to this, I ended up deciding on upgrading to a new radio head unit.
I started by trying to figure out how to mount a bracket to the radio bezel trim/panel. Lots of trimming involved. This and most units will not sit flush besides the android units talked on here before. The center console is quite off set compared to the position of the standard double din/factory mounts. Most end up trimming into the right interior Nuluxe Trim piece which doesn't sit well with me. I had to trim underneath the shifter linkage for a flusher look on the new radio bezel. I riveted on some parts, epoxy, some filler work, sanding, priming, painting (close enough match, just glossy). We spliced/tapped into the camera wiring so it displays on both the rear view + head unit.
I mounted both the GPS & SiriusXM radio antennas underneath the dashboard/cluster panel. So far no noticeable issues. I installed the included Pioneer microphone in the stock location. Ran the wiring through the dashboard, A-Pillar, headliner. Pioneer Radio Head unit 6.8" DMH-W4660NEX
Pioneer Radio Head unit 6.8" DMH-W4660NEX JBL GX9638 6"x9" 3-Way Front Door Speakers JBL GX628 6.5" 2-Way Rear Door Speakers SiriusXM Satellite Tuner – SXV300V1 Metra 70-1761 Radio Wiring Harness Metra 82-TY1 Rear Speaker Mounting plate with adapter harness Metra 82-8146 Front Speaker Mounting Plate Metra 72-8104 Speaker Harness Pair (Front) Metra 40-LX11 Antenna Adapter Axxess AXSWCH-T28 Steering Wheel Control harness, however my friend made a spare AX-TOY28SWC work on mine.
Glad I found this thread. More info is in this thread than the one over at ct200h forum!
I wonder why Lexus used the 4 plcc-4 led, what do the other two prongs mean on the led if we are only then soldering in the K/A with the led?
EDIT on the above LED: https://www.oznium.com/loose-component-leds/plcc-4
What we are looking for is the common anode LED. This will have one power, and 3 negative posts on the led. MOST PLCC-4 leds are common cathode which is 3 positive and 1 negative.
Looks like oznium now gives the option for common anode which is the the toyota/lexus LED is! Going to be ordering them and seeing how they work.
EDIT again: Just realized the anode is on the wrong side so the LED would have to be turned diagonally... I MIGHT try this. Only because it would be easy to use two small wires to bridge the other cathode connections onto the led. It's not going to hurt anything to try that's for sure.
From the looks of how the board is without using these you aren't completing the circut and would have to use bridge wires to power the other leds...
I got a work in progress with various LEDS and getting extra test parts...lol
Nice job (except the blowing up of two factory radios) =P LOL.
i was just writing over on the ES forums i miss the days of old school old factory green 1990s LEDs... for that low key old school not-in-your-face type bright white look.
i think we get nostalgic for those old times at some point.
do the LEDs dim nicely like stock? (or I forgot if that's only the gauge cluster that dims with the dimmer)
With my cars current updated/modern modifications I feel like the white matches appropriately. They do dim with the dimmer which is nice
So dumb question as I didn't see this anywhere. On the Toyota PLCC-4 LEDS there are three grounds. Those traces go back to the other LEDS. When you swapped the led with just a normal smd +/- single sided led what did you do with the other ground points? Did you have to run trace wires to the other grounding points so that the other ones would light up in series down the line?
So dumb question as I didn't see this anywhere. On the Toyota PLCC-4 LEDS there are three grounds. Those traces go back to the other LEDS. When you swapped the led with just a normal smd +/- single sided led what did you do with the other ground points? Did you have to run trace wires to the other grounding points so that the other ones would light up in series down the line?
Thanks,
-Nigel
Not a dumb question, but I'm also not smart enough to figure out how those affect other parts by leaving them untouched. On post #2 I have two side by side shifter showing how I left them untouched. I haven't noticed any other LED's not working or anything like that, everything seems to function well, dimmer works too
Here's two shifter lights side by side.
Appreciate that! Yea i saw the shifter icon board but I know the mode selector board has the PLCC-4 leds and they all go/lead to each other (I believe there are 5 in series), that's why I wanted to make sure you didn't have any issues or if you ran extra wiring to complete the ground points to each other in theory for what the toyota leds are doing. IE: You solder in a normal led but since the grounding points are going to the next trace on the board, then the next led isn't working... but perhaps toyota/lexus did that just to have more grounding points? Who knows..lol.
Appreciate the help. Once I get my SMD color temp locked down, I'll be ordering more then completing everything. Seems like there are too many projects happening all at once..hahha After almost a month of waiting my rx350 bi-xenon projector retrofit and diode dynamics yellow fogs just shipped from lightwerkz and I should have it tomorrow, so add that to the list as well...hahha. Two large disappointments have been the green lighting inside and the output of the stock headlights/fog lights. Changing both of these should be a huge improvment!
Slowly but surely. HVAC done. I've got two other hvac panels coming because I want to test out two more style / color white LEDS.
But this is a much cleaner look than the green for sure. Will look really nice once I get everything done. Sort of dreading the navi panel as I think that might be more difficult... who knows though.

 04-03-22, 08:41 PM