When you click on links to various merchants on this site and make a purchase, this can result in this site earning a commission. Affiliate programs and affiliations include, but are not limited to, the eBay Partner Network.
They have to be removed from the T5 socket and bent/installed in the original holders
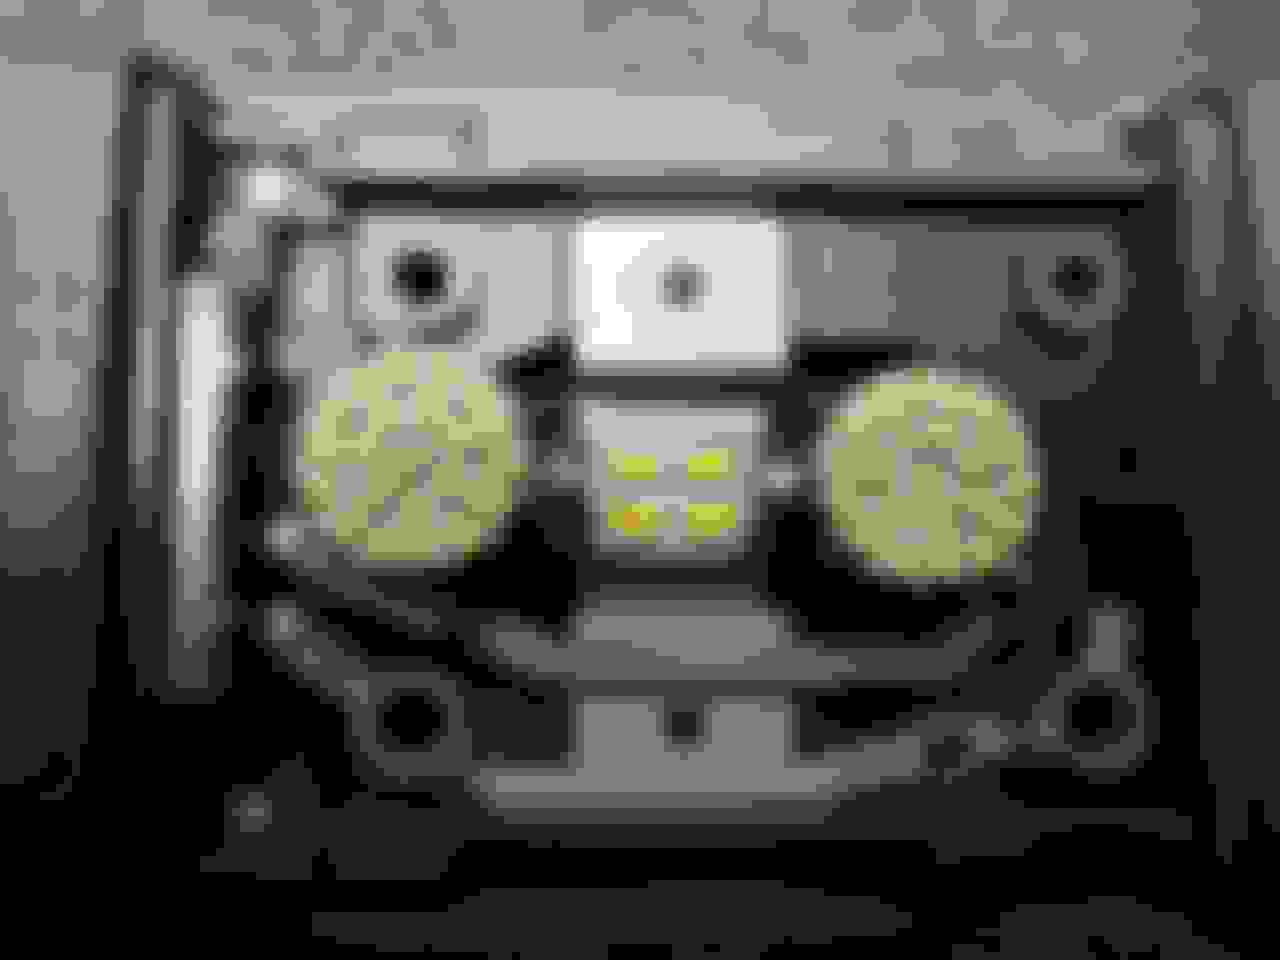
Top two are LCD the rest button backlighting. I went with yellow for the LCD pink for the buttons. I did end up adding resistors to the LCD LEDs they were a bit too bright
Backlighting for the stereo LCD is easy enough, remove the incandescent bulbs (soldered) and replace with the above LEDs. Stereo button backlighting is a problem near as I can tell there are 3 sets of bulbs each set runs in series, anyone know for sure? Either way this makes it very difficult to replace with LEDs so I removed the green condoms which yields yellow/orange good enough for now until I go with an aftermarket sound system.
I also swapped some of the HVAC button indicator LEDs, blue for the A/C turquoise for the recirculate. I left the defrost buttons orange. Went with blue for the security light I really don't like the red.
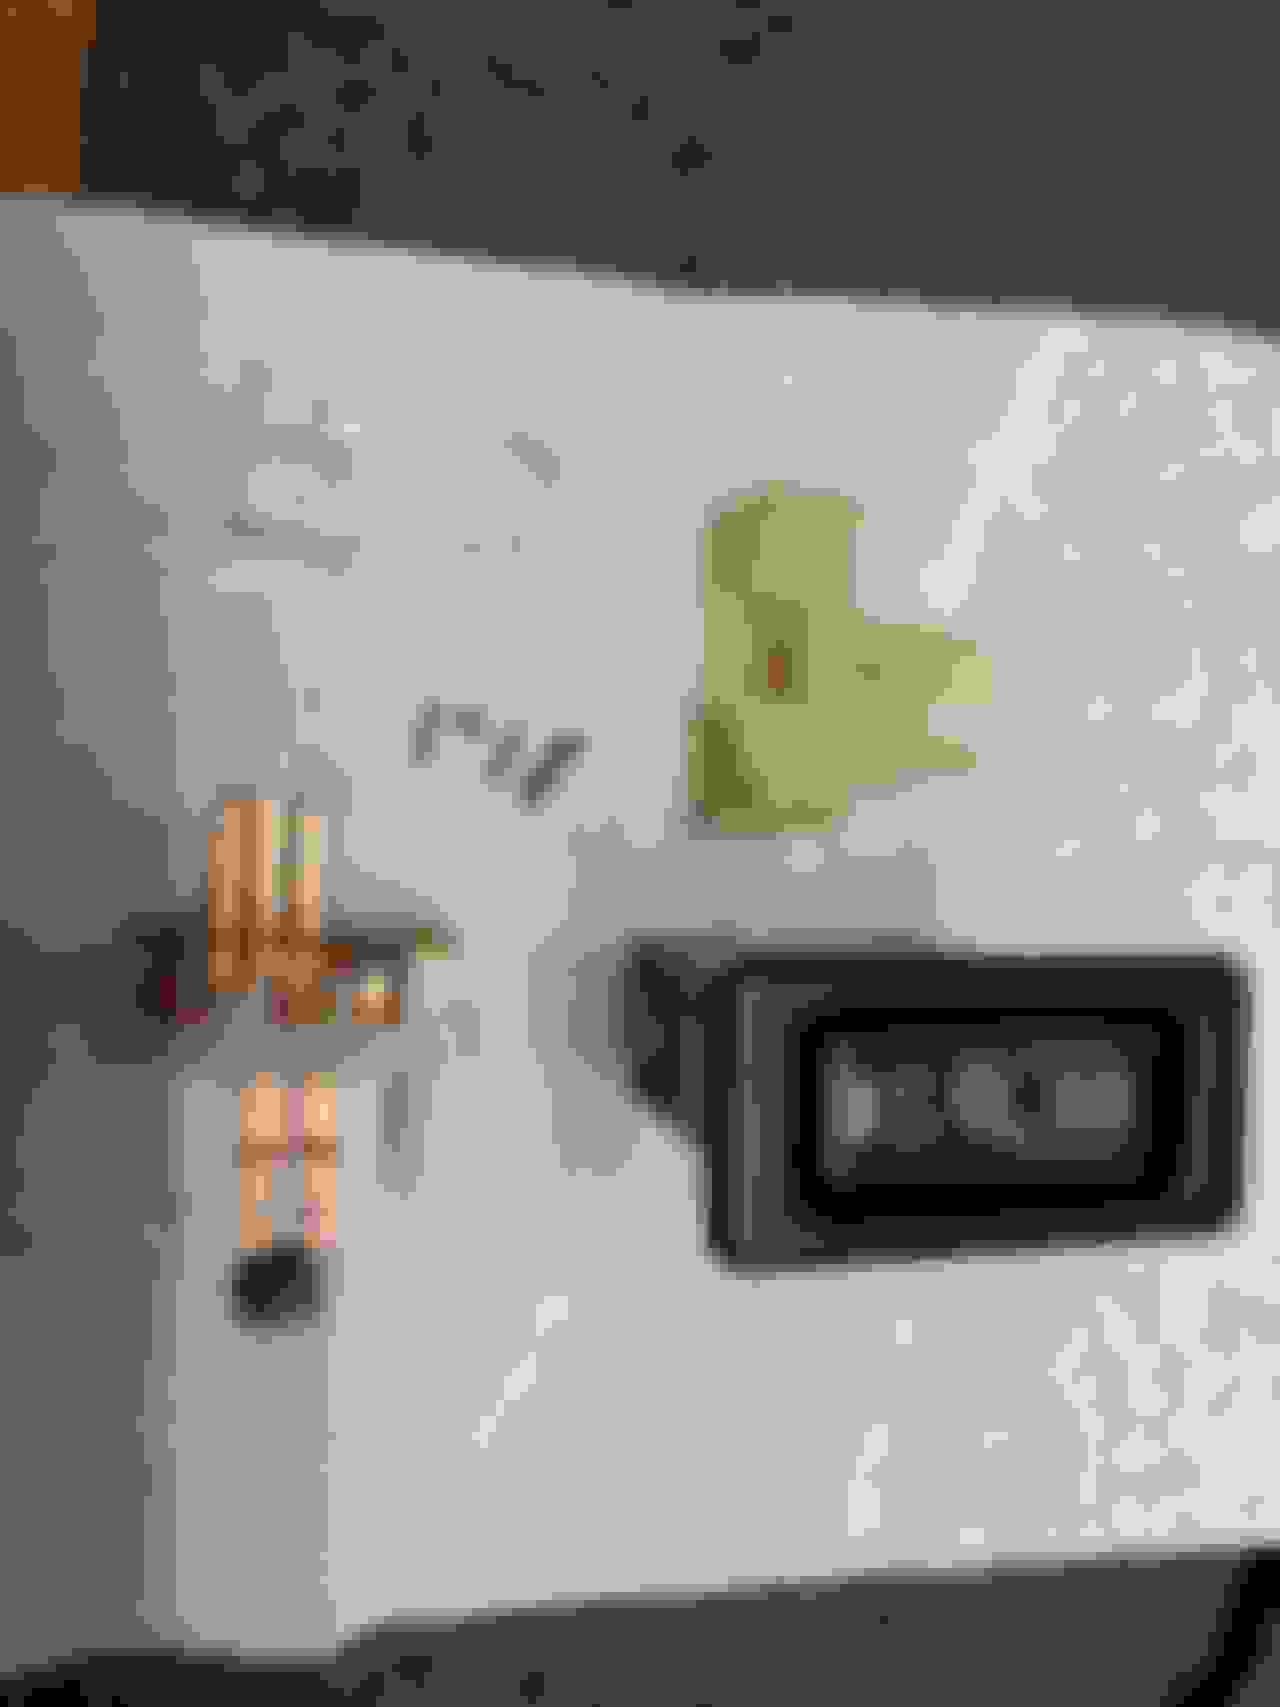
For the ash tray lighting I went with pink and turquoise
I added LEDs for the ash tray area in addition to the factory T5 socket. To get to this bulb the front wood/plastic trim piece is clipped on, very carefully pry them loose (ash tray assembly has to be removed from the dash first).
Dash dismantling procedure is as follow:
Remove trim piece above ash tray. Be patient it takes some maneuvering, start by pulling outward with your trim tool
Remove shifter trim, start by prying up on the back section. Again be patient it's a precise fit
Remove two screws for the ash tray, bottom. Remove unit
Remove center vent, held in by clips. I pulled by hand didn't have much luck with the trim tool
Remove 4 10mm bolts holding in the stereo and HVAC unit, pull forward. Unclip connectors and remove entire unit
Tips: make sure the battery is disconnected before removing the HVAC connectors otherwise if you power up the car with it disconnected the security system will get cranky. To move the shifter when there is no power, unclip the PRND2L trim piece (wood piece already removed) so you can press the release button. Can remove the little cover to access the shift override but it breaks very easily. Shifter backlighting is under the PRND2L trim piece.
For the window switches I went with orange LEDs
Lexus engineers need to be shot removing the door switches is very difficult the metal clips are super stiff. Is there a proper way to do this? I ended up bending all the clips and won't be putting them back in.
For the seat heater switches I went with orange backlighting
So this isn't a comprehensive DIY but hopefully it will inspire people to go with modern lighting. It really makes the car feel much more modern the dim green looks dated.
Looks great. Thanks for the write up. I'm hoping to tackle my stereo soon and might do this while I have everything taken apart. I want to add a double din head unit with a backup camera. I just replaced the two front speakers/tweeters and will be doing the rear door ones this weekend.
Does that LED listing include all the different colors? The description is conflicting.
Does that LED listing include all the different colors? The description is conflicting.
It is, but I think so
White, Blue, Green, Red, Yellow
Or search Ebay, Amazon etc. for t5 led cob this style LED is common. Can also buy the same COB LED type already in the proper socket but I've found them questionable quality. Unfortunately there is about 50 different names for the same type twist socket bulb.
Speaking of COB aka circuit on board or chip on board, they are nice due to the perfect diffusion of light same as the incandescent. Other types may give a shadow effect. I have quite the collection of Toyota bulbs this is probably worth $500 at a dealer Toyota wants $5+ for one bulb.
Looks great. Thanks for the write up. I'm hoping to tackle my stereo soon and might do this while I have everything taken apart. I want to add a double din head unit with a backup camera. I just replaced the two front speakers/tweeters and will be doing the rear door ones this weekend.
I used the Rockford Fosgate R165-S component kit and the R1525X2 for the back. Both were from Crutchfield since they include the accessories for free. Probably not the best but the car is only driven occasionally and will be for my daughter when she's driving in a few years. I haven't checked the subwoofer behind the rear seats but I'm guessing it is probably disintegrated as well.
Nice writeup. I'm in the process of converting my rear facing lights, my front indicators and my interior lights (Dome, doors, courtesy, vanity, clusters) to LEDs myself. Good to know that I can convert the LCDs as well as the HVAC controls - I'll convert those at a later date when I feel like battling to replace my top center vent. It's a nice little touch to modernize the interior.
Nice writeup. I'm in the process of converting my rear facing lights,
On the 3ES this will be a challenge because I want to illuminate areas of the lamp that are from the factory only reflectors. Lexus got lazy on the tail lights the illumination is not that great.
my front indicators and my interior lights (Dome, doors, courtesy, vanity, clusters) to LEDs myself.
I'm happy with how the cluster looks but maybe I'll try changing the fluorescent tube backlighting to LED. I'd like to go ice blue it looks super nice in a cluster. I make my own dome lights out of LED wafers, none of them ones I've bought are bright enough. Another nice mod is adding a diode so the dome light and map light turns on when you open the door, or turn on the map light which also turns on the dome light.
On the 3ES this will be a challenge because I want to illuminate areas of the lamp that are from the factory only reflectors. Lexus got lazy on the tail lights the illumination is not that great.
I'm not sure how the elements inside those lenses are, I'd hope you could simply remove the reflector and still have an element to dissipate the light. I am clearing my corners and fortunately my rear ambers have a clear diffuser behind them so I didn't have to worry about that. I'd think Lexus didn't do that for the 3rd gens though.
Originally Posted by LeX2K
I'm happy with how the cluster looks but maybe I'll try changing the fluorescent tube backlighting to LED. I'd like to go ice blue it looks super nice in a cluster. I make my own dome lights out of LED wafers, none of them ones I've bought are bright enough. Another nice mod is adding a diode so the dome light and map light turns on when you open the door, or turn on the map light which also turns on the dome light.
I'm looking forward to how much better the cluster is going to look. I almost did the floating needles with it, but decided against it since I had already replaced a couple of needles. I'm doing super white, nothing crazy and less intense on the eyes than blue. I'm hoping my LEDs I bought are bright enough, the Sylvania one I picked up from AutoZone was disappointing. I might end up running wafers myself, but we shall see.
How would one go about adding a diode so that the map light comes on with the dome light? Been wanting to do that mod myself. I need to replace all my door courtesy light switches first. My DF is flaky, and none of the rears work.
That diagram is not exactly accurate, but wire your dome to courtesy light like this.
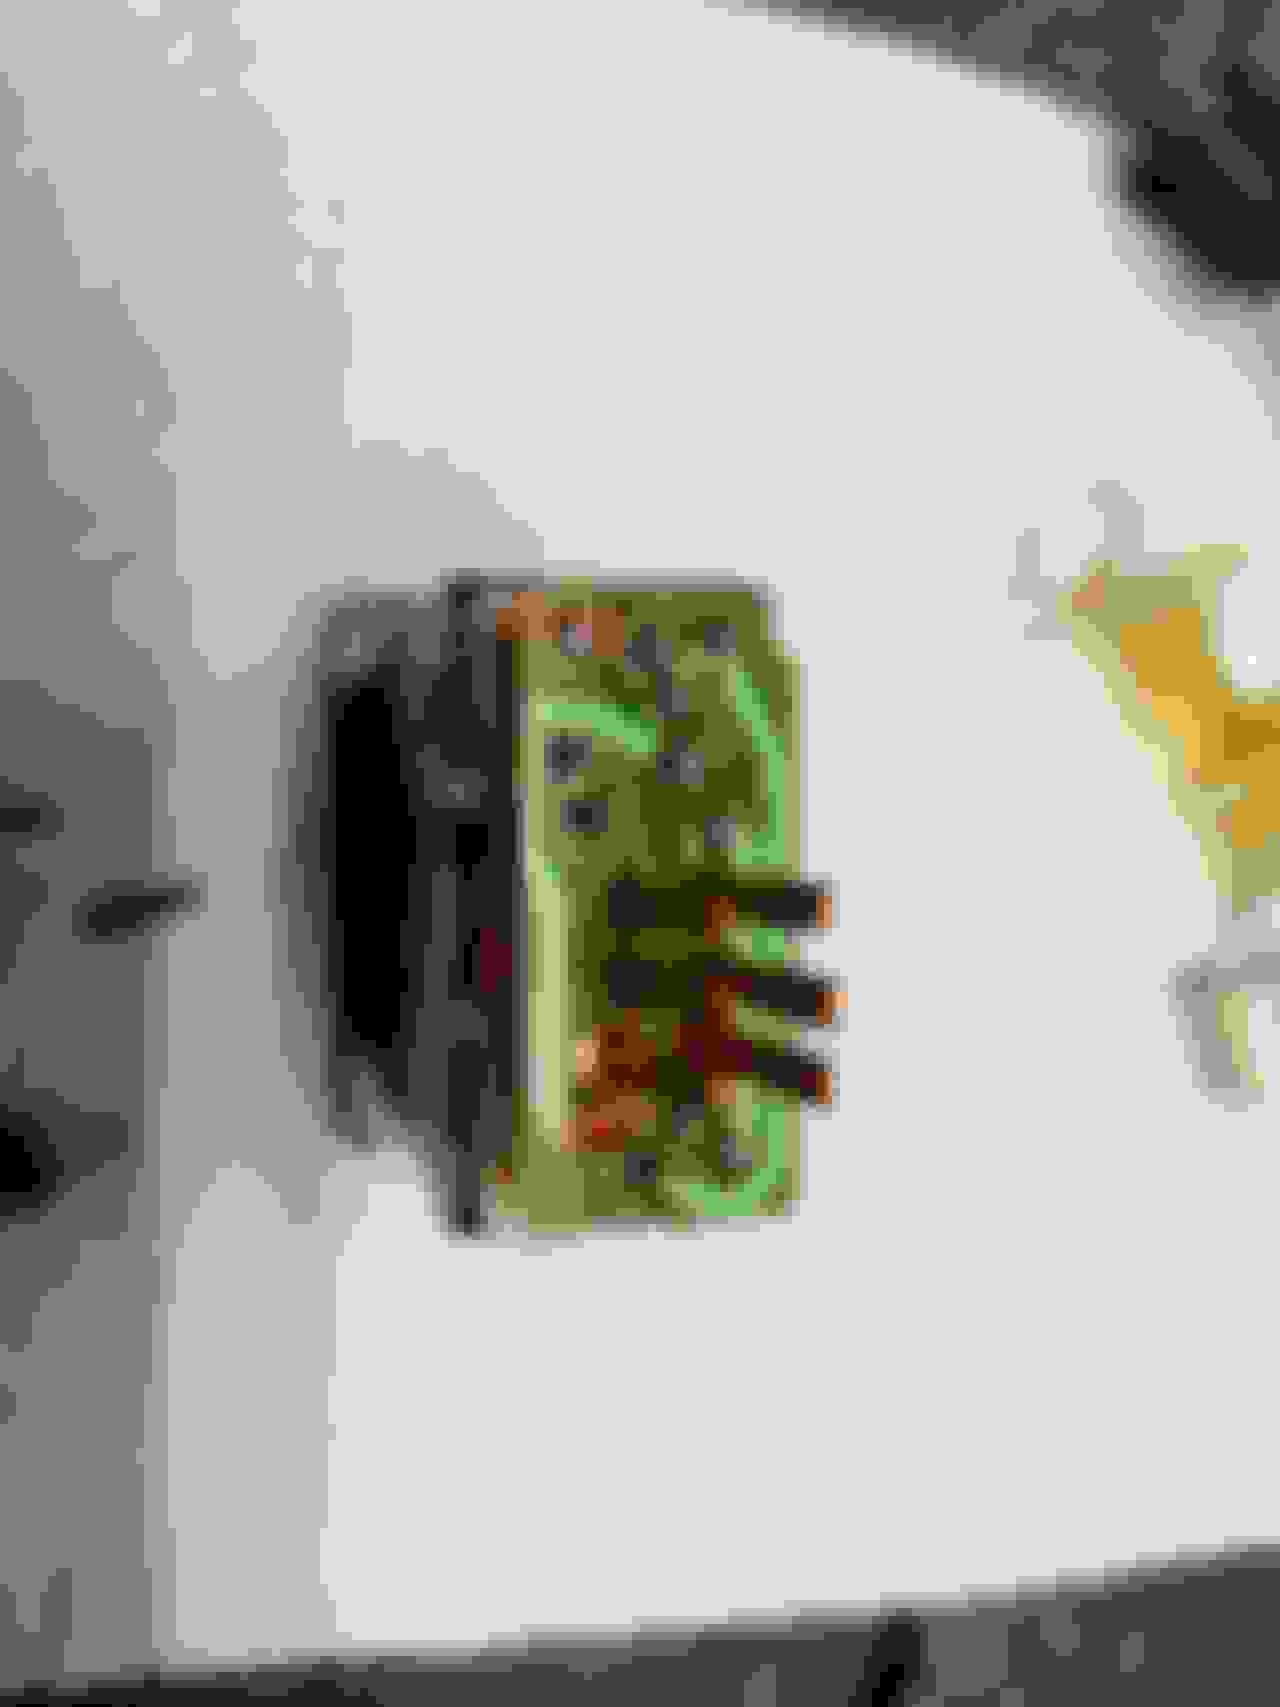
Seat heater switches modification
Disassembled and cleaned
Ready to assemble with new LEDs. I used 3M silicone grease. Depending on the LEDs you might need to change the drop down resistor, original is 680Ω I went with 3.3KΩ since the replacements are much more efficient
Assembled
I went with gold for the low setting red for high. Orange backlight
Here's the polarity for the LEDs, red mark is +
Polarity for the backlight, red mark is +
I cracked both housings, in retrospect should have heated them first before disassembly. Touch of superglue fixes them right up but I don't like breaking things. Bought LEDs from this site they have unusual colours like gold, rose, turquoise, fluorescent green etc. https://www.tme.com/
3-4 days from Poland to Canada which is crazy.
edit - here is my custom dome light bulb, different car but I'll be doing a version for my ES. Standard 31mm bulb with added LED wafers, they are harvested from this style bulb https://www.ebay.com/itm/373552241906
Not the seller I bought from can't find it off hand.
Warm white wafers combined with cool white gives nice illumination. I'll be using the same wafers in the courtesy light.
You could maybe retrofit a 12v led strip in there to replace the tube. The strip will probably not be as diffused but I know they sell cob led strips now that are more uniform light.
You could maybe retrofit a 12v led strip in there to replace the tube. The strip will probably not be as diffused but I know they sell cob led strips now that are more uniform light.
I'm going to be trying this have a couple of LED strips on the way.
Will need to make custom circuity so it dims down in the same way the original does, when you turn on the park lights the tube dims then of course dims with the rheostat.
So I have a spare cluster with 180,000 miles the backlight is much dimmer than my car, dramatically so. Anyone else have this problem? I know tubes get dimmer with use but surprised it is to this extent.
Some more finds. Fuel and trunk switches are not illuminated, and they can't be. There is a spot for a bulb but the buttons have no translucent area. Not cool Lexus they should be back lit
Wired in the rheostat to the cluster harness for bench testing
Replacing the tube with LEDs won't be super difficult there is power and ground conveniently located next to each other on the brown connector
+12V is ignition switched this will go to the LED strip. There will need to be a simple transistor circuit so the strip dims when the lights are turned on. Illumination minus will take care of the variable dimming.
This is what ice blue looks like in a cluster, it's a broader spectrum type blue so things that are orange and red don't turn monochrome

 01-03-24, 04:41 PM