When you click on links to various merchants on this site and make a purchase, this can result in this site earning a commission. Affiliate programs and affiliations include, but are not limited to, the eBay Partner Network.
Ok another question,I forgot to mark the cam pulleys as to the pin location,3v or 4v ? Both cam pulleys have 2 notches for the pin location ..on each cam pulley the notches are marked 3v and 4v ..looks like the left pulley was in 4v… are these for 3 valve vs 4 valves or is it for 3vz-fe etc etc..? I searched the pdf and can’t find an answer ,can someone tell me what’s correct setting? once again thank y’all! You are being so patient with an old man🤣
All 3VZ-FE engines are 4 valve engines, without exception. However, there are some shared parts with the 3VZ-E engine being produced at the same time. The latter engine being a north-south upright engine used in small pickup trucks etc.
As for the notches themselves, must go to work now. I recommend a quick YouTube search and I'll try and help some more, roughly 10 hours from now.
You mean 3VZ-E. The 3VZ-FE shares very little with the -E engine. Rod bearings and piston rings are the same that's about it. Different block, crank, heads and pretty much everything else.
OK guys, repairing a blown head gasket, on a 3VZFE. I forgot to mark the cam Timing belt pulleys ,both have two positions/notches for the locator pins.Each pulley has a 3v and a 4v position ..which position is correct ? I’ve searched in here and the web ,with no luck ..Any help would be greatly appreciated! Thanks guys…
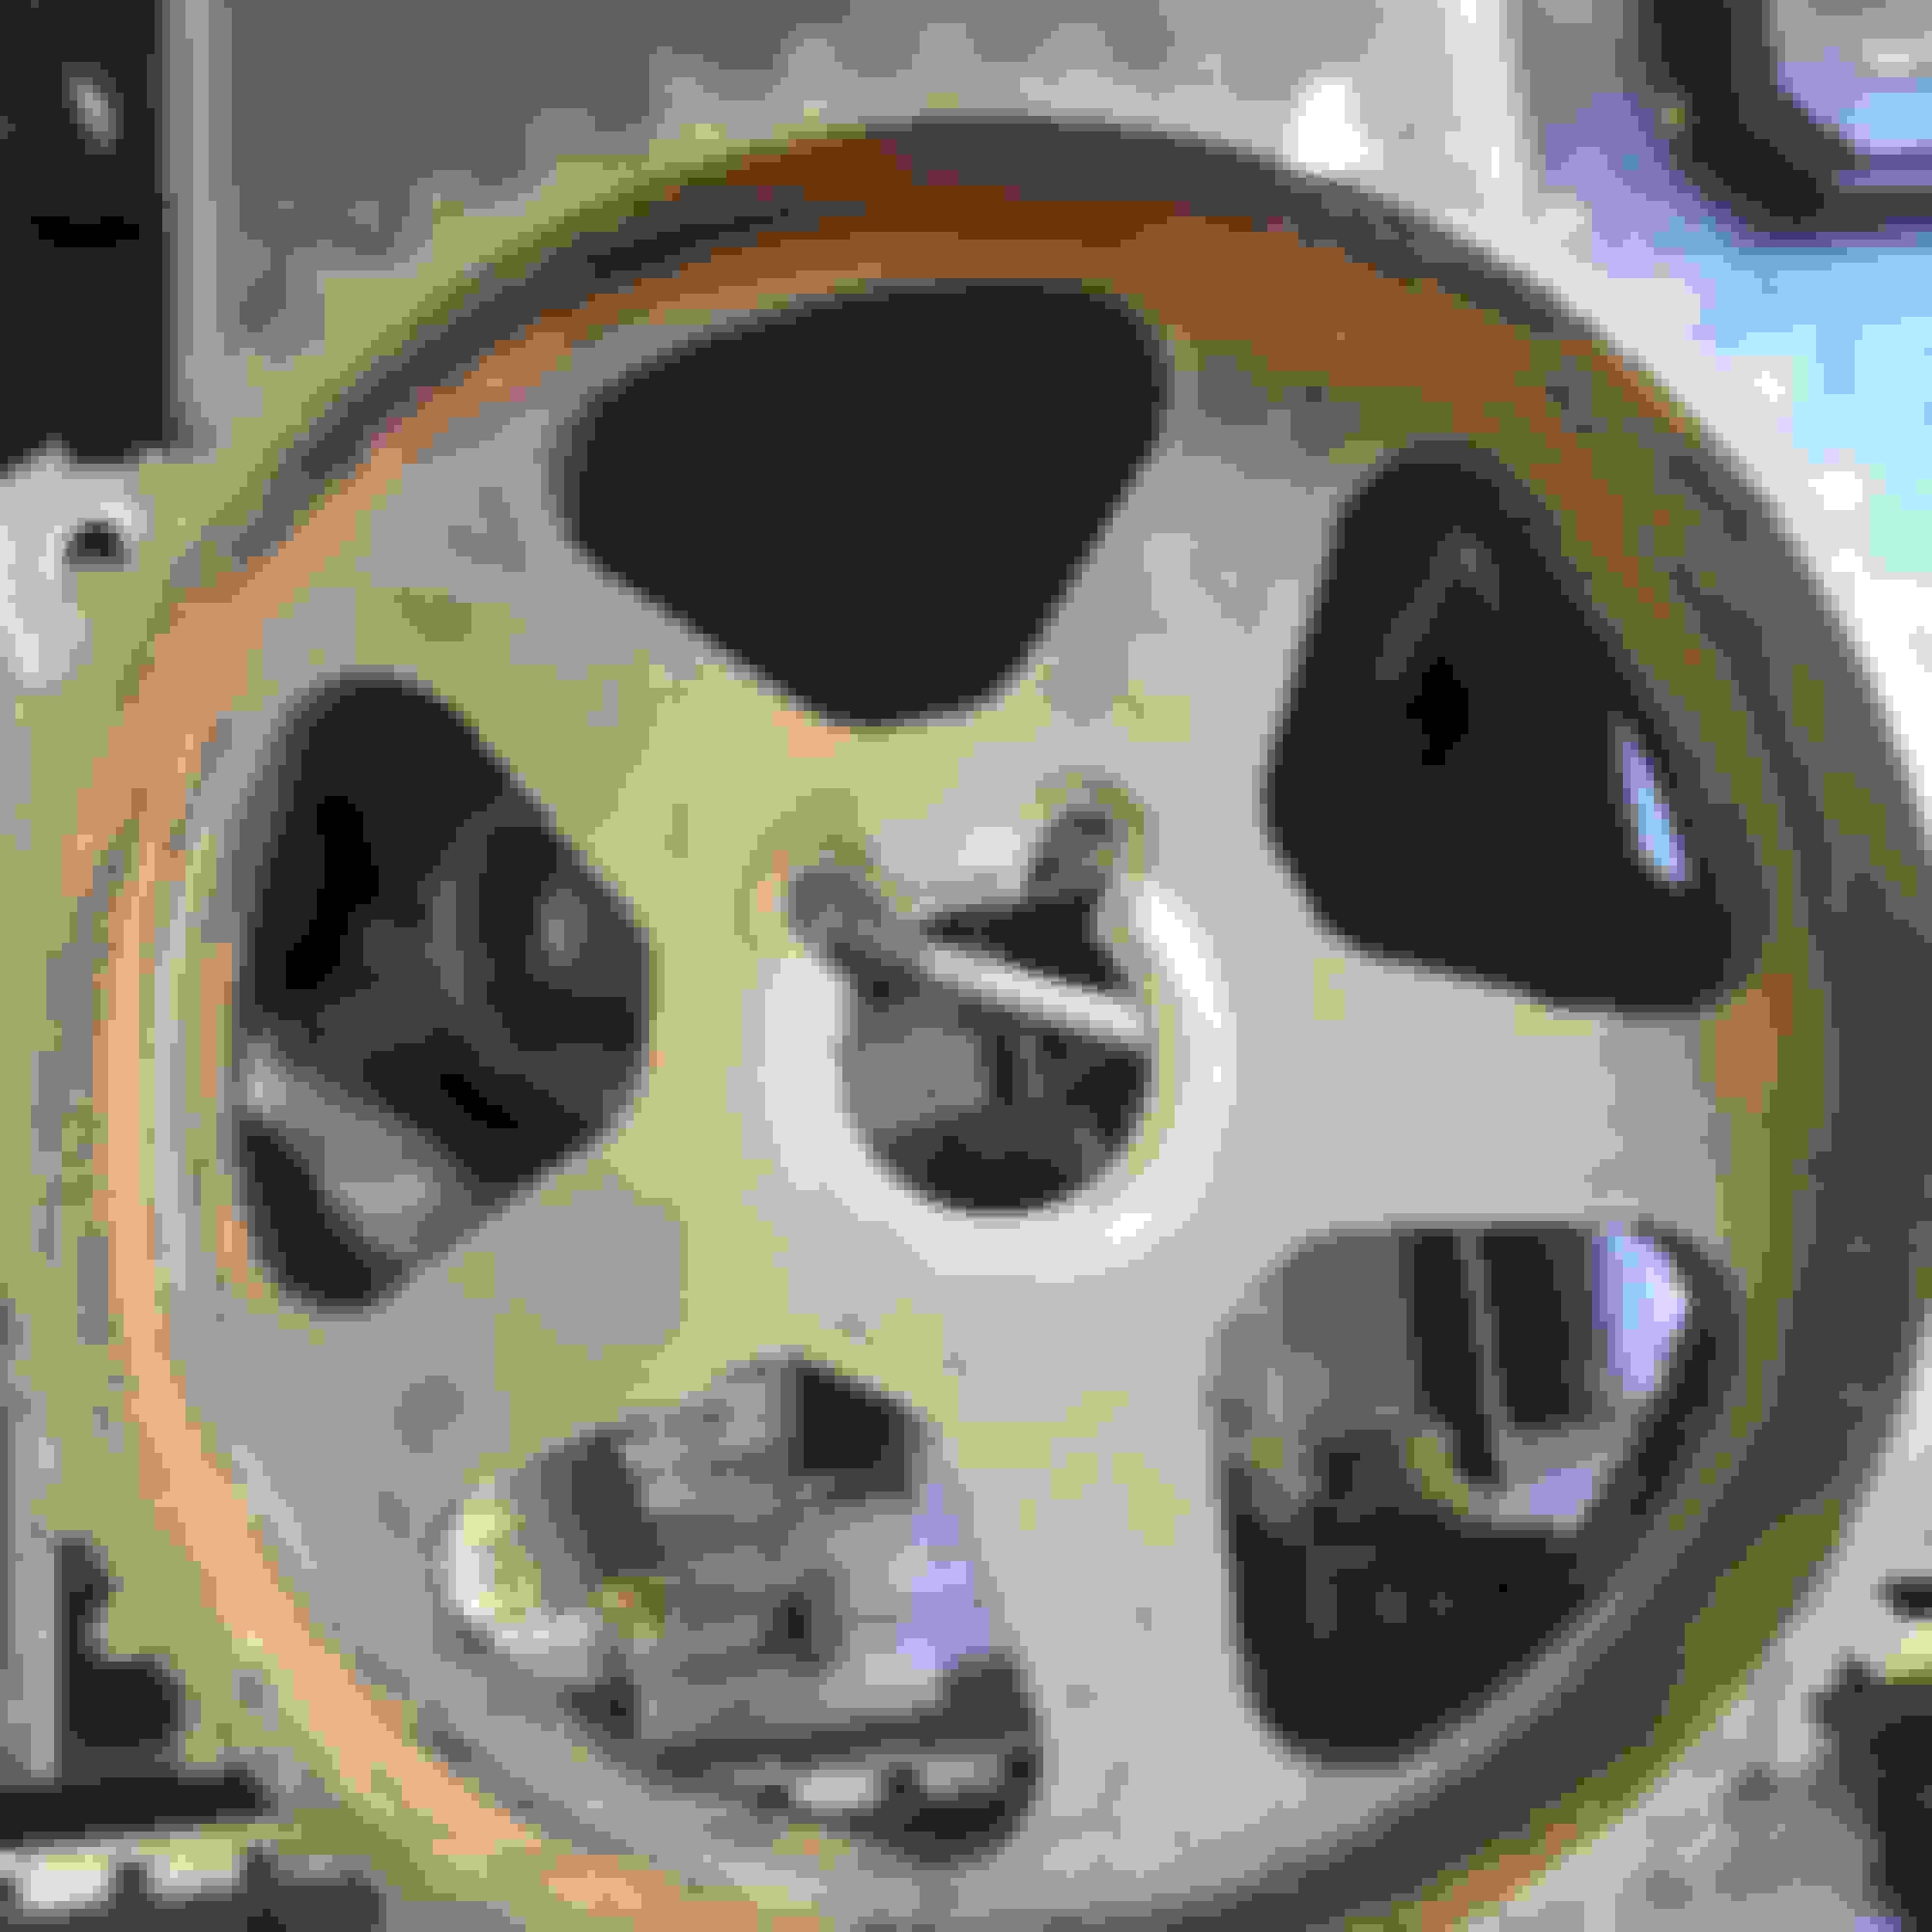
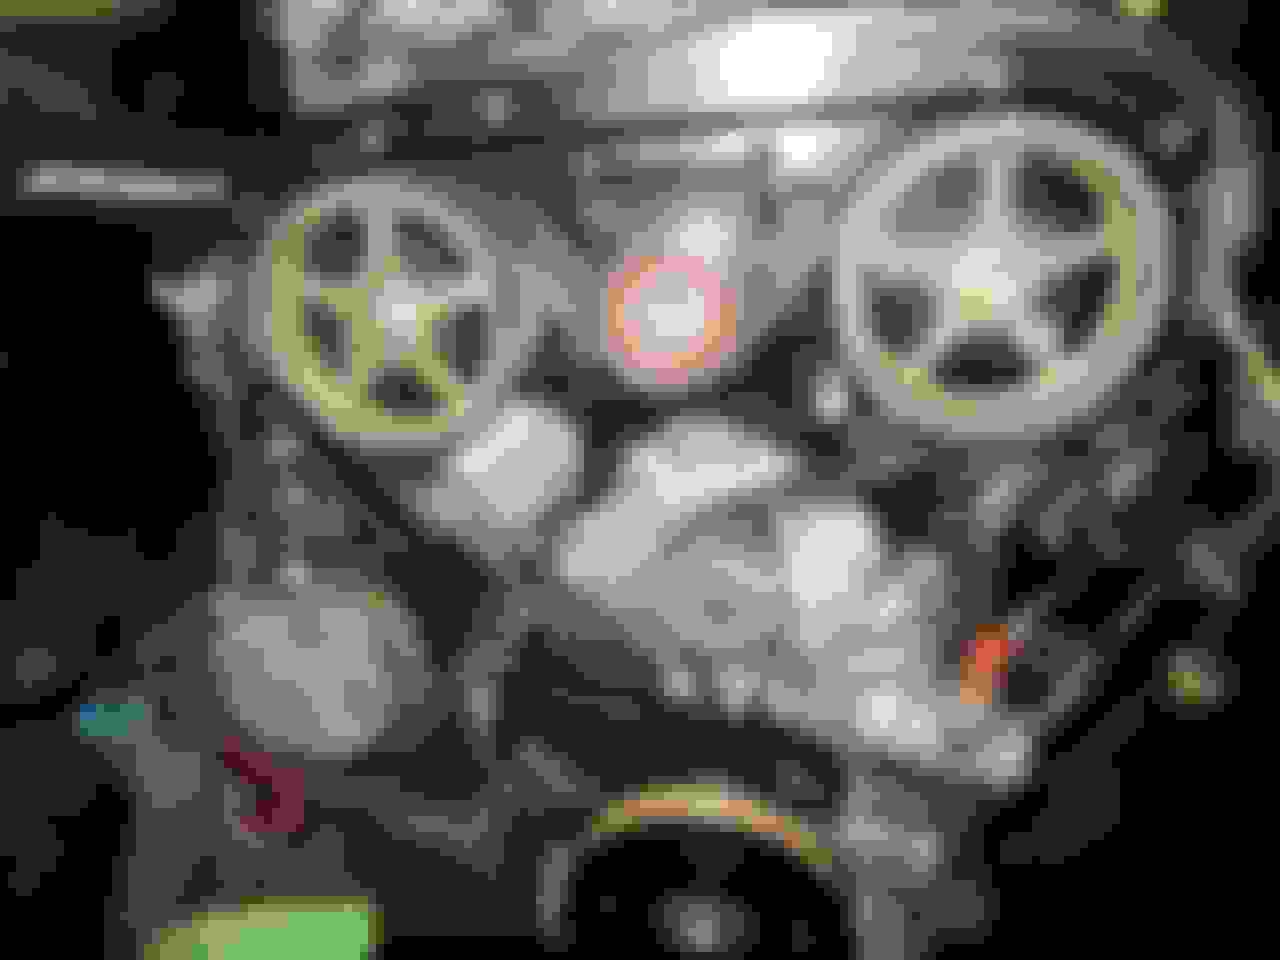
To answer this question IIRC it is the 3V mark. Put the pulley on the cam and hand thread the bolt down you should still see some of the machined groove showing. Here is a 2VZ the timing belt components are basically the same. Note that the cam pulleys are identical but the RH (closest to radiator) has the lip outward the other cam gear inward. Also there is a paint mark on your pulley, that lines up with the knock pin assuming it was painted in the correct place which is likely.
To answer this question IIRC it is the 3V mark. Put the pulley on the cam and hand thread the bolt down you should still see some of the machined groove showing. Here is a 2VZ the timing belt components are basically the same. Note that the cam pulleys are identical but the RH (closest to radiator) has the lip outward the other cam gear inward. Also there is a paint mark on your pulley, that lines up with the knock pin assuming it was painted in the correct place which is likely.
yes ,,I painted that mark and it aligns as you say with the 3v ,however the other pulley,my painted mark is aligned with the 4v ..which is why I’m confused .The 2v pic you provide ,shows only one machined notch for the pin on each pulley..,both pulleys on this 3vz-fe have 2 machined notches …I can’t understand why one side would be 3v and the other 4v..
Maybe 4V mark is for the 4VZ-FE. Assembly the timing belt using the 3V marks worse case it won't start engine is non-interference.
I actually just found a set of used pulleys on eBay,and they are painted/marked exactly the same as mine ..so it seems the left cam is set at 4v and the right one(closest to firewall) is set at 3v…which makes no sense to me ,but hey like ya said it’s a non interference engine..I’d like to get it right the first time ..Thanks for the help Lex…
Unfortunately I’ve jumbled up my valve buckets.I pulled one cam (exhaust) on left head.Pulled the buckets/shims back out and measured the thickness,and basically have two thicknesses..question…are the thinner ones for the intake or the exhaust? Has anyone here ever mixed these up ? I know it’s not great that the buckets aren’t going back to their OG position,but definitely gotta get the shims at least on the proper cam..ie exhaust vs intake ..Thanks guys!
Exhaust has more clearance meaning the shims will likely be thinner. I've done the same thing flipped the head upside down (was at a salvage yard) most of the buckets fell out. Process for me was put in one random shim/bucket, tighten the cam caps and check clearance. After a few tries I found the correct one and kept going valve by valve. I did measure all the shims/buckets as I went trying the thinner ones in the exhaust side.
 04-30-24, 02:41 PM